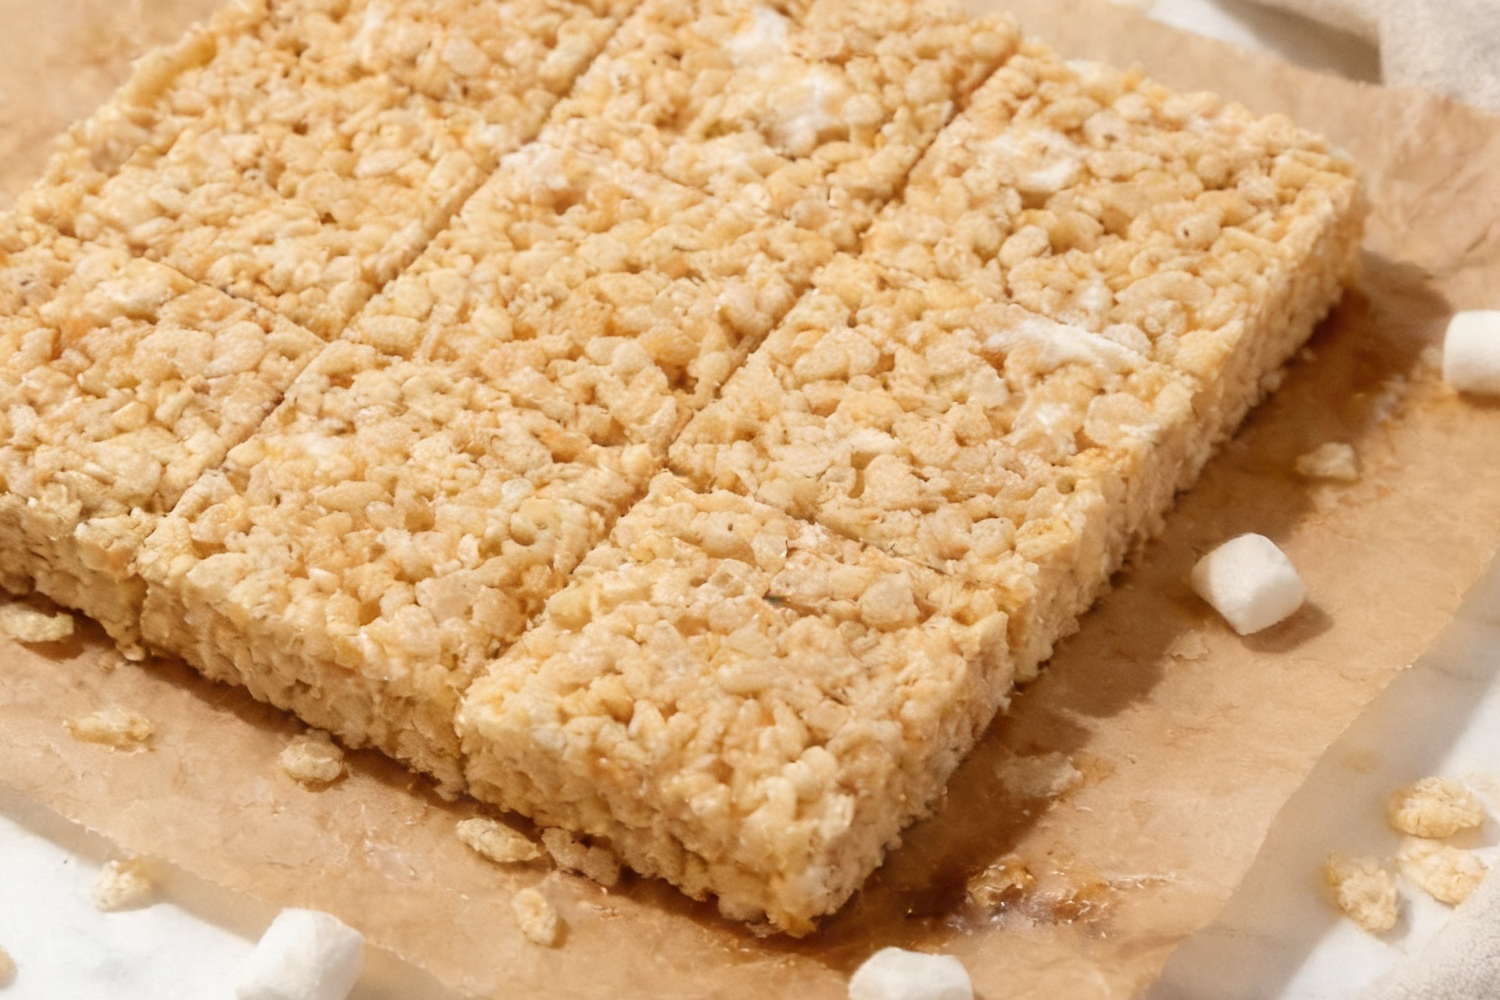
Skip the pre-packaged bars and elevate your dessert game with these homemade rice krispie treats. Achieving the ultimate balance of a melt-in-your-mouth texture requires a careful ratio of melted marshmallows to crisp cereal. This classic no-bake dessert undergoes a major upgrade when prepared on the stovetop with a few strategic techniques. Perfect for weekend baking projects, lunchbox surprises, or casual parties, these treats assemble in roughly fifteen minutes. You will bypass the hard, jaw-working texture of mass-produced alternatives in favor of an exceptionally soft, stringy pull. Children and adults alike gravitate toward the comforting combination of caramelized sugar and rich, comforting butter notes. By incorporating a handful of un-melted mix-ins at the final stage, you achieve distinct pockets of chewiness. This comprehensive guide walks you through the subtle science of marshmallow melting to ensure your bars remain perfectly pliable for days.
🔥
Why You’ll Love These Rice Krispie Treats
Baking memories start with simple pleasures, and this recipe delivers a premium texture using just five humble pantry staples. It provides a reliable blueprint for achieving gourmet confectionery results without turning on your oven.
- Maximum Gooeyness: Reserving a portion of whole marshmallows to fold in late creates pockets of soft, stretchy texture.
- Effortless No-Bake Prep: Requires zero oven time and transforms simple ingredients into a crowd-pleasing dessert in 15 minutes.
- Subtle Flavor Enhancements: Pure vanilla extract and a pinch of salt cut through the intense sweetness for a balanced profile.
- Perfectly Soft Structure: Gentle pressing techniques prevent the bars from compacting into dense, overly hard bricks.
Ingredients Breakdown
- Mini Marshmallows: These serve as the primary binding agent; their small size ensures fast, uniform melting to prevent scorching.
- Unsalted Butter: Provides a rich, velvety base that coats the cereal flakes and keeps the sugars soft after cooling.
- Salt: Acts as a crucial flavor counterweight that cuts through the heavy sugar profile and balances the overall sweetness.
- Vanilla Extract: Infuses an aromatic depth that transforms a basic childhood snack into a bakery-quality confection.
- Rice Krispies Cereal: Delivers the iconic crisp, airy crunch that supports the sticky, melted marshmallow matrix.
Tips To Get Your Recipe Right
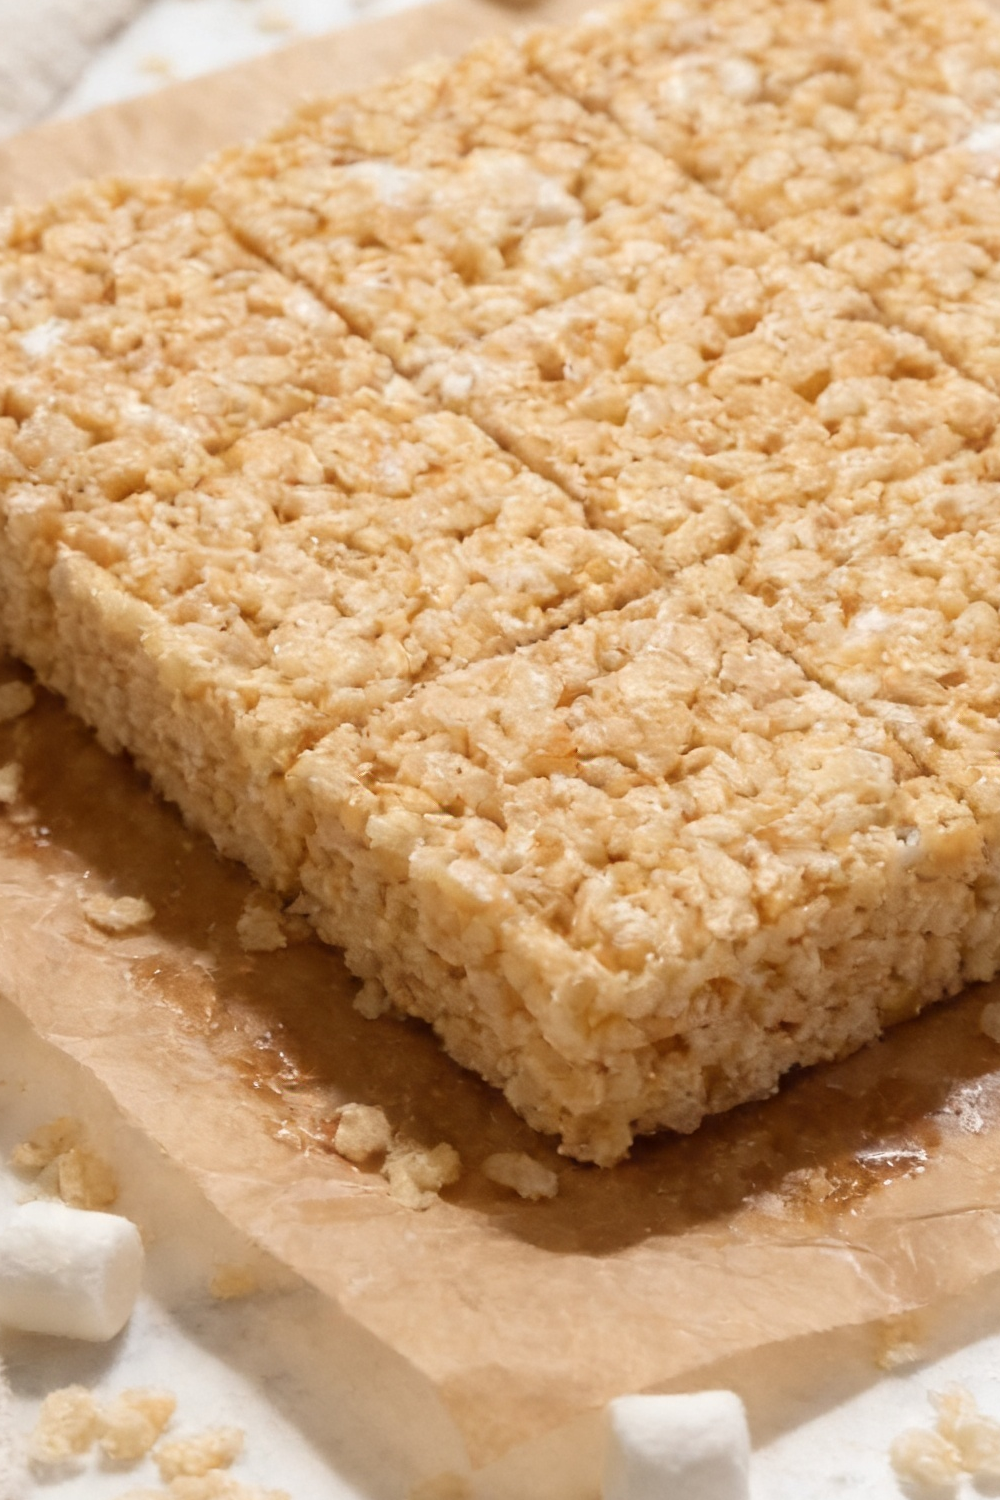
- Weigh Everything Precisely: Use a digital kitchen scale for the cereal and marshmallows, as volume measurements fluctuate drastically based on settling.
- Maintain Low Flame Levels: Melt the butter and marshmallow base over medium-low heat to avoid over-caramelizing and hardening the delicate sugars.
- Utilize Fresh Ingredients: Stale marshmallows lose their moisture and elasticity, resulting in brittle, dry bars that crumble apart easily.
- Create an Easy-Pull Sling: Extend your parchment paper well past the edges of your baking pan to lift the set slab effortlessly.
- Avoid Compacting the Mixture: Use a greased spatula or piece of wax paper to gently spread the warm mixture without crushing the cereal.
- Stop Cooking Immediately: Take the pot off the burner the exact second the main marshmallow mass turns smooth and fluid.
Storage Tips
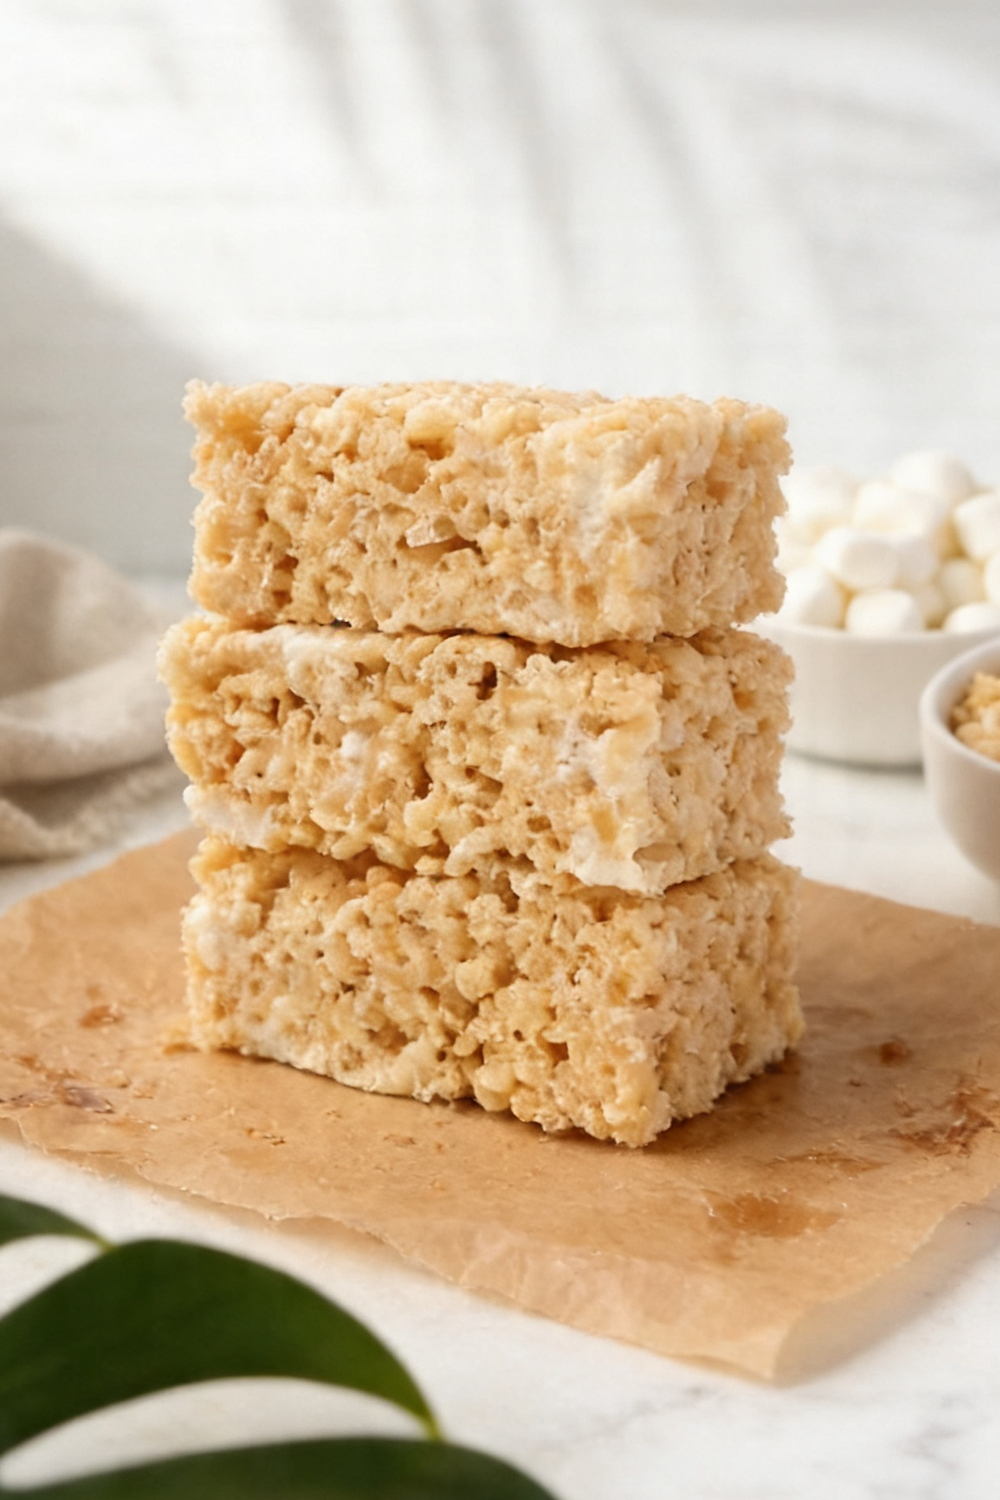
- Keep at Room Temperature: Place the cut squares inside an airtight storage container and leave them on the counter for up to 4 days.
- Avoid the Refrigerator: Cold air crystallizes the sugars and solidifies the butter fats, making the bars incredibly dense and tough.
- Separate Layered Treats: Place sheets of wax paper between stacked rows of bars to prevent them from fusing into a single block.
- Freeze for Long-Term Storage: Pack the bars into a heavy-duty freezer bag separated by parchment paper and freeze them for up to 2 months.
- Thaw Gently Before Serving: Allow frozen bars to sit undisturbed on the kitchen counter at room temperature to restore their gooey texture.
FAQs
Can I make these rice krispie treats gluten-free?
Yes, you can easily adapt this recipe. Standard crisp rice cereal often contains malt flavoring derived from barley, which contains gluten. To make this recipe completely gluten-free, substitute the traditional cereal with a certified gluten-free crisp rice cereal variety and verify your marshmallow labels.
Can I double this recipe for a larger party?
Absolutely. You can scale the ingredients up by doubling all quantities exactly. When making a double batch, switch from the standard square baking pan to a larger 9×13 inch rectangular baking dish to maintain the perfect thickness for your bars.
Why did my treats turn out hard and rock-solid?
Hard treats are almost always caused by excessive heat during the melting process or over-compacting the mixture in the pan. High heat causes the sugars in the marshmallows to cook too far, turning into hard candy when cooled. Always use medium-low heat and press the mixture gently into place.
Can I use large standard marshmallows instead of mini ones?
You can use full-sized marshmallows if necessary, but you will need to cut them into smaller pieces first. Large marshmallows take significantly longer to melt, which increases the risk of overheating the butter and scorching the sugar base before everything liquefies smoothly.
What can I add to customize these cereal bars?
The customization choices are virtually limitless. You can fold in chopped peanuts or almonds for saltiness, toss in festive sprinkles to match a holiday theme, add miniature chocolate chips, or swap a portion of the rice cereal for colorful fruity loops.
Rice Krispie Treats
9
large bars4
minutes10
minutesThis classic no-bake dessert undergoes a major upgrade when prepared on the stovetop with a few strategic techniques.
Ingredients
- The Marshmallow Matrix
10 oz mini marshmallows, divided (reserve 2 oz / 1 cup for the final fold)
56 g (4 tbsp) unsalted butter, cubed
¼ tsp salt
¼ tsp vanilla extract
- The Crunchy Base
135 g (4 1/2 cups) Rice Krispie cereal
Directions
- Prepare the Pan: Lightly grease an 8x8 inch square baking dish and line it with parchment paper, leaving overhang on the sides. Set aside 2 oz (1 cup) of the mini marshmallows for later use.
- Melt the Base: Place the remaining 8 oz of mini marshmallows and the cubed unsalted butter into a large pot over medium-low heat. Stir constantly until the marshmallows are just melted, then remove the pot from the burner immediately.
- Infuse and Mix: Add the salt and vanilla extract to the melted mixture and stir to combine. Quickly fold in the crisp rice cereal along with the reserved 1 cup of whole mini marshmallows until uniformly coated.
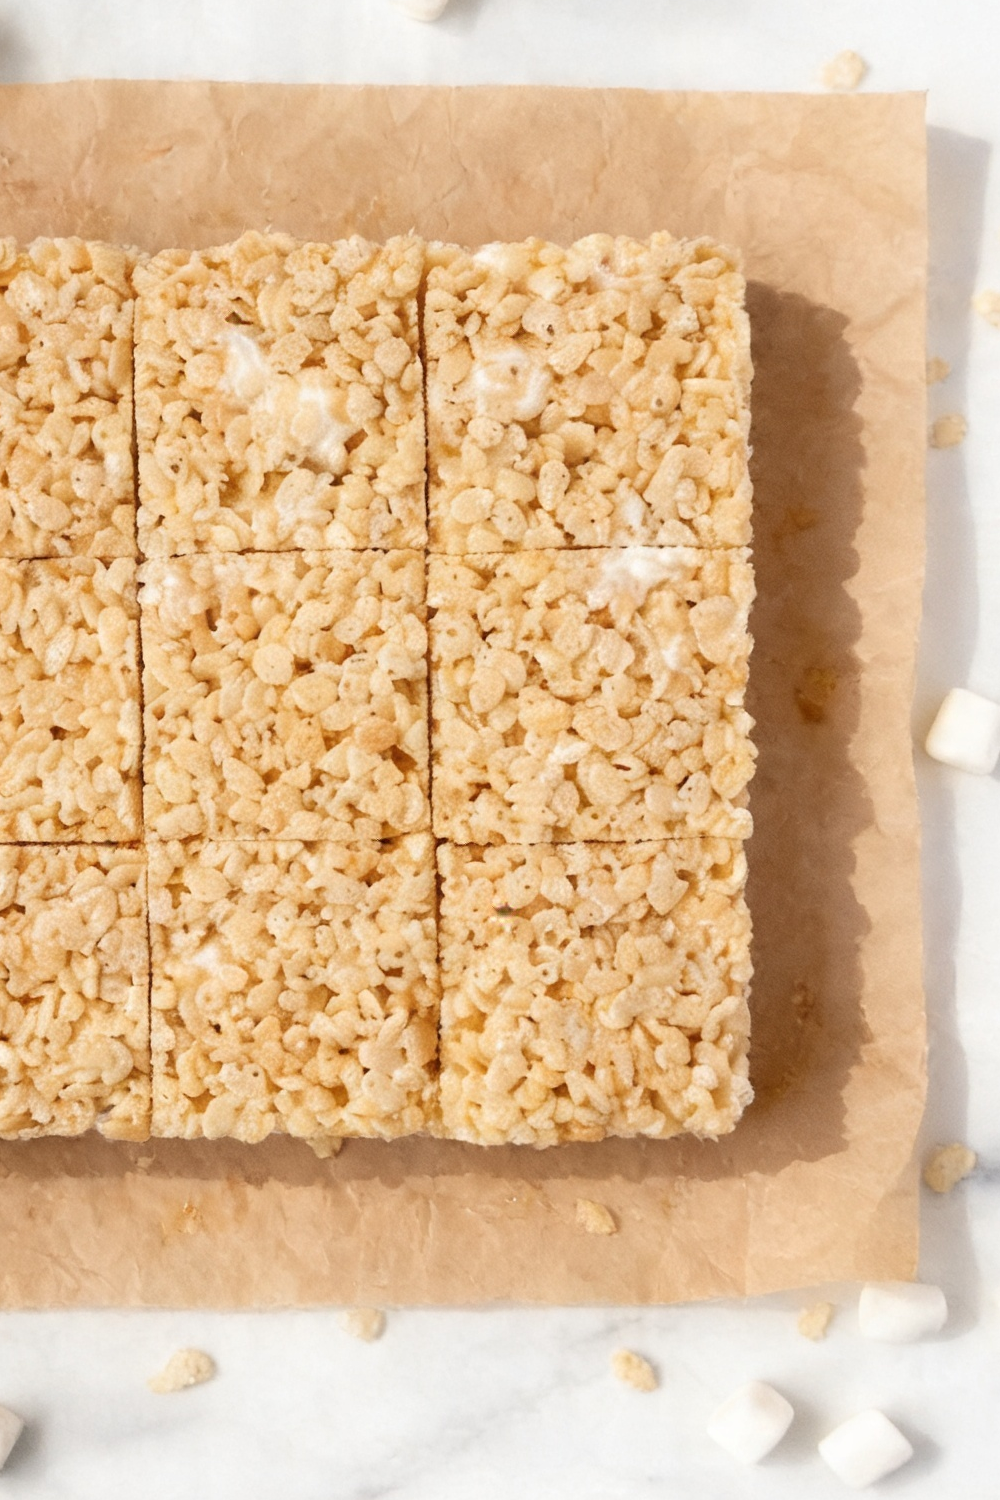
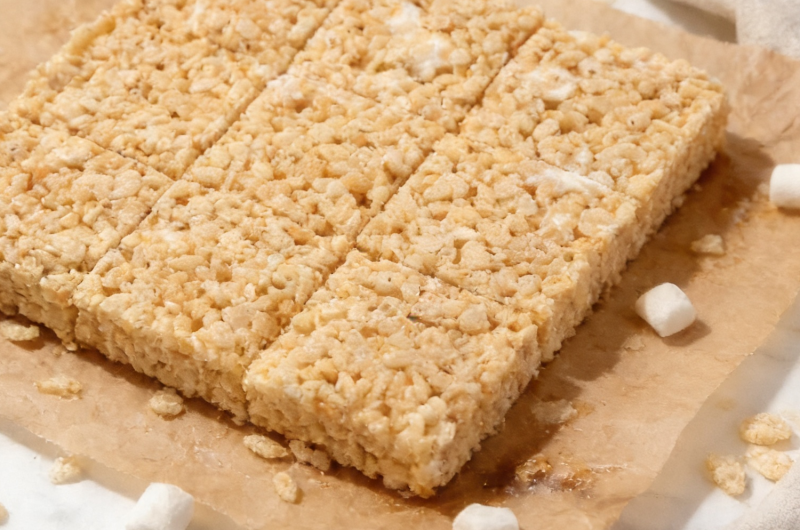
- Shape and Cool: Transfer the sticky mixture into your prepared baking dish. Press down very gently with a greased spatula to flatten. Let the treats cool completely at room temperature for 30 to 60 minutes before slicing into 9 large bars.
There are no reviews yet. Share your thoughts above!