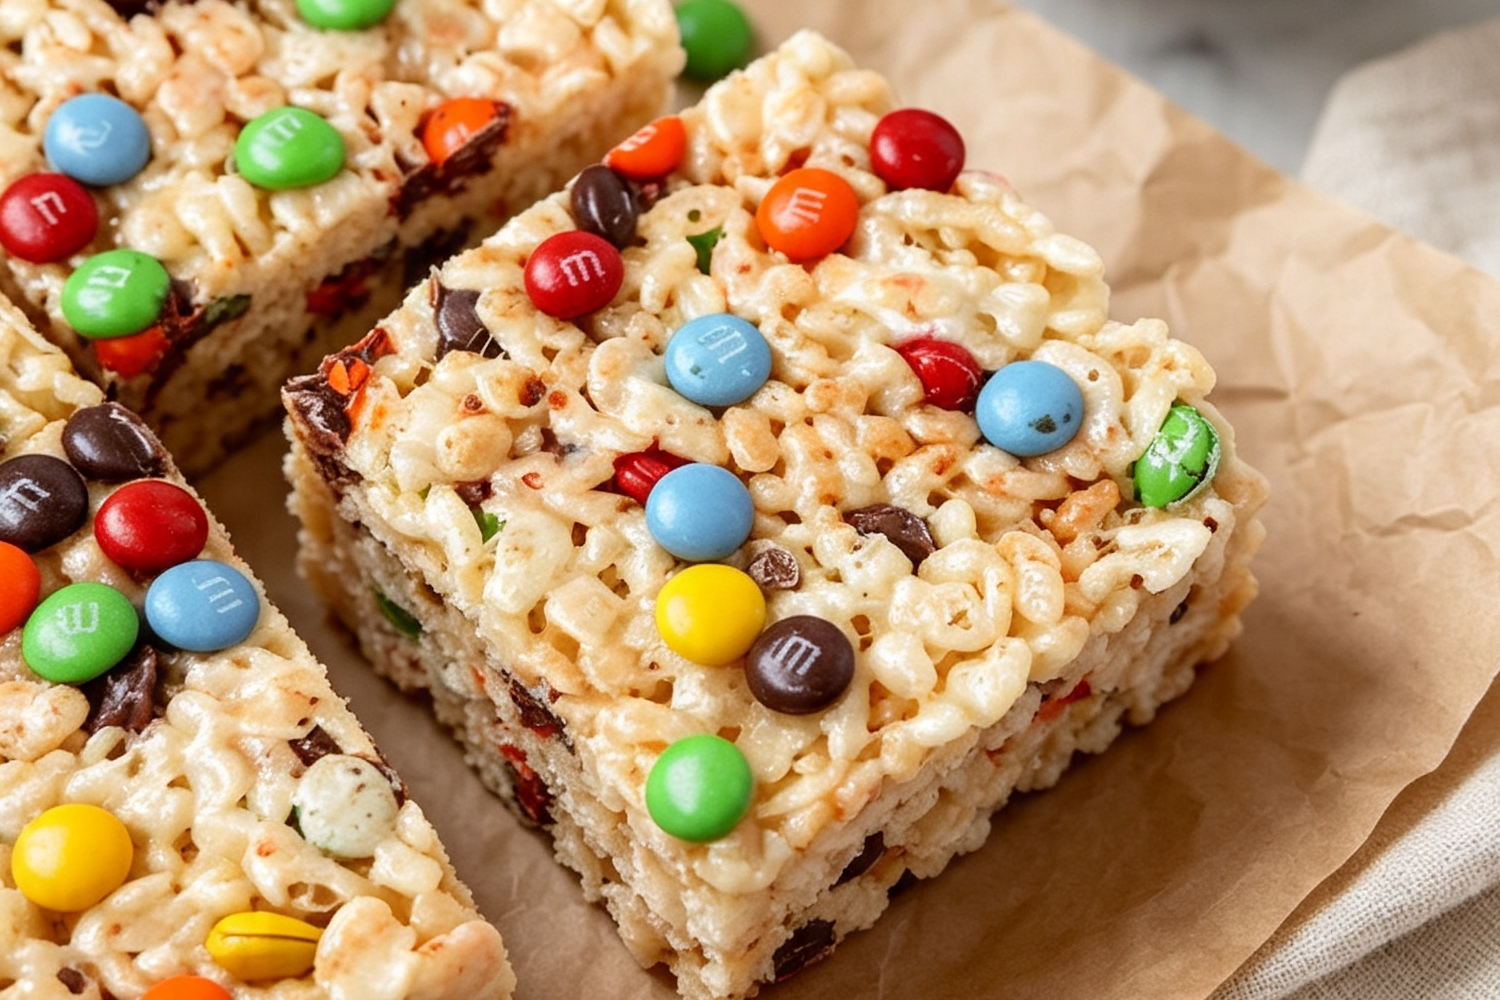
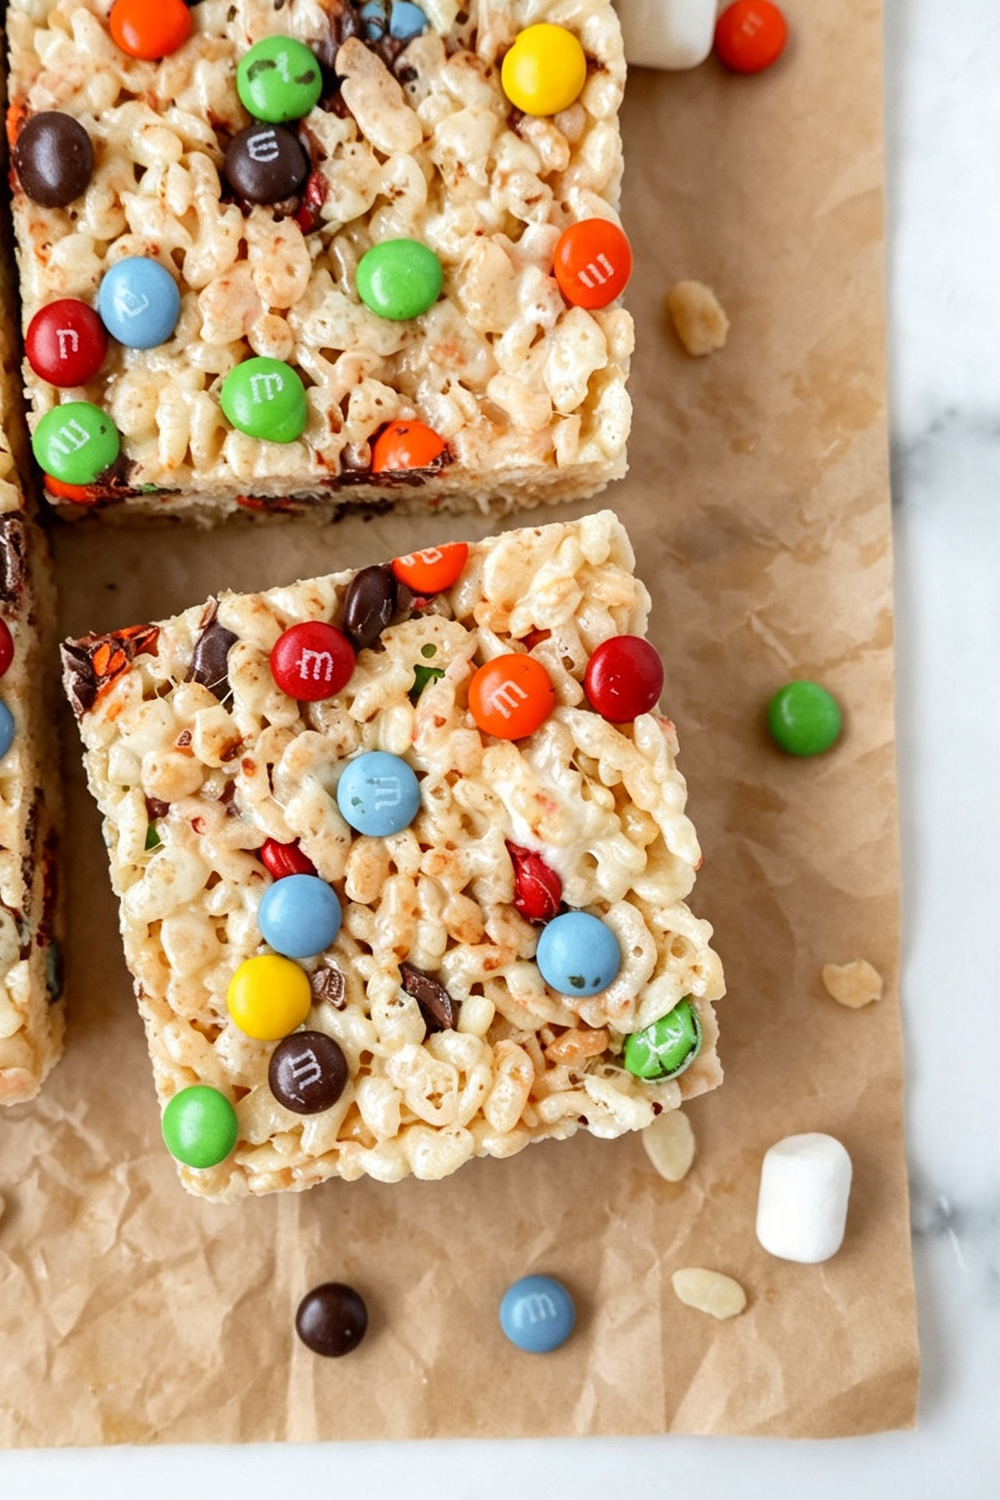
Elevate your dessert game with a spectacular twist on a nostalgic childhood favorite that brings absolute joy to any occasion. These homemade cereal squares deliver an ultra-chewy texture combined with the iconic, colorful crunch of milk chocolate mini candies. By updating a classic no-bake method, these quick M&M Rice Krispie Treats satisfy intense sweet cravings without requiring hours in the kitchen or complex baking equipment. It is an ideal solution for last-minute gatherings, school bake sales, or casual weekend indulgence. Every bite blends the airy crunch of toasted rice cereal with a rich, buttery marshmallow base that keeps you coming back for more. Because they cook on the stovetop in just fifteen minutes, you can easily whip up a batch whenever a sweet craving strikes. Prepare to experience a spectacular combination of textures that will easily make this simple recipe a permanent staple in your quick-dessert rotation.
🔥
Why You’ll Love These M&M Rice Krispie Treats
This effortless no-bake dessert perfectly elevates a classic childhood treat into a gourmet, candy-filled indulgence that satisfies both kids and adults alike. It redefines convenience by transforming a handful of everyday pantry items into a spectacular bakery-quality bar.
- Minimal Preparation Time: Requires only fifteen minutes from start to finish before setting, keeping kitchen cleanup exceptionally low.
- Sensational Textural Contrast: Combines pockets of soft, gooey whole marshmallows with the light, crisp crunch of puffed rice cereal and candy shells.
- Vibrant and Festive Appeal: Infuses bright, colorful chocolate candies directly into the base and across the top for an eye-catching presentation.
- No Oven Required: Prepared completely on the stovetop, making it an excellent hassle-free dessert for warm weather or busy holidays.
- Beginner-Friendly Method: Features straightforward melting and mixing techniques that guarantee success for bakers of all skill levels.
Ingredients Breakdown
- Mini Marshmallows: Melt rapidly and uniformly due to their small size, serving as the gooey foundational glue that yields an extraordinarily chewy texture.
- Rice Krispies Cereal: Delivers the essential, structural airy crunch that holds the bars together while providing a light, crisp contrast to the dense marshmallow.
- M&M Candies: Provide pockets of rich milk chocolate and a distinct, colorful crisp shell texture scattered throughout the bars.
- Unsalted Butter: Imparts a luxurious, creamy mouthfeel and thins the melted sugar paste just enough to coat every single piece of cereal evenly.
- Vanilla Extract: Introduces a warm, aromatic depth of flavor that perfectly balances and cuts through the intense sweetness of the sugar components.
- Salt: Acts as a crucial flavor enhancer that balances the sweetness and highlights the rich chocolate and dairy notes.
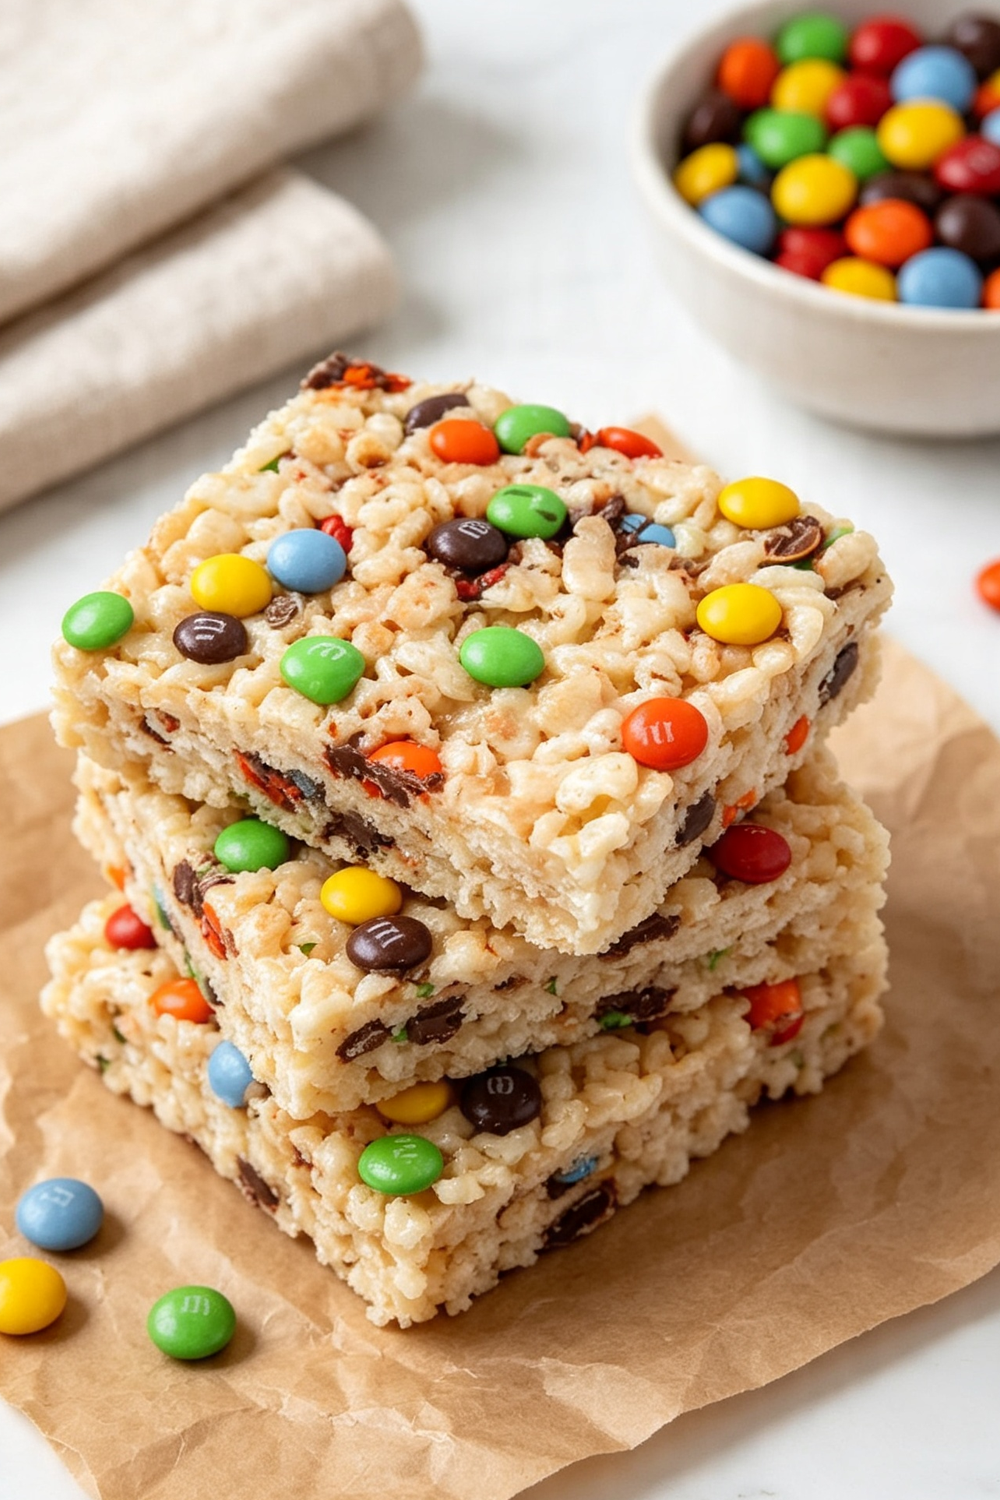
Tips To Get Your Recipe Right
- Employ a Gentle Melting Heat: Always melt your marshmallow and butter mixture over a low or medium-low setting on your stovetop. Applying excessive heat cooks the sugar too quickly, causing the treats to turn hard and brittle once they cool to room temperature.
- Reserve a Portion of Marshmallows and Candy: Make sure to set aside the specified quantity of un-melted marshmallows and M&Ms to fold in at the very end of mixing. This technique creates beautiful, pockets of gooey goodness and visible chocolate chunks scattered visually throughout your finished sliced bars.
- Avoid Compacting the Mixture: When transferring the sticky cereal mixture into your lined baking pan, press it down very gently using a greased spatula or a piece of wax paper. Pressing too firmly packs the cereal too tightly, which results in dense, rock-hard bars instead of light, chewy squares.
- Incorporate Overhanging Parchment Paper: Always line your square baking pan with parchment paper, leaving several inches of extra paper hanging over the opposing edges. This creates a functional sling, allowing you to lift the set block out cleanly for effortless slicing on a cutting board.
- Inspect Ingredient Freshness: Check the expiration and freshness dates on both your cereal box and marshmallow bag before beginning. Stale components will immediately transfer their chewy, tough, or cardboard-like textures directly into your finished bars.
- Allow the Base to Cool Slightly Before Candy Addition: Let your melted marshmallow mixture sit for a minute or two before folding in the bulk of your chocolate candies. If the mixture is screaming hot, it will melt the candy coating, causing streaks of color and chocolate to muddy the base.
Storage Tips
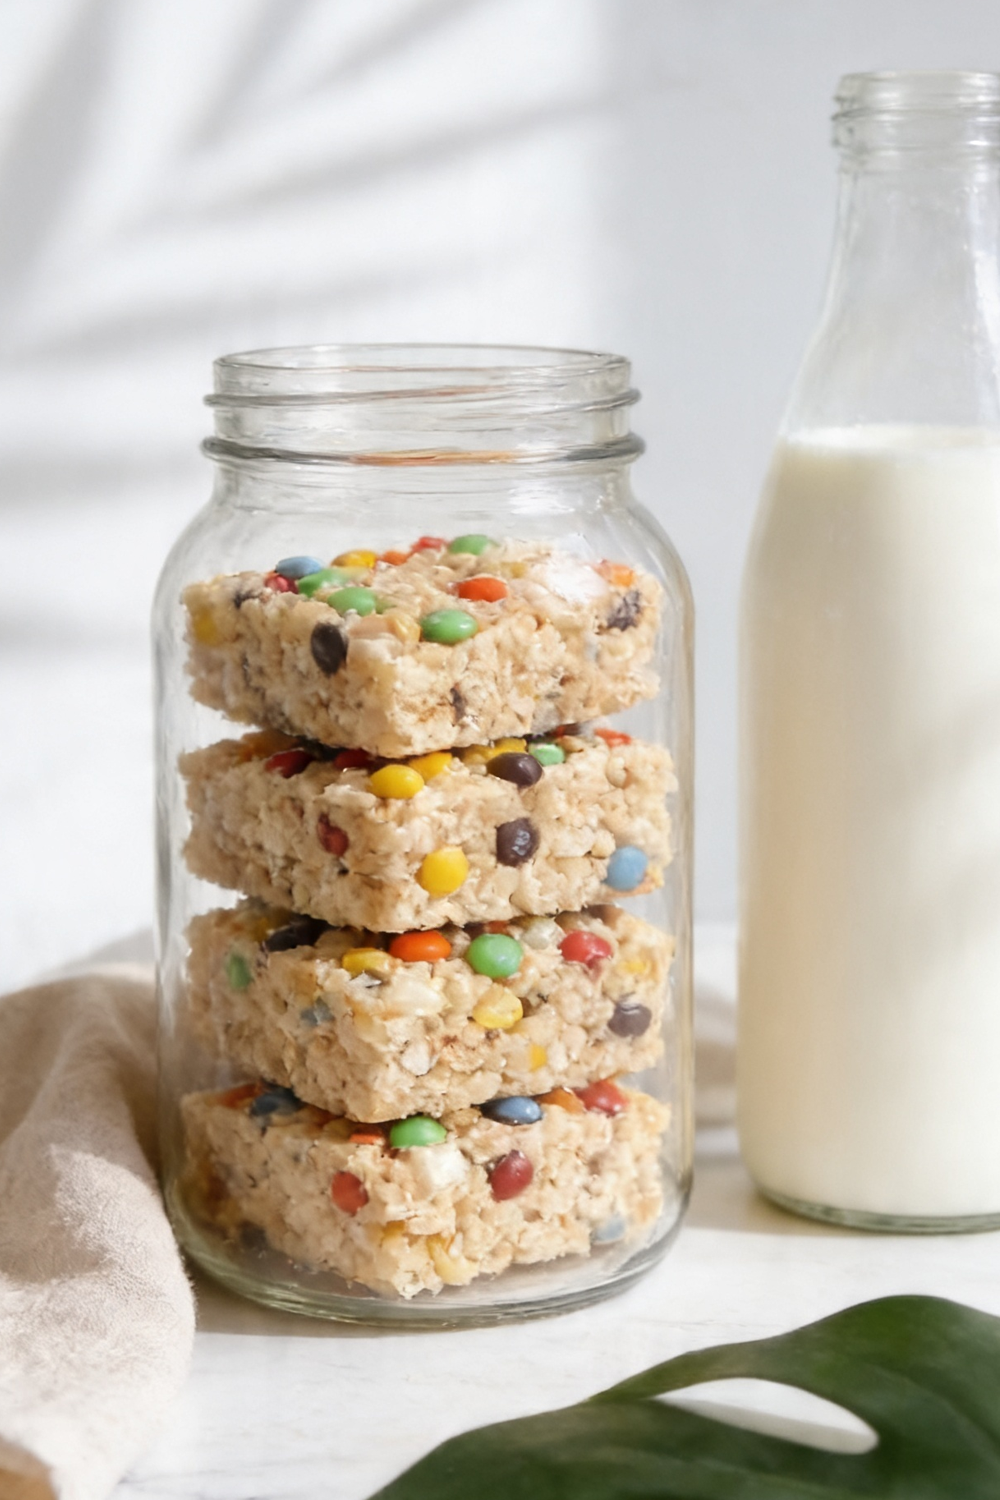
- Maintain Room Temperature: Keep your sliced squares stored inside an airtight plastic container at normal room temperature for up to four days.
- Avoid the Refrigerator: Never place these treats into the fridge to cool or store, as the cold environment hardens the butter and starches, making them unpleasantly stiff.
- Use Wax Paper Layers: Place sheets of parchment or wax paper between stacked layers of treats in your container to prevent them from fusing into a single block.
- Freeze for Long-Term Storage: Place the bars into a heavy-duty freezer bag, separating layers with wax paper, and freeze for up to two months.
- Thaw Gently Before Serving: Allow frozen bars to sit completely undisturbed on your kitchen counter for roughly one hour to regain their optimal soft, chewy characteristics.
FAQs
Can I make these bars entirely gluten-free?
Yes, you can easily adapt this recipe by purchasing a crisp rice cereal that is specifically certified as gluten-free, ensuring it contains no hidden barley malt elements, and verifying your candy add-ins are safe.
Can I double the recipe for a larger gathering?
Absolutely. You can scale up the ingredients by doubling each item precisely, then pressing the combined mixture into a standard 9×13-inch baking pan instead of the smaller square format.
What should I do if my treats turned out way too hard?
Hardness typically stems from overheating the marshmallows or packing the mixture into the pan too tightly. To soften them slightly, you can microwave an individual bar for five to ten seconds just before eating.
Can I substitute salted butter if I don’t have unsalted?
Yes, salted butter works perfectly fine as a direct substitute. Just make sure to omit the additional quarter teaspoon of salt required in the recipe to avoid an overly salty flavor profile.
How long do I need to wait before slicing the bars?
It is best to let the mixture cool completely at room temperature for thirty to sixty minutes. Slicing them too early while they are still warm will cause the squares to lose their shape and stick to your knife.
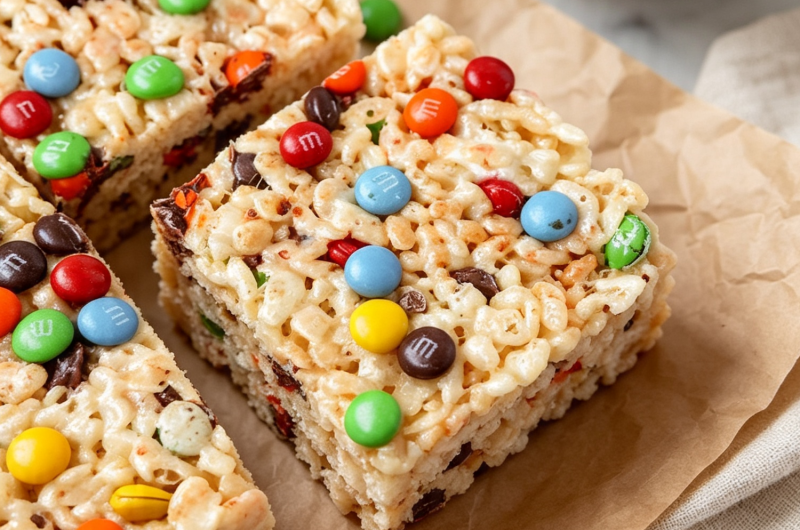
M&M Rice Krispie Treats
9
large bars5
minutes10
minutesThese homemade cereal squares deliver an ultra-chewy texture combined with the iconic, colorful crunch of milk chocolate mini candies.
Ingredients
10 oz mini marshmallows, split into sections
135 g (4 1/2 cups) Rice Krispie cereal
133 g (2/3 cup) mini M&Ms, divided
56 g (4 tbsp) unsalted butter, cut into pieces
1 tsp vanilla extract
1/4 tsp salt
Directions
- Prepare the Equipment: Apply a light coating of grease to an 8x8-inch square baking pan, then line the bottom and sides securely with parchment paper, leaving a bit of overhang.
- Separate the Mix-ins: Separate your mini marshmallows by measuring out 2 oz (roughly 1 cup) and setting them aside. Divide your mini chocolate candies, setting aside about 2 tablespoons for the top decoration.
- Melt the Base: Place the remaining 8 oz of mini marshmallows and the cubed pieces of unsalted butter into a large saucepan or pot over medium-low heat.
- Stir Until Smooth: Blend the ingredients together continuously to avoid scorching. Take the pot completely off the burner the exact moment the marshmallows are just fully melted and smooth.
- Add the Seasoning: Toss the vanilla extract and the quarter teaspoon of salt directly into the warm, melted marshmallow mixture and stir until fully combined.
- Combine the Crispy Cereal: Dump the crisp rice cereal, the reserved 2 oz of whole mini marshmallows, and the main portion of mini chocolate candies directly into the pot. Fold everything together using a rubber spatula until the cereal grains are fully coated.
- Press into the Pan: Spread the sticky mixture into your prepared square pan. Use a greased spatula to flatten the top surface very gently without compressing or compacting the treats.
- Decorate the Surface: Scatter the reserved 2 tablespoons of mini chocolate candies evenly across the top, pressing them very lightly so they adhere to the sticky surface.
- Cool and Slice: Leave the pan undisturbed on your kitchen counter at room temperature for thirty to sixty minutes to cool down completely. Once set, lift the block out using the parchment paper edges and slice it into nine uniform squares.
There are no reviews yet. Share your thoughts above!