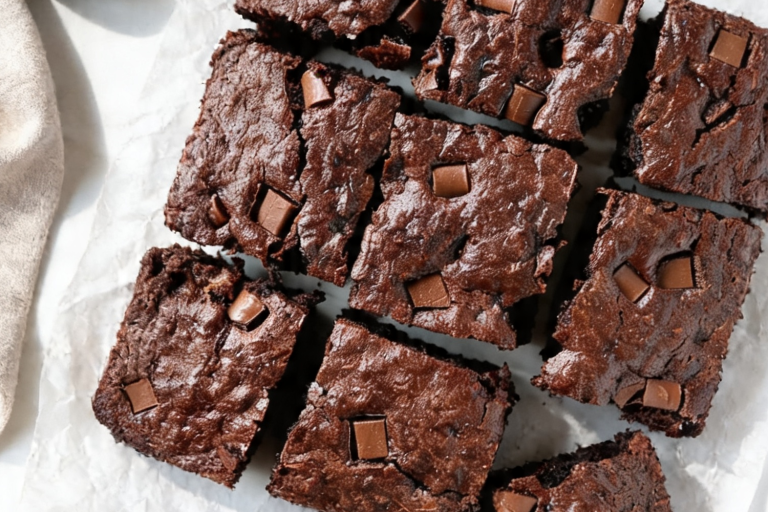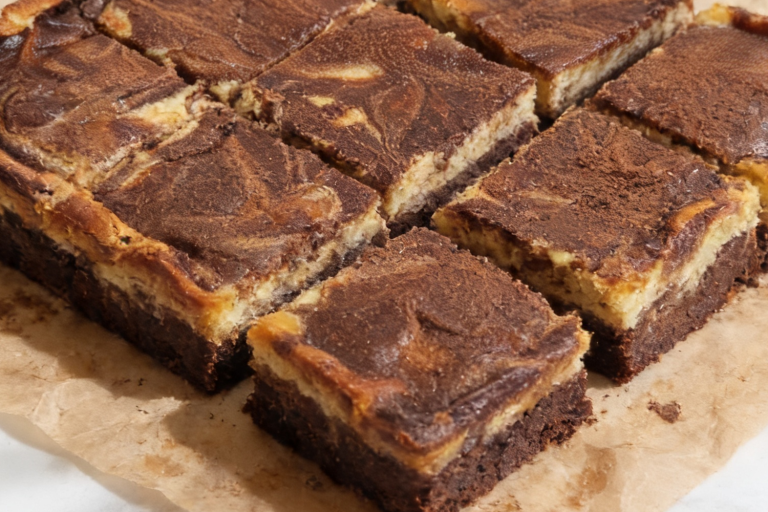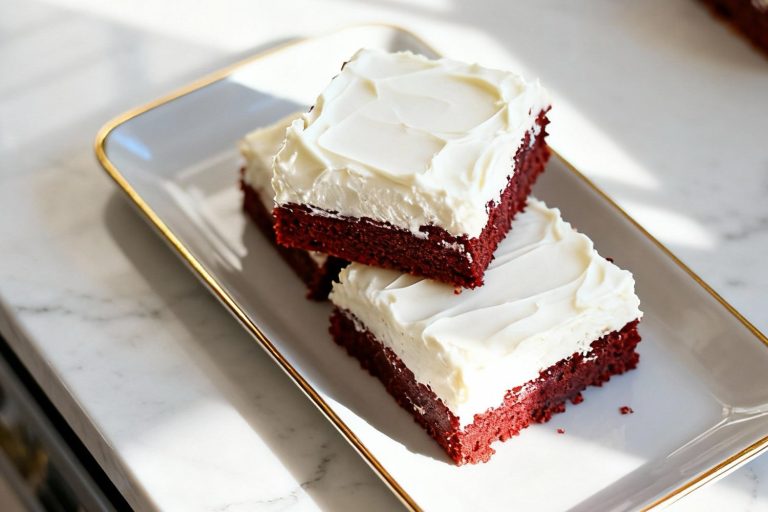
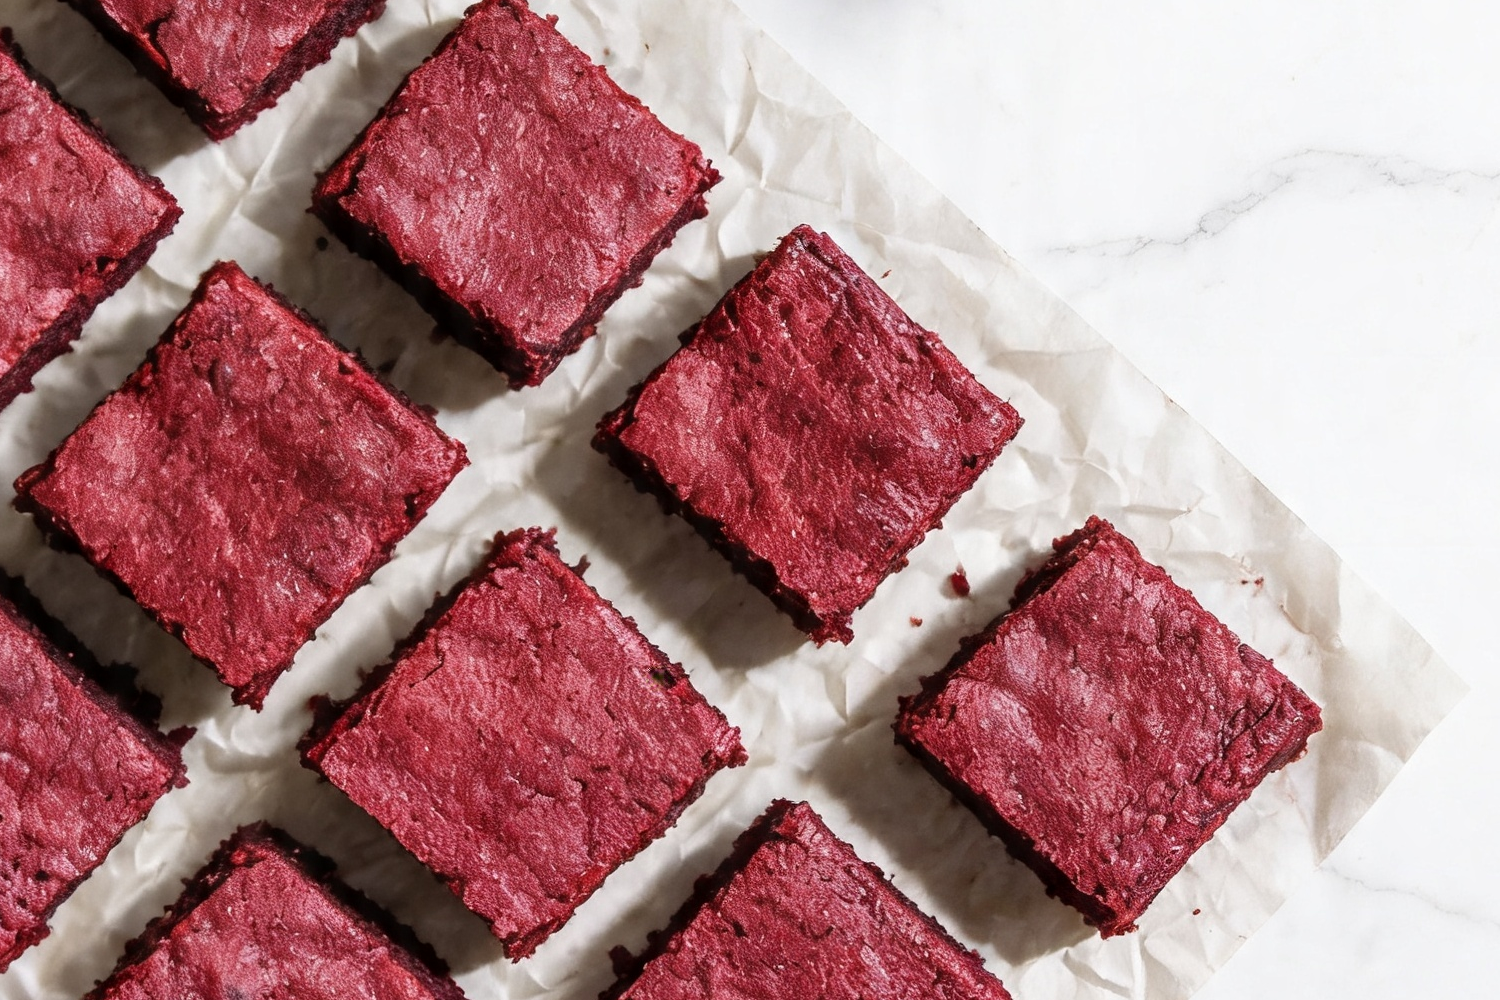
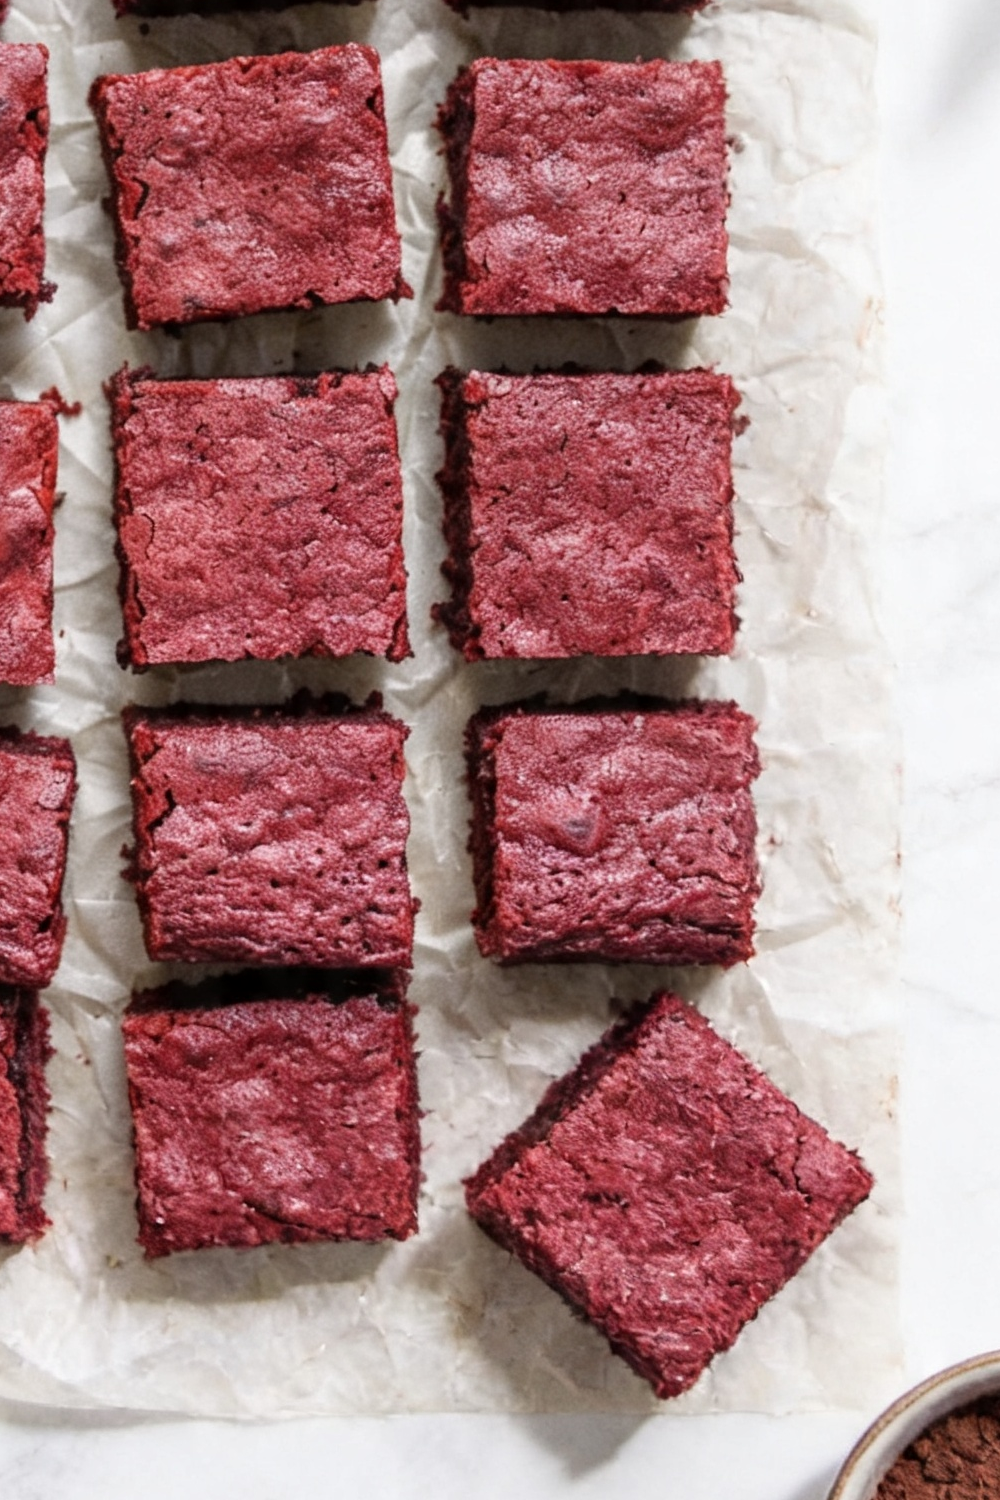
There is something undeniably captivating about the deep, vibrant crimson of a perfectly baked red velvet treat. While many people associate these flavors exclusively with cakes or cookies, I have found that they truly shine in the form of a brownie. These red velvet brownies strike that elusive, perfect balance: they are incredibly fudgy, boast a beautiful crackly top, and possess that signature subtle cocoa note that makes them so addictive. Whether you are prepping a dessert for a holiday gathering or simply satisfying a deep chocolate craving, this recipe is guaranteed to be a crowd-pleaser. In this post, we will walk through the foolproof method to achieve the perfect texture and color every time. With just a few simple pantry staples and a touch of precision, you can create a bakery-quality dessert right in your own kitchen.
🔥
Why You’ll Love These Red Velvet Brownies
These brownies bring together the best of both worlds: the dense, fudgy consistency of a classic brownie and the unique, sophisticated flavor profile of red velvet cake. The contrast between the vibrant color and the deep chocolate flavor creates a stunning visual presentation that is perfect for any occasion.
- Perfect Texture: The combination of baking soda and vinegar provides a subtle airiness that prevents the brownies from feeling too heavy, while still maintaining that sought-after fudgy center.
- Crackly Tops: By using hot butter and sugar, you ensure the hallmark crackly, shiny top that every brownie lover dreams of.
- Versatile Flavor: They are delicious on their own, but serve as the perfect base if you want to add a swirl of tangy cream cheese frosting.
- Reliable Results: This method is straightforward and produces consistent, professional results even for beginner bakers.
- Great for Holidays: Their vibrant red hue makes them a fantastic centerpiece for Valentine’s Day, Christmas, or any special celebration.
Ingredients Breakdown
- Butter: Serves as the fat base, providing richness and moisture while creating that desirable crackly crust when combined with the sugars while hot.
- Granulated Sugar: Essential for sweetness and structure; it also plays a key role in achieving the crispy edges and shiny surface.
- Brown Sugar: Adds a hint of molasses flavor and moisture, contributing to the dense, fudgy texture that sets these apart from standard brownies.
- Eggs: Act as the binding agent, providing structure to the batter and ensuring the brownies don’t crumble when sliced.
- Vanilla Extract: Enhances the overall flavor profile, providing a warm, aromatic backbone that complements the cocoa.
- Red Food Coloring: Provides the iconic, striking color; liquid or gel types work well, though concentrations vary.
- White Vinegar: An essential component of red velvet chemistry, it brightens the color and works with the baking soda to create a light, tender crumb.
- All-purpose Flour: Provides the structural foundation of the brownie without being overly dense.
- Cocoa Powder: Offers just enough chocolate depth to define the flavor without overpowering the signature red velvet appearance.
- Salt: Balances the sweetness and amplifies the complexity of the cocoa and vanilla.
- Baking Soda: Works with the vinegar to add a slight rise, preventing the brownies from becoming overly dense while maintaining a fudgy mouthfeel.
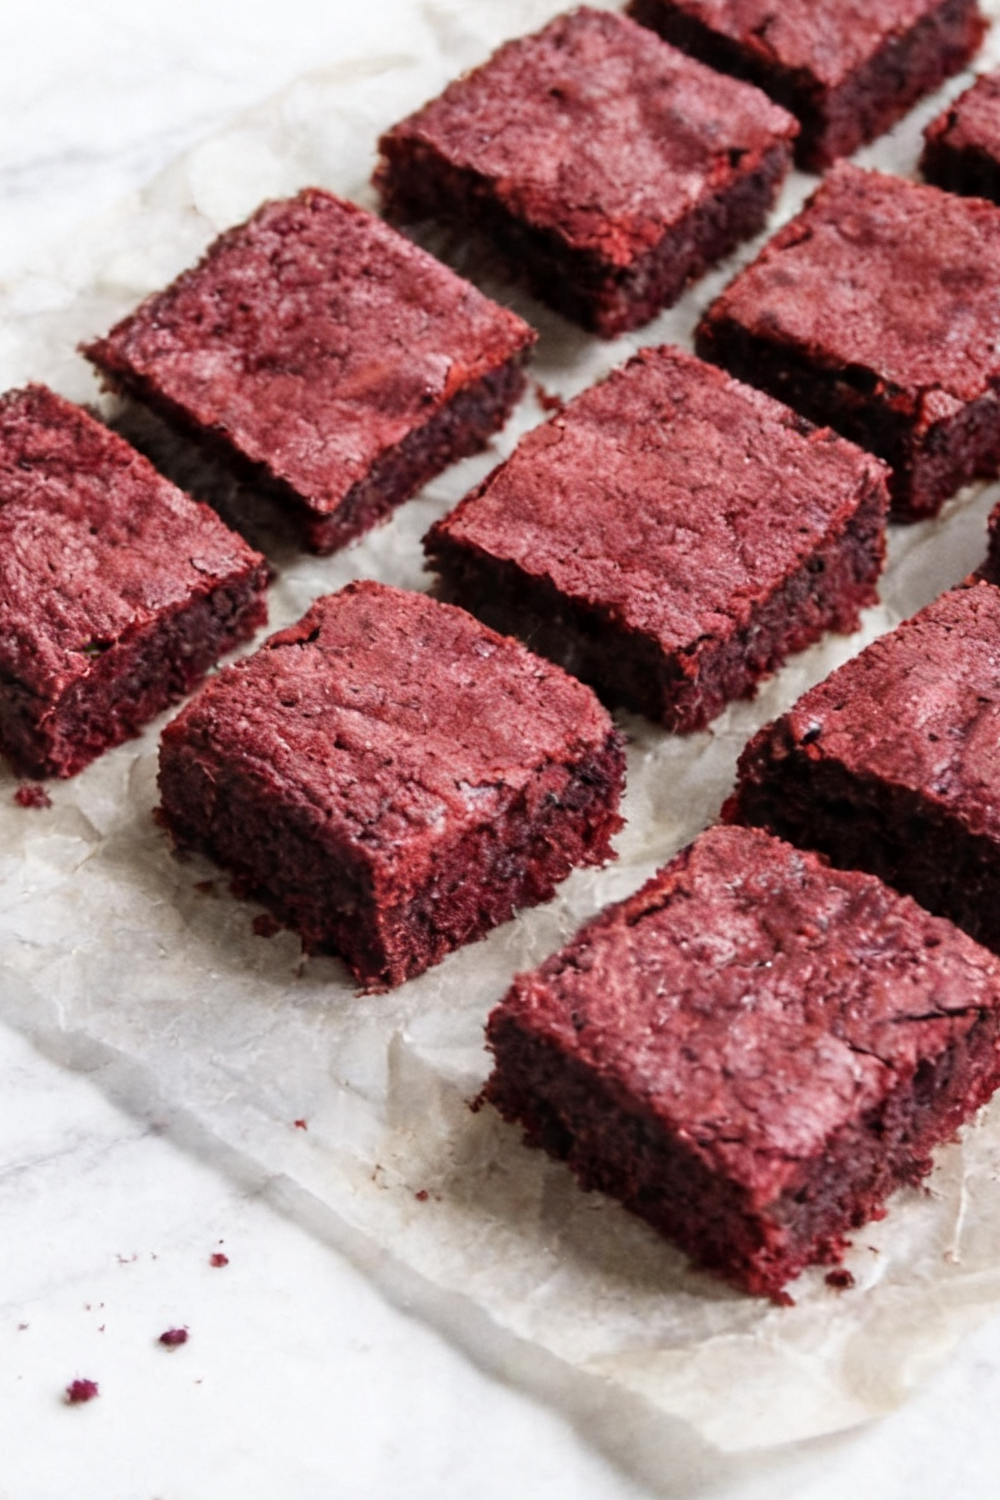
Tips To Get Your Recipe Right
- Use Room Temperature Eggs: This is non-negotiable; cold eggs can cause the melted butter to harden into clumps, ruining the texture of your batter.
- Mind the Temperature: When combining the sugar with the butter, ensure the butter is still piping hot to guarantee that beautiful, crackly top.
- Avoid Overmixing: Once you add the dry ingredients to the wet, mix only until just combined to prevent the flour from developing too much gluten, which can make brownies tough.
- Spoon and Level Flour: When measuring your flour, use a spoon to fill the cup and level it off rather than scooping directly from the bag, as this prevents packing and ensures the right moisture balance.
- Check for Doneness: Use a skewer to test the center; it should come out with a few moist crumbs attached—if it comes out completely clean, they may be overbaked and dry.
- The Cooling Phase: Allow the brownies to cool in the pan for at least 10 minutes before transferring them to a wire rack; this structure-building time is vital for clean slicing.
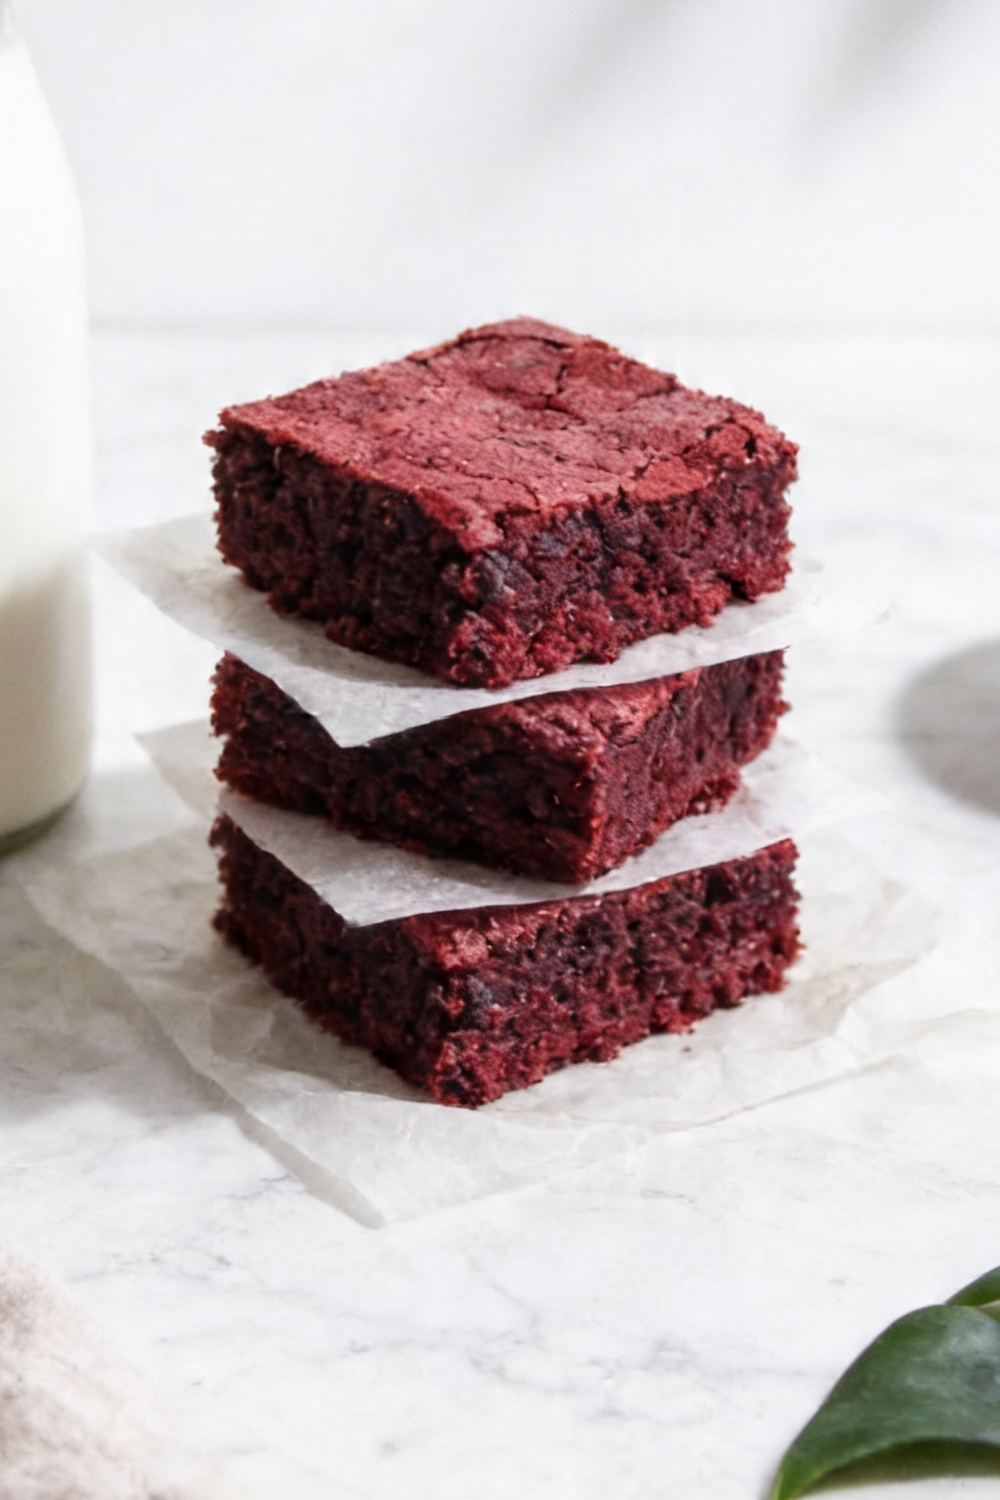
Storage Tips
- Room Temperature: Keep your brownies in an airtight container for up to 3 days to maintain their moisture and softness.
- Freezing: These brownies freeze beautifully; wrap them individually in plastic wrap and store in a freezer-safe bag for up to 3 months.
- Reviving: If you prefer them warm, a quick 10-second blast in the microwave will restore that “fresh from the oven” texture.
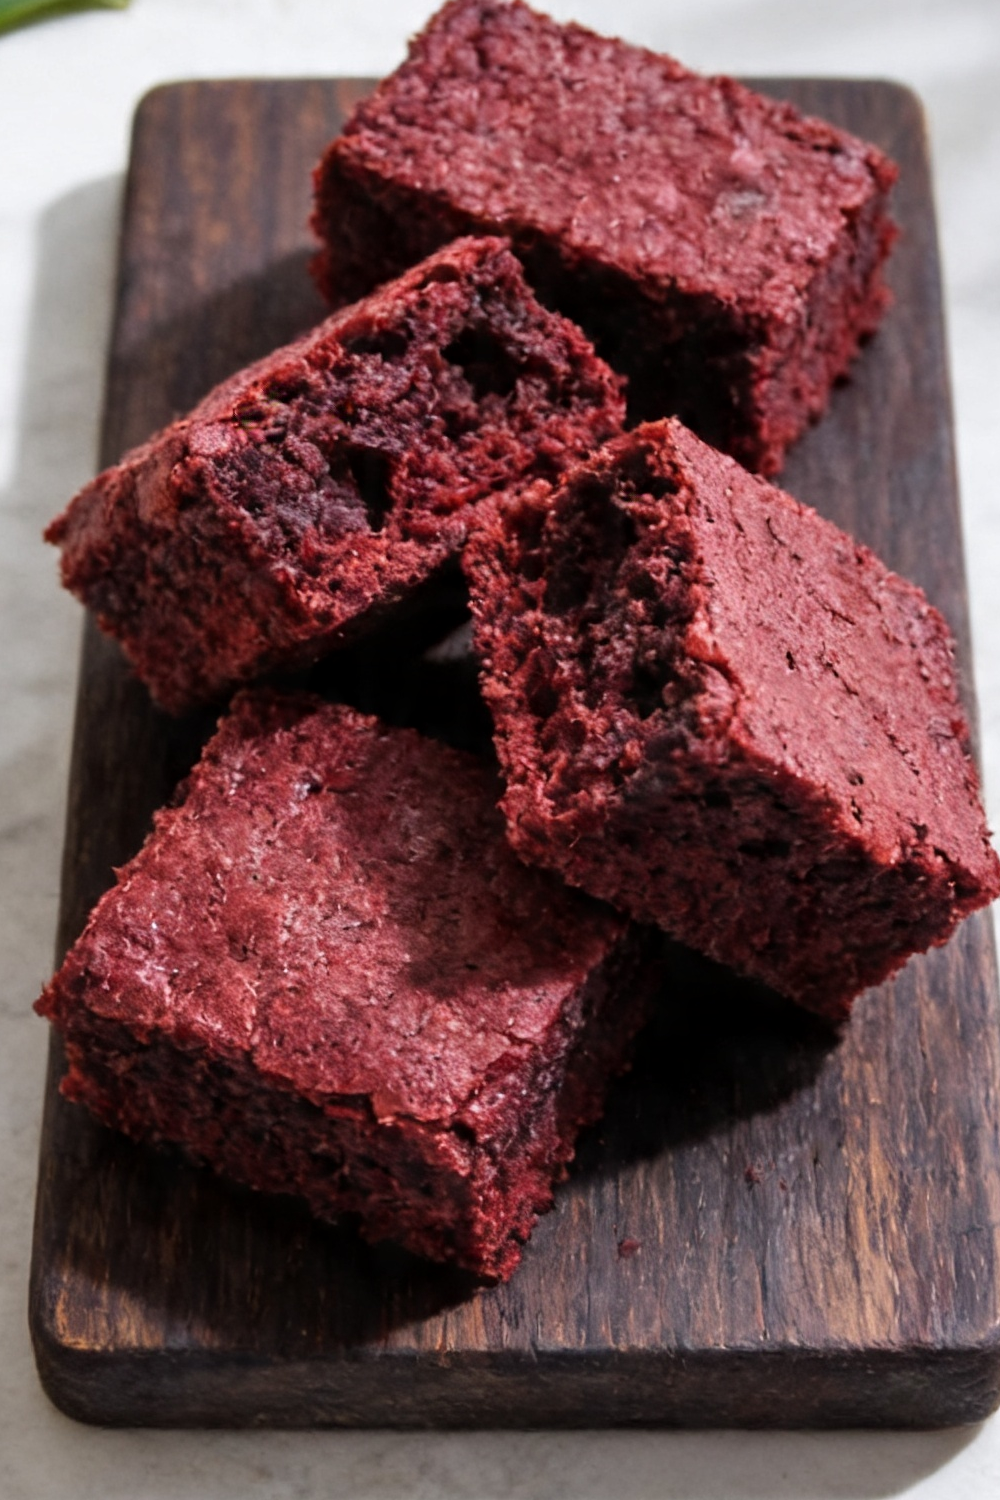
FAQs
Can I use gel food coloring instead of liquid?
Yes, but keep in mind that gel is more concentrated; you will likely need less than the amount specified for liquid coloring to achieve the same result.
What if my brownies aren’t red enough?
If you find the color is too muted, feel free to increase the food coloring slightly in your next batch, as some brands are less potent than others.
Can I omit the vinegar?
No, the vinegar is essential for the chemical reaction with the baking soda, which gives these brownies their specific texture and enhances the red color.
Should I use Dutch-process cocoa?
For this recipe, standard unsweetened cocoa powder is recommended to ensure the proper interaction with the other leavening ingredients.
Why are my brownies tough?
This usually happens due to overmixing the batter or overbaking; ensure you stop mixing once the streaks of flour disappear and remove them from the oven while they still have moist crumbs on the tester.
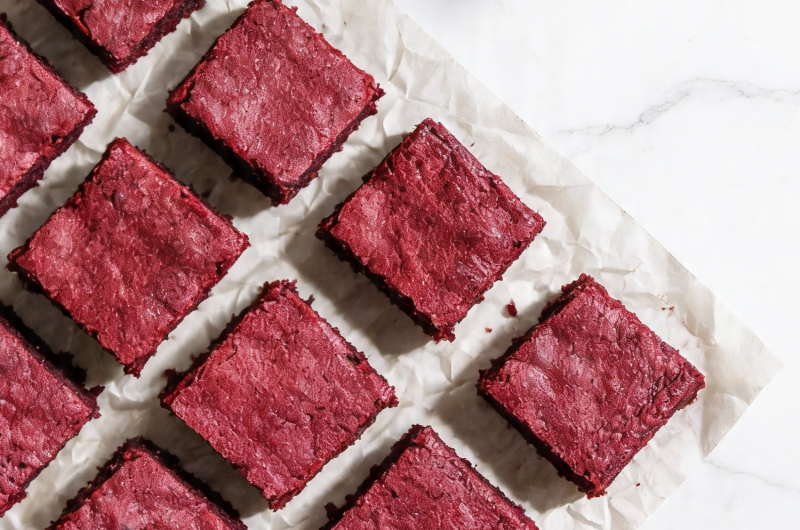
Red Velvet Brownies
16
Bars15
minutes25
minutesThese brownies bring together the best of both worlds: the dense, fudgy consistency of a classic brownie and the unique, sophisticated flavor profile of red velvet cake.
Ingredients
½ cup (115g) unsalted butter
½ cup (100g) granulated sugar
½ cup (100g) brown sugar
2 large eggs, at room temperature
1 teaspoon pure vanilla extract
2 ½ teaspoons red liquid food coloring (or 1 teaspoon red gel food coloring)
1 teaspoon white vinegar
¾ cup (90g) all-purpose flour, spooned and leveled
¼ cup (20g) unsweetened cocoa powder
½ teaspoon salt
¼ teaspoon baking soda
Directions
- Preheat your oven to 350°F and grease a 9x9 inch baking pan. Line the pan with parchment paper, leaving enough overhang on the sides to easily lift the finished brownies out.
- In a small pot over medium-high heat, melt the butter until it begins to sizzle.
- Immediately remove from heat, add the granulated and brown sugars, and stir until well combined and the sugar is moistened.
- Transfer the mixture to a large mixing bowl. Add the eggs, vanilla extract, red food coloring, and white vinegar, whisking thoroughly to combine.
- Sift in the flour, cocoa powder, salt, and baking soda. Gently fold the dry ingredients into the wet mixture until just combined, being careful not to overmix.
- Spread the batter evenly into your prepared pan.
- Bake in the center of the oven for 25 to 30 minutes, or until a skewer inserted into the center comes out with just a few moist crumbs.
- Allow the brownies to cool in the pan for 10 minutes. Lift them out using the parchment paper and transfer to a wire rack to cool completely before slicing.
There are no reviews yet. Share your thoughts above!