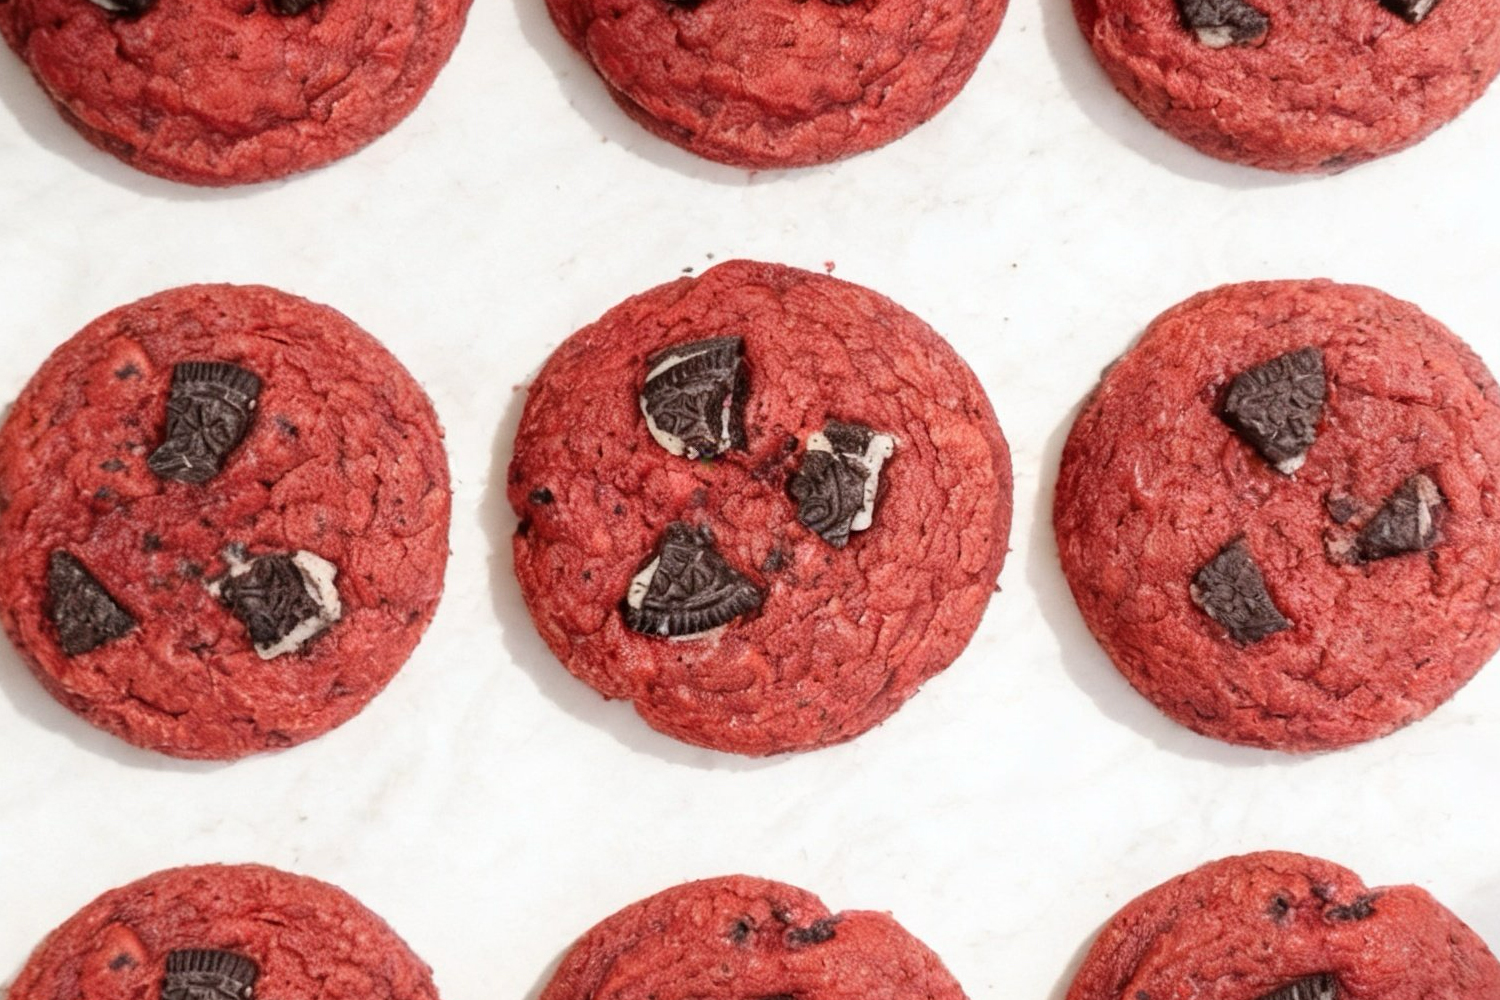
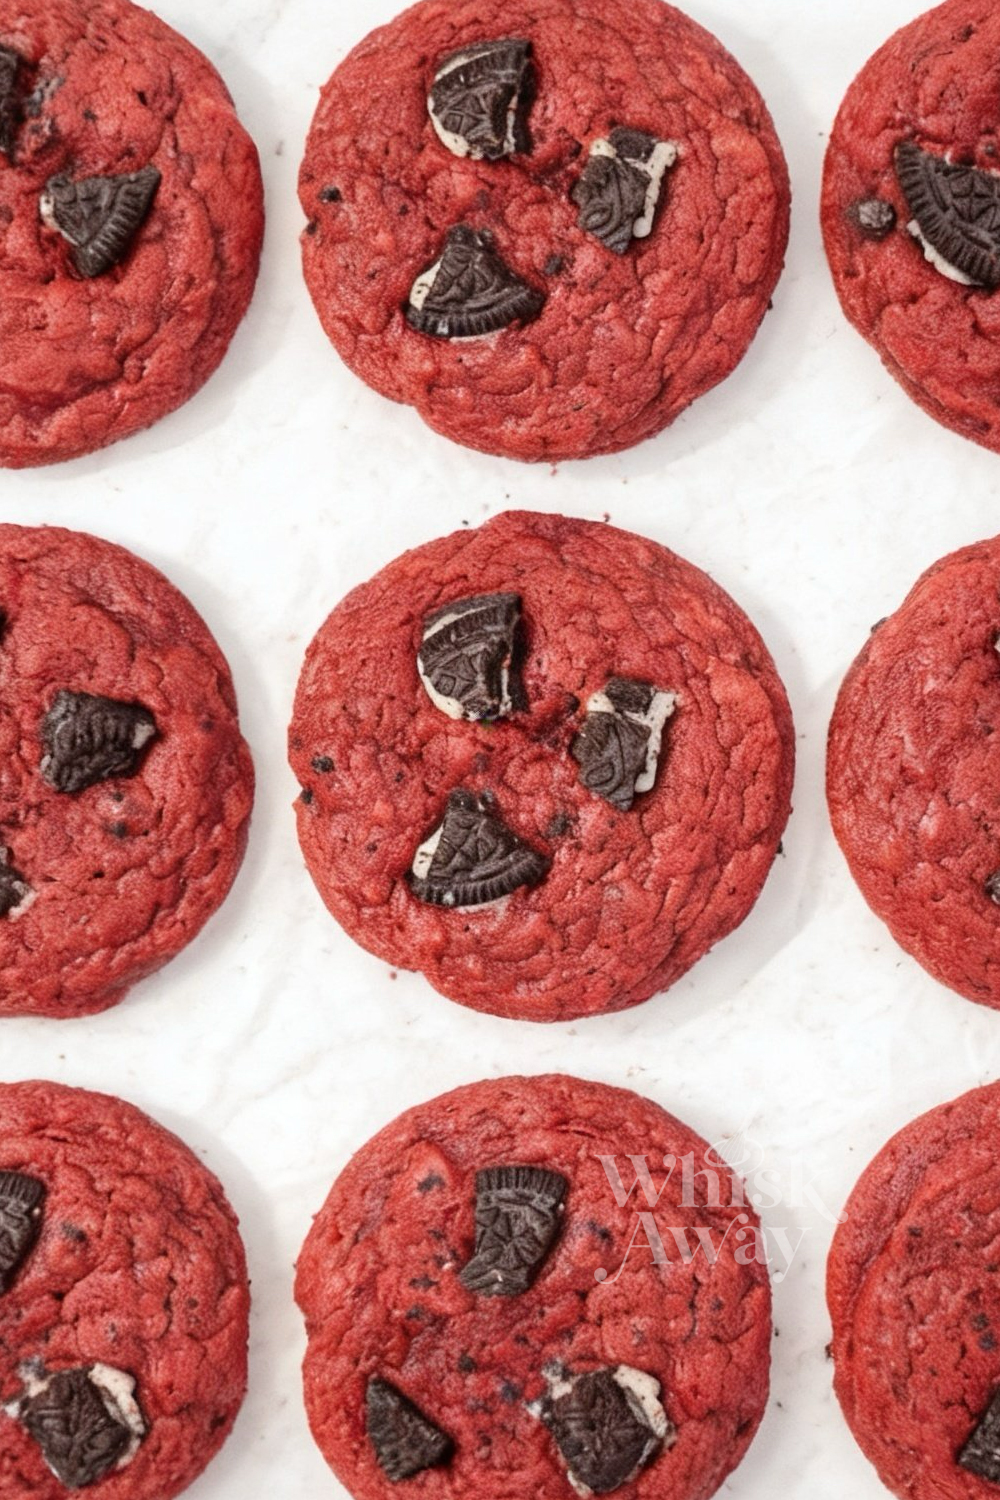
Welcome to your new favorite baking obsession! If you love the decadent taste of vibrant chocolate treats, you will absolutely adore these soft oreo red velvet cookies. This is truly the best oreo red velvet cookies recipe for anyone who craves a chewy, fudgy center packed with classic cookies and cream crunch. Every single bite is loaded with rich cocoa flavor and stuffed with irresistible chocolate sandwich cookie pieces that perfectly complement each other. When searching for beautiful bakery style cookie recipes or planning out festive red velvet dessert recipes to impress your family and friends, these gorgeous treats deliver spectacular results every single time. They come together easily and require absolutely no complicated steps or special equipment, making them an ideal project for bakers of any skill level. Grab your favorite mixing bowl, preheat your oven, and let us get started on the most delicious batch today. Enjoy baking!
🔥 Want more indulgent bakery-style treats?
Why You’ll Love These Oreo Red Velvet Cookies
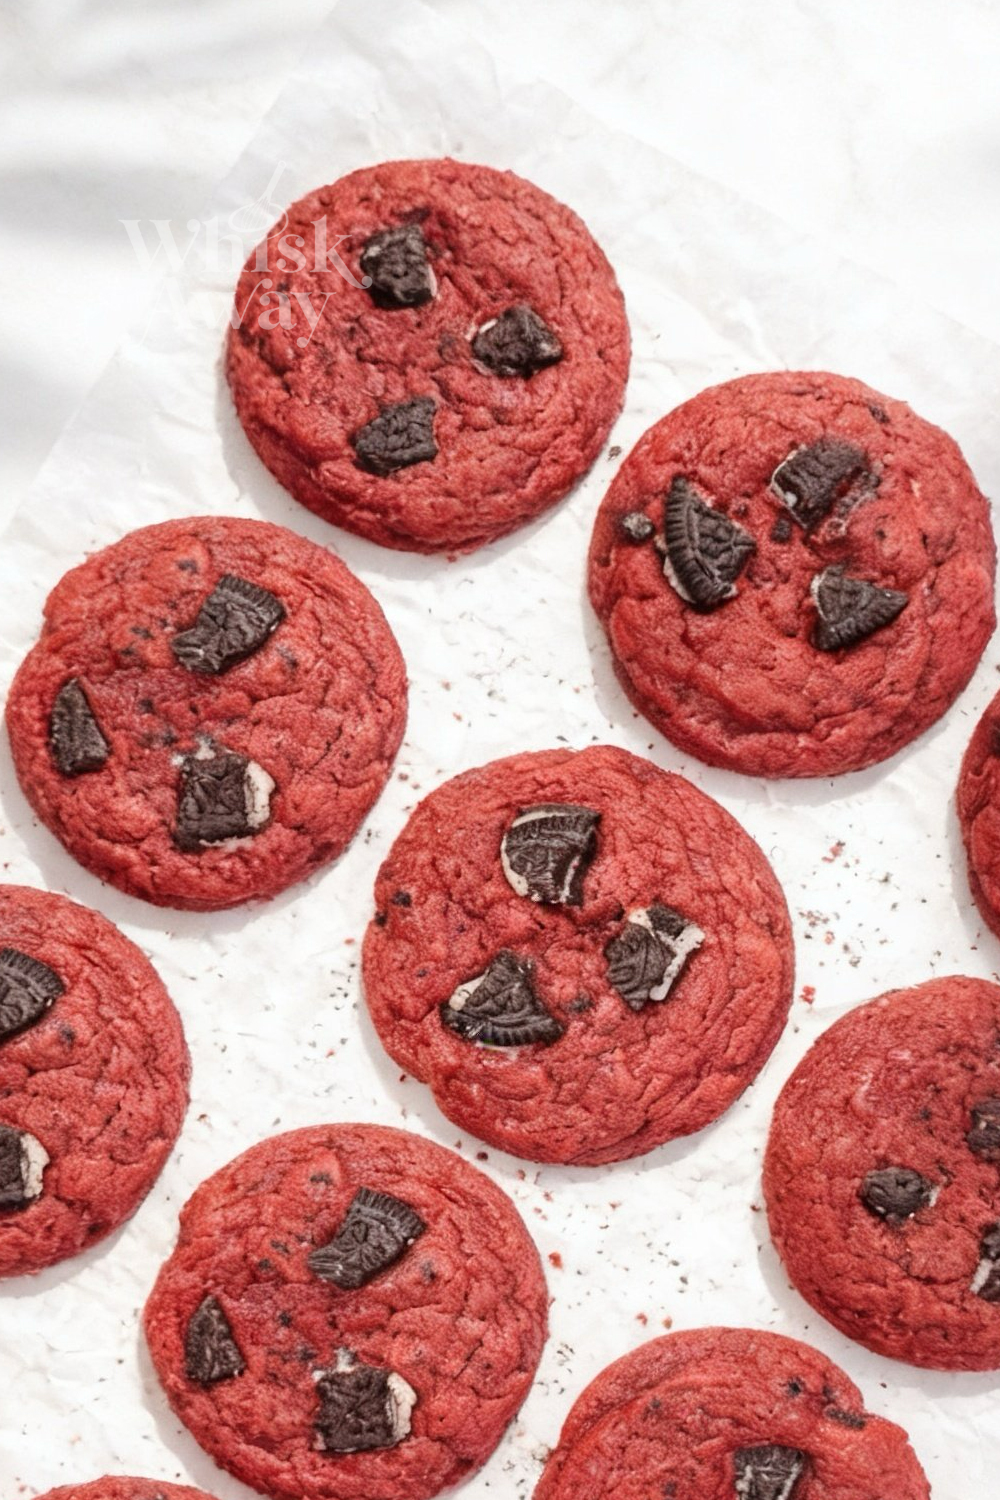
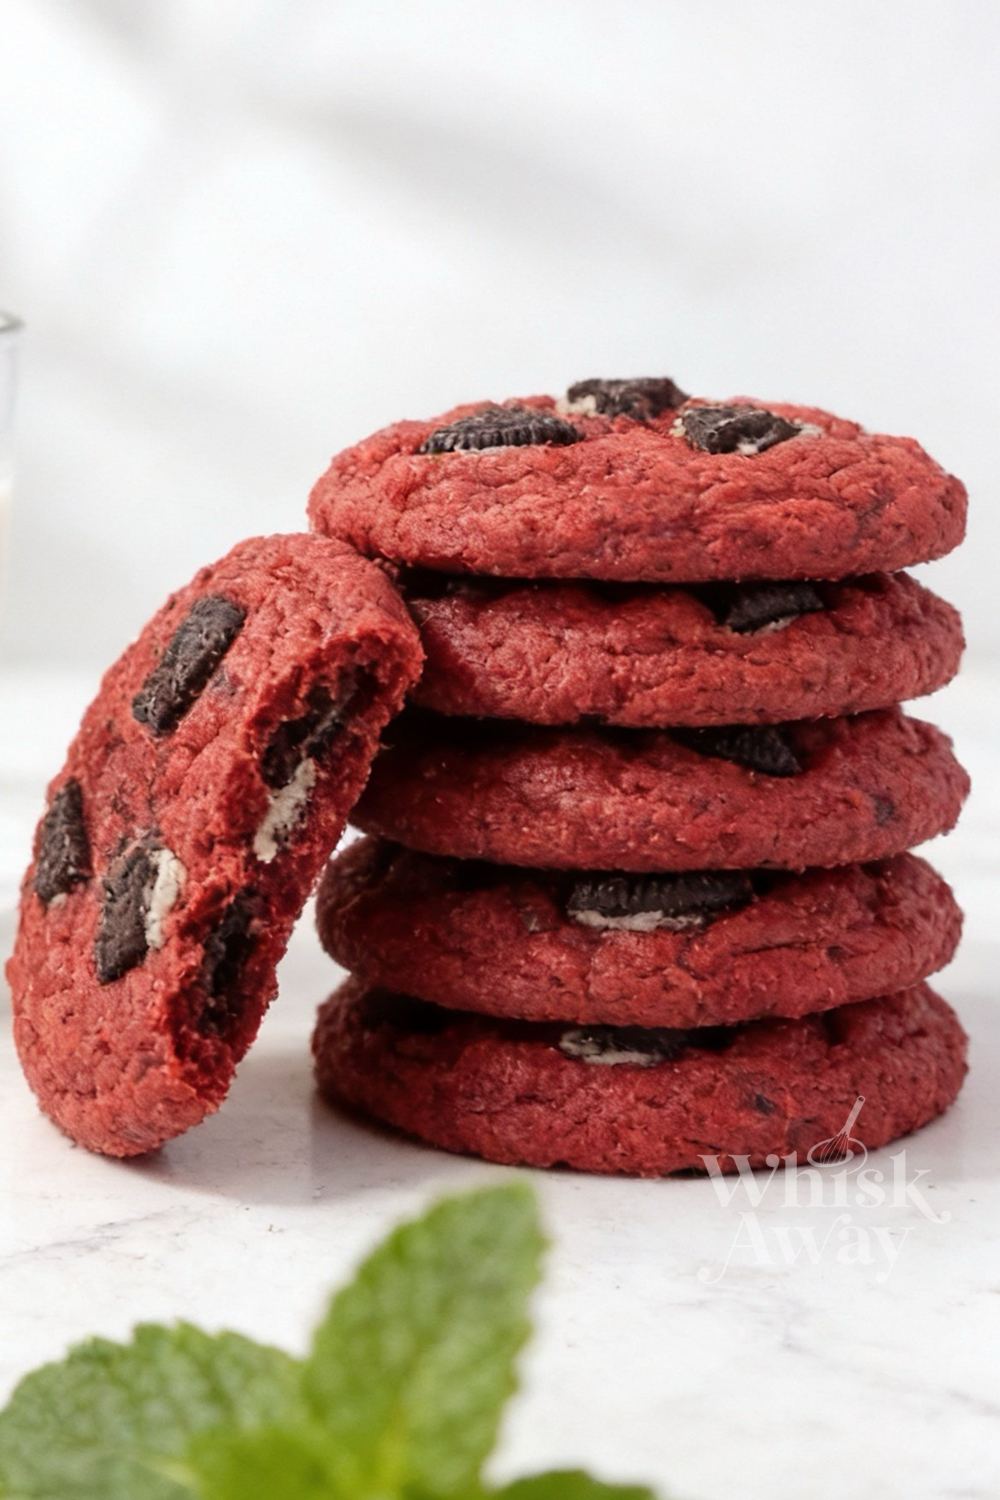
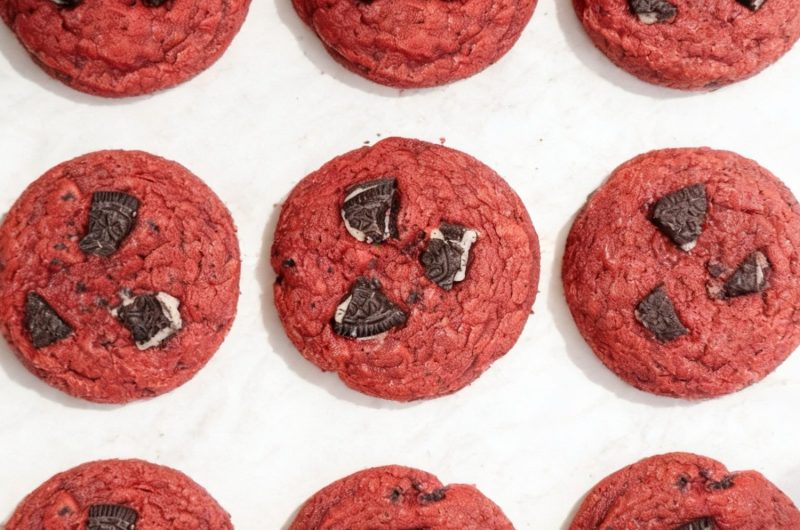
These brilliant treats combine the fudgy density of a red velvet brownie with the nostalgic crunch of classic sandwich cookies. They look stunning on a platter and taste incredibly decadent.
- Vibrant Color: A gorgeous, deep red hue makes them an instant showstopper for holidays or parties.
- Double Textures: A super soft, chewy cookie base contrasted by crispy Oreo chunks.
- Rich Flavor: The perfect balance of subtle cocoa and sweet vanilla cream.
Save This Pin for Later to Your Pinterest Board

Ingredients Breakdown
- All-Purpose Flour: Forms the stable structure needed to hold the thick dough and heavy mix-ins.
- Brown Sugar: Provides essential moisture and a chewy texture thanks to the rich molasses content.
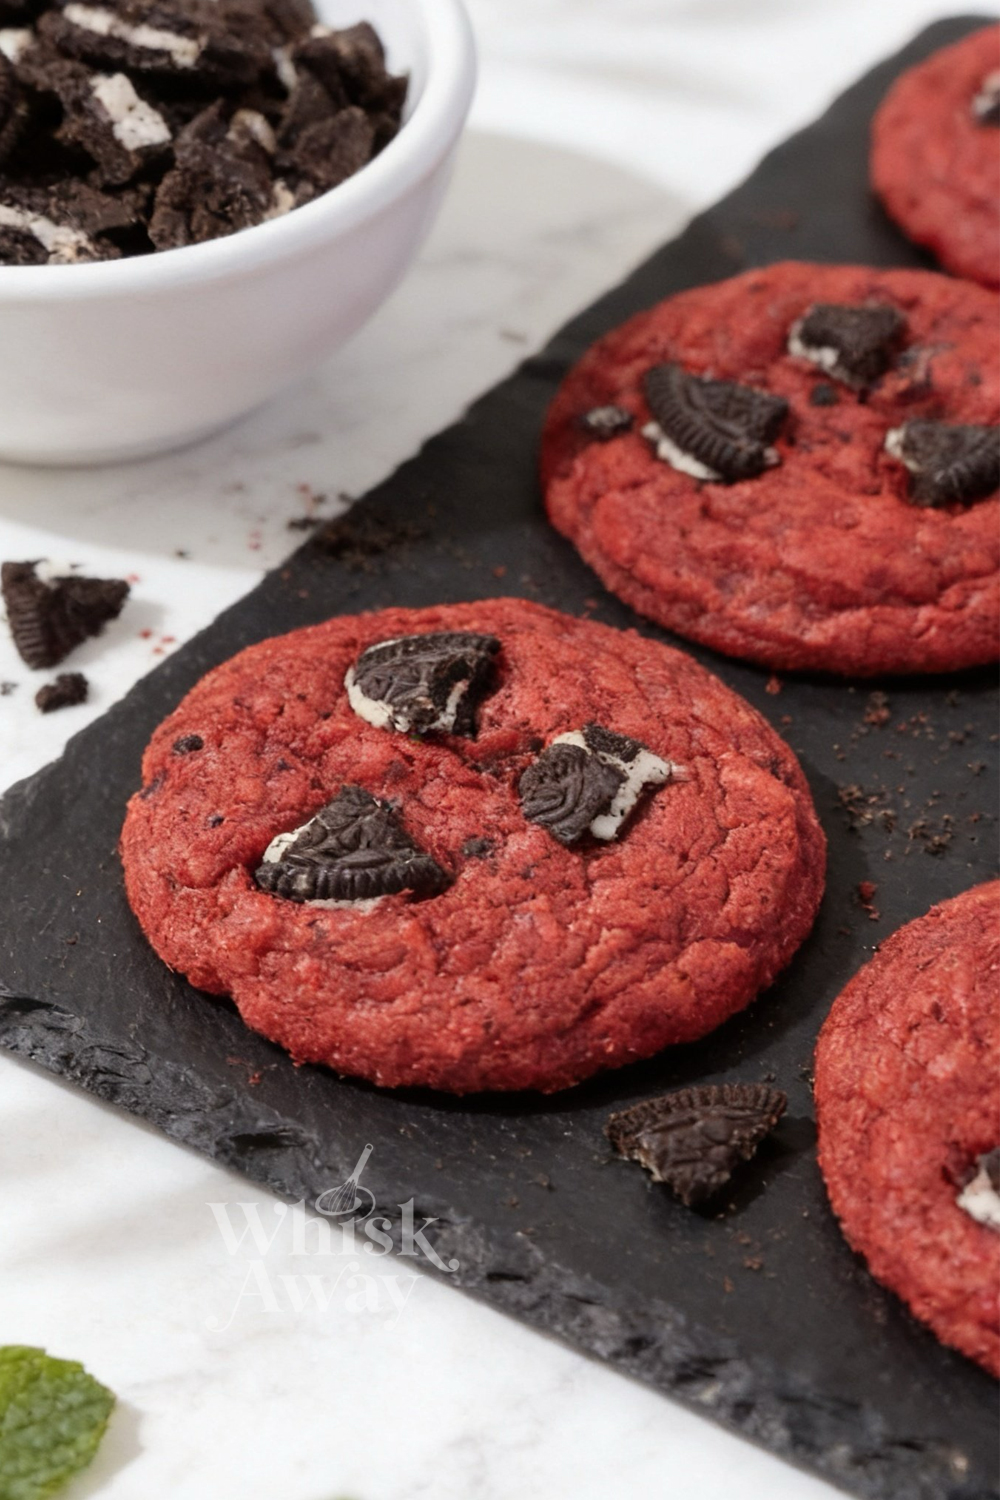
- Chopped Oreos: Delivers the iconic cookies and cream crunch throughout the vibrant red dough.
- Unsalted Butter: Adds rich flavor while allowing you to control the exact sodium level in the cookies.
- Granulated Sugar: Aids in spreading and creates slightly crisp edges around the chewy center.
- Cocoa Powder: Infuses the dough with the subtle chocolate profile characteristic of true red velvet.
- Red Food Coloring: Gives the cookies their signature, vibrant holiday-ready crimson hue.
- Milk: Adds just a touch of extra hydration to balance the dry cocoa powder.
- Egg: Binds the ingredients together and gives the heavy dough a necessary, airy lift.
- Vanilla Extract: Enhances the chocolate notes and provides a warm, classic bakery aroma.
- Baking Soda: The crucial leavening agent that prevents the cookies from becoming dense pucks.
- Salt: Cuts through the sweetness and amplifies the rich chocolate and vanilla flavors.
Tips To Get Your Recipe Right
- Use Gel Coloring: For the most intense red hue without adding excess liquid to your dough, opt for a high-quality concentrated gel food coloring rather than liquid drops.
- Roughly Chop the Cookies: Do not crush your Oreos into fine dust. Leaving them in larger, rough chunks ensures a much better textural crunch when you bite into the baked cookie.
- Measure Flour Properly: Always weigh your flour with a digital scale. Packing too much flour into a measuring cup will result in a dry, pale cookie that won’t spread correctly.
- Soften the Butter: Ensure your butter is soft to the touch but not melting. Melted butter will cause the cookies to spread into thin, greasy puddles.
- Chill the Dough: If your kitchen is very warm, place the dough in the refrigerator for 20 minutes before scooping. This helps maintain a thicker, chewier cookie center.
- Press Extra Cookies on Top: Reserve a handful of chopped Oreo pieces and gently press them into the tops of the scooped dough balls right before baking for a professional, bakery-style look.
Storage Tips
- Room Temperature: Keep your baked, cooled cookies in an airtight container on the kitchen counter for up to 5 days.
- Freezing Raw Dough: Scoop the dough into balls and freeze them solid on a baking sheet. Transfer to a zip-top bag and store for up to 3 months. Bake straight from frozen, adding an extra 1-2 minutes to the timer.
- Freezing Baked Cookies: Fully baked cookies can be frozen in an airtight container for up to 2 months. Let them thaw at room temperature before serving.
FAQs
Can I use a different type of sandwich cookie?
Absolutely! Golden Oreos or even seasonal flavored Oreos work wonderfully as a one-to-one substitute in this recipe.
Why did my cookies turn out brown instead of red?
This usually happens if you used a dark or Dutch-process cocoa powder, or if you didn’t add enough red food coloring. Stick to standard unsweetened cocoa powder.
Why did my cookies spread too much?
Spreading is typically caused by using butter that was too warm or melted, or not using enough flour to stabilize the dough.
Can I omit the food coloring?
Yes, you can omit it entirely. The cookies will still taste exactly like red velvet and Oreos, but they will be a light brown color instead of vibrant red.
Do I need to chill this dough?
This recipe is designed to be scooped and baked immediately, but a quick 15-minute chill can help the cookies bake up slightly thicker.
Oreo Red Velvet Cookies
18
cookies25
minutes11
minutesSoft, vibrant red cocoa cookies stuffed with crunchy chocolate sandwich cookies.
Ingredients
250 g All-Purpose Flour (2 cups)
150 g Brown Sugar (3/4 cup)
120 g Oreos + Roughly Chopped (1 cup)
113 g Unsalted Butter + Softened (1/2 cup)
100 g Granulated Sugar (1/2 cup)
20 g Cocoa Powder (3 tbsp)
15 g Red Food Coloring (1 tbsp)
15 g Milk (1 tbsp)
1 Large Egg
2 tsp Vanilla Extract
1 tsp Baking Soda
1/2 tsp Salt
Directions
- Preheat and Prep: Turn your oven on to 350°F. Grab two large baking sheets and line them completely with parchment paper to ensure your cookies do not stick.
- Whisk the Dry Ingredients: In a medium mixing bowl, toss together the all-purpose flour, cocoa powder, baking soda, and salt. Set this dry blend aside for a moment.
- Cream the Butter and Sugars: Using a stand mixer or a handheld electric mixer, beat the softened unsalted butter with both the brown sugar and granulated sugar. Keep mixing on a medium speed for about two minutes until the texture is visibly pale and airy.
- Incorporate the Wet Ingredients: Drop the egg into the creamed butter mixture, followed by the milk, red food coloring, and vanilla extract. Blend thoroughly until the mixture is a uniform, vibrant red color, making sure to scrape down the sides of the bowl with a rubber spatula.
- Form the Dough: Gradually dump the reserved flour mixture into your wet ingredients. Turn your mixer to the lowest setting and mix strictly until the flour streaks vanish—be careful not to overmix the dough.
- Add the Cookies: Gently fold the roughly chopped Oreos into the dough using a wooden spoon or spatula, ensuring they are evenly scattered throughout without crushing them into dust.
- Scoop and Bake: Use a medium cookie scoop (about 1.5 tablespoons) to drop rounded mounds of dough onto your lined trays, spacing them roughly two inches apart.
- Bake and Cool: Transfer the sheets to the middle rack of your oven and bake for 10 to 12 minutes. The edges should look set while the centers remain slightly soft. Pull them out and let them rest on the hot baking pans for 10 minutes before shifting them to a wire cooling rack.
There are no reviews yet. Share your thoughts above!