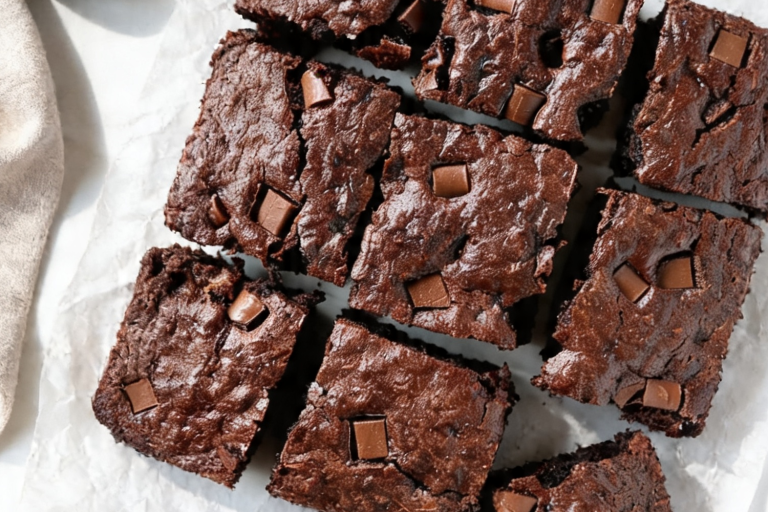
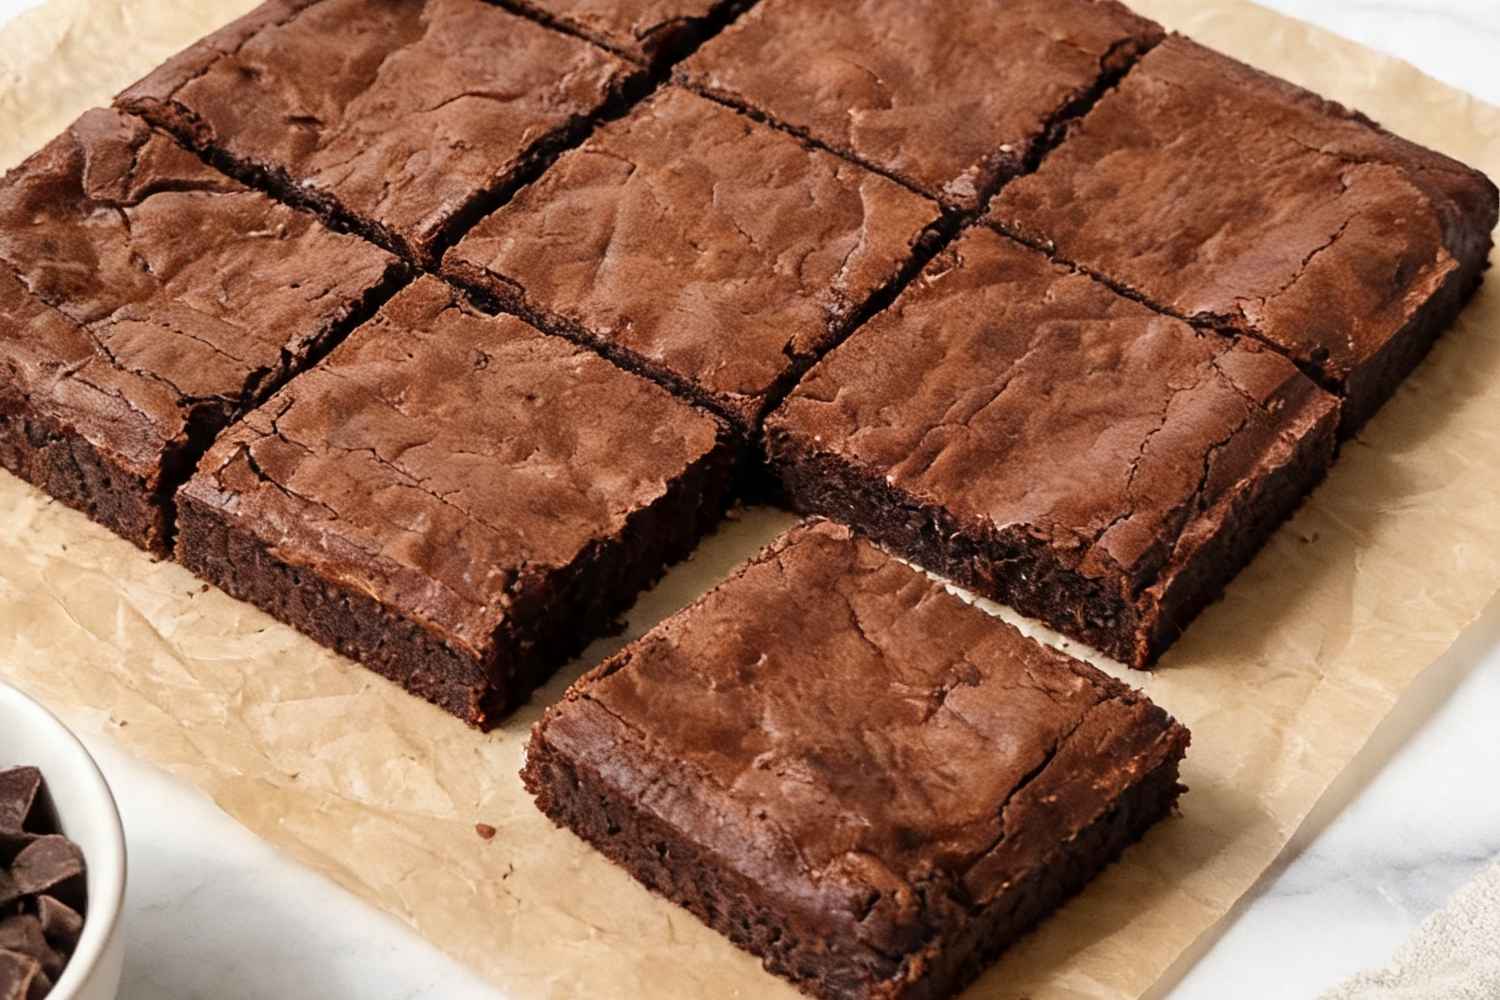
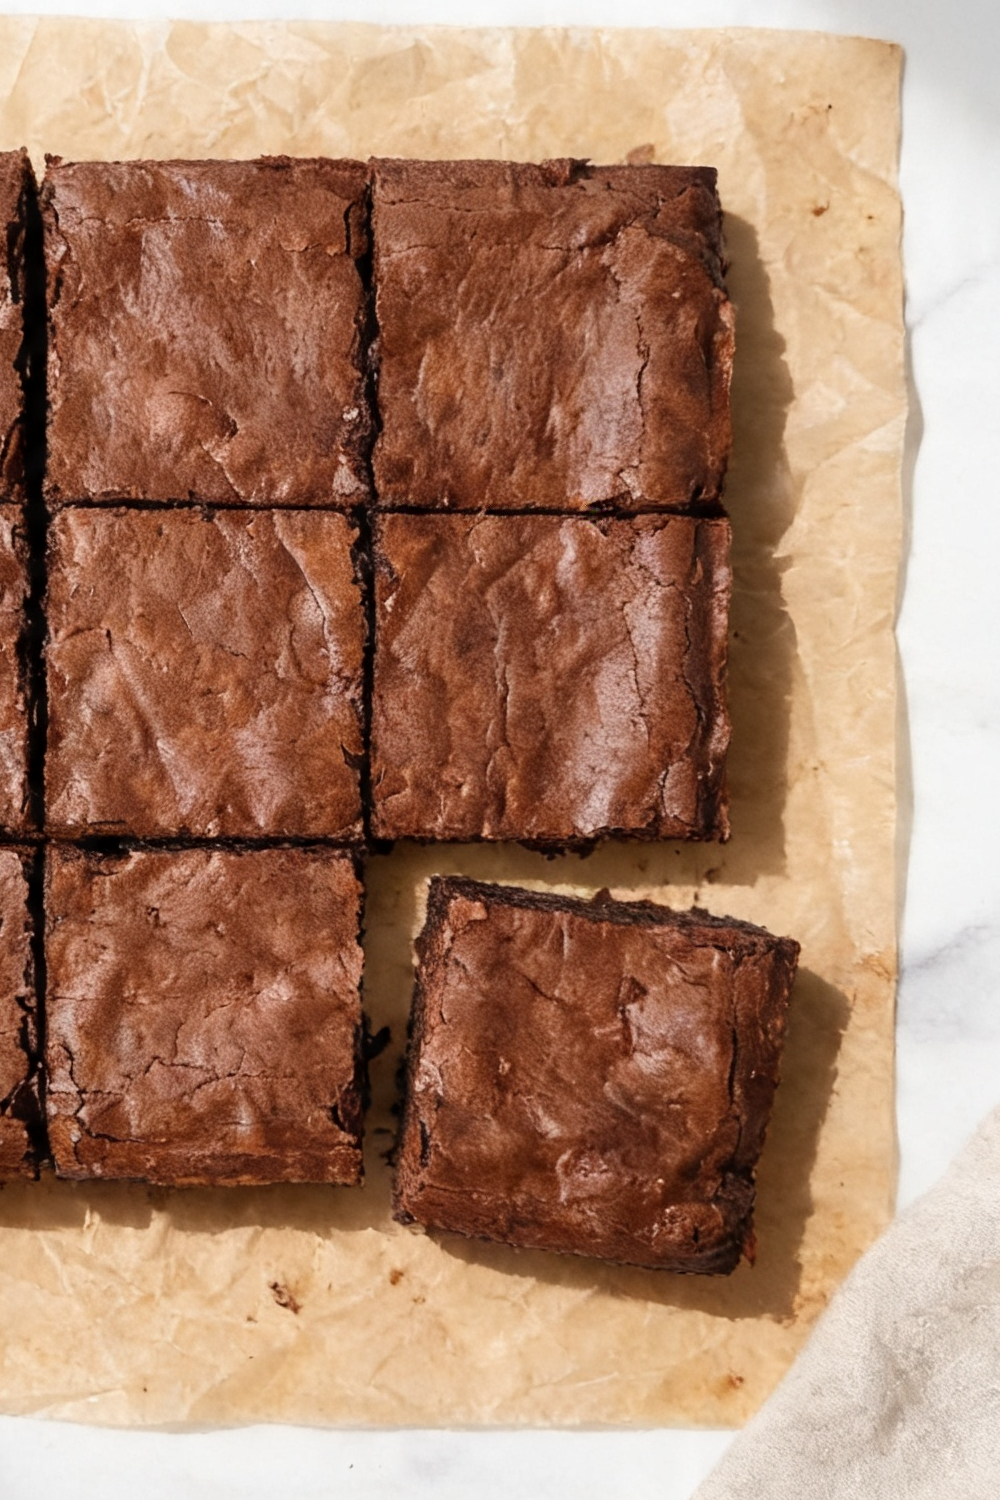
There is something transformative about the aroma of browning butter. As the milk solids toast, they unlock a deep, complex, nutty profile that elevates a standard dessert into a gourmet experience. When this golden-brown liquid gold is whisked into a dark, cocoa-rich batter, the result is nothing short of magic. These brown butter brownies strike the ultimate balance: they are intensely fudgy, intensely chocolatey, and possess that elusive, sought-after chewy edge that keeps everyone reaching for a second piece. Whether you are a beginner looking to master your first scratch-made treat or a seasoned baker searching for a reliable, crowd-pleasing recipe, this version is designed for success. We are focusing on simple techniques that yield professional-level results, ensuring every bite is rich, moist, and perfectly set. Let’s dive into the science of baking and master this decadent kitchen staple together.
🔥
Why You’ll Love These Brown Butter Brownies
This recipe offers an elevated twist on a classic, creating a sophisticated flavor profile through the simple technique of butter browning. You will appreciate how easily these come together for a quick, luxurious snack.
- Complex Flavor: The nutty, toasted notes of the brown butter perfectly complement the deep, rich cocoa for a more intense chocolate experience.
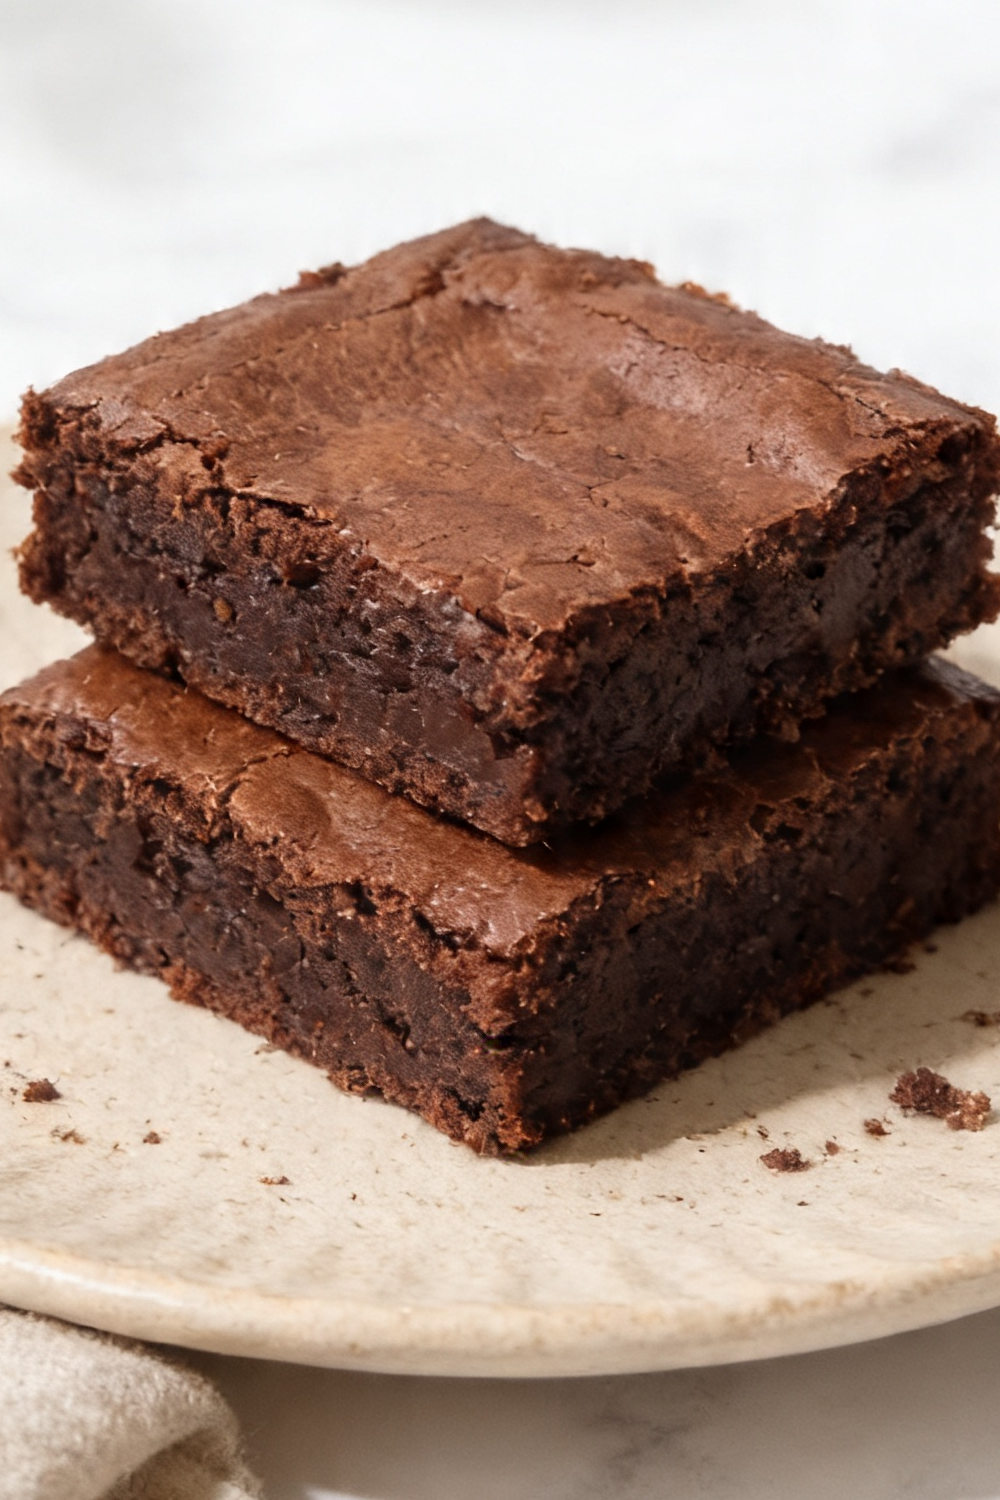
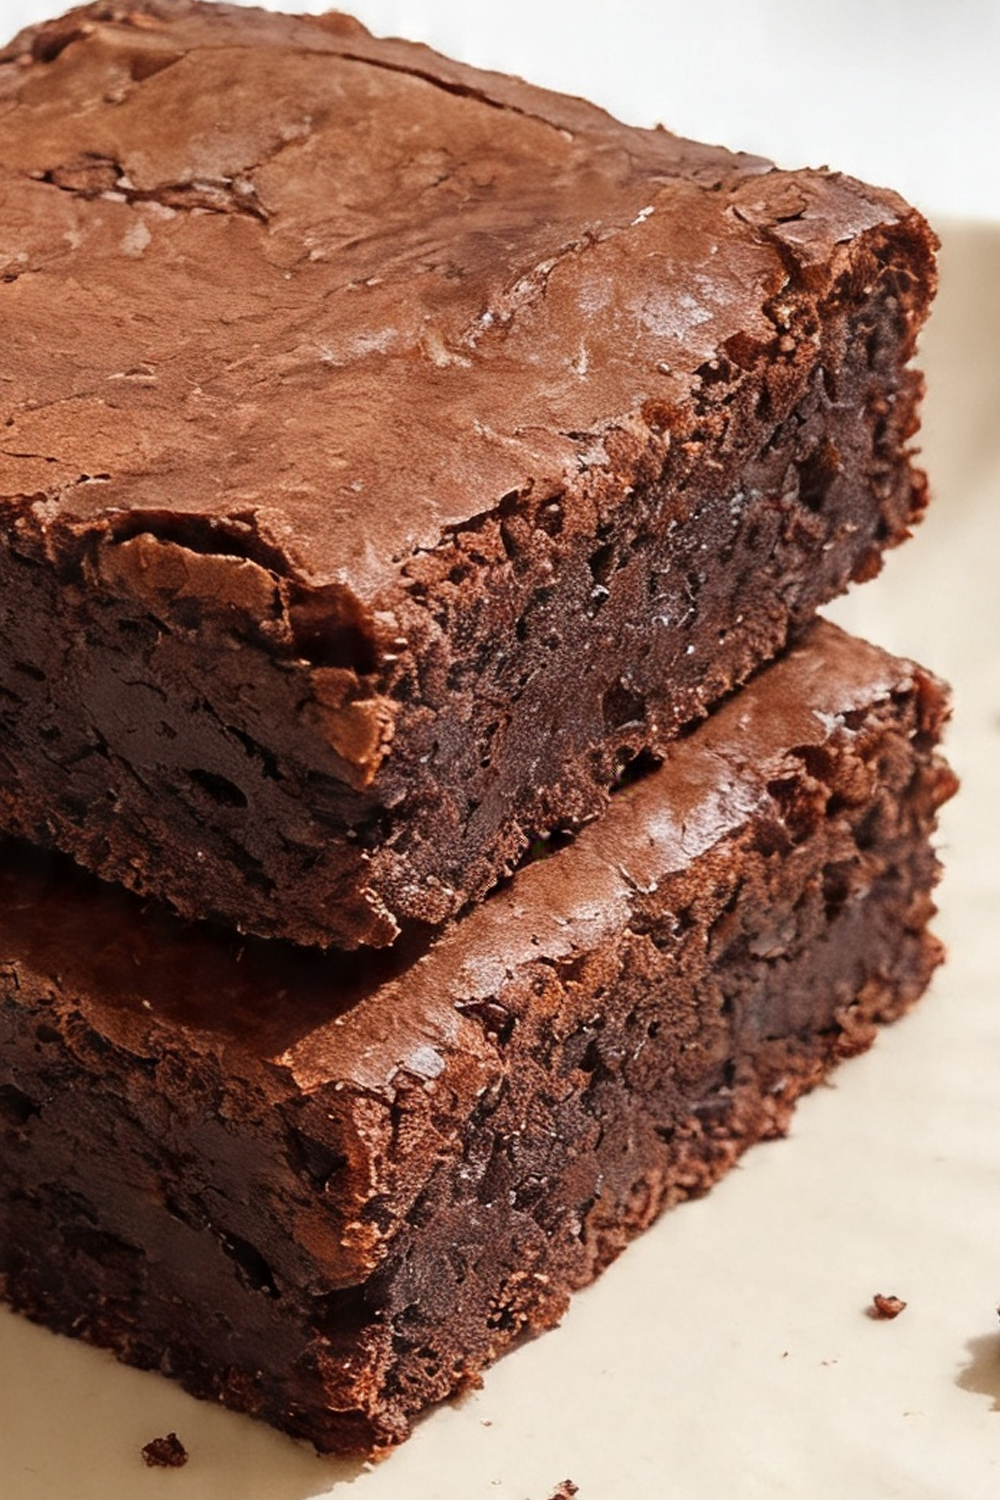
- Superior Texture: Specifically formulated to be fudgy rather than cakey, these brownies offer a dense, moist crumb that stays soft for days.
- Quick Preparation: With a total time of just 45 minutes, you can have a gourmet dessert ready in under an hour.
- Crowd-Pleaser: Their classic appeal makes them the perfect addition to any gathering, lunchbox, or quiet night in.
Ingredients Breakdown
- Unsalted Butter: The foundation of the recipe; when browned, it adds the characteristic toasted, nutty depth that defines this brownie’s unique flavor.
- Granulated Sugar: Provides essential sweetness and helps create a slight crackly top on the finished brownies.
- Brown Sugar: Adds moisture and a hint of molasses flavor, which is key to achieving that signature fudgy, dense texture.
- Cocoa Powder: The primary source of chocolate flavor; natural unsweetened cocoa powder ensures a clean, bold cocoa intensity.
- Eggs: Essential for structure and binding, helping to create a cohesive batter that sets perfectly during baking.
- Vanilla Extract: Enhances and brightens the overall chocolate flavor profile; using pure extract provides the highest quality taste.
- Salt: Acts as a flavor balancer, cutting through the richness of the chocolate and elevating the sweet notes.
- All-Purpose Flour: Provides the necessary structure; keeping the amount minimal ensures the brownies remain fudgy instead of becoming cake-like.
- Mini Chocolate Chips: Adds pockets of melty, intense chocolate throughout the brownie, increasing the overall decadence.
Tips To Get Your Recipe Right
- Use a Kitchen Scale: Precision is the secret to successful baking; weighing your dry and wet ingredients guarantees consistent, repeatable results every time.
- Watch the Butter: Brown butter happens quickly; stay by the stove and stir consistently to prevent burning the milk solids.
- Avoid Over-Mixing: Once you add the flour, mix just until streaks remain; over-mixing develops gluten and can ruin the fudgy texture you are aiming for.
- Under-Bake Slightly: Aim to remove the brownies when the center is just set; they will continue to firm up as they cool, ensuring that “gooey” interior.
- Choose Your Pan Wisely: Always opt for a metal pan; glass retains heat too long, which often leads to uneven edges and burnt sides.
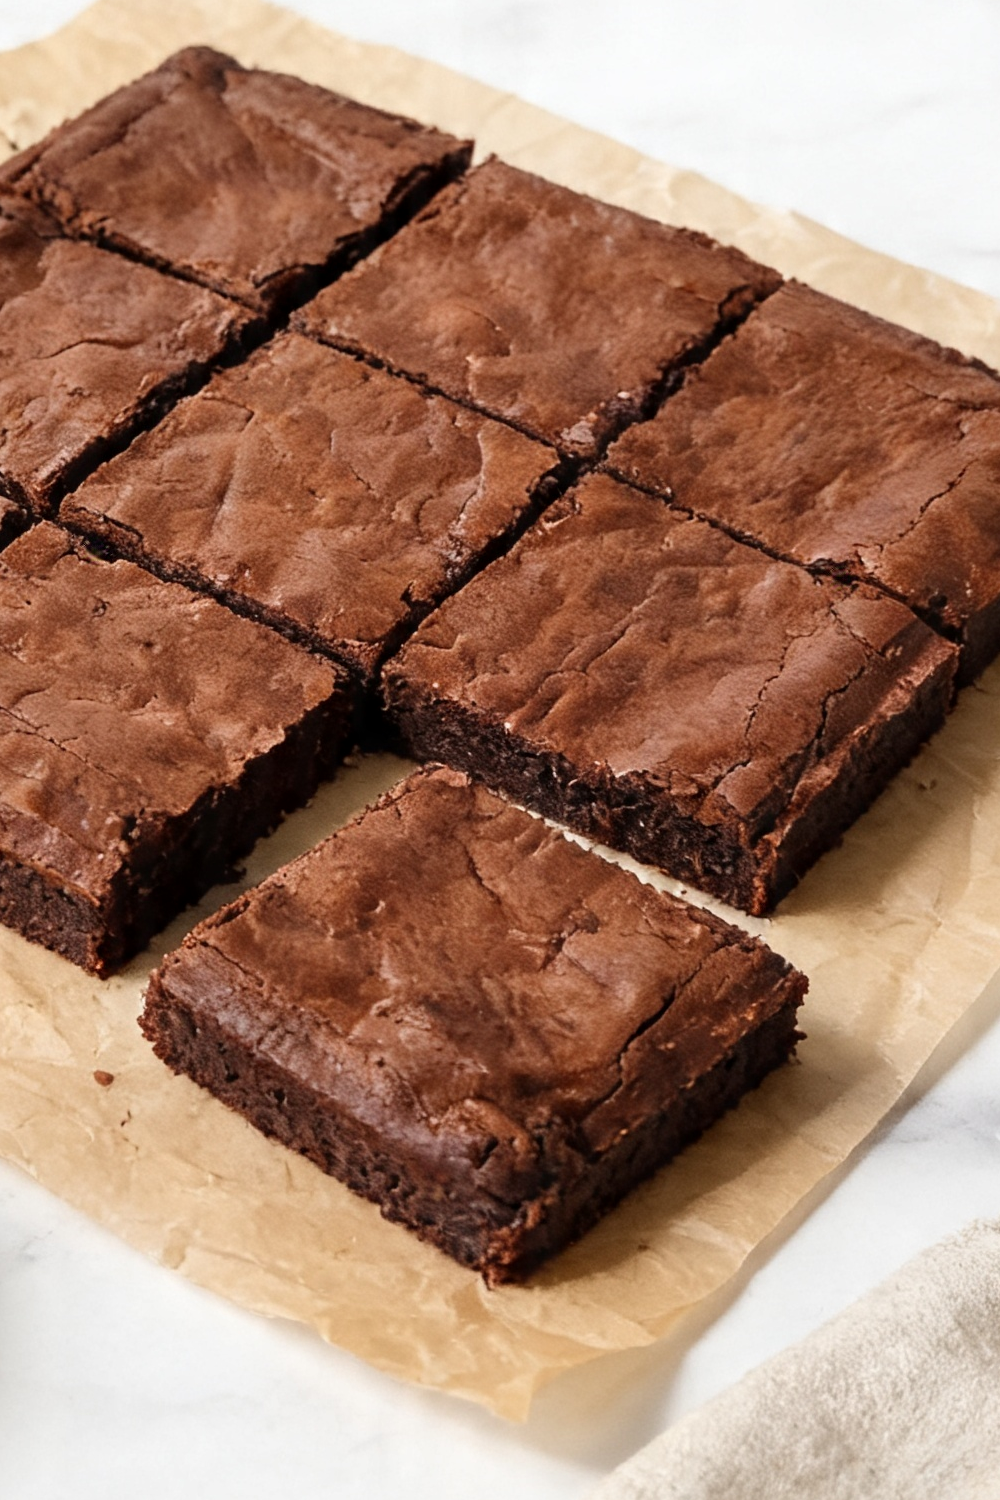
- Easy Removal: Create a parchment paper sling that hangs over the sides of your pan; this makes lifting the brownies out a breeze after they have cooled.
Storage Tips
- Room Temperature: Store brownies in an airtight container for up to 4 days to maintain their softness and flavor.
- Extended Freshness: If you want them to last longer, keep the airtight container in the refrigerator for up to one week.
- Prevent Staling: Always keep the container sealed tight to ensure the brownies do not dry out or absorb other fridge odors.
FAQs
Why should I use brown butter instead of regular melted butter?
Browning the butter evaporates its water content and toasts the milk solids, providing a nutty, complex flavor that regular melted butter simply cannot match.
How can I tell when the brownies are done baking?
The brownies are ready when the center looks just set; avoid waiting for a toothpick to come out completely clean, as this usually indicates they have been over-baked.
Is it okay to use salted butter?
Yes, you can use salted butter if that is what you have on hand; just be sure to omit the additional 1/2 teaspoon of salt mentioned in the recipe.
Why are my brownies cakey instead of fudgy?
Cakey brownies usually result from adding too much flour or using leavening agents like baking powder or soda; this recipe excludes these to maintain a dense, fudgy crumb.
Should I chill the brownies before cutting?
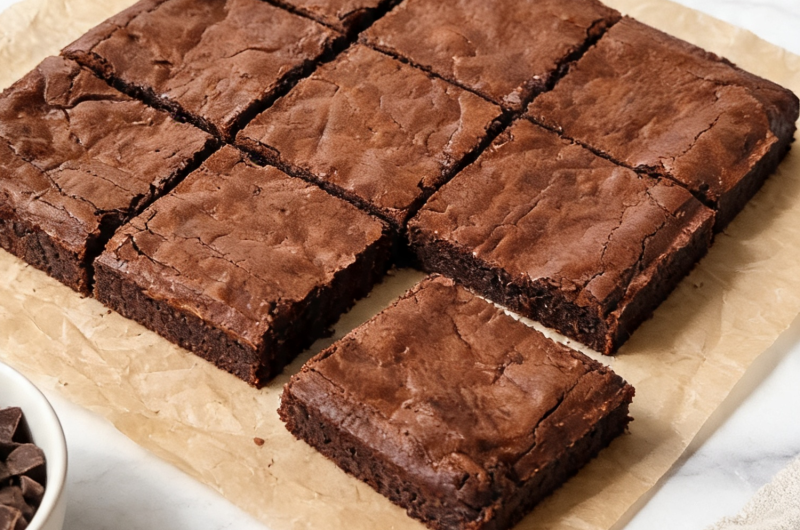
Yes, chilling the brownies makes them much easier to slice into clean, uniform squares without them crumbling or sticking to the knife.
Brown Butter Brownies
9
Brownies15
minutes25
minutesThis brown butter brownies recipe delivers deep, nutty flavor and a super fudgy texture. Simple, quick, and undeniably delicious!
Ingredients
170 g (3/4 cup) unsalted butter, cubed
150 g (3/4 cup) granulated sugar
112 g (1/2 cup) mini chocolate chips
75 g (1/4 cup + 2 tbsp) brown sugar
60 g (3/4 cup) cocoa powder
60 g (1/2 cup) all-purpose flour
1 tsp vanilla extract
1/2 tsp salt
2 eggs
Directions
- Preheat your oven to 350°F (175°C). Prepare an 8×8 inch pan by greasing it and lining it with parchment paper for easy removal.
- Place cubed butter into a small pot over medium heat. Stir occasionally as it bubbles and foams. Continue until the butter turns a light brown color, shows small browned bits on the bottom, and releases a nutty aroma. Watch closely to avoid burning.
- Remove the brown butter from the heat. Immediately stir in the granulated sugar, brown sugar, and cocoa powder. Whisk the mixture until smooth and thoroughly combined.
- In a separate medium bowl, whisk the eggs, vanilla extract, and salt. Gradually whisk the sugar and butter mixture into the egg mixture until the batter is very smooth.
- Gently fold in the flour until almost combined, leaving a few visible streaks. Incorporate the mini chocolate chips until just combined, then pour the batter into your prepared pan.
- Bake for 22–25 minutes until the center is just set. Allow to cool completely to room temperature (or chill) before slicing for the cleanest, most professional cuts.
There are no reviews yet. Share your thoughts above!