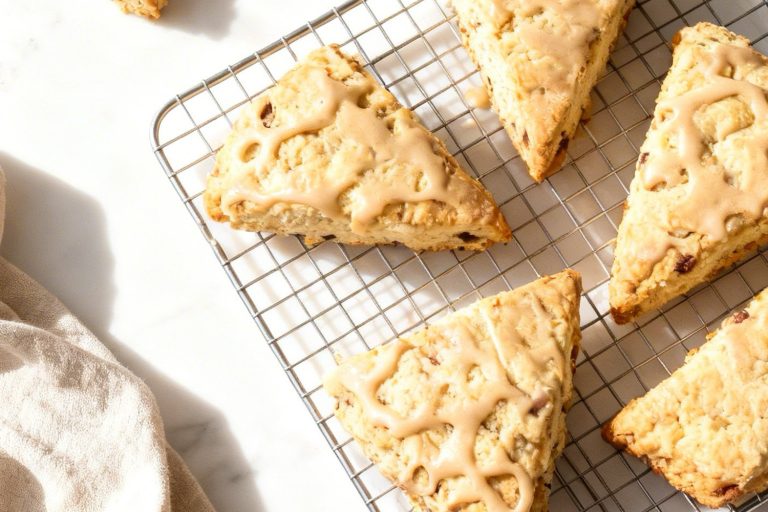
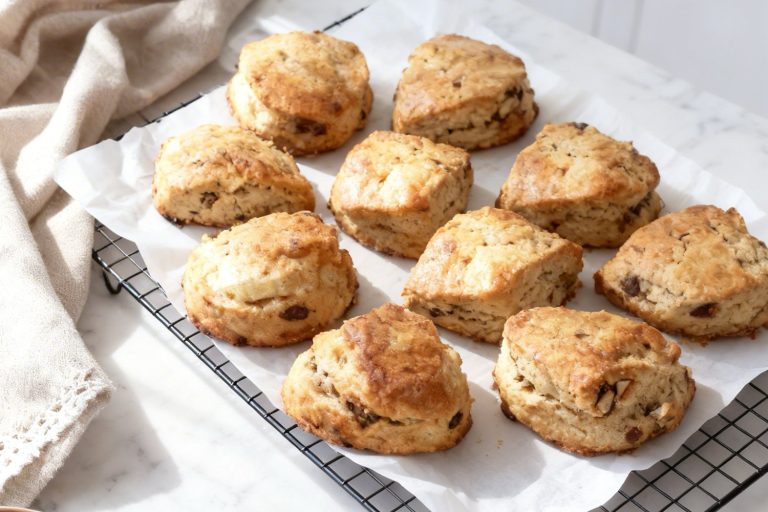
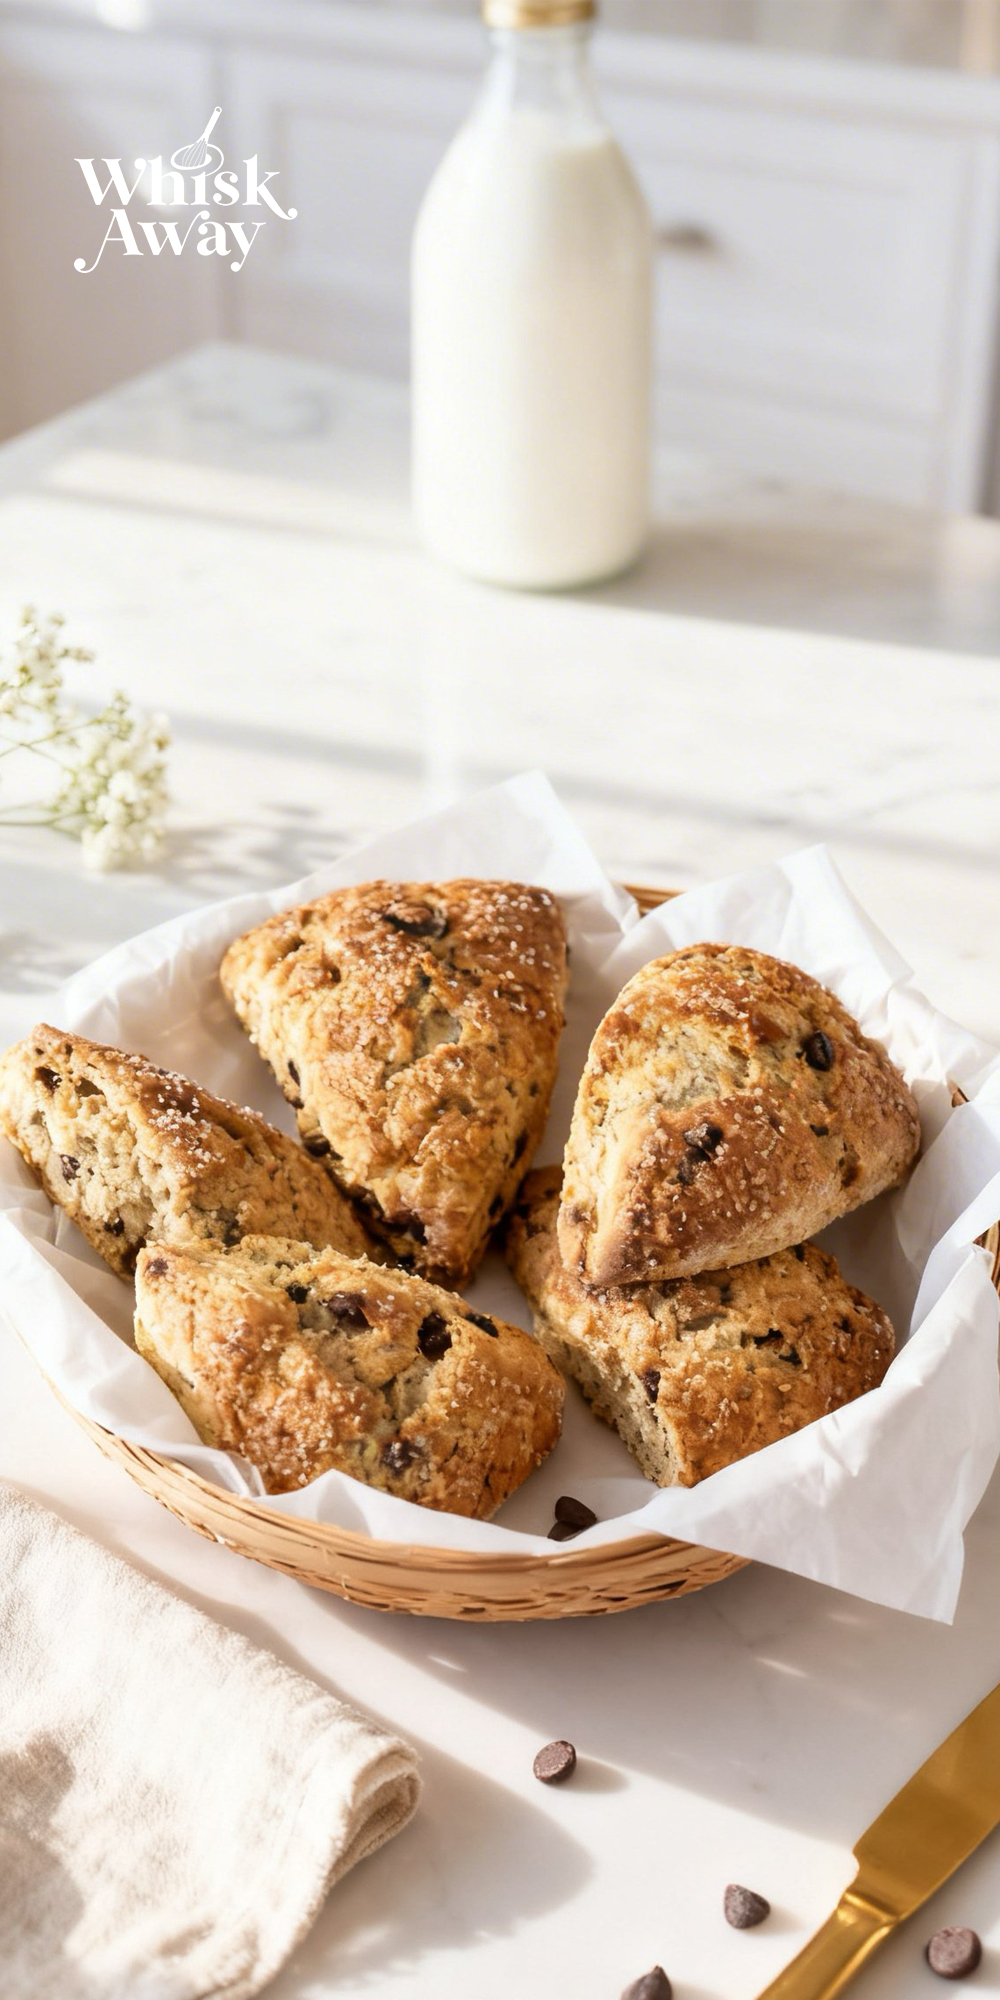
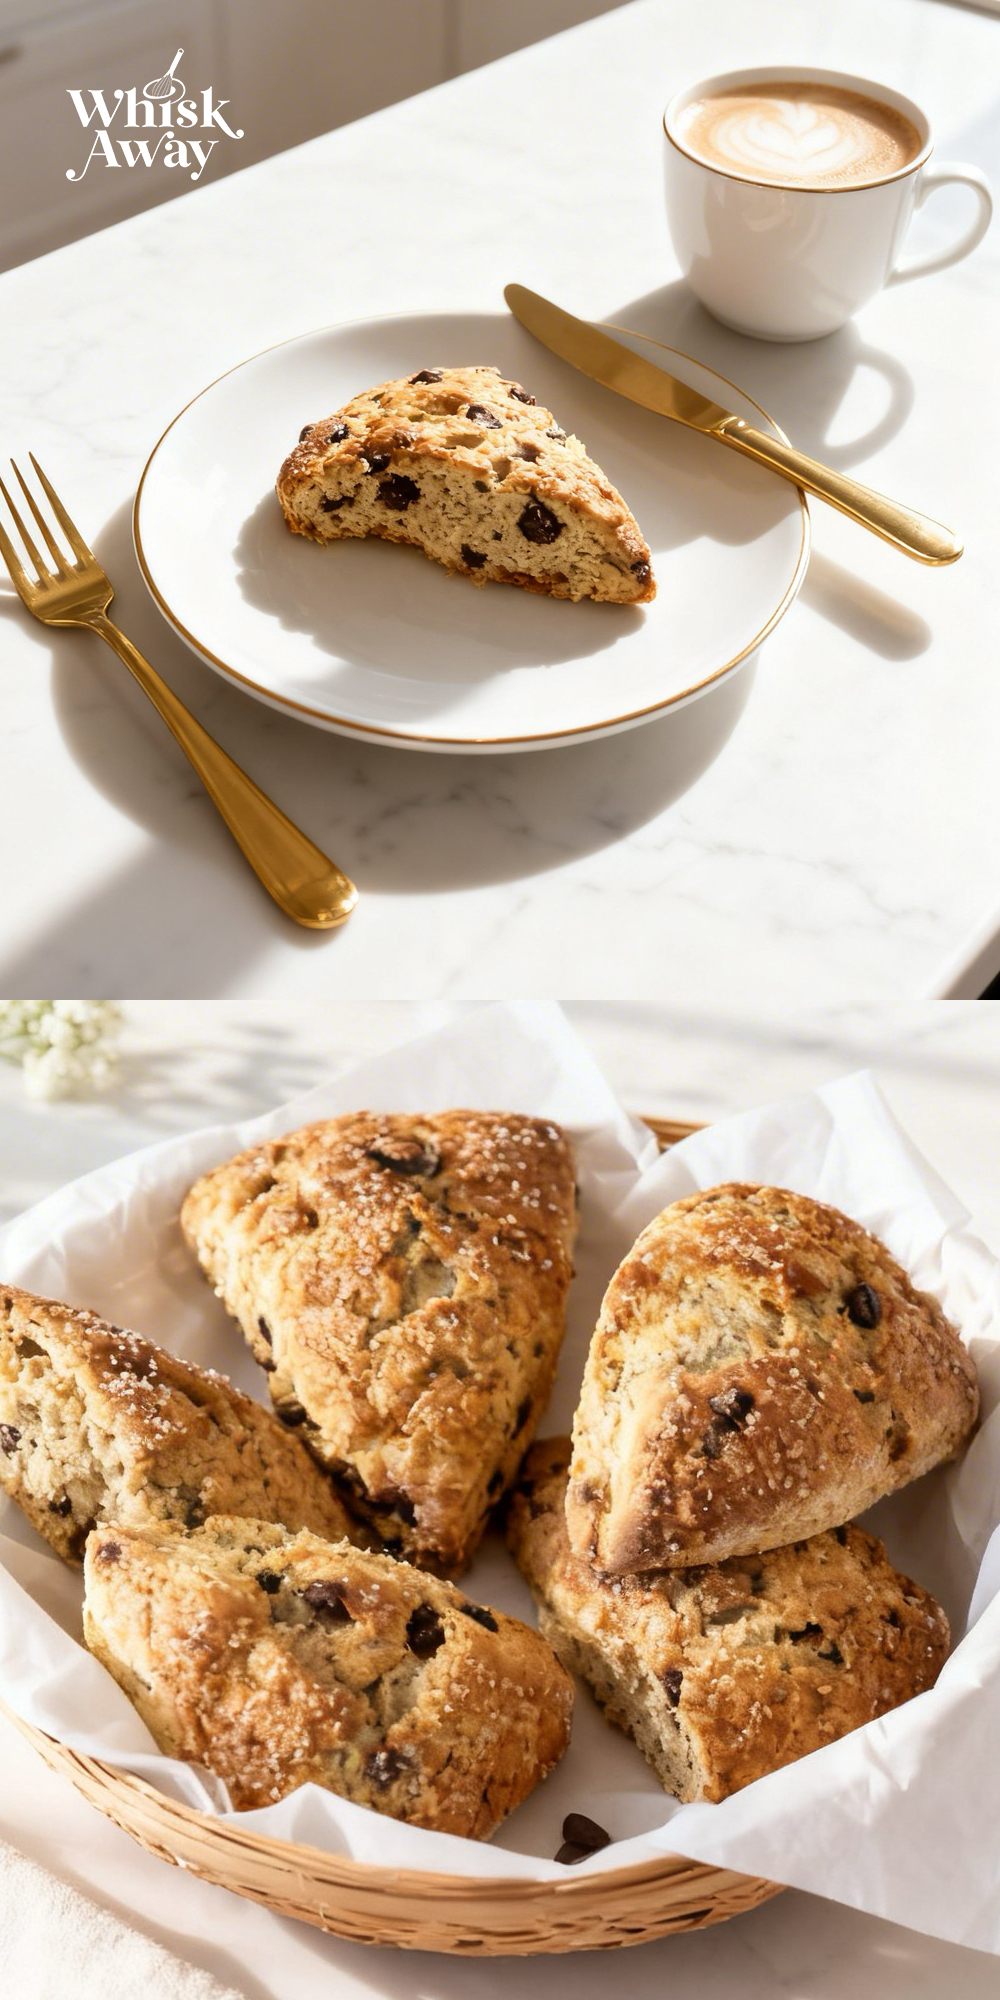
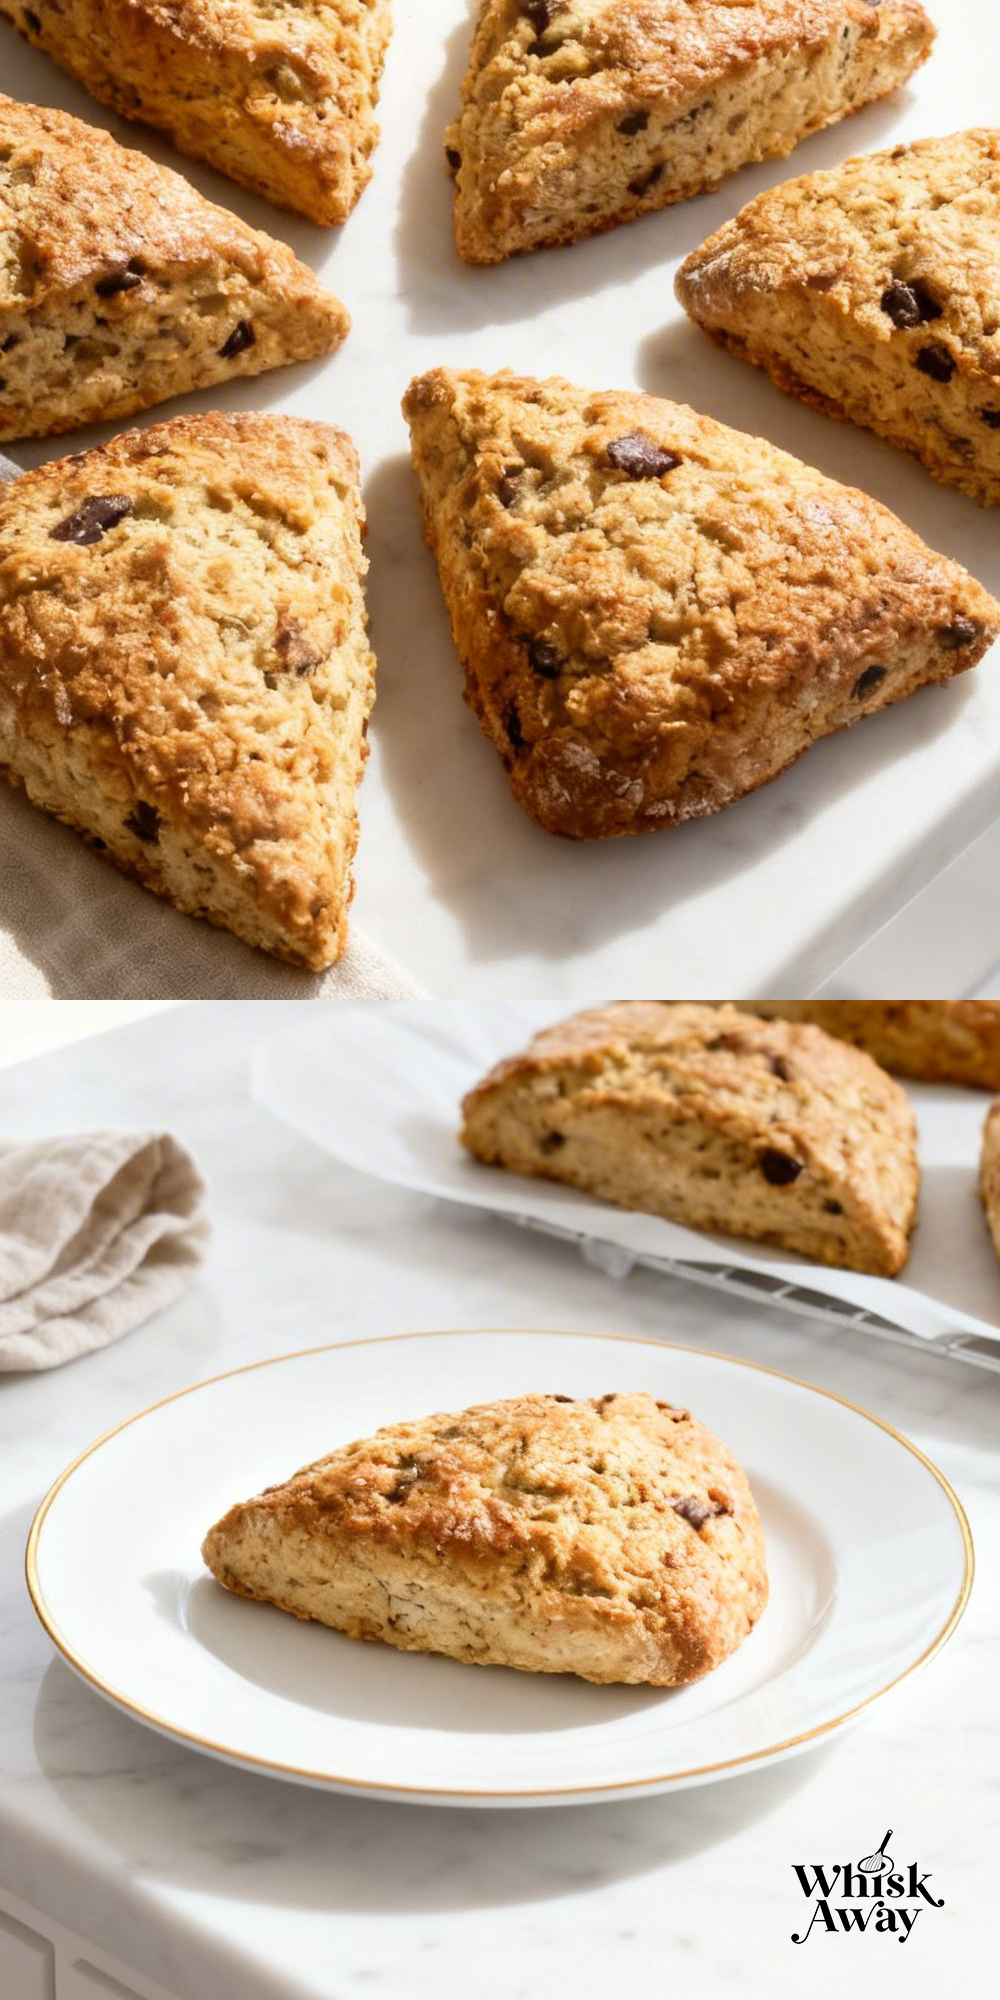
Ever imagined a scone that tastes like a cross between banana bread and a classic bakery scone?
These vegan banana scones combine soft, tender crumb with the natural sweetness of ripe bananas.
These scones are perfect for breakfast, snack time, or whenever you want a sweet bite that’s satisfying and wholesome.
Why You’ll Love This Recipe
These scones offer banana bread-like flavor in scone form; moist, aromatic, and entirely plant-based, perfect for those avoiding dairy and eggs.
What Makes Them Special
- Ripe bananas infuse natural sweetness and moisture.
- Vegan butter/oil mimic richness without dairy.
- Warm banana aroma makes them feel like comfort food.
- Great alternative for plant-based breakfasts or snacks.
- Pair with vegan spreads or nut butters for extra richness.
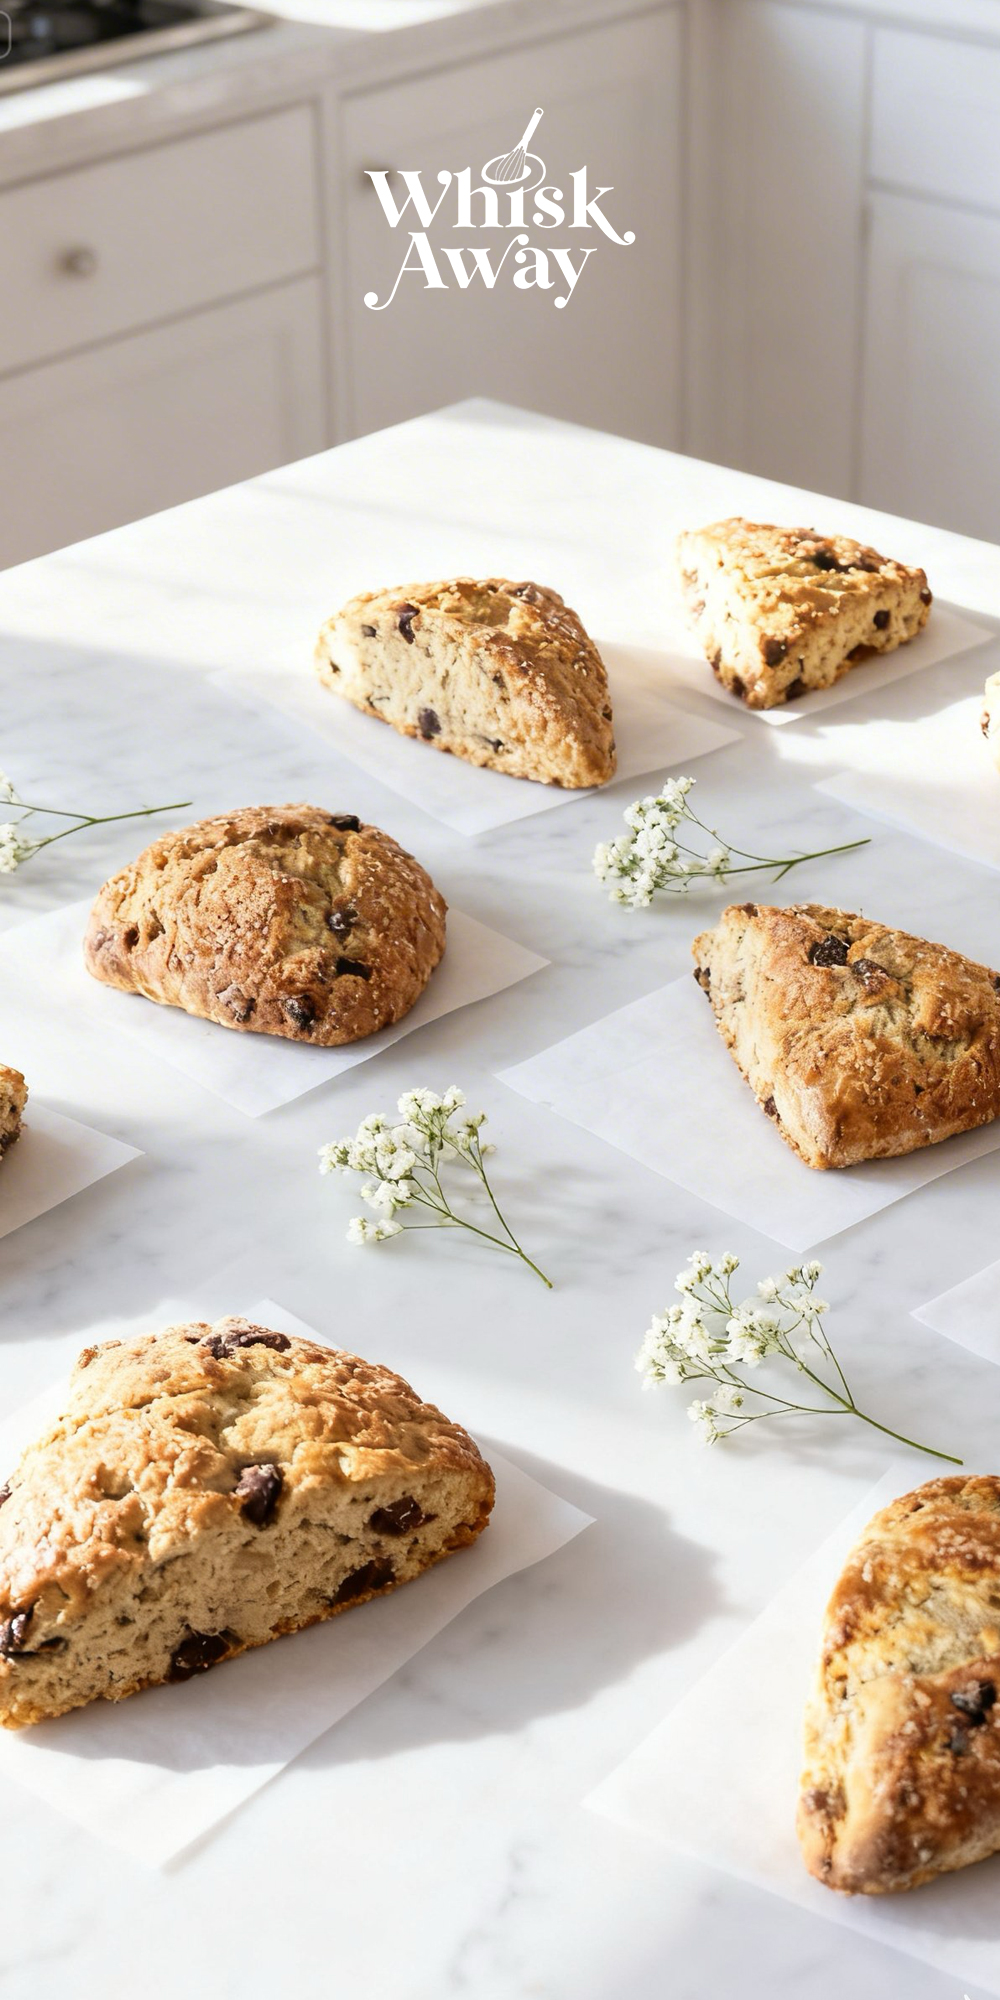
Save This Pin for Later to Your Pinterest Board

🔥 If you enjoy similar comforting bakes, maple pecan scones and date and walnut scones are great next recipes to try. For another dietary-friendly option, gluten-free fruit scones work beautifully.
How to Get Your Vegan Banana Scones Just Right
These scones are essentially banana bread in pastry form. Because bananas add significant weight and moisture, the challenge is keeping the scone light and fluffy rather than dense and gummy.
Mastering the balance of wet and dry ingredients is the secret to success.
1. The Secret to the Banana-Milk Balance
(a) Use bananas that are heavily spotted or even black. Ripe bananas are more fluid and sweeter; if you use firm yellow bananas, the dough will be dry and lack flavor.
(b) Bananas vary in size and water content. Always add the mashed banana first, then add the non-dairy milk tablespoon by tablespoon.
You want the dough to be tacky (slightly sticky to the touch) but not wet (leaving a residue on your hands).
A tacky dough provides the steam necessary for a high rise.
(c) Don’t skip the cider vinegar or lemon juice.
The acidity reacts with the baking soda and the buttermilk-like properties of the soy milk to create an immediate lift, which is crucial for heavy, fruit-based vegan bakes.
2. Maximizing Texture & Flavor
(a) If you find rubbing in vegan block butter difficult (as it can melt faster than dairy butter), try freezing the butter block for 15 minutes and then grating it directly into the flour.
This keeps the fat pieces distinct, leading to a much flakier scone.
(b) For a professional aroma, use freshly grated nutmeg if possible. The woody, spicy notes of nutmeg are what differentiate a banana scone from a banana bread scone.
(c) Keep your non-dairy milk and vegan butter as cold as possible until the very last second. Cold fat hitting a hot oven is what creates those signature scone layers.
3. Common Mistakes to Avoid
Over-Mashing: You want a relatively smooth mash, but a few tiny lumps of banana are actually a good thing!
They create concentrated pockets of flavor and moisture throughout the scone.
The Kneading Trap: Because banana dough is naturally stickier, people often feel the need to knead it or add too much extra flour.
Avoid this. Every bit of extra flour or handling makes the scone tougher. Treat the dough like a delicate cloud.
Dull Knives: Use a very sharp, floured knife or a bench scraper to cut your wedges.
A dull blade pinches the edges of the dough together, sealing them and preventing the scone from rising upward.
4. Timing & Technique Advice
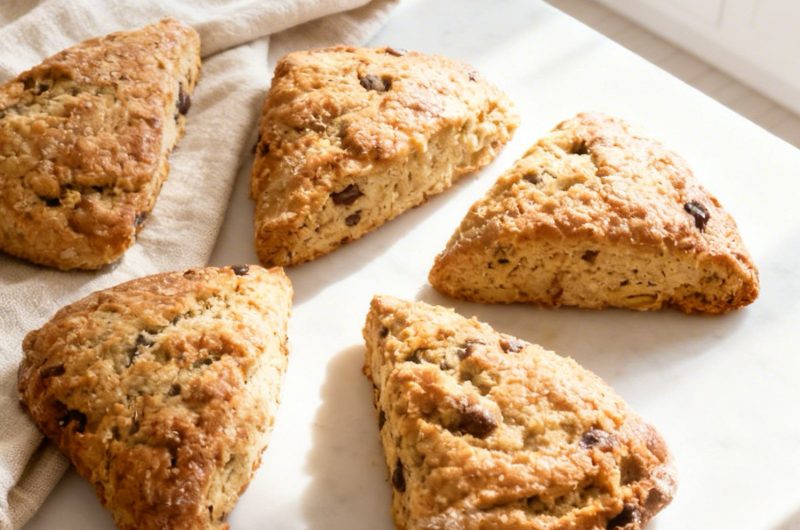
The Demerara Crunch: Be generous with the sugar topping. The contrast between the soft, cake-like interior and the hard, caramelized sugar crust is what makes this recipe feel like a bakery treat.
Spacing on the Tray: These scones spread a bit more than traditional ones due to the banana moisture.
Give them at least 3 inches (7-8cm) of space. If they are too close, they will steam each other and become soggy on the sides.
The Firm-Touch Test: Unlike plain scones, these may look done on the outside before the center is set.
At 14 minutes, gently press the top center of a scone; it should feel firm and springy, not soft or hollow.
Baking Tips for This Recipe
Use mashed ripe bananas for moisture and sweetness: Their natural sugars and moisture mimic some of the richness that eggs/butter would provide.
Add a bit of vinegar with plant-milk: The acid reacts with baking powder to improve rise in the absence of dairy.
Fold banana in last and sparingly: Banana adds moisture; too much wet fold makes dough sticky and dense.
Use cold plant butter or coconut oil: Keeps layers flaky even in vegan dough.
Bake until a toothpick comes out clean: Banana dough can look moist but should be set inside when done.
Variation Tips
These vegan banana scones is remarkably versatile. Its natural sweetness and spiced base make it the perfect foundation for a variety of flavorful mix-ins and dietary swaps.
Here is how you can customize this recipe to make it your own.
1. The Peanut Butter & Banana Classic
For those who love a protein-rich, savory-sweet combination:
Swirl 2 tablespoons of slightly warmed peanut butter into the mashed banana before adding it to the dry ingredients.
Replace the chocolate chips with roasted peanuts or use a “crunchy” peanut butter for extra texture.
The result is a denser, richer scone that tastes exactly like a gourmet Elvis-style treat.
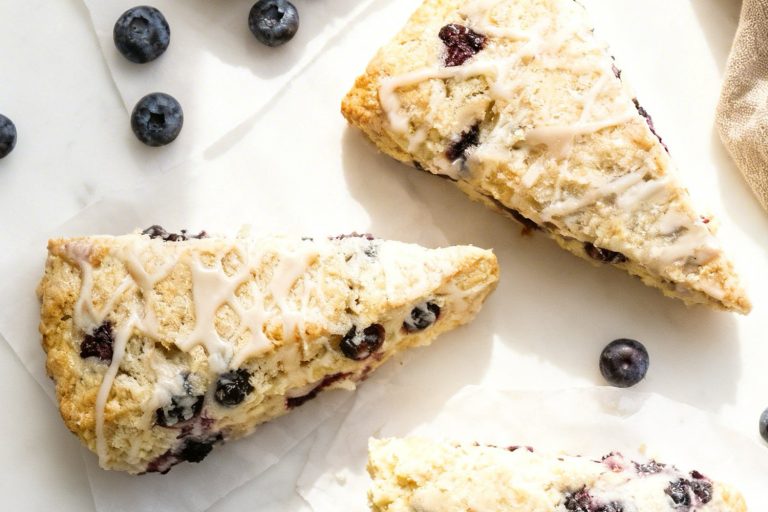
2. Blueberry X Banana
If you want to add a burst of tartness to the sweet banana base:
Replace half (or all) of the chocolate chips with fresh or frozen blueberries.
If using frozen berries, do not thaw them; fold them in while frozen to prevent the juice from turning the entire dough purple.
The berries provide jammy pockets that contrast beautifully with the spiced cinnamon dough.
3. The Tropical Coconut Upgrade
To lean into a more Mauritian-inspired flavor profile:
Replace the soy milk with full-fat canned coconut milk.
Fold in 3 tablespoons of shredded unsweetened coconut and a handful of chopped dried mango.
The coconut milk adds a decadent creaminess, while the dried fruit provides a chewy, tropical finish.
4. Texture & Ingredient Alternatives
Nutty Crunch: Replace the chocolate chips with chopped walnuts or pecans. The tannins in the nuts pair perfectly with the “banana bread” spices (cinnamon and nutmeg).
Whole-Grain Heartiness: Replace 100g of the plain flour with wholemeal (whole wheat) flour. This gives the scone a deeper, nuttier flavor and a slightly more “rustic” texture.
Espresso Kick: Dissolve 1 teaspoon of instant espresso powder into the vanilla extract before mixing. The coffee flavor enhances the richness of the chocolate chips.
5. Dietary Adaptations
Gluten-Free:
Use a 1:1 gluten-free baking flour blend (one that contains xanthan gum). Since bananas act as a natural binder, this is one of the easiest scone recipes to convert to gluten-free.
Oil-Free Alternative:
If you prefer not to use vegan butter/margarine, you can replace it with ½ cup of unsweetened applesauce.
Note that the scone will be much more “cake-like” and less flaky, but very moist.
Lower Refined Sugar:
Use coconut sugar or date sugar in place of the light brown sugar.
Since the bananas provide most of the sweetness, you can even reduce the sugar by half if your bananas are exceptionally ripe.
6. Creative Serving Idea
For a truly indulgent experience, serve these warm with a smear of vegan cinnamon butter.
Simply whip a little vegan margarine with a pinch of cinnamon and a drop of maple syrup. It makes the scone feel like a high-end bakery dessert!
How to Properly Store Your Vegan Banana Scones
Since these vegan banana scones contain fresh fruit (bananas) and high-moisture vegan fats, they require a bit more attention than a standard plain scone.
The natural sugars in the banana make the dough thirsty, meaning they can become soft if kept too moist or dry out if left exposed.
1. Room Temperature (Best for Immediate Freshness)
Duration: Up to 2 days.
Ensure the scones are cooled completely to the touch. Place them in an airtight container or a bread bin.
Line the bottom of your container with a piece of paper towel. This absorbs any excess moisture released by the bananas, preventing the Demerara sugar crust from becoming sticky or dissolving.
2. Refrigeration (For Humid Climates)
Duration: Up to 5 days.
The high moisture content of banana-based bakes can lead to spoilage faster. Store them in the fridge, but wrap each scone individually in beeswax wrap or plastic wrap first.
Note: The fridge can make vegan fats firm up, making the scone feel dense.
Always reheat refrigerated scones for 15 seconds in the microwave or 5 minutes in a warm oven to restore their banana bread softness.
3. Freezing
Duration: Up to 3 months.
These scones freeze exceptionally well because the banana starch holds onto moisture.
To Freeze: Once cold, wrap each scone in foil and place them in a freezer-safe bag.
To Thaw: Let them sit on the counter for an hour or defrost in the microwave for 30–45 seconds.
4. How to Reheat for “Fresh-Baked” Flavor
A warm banana scone is significantly better than a cold one, as the heat revives the spices and melts the chocolate chips.
The Oven (Best Texture): Heat to 350°F (180°C) and warm for 5–8 minutes. This re-crisps the sugar topping while melting the chocolate inside.
The Air Fryer: Set to 320°F (160°C) for 3 minutes. This is the fastest way to get that “crunchy outside, soft inside” contrast.
The Microwave: If you’re in a rush, 10–15 seconds is plenty. Any longer and the banana starch might make the scone gummy.
5. Storage Mistakes to Avoid
The Warm Container Trap: If you put these in a box while they are even slightly warm, they will “sweat.”
This makes the chocolate chips smudge and turns the flaky scone into a soggy muffin-like texture.
Exposure to Air: Unlike traditional banana bread which can sometimes improve the next day, scones are designed to be short pastry.
Leaving them uncovered will turn them into hard biscuits within hours.
The Fruit Migration: Don’t store these in the same container as high-acid fruits (like cut apples or citrus).
The gases from the fruit can interfere with the delicate banana and vanilla flavors of the scone.
FAQs
My dough is very sticky and hard to handle. Did I do something wrong?
Not at all! Because of the natural pectin and sugars in the mashed bananas, this dough is inherently stickier than a traditional scone mixture. The secret is to use plenty of flour on your hands and work surface. If it feels truly unmanageable, pop the bowl in the fridge for 15 minutes; chilling the vegan butter and banana starches will make the dough much firmer and easier to slice.
Can I use frozen bananas for this recipe?
Yes, but with one crucial step: drain the liquid. When bananas thaw, they release a lot of banana water. If you include this, your dough will become a wet batter. Thaw them completely in a sieve, discard the excess liquid, and then mash as usual. You may find you need slightly less non-dairy milk when using previously frozen fruit.
Why do I need to add vinegar to the mashed bananas?
The vinegar (or lemon juice) serves two purposes. First, it prevents the mashed bananas from oxidizing and turning an unappealing gray color. Second, and more importantly, the acid reacts with the baking soda to create an immediate chemical lift. Since banana dough is heavy, this extra oomph is what keeps the scone from being a dense brick.
Can I use a flax egg instead of the extra milk?
You can, but it isn’t necessary. The mashed banana already acts as a powerful binder (the primary job of an egg). Adding a flax egg on top of the banana can make the scone too gummy in the center. If you want a more robust structure, stick to the recipe but use soy milk, as its high protein content mimics dairy milk better than almond or rice milk.
How do I get that “bakery-style” tall rise?
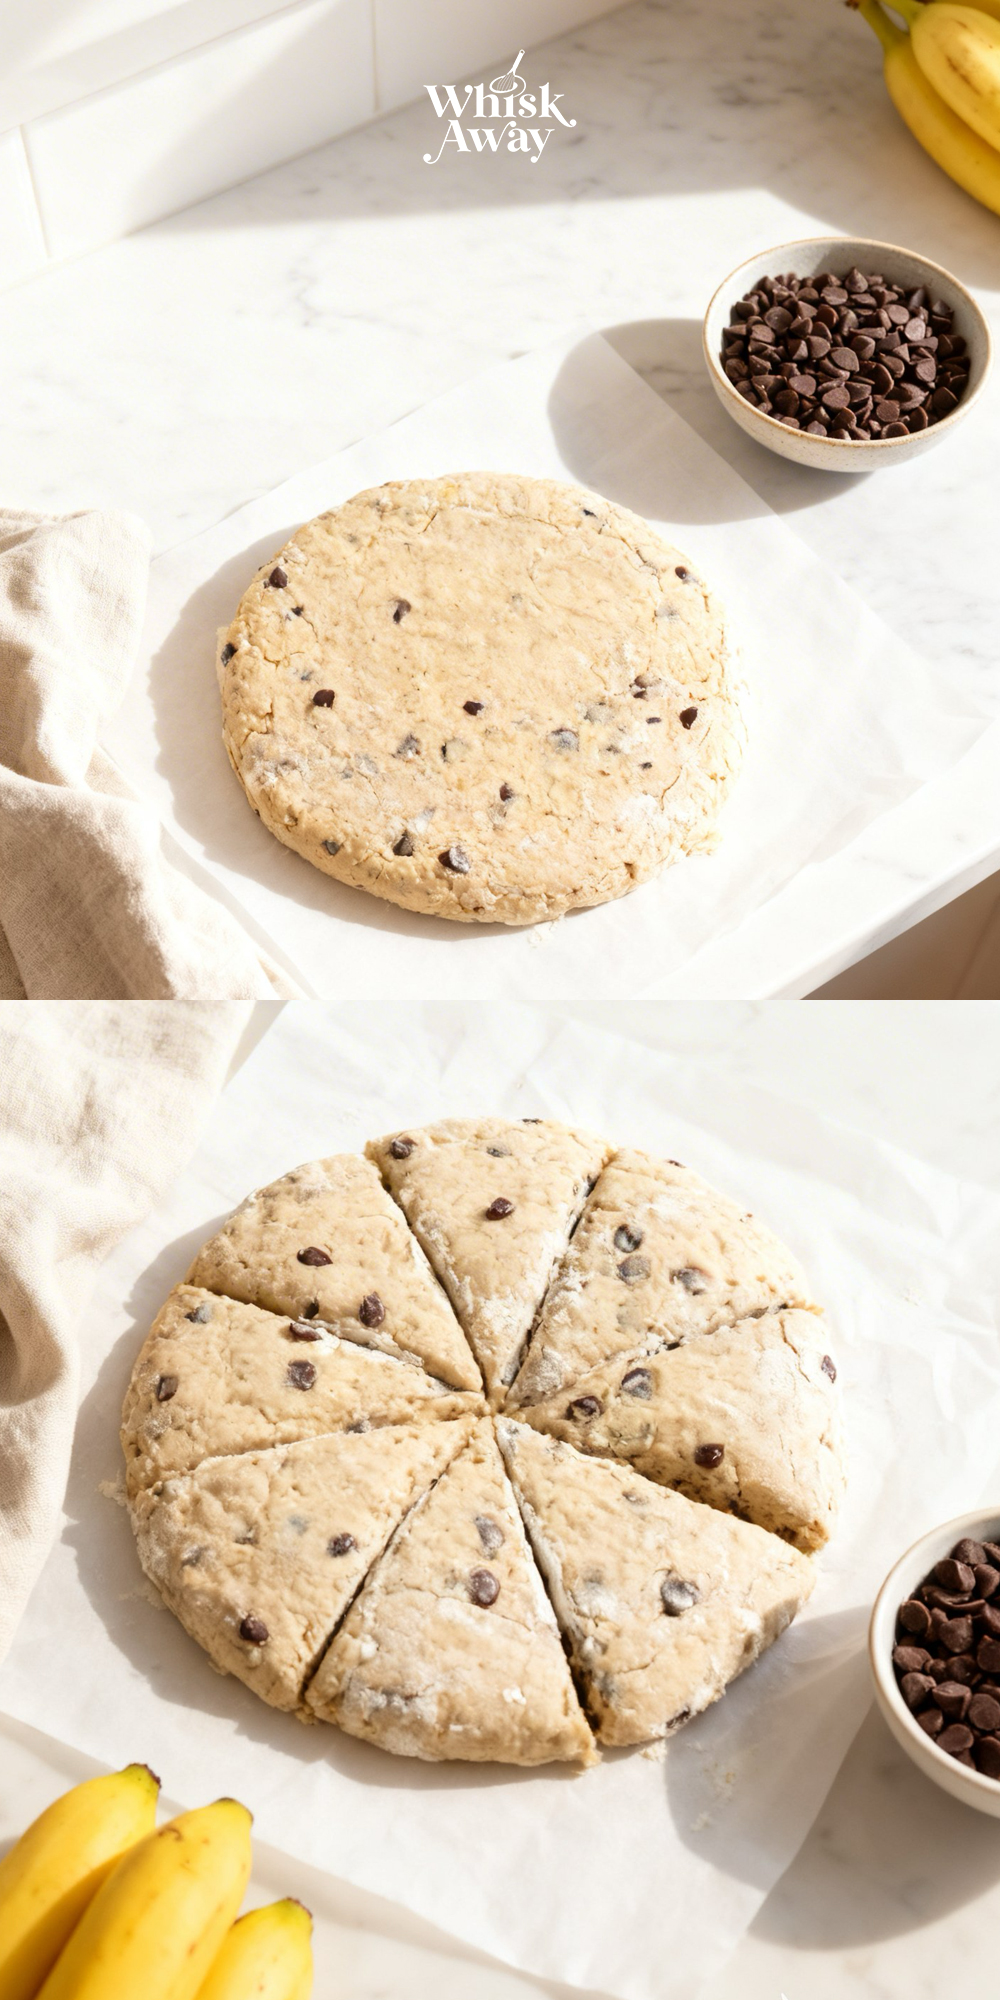
The stacking trick! When you turn the dough onto the floured surface, pat it out, then fold it in half once before patting it into the final 5cm circle. This creates a natural “break” in the center of the scone (similar to a biscuit), allowing it to pull apart easily and rise significantly higher in the oven.
Vegan Banana Scones
8
servings15
minutes15
minutesThese vegan banana scones are soft, naturally sweet, and perfect for plant-based diets.
Ingredients
375 g (3 cups) plain (all-purpose) flour
2 medium ripe bananas (about 200 g peeled weight)
125 g (heaped ½ cup) chocolate chips (vegan-friendly)
120 g (½ cup) vegan block butter/margarine, cold and diced
Approx. 100 ml (⅓ cup + 1 Tbsp) non-dairy milk (soy is best), cold
60 g (⅓ cup) light brown soft sugar
1 Tbsp baking powder
2 tsp vanilla extract
1 ½ tsp ground cinnamon
1 tsp cider or white wine vinegar or lemon juice
½ tsp baking soda
½ tsp salt
¼ tsp ground nutmeg
Non-dairy milk for brushing
Demerara sugar for sprinkling
Directions
- Preheat your oven to 220°C (200°C fan / Gas Mark 7).
- Line a large baking sheet with parchment paper. If you plan on making 12 smaller scones rather than 8 large ones, you’ll likely need two trays to ensure proper airflow.
- In a large mixing bowl, thoroughly blend the flour, baking powder, baking soda, cinnamon, nutmeg, salt, and brown sugar.
- Add your cold, diced vegan butter. Use your fingertips to rub the fat into the flour until the mixture looks like fine breadcrumbs with no large pieces of butter remaining.
- Stir in the vegan chocolate chips so they are evenly distributed.
- In a separate bowl, mash the bananas until smooth. Whisk in the vinegar (or lemon juice) and vanilla extract.
- Pour the banana mixture into the bowl of dry ingredients along with about half of the non-dairy milk.
- Stir the mixture, gradually adding the remaining milk as needed. You are looking for a soft, slightly tacky dough. It should be sticky enough to hold together but not so wet that it loses its shape.
- Turn the dough out onto a generously floured workspace. Gently gather it into a ball—do not knead it, as this will make the scones tough.
- Dust the top with a little more flour and use your hands to pat it into a circle roughly 5cm (2 inches) thick.
- Using a floured knife, slice the round into 8 wedges. Dip the knife back into the flour between every cut to prevent the sticky banana dough from clinging to the blade.
- Divide the dough into two smaller balls and pat each into a 5cm round. Cut each of these into 6 wedges.
- Carefully move the wedges to your prepared baking sheet(s). Since the dough is delicate, use a floured spatula or fish slice to help move them. If they lose their shape, just gently pat them back into triangles once they are on the tray.
- Lightly brush the tops with a little extra milk and sprinkle generously with Demerara sugar for a caramelized crunch.
- Slide into the oven for 12–16 minutes. They are done when they are tall, golden brown, and feel firm when lightly pressed.
- Allow them to rest on a wire rack for a few minutes before serving.