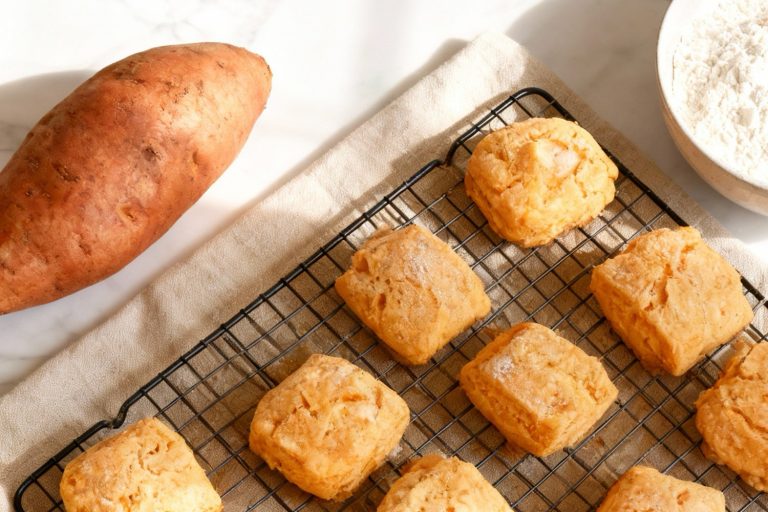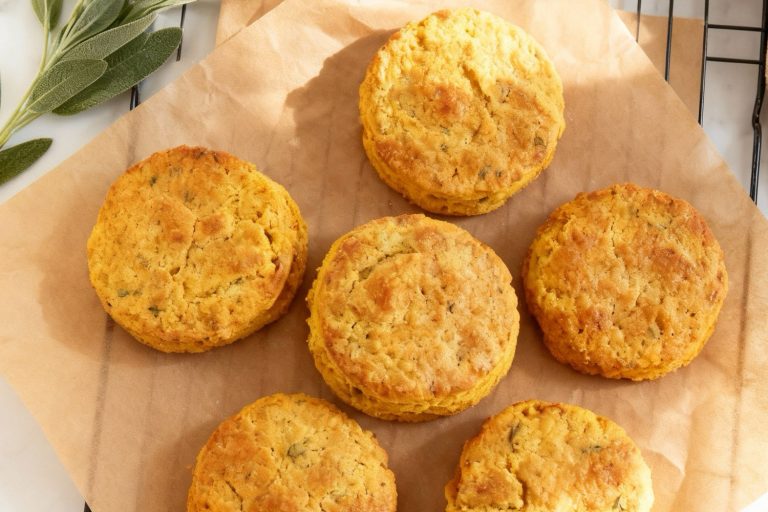
Want a biscuit that’s simple yet decadently flavorful? These vanilla bean biscuits are soft, buttery, and infused with real vanilla bean, offering a classic, comforting flavor in every bite.
Baking these biscuits is a breeze. The vanilla beans create a fragrant aroma while the soft, tender dough rises beautifully in the oven.
A light sugar sprinkle or glaze adds a touch of elegance without overpowering the vanilla flavor.
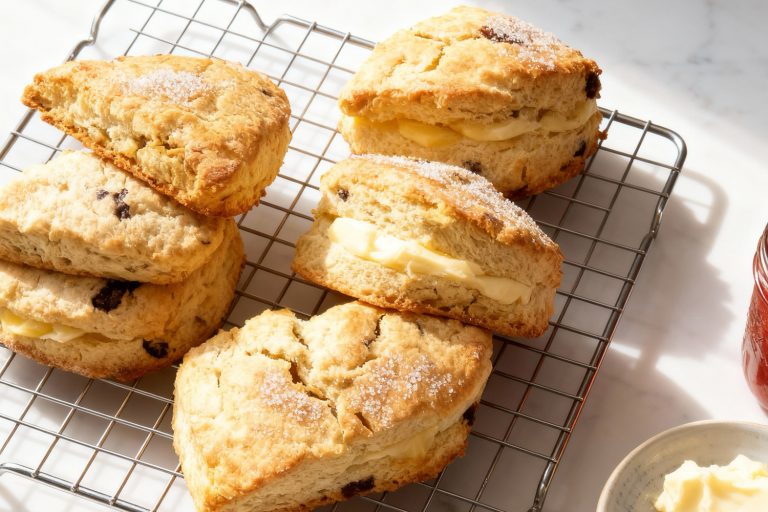
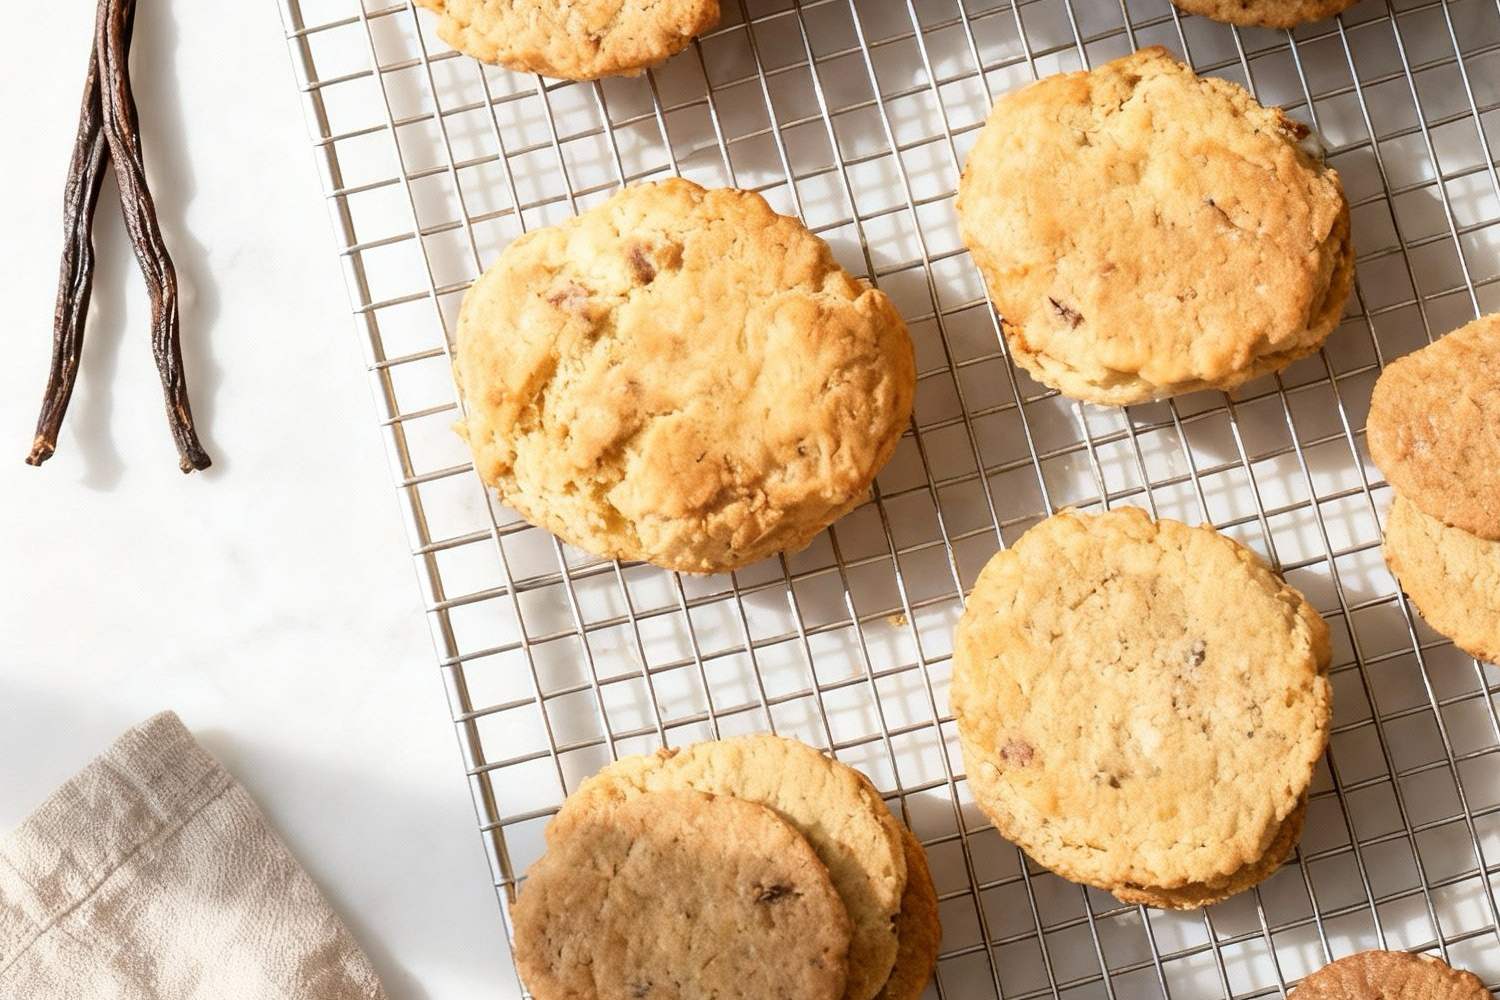
Perfect for breakfast, dessert, or snack time, vanilla bean biscuits offer tender, buttery layers with the unmistakable flavor of real vanilla.
They’re simple to make, versatile, and guaranteed to become a favorite in your kitchen.
Why You’ll Love This Recipe
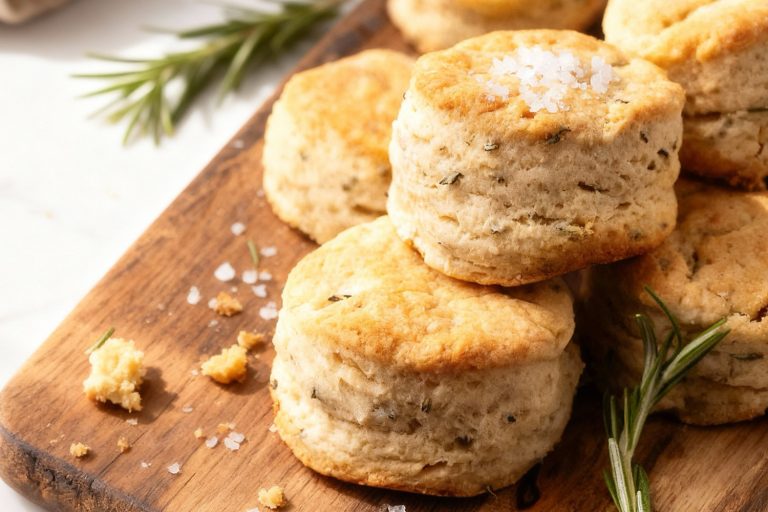
Soft, fluffy biscuits infused with real vanilla bean are fragrant, sweet, and perfect for layering with fruits, cream, or enjoying plain.
What Makes Them Special
- Real vanilla bean flavor
- Soft, tender, and fluffy
- Perfect for layered desserts
- Simple yet elegant
- Subtly sweet and fragrant
🔥 These vanilla bean biscuits are simple, fragrant, and endlessly versatile. Use them as a base for strawberry shortcake, peach cobbler shortcakes, or blueberry shortcakes when you want to turn them into an easy dessert.
Save This Pin To Your Pinterest Board for Later

How to Get Your Vanilla Bean Biscuits Just Right
Nailing the perfect vanilla biscuit comes down to technique, temperature, and handling the dough with care.
Use these tips to ensure each batch turns out beautifully aromatic, crisp-edged, and melt-in-your-mouth tender.
1. Fully break down the vanilla bean
Pulse the sugars and vanilla bean long enough for the bean to be finely ground. Any large pieces left behind won’t soften in the oven and can create uneven flavor pockets.
2. Don’t overwork the butter
The butter should blend into a soft, creamy mixture. I mean smooth but not greasy or melted. Over-pulsing can warm the butter and lead to cookies that spread too much.
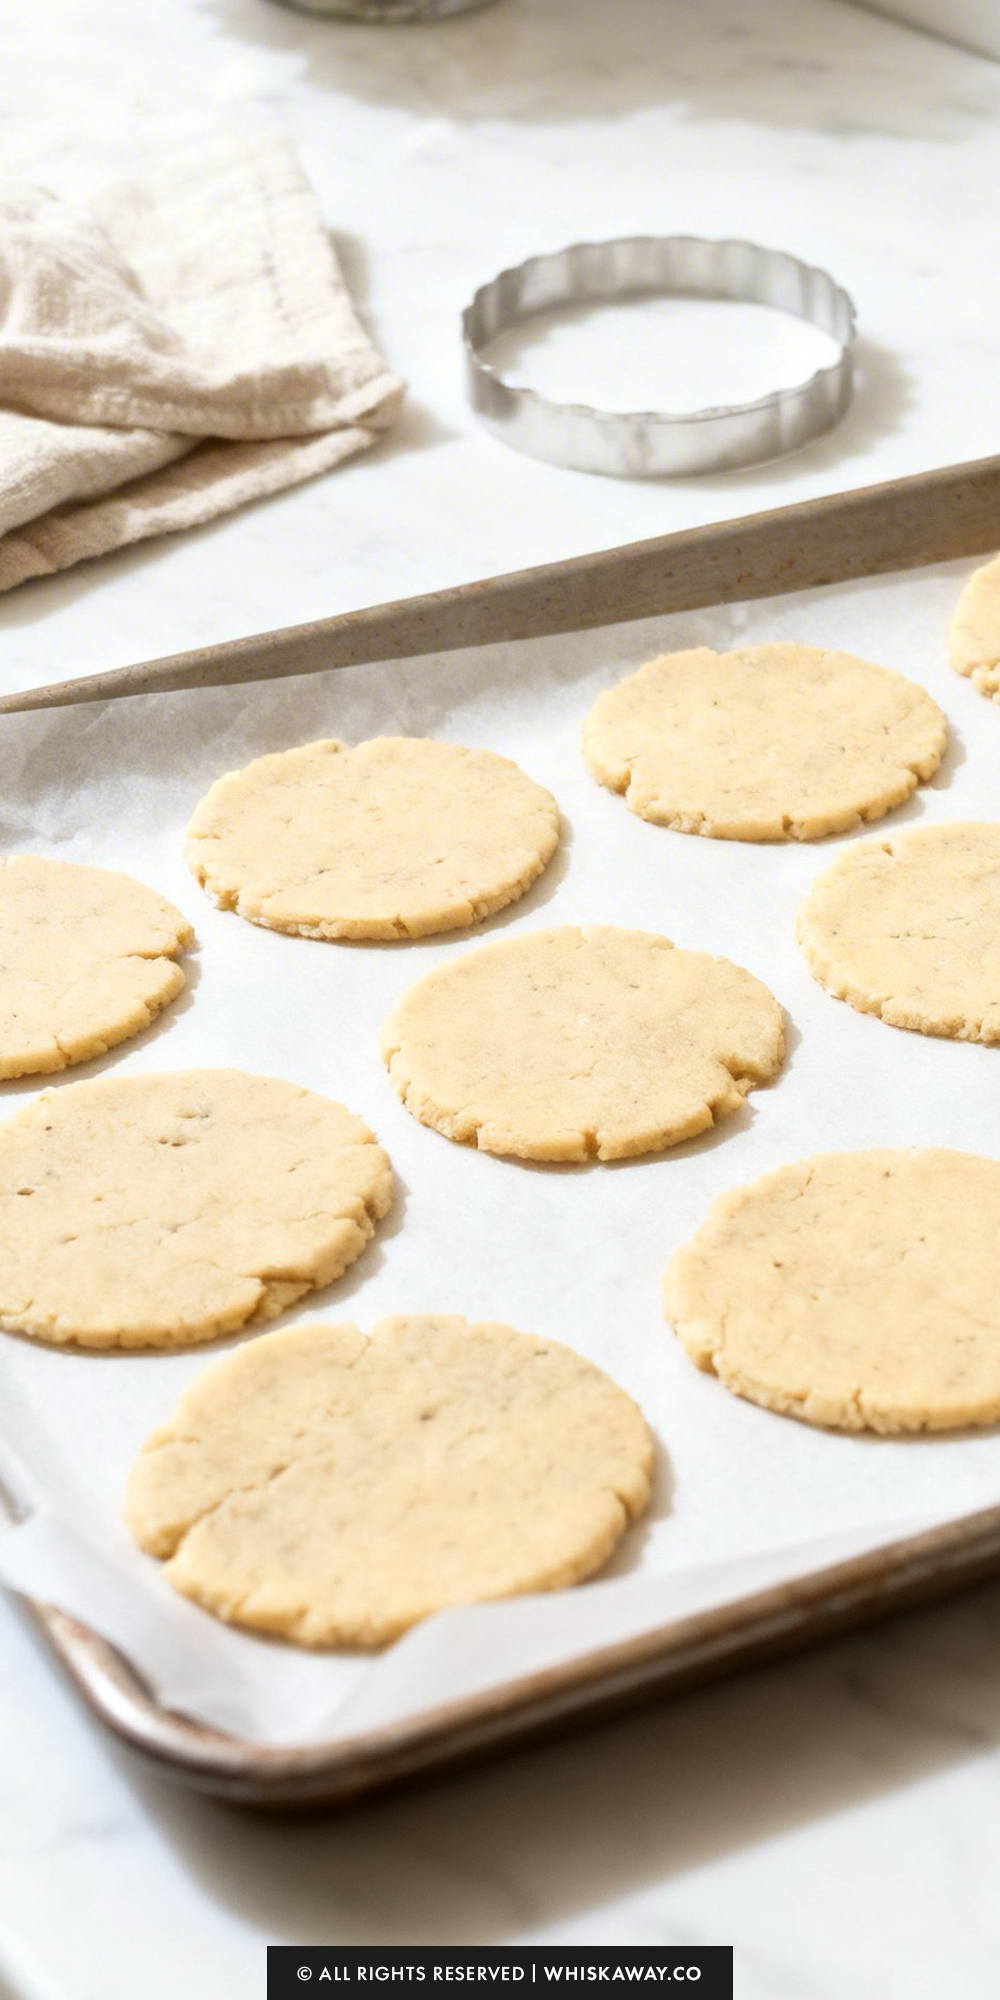
3. Watch the dough texture
This dough is naturally sticky, so rely on parchment paper for rolling. If it’s too tacky to handle, a quick chill (10–15 minutes) before rolling can make it more cooperative.
4. Roll evenly for consistent baking
Aim for a uniform ¼-inch thickness. Thicker dough will bake slower and may stay soft in the center; thinner dough may brown too quickly.
5. Chill your cut shapes well
Warm dough spreads while cold dough holds its shape. After cutting out your biscuits, chill them again in the fridge or freezer before baking. This step is essential for clean edges and even baking.
6. Avoid heavy-handed seasoning
A light sprinkle of sugar and the tiniest pinch of salt enhances flavor, but too much salt can overpower the delicate vanilla notes.
7. Bake on the top and bottom racks
Using two oven levels encourages even browning. Rotate the pans halfway through if your oven has hot spots.
8. Know when they’re done
Look for lightly golden edges. If they’re too pale, they may taste under-baked; too dark, and the vanilla flavor becomes muted.
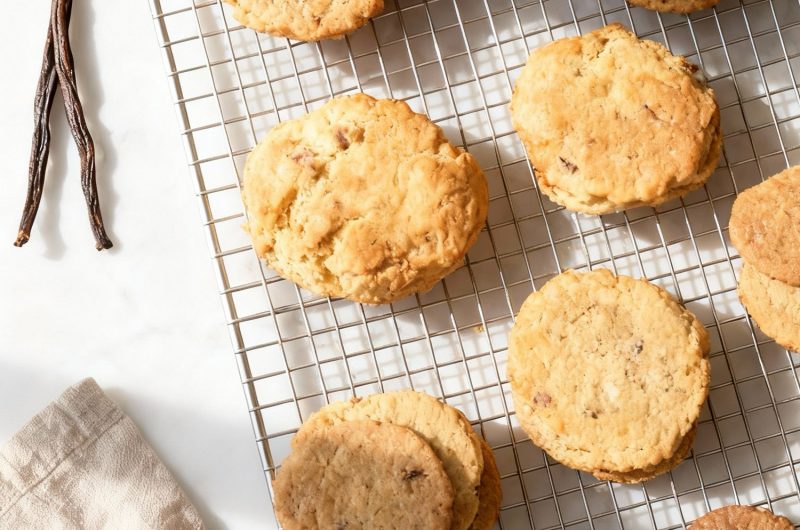
9. Cool before handling
Let the biscuits set on the baking sheet for a few minutes before transferring them to a rack. They’re fragile when hot and can break if moved too soon.
10. Choose quality vanilla
A fresh, pliable vanilla bean makes a big difference. Dry or brittle beans won’t break down as smoothly, leading to uneven specks and less aroma.
Easy Baking Tips That Have Worked for Me
Scrape the seeds from a real vanilla bean directly into the flour to maximize the flavor and aroma.
Keep the butter cold and handle the dough lightly to ensure soft, flaky layers.
Chill the dough briefly if it seems too soft, which helps the biscuits hold their shape during baking.
Brush the tops with a little cream or milk to give them a golden, slightly shiny finish.
Assemble with fruit, cream, or jam just before serving so the biscuits remain light and tender.
Variation Tips
These tender vanilla biscuits are wonderfully versatile, and you can customize them with subtle twists without losing their classic charm.
Try these easy variations to match your taste, mood, or dietary needs.
1. Add citrus brightness
Stir in ½–1 teaspoon of finely grated lemon, orange, or lime zest when adding the butter. Citrus pairs beautifully with vanilla and adds a refreshing aroma.
2. Make them extra fragrant
Swap the vanilla extract for vanilla paste, or use both for a deeper, speckled vanilla flavor. You can also blend a pinch of cardamom or a scrape of fresh nutmeg into the sugar mixture.
3. Chocolate-dipped edges
Once baked and cooled, dip half of each biscuit in melted dark, milk, or white chocolate. Let them set on parchment. This adds a pretty finish and a rich contrast to the delicate vanilla.
4. Turn them into sandwich biscuits
Spread a thin layer of vanilla buttercream, lemon curd, strawberry jam, or chocolate ganache between two cookies for a simple but indulgent treat.
5. Try different flours
or a nuttier flavor, replace a few tablespoons of the all-purpose flour with almond flour. If you prefer a slightly sturdier cookie, use a touch more all-purpose flour and reduce the rye by 1–2 tablespoons.
6. Make them gluten-free
Use a quality 1:1 gluten-free flour blend in place of the all-purpose flour. Keep the rye for flavor if tolerated, or substitute it with buckwheat or oat flour for a similar earthy note.
7. Reduce the sweetness
Cut the granulated sugar by 1–2 teaspoons for a more subtle, tea-style biscuit. The texture stays crisp but slightly less sweet.
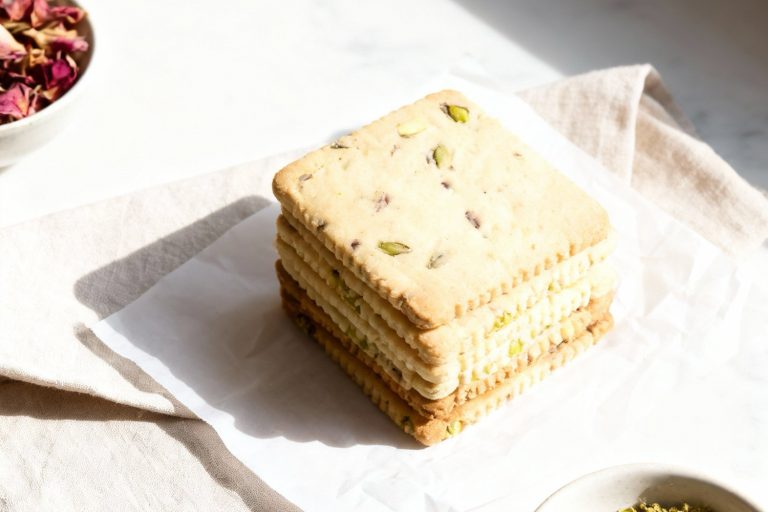
8. Add a touch of crunch
Press a few coarse sugar crystals on top before baking, or sprinkle with finely chopped toasted nuts (almonds, pistachios, or hazelnuts work well).
9. Infuse with floral notes
Mix in a tiny pinch of dried lavender or rose petals (culinary grade only) when pulsing the sugar. Start with very little since floral flavors can become strong quickly.
10. Go dairy-free
Swap the butter for a high-quality vegan butter stick. Choose one with a similar fat content to real butter so the dough texture stays the same.
How to Properly Store Your Vanilla Bean Biscuits
Keep your Vanilla Bean Biscuits fresh, crisp, and full of flavor with the right storage methods.
These biscuits store well, but proper packaging and temperature make all the difference.
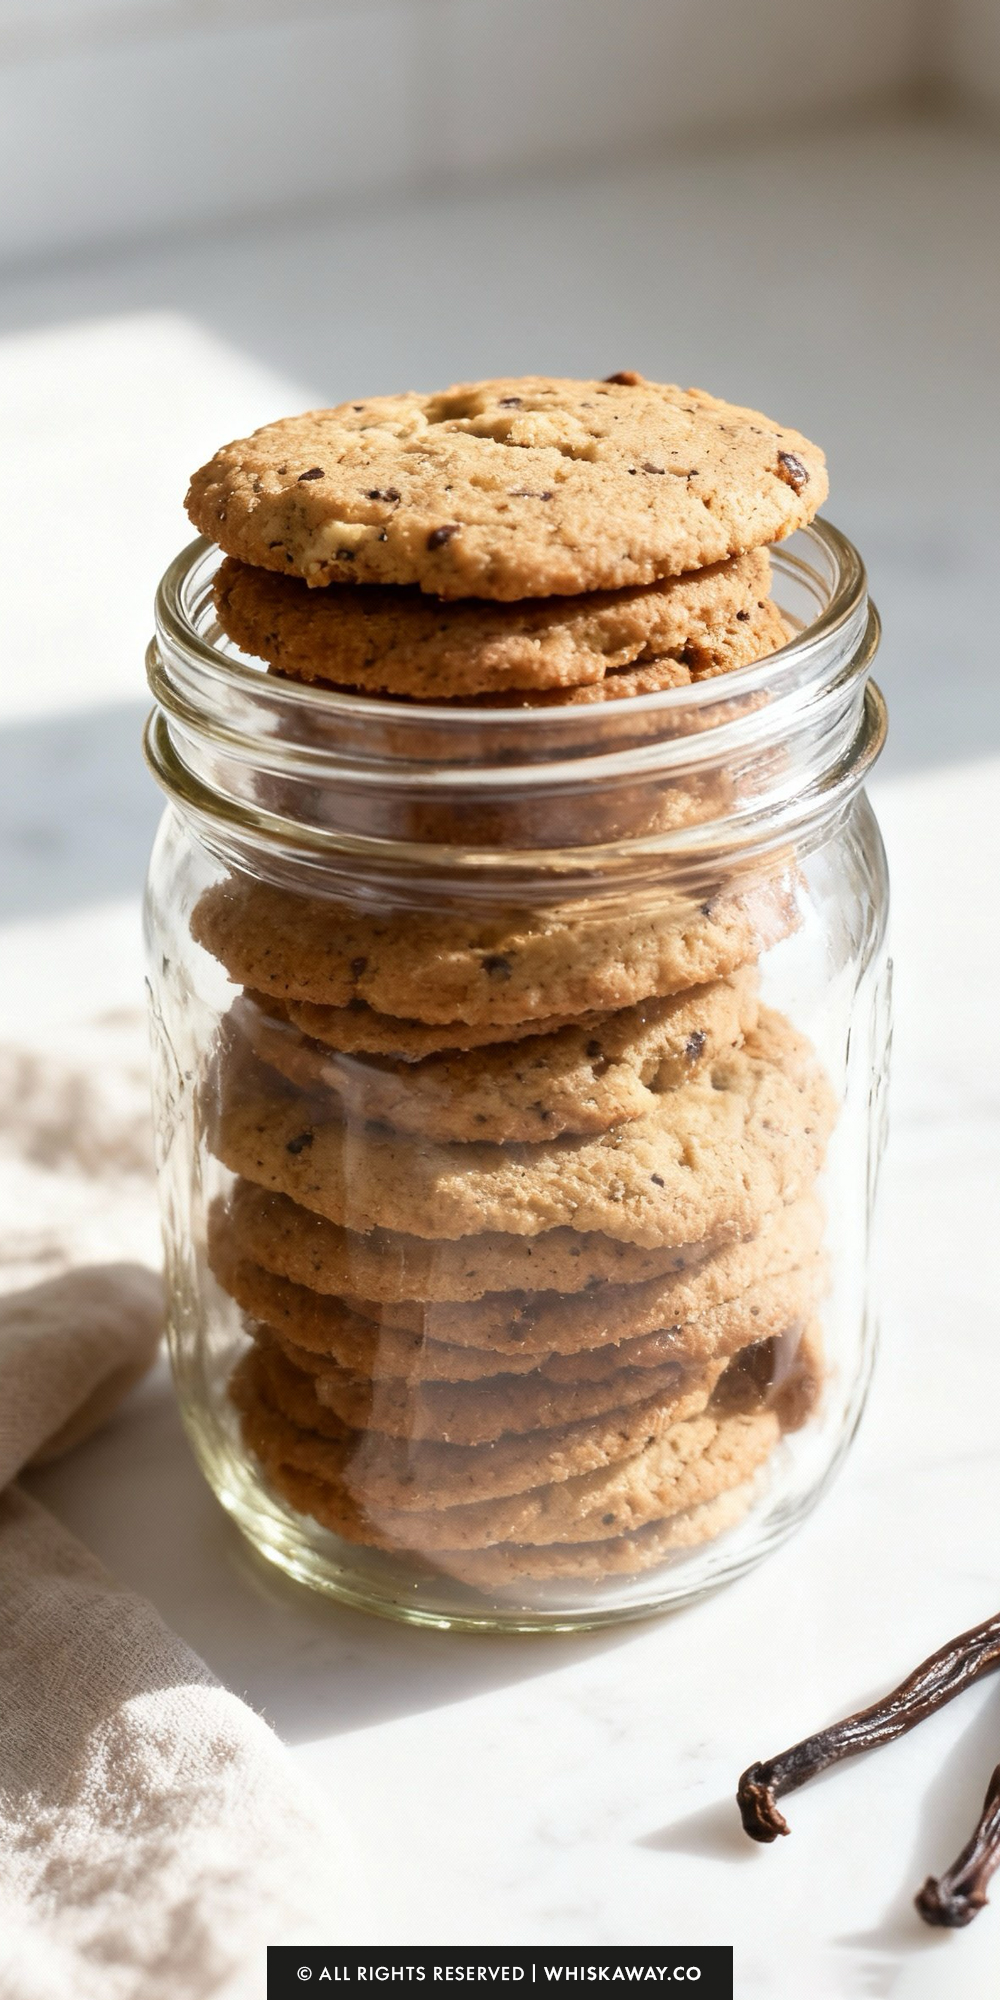
1. At room temperature (best for short-term storage)
Store completely cooled biscuits in an airtight container at room temperature for 5–7 days. Use a tin, glass jar, or well-sealed plastic container to help maintain their delicate crispness.
Add a small piece of parchment or a paper towel to absorb excess moisture and prevent the biscuits from softening.
2. Refrigeration (only if necessary)
Refrigeration isn’t usually recommended because it can make biscuits absorb moisture and lose their crisp texture.
If you must refrigerate (for example, if the filling or topping is perishable), store the biscuits in an airtight container lined with paper towels for up to 1 week, and allow them to return to room temperature before serving.
3. Freezing baked biscuits
Vanilla Bean Biscuits freeze beautifully. Arrange cooled biscuits in a single layer on a baking sheet and freeze until solid, then transfer them to a freezer-safe bag or container.
They’ll stay fresh for up to 2 months. To thaw, leave them at room temperature for 20–30 minutes.
If they need a little crisping, warm them in a 275°F (135°C) oven for 3–5 minutes.
4. Freezing unbaked dough
You can freeze the rolled-out dough or cut-out shapes for easy baking later. Freeze the dough flat between parchment sheets.
When ready to bake, let it soften just enough to cut or place on the tray, then bake straight from the freezer, adding 1–2 extra minutes if needed.
5. Keep moisture away
Moisture is the enemy of crisp biscuits. Avoid storing them while still warm, near humid areas (like by the stove or dishwasher), or in unsealed bags.
Mixing them with soft cookies can also make them lose their texture.
6. If the biscuits soften
A quick 3–4 minutes in a low oven will restore their crispness. Cool them completely again before re-storing.
Save This Pin To Your Pinterest Board for Later

FAQs
Can I substitute the vanilla bean with something else?
Yes. If you don’t have a whole vanilla bean, you can use 1–2 teaspoons of vanilla bean paste or an equal amount of high-quality vanilla extract. Vanilla bean paste will give a closer flavor and appearance since it includes the seeds.
Why is my dough too sticky to roll out?
This dough is naturally soft, but if it feels overly sticky, it may be too warm. Simply chill it for 15–20 minutes before rolling, and sandwich it between two sheets of parchment paper. Avoid adding extra flour, as it can make the biscuits dry.
How do I prevent the biscuits from spreading in the oven?
Always chill the cut biscuits before baking, especially if the dough has warmed while working with it. Cold dough helps the butter stay solid longer, resulting in clean edges and a better texture.
How long do the biscuits stay fresh, and what’s the best way to store them?
Stored in an airtight container at room temperature, the biscuits stay fresh for 5–7 days. For longer storage, freeze the baked biscuits for up to 2 months. Avoid refrigeration unless necessary, as it softens their crisp texture.
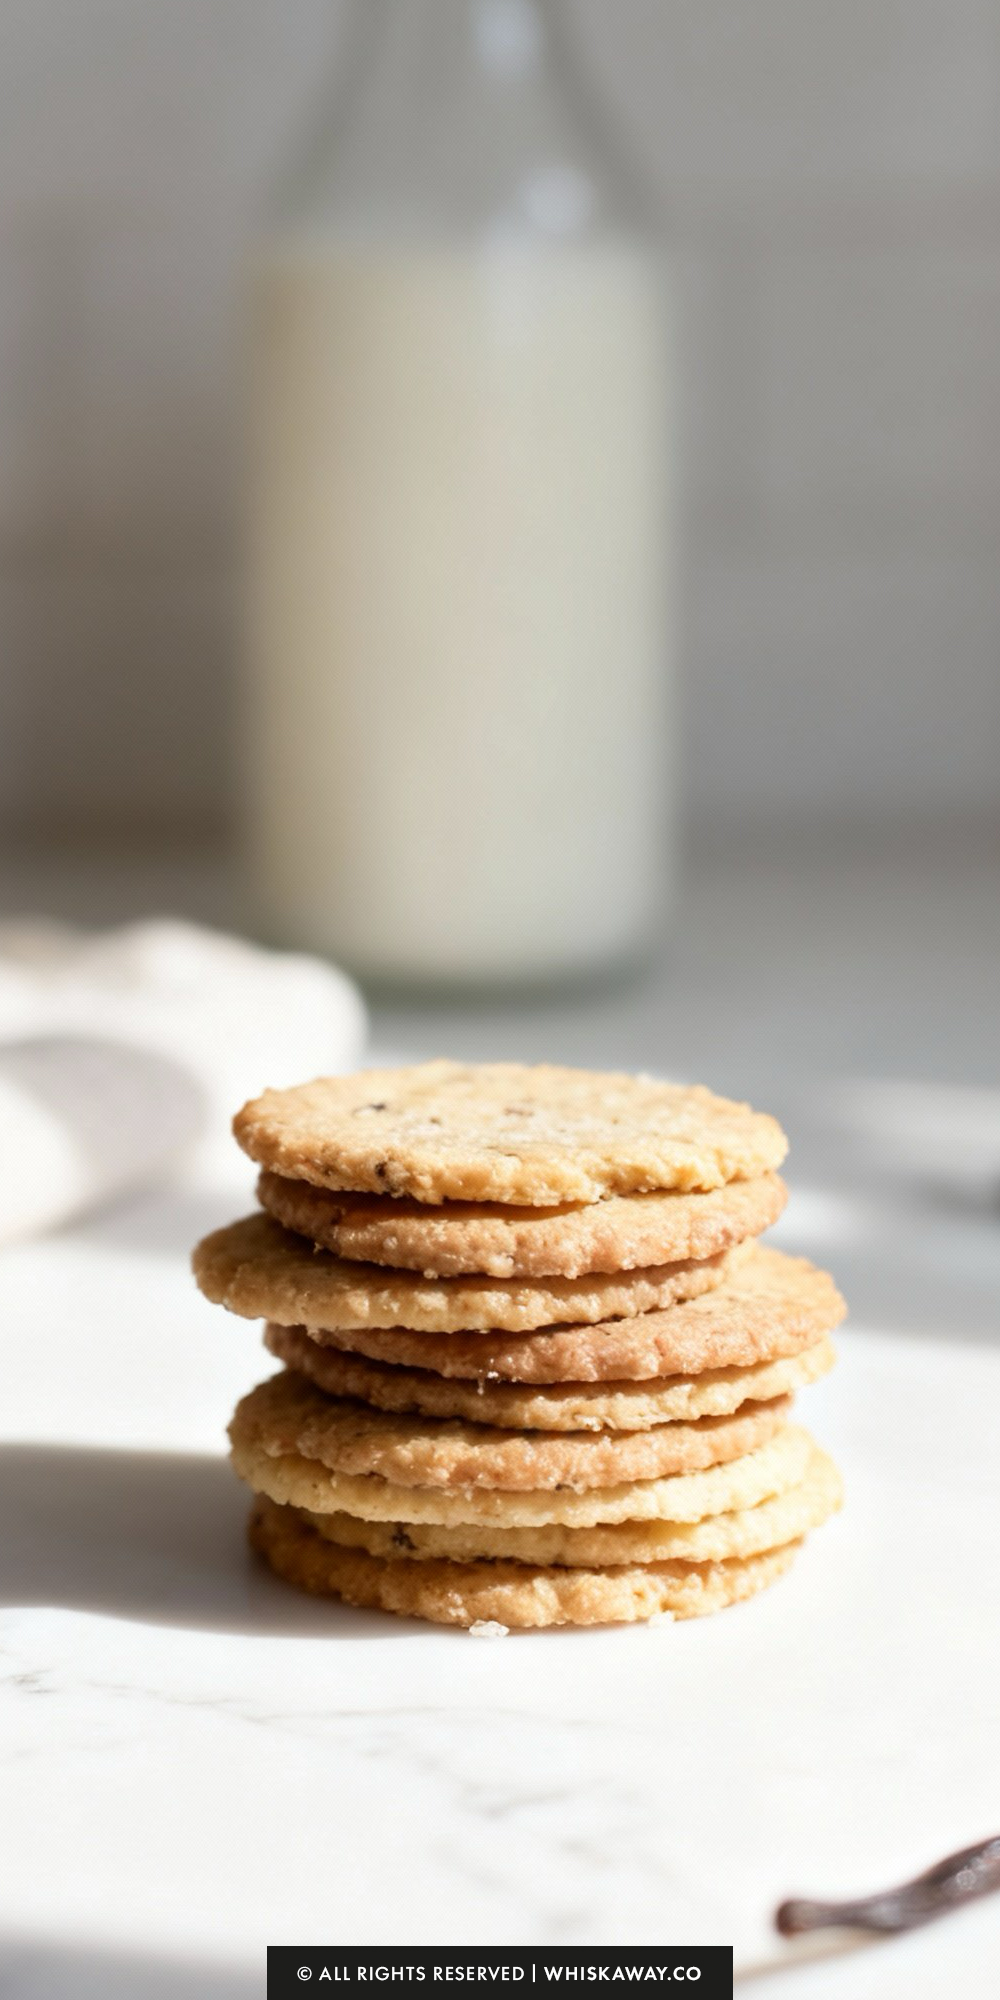
What’s the best way to serve Vanilla Bean Biscuits?
These biscuits are delicious on their own, but they’re also perfect with tea or coffee, layered with whipped cream and berries, or used as a base for ice cream sandwiches. For extra sweetness, dust the tops with powdered sugar or dip half the biscuit in melted chocolate.
Vanilla Bean Biscuits
4
biscuits30
minutes40
minutesIngredients
8 tablespoons / 4 oz / 115 g unsalted butter, room temperature, cut into chunks
1/2 cup+ / 2.5 oz / 70 g powdered sugar
1/2 cup / 2.5 oz / 70 g all-purpose flour
1/2 cup / 2 oz / 55 g rye flour
scant 1/4 cup / 1 1/2 oz / 45 g granulated sugar
1 pliable vanilla bean, cut into segments, ends trimmed if tough
1/2 teaspoon vanilla extract
1/4 teaspoon fine grain sea salt
Directions
- Add both sugars to a food processor along with the chopped vanilla bean pieces. Pulse for 1–2 minutes, or until the bean is finely ground. Sprinkle in the salt and give it another quick pulse.
- Add the butter chunks and vanilla extract to the processor. Pulse until the mixture becomes smooth and creamy. Check for any large bits of vanilla bean and pulse again if needed.
- Tip in the rye flour and all-purpose flour. Pulse for just a few seconds, about 5 to 10, until the dough gathers into a soft ball.
- Because the dough is slightly sticky, place it in the center of a large sheet of parchment paper. Lay a second piece on top and roll the dough to about ¼-inch thickness.
- Slide the rolled dough onto a baking sheet and refrigerate it for at least 30 minutes, or until firm. While it chills, preheat your oven to 350°F (175°C).
- Once the dough is cold, remove the top sheet of parchment and cut out cookies with your favorite cutter. Arrange them 1 inch apart on a parchment-lined baking tray.
- Lightly sprinkle each cookie with a touch of sugar, and add a tiny pinch of flaky salt if you like (be cautious as the cookies can become too salty quickly).
- Gather the remaining dough scraps, roll them out between parchment again, and repeat the cutting process. Chill the shaped cookies well—either in the fridge or freezer—especially if they’ve softened. This helps them keep their shape while baking.
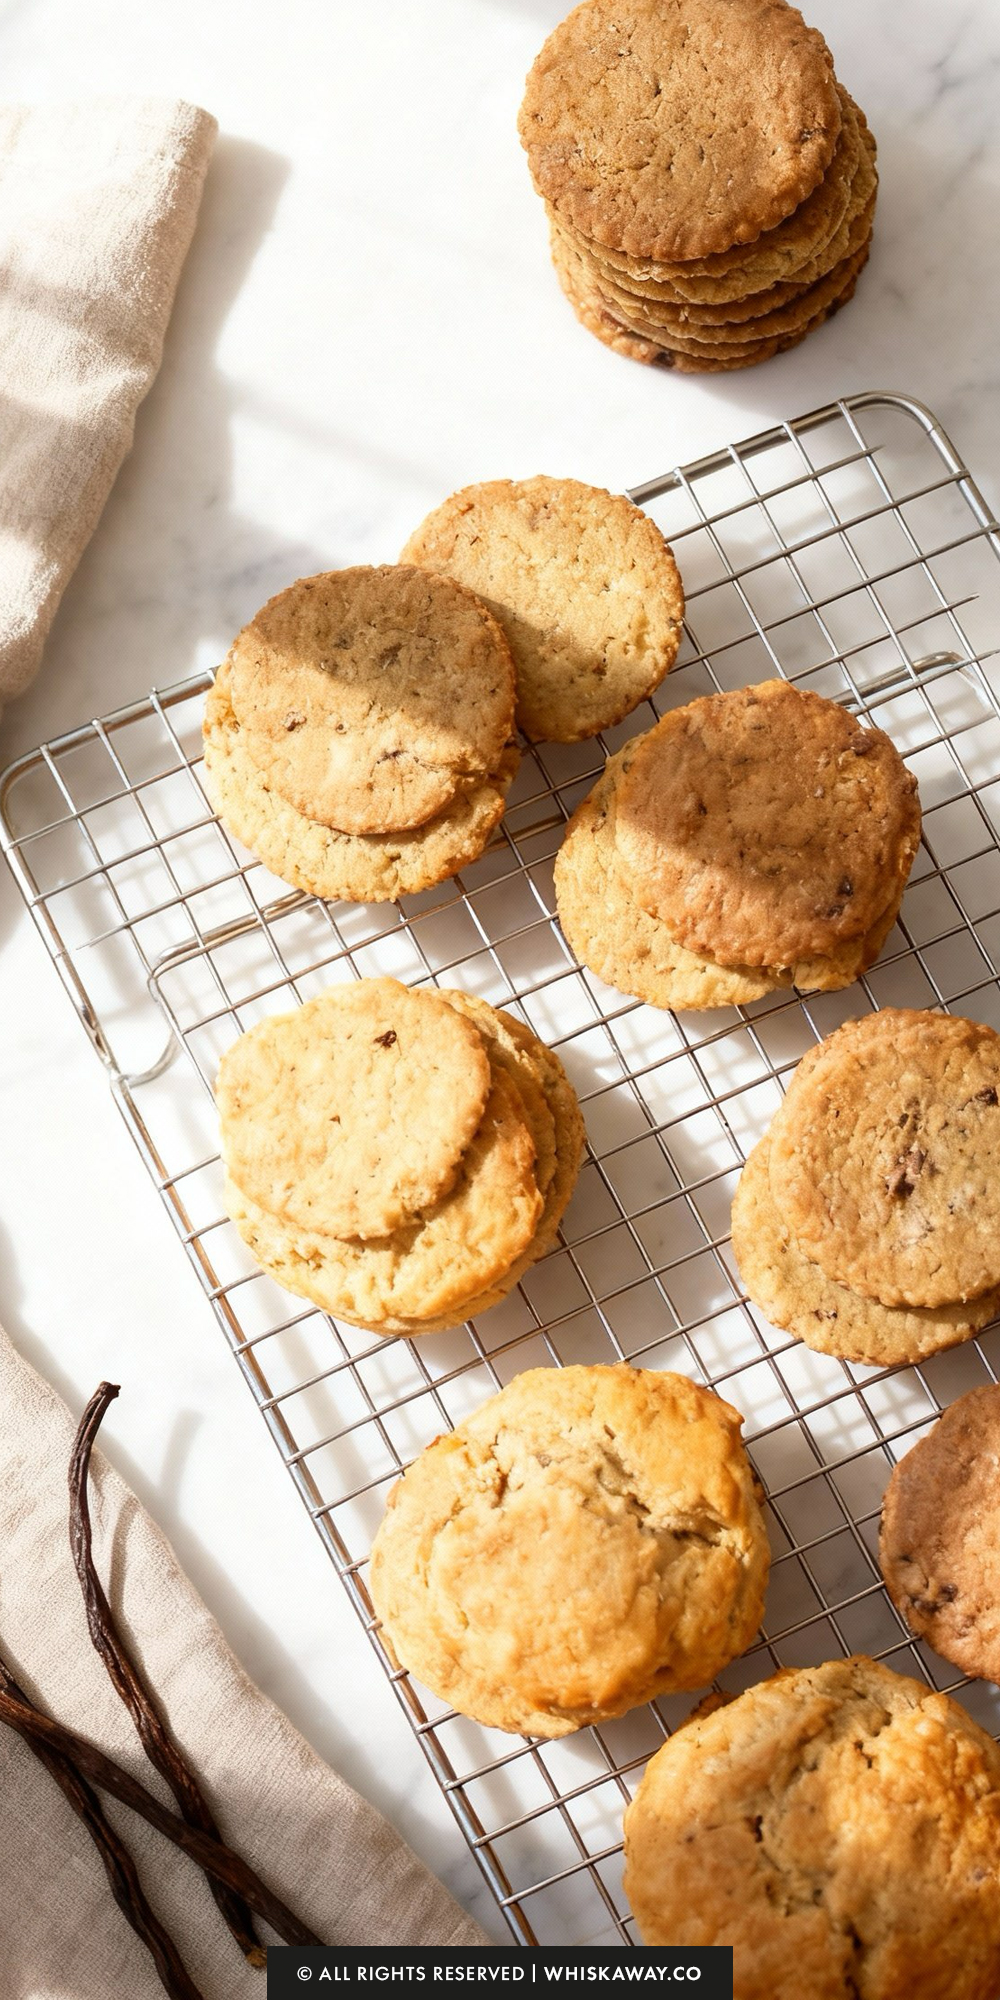
- Bake on the upper and lower racks of the oven for 10–15 minutes, or until the edges turn a light golden color.
- Let the cookies rest on the baking sheet for a couple of minutes before transferring them to a wire rack to cool completely.