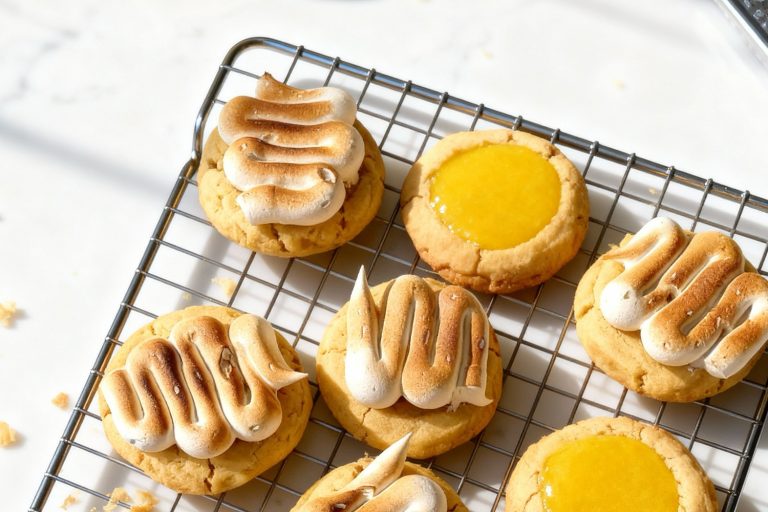
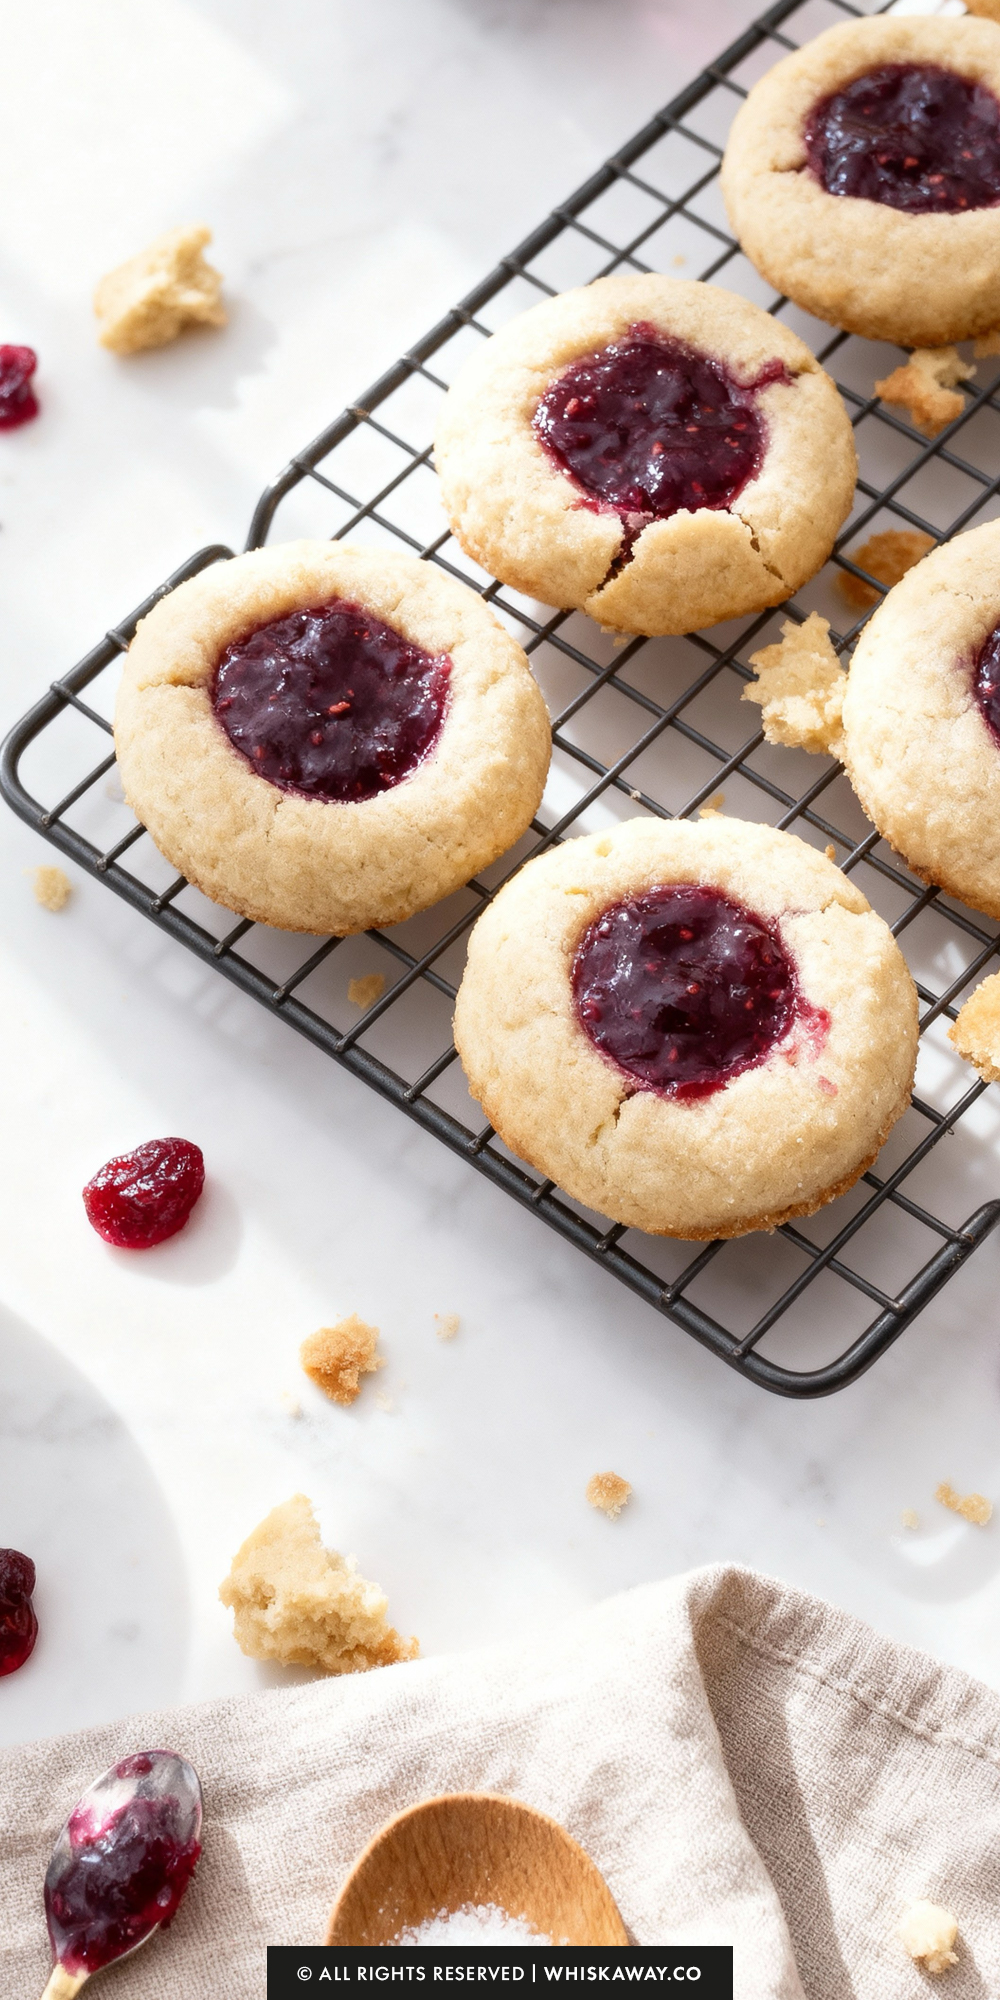
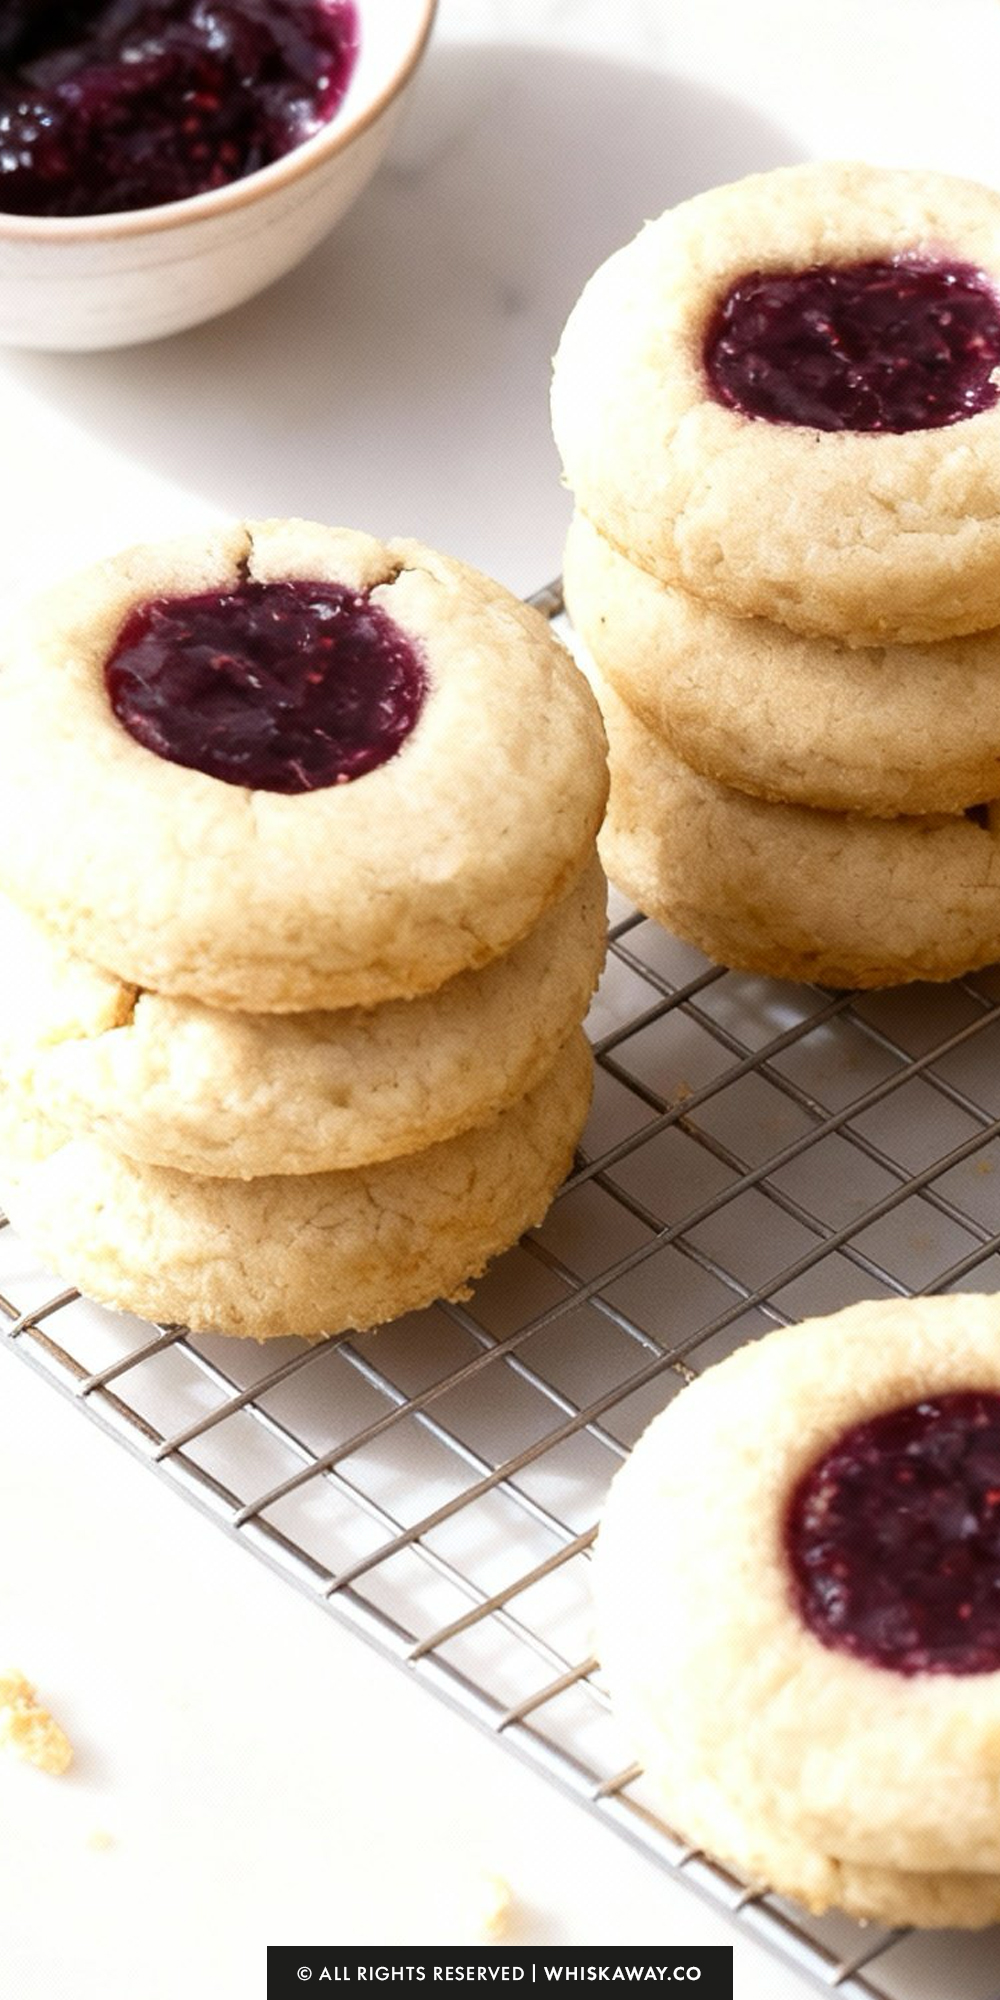
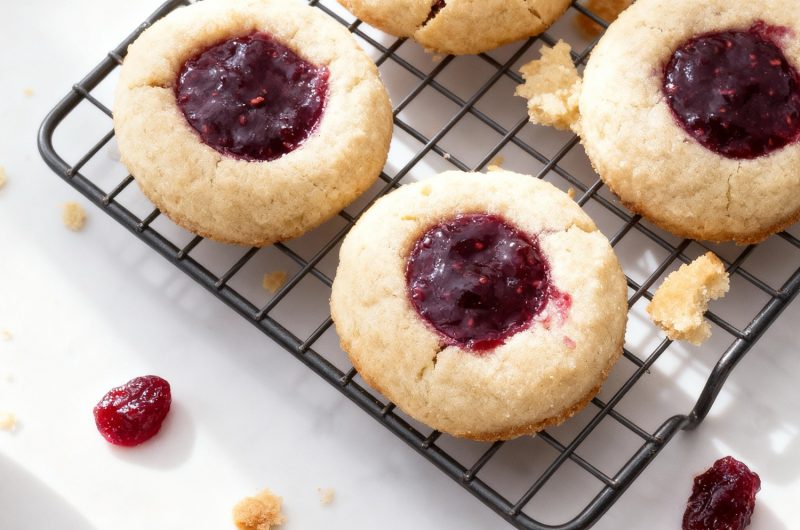
Thumbprint cookies are fun, fruity, and classic. Soft, buttery dough is gently pressed and filled with jam, creating a small, sweet burst of flavor in every bite.
Their nostalgic appeal makes them a favorite at holidays, tea parties, or casual dessert tables.
Simple to make yet endlessly customizable, thumbprint cookies can be filled with raspberry, apricot, or even chocolate for a rich twist.
A light dusting of powdered sugar adds an extra touch of charm.
Every bite of thumbprint cookies feels comforting and cheerful.
Bake a batch, and watch how quickly they disappear at any gathering.
How to Make Thumbprint Cookies
Delicate, buttery, and filled with sweet jam, these thumbprint cookies are as beautiful as they are delicious.
Each one bakes with a perfect center and tender crumb. Choose your favorite jam and let’s get baking!
🔥 Thumbprint cookies are ideal if you love a buttery base with a fruity or chocolate center. If that contrast is your favorite part, these are great next picks.
How to Get Your Thumbprint Cookies Just Right
1. Use room-temperature butter
Softened butter creams more easily with the sugar, giving your cookies a tender, melt-in-your-mouth texture.
Avoid using melted butter, as this can make the dough too loose and cause the cookies to spread too much.
2. Don’t overmix the dough
Once you add the flour mixture, mix only until just combined. Overmixing can develop gluten and make the cookies tough instead of soft and tender.
If the dough is crumbly, gently press it together with your hands rather than continuing to beat.
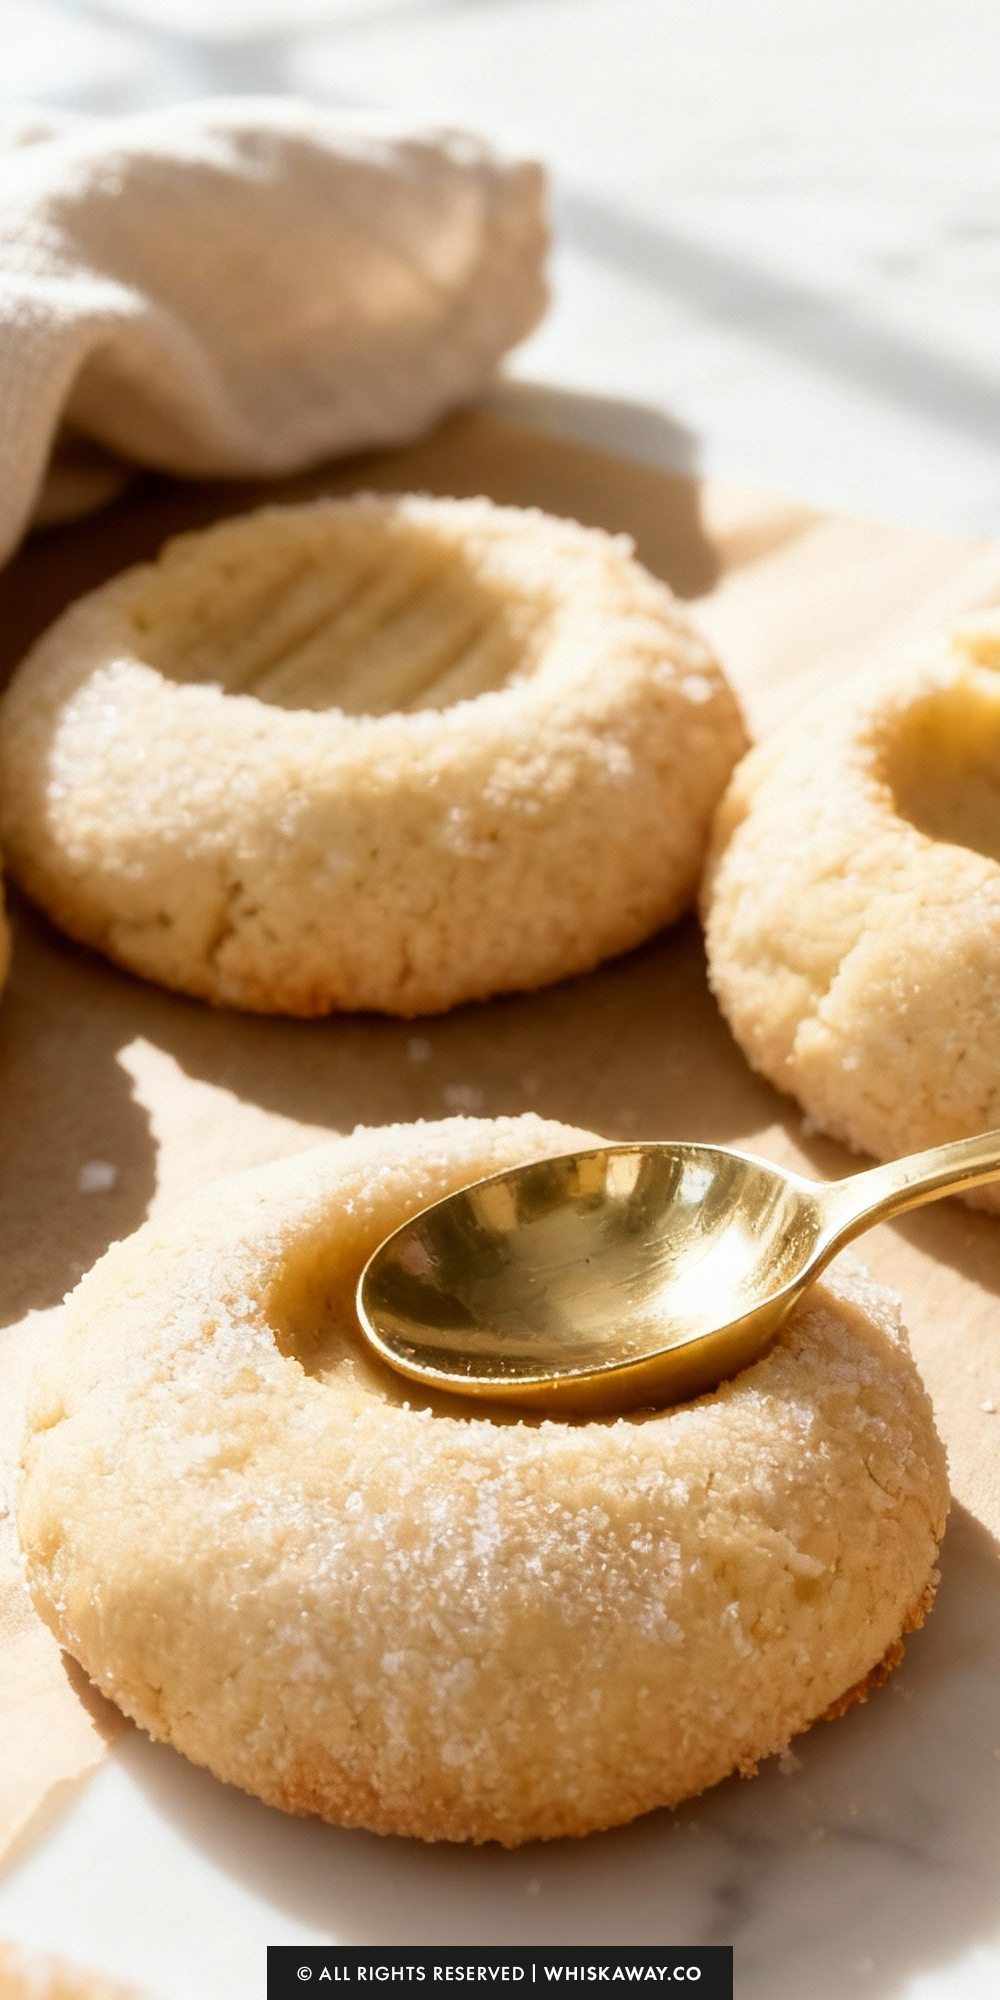
3. Smooth, crack-free balls
Roll your cookie dough into tightly packed, smooth balls with no seams or cracks. This helps prevent the thumbprints from cracking during baking and keeps the cookies looking neat.
4. Chill for stability
Chilling the dough for at least 30 minutes is key. Cold dough spreads less in the oven, keeping the cookies thick and maintaining the perfect thumbprint indentation. For best results, don’t skip this step.
5. Make the thumbprint carefully
Too deep, and the cookie may crack; too shallow, and it won’t hold enough jam. Using the back of a teaspoon or your thumb works well.
6. Press gently to create a well-shaped indentation
Warm jam ensures it fills the indentation smoothly without breaking or spilling over the edges. Avoid overheating—too hot jam will make the cookies soggy.
7. Soften the jam slightly
Keep an eye on the cookies; bake just until the edges turn lightly golden. Overbaking dries out the cookies and makes them crumbly instead of soft and tender.
8. Don’t overbake
Allow the cookies to cool on the baking sheet before moving them. This helps them firm up and prevents the jam from sliding or making a mess.
9. Cool completely
Sprinkle a tiny pinch of flaky salt on top of the jam before serving to enhance the flavor, or lightly dust the edges with powdered sugar for a pretty presentation.
10. Optional finishing touches
If making multiple batches, allow your oven to fully preheat and rotate the baking sheets halfway through baking for even coloring and texture.
11. Consistency tip
By following these tips, you’ll get beautifully shaped thumbprint cookies with soft, buttery centers, just-set edges, and perfectly filled jam centers every time.
Variation Tips
1. Swap the jam
- Try different flavors of preserves like raspberry, apricot, strawberry, or blueberry for a colorful twist.
- Mix jams with a touch of lemon zest or orange zest for a fresh, tangy flavor boost.
- For a richer taste, use chocolate spread, Nutella, or a peanut butter and jelly combination instead of fruit jam.
2. Add flavor to the dough
- Incorporate ½ teaspoon almond extract, orange extract, or lemon extract for a subtle, aromatic flavor.
- Stir in finely chopped nuts (like pecans, walnuts, or pistachios) for added texture and flavor.
- For a spiced version, add ¼ teaspoon cinnamon or nutmeg to the dough.
3. Make it gluten-free
Substitute all-purpose flour with a 1-to-1 gluten-free flour blend. Add an extra 1–2 tablespoons of flour if the dough feels too soft.
4. Make it vegan or dairy-free
- Replace butter with a vegan butter alternative or coconut oil (solid, not melted).
- Use a plant-based milk in place of any liquid additions, if your jam is particularly thick and needs thinning.
5. Adjust sweetness
- Reduce the granulated and brown sugar slightly if you prefer less sweetness, or swap to coconut sugar for a deeper, caramel-like flavor.
- Use naturally lower-sugar or no-sugar-added jams to balance the sweetness.
6. Creative toppings
- After filling with jam, sprinkle chopped nuts, coconut flakes, or colored sugar over the top before baking.
- Drizzle with a light icing or melted chocolate once cooled for a festive or decorative touch.
7. Mini or jumbo sizes
- Make mini thumbprints for bite-sized treats—bake for 8–9 minutes.
- Make larger cookies for gift boxes or dessert platters—bake for 12–13 minutes, checking for lightly golden edges.
8. Flavor-infused dough
- Roll the cookie dough balls in finely chopped freeze-dried berries or cocoa powder before pressing the thumbprint.
- Add finely grated lemon or orange zest to the dough for a citrusy aroma.
These tweaks allow you to experiment with flavors, textures, and dietary preferences while keeping the buttery, tender essence of classic thumbprint cookies intact.
Storage Tips
1. Room Temperature Storage
- Store completely cooled thumbprint cookies in an airtight container at room temperature.
- Layer cookies with parchment paper or wax paper to prevent them from sticking together, especially if they have sticky jam centers.
- Properly stored, they will stay fresh for up to 5 days.
- Avoid leaving cookies exposed to air, as this can cause them to dry out or the jam to become overly sticky.
2. Refrigeration
- Place cookies in a single layer or separated by parchment paper in an airtight container.
- Refrigeration can help preserve the jam centers longer and prevent spreading, especially in warm or humid climates.
- Cookies will keep for up to 10 days in the fridge.
- Allow refrigerated cookies to come to room temperature for 10–15 minutes before serving so the texture softens and flavors are more pronounced.
3. Freezing
- Thumbprint cookie dough can be frozen before baking. Scoop and shape the dough into balls, make the thumbprint indentation, and freeze on a baking sheet until solid. Then transfer to a freezer-safe container or bag for up to 3 months. Bake directly from frozen, adding 1–2 extra minutes to baking time.
- Fully baked cookies can also be frozen. Place cooled cookies in a single layer on a baking sheet and freeze until solid. Transfer to an airtight container or freezer bag, separating layers with parchment paper.
- To thaw, let cookies sit at room temperature for 1–2 hours. Optionally, warm briefly in a 300°F (150°C) oven for 3–5 minutes to refresh the texture.
4. Packaging Tips
- For gifting, layer cookies in a sturdy tin or box with parchment paper in between layers.
- Avoid stacking warm cookies, as condensation can make the jam too soft and cookies soggy.
Common Mistakes to Avoid
- Don’t store cookies before they have completely cooled; this can cause condensation and soggy bottoms.
- Avoid overpacking containers without parchment or wax paper between layers—cookies may stick together or jam may smear.
- Keep cookies away from direct sunlight or heat, which can soften the jam and affect the cookie texture.
Following these tips ensures your Thumbprint Cookies remain tender, buttery, and jam-filled just as delicious days after baking.
Save for Later to Your Pinterest Board

FAQs
Can I use different types of jam or preserves?
Yes! Thumbprint cookies are very versatile. You can use raspberry, apricot, strawberry, cherry, or any jam you like. For a more intense flavor, try using preserves with chunks of fruit. Just make sure the jam is soft enough to fill the thumbprint indentation easily.
Can I make these cookies dairy-free or vegan?
Absolutely. Replace the butter with a plant-based vegan butter or coconut oil. For the egg yolk, you can try using a flax or chia egg (1 tablespoon ground flax or chia seeds + 3 tablespoons water, let sit 5–10 minutes). The texture may be slightly different, but the cookies will still be tender and delicious.
How do I prevent the cookies from cracking or spreading too much?
1. Ensure your dough is well-chilled before baking; this helps the cookies hold their shape.
2. Roll the dough into smooth balls without cracks, which helps the thumbprint stay intact.
3. Avoid pressing the thumbprint too deeply, or the jam may spill out during baking.
How long do Thumbprint Cookies last, and how should I store them?
1. At room temperature in an airtight container, cookies stay fresh for up to 5 days.
2. In the refrigerator, they can last up to 10 days.
3. Fully baked cookies can also be frozen for up to 3 months. Layer with parchment paper in an airtight container or freezer bag.
Can I make these cookies ahead of time or freeze the dough?
Yes! The dough can be shaped into balls and frozen before baking. Chill the dough for at least 30 minutes or up to 2 months in the freezer. Bake directly from frozen, adding a minute or two to the baking time. This is perfect for preparing ahead for holidays or gatherings.
Thumbprint Cookies
24
cookies20
minutes11
minutesThis thumbprint cookies recipe is filled with your favorite jam for a soft, buttery cookie that’s sweet and satisfying.
Ingredients
2 ¼ cups (280 g) all-purpose flour
1 cup (226 g) unsalted butter, softened to room temperature
⅓ cup (105 g) jam or preserves, flavor of your choice
⅓ cup (70 g) light brown sugar, tightly packed
⅓ cup (70 g) sugar
1 large egg yolk
2 teaspoons cornstarch
¾ teaspoon vanilla extract
½ teaspoon salt
½ cup sugar for rolling (optional)
Directions
- Cream the butter: Place the unsalted butter in the bowl of a stand mixer (or a large bowl if using a hand mixer) and beat until smooth and creamy.
- Add the sugars: Scrape down the sides of the bowl, then add the granulated sugar and light brown sugar. Beat on medium-high speed until the mixture is fully combined and fluffy, about 30–60 seconds.
- Incorporate egg and vanilla: Add the egg yolk and vanilla extract, mixing until completely blended.
- Combine dry ingredients: In a separate bowl, whisk together the all-purpose flour, cornstarch, and salt.
- Mix dough: On low speed, gradually add the flour mixture to the butter mixture. The dough will appear crumbly and dry—pause occasionally to scrape the bowl’s sides and bottom. If needed, use your hands to gently press the dough together to form a cohesive ball.
- Shape the cookies: Scoop the dough into 1-Tablespoon portions. Roll each piece into a smooth, crack-free ball to prevent thumbprints from splitting during baking.
- Optional sugar coating: Roll each ball in granulated sugar, if desired, and place on a small plate or cookie sheet lined with wax paper. Press a gentle indentation in the center of each cookie using your thumb or the back of a teaspoon.
- Chill the dough: Transfer the prepared cookie dough to the freezer and chill for 30 minutes.
- Prepare the jam: While the dough chills, preheat your oven to 375°F (190°C). Place the jam in a small microwave-safe bowl and heat briefly, just enough to soften it for easy spooning (about 5–10 seconds).
- Fill the cookies: Spoon the softened jam into each thumbprint, filling the indent generously.
- Bake: Arrange the cookies on a parchment-lined baking sheet with at least 2 inches between each.
- Bake at 375°F (190°C) for 11 minutes, or until the edges just start to turn golden.
- Cool: Allow the cookies to cool completely on the baking sheet before serving or storing.