If you’ve ever found yourself standing in the baking aisle, torn between the nostalgia of a warm sugar cookie and the creamy indulgence of a piece of fudge, I have some very good news: you no longer have to choose.
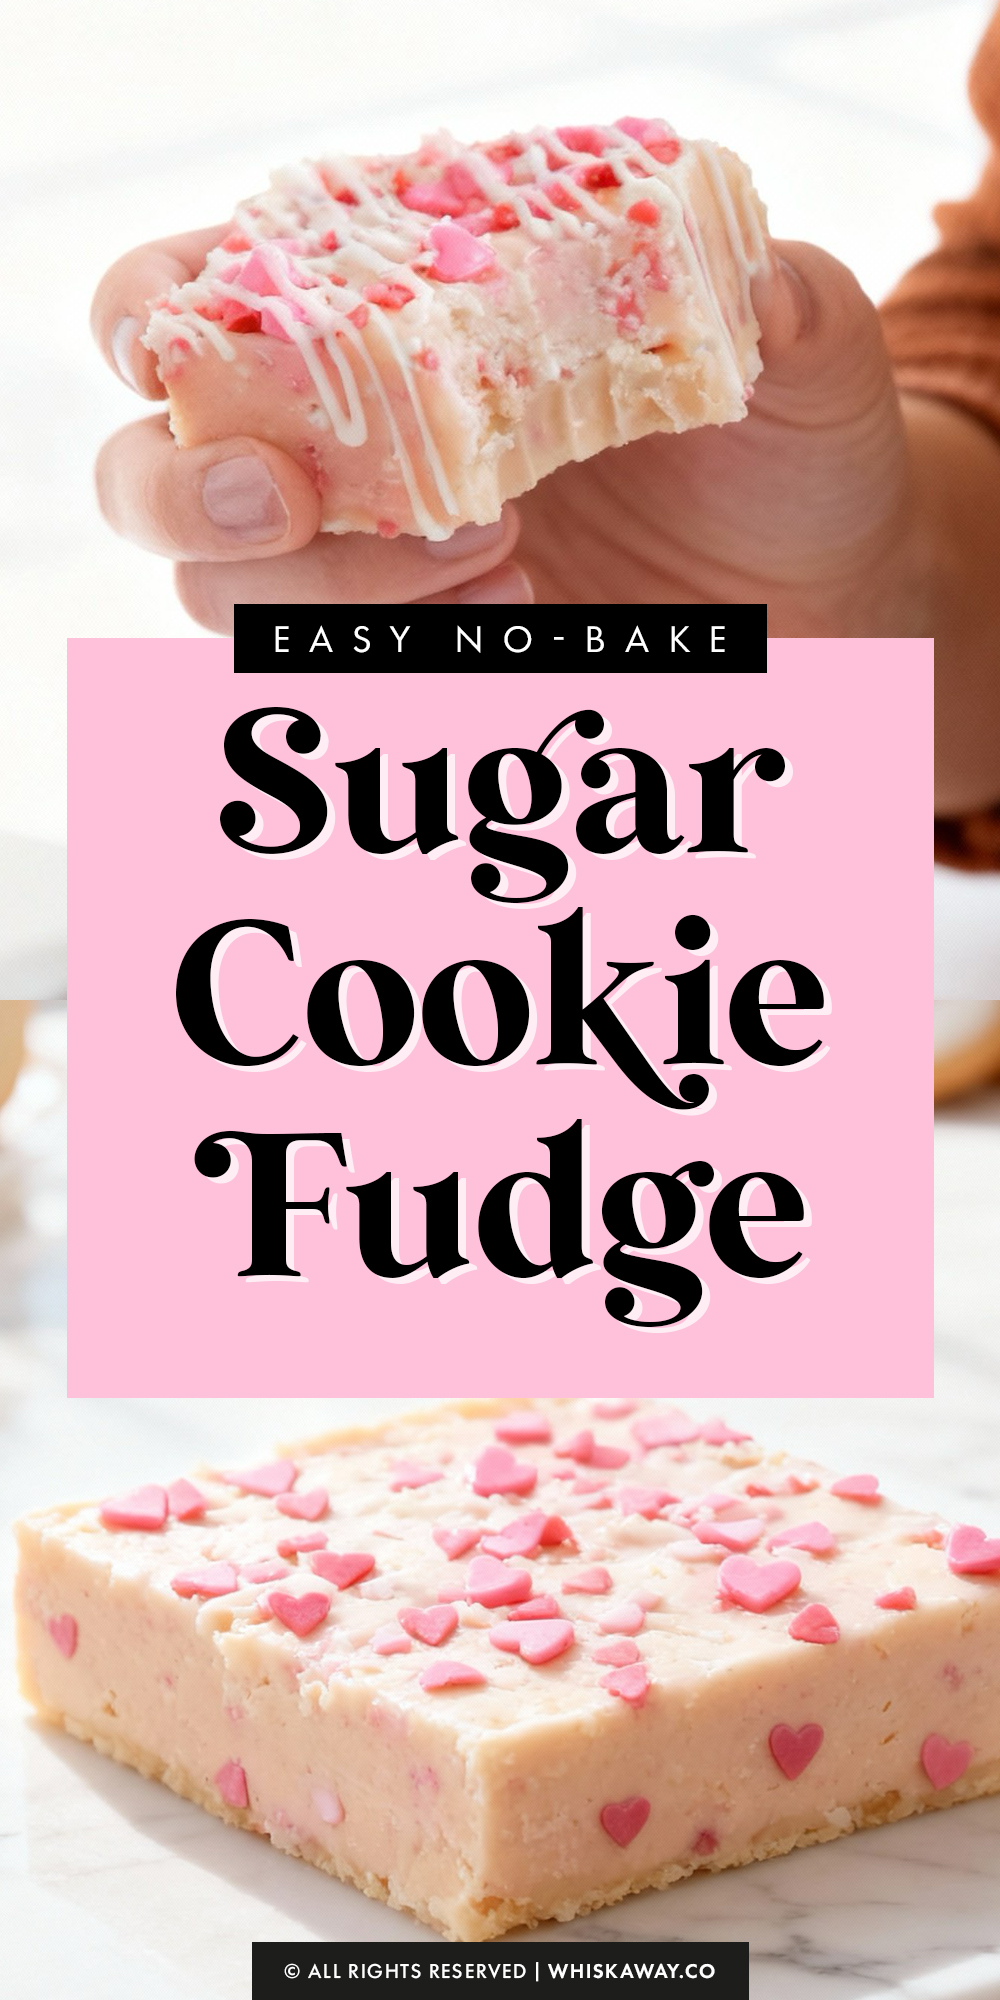
This sugar cookie fudge is the ultimate holiday mashup; a decadent, white chocolate treat that tastes exactly like a fresh batch of sugar cookie dough, but in a smooth, melt-in-your-mouth fudge form.
Whether you’re adding it to a gift tin or serving it at a party, be prepared to share the recipe, because everyone is going to ask how you got that cookie flavor into a single square of fudge!
Why You’ll Love This Recipe
Sugar cookie fudge is indulgent, soft, and rich, combining the best of tender cookies and creamy fudge in one dessert.
It’s visually impressive, easy to portion, and makes for a decadent treat any time of year.
Key Reasons to Love Them:
- Soft sugar cookie base with rich, creamy fudge layers.
- Gooey texture that is indulgent and satisfying.
- Easy to slice into bars for sharing or gifting.
- Perfect balance of sweetness without being overpowering.
- Beginner-friendly with forgiving baking steps.
🔥 If you love no-bake Valentine’s treats, you’ll also enjoy strawberry cheesecake truffles, rich red velvet truffles, or chocolatey heart shaped fudge brownies.
How to Get Your Sugar Cookie Fudge Just Right
Fudge can be a bit temperamental, especially when using white chocolate and condensed milk.
To ensure your batch has that perfect, creamy “sugar cookie” bite rather than being oily or gritty, follow these expert tips.
1. Heat Treatment (Safety First)
Most boxed cookie mixes contain raw flour, which can carry bacteria. Since this fudge isn’t “baked” in the traditional sense, it is a good idea to heat-treat your cookie mix before starting.
The Fix: Spread the dry cookie mix on a baking sheet and bake at 350°F (175°C) for about 5 minutes (or until it reaches 160°F). Let it cool before adding it to your double boiler.
2. The Low and Slow Method
White chocolate has a much lower melting point than dark chocolate and can “seize” or turn grainy if it gets too hot.
The Technique: Never let the water in your double boiler touch the bottom of the bowl. The steam is what should do the work.
If the mixture starts to look oily, remove it from the heat immediately and stir vigorously to bring the fats back together.
3. Avoid the “Grainy” Texture
Because you are adding a dry mix (the cookie mix) into a liquid base, you need to ensure the sugar crystals in the mix dissolve completely.
The Trick: Don’t rush step 3! That extra 2–3 minutes of stirring over the gentle heat is what allows the sugar in the cookie mix to melt into the condensed milk, resulting in a professional, fudge-like consistency.
4. Choosing the Right “Chips”
Not all white chocolate chips are created equal.
The Tip: Check the bag for “cocoa butter.” Higher-quality white chocolate chips (like Ghirardelli) melt much more smoothly than “white morsels” or “white baking chips,” which often use palm oil and can result in a waxier texture.
5. Timing Your Sprinkles
If you add your sprinkles while the fudge is piping hot, the colors might “bleed,” leaving you with streaks of pink or green instead of distinct pops of color.
The Fix: Let the fudge mixture cool for about 60 seconds after removing it from the heat before folding in the first half of the sprinkles.
6. The Clean Cut
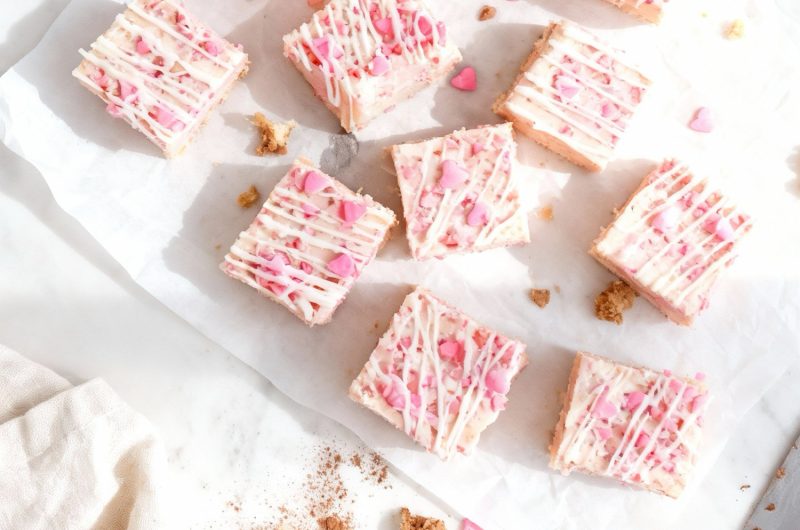
Fudge can be sticky, making it hard to get those perfect, sharp-edged squares you see in bakeries.
The Secret: Wipe your knife with a warm, damp cloth between every single cut. A warm blade slices through the fudge like butter, and cleaning the blade prevents “crumbs” from sticking to the next piece.
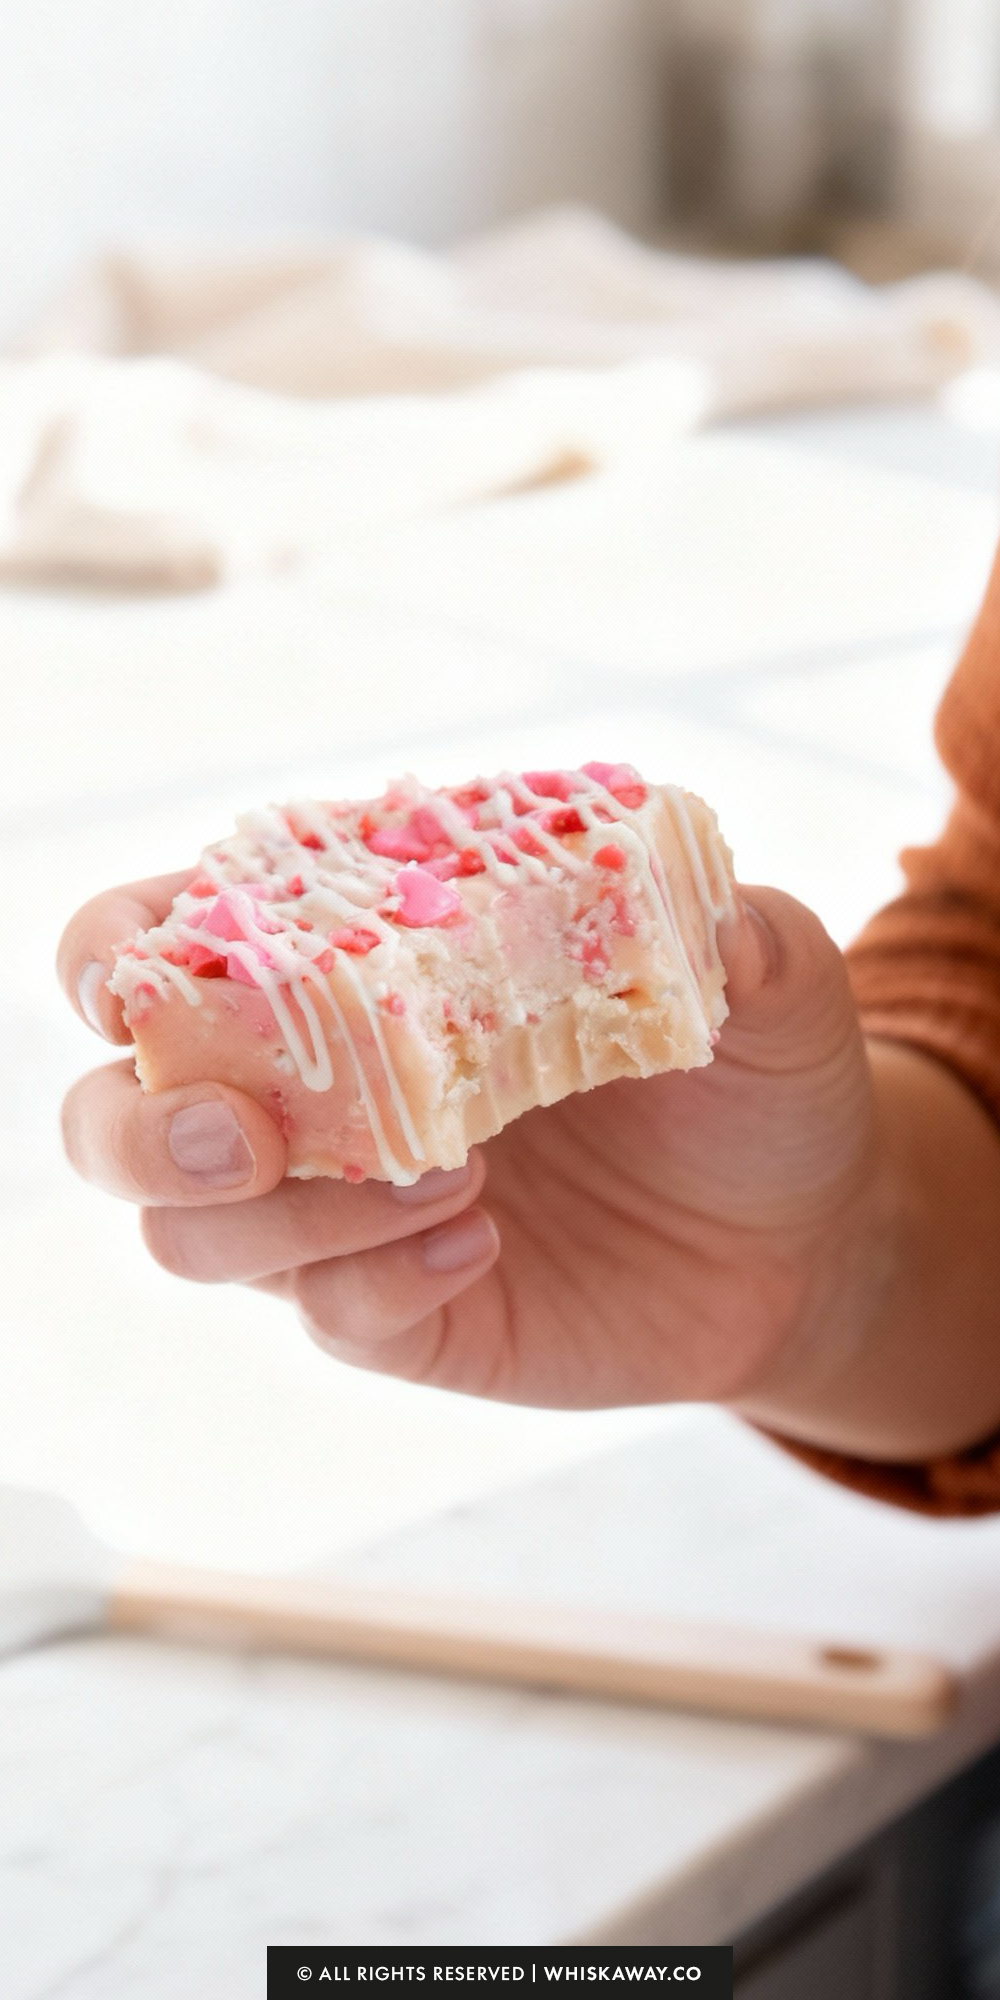
7. Don’t Skip the Drizzle
The almond bark drizzle isn’t just for looks; it adds a different snap of texture and a boost of vanilla flavor that rounds out the “sugar cookie” profile.
If you find the almond bark too thick, add a tiny drop of vegetable oil to help it flow better.
Easy Baking Tips That Have Worked for Me
Layering tender sugar cookies with rich, creamy fudge is indulgent and satisfying.
During baking, the fudge melts slightly, forming gooey pockets that enhance the cookie texture. The edges of the cookies become lightly crisp while the centers remain soft and chewy, creating a delightful contrast.
The aroma of warm sugar and chocolate fills the kitchen, creating anticipation for tasting.
When cooled slightly, each bite delivers the perfect combination of tender cookie and luscious fudge that melts on the tongue.
Variation Tips
Sugar cookie fudge is a fantastic “base” recipe because white chocolate and sweetened condensed milk act like a blank canvas.
Here are several ways to customize the flavor, look, and texture to fit any theme or dietary need.
1. The “Birthday Cake” Remix
Want that classic cake batter flavor year-round?
The Swap: Replace the sugar cookie mix with dry yellow cake mix or “Funfetti” cake mix.
The Add-in: Use rainbow jimmies instead of holiday sprinkles.
The Flavor: Add an extra half-teaspoon of almond extract alongside the vanilla to mimic that nostalgic wedding cake taste.
2. Toasted Coconut Cookie Fudge
For a tropical, nutty twist on the traditional sugar cookie.
The Add-in: Fold in 1/2 cup of toasted shredded coconut when you add the sprinkles.
The Garnish: Sprinkle a little extra toasted coconut on top of the almond bark drizzle before it sets.
3. “Cookies & Cream” Sugar Cookie
If you love a bit of crunch in your fudge.
The Mix-in: Fold in 1 cup of crushed golden Oreos (or regular Oreos for a high-contrast look) right before pouring the fudge into the pan.
The Texture: The cookie chunks provide a great textural contrast to the creamy fudge.
4. Lemon Sugar Cookie Variation
Brighten up the richness of the white chocolate with some acidity.
The Prep: Add the zest of one lemon and 1/2 teaspoon of lemon extract to the melting mixture.
The Look: Use yellow and white sprinkles for a fresh, spring-inspired aesthetic.
5. Salty & Sweet Pretzels
To balance out the intense sweetness of the white chocolate and condensed milk.
The Add-in: Stir in 1/2 cup of crushed pretzels along with the sprinkles.
The Finish: Top the fudge with a light dusting of flaky sea salt once it’s in the pan.
6. Dietary Adaptations
Gluten-Free: Ensure your white chocolate chips are GF and substitute the sugar cookie mix for a Gluten-Free Sugar Cookie Mix (such as King Arthur or Cup4Cup).
Since the mix is heat-treated and melted, the texture remains excellent.
Dairy-Free: This is a bit more involved, but you can use sweetened condensed coconut milk and dairy-free white chocolate chips (like Enjoy Life).
Substitute the butter with a vegan butter stick. Note that coconut milk will add a slight coconut flavor to the final product.
7. Espresso Sugar Cookie
For an “adult” version that pairs perfectly with coffee.
The Mix-in: Dissolve 1 tablespoon of instant espresso powder into the sweetened condensed milk before adding it to the double boiler. The coffee flavor cuts through the sweetness beautifully.
Save for Later to Your Pinterest Board
How to Properly Store Your Sugar Cookie Fudge
White chocolate fudge has a higher fat and sugar content than traditional fudge, making it incredibly shelf-stable.
However, because it is softer than dark chocolate fudge, it requires specific care to prevent it from becoming overly soft or losing its “snap.”
1. Room Temperature (Best for 1–2 Weeks)
The Environment: If your kitchen is cool (below 70°F/21°C), you can store the fudge in an airtight container on the counter.
The Setup: Use parchment paper between layers to prevent the squares from fusing together.
Texture Note: At room temperature, the fudge will have its creamiest, most “cookie dough-like” texture.
2. Refrigeration (Best for 3–4 Weeks)
Why Chill: This is the ideal method for long-term snacking. The fridge keeps the white chocolate firm and prevents the sprinkles from potentially softening.
The Protection: White chocolate is notorious for absorbing odors. Ensure your container has a very tight seal so your fudge doesn’t end up tasting like last night’s leftovers.
Serving: For the best flavor, let the fudge sit at room temperature for about 10 minutes before eating so the buttery notes can shine.
3. Freezing (Best for up to 3 Months)
The Method: Wrap the entire block (or individual squares) tightly in plastic wrap, then place them inside a heavy-duty freezer bag or airtight container.
Thawing: Move the fudge to the refrigerator for 24 hours before bringing it to room temperature. This gradual thaw prevents condensation from forming on the surface, which can make the sprinkles bleed or the almond bark drizzle become sticky.
4. Gifting and Packaging
Individual Wraps: If you are including these in holiday tins, wrap the squares in small cellophane bags or decorative foil.
Avoid “Bleeding”: Do not pack this fudge in the same container as moist cookies (like soft gingerbread). The fudge will absorb the moisture and spice scents from the cookies, ruining its sugar-cookie profile.
5. Storage Mistakes to Avoid
The “Melting Point” Danger: White chocolate begins to soften much faster than dark chocolate. Never leave the container in a sunny window or near a running dishwasher/oven.
Never Reheat: If the fudge gets too soft, do not try to “cook” it again. Simply place it back in the refrigerator to firm up.
Skipping the Airtight Seal: If left uncovered, the fudge will develop a “skin” and the edges will become hard and crumbly rather than creamy.
FAQs
Is it safe to use raw sugar cookie mix in the fudge?
Because the cookie mix contains flour, it is best to “heat-treat” it first to eliminate any potential bacteria. Simply spread the dry mix on a baking sheet and bake it at 350°F for 5 minutes. Let it cool completely before adding it to your double boiler. This keeps the recipe “no-bake” while ensuring it is safe for everyone to enjoy.
Why did my fudge turn out oily or separated?
This usually happens if the white chocolate gets too hot. White chocolate is very sensitive to heat; if it reaches a certain temperature, the cocoa butter will separate from the solids. Always use a double boiler over simmering (not boiling) water and stir constantly. If it starts to look oily, remove it from the heat immediately and whisk it vigorously to bring it back together.
Can I make this in the microwave instead of a double boiler?
Yes, you can, but you must be very careful. Combine the ingredients in a microwave-safe bowl and heat in 30-second bursts at 50% power. Stir thoroughly between each interval. Stop heating as soon as most of the chips have melted, and let the residual heat melt the rest to avoid scorching the mixture.
My fudge is still soft after 3 hours in the fridge. What happened?
If the fudge doesn’t set, it’s usually because it wasn’t heated long enough for the sugar cookie mix and condensed milk to fully bind, or perhaps a low-quality white chocolate was used. If this happens, you can store it in the freezer and serve it as “frozen fudge,” or use it as a decadent cake filling!
Can I use a different flavored cookie mix?
Absolutely! This recipe works beautifully with Peanut Butter, Oatmeal, or even Chocolate Chip cookie mixes. Just keep in mind that the color of the fudge will change based on the mix you choose. If you use a darker mix, you might want to swap the white chocolate drizzle for milk or dark chocolate to match the flavor profile.
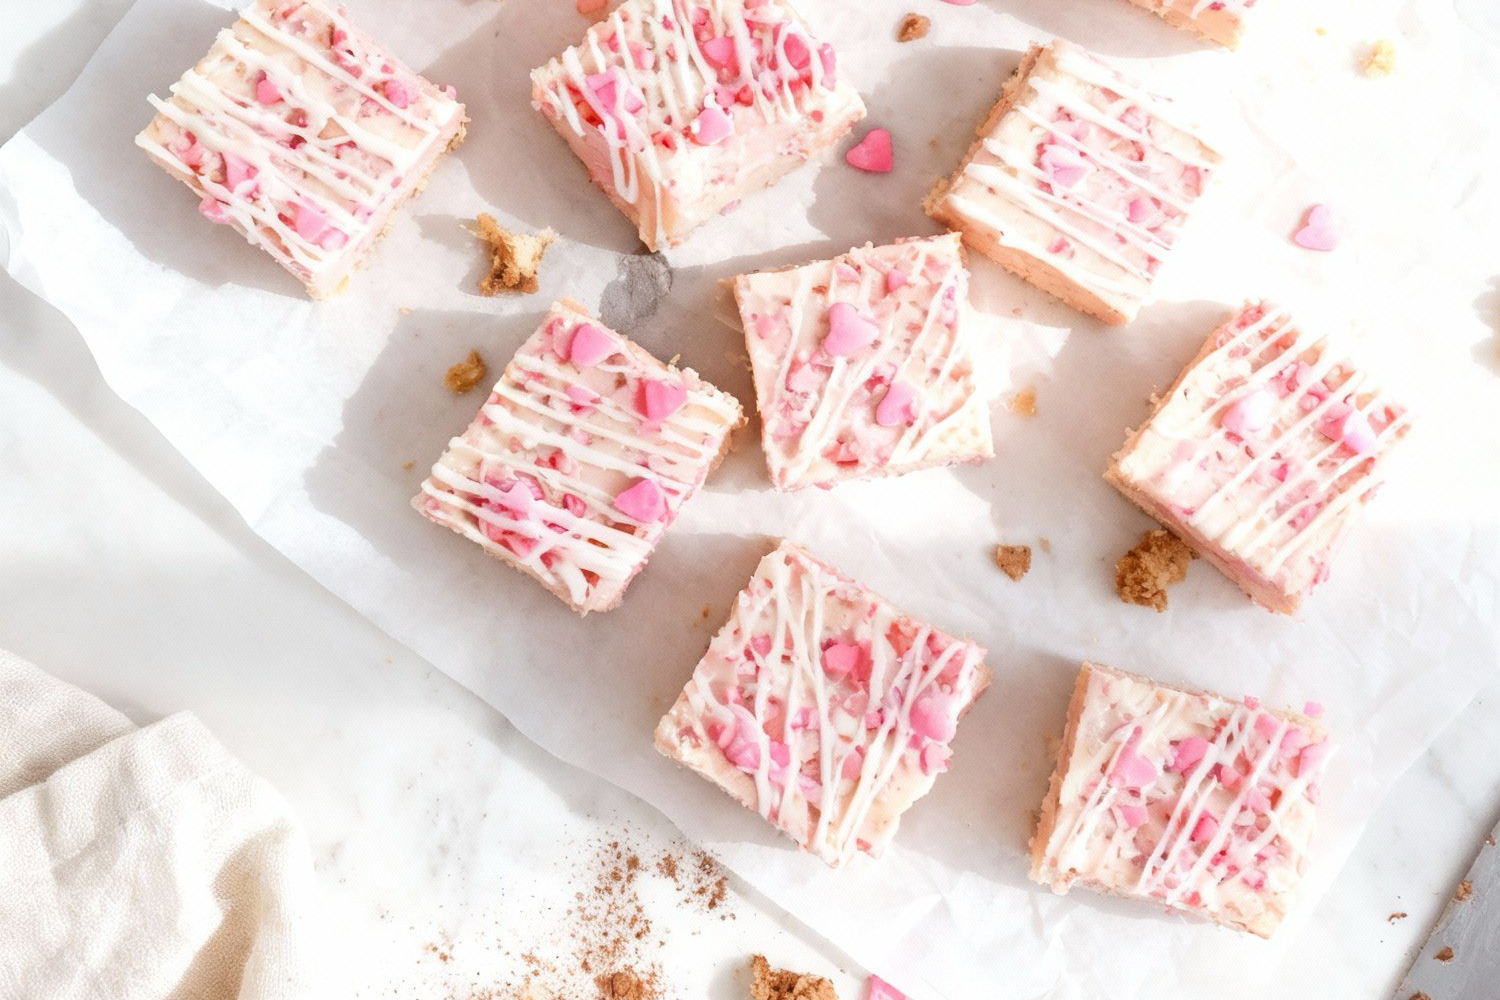
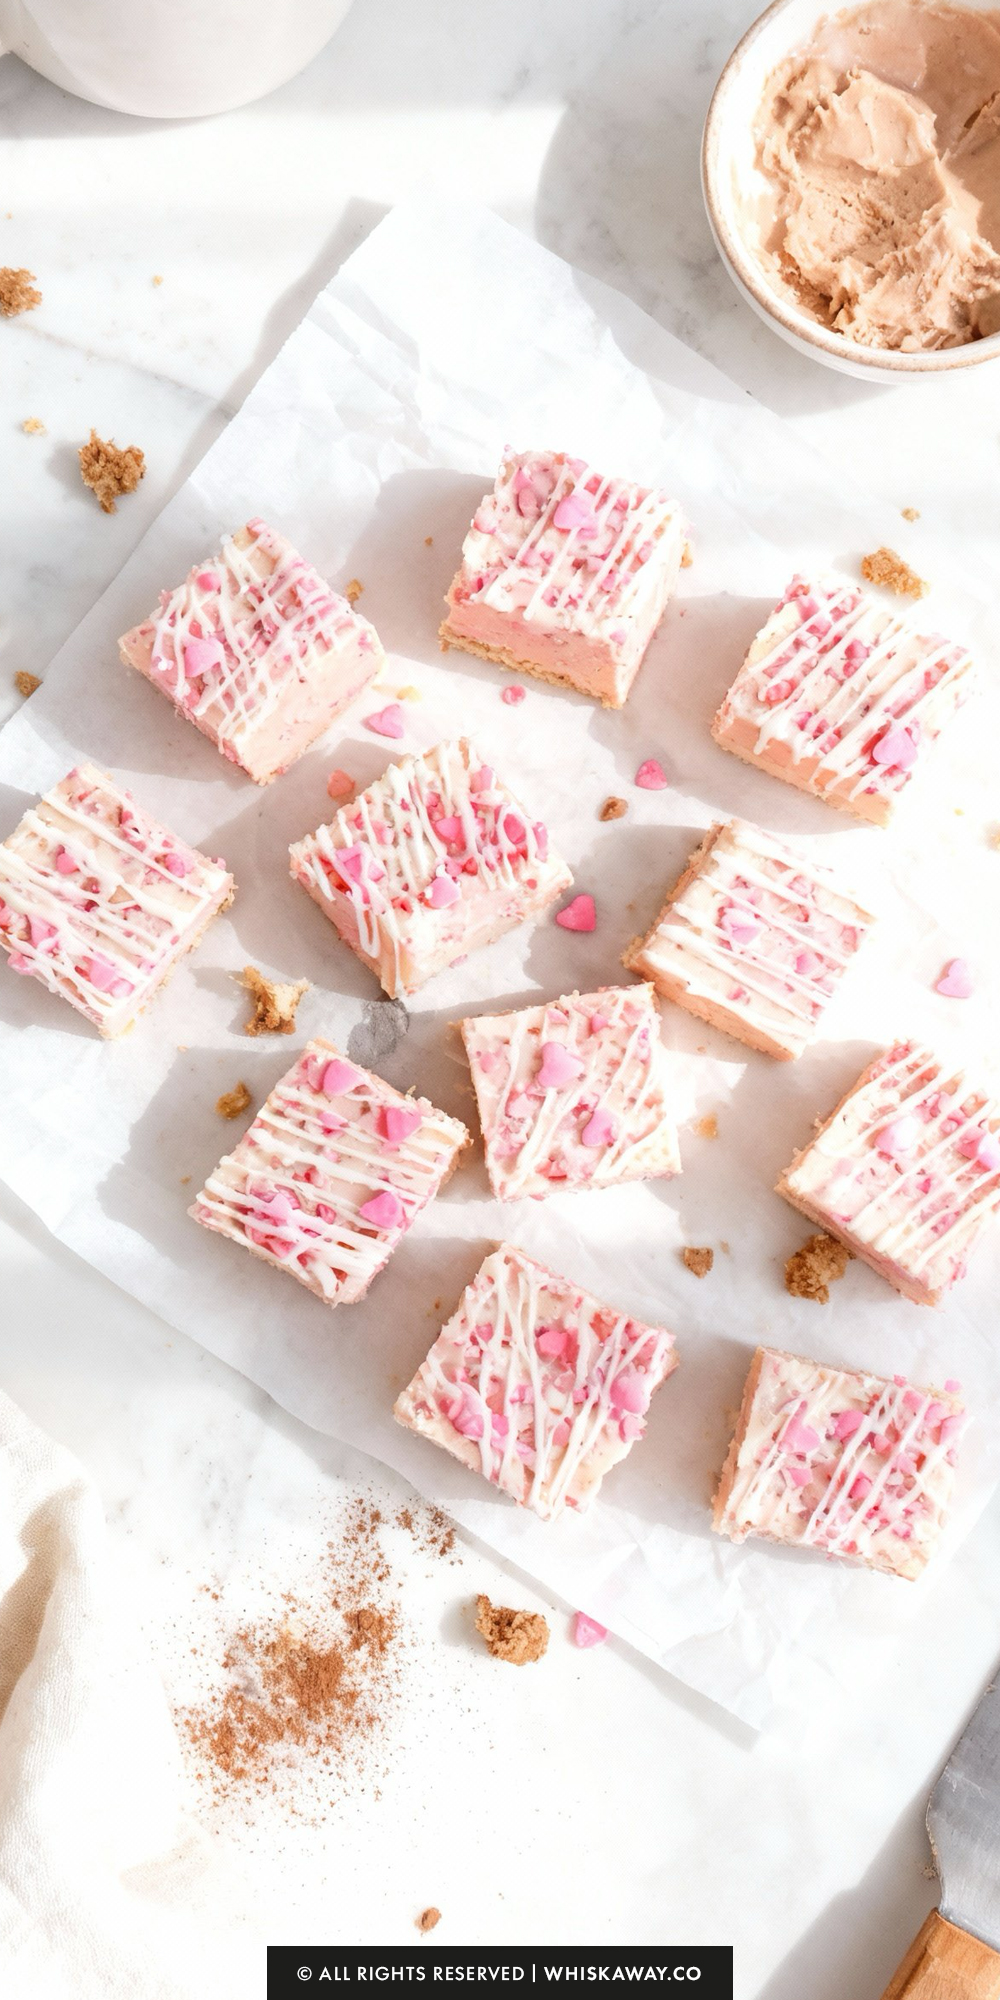
Sugar Cookie Fudge
16
servings30
minutes2
hoursIngredients
3 cups white chocolate chips
1 can (14 ounces) sweetened condensed milk
1 cup sugar cookie mix
1/2 cup holiday sprinkles (divided)
3–4 ounces of almond bark or white chocolate
1 tablespoon unsalted butter
1 teaspoon pure vanilla extract
Directions
- Begin by lining a 9x9-inch baking square with parchment paper, leaving a bit of an overhang on the sides to use as "handles" later. Lightly coat the paper with non-stick cooking spray to ensure the fudge releases easily.
- Using a medium-sized double boiler, combine the white chocolate chips, dry sugar cookie mix, sweetened condensed milk, and butter. Set the heat to medium and stir the mixture constantly. You want the chips to melt into the milk until the texture is silky and completely uniform.
- Once the mixture appears melted, keep stirring for an additional 2 to 3 minutes. This extra time ensures the sugar cookie mix is fully integrated and the fats have properly emulsified, which prevents the fudge from being grainy.
- Take the pan off the heat (though you can leave it resting over the warm water of the double boiler). Fold in the vanilla extract and half of your holiday sprinkles, stirring until the colors are evenly distributed throughout the batter.
- Pour the fudge into your prepared baking dish and use a spatula to level the top. Scatter the remaining sprinkles over the surface, pressing them down lightly so they stick. Place the pan in the refrigerator and let it chill for at least 2 to 3 hours until firm.
- Once the fudge has hardened, lift it out of the pan using the parchment paper edges. Place it on a cutting board and slice it into uniform squares.
- Microwave the almond bark in a small bowl in 30-second bursts, stirring between each until liquid.
- Snip the corner off a plastic storage bag and fill it with the melted bark to drizzle clean lines over the fudge, or simply use a fork to swirl it over the pieces.
- Allow the drizzle to harden completely at room temperature before serving or packaging.