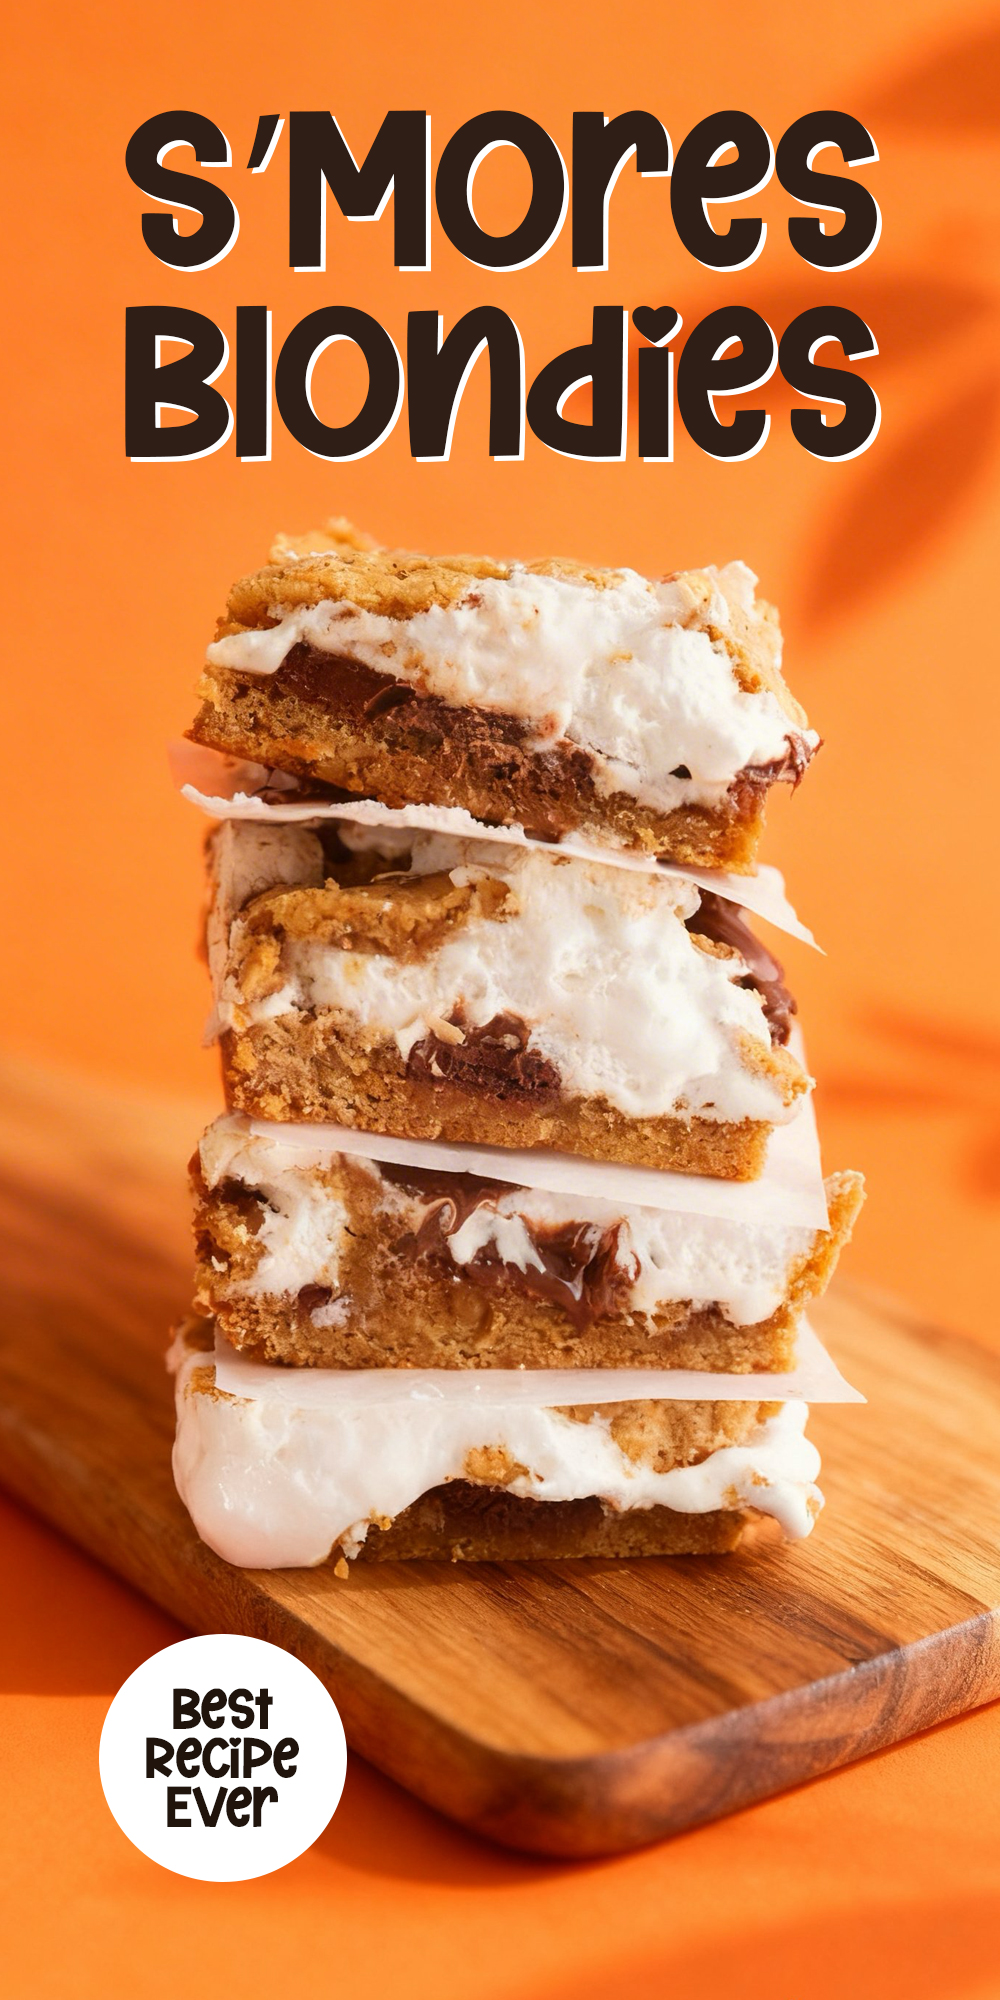
Melting chocolate, graham crackers, and marshmallows come together in s’mores blondies for a dessert that feels like a campfire in every bite. The chewy blondie base provides structure while allowing pockets of chocolate and gooey marshmallow to shine, with a hint of crunch from graham crackers throughout. This layered treat is ideal for gatherings, kids’ parties, or simply indulging a sweet tooth at home. The recipe uses basic ingredients and straightforward steps, making it accessible for bakers of any skill level. Each bar balances sweet, chocolatey, and toasty flavors, capturing the nostalgic taste of classic s’mores without the need for a fire. Slicing into squares makes serving easy, and the bars store well for a few days, retaining their chewy, gooey texture. S’mores blondie bars are playful, satisfying, and a guaranteed crowd-pleaser.
🔥 InternalLinking
Why You’ll Love These S’Mores Blondies
These bars bring the nostalgic campfire treat indoors, turning gooey chocolate and marshmallow into a simple, shareable dessert.
- Marshmallow pockets melt into the chocolate for gooey bites.
- Graham cracker pieces provide a satisfying crunch.
- Chewy blondie layer balances sweetness.
- Fun dessert for family nights or gatherings.
- No fire pit needed to enjoy classic s’mores flavors.
Save This Pin for Later to Your Pinterest Board
Ingredients
- Marshmallow fluff: Creates gooey pockets of sweetness and gives the blondies that classic soft, stretchy s’mores texture.
- All-purpose flour: Provides structure so the bars hold together while staying tender and chewy.
- Graham cracker crumbs: Add signature s’mores flavor along with a slightly crumbly, toasty texture.
- Light brown sugar (packed): Adds moisture, caramel depth, and helps create a soft, chewy bite.
- Unsalted butter (melted): Contributes richness and helps bind the ingredients for a dense, fudgy blondie base.
- Chocolate bar pieces: Melt into the batter, creating rich chocolate pockets and classic campfire-style flavor.
- Vanilla extract: Enhances sweetness and rounds out the chocolate and marshmallow notes.
- Egg (room temperature): Binds ingredients and supports a tender yet structured crumb.
- Salt: Balances sweetness and intensifies the chocolate flavor.
- Baking powder: Provides a touch of lift so the blondies stay soft instead of overly dense.
- Cinnamon (optional pinch): Adds subtle warmth that complements the graham cracker and chocolate flavors.
Tips To Get Your Recipe Right
- Layer the dough carefully: Flatten small pieces of dough into discs and place them on top of the marshmallow fluff. Don’t try to spread it—it will pull the fluff into a gray mess.
- Leave small gaps: Let some marshmallow peek through. These spots toast beautifully in the oven, creating the classic charred peaks.
- Use room-temperature eggs and glossy mixture: Whisk butter, sugar, and egg until smooth and shiny. This helps dissolve sugar and creates a crackly top while preventing uneven texture.
- Cool completely before cutting: Let the bars rest until the pan is cold. Cutting warm bars will cause the marshmallow to run and ruin the layers.
- Grease your spatula and use a parchment sling: Spray or oil your spatula before spreading the fluff, and lift the bars out with parchment paper for clean, square edges.
Storage Tips
- Room temperature: Keep in an airtight container for up to 4 days in a cool, dark spot. Use parchment between layers to prevent the marshmallow from sticking.
- Refrigeration: Store up to 1 week in the fridge if humid. Let bars sit 15 minutes at room temperature before eating to restore marshmallow stretch.
- Freezing: Wrap individually in plastic and place in a freezer-safe bag for up to 2 months. Thaw at room temperature for 1 hour; avoid microwaving.
- Reheating: Microwave 8–10 seconds for gooeyness, or use an air fryer at 300°F (150°C) for 2–3 minutes to crisp the base and melt the center.
- Storage mistakes to avoid: Don’t use loose bags, avoid warm spots, and always seal airtight to preserve the graham cracker snap.

FAQs
Why did my marshmallow fluff disappear or melt away after baking?
If the marshmallow layer seems to have vanished, it’s usually due to over-baking. Marshmallow fluff is essentially aerated sugar; if it stays in the oven too long, the air bubbles collapse and the sugar dissolves into the dough. To prevent this, ensure you pull the bars out at the 20–25 minute mark when they are golden but still have a slight give to them.
Can I use regular marshmallows instead of marshmallow fluff?
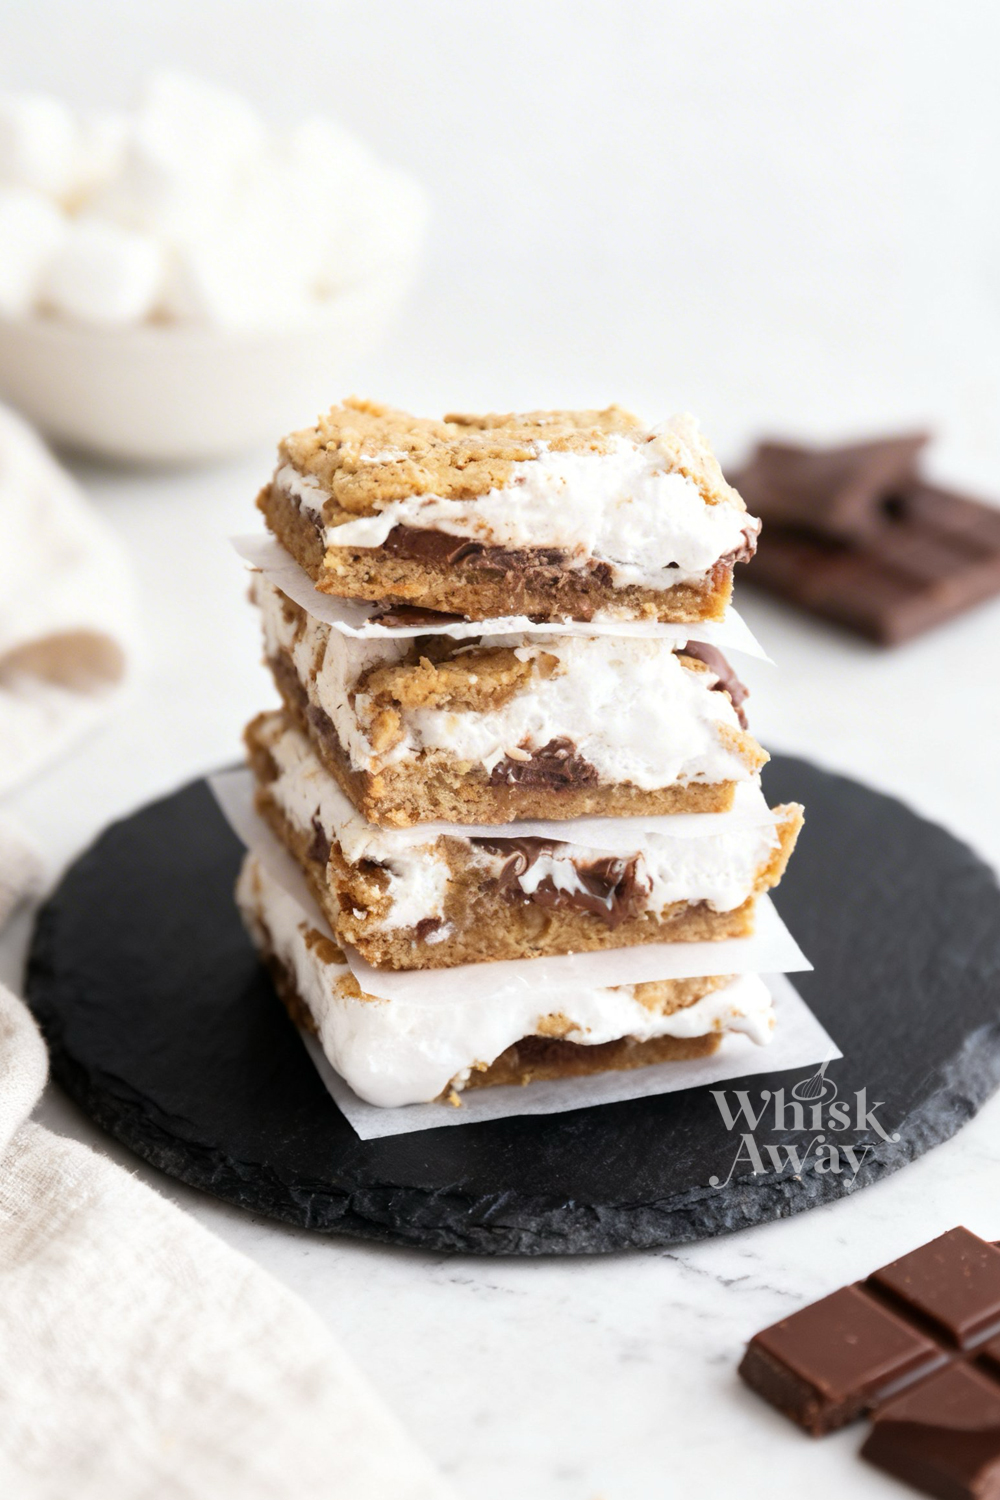
You can, but the result will be different. Regular marshmallows contain gelatin, which causes them to puff up significantly and then deflate, often leaving hollow air pockets in your bars. Marshmallow fluff is preferred because it stays creamy, gooey, and structurally stable, providing that distinct white ribbon through the center of every bite.
Why is my dough is very thick and hard to spread
Because this recipe includes a high ratio of graham cracker crumbs, the dough is much thicker than a standard brownie batter. It should feel almost like a soft cookie dough. This density is intentional as it’s what allows the bottom layer to support the heavy fluff and the top discs to sit on top without sinking.
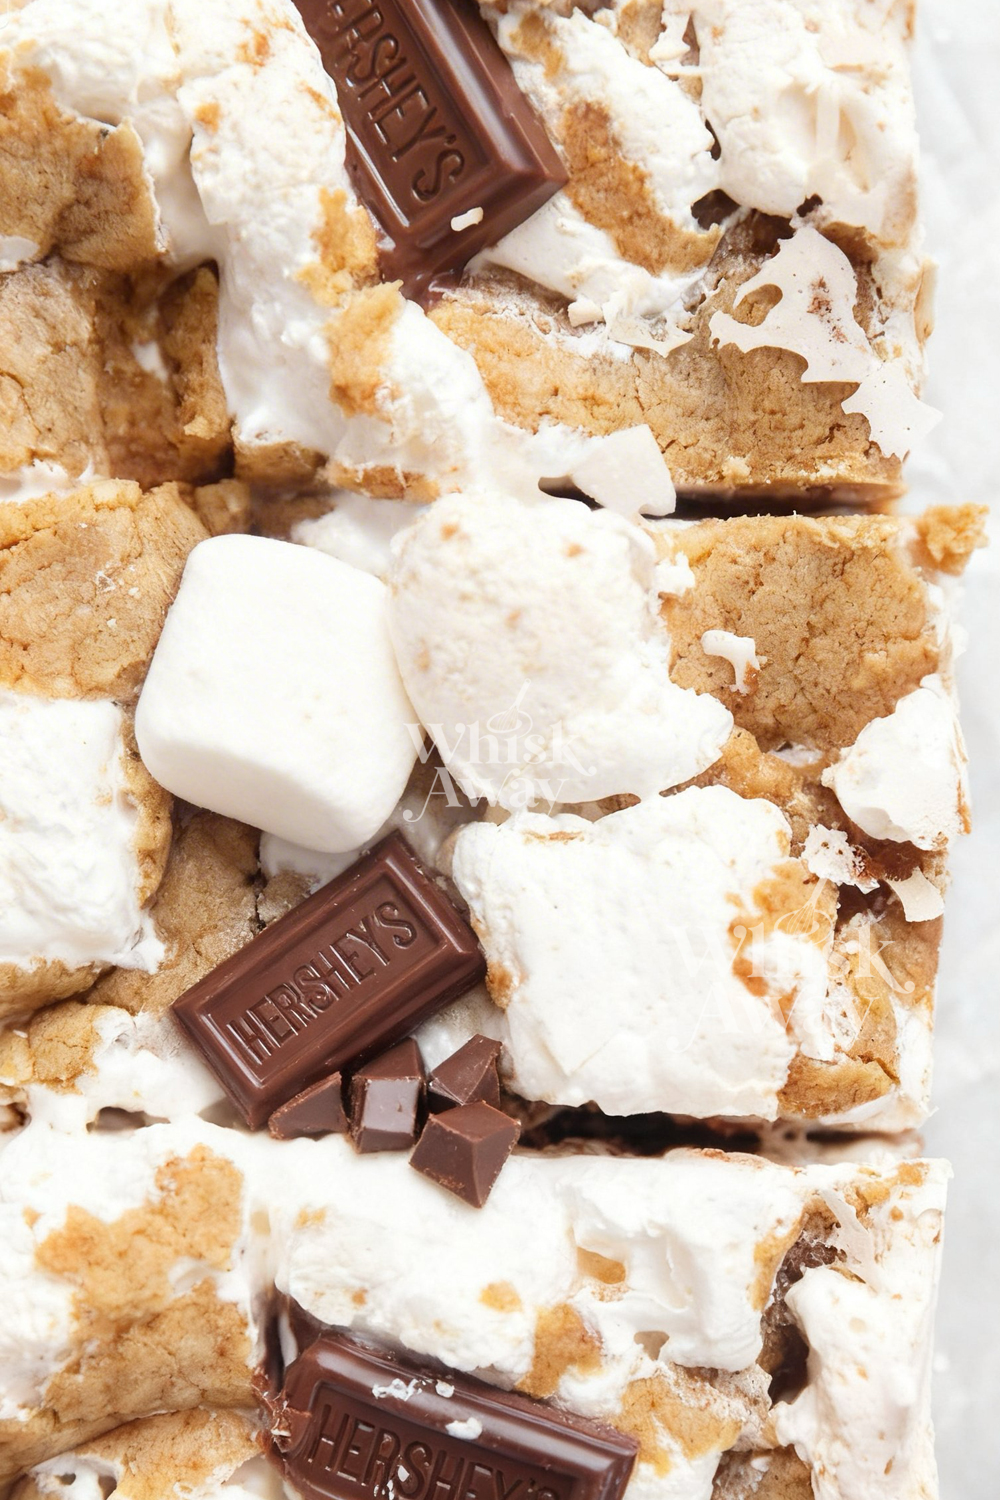
Can I use a different type of chocolate besides Hershey’s?
Absolutely. While Hershey’s is the classic choice for authentic s’mores flavor, you can use any chocolate you prefer. Dark chocolate chunks work beautifully to cut through the sweetness, or you can use chocolate chips. If using a large bar, just ensure you break it into uniform pieces so it melts evenly across the surface.
How do I get clean, square cuts without the marshmallow sticking to the knife?
Marshmallow fluff is notoriously sticky. For professional-looking squares, let the bars cool completely in the fridge for at least an hour. Once chilled, use a sharp knife dipped in hot water (and wiped dry between each cut). The heat from the blade will glide through the marshmallow layer rather than pulling it.

S’Mores Blondies
16
bars20
minutes22
minutesThese s’mores blondies combine chocolate, marshmallow, and graham in every bite.
Ingredients
1 1/2 cups marshmallow fluff
1 cup all-purpose flour
3/4 cup Graham Cracker crumbs
3/4 cup packed light brown sugar
1/2 cup unsalted butter (melted)
4.4 oz Hershey’s (or 1 XL size bar, broken into pieces)
1 tablespoon vanilla extract
1 large egg (at room temperature)
1/2 teaspoon salt
1/4 teaspoon Baking powder
Pinch Cinnamon (optional)
Directions
- Bring your oven to 350°F (177°C).
- Line an 8x8-inch square baking dish with parchment paper. Aim for overhang on the sides to create a sling, which will make lifting the sticky bars out much easier later.
- In a large bowl, whisk the melted butter and packed light brown sugar together until no lumps remain. Add the room-temperature egg and vanilla extract. Continue whisking until the mixture takes on a glossy, uniform appearance.
- Add the flour, graham cracker crumbs, baking powder, salt, and that optional pinch of cinnamon. Use a silicone spatula to fold the mixture gently. Stop as soon as the flour streaks disappear to keep the bars tender rather than tough.
- Scoop roughly half of the batter into your lined pan. Use your spatula (or damp fingers) to press it into a thin, even layer that reaches all four corners. It will look sparse, but it expands as it bakes!
- Dollop the marshmallow fluff over the bottom layer.
- Pro-Tip: Lightly grease your spatula with cooking spray to spread the fluff without it pulling the bottom dough layer up. Since the remaining dough is thick, don't try to spread it over the sticky fluff. Instead, take small pieces of dough, flatten them into discs between your palms, and lay them across the fluff like a patchwork quilt. It’s perfectly fine if some marshmallow peeks through the gaps.
- Press the broken Hershey’s pieces firmly into the top dough discs.
- Bake for 20 to 25 minutes. You are looking for a beautiful golden-brown color and a surface that feels stable and firm when lightly pressed.
- Move the pan to a wire rack. These bars are incredibly gooey while hot; let them rest and firm up in the pan for at least 20-30 minutes before you attempt to lift and slice them.