Sometimes you just need a sweet fix without baking a literal mountain of dessert, and that is exactly where these small-batch red velvet sugar cookies come in to save the day.
We are talking about a recipe that understands the assignment: minimal effort, maximum payoff, and zero leftovers staring you down from the kitchen counter for a week.
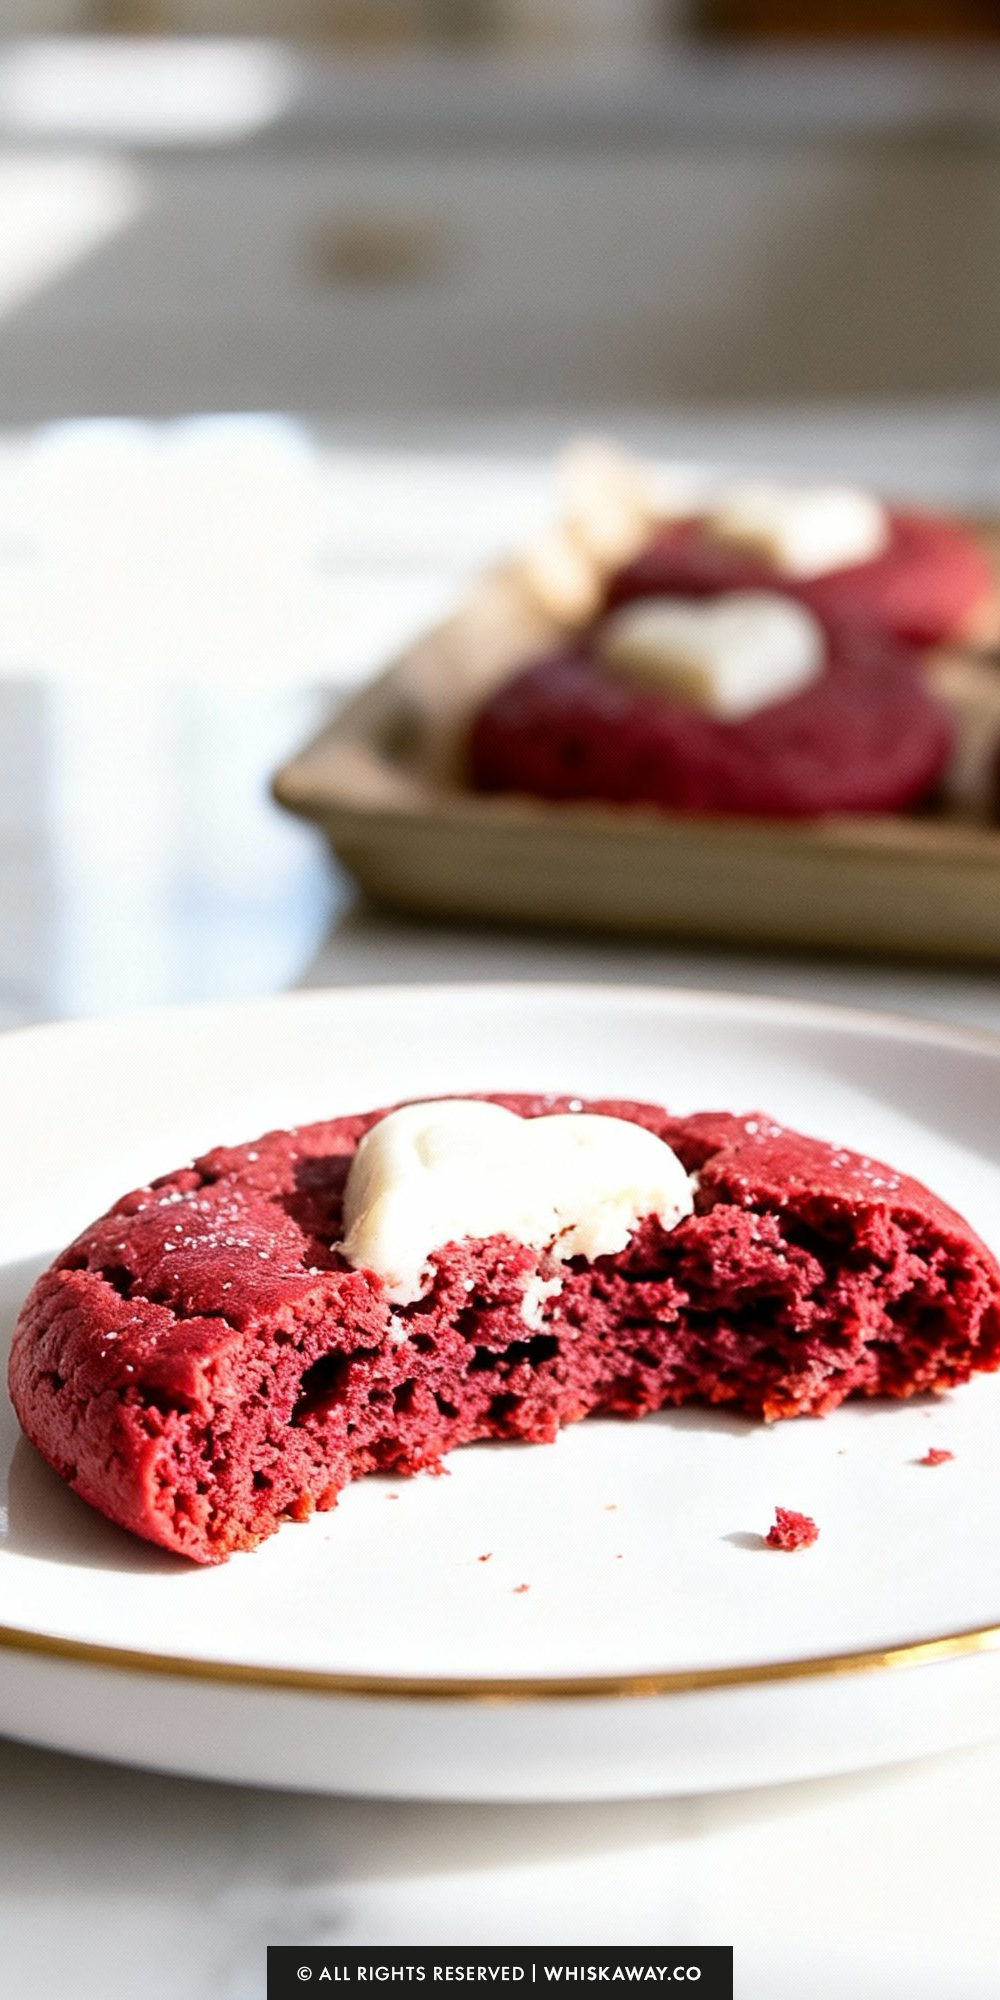
While they are undeniably perfect for Valentine’s Day!
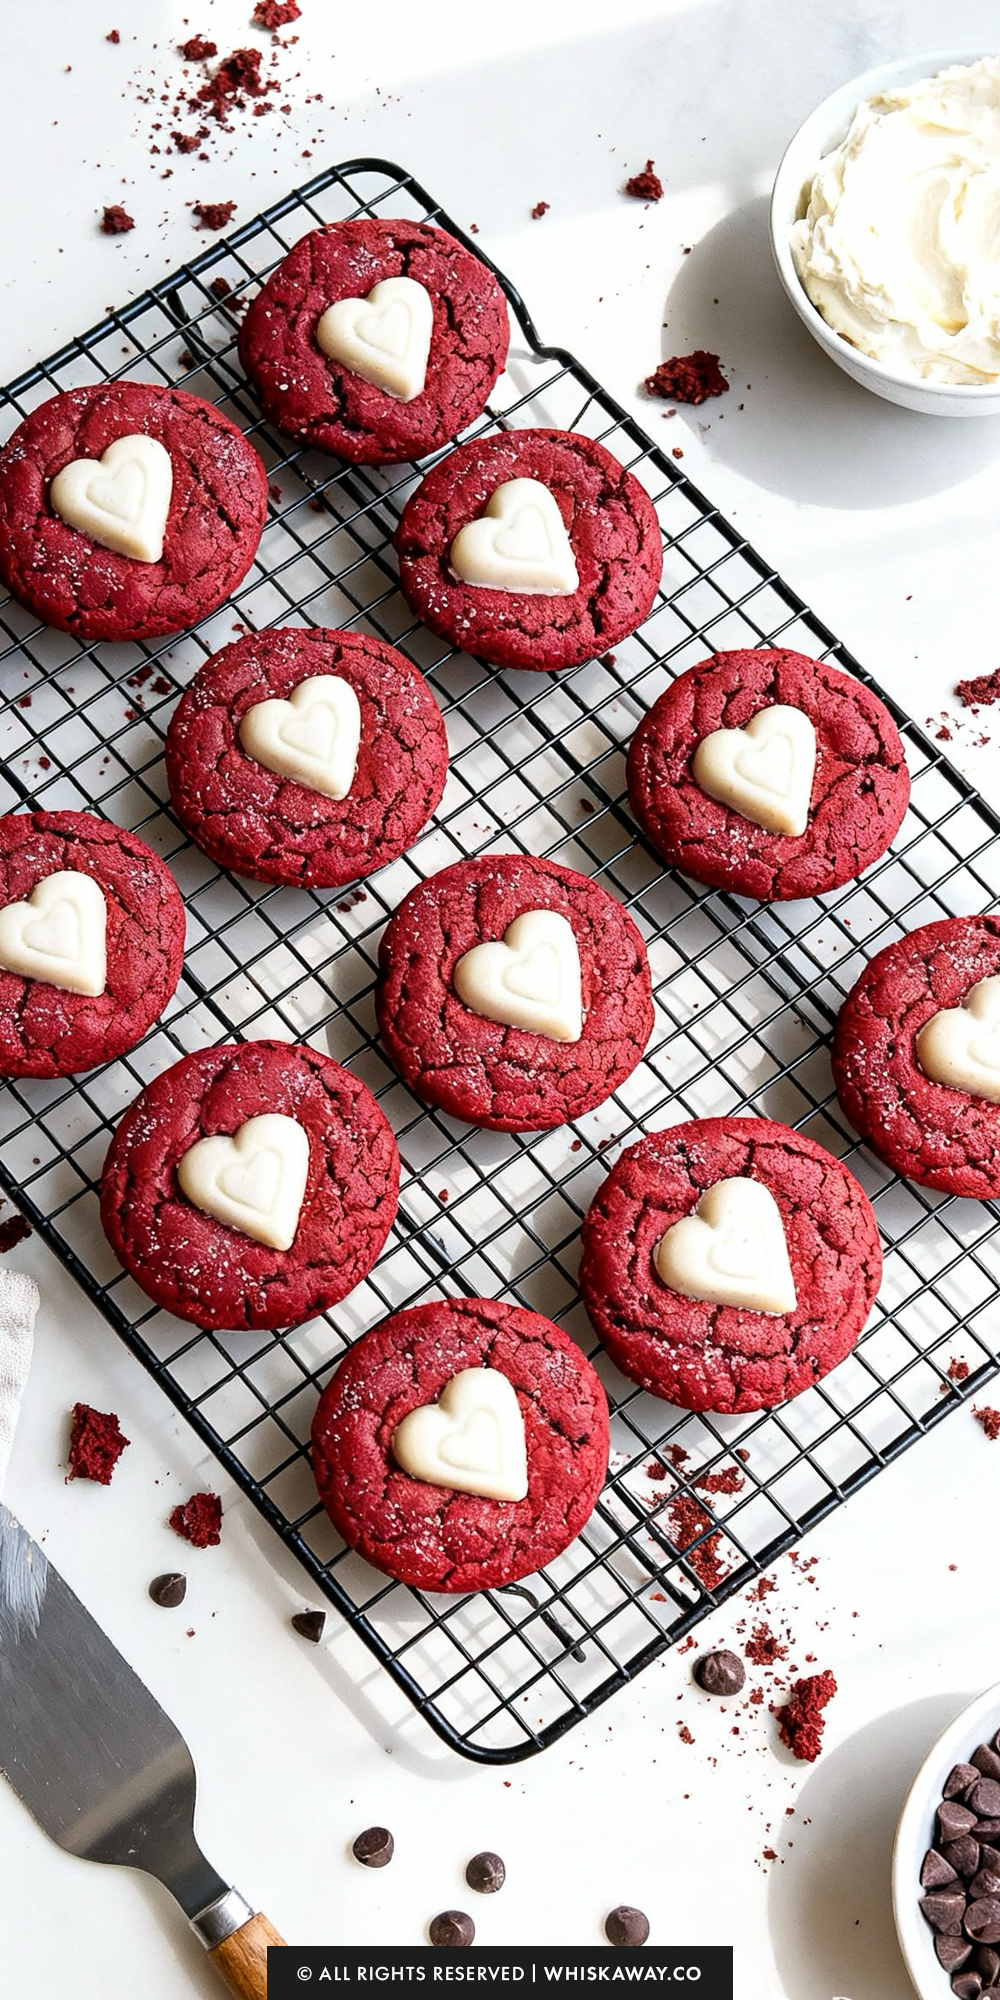
I mean, look at that vibrant scarlet color! They are honestly a vibe year-round.
Whether you are treating a partner, surprising a bestie, or just practicing some top-tier self-care on a Friday night, these cookies deliver.
So, if you have a bowl, a spoon, and a craving, let’s get these into the oven!
Why You’ll Love This Recipe
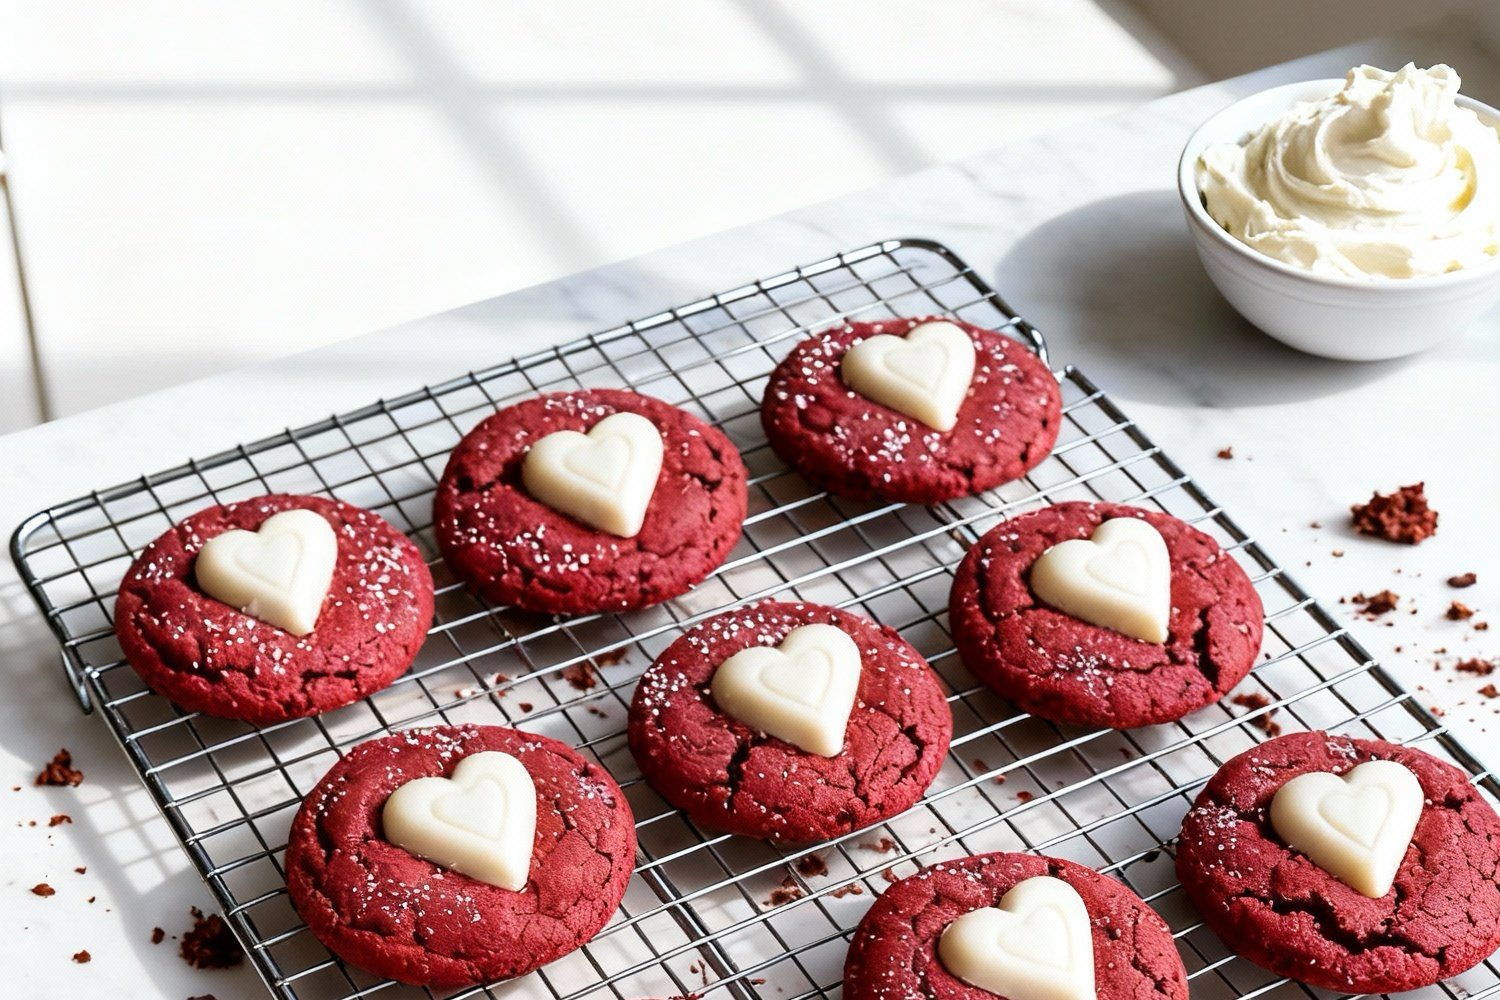
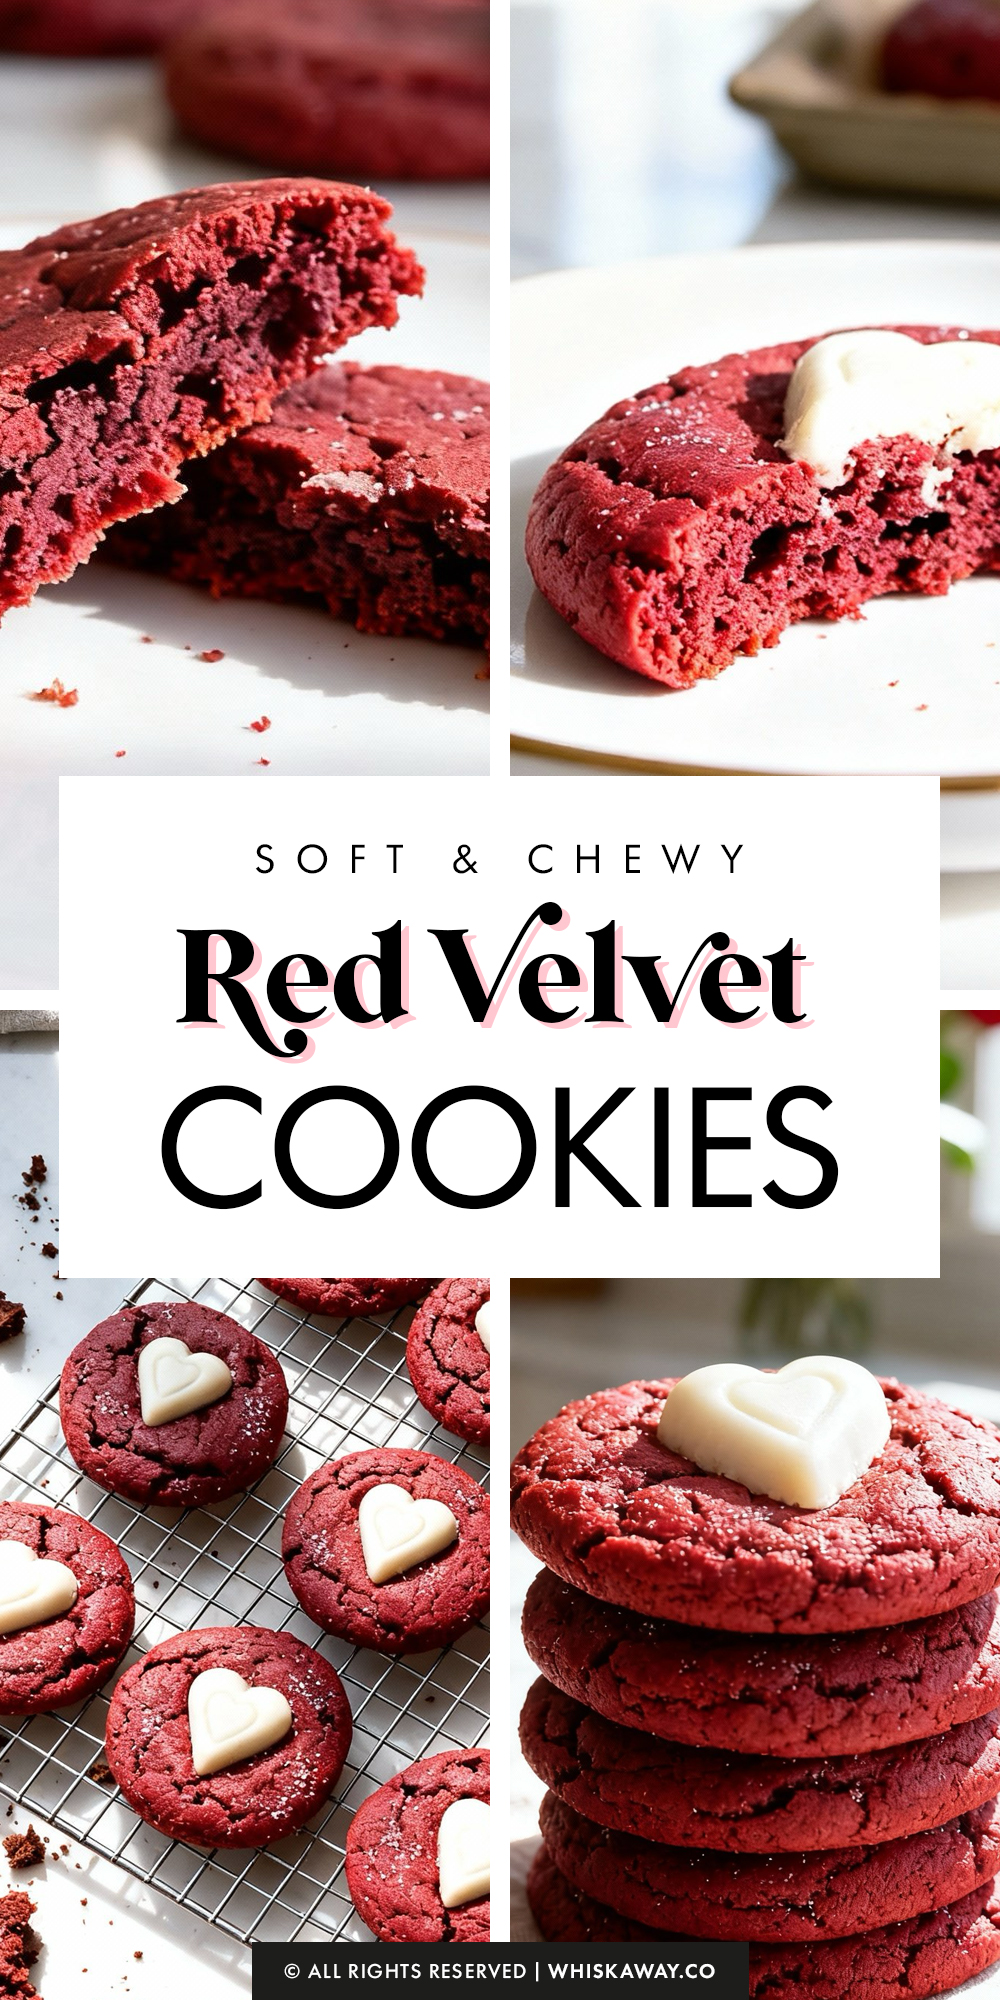
Red velvet sugar cookies are tender, soft, and lightly sweet, with a subtle cocoa flavor that pairs perfectly with creamy frosting or a sprinkle of sugar.
They are visually stunning, playful to shape, and satisfying to bake for all ages.
Key Reasons to Love Them:
- Soft, melt-in-your-mouth texture that is satisfying.
- Vibrant red color adds visual appeal for holidays or events.
- Fun to shape into hearts or other festive designs.
- Easy for beginners to make with minimal technique required.
- Versatile for frosting, decorating, or enjoying plain.
🔥 For more red velvet-inspired treats, consider baking red velvet blossom cookies, indulgent red velvet cookie dough bars, or creamy red velvet cheesecake bites.
How to Get Your Red Velvet Sugar Cookies Just Right
This is a small-batch recipe, which means precision is even more important than usual. A small mistake in measurement can have a big impact on just six cookies.
Here is how to ensure they come out chewy, vibrant, and perfectly topped.
1. The “Goldilocks” Window for the Heart
The most critical step in this recipe is placing the chocolate heart.
Too Hot: If you press the heart on immediately after taking the cookies out of the oven, the residual heat will liquefy the chocolate instantly, turning your heart into a white puddle.
Too Cold: If you wait until the cookies are room temperature, the chocolate won’t melt slightly at the bottom to “glue” itself to the cookie, and it will fall off when you lift it.
Just Right: The 10-minute cooling mark is the sweet spot. The cookie is warm enough to soften the bottom of the chocolate for adhesion, but cool enough that the heart keeps its shape.
2. Gel vs. Liquid Food Coloring
For that signature deep red color without altering the texture, use gel paste food coloring.
Why: Liquid food coloring is mostly water. To get a deep red, you have to use a lot of it, which adds excess liquid to the dough.
This causes the cookies to spread too much and become cakey. Gel is concentrated, so you get vibrant color with no texture change.
3. Use Regular Unsweetened Cocoa
Check your cocoa powder label. You want standard “Natural” Unsweetened Cocoa Powder, not “Dutch-Processed” or “Special Dark.”
The Science: Dutch-processed cocoa is treated with alkali to reduce acidity, but it is also much darker in color. If you use it, your cookies will turn out a muddy brown-red rather than a bright, vibrant scarlet.
4. The Spoon-and-Level Method
With only roughly ½ cup of flour in the whole recipe, accidentally scooping too much flour will ruin the batch instantly.
Technique: Don’t scoop the measuring cup directly into the flour bag (this packs it down). Instead, fluff the flour with a spoon, sprinkle it gently into your measuring cup until it’s overfilled, and then use a knife to level off the top. This ensures a tender, fudge-like cookie rather than a dry puck.
5. Don’t Skip the Fridge Step
After placing the white chocolate hearts, the recipe tells you to put the tray in the fridge. This is not optional!
Even after cooling for 10 minutes, the cookie retains heat. The fridge “shocks” the chocolate heart, stopping the melting process immediately so the shape stays crisp and defined.
6. Egg Yolk Only
This recipe calls for just the yolk, not the whole egg. The fat in the yolk provides richness and helps create a fudgy, chewy texture.
Adding the white would add too much moisture and structure, making the cookie puff up like a cake rather than spread like a cookie.
Easy Baking Tips That Have Worked for Me
Creaming butter and sugar until pale and fluffy is satisfying and sets the foundation for tender cookies.
Adding red coloring and cocoa creates a dough that is soft yet manageable for rolling and cutting into shapes.
Chilling the dough briefly makes it easier to handle and ensures the cookies maintain their shape in the oven.
As they bake, the edges firm slightly while the centers remain soft and moist, and the sweet, cocoa-scented aroma fills the kitchen.
When removed and cooled, the cookies are tender, flavorful, and perfect for decorating or enjoying on their own.
Variation Tips
This small-batch recipe is designed to be quick and easy, which makes it the perfect playground for experimentation. Since you are only making six cookies, it is low-risk to try something new!
1. The “Classic Red Velvet” Experience
Traditional red velvet cake is paired with cream cheese frosting, not peanut butter. To replicate this:
- The Swap: Skip the peanut butter heart entirely.
- The Topping: After the cookies have cooled completely, pipe a small rosette of cream cheese frosting on top. You can even sprinkle a few red sugar crystals on the frosting for sparkle.
2. Red Velvet Crinkles
Change the look of the cookie for a snowy, dramatic effect.
- The Method: Instead of rolling the dough balls in granulated sugar, roll them heavily in powdered sugar (confectioners’ sugar) before baking.
- The Result: As the cookies spread, the white sugar coating will crack, revealing the bright red interior underneath.
3. Nut-Free Option
If you have a peanut allergy or just want a pure chocolate flavor:
- The Swap: Replace the peanut butter heart with a solid white chocolate heart (like Dove or Ghirardelli) or a Hershey’s Hug (striped white and milk chocolate).
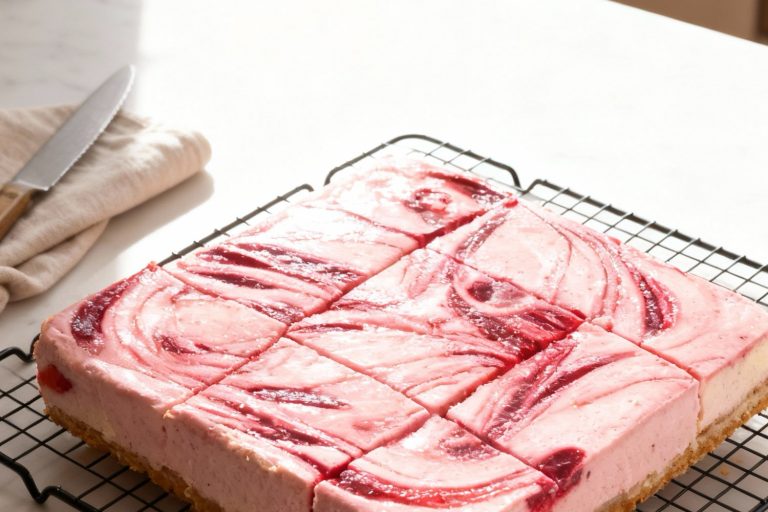
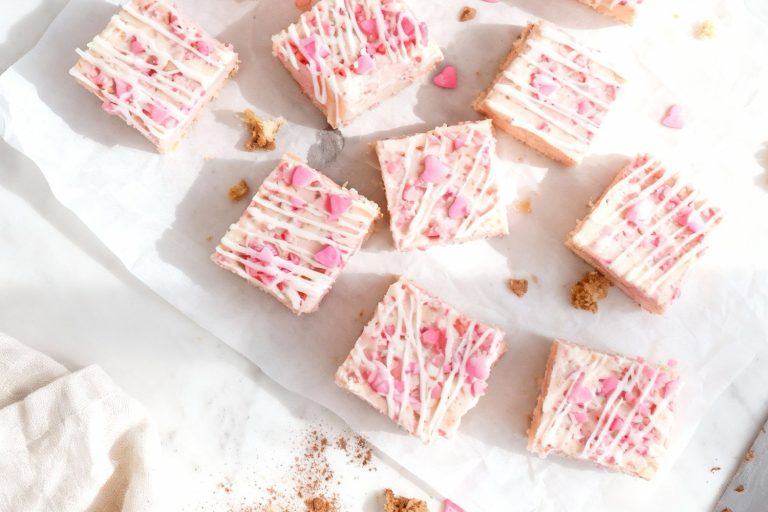
- Flavor Profile: This makes the cookie taste more like “strawberries and cream” rather than the savory-sweet combo of peanut butter and chocolate.
4. Double Chocolate Chip
If you want texture inside the cookie as well as on top:
- The Mix-In: Fold 2 tablespoons of white chocolate chips into the dough before rolling.
- Visual: The white chips create a nice contrast against the red dough, and you get extra creaminess in every bite.
5. Deep Dark Red Velvet
For a less sweet, more intense chocolate flavor:
- The Cocoa: Use a high-quality dark cocoa powder (note: this will make the red color darker and moodier, more of a burgundy).
- The Topping: Top with a dark chocolate heart or a semi-sweet chocolate kiss instead of white chocolate.
6. The “Sandwich” Hack
Since this recipe makes small, relatively flat cookies, they are perfect for sandwiches.
- The Method: Omit the heart on top. Bake the cookies as directed.
- Assembly: Once cool, flip three cookies over, spread with marshmallow fluff or vanilla buttercream, and top with the remaining three cookies.
7. Gluten-Free Adaptation
The Flour: Since this recipe uses a very small amount of flour (just over ½ cup), it converts very well to gluten-free.
Use a 1:1 Gluten-Free All-Purpose Flour blend (measure by weight if possible, or use the spoon-and-level method).
The texture remains surprisingly similar to the original.
Save for Later to Your Pinterest Board
How to Properly Store Your Red Velvet Sugar Cookies
Since this is a small-batch recipe making only six cookies, leftovers are rare! However, if you are saving them for later or baking ahead of time, proper storage is key to keeping that red velvet texture soft and the chocolate heart intact.
1. Room Temperature (Best for 2–3 Days)
The Ideal Spot: Store the cookies in an airtight container in a cool, dry corner of your kitchen.
The Condition: Because the topping is solid chocolate and peanut butter, these cookies are safe at room temperature as long as your kitchen is below 70°F (21°C).
Layering: If you need to stack them, place a sheet of wax paper or parchment paper between layers to prevent the bottom of one cookie from smudging the chocolate heart of the one below it.
2. Refrigeration (Best for up to 1 Week)
When to Chill: If it is summer or your kitchen is warm, the white chocolate peanut butter hearts can become soft and messy. In this case, the fridge is your best friend.
Texture Warning: The cold air will make the cookie dough slightly firmer.
Serving Tip: For the best flavor, remove the cookies from the fridge about 15 minutes before serving. This allows the butter in the cookie and the peanut butter in the heart to soften up again.
3. Freezing (Best for up to 2 months)
Flash Freeze: Place the baked, cooled cookies on a baking sheet in the freezer for 1 hour. This freezes the chocolate heart solid so it won’t get crushed.
Packing: Once frozen hard, transfer them to a freezer-safe container or bag. Stack them with parchment paper in between.
Thawing: Thaw on the counter for 30–60 minutes.
4. Storing the Dough (Make-Ahead)
The Method: You can make the red dough, roll it into balls, and freeze the raw dough balls (without the sugar coating) in a zip-top bag for up to 3 months.
Baking: When ready to bake, let the dough balls sit on the counter for 15 minutes to thaw slightly, roll them in the granulated sugar, and bake. You may need to add 1 extra minute to the baking time.
5. Common Storage Mistakes to Avoid
Microwaving Leftovers: Do not microwave these cookies to warm them up! The white chocolate heart has a very low melting point and will turn into a hot, oily puddle in seconds. If you want a warm cookie, eat it fresh from the oven (before adding the heart) or warm it very gently in a toaster oven.
Stacking While Warm: Ensure the cookies have spent their full 30 minutes in the fridge to set before you put them in a container. If the heart is even slightly soft, stacking them will ruin the design.
FAQs
Can I double this recipe to make a full dozen?
Yes, absolutely. You can simply multiply all the ingredients by two. When it comes to the egg, use 2 large egg yolks (save the whites for an omelet or meringue). Do not substitute a whole egg for the two yolks, as the egg white adds too much moisture and will make the cookies cakey rather than fudgy.
Can I place the chocolate hearts on the dough before baking?
No, please do not do this! If you put the white chocolate hearts in the oven, they will melt completely and lose their shape. You must bake the cookies first, let them cool for about 10 minutes, and then gently press the hearts into the warm centers.
Do I really need to use gel food coloring?
Yes, gel paste coloring is highly recommended. Liquid food coloring contains a lot of water. To get a deep red color with liquid, you have to use so much of it that you alter the ratio of wet-to-dry ingredients, causing the cookies to spread too much and become thin. Gel provides intense color without adding excess liquid.
Why did my cookies spread out too much?
This usually happens for two reasons. First, your melted butter might have been too hot when you mixed the dough; make sure it has cooled slightly before adding the sugar and yolk. Second, you may have measured the flour incorrectly. Avoid scooping the measuring cup directly into the bag; instead, spoon the flour into the cup and level it off to avoid packing it down.
Can I use Dutch-processed cocoa powder?
It is best to stick to regular unsweetened natural cocoa powder (like Hershey’s). Dutch-processed cocoa is darker and has a different acidity level. Using it can make the cookies look brownish-red rather than bright red, and it may affect how the baking soda reacts, changing the texture.

Red Velvet Sugar Cookies
6
cookies10
minutes10
minutesThese red velvet sugar cookies are soft, chewy, and loaded with flavor, making them a must-bake dessert for any occasion.
Ingredients
1/2 cup + 1 tablespoon all-purpose flour
1/3 cup granulated sugar, plus extra for rolling
4 tablespoons unsalted butter, melted
2 tablespoons unsweetened cocoa powder
1 large egg yolk
1 teaspoon red gel food coloring
1/2 teaspoon vanilla extract
1/4 teaspoon baking soda
1/8 teaspoon fine salt
6 white chocolate peanut butter hearts (like Reese's)
Directions
- Start by preheating your oven to 350°F. Line a small baking sheet with a piece of parchment paper or a silicone baking mat.
- In a medium mixing bowl, combine the melted butter, sugar, egg yolk, vanilla extract, and red food coloring. Stir vigorously until the mixture is uniform and bright red.
- Sprinkle the flour, cocoa powder, baking soda, and salt directly over the wet mixture. Stir gently with a spatula just until the flour disappears and a dough forms. Be careful not to over-mix.
- Pat the dough down in the bowl to make it even, then visually divide it into 6 equal sections. Roll each section into a smooth ball between your palms. Roll the balls in the extra granulated sugar to coat them, then place them on the baking sheet spaced evenly apart.
- Bake for 10 to 12 minutes. The cookies are done when they have spread out and the tops look crackled and dry.
- Let the cookies rest on the hot baking sheet for 2 minutes to set, then transfer them to a wire rack.
- Allow the cookies to cool on the rack for about 10 minutes. They should be warm, but not piping hot. Gently press a white chocolate peanut butter heart into the center of each cookie.
- Immediately place the cookies in the refrigerator for 30 minutes. This ensures the chocolate heart adheres to the cookie without melting into a puddle.
- Remove from the fridge and allow them to come to room temperature before serving.