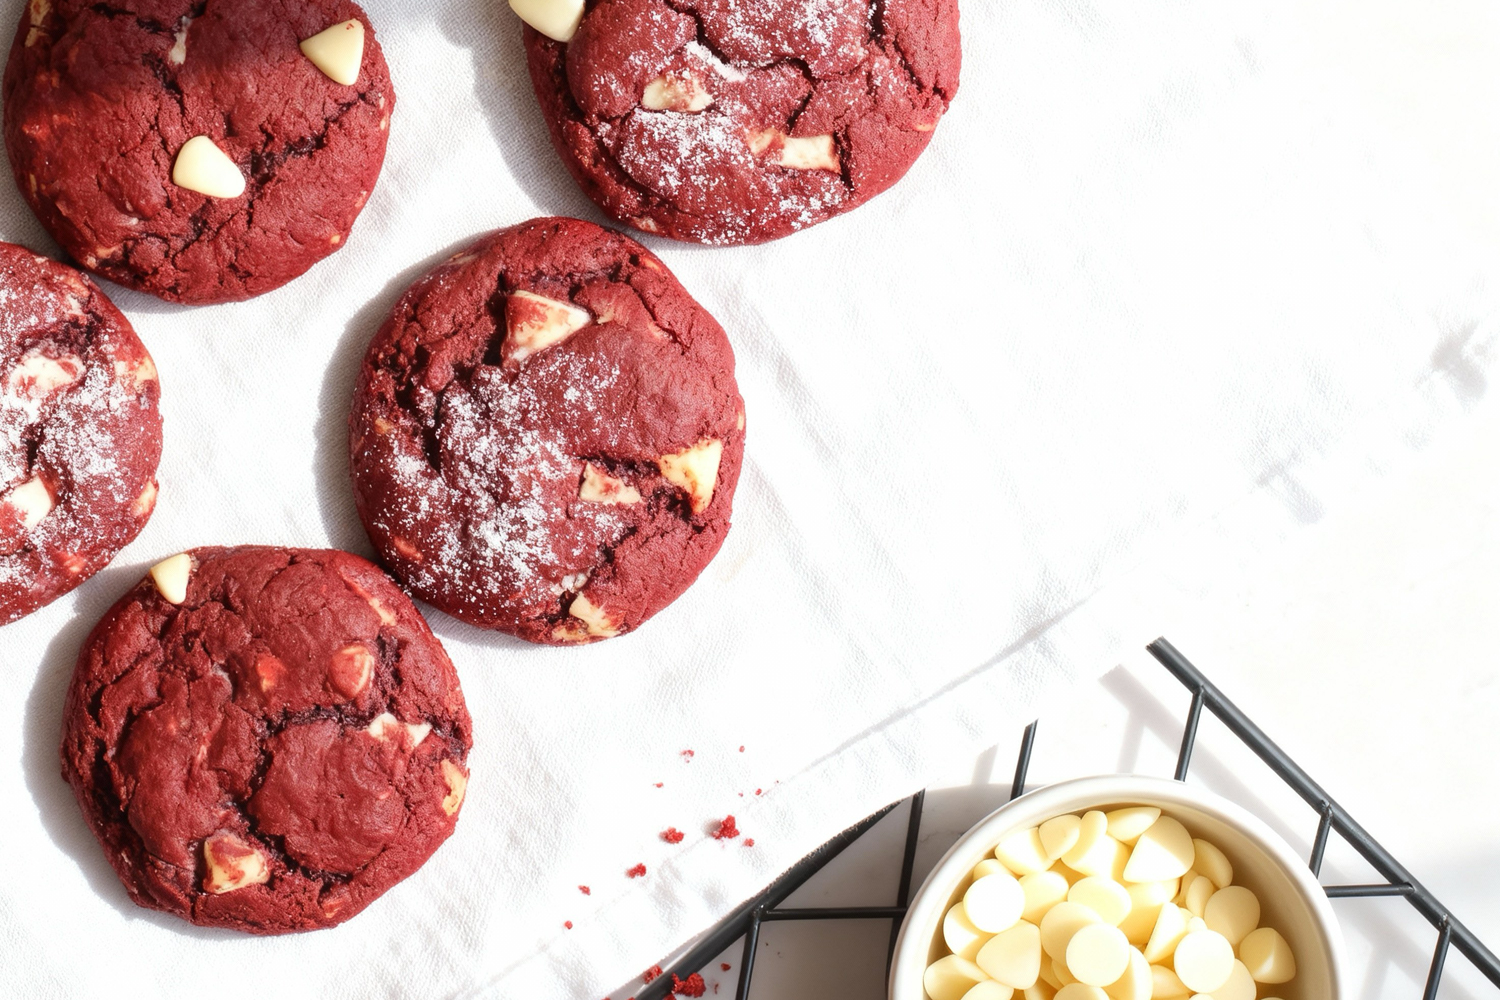
Red velvet cookies bring the charm of a classic cake into a chewy, handheld form. Rich cocoa dough is tinted deep red and paired with creamy cream cheese chunks or frosting for that signature indulgent flavor.
Easy to bake and visually striking, red velvet cookies are perfect for parties, holidays, or any time you want a show-stopping treat. Dust lightly with cocoa or powdered sugar for a polished finish.
Enjoying red velvet cookies is like having cake in cookie form; soft, decadent, and delightfully satisfying.
How to Make Red Velvet Cookies
Soft, vibrant, and lightly chocolatey, these red velvet cookies are as striking as they are delicious. They stay moist, rich, and perfectly balanced.
Get ready for a cookie that steals the spotlight!
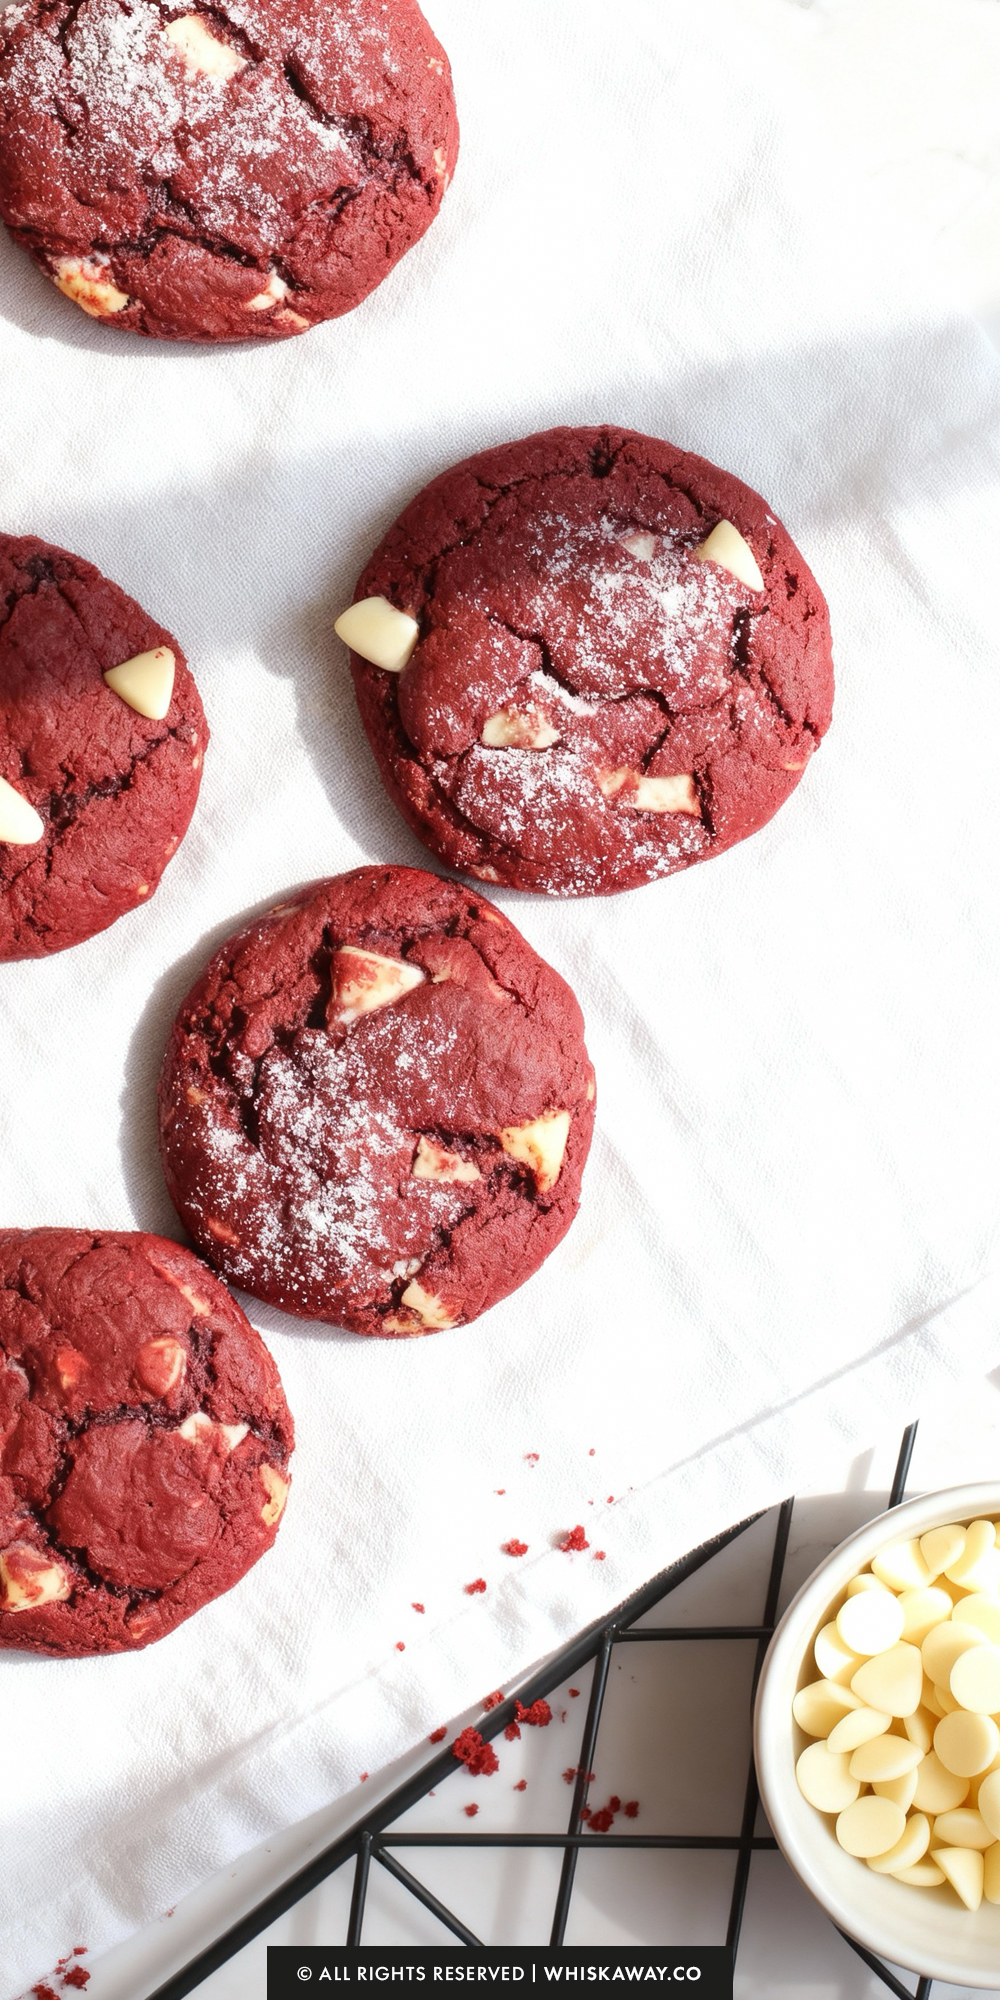
🔥 Soft, vibrant, and slightly cocoa-kissed, red velvet cookies are perfect for special occasions. If you enjoy bakery-style statement cookies, try these next.
How to Get Your Red Velvet Cookies Just Right
Getting the perfect Red Velvet Cookie, soft, slightly chewy, and packed with flavor, can be easy if you follow a few expert tips and tricks.

Here’s how to make sure every batch comes out amazing:
1. Cream Your Butter and Sugar Properly
Beating the butter and sugars until light and fluffy is key. This step incorporates air, giving your cookies a soft, tender texture. Don’t rush it—2–3 minutes in a stand mixer or a bit longer by hand is ideal.
2. Measure Your Ingredients Carefully
Accurate measurements, especially for flour and cocoa powder, are crucial. Too much flour can make your cookies dry, while too little can make them spread too much. Spoon and level your flour instead of scooping directly from the bag.
3. Chill the Dough
Chilling your cookie dough is a must. It helps the cookies hold their shape, prevents excessive spreading, and deepens the flavor. Don’t skip this step. At least 30 minutes in the freezer or an hour in the fridge is optimal.
4. Portion Evenly
Weighing your cookie dough balls ensures uniform baking. This prevents some cookies from overbaking while others remain underdone. Around 115–120 g per cookie is perfect for generous, bakery-style cookies.
5. Don’t Overbake
Red Velvet Cookies can look slightly undercooked when you take them out, but they’ll continue to set as they cool. Aim for 12–14 minutes for large cookies, or 9 minutes for smaller ones, and resist the urge to leave them in longer as they should be soft in the center when removed.
6. Use High-Quality Ingredients
A good quality cocoa powder and real vanilla extract make a noticeable difference in flavor. White chocolate chips or chunks should be high-quality as well since they provide sweetness without overpowering the delicate cocoa flavor.
7. Avoid Overmixing Once Flour Is Added
Once you add the dry ingredients, mix just until combined. Overmixing can lead to tough cookies. Folding in the flour and chocolate gently keeps the texture tender.
8. Customize Your Texture
- For softer, chewier cookies: Use slightly more brown sugar than white sugar.
- For slightly crisp edges with a soft center: Flatten the dough balls slightly before baking.
- For extra gooey cookies: Slightly underbake and let them finish setting on the tray.
9. Tray Tips
Leave enough space between cookies as they spread while baking. A lined tray or parchment paper prevents sticking and makes cleanup easier.
10. Storage for Best Texture
Store baked cookies in an airtight container at room temperature for up to 3 days. To maintain softness, add a slice of bread in the container as it keeps them moist. For longer storage, freeze baked or unbaked dough and bake fresh when desired.
Variation Tips
These Red Velvet Cookies are delicious on their own, but there are plenty of ways to tweak the flavor, texture, and ingredients to make them your own.
Here are some creative and practical ideas:
1. Chocolate Variations
- Swap white chocolate chips for milk or dark chocolate chunks for a richer, more decadent flavor.
- Mix in a few mini chocolate chips for extra chocolate bursts without changing the cookie size.
2. Nutty Additions
- Fold in chopped nuts like pecans, walnuts, or macadamias for added crunch and flavor.
- Toast the nuts lightly beforehand to enhance their aroma and depth.
3. Flavor Twists
- Add a pinch of instant coffee or espresso powder to the dough to intensify the cocoa flavor.
- Stir in a teaspoon of orange or almond extract instead of vanilla for a subtle flavor twist.
4. Texture Adjustments
- For chewier cookies: Use slightly more brown sugar than white sugar, or underbake by a minute or two.
- For slightly crisp edges: Flatten the cookie dough balls gently before baking.
- For cake-like cookies: Add an extra tablespoon of flour or an extra egg yolk to enrich the dough.
5. Dietary Swaps
- Vegan: Replace butter with a plant-based margarine or coconut oil, and swap the egg for a flax egg (1 tbsp flaxseed + 3 tbsp water, set 5 mins).
- Gluten-Free: Use a 1:1 gluten-free flour blend in place of plain flour. Add 1/4 tsp xanthan gum if your blend doesn’t already contain it.
- Lower Sugar: Reduce white chocolate chips or use a sugar-free chocolate alternative.
6. Fun Mix-Ins
- Add a handful of dried cranberries, cherries, or raspberries for a fruity contrast to the cocoa.
- Sprinkle a few coarse sugar crystals or colored sprinkles on top before baking for extra sparkle.
7. Mini Cookies or Bite-Sized Treats
Make smaller dough balls for bite-sized cookies—perfect for lunchboxes or parties. Adjust the baking time to 8–10 minutes.

Storage Tips
Proper storage is key to keeping your Red Velvet Cookies soft, flavorful, and fresh for as long as possible.
Here’s how to do it right:
1. Room Temperature
- Store baked cookies in an airtight container at room temperature for up to 3–4 days.
- To maintain extra softness, place a slice of bread in the container—it helps retain moisture.
- Avoid storing in open containers or plastic bags without sealing, as cookies can quickly become dry or stale.
2. Refrigeration
- Cookies can be stored in the fridge for up to 1 week in an airtight container.
- Bring them to room temperature or warm slightly in the microwave for 10–15 seconds before serving to restore their soft texture.
- Refrigeration is best if your kitchen is very warm or humid, but it may slightly firm up the cookies’ texture.
3. Freezing
- Unbaked dough: Roll dough into balls and freeze on a baking tray for 30–60 minutes, then transfer to a freezer-safe bag or container. Dough can be frozen for up to 3 months. Bake from frozen, adding 1–2 minutes to the baking time.
- Baked cookies: Freeze fully baked cookies in a single layer on a tray first, then transfer to a freezer-safe container or bag. They will keep for 2–3 months. Thaw at room temperature or warm in the oven/microwave before enjoying.
4. Reheating Tips
- For soft, freshly baked taste, heat room-temperature or frozen cookies in the oven at 160°C (320°F) for 5–7 minutes.
- Avoid microwaving for too long, as cookies can dry out or become tough.
Common Storage Mistakes to Avoid
- Don’t store cookies in the fridge uncovered—they’ll absorb odors and dry out.
- Avoid stacking cookies without parchment or wax paper in between—they can stick together.
- Don’t leave dough at room temperature for long periods before baking—it may spread too much or lose flavor intensity.
By following these storage tips, your Red Velvet Cookies will stay moist, chewy, and full of flavor, even days after baking!
Save for Later to Your Pinterest Board

FAQs
Can I substitute the butter for something else?
Yes! You can use a plant-based margarine or coconut oil for a dairy-free version. Keep in mind that using oil may slightly change the texture, making the cookies softer and slightly less structured.
Can I make these cookies vegan or egg-free?
Absolutely! Replace the egg with a flax egg (1 tablespoon ground flaxseed mixed with 3 tablespoons water, let sit 5 minutes) or another egg replacer. Use plant-based butter to make the recipe fully vegan.
Why do my cookies sometimes spread too much or stay flat?
Over-softened butter, warm dough, or too little chilling time can cause spreading. Chill the dough for at least 30 minutes before baking and make sure your oven is at the correct temperature for consistent results.
How should I store these cookies to keep them fresh?
Store baked cookies in an airtight container at room temperature for up to 3–4 days. For longer storage, refrigerate for up to a week or freeze (baked or unbaked) for 2–3 months. Adding a slice of bread to the container helps keep them soft.
Can I make smaller or larger cookies, and how does it affect baking time?
Yes! For smaller cookies, reduce the baking time to about 9 minutes. Larger cookies may take 12–14 minutes. Always keep an eye on them; they may look slightly undercooked when done, but they will continue to set as they cool.

Red Velvet Cookies
8
cookies20
minutes12
minutesWant a soft, colorful dessert? These red velvet cookies bring the classic cake flavor into chewy, sweet cookies everyone will love.
Ingredients
300 g white chocolate chips (or chopped chocolate)
265 g plain flour
125 g unsalted butter
100 g light brown sugar
75 g white granulated sugar
15 g cocoa powder
1 medium egg
1 + 1/2 tsp baking powder
1 tsp vanilla extract
1 tsp red food colouring
1/2 tsp bicarbonate of soda
1/2 tsp sea salt
Directions
- In a large bowl, combine the butter and both sugars. Beat them together until the mixture becomes smooth and creamy. A stand mixer with a paddle attachment works perfectly for this!
- Mix in the egg, vanilla extract, and red food colouring, then continue beating until everything is fully incorporated.
- Add the plain flour, cocoa powder, baking powder, bicarbonate of soda, and salt. Beat the mixture until a soft cookie dough forms.
- Fold in the white chocolate chips, ensuring they are evenly distributed throughout the dough.
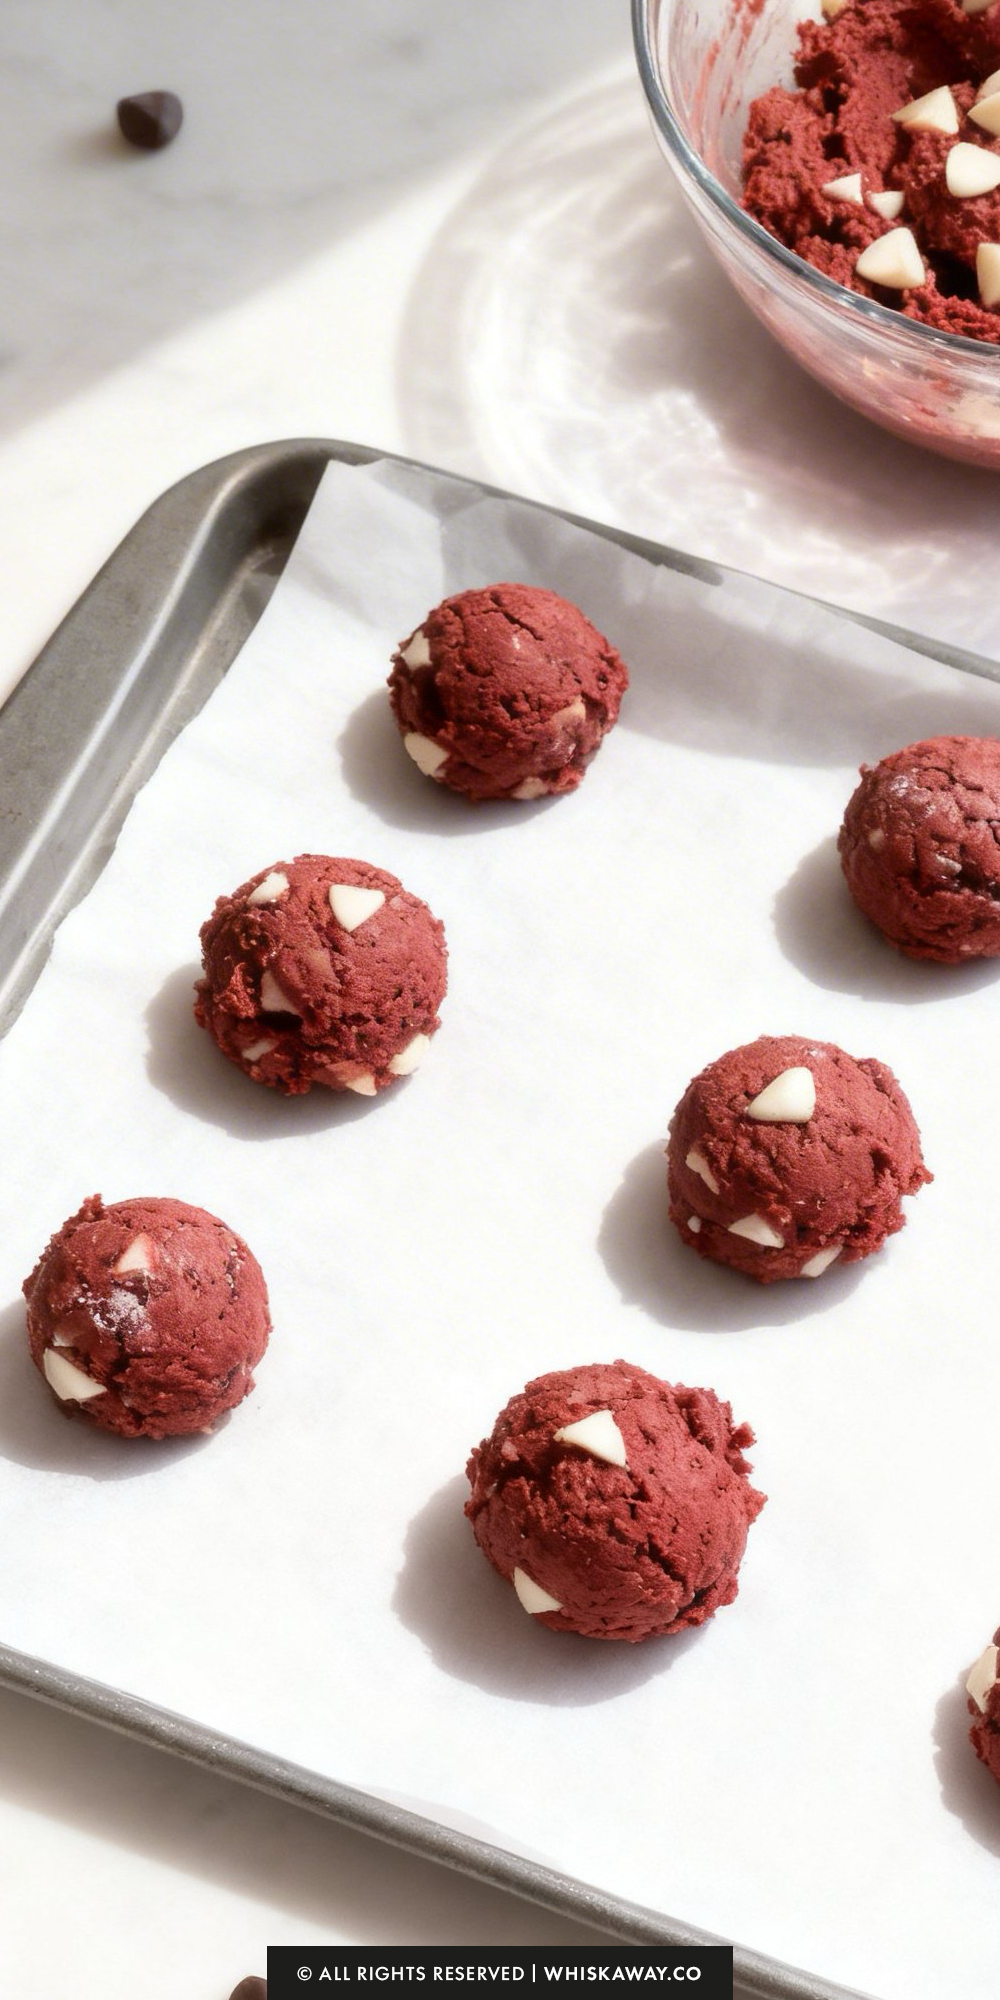
- Portion the dough into eight equal balls, weighing about 115–120 g each. If you prefer smaller cookies, feel free to make them smaller.
- Chill the dough: place it in the freezer for at least 30 minutes, or in the fridge for around an hour.
- While the dough is chilling, preheat your oven to 180°C fan (200°C conventional). If your oven tends to run hot, lower the temperature to 160–170°C.
- Arrange the cookie dough balls on a lined baking tray, leaving space between them. I usually bake four cookies per tray.
- Bake for 12–14 minutes. The cookies will naturally spread while baking, so there’s no need to flatten them unless you prefer a thinner cookie. Smaller cookies will bake in about 9 minutes.
- Allow the cookies to cool on the tray for at least 30 minutes. They may appear slightly undercooked when removed from the oven, but they will continue to set as they cool.