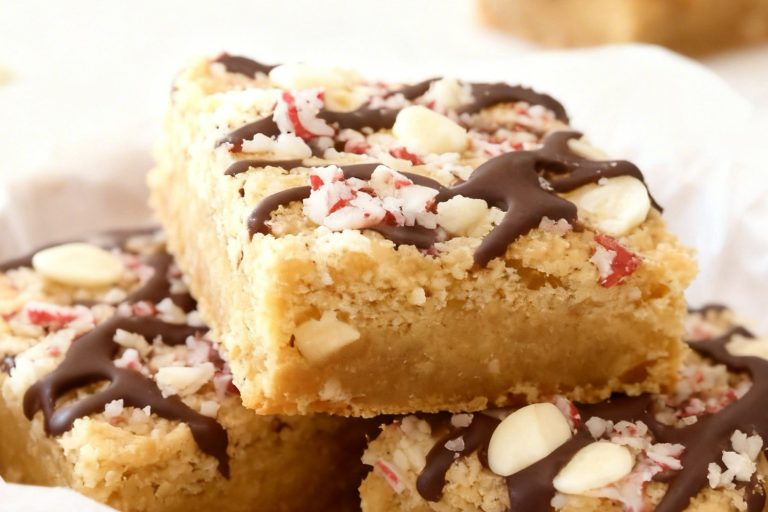
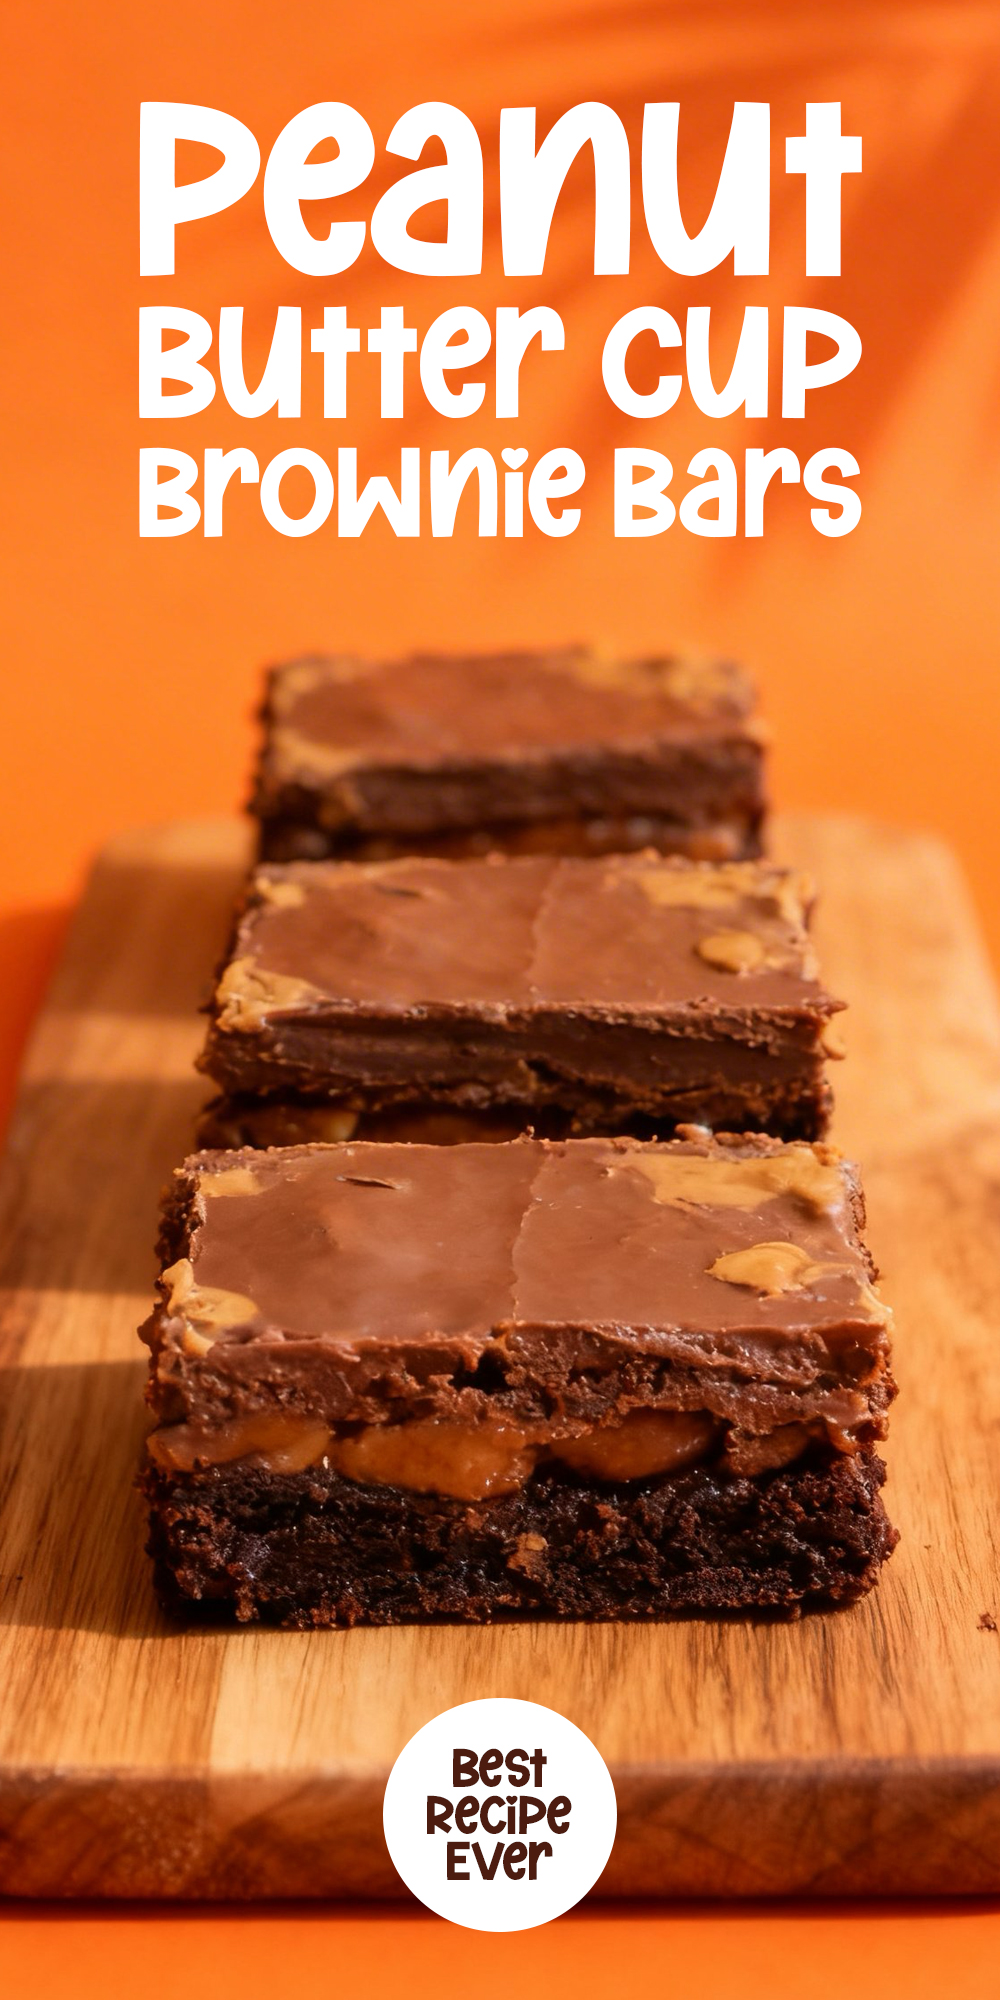
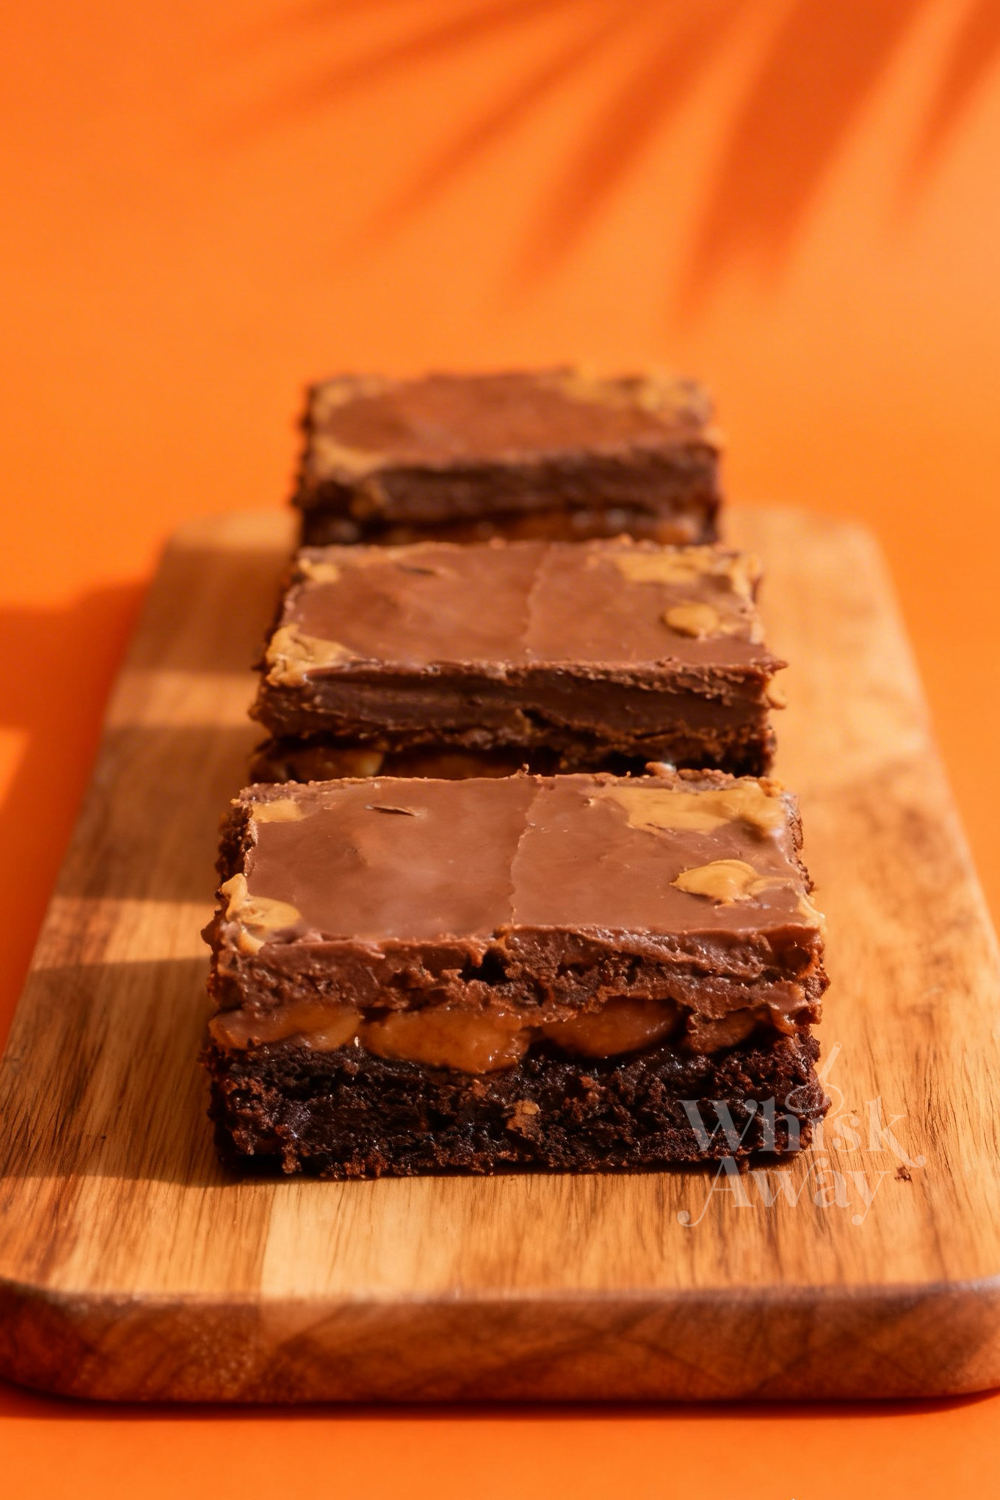
It’s hard to resist the combination of chocolate and peanut butter, and peanut butter cup brownie bars bring both flavors together in every chewy bite. These fudgy brownies are studded with peanut butter cups, creating a dessert that’s rich, satisfying, and visually appealing. These bars work well for casual gatherings, snack packs, or simple indulgences at home. The recipe is straightforward, using common ingredients and clear steps that ensure consistent results for bakers of all levels. Each bite delivers the perfect balance of chocolate richness and creamy peanut butter, with a texture that’s dense yet soft. Peanut butter cup brownie bars are versatile, easy to store, and offer a decadent option for anyone craving a chocolate-peanut butter combination in a convenient, sliceable form.
🔥 InternalLinking
Why You’ll Love These Peanut Butter Cup Brownie Bars
With chunks of peanut butter cups melting into rich brownies, these bars satisfy every chocolate-and-peanut-butter craving.
- Sweet and salty flavors pair perfectly.
- Chewy, fudgy brownies form a decadent base.
- Extra pockets of peanut butter add creamy richness.
- Easy to portion into dessert squares.
- Crowd-pleasing for parties or gatherings.
Save This Pin for Later to Your Pinterest Board
Ingredients
- Milk chocolate chips: Provide creamy chocolate flavor and melt into soft pockets of sweetness throughout the brownies.
- Fudge brownie mix: Acts as a convenient base, giving structure, chocolate richness, and fudgy texture.
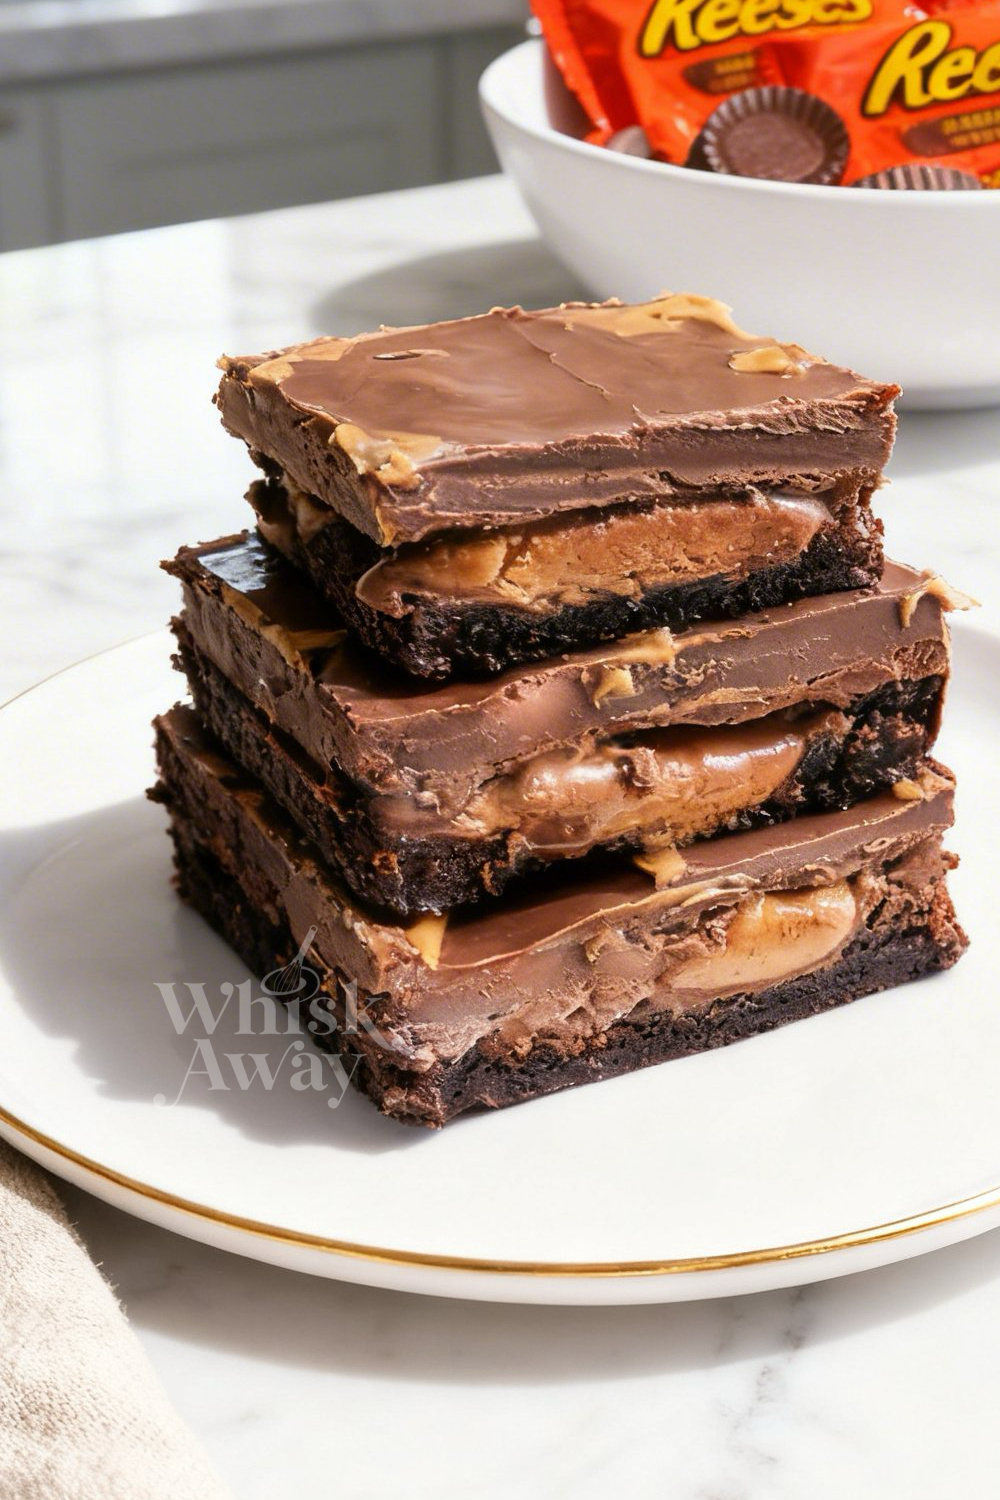
- Reese’s peanut butter cups (unwrapped): Add bursts of peanut butter and chocolate, creating indulgent pockets of flavor in every bite.
- Creamy peanut butter: Adds nutty richness, moisture, and smooth, creamy texture that pairs perfectly with chocolate.
- Shortening or coconut oil: Helps stabilize the peanut butter layer and gives a silky, spreadable consistency.
- Vanilla extract (optional): Adds warmth and rounds out the chocolate and peanut butter flavors.
Tips To Get Your Recipe Right
- Let brownies cool to room temperature: Pouring chocolate on a cold base causes it to seize, preventing smooth marbling. Letting them cool naturally keeps the chocolate fluid for a glossy finish.
- Shallow marble technique: Only drag the knife 1/8 inch into the chocolate to swirl. Going deeper pulls up crumbs and ruins the clean surface.
- Add peanut butter cups at the end: Press them in during the last 2 minutes of baking to keep the centers intact and prevent them from melting into the batter.
- Use standard creamy peanut butter: Avoid natural, oily varieties for the swirl; they’re too fluid and grainy. A stable brand creates a smooth, professional ganache.
- Hot knife slicing: Dip a sharp knife in hot water, wipe dry, and slice. This prevents cracks in the thick chocolate top and keeps cuts clean.
Storage Tips
- Room Temperature: Store in an airtight container up to 5 days. Keeps the ganache soft and peanut butter swirl creamy while preserving shine.
- Refrigeration: Store up to 1 week if your kitchen is warm or humid. Chilling firms the brownie base; let bars sit 15–20 minutes at room temperature for a softer bite.
- Freezing: Freeze up to 3 months. Wrap each bar in plastic, then a heavy-duty freezer bag. Thaw in the fridge overnight or on the counter for 1 hour. Avoid microwaving for thawing.
- Reheating: Microwave a single bar for 5–10 seconds to slightly soften the base without melting the topping.
- Storage tips: Use parchment between stacked bars to protect the swirl, avoid storing warm bars, never leave in direct sunlight, and always seal tightly in humid conditions to prevent chocolate bloom or odor absorption.
FAQs
Why do I have to bake the brownies for 2 minutes less before adding the cups?
If you press the peanut butter cups into the batter at the very beginning, the high heat and long bake time will cause them to completely liquefy and lose their shape. By waiting until the final two minutes, the candies soften just enough to sink and bond with the brownie while maintaining their structural integrity. This ensures that when you bite into the bar, you actually find a whole, recognizable candy.
Can I use a homemade brownie recipe instead of a boxed mix?
Absolutely! You can swap the 18.3-ounce box for your favorite from-scratch fudgy brownie recipe. Just follow the same logic: pull your homemade batch out 2 minutes before it’s fully done, insert the cups, and then finish the bake. Avoid using cake-style brownie recipes, as they are too airy to support the weight of the chocolate topping.
My chocolate topping is streaky and has white spots. What went wrong?
This is known as bloom, and it usually happens for one of two reasons: either the chocolate was overheated in the microwave, or you poured the warm chocolate onto a chilled brownie. To avoid this, melt your chocolate in short 20-second bursts and make sure your brownie base has cooled to room temperature (not fridge-cold) before you begin the topping process.
Can I use Natural or crunchy peanut butter for the marble swirl?
I don’t recommend it. Natural peanut butter (the kind where the oil separates) is often too gritty and fluid to hold a clean marble pattern; it tends to bleed into the chocolate rather than sit on top. Crunchy peanut butter will make it difficult to drag your knife smoothly through the layers. For that professional, silky swirl, stick with a standard, no-stir creamy brand.
How do I get the brownies out of the pan without them falling apart?
Because these bars are heavy and the peanut butter cups create soft spots in the structure, you must use a parchment paper sling. When you’re ready to slice, simply grab the edges of the parchment and lift the entire block out of the pan. If the chocolate top feels too soft to handle, let it sit on the counter for another 30 minutes; the shortening in the recipe helps it firm up into a stable, sliceable layer.

Peanut Butter Cup Brownie Bars
24
bars30
minutes23
minutes4
hoursThese peanut butter cup brownie bars are rich, gooey, and heavenly.
Ingredients
2 ½ cups milk chocolate chips
1 (18.3-ounce) package fudge brownie mix
15 regular-sized reese’s peanut butter cups (unwrapped)
¾ cup creamy peanut butter
2 ½ tablespoons shortening or coconut oil (divided)
1 teaspoon vanilla extract (optional)
Directions
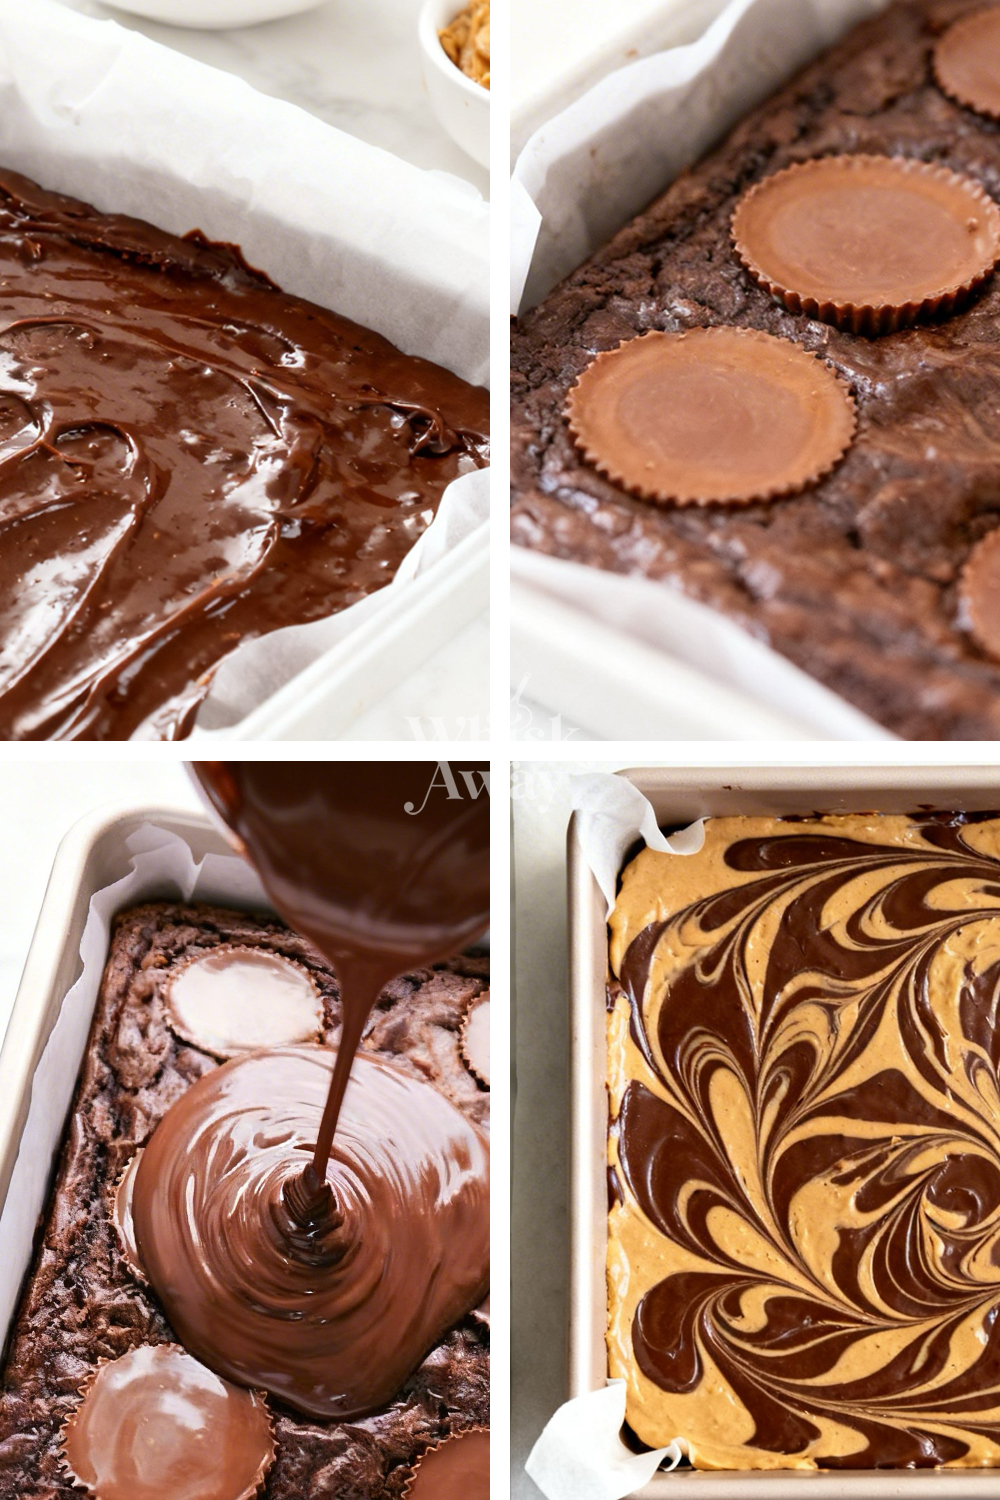
- Line a 9x13-inch baking dish with parchment paper, leaving a bit of overhang on the sides for easy lifting. Refer to your specific brownie mix box for the required temperature and preheat accordingly.
- Mix the brownie batter as directed on the package. Pour it into your prepared pan and smooth the top.
- Place the brownies in the oven, but set your timer for 2 minutes less than the minimum time suggested on the box.
- While they bake, unwrap your 15 peanut butter cups. As soon as the timer goes off, pull the pan out. Quickly but gently press the peanut butter cups into the soft batter in a 3x5 grid (3 rows of 5 cups).
- Return the pan to the oven for those final 2 minutes. This softens the candies so they bond with the brownie without melting away completely.
- Remove the pan from the oven and let it sit until it reaches room temperature. Do not rush this in the fridge or freezer yet! If the brownie base is too cold when you add the melted topping, the chocolate may set too fast and become streaky or spotty.
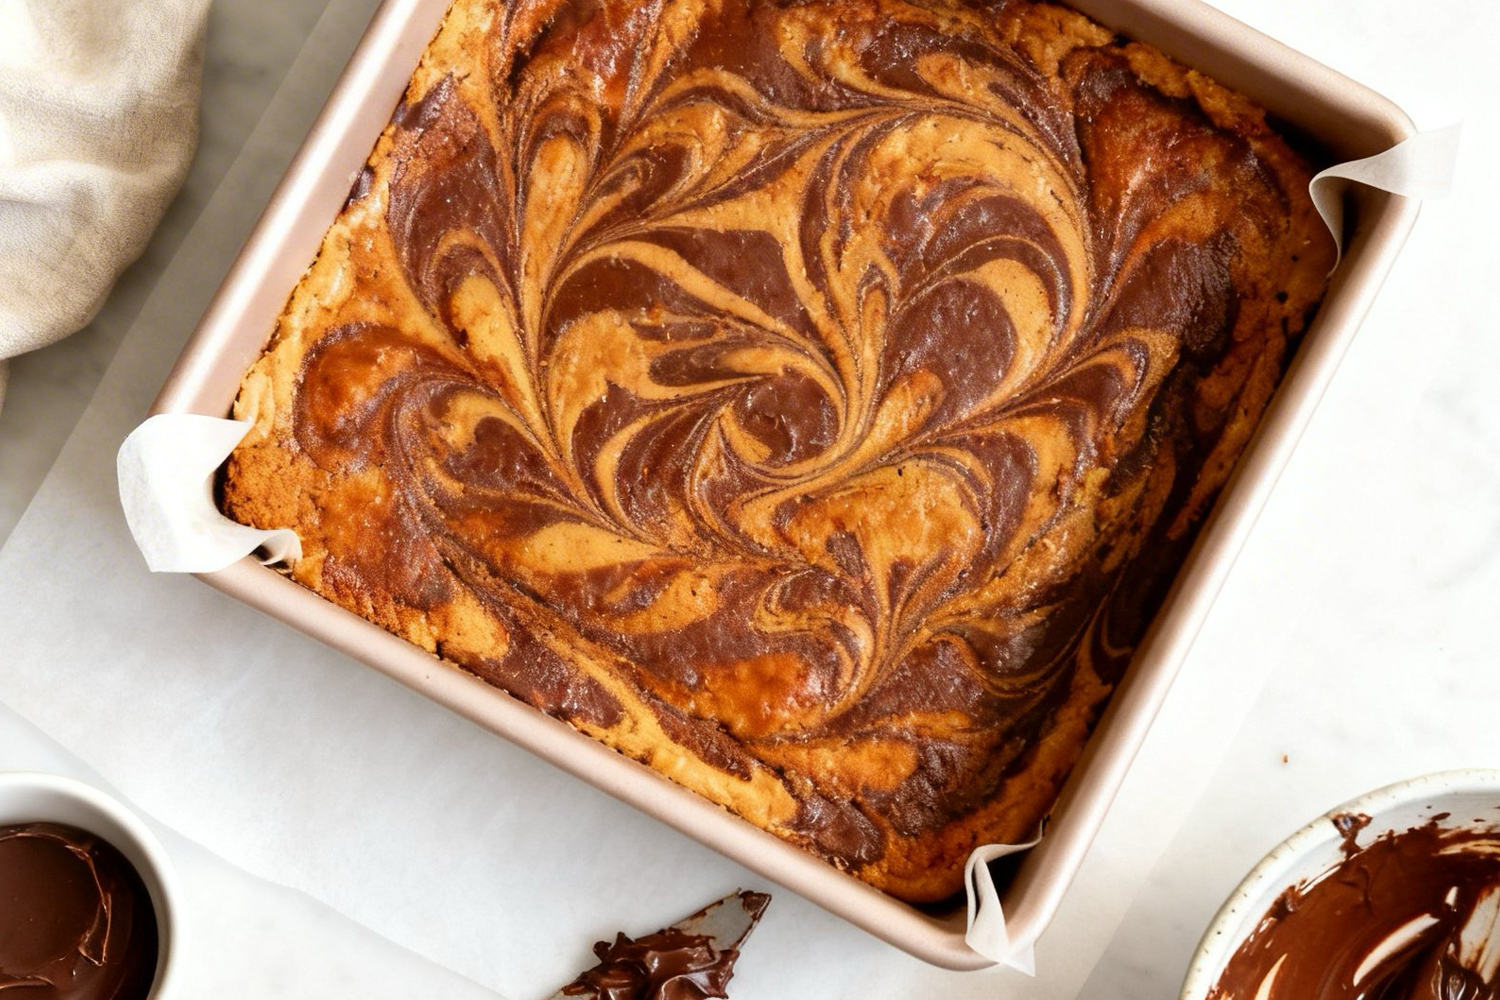
- In a microwave-safe bowl, combine the milk chocolate chips with 2 tablespoons of shortening (or coconut oil). Microwave in 20-second intervals, stirring for a full 20 seconds between each burst. Go slowly to avoid scorching. Once glossy and smooth, pour the chocolate over the cooled brownies and use a spatula to spread it into a seamless, edge-to-edge layer.
- In a separate small bowl, microwave the peanut butter with the remaining ½ tablespoon of shortening/oil for 30 seconds. Stir in the vanilla extract if using.
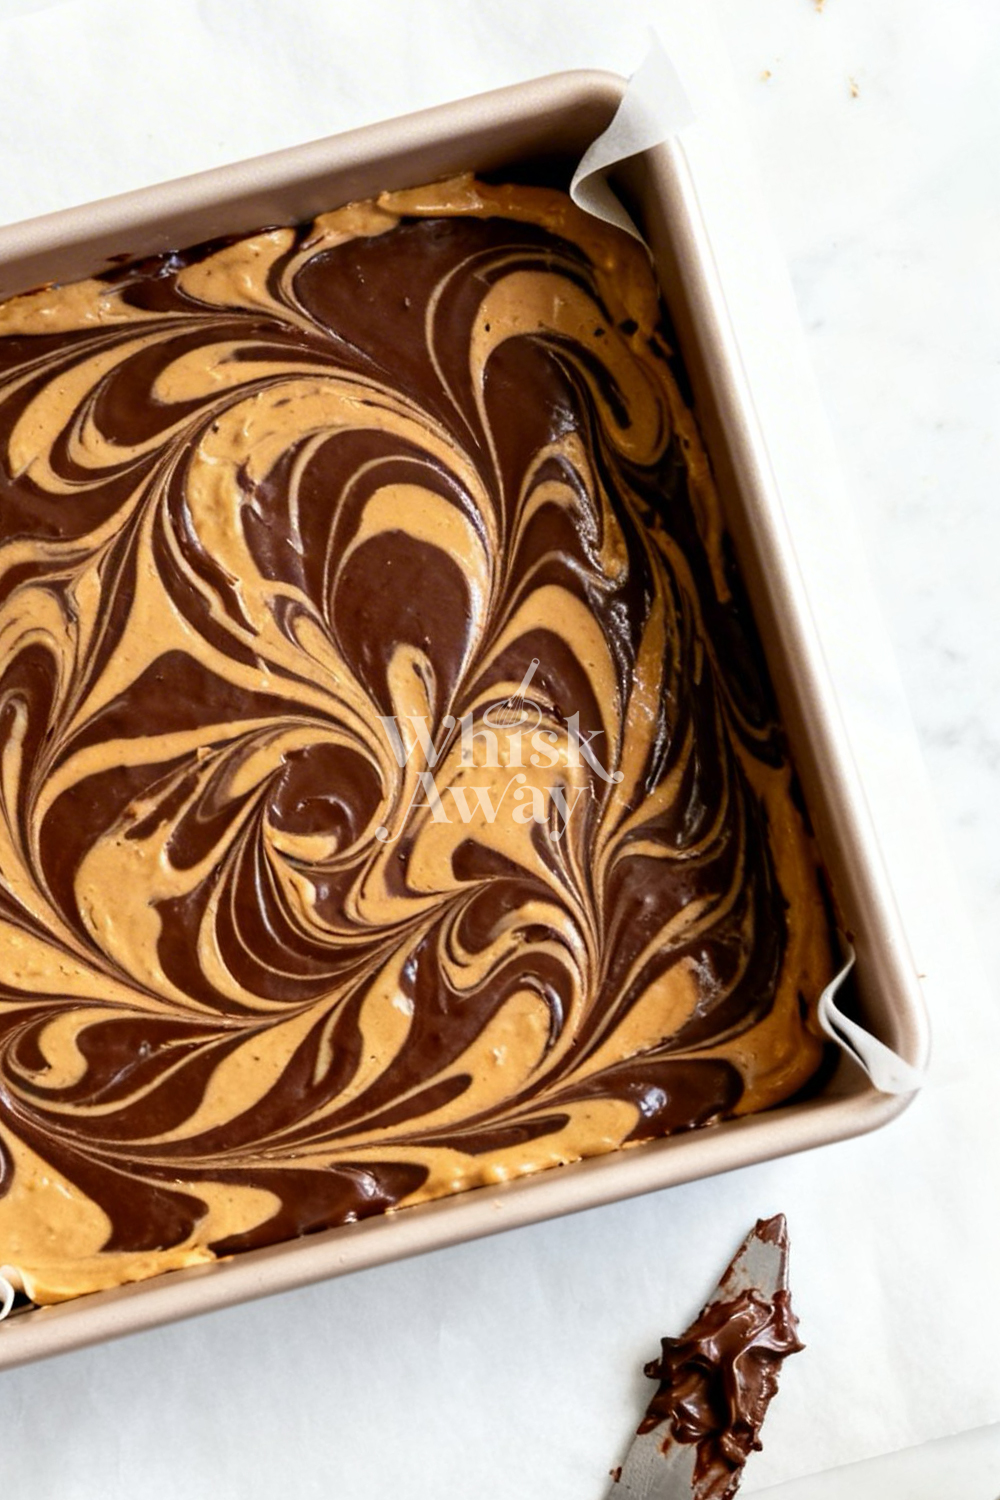
- Drizzle the peanut butter in long, horizontal lines across the wet chocolate. Take a butter knife and gently drag it vertically through the lines to create a beautiful marbled effect. Pro-Tip: Stay on the surface! Do not dig deep enough to hit the brownie layer.
- Leave the bars at room temperature to firm up completely. Avoid the temptation to chill them, as this can dull the chocolate's shine. These bars are dense! For professional squares, dip a sharp knife in hot water for 10 seconds, wipe it dry, and make your cut. Repeat this cleaning and warming process for every single slice to keep the marble pattern looking sharp.