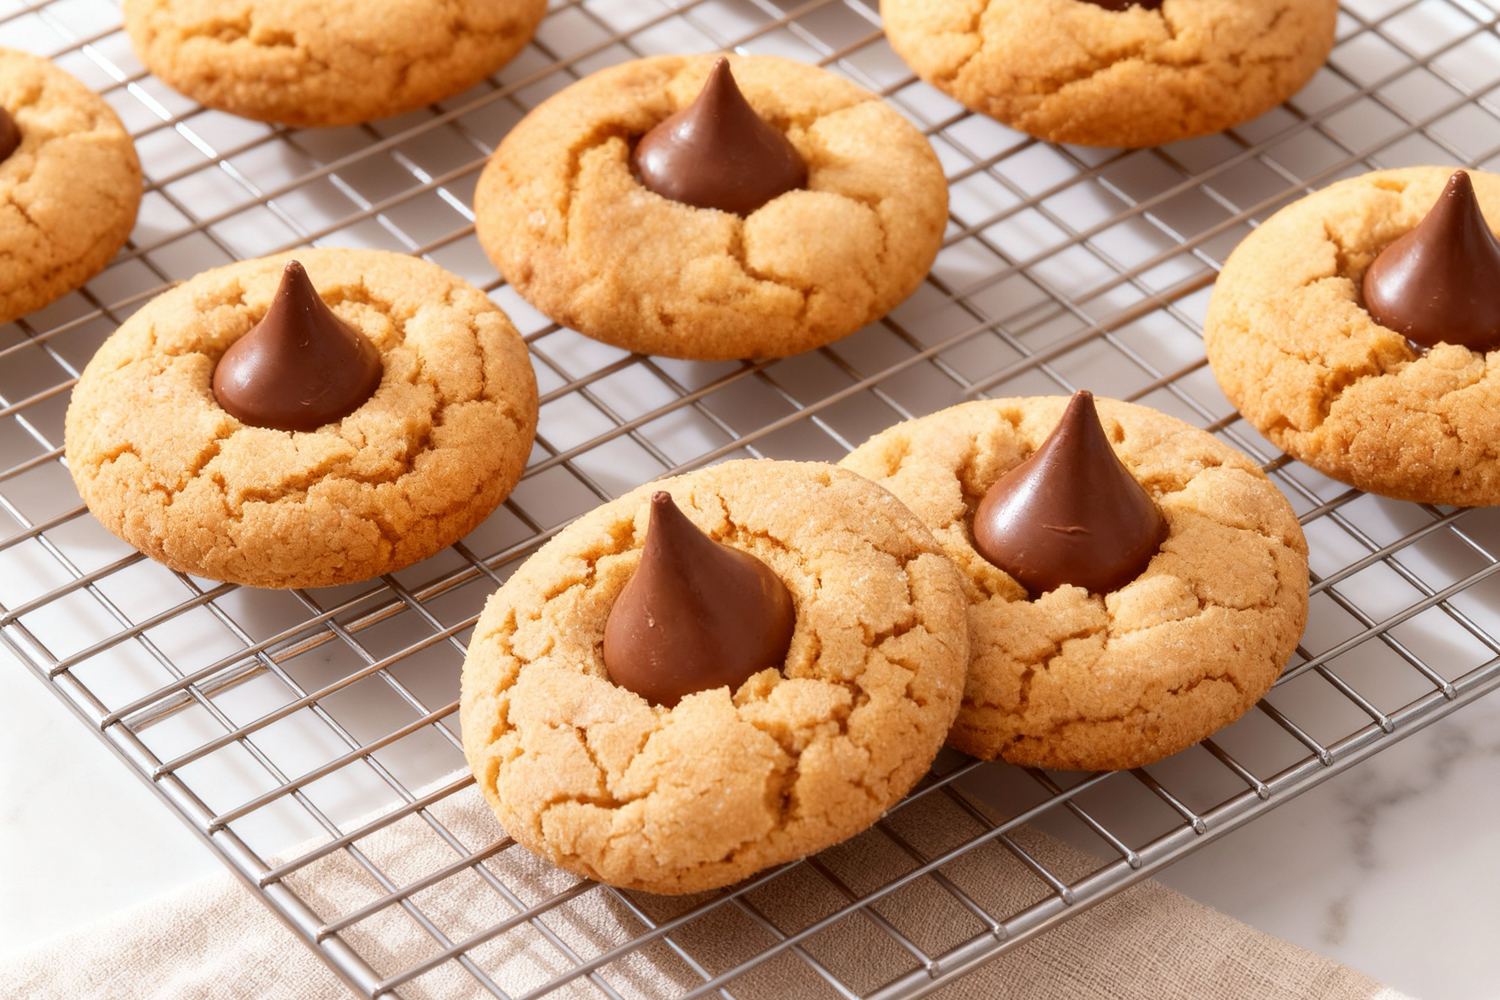
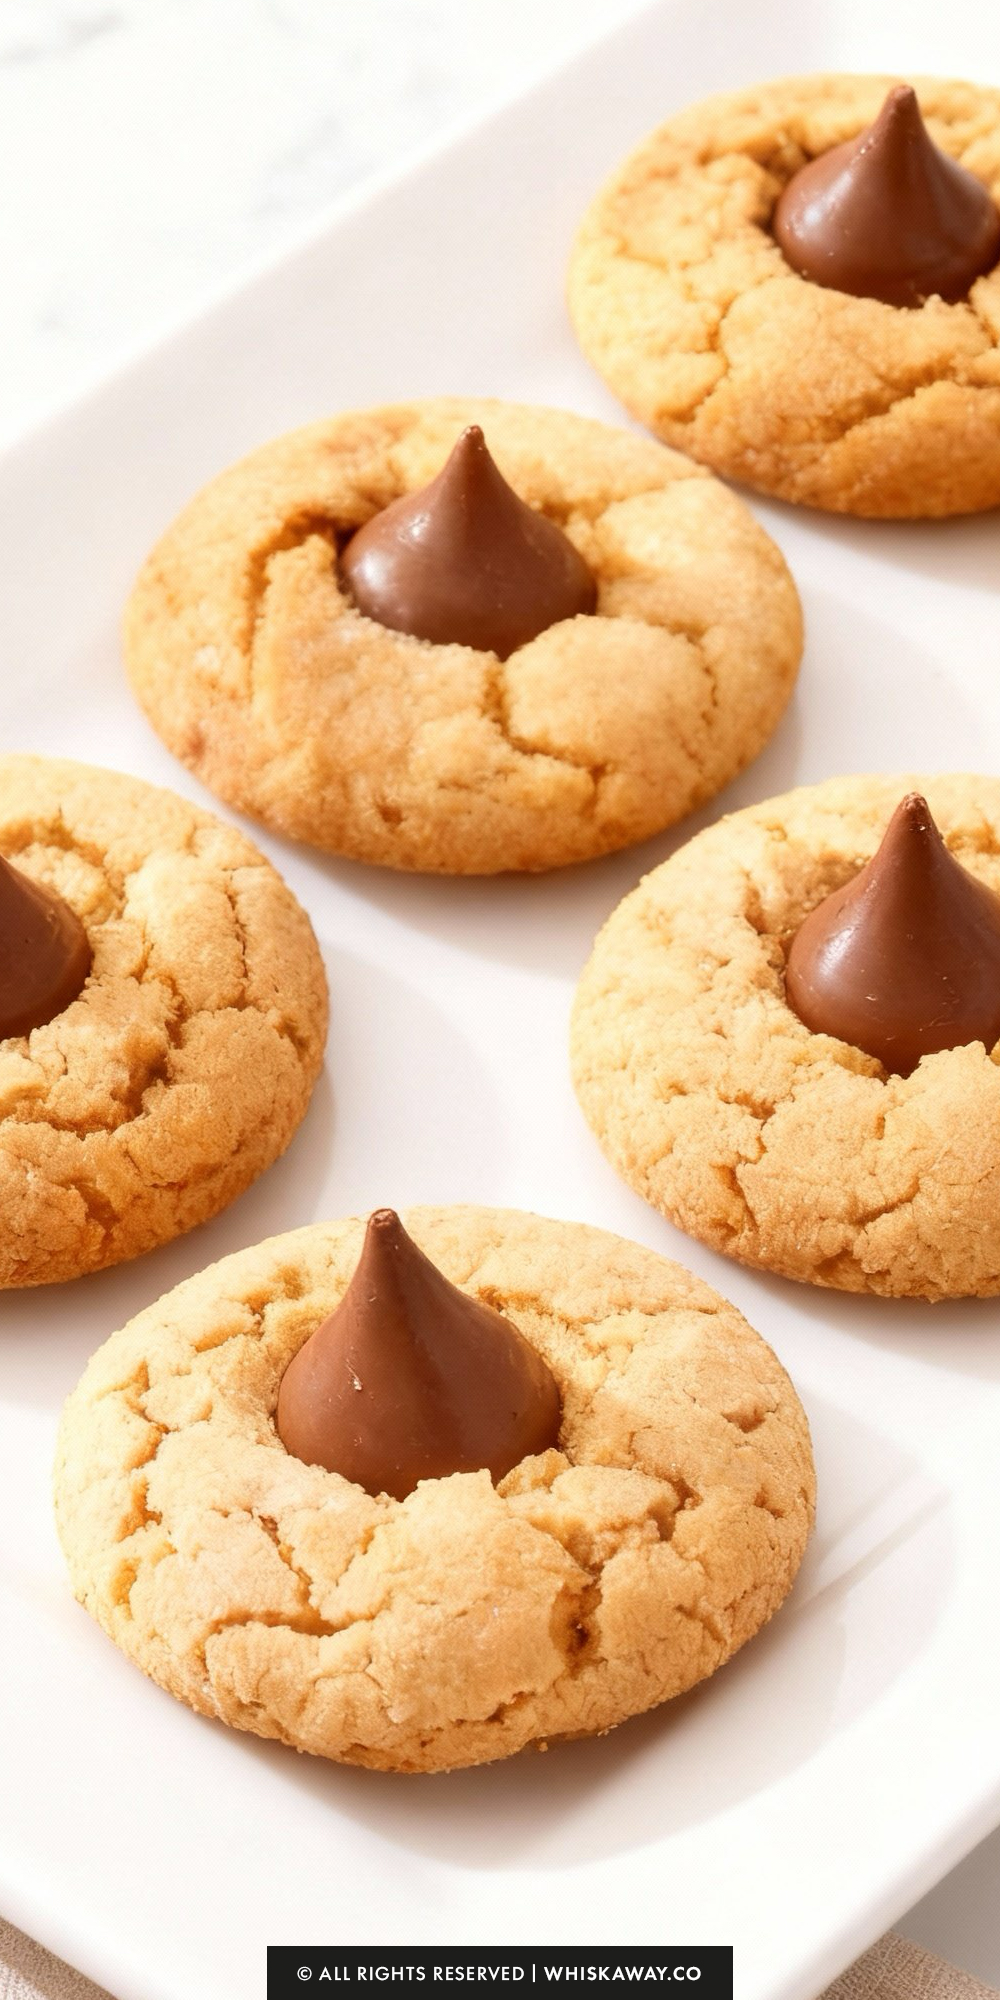
Peanut butter blossom cookies combine soft, nutty dough with a gooey chocolate center. The balance of peanut butter richness and chocolate sweetness makes them irresistibly classic.
Quick to bake and visually striking, peanut butter blossom cookies are great for holidays, parties, or weekend treats. Roll in sugar before baking for that perfect sparkle.
Baking peanut butter blossom cookies fills your kitchen with warmth and nostalgia, making each bite a joyful indulgence.
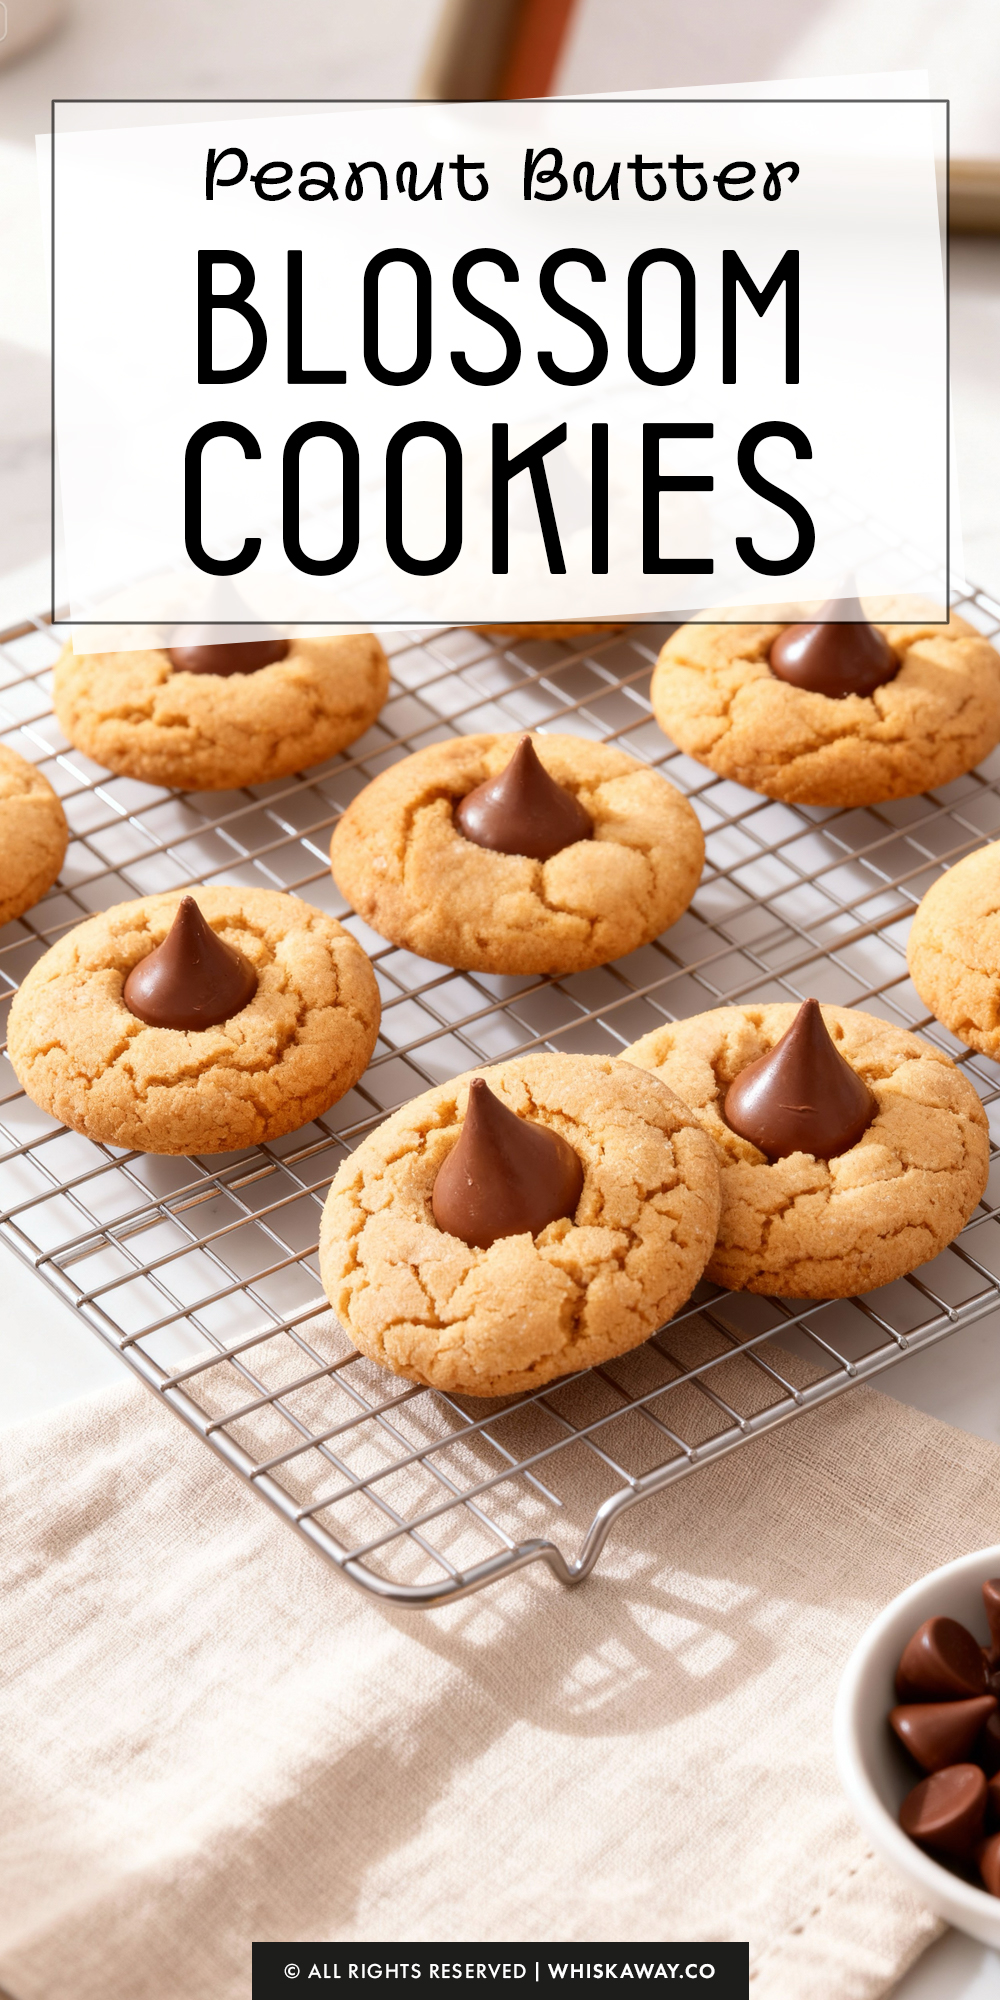
How to Make Peanut Butter Blossom Cookies
Soft peanut butter cookies topped with a perfectly set chocolate center never go out of style. These bake up tender with just the right crackle. Unwrap the chocolates and let’s get started.

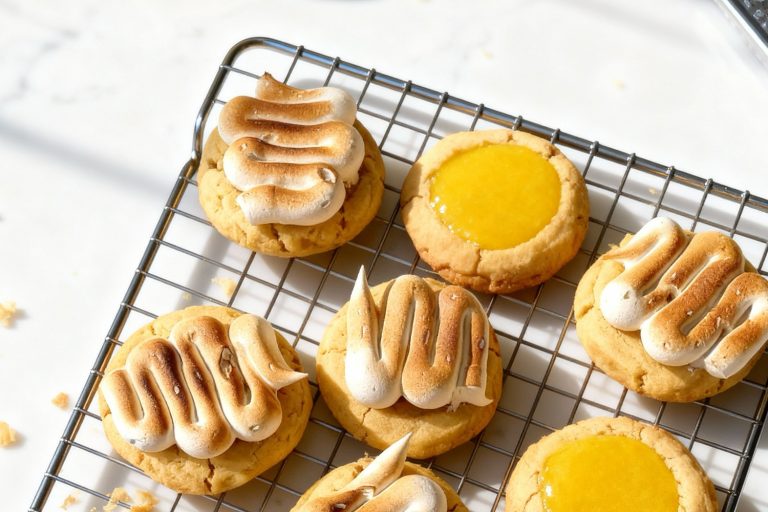
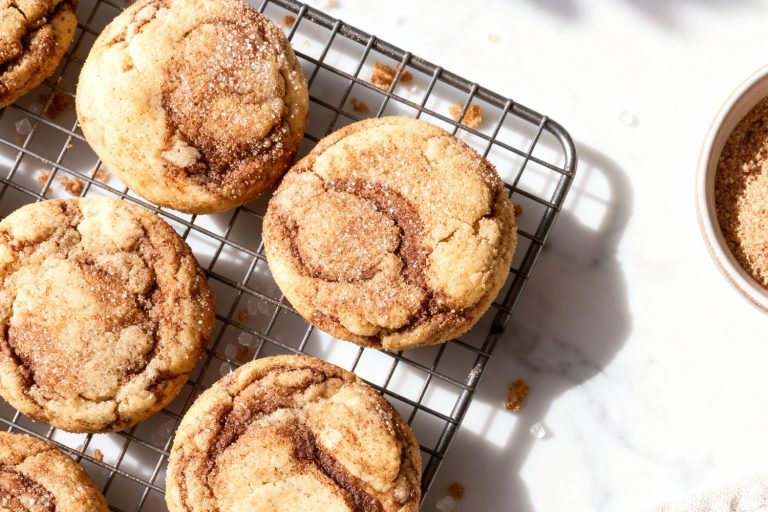
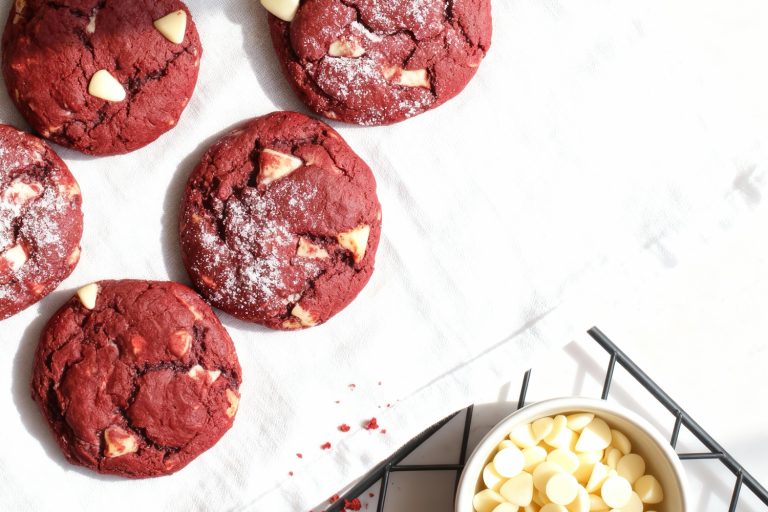
🔥 If you’re a peanut butter and chocolate fan, there’s plenty more indulgence waiting for you in these chocolate-forward picks.
How to Get Your Peanut Butter Blossom Cookies Just Right
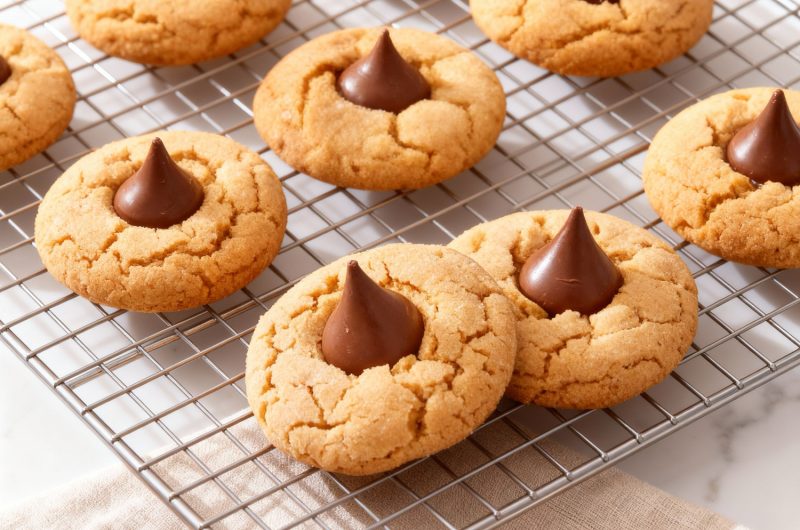
Achieving the perfect Peanut Butter Blossom Cookies is all about balance, i.e, soft, chewy centers, lightly crisp edges, and a perfectly set chocolate kiss on top.
Here’s how to make sure yours turn out bakery-quality every time:
1. Use room temperature ingredients
Let your butter and egg sit at room temperature before mixing. Softened butter creams more easily with sugar, creating a smooth, fluffy dough that bakes evenly and gives the cookies their signature tender texture.
2. Don’t overmix the dough
Once you add the flour and baking soda, mix only until everything comes together. Overmixing develops too much gluten, which can make the cookies dense instead of soft and chewy.
3. Chill if your dough feels too soft
If your kitchen is warm or the dough feels sticky, chill it in the fridge for 20–30 minutes before rolling. This helps the cookies hold their shape and prevents spreading too much in the oven.
4. Roll evenly for consistent baking
Use a small cookie scoop or weigh the dough if you want perfectly uniform cookies. Consistent sizing ensures even baking and a neat, professional look once you add the chocolate kiss.
5. Press the chocolate kiss at the right moment
The best time to press the chocolate kiss is right after baking, while the cookies are still warm and soft.
The heat allows the chocolate to melt just enough to adhere without losing its shape. Avoid doing it too early (the kiss will sink) or too late (it won’t stick properly).
6. Don’t overbake
These cookies should be just set when you pull them from the oven. The bottoms will be slightly golden, but the centers may still look a bit underdone as they’ll continue to firm up as they cool.
Overbaking can dry them out and make the chocolate crack.
7. Stacking hacks
Let the cookies cool completely before stacking or storing. If you stack them too soon, the warm chocolate kisses can smudge or lose their shape.
Allow them to rest on the baking sheet until the chocolate has completely set for a clean, polished finish.
Follow these simple tips, and you’ll end up with classic Peanut Butter Blossoms that are soft, rich, and picture-perfect, every single time.
Variation Tips
These Peanut Butter Blossom Cookies are timeless, but there’s plenty of room to get creative while keeping that classic flavor and texture.
Here are some fun and practical ways to make the recipe your own:
1. Try different chocolates
Swap the traditional Hershey’s kiss for other options, like mini peanut butter cups, dark chocolate squares, or even caramel-filled chocolates for a richer twist. You can also use white or milk chocolate kisses for a sweeter variation.
2. Make them extra nutty
For more crunch, mix in chopped roasted peanuts or swirl in a spoonful of crunchy peanut butter instead of creamy. It adds texture and enhances that roasted peanut flavor.
3. Go for a chocolate base
Replace 2 tablespoons of flour with unsweetened cocoa powder to create Chocolate Peanut Butter Blossoms. The cocoa deepens the flavor and contrasts beautifully with the peanut butter.
4. Add a hint of spice or flavor
Cinnamon, espresso powder, or a touch of sea salt sprinkled on top can elevate the cookies’ flavor profile. For a gourmet version, try adding a small pinch of cayenne for a subtle warmth.
5. Make them gluten-free
Substitute the all-purpose flour with a 1:1 gluten-free flour blend. Ensure your baking soda and peanut butter are certified gluten-free for best results.
6. Create a dairy-free version
Use vegan butter or margarine and swap the chocolate kiss for a dairy-free alternative. A dab of vegan chocolate ganache or a vegan chocolate button works just as well.
7. Turn them into mini cookie bites
Use half the dough for each cookie and press in mini chocolate chips or chocolate drops instead of full-sized kisses. These bite-sized versions are perfect for parties or cookie platters.
8. Add a festive touch
Roll the dough balls in colored sugar before baking for holiday flair, red and green for Christmas, pink for Valentine’s Day, or pastel tones for spring gatherings.
With just a few tweaks, these Peanut Butter Blossoms can go from classic comfort cookies to customized treats fit for any occasion or dietary need—all without losing their signature peanut butter charm.
Storage Tips
To keep your Peanut Butter Blossom Cookies soft, flavorful, and fresh for days, proper storage is key.
Here’s how to maintain their perfect texture and prevent the chocolate kisses from losing their shine or shape:
1. At Room Temperature
Store the cookies in an airtight container at room temperature for up to 5–6 days. To keep them soft, place a slice of sandwich bread or a few marshmallows inside the container as the cookies will absorb the moisture and stay tender.
Stack cookies gently in layers with parchment or wax paper in between to prevent the chocolate tops from smudging or sticking. Avoid storing them near heat or sunlight, as this can cause the chocolate to soften or melt.
2. In the Refrigerator
If you live in a warm or humid climate, refrigerating your cookies can help them last a bit longer, up to 10 days. However, keep in mind that refrigeration may slightly firm up the cookies.
To restore their softness, let them sit at room temperature for about 15 minutes before serving.
3. Freezing Baked Cookies
Peanut Butter Blossoms freeze beautifully for up to 3 months. Arrange the cooled cookies in a single layer on a baking sheet and freeze until solid (about an hour).
Then transfer them to a freezer-safe container or resealable bag, separating layers with parchment paper. When ready to enjoy, thaw at room temperature for about 30 minutes, no reheating needed.
4. Freezing Cookie Dough
You can also freeze the dough before baking. Shape into 1-inch balls, roll in sugar, and freeze them on a baking sheet. Once firm, transfer to an airtight container or bag.
When ready to bake, place the frozen dough balls directly on a lined baking sheet and bake for an extra 1–2 minutes. Add the chocolate kisses immediately after baking.
5. Storage Mistakes to Avoid
- Don’t store the cookies while they’re still warm as the heat can cause condensation, making them soggy.
- Avoid stacking warm cookies, as the chocolate can melt and lose its shape.
- Never freeze the cookies in direct contact with foil or plastic wrap without a layer of parchment as it can cause freezer burn or chocolate discoloration.
With these storage methods, your Peanut Butter Blossom Cookies will stay perfectly soft, peanut buttery, and chocolatey long after baking—ready to enjoy whenever you crave a sweet treat.
Save for Later to Your Pinterest Board
FAQs
Can I use natural peanut butter instead of creamy peanut butter?
Yes, you can! Just make sure to stir natural peanut butter well before measuring. Cookies may be slightly more crumbly, but the flavor will still be delicious.
Can I substitute the chocolate kisses with another type of chocolate?
Absolutely! Try mini peanut butter cups, chocolate squares, or even dark chocolate for a twist. Just press them into the cookies immediately after baking so they stick properly.
How do I prevent my cookies from spreading too much?
Ensure your butter is softened, not melted, and scoop uniform 1-inch balls of dough. If your kitchen is warm, chilling the dough for 20–30 minutes before baking helps the cookies keep their shape.
How should I store these cookies to keep them fresh?
Store in an airtight container at room temperature for up to 5–6 days. For longer storage, refrigerate for up to 10 days or freeze baked cookies for up to 3 months.
Can I make these cookies gluten-free or dairy-free?
Yes! Use a 1:1 gluten-free flour blend for a gluten-free version. For dairy-free, swap the butter for vegan butter or margarine and use dairy-free chocolate kisses. The cookies will retain their classic flavor and texture with these substitutions.
Peanut Butter Blossom Cookies
36
cookies20
minutes10
minutesThis peanut butter blossom cookies recipe pairs soft, chewy peanut butter cookies with a melty chocolate kiss for a classic favorite.
Ingredients
1½ cups all-purpose flour (180 g)
¾ cup creamy peanut butter (188 g)
½ cup unsalted butter, softened (113 g)
½ cup packed light brown sugar (110 g)
½ cup granulated sugar, plus more for rolling (100 g)
1 large egg, room temperature
1 teaspoon vanilla extract
½ teaspoon baking soda
¼ teaspoon salt
36 Hershey’s chocolate kisses, unwrapped
Directions
- Preheat your oven to 375°F (190°C) and line your baking sheets with parchment paper.
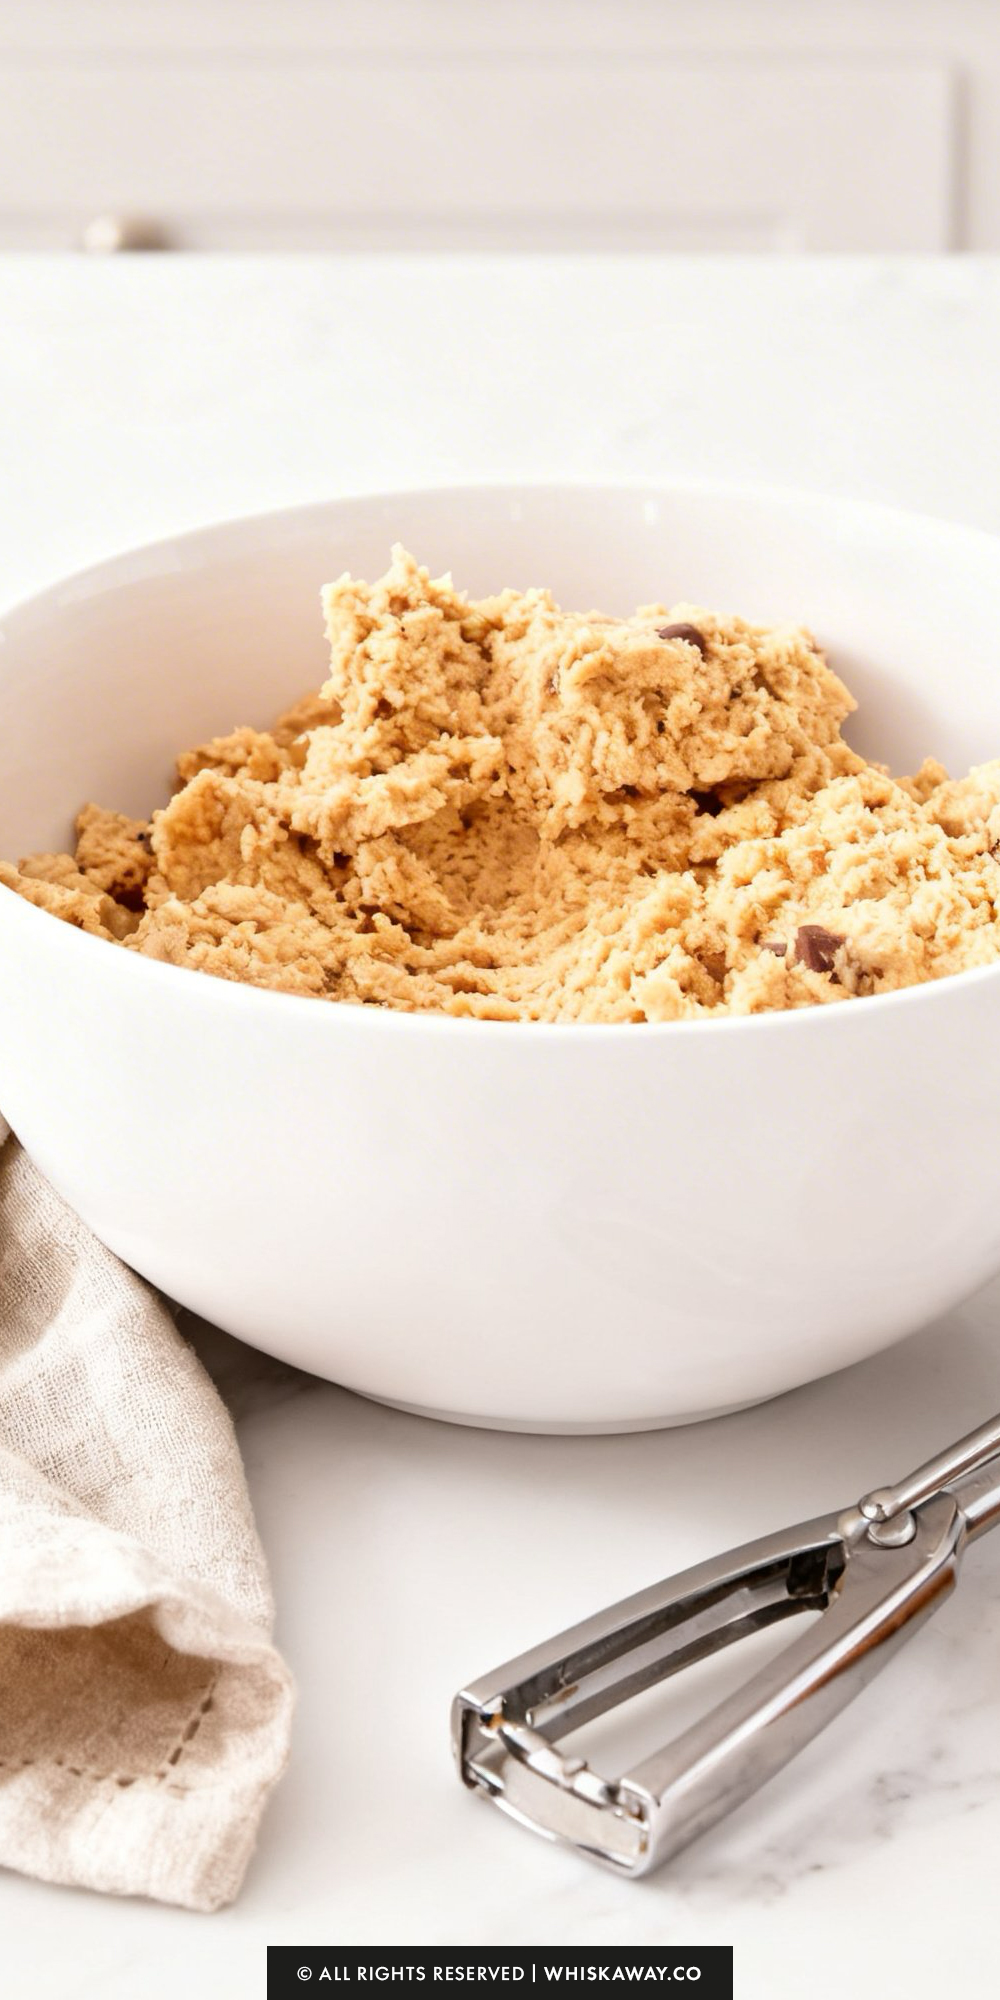
- In a large bowl—or in a stand mixer fitted with the paddle attachment—add the peanut butter, butter, both sugars, and salt. Beat on medium speed until the mixture is smooth and creamy. Next, mix in the egg and vanilla extract, scraping down the sides of the bowl as needed to ensure everything is well incorporated.
- Reduce the speed to low and gently mix in the flour and baking soda until just combined—avoid overmixing.
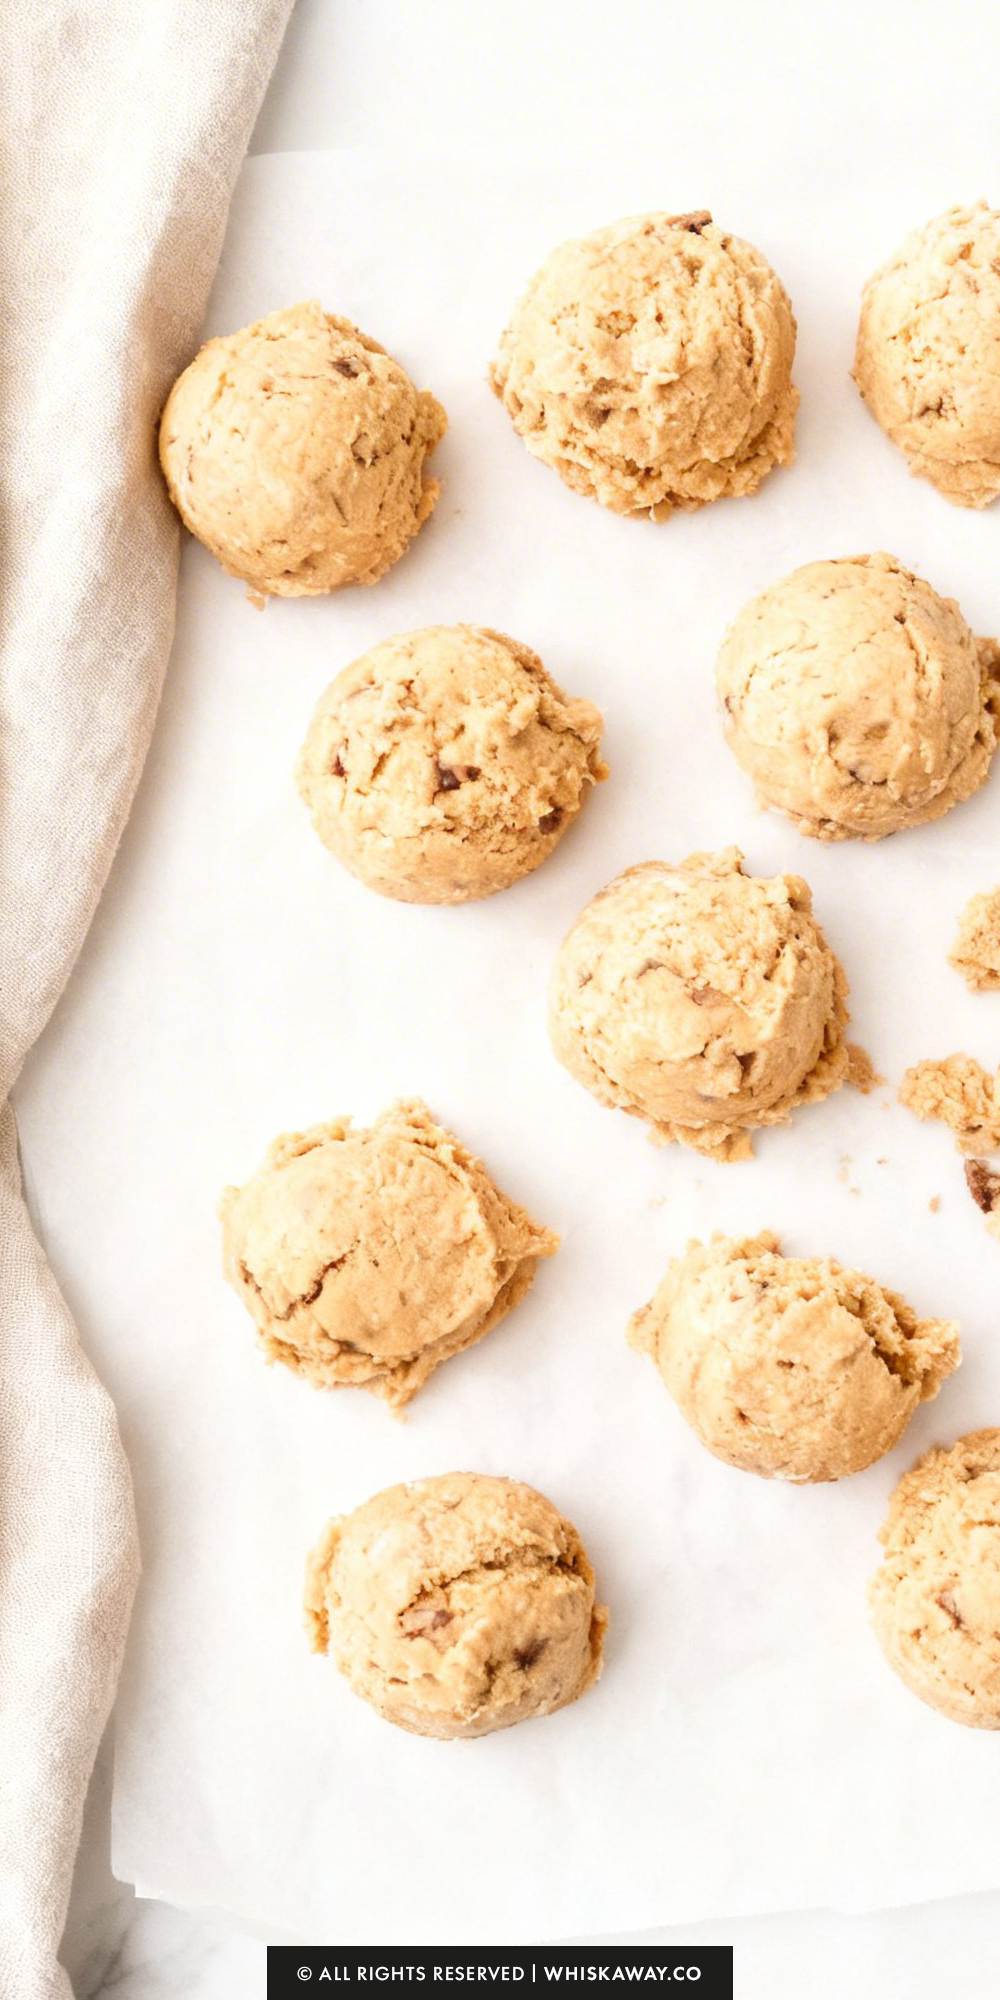
- Scoop out 1-inch balls of dough and roll them in a little extra granulated sugar if you like a sparkly finish. Arrange the dough balls on the prepared baking sheets, leaving about 2 inches of space between each one.
- Bake for 8–10 minutes, or until the cookies appear puffed, lightly golden underneath, and slightly cracked on top. As soon as they come out of the oven, press a chocolate kiss into the center of each warm cookie. (The tops will crack a bit—this is exactly what you want!)
- Let the cookies cool completely on the baking sheet so the chocolate can set. Once cooled, serve right away or store them in an airtight container for up to 1 week.