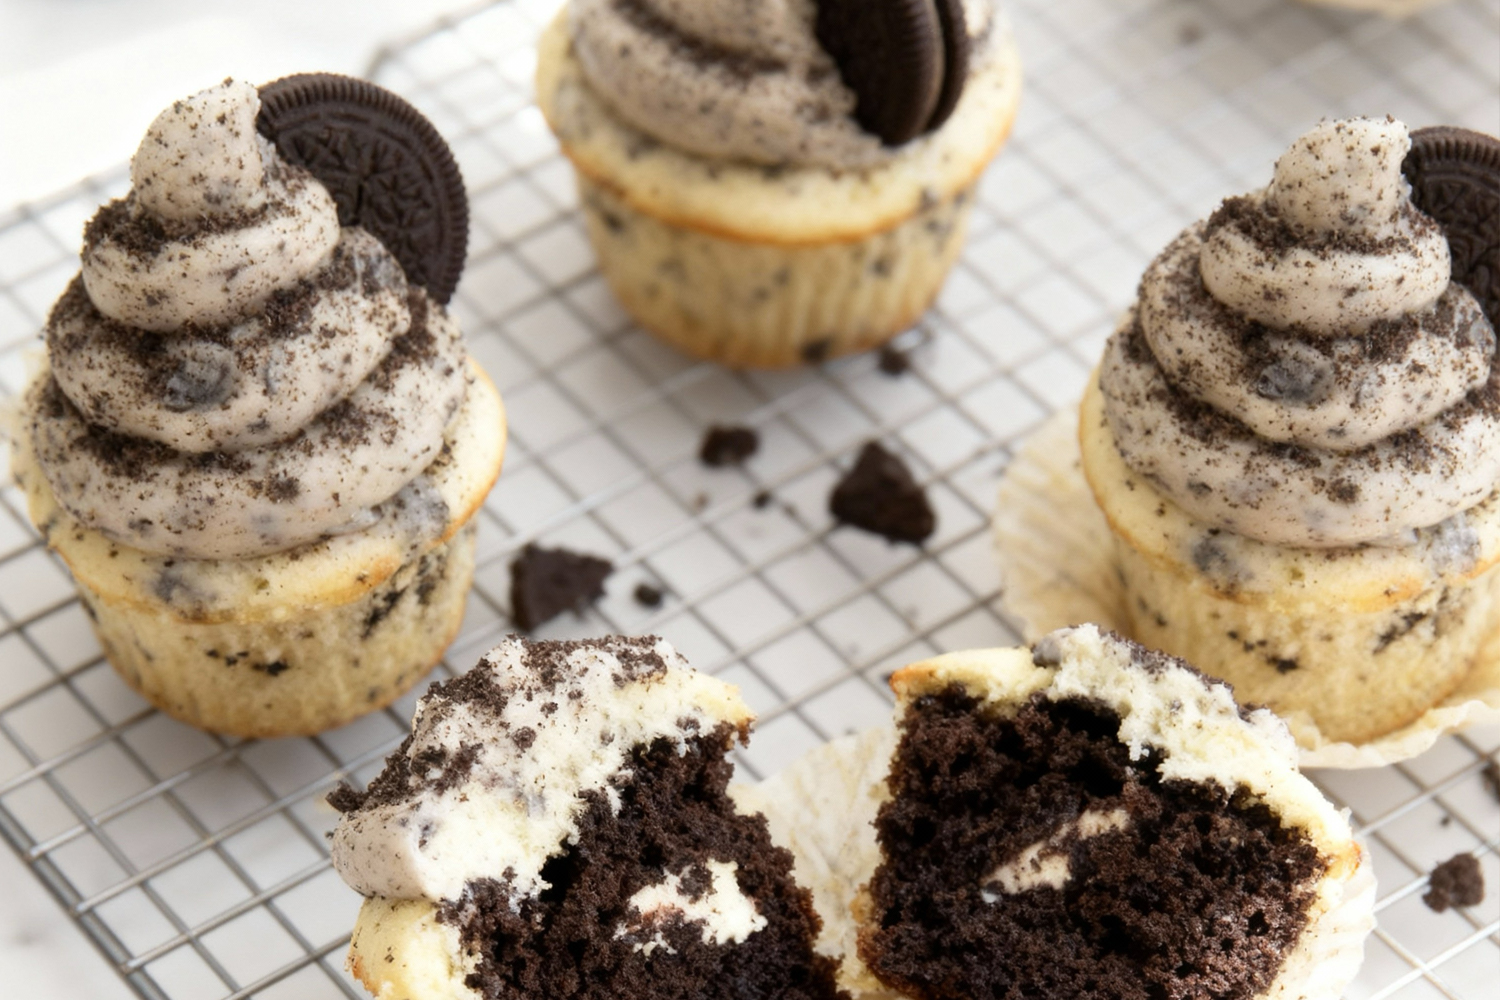
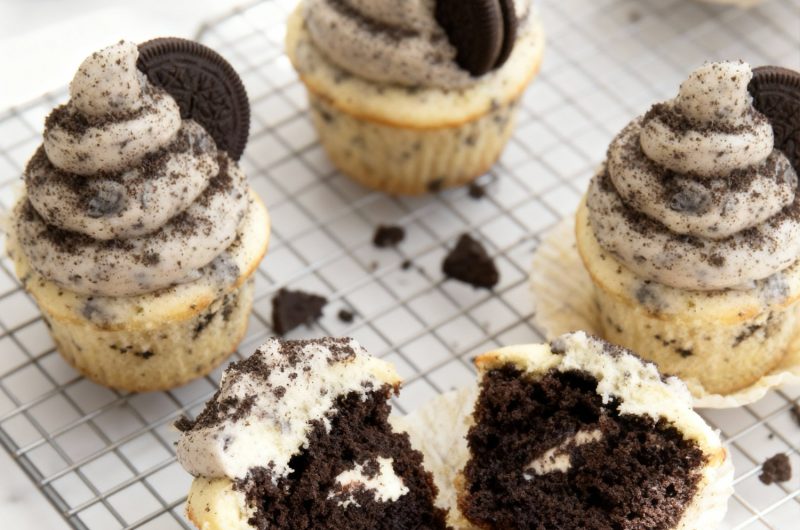
Cookies and cream fans will love oreo cupcakes.
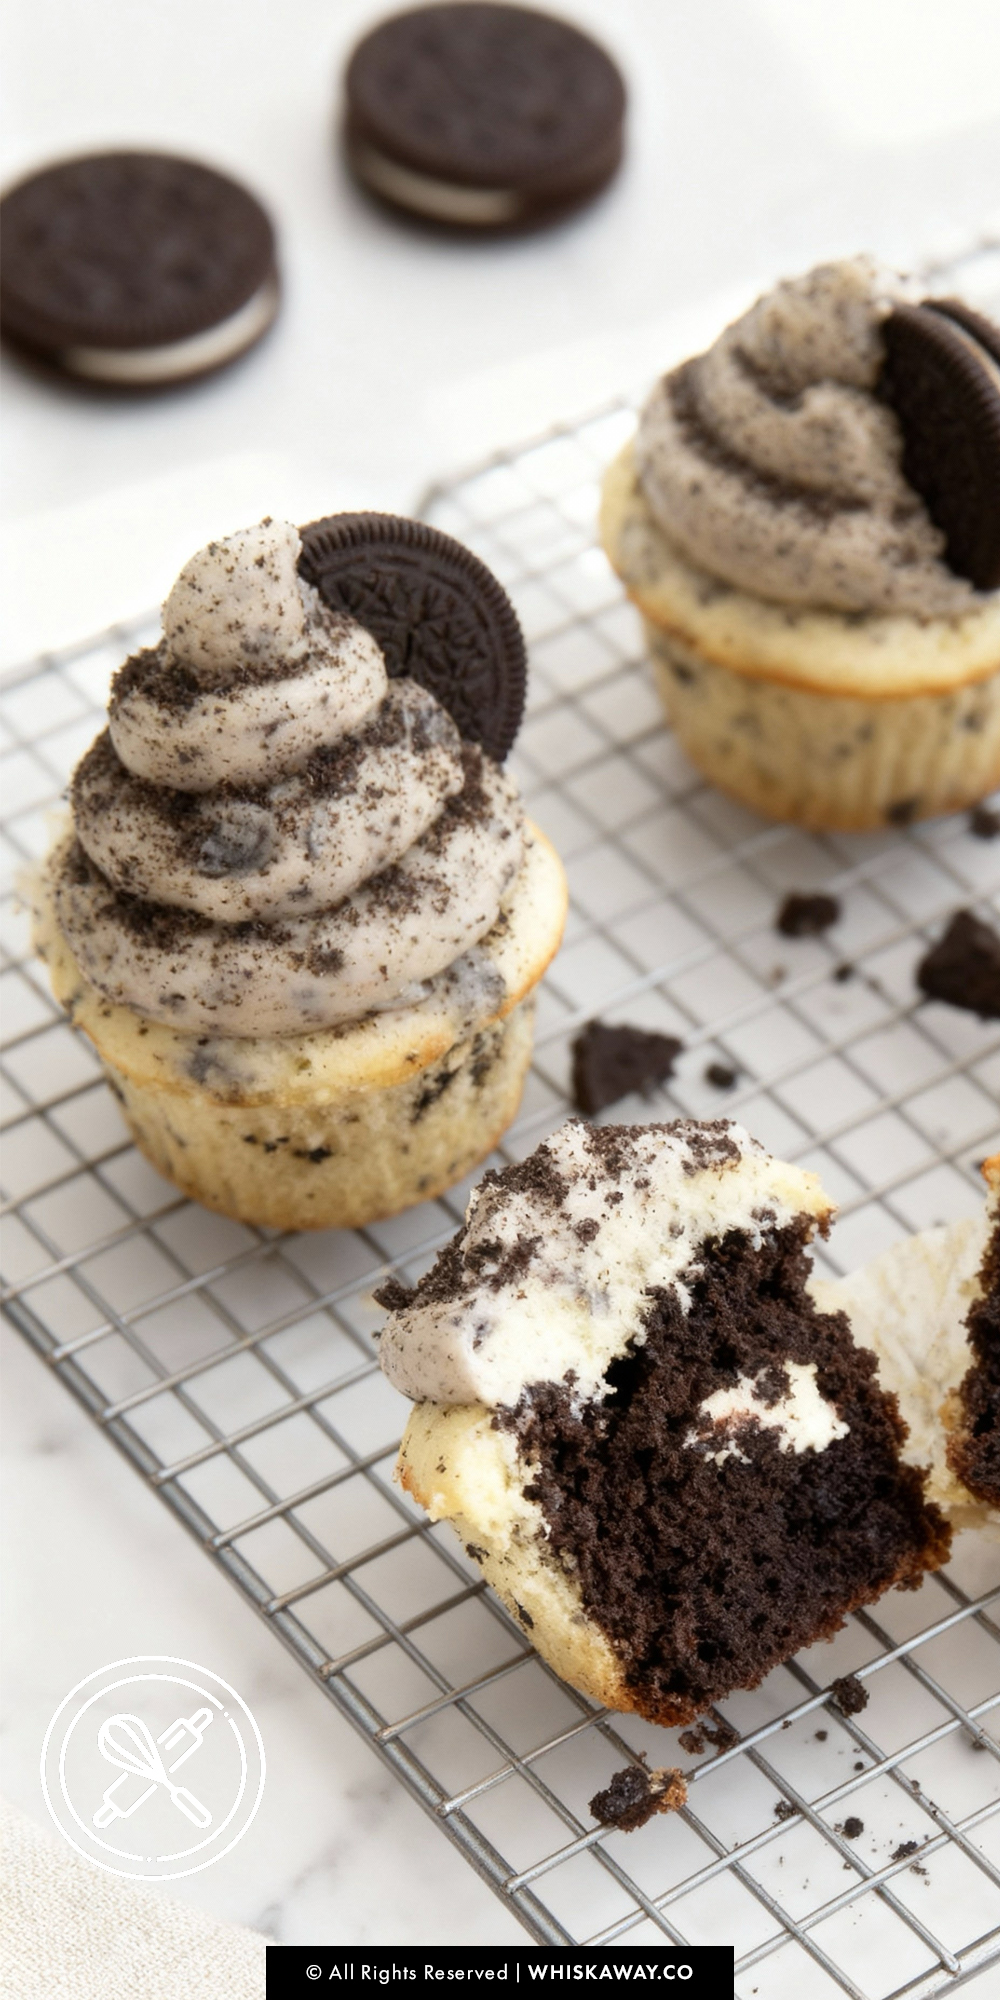
Crushed Oreo cookies are mixed into a tender chocolate or vanilla cake, then topped with creamy frosting and more cookie crumbles, creating a fun, crunchy, and indulgent treat.
Each bite delivers a perfect balance of chocolate and creaminess that’s addictive.
How to Make Oreo Cupcakes
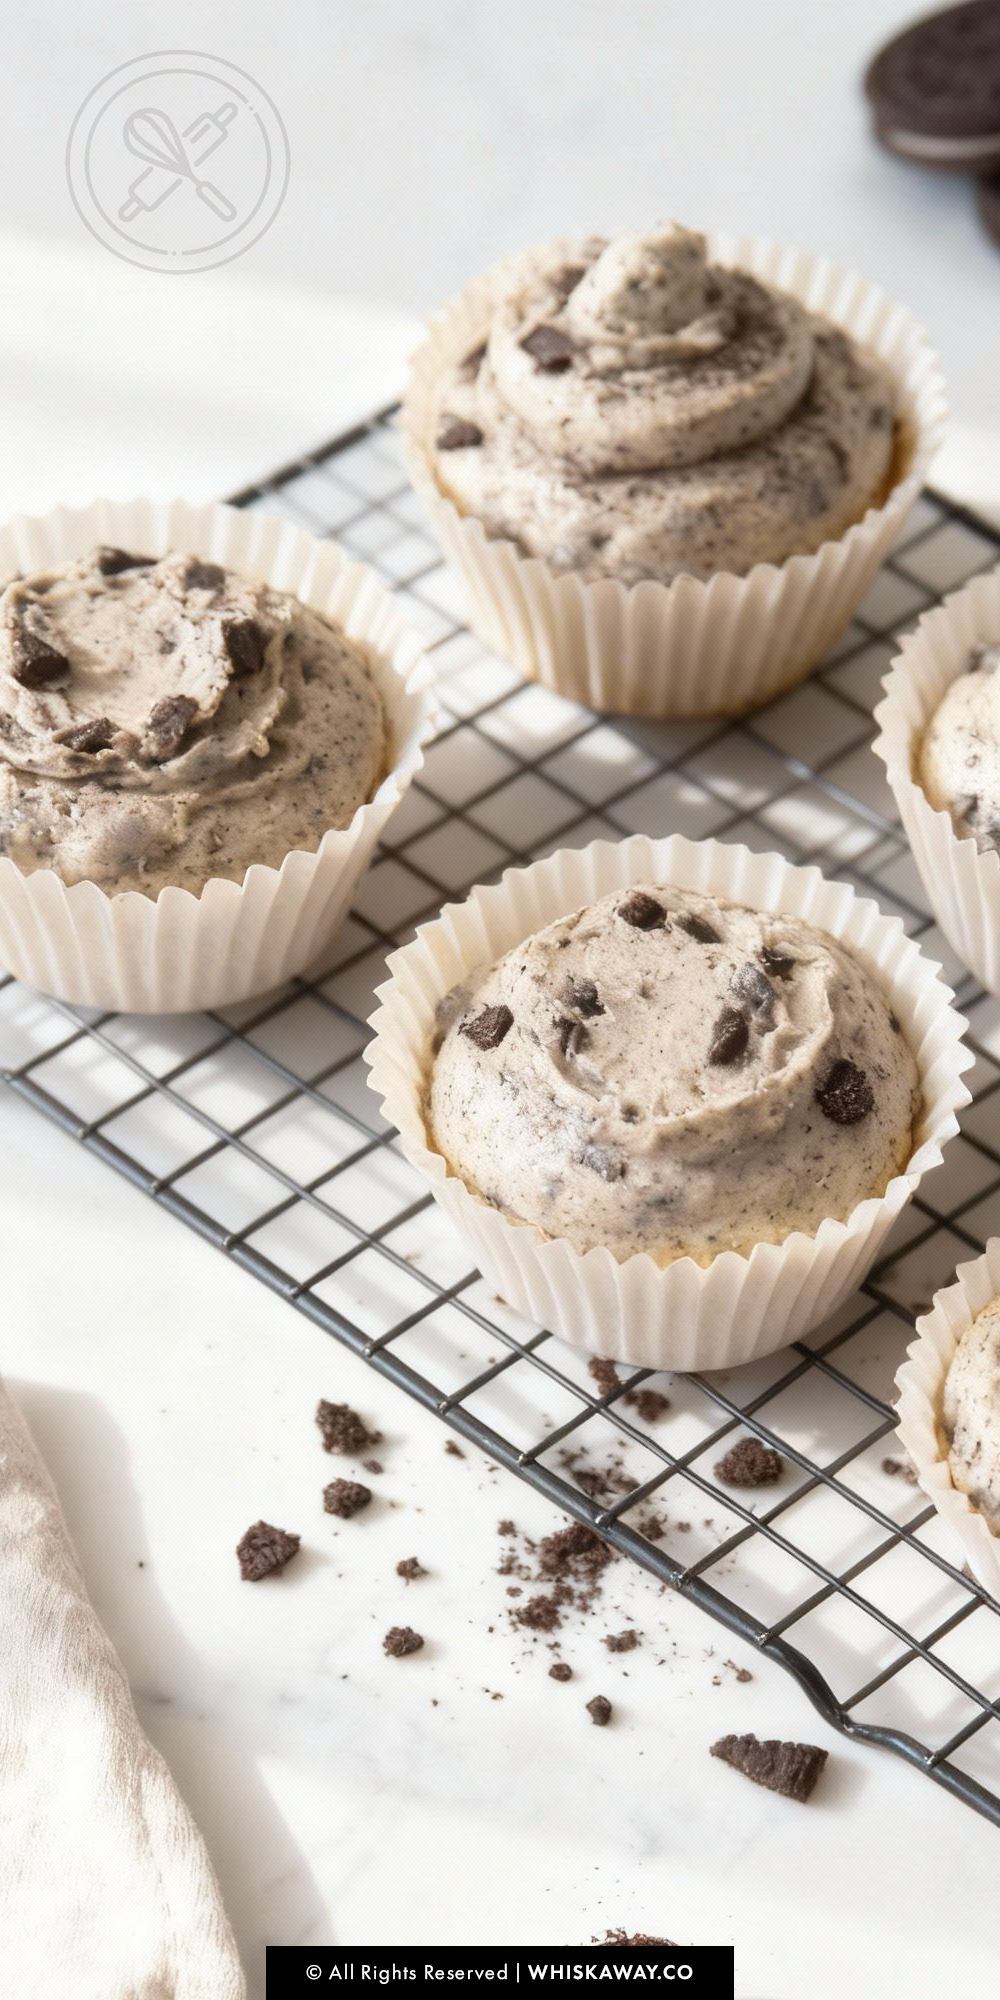
Oreo cupcakes are simple to make yet impressive enough for parties, birthdays, or casual snacking.
The cookies on top add visual appeal and a satisfying crunch, making these cupcakes as fun to eat as they are to look at.
Treat yourself to a batch of oreo cupcakes and enjoy the nostalgic flavors of your favorite cookies baked into soft, indulgent cake.
🔥 Cookies-and-cream fans will also love Chocolate Cupcakes and Nutella Cupcakes. For party-friendly treats, pair these with Funfetti Cupcakes.
How to Get Your Oreo Cupcakes Just Right
Mastering Oreo cupcakes is all about balancing texture, flavor, and technique.
Follow these expert tips to ensure every batch comes out perfectly:
1. Use Room-Temperature Ingredients
Make sure your butter, milk, and sour cream are at room temperature.
Cold ingredients can prevent the butter from creaming properly and result in denser cupcakes.
Eggs whites should also be at room temperature to help them incorporate evenly.
2. Don’t Overmix the Batter
When combining the wet and dry ingredients, mix just until incorporated. Overmixing develops gluten and can make cupcakes tough rather than tender.
After folding in the Oreos, stop mixing as soon as they’re evenly distributed to prevent them from breaking down too much and turning the batter gray.
3. Chop Oreos Properly
Roughly chop Oreos for the batter. Too fine, and they may lose texture; too large, and some cupcakes may have uneven Oreo distribution.
Aim for chunks about 1/4–1/2 inch.
For the buttercream, crush Oreos into smaller pieces for even swirls of flavor and texture.
4. Fill Cupcake Liners Correctly
Fill liners about two-thirds full. This ensures the cupcakes rise evenly without spilling over.
Use an ice cream scoop for uniform portions, which helps them bake consistently.
5. Watch Your Bake Time
Check cupcakes a few minutes before the timer ends. Overbaking can dry them out.
They’re done when edges are lightly golden and centers spring back when touched.
Cool completely in the pan for a few minutes before transferring to a wire rack to prevent them from collapsing.
6. Perfect Buttercream Tips
Beat butter until light and fluffy before adding sugar—this ensures a smooth, airy frosting.
Incorporate crushed Oreos gently to keep swirls and texture intact.
7. Frosting and Decorating
Pipe the buttercream onto fully cooled cupcakes to avoid melting.
For a polished look, sprinkle crushed Oreos or top with a half Oreo for visual appeal and added crunch.
Common Mistakes to Avoid
- Using cold ingredients: leads to dense, uneven cupcakes.
- Overmixing: makes cupcakes chewy instead of tender.
- Skipping proper cooling: frosting on warm cupcakes will melt and slide off.
- Uneven Oreo distribution: fold carefully for consistent Oreo chunks in each cupcake.
Pro Tip: For an extra Oreo punch, add a whole mini Oreo in the center before baking. It melts slightly while baking, creating a gooey surprise inside.
Following these tips ensures your Oreo cupcakes are moist, tender, and packed with cookies-and-cream flavor, with beautifully piped, stable buttercream every time.
Oreo Cupcakes
12
cupcakes20
minutes18
minutesLooking for a fun treat for cookie lovers? These oreo cupcakes combine cookies and creamy layers for a decadent, indulgent dessert.
Ingredients
- For the Cupcakes
2 cups all-purpose flour (240g)
1 cup sugar (200g)
1 cup chopped Oreos
3/4 cup unsalted butter (170g), room temperature
1/2 cup sour cream (120g)
1/2 cup whole milk (118mL)
3 egg whites
1 1/2 teaspoons baking powder (5g)
1 teaspoon vanilla extract (5mL)
1/2 teaspoon salt
1/4 teaspoon baking soda (1g)
- For the Buttercream
4 cups confectioners' sugar (440g)
1 1/2 cup unsalted butter (342g), room temperature
crushed Oreos (120g)
1/4 cup cream (60mL), added as needed
1 teaspoon vanilla extract (5mL), optional
Directions
- For the Cupcakes
- Preheat oven to 350°F (177°C).
- Line a 12-cup cupcake pan with paper liners and set aside.
- Roughly chop enough Oreo cookies to yield about 1 cup.
- In a large bowl, sift together the flour, sugar, salt, baking soda, and baking powder. Set aside.
- In a medium bowl, whisk together the egg whites, sour cream, milk, and vanilla extract until well combined.
- In the bowl of a stand mixer fitted with the paddle attachment (or using a hand mixer), beat the butter on medium speed until light and creamy.
- Gradually add the dry ingredients to the butter and beat until well incorporated, scraping down the sides of the bowl as needed. The texture will be slightly crumbly.
- Pour in the wet mixture and mix on low speed until just combined — avoid overmixing.
- Gently fold in the chopped Oreos until evenly distributed throughout the batter.
- Using an ice cream scoop, divide the batter evenly among the cupcake liners, filling each about two-thirds full.
- Bake for 15–20 minutes, or until the cupcakes are lightly golden around the edges and springy in the center when touched.
- Allow to cool completely before frosting.
- For the Buttercream
- In a large mixing bowl, beat the butter on medium speed until light and fluffy.
- Mix in the confectioners’ sugar, vanilla extract, and cream until smooth.
- Crush Oreo cookies and fold them into the buttercream until evenly combined.
- Prepare for Piping
- Transfer the buttercream to a piping bag fitted with your preferred piping tip (such as Ateco 869 or 1A).
- For the Assembly
- Pipe generous buttercream swirls on top of each cooled cupcake.
- Sprinkle with crushed Oreo crumbs or top with a half Oreo cookie for garnish, if desired.
Variation Tips
You can easily tweak this classic Oreo cupcake recipe to suit different tastes, dietary needs, or textures without losing the cookies-and-cream magic.
Here are some creative ideas:
1. Flavor Twists
- Mint Oreo Cupcakes: Use mint-flavored Oreos and add 1/2 teaspoon peppermint extract to the buttercream for a refreshing twist.
- Peanut Butter Oreo: Swirl 2–3 tablespoons of peanut butter into the buttercream and top with mini peanut butter cups.
- Coffee Oreo: Add 1–2 teaspoons of instant espresso powder to the cupcake batter for a mocha-flavored Oreo cupcake.
2. Ingredient Swaps
- Gluten-Free: Replace the all-purpose flour with a 1:1 gluten-free baking blend. Add an extra 1/4 teaspoon xanthan gum if your blend doesn’t contain it to maintain structure.
- Dairy-Free: Use vegan butter, almond milk (or oat milk), and a plant-based sour cream substitute. Choose dairy-free Oreos to keep the flavor authentic.
- Sugar Adjustments: Swap granulated sugar with coconut sugar or use a sugar substitute suitable for baking to reduce sweetness.
3. Texture Tweaks
- Extra Creamy Buttercream: Add 1–2 tablespoons of cream cheese to the buttercream for a tangy, creamy texture.
- Crunch Factor: Mix in finely chopped Oreo pieces or even chocolate chips into the batter for extra bites.
- Mini Oreo Surprise: Press a mini Oreo into the center of each cupcake before baking for a gooey hidden treat.
4. Frosting Variations
- Cookies-and-Cream Ganache: Instead of buttercream, drizzle a white chocolate ganache over the cupcakes and sprinkle crushed Oreos on top.
- Chocolate Buttercream: Add 2–3 tablespoons of cocoa powder to the buttercream for a chocolatey twist.
- Whipped Topping: Use whipped coconut cream or stabilized whipped cream as a lighter, fluffier alternative to buttercream.
5. Presentation Ideas
- Layered Cupcakes: Make mini Oreo layers in the batter by folding in crushed cookies halfway, then topping with more batter.
- Drizzles & Garnishes: Top cupcakes with chocolate sauce, caramel drizzle, or white chocolate curls for extra flair.
- Cupcake Sandwiches: Split the cupcakes in half and add buttercream and crushed Oreos in between for an Oreo cupcake “sandwich.”
Pro Tip: When adding flavor extracts or substitutions, start with small amounts and taste the batter (or buttercream) as you go.
Oreos are already sweet, so you don’t want to overpower the classic flavor.
Storage Tips
To keep your Oreo cupcakes tasting fresh and looking their best, proper storage is key.
Here’s a detailed guide for different methods:
1. Room Temperature Storage
- How: Store the cupcakes in an airtight container at cool room temperature (ideally below 75°F / 24°C).
- Duration: Best consumed within 1–2 days when kept at room temperature, as the buttercream and Oreo pieces can soften or lose texture.
- Tips: Keep them out of direct sunlight and away from heat sources to prevent the buttercream from melting. Avoid stacking cupcakes directly on top of one another. If needed, separate layers with parchment or wax paper.
2. Refrigeration
- How: Place cupcakes in an airtight container and store in the refrigerator.
- Duration: Up to 3–4 days.
- Tips: Let the cupcakes come to room temperature for 15–20 minutes before serving to restore the ideal texture of the buttercream. Refrigeration can slightly firm the frosting and cake, which may make them easier to handle but slightly denser in texture.
3. Freezing
- How: Option 1 – Unfrosted Cupcakes: Wrap each cooled cupcake in plastic wrap and place in a freezer-safe container or bag.
- Option 2 – Frosted Cupcakes: Freeze first on a tray for 1–2 hours until firm, then wrap individually in plastic wrap and store in an airtight container.
- Duration: Up to 2 months.
- Tips: Thaw in the refrigerator overnight, then allow them to come to room temperature before serving. For best results, frost cupcakes after thawing if you froze them unfrosted. Avoid repeated freezing and thawing, as this can compromise texture and flavor.
Common Mistakes to Avoid
- Leaving uncovered at room temperature: This causes the cupcakes to dry out and the frosting to harden.
- Storing near moisture: Avoid areas of high humidity, which can make the Oreo pieces soggy.
- Stacking without separation: Can smudge frosting and crush decorations.
Quick Reheat Tips:
If you want a slightly warm cupcake, microwave for 10–15 seconds per cupcake at 50% power. Be careful not to overheat, as the buttercream can melt quickly.
Following these tips ensures that your Oreo cupcakes stay moist, creamy, and delicious even a few days after baking.
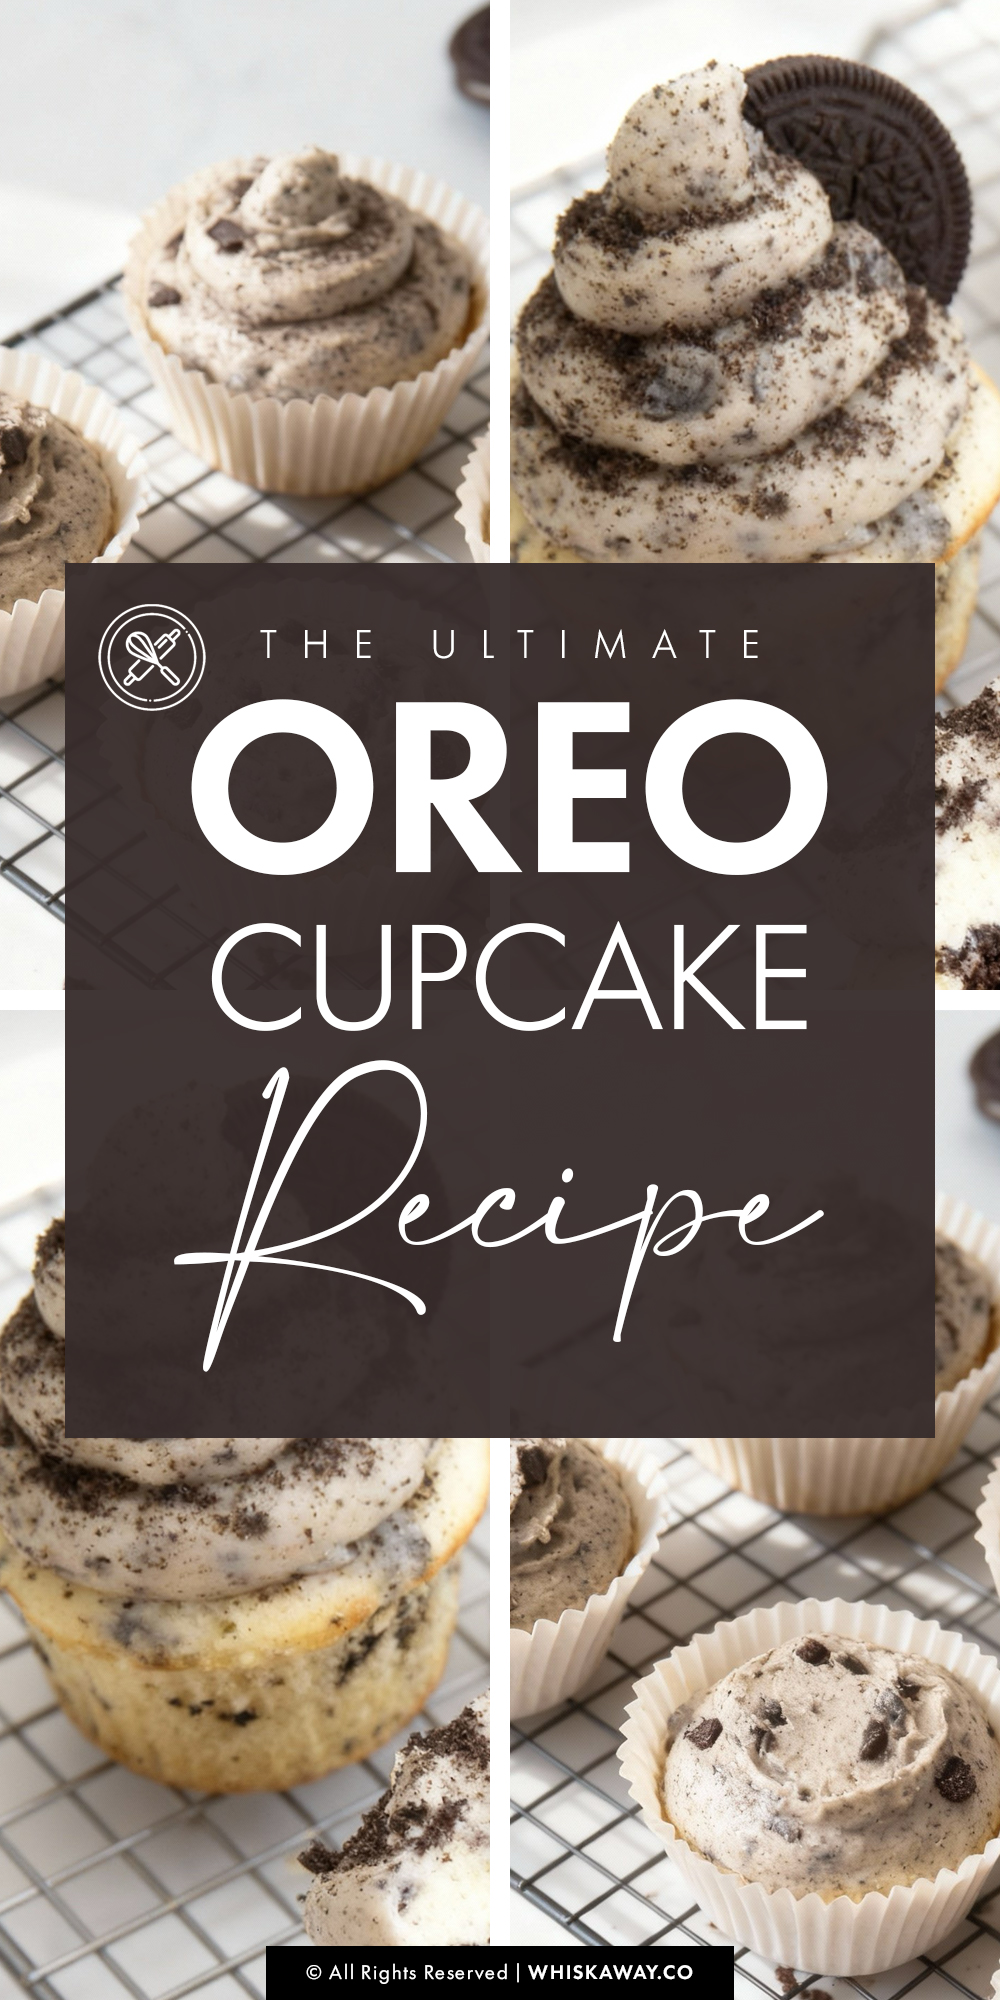
Save for Later to Your Pinterest Board
FAQs
Can I use regular chocolate sandwich cookies instead of Oreos?
Yes! Any chocolate sandwich cookie with a cream filling can work, though Oreos provide the classic flavor and texture balance. Make sure to roughly chop them before folding into the batter or buttercream.
Can I make these cupcakes dairy-free or vegan?
You can swap the butter for a plant-based alternative, use non-dairy milk in place of regular milk, and substitute vegan egg replacers for the egg whites. Keep in mind that the texture may be slightly different, and the buttercream will need a vegan butter or shortening.
How do I prevent the cupcakes from sinking or being dense?
Ensure all ingredients are at room temperature.
Do not overmix once the wet and dry ingredients are combined—overmixing can make the cupcakes tough.
Avoid opening the oven door while baking, especially in the first 10–12 minutes, to maintain proper rise.
How long do Oreo cupcakes last, and what’s the best way to store them?
Room temperature: 1–2 days in an airtight container.
Refrigerator: 3–4 days; let them come to room temperature before serving.
Freezer: Up to 2 months if individually wrapped and frozen in an airtight container. Thaw in the fridge overnight before serving.
Can I decorate them differently or add extra flavors?
Absolutely! Consider:
1. Adding a mini Oreo or chocolate drizzle on top.
2. Swirling peanut butter or caramel into the buttercream for a flavor twist.
3. Mixing crushed Oreos into frosting for extra texture.
4. Dusting with cocoa powder or edible glitter for festive occasions.