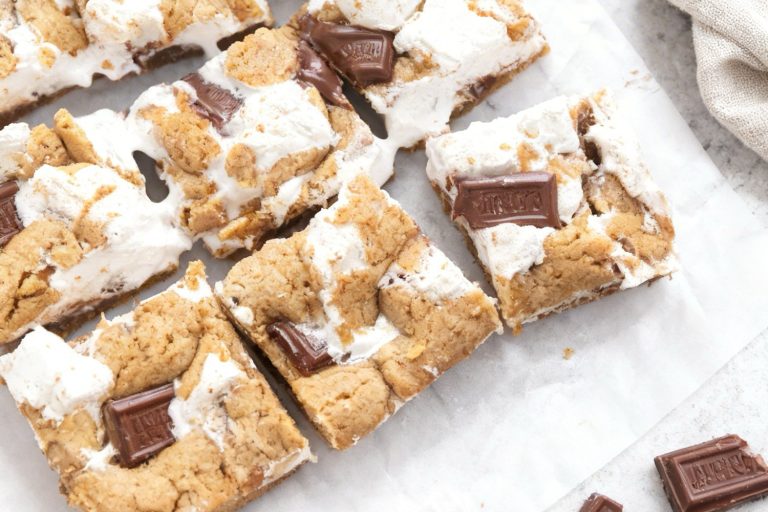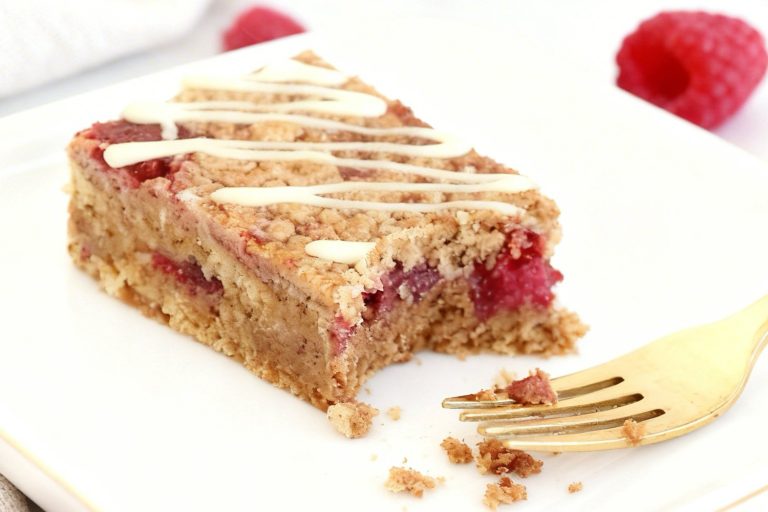
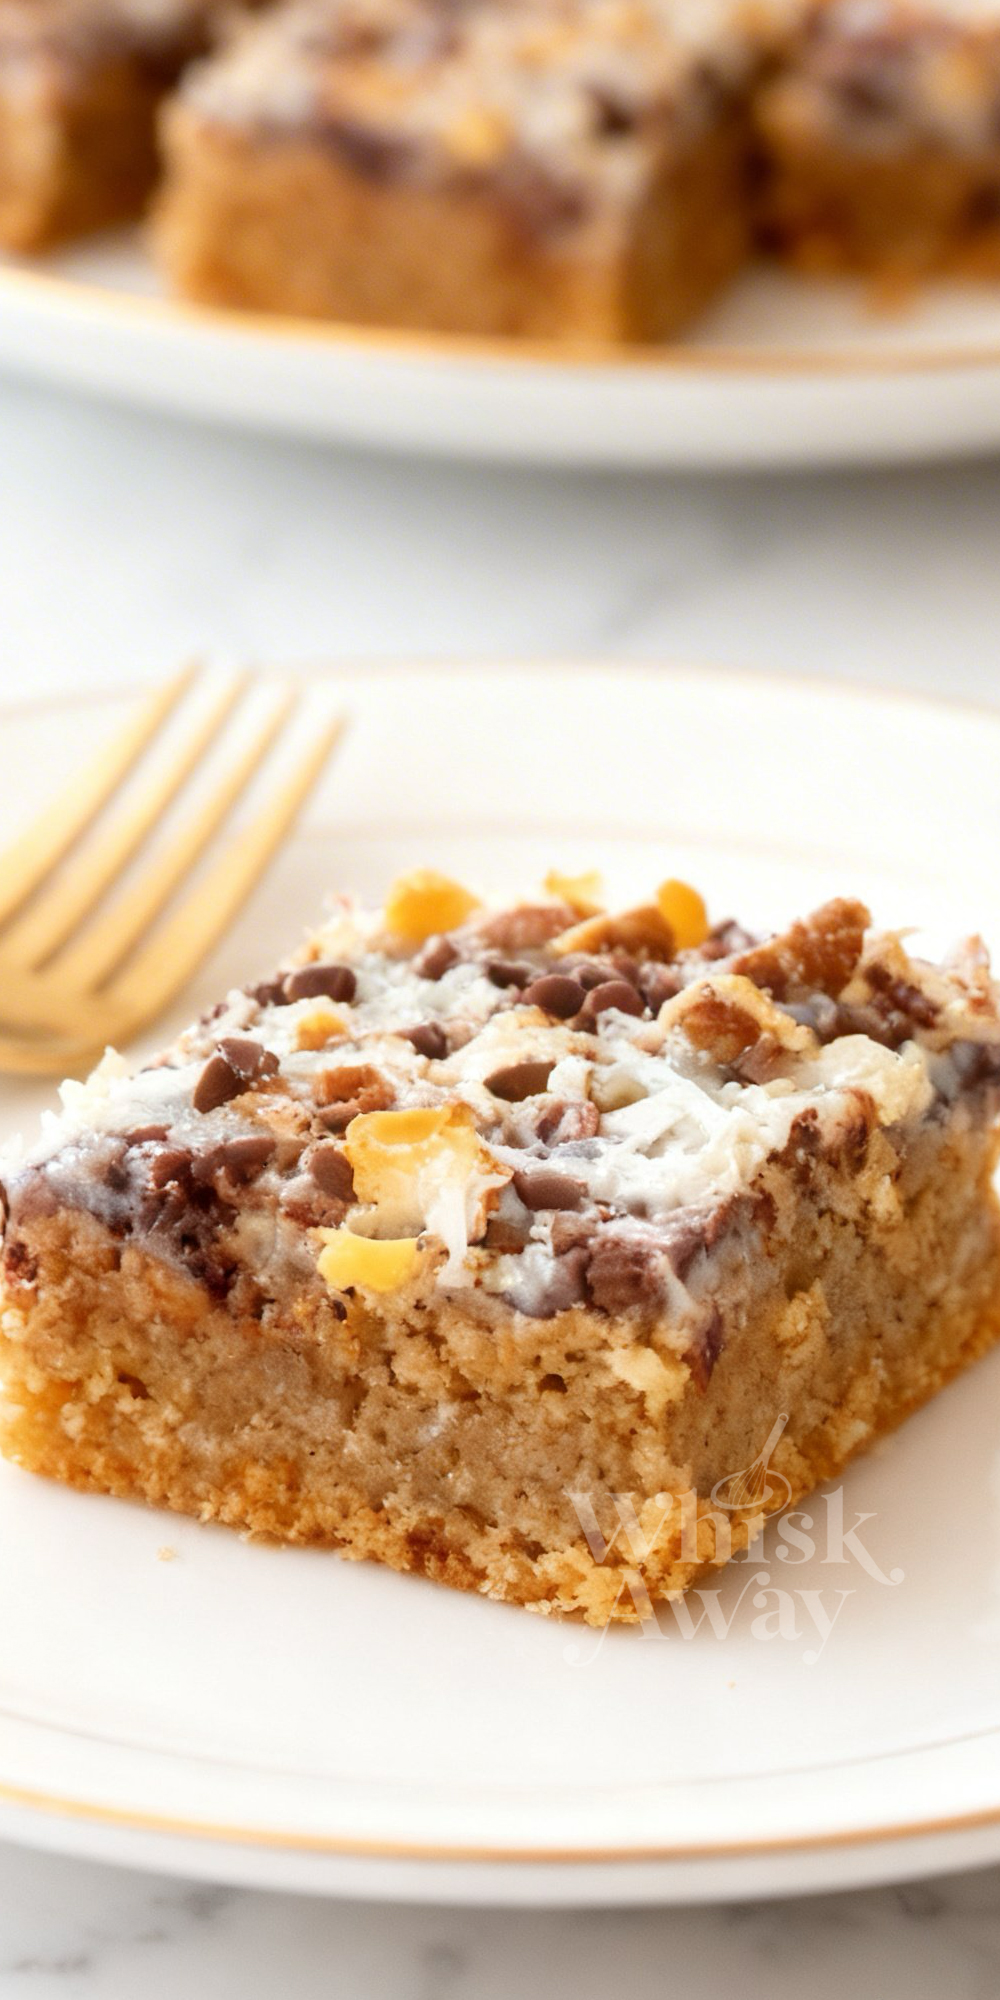
These magic cookie bars are a layered dessert that’s surprisingly easy to make but delivers big on flavor. A buttery graham cracker crust is topped with chocolate, coconut, and sweetened condensed milk, creating chewy, rich bars that feel indulgent yet approachable. Each layer adds texture and sweetness, from the crisp base to the melty chocolate chunks and chewy coconut topping. These bars are perfect for potlucks, family gatherings, or a simple dessert at home. Even bakers with minimal experience can achieve a consistent, delicious result because the method is forgiving. Slicing them into squares produces a visually appealing treat that travels well, making them ideal for gifting or sharing. The combination of chocolate, coconut, and buttery crust ensures a satisfying bite every time. Whether served as a casual snack or a dessert centerpiece, magic cookie bars offer rich flavor and comforting textures that appeal to both kids and adults.
🔥 InternalLinking
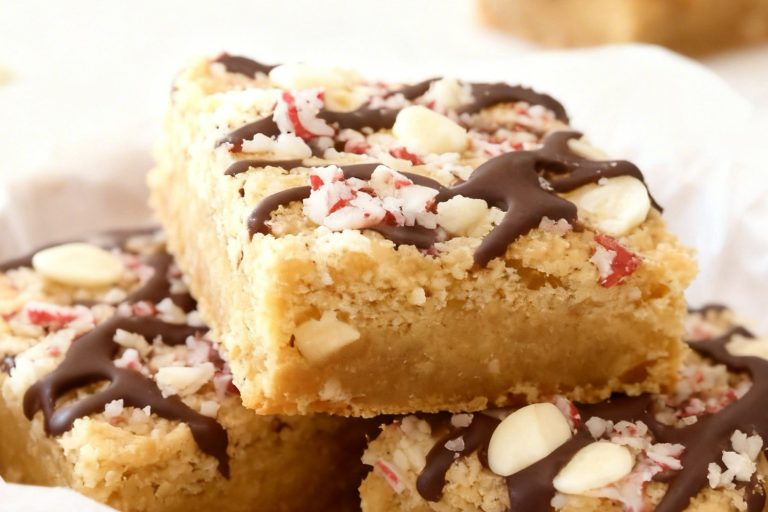
Why You’ll Love These Magic Cookie Bars
Layer by layer, these classic dessert bars build irresistible sweetness and nostalgic charm.
- Combination of coconut, chocolate, and nuts adds variety.
- Sweet condensed milk binds everything into chewy perfection.
- Crisp base contrasts beautifully with gooey toppings.
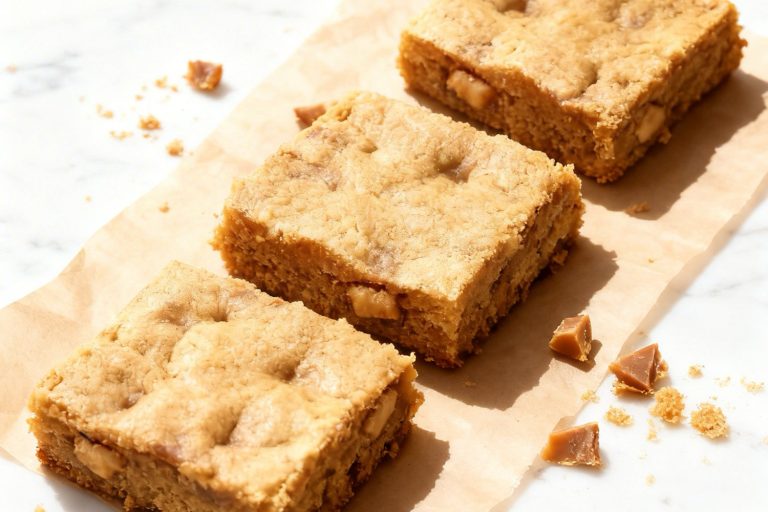
- Minimal prep makes them ideal for busy baking days.
- Always popular at parties and holiday gatherings.
Save This Pin for Later to Your Pinterest Board
Ingredients
- Semi-sweet chocolate chips & butterscotch chips: Adds gooey sweetness and depth of flavor. Layer them evenly so each bite gets a little of everything.
- All-purpose flour & graham cracker crumbs: Create a firm, buttery base that holds all seven layers. Mix just until combined.
- Sweetened condensed milk: The secret to gooey, chewy bars. Pour it evenly over the layers—it binds everything beautifully.
- Light brown sugar: Sweetness with a slight chew. Use packed for consistency.
- Shredded sweetened coconut: Adds tropical flavor and chewy texture. Toast lightly for extra aroma if you like.
- Unsalted butter: Adds richness and helps the base set perfectly.
- Chopped pecans: Adds crunch and nuttiness, balancing all the sweet layers.
- Egg & vanilla extract: Bind the base together and add flavor depth.
- Baking powder & salt: Give a slight lift and balance sweetness in the base.
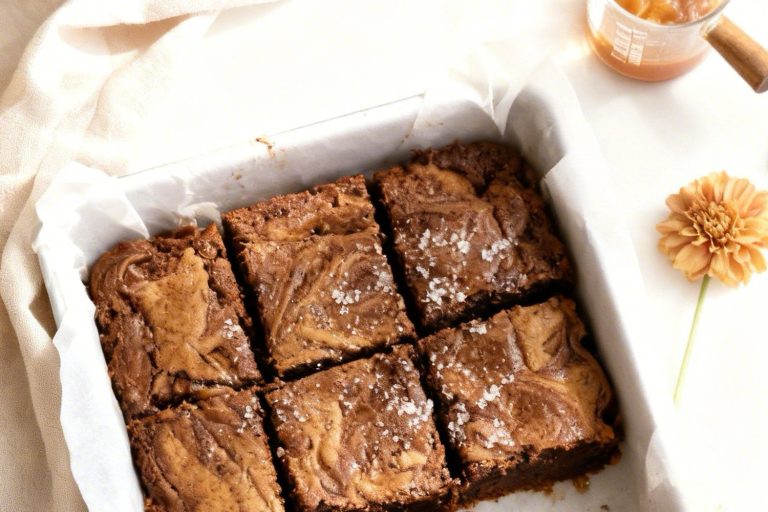
Tips To Get Your Recipe Right
- Measure the condensed milk precisely: Use only 8 ounces (about half a standard can). Too much will make the bars overly sweet and prevent the middle from setting.
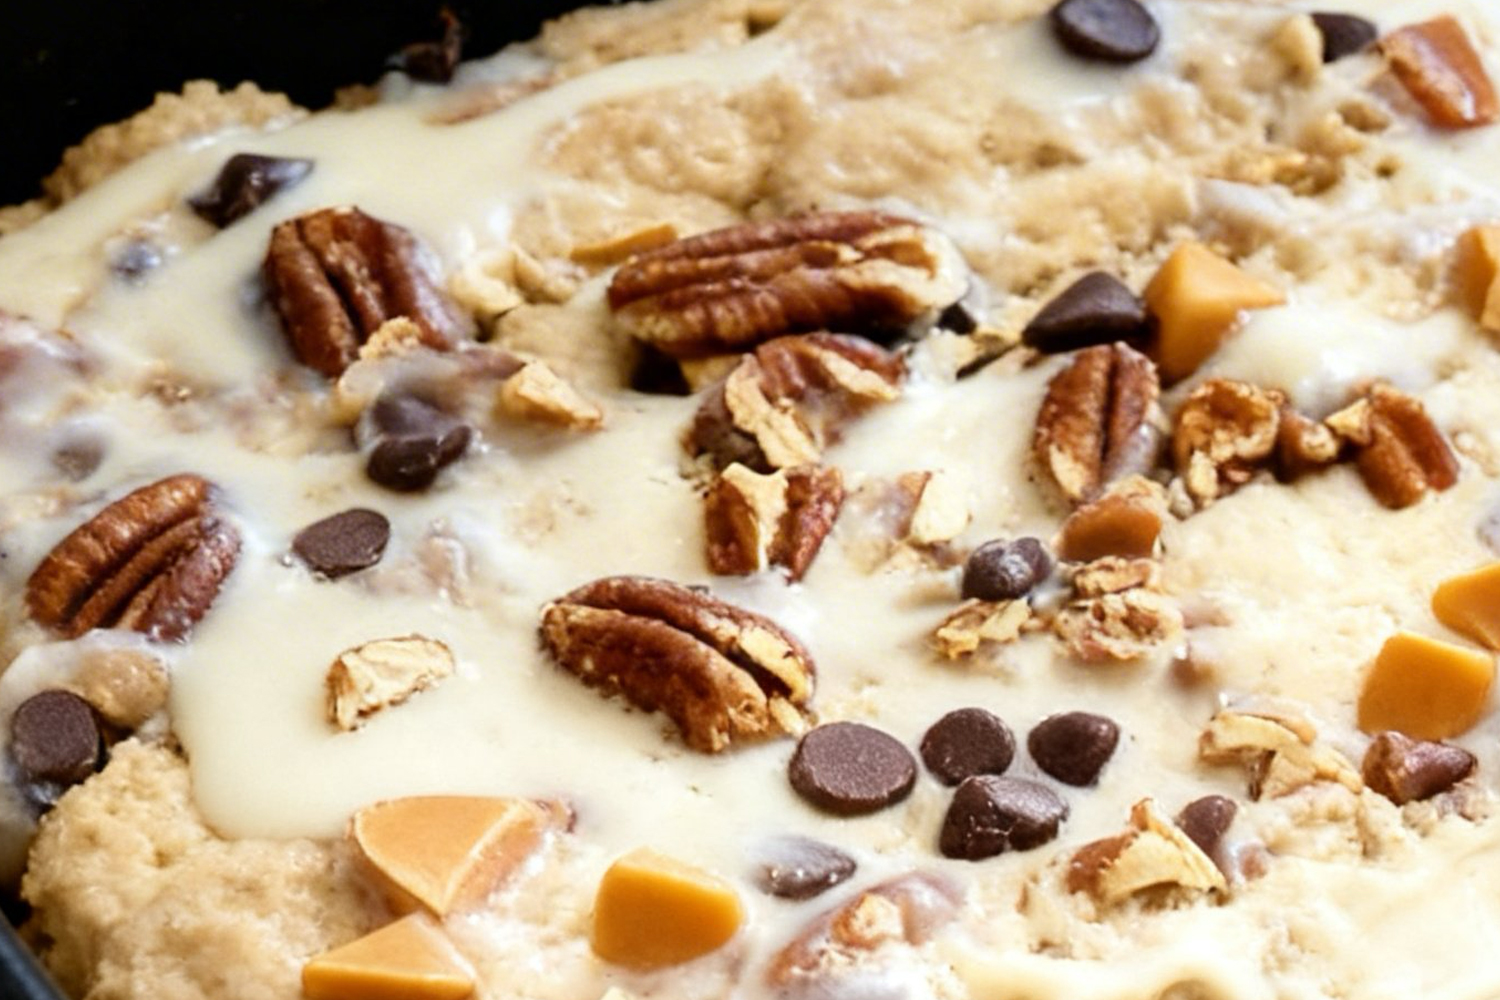
- Pour in a zig-zag motion: Drizzle the milk across the entire surface, reaching all corners. This helps the chocolate, coconut, and nuts stick together.
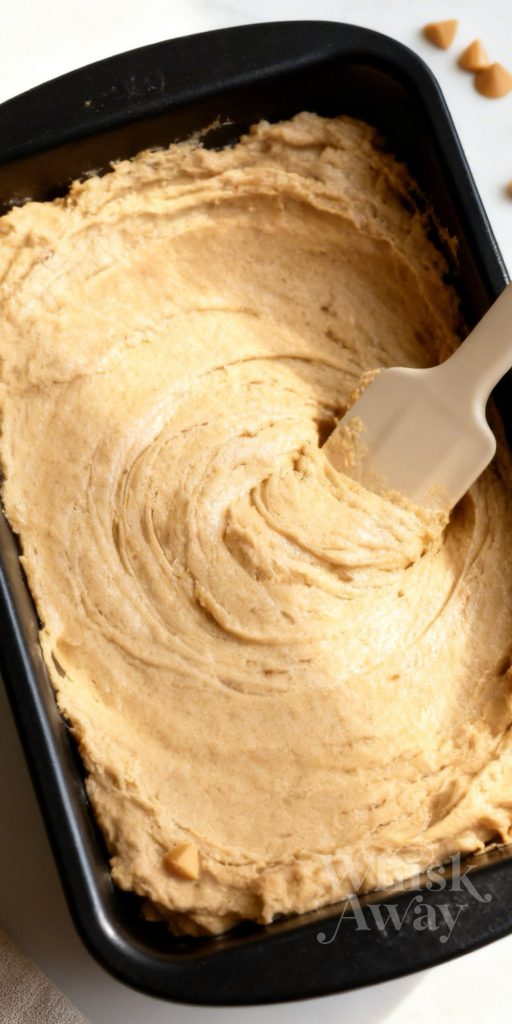
- Press the crust firmly: Use a flat cup or glass to compact the dough evenly. A firm base ensures the pre-bake seals it and supports the toppings.
- Watch the coconut carefully: Shredded coconut can burn quickly. Tent the pan with foil once it turns golden to avoid over-toasting.
- Chill before cutting: Refrigerate the bars until the bottom is cold. This helps them set fully and makes slicing clean, square pieces much easier.
Storage Tips
- Room temperature: Store in an airtight container for up to 1 week in a cool, dark place. Use parchment between stacked layers to prevent sticking and keep the coconut from drying.
- Refrigeration: Keep for 1–2 weeks; chilling firms the layers and prevents the condensed milk from feeling too “oozy.” Use a sealed container to avoid absorbing fridge odors.
- Freezing: Wrap individual squares in plastic wrap and a freezer bag for up to 3 months. Thaw 30 minutes at room temperature or enjoy straight from the freezer for a chewy, candy-bar-like texture.
- Reheating: Warm a single bar 10 seconds in the microwave or a batch at 300°F (150°C) for 5 minutes to soften the crust and revive the aroma.
- Storage mistakes to avoid: Never leave bars uncovered, cut or store while warm, or rely on foil alone—air exposure will dry out the layers and ruin the texture.
FAQs
-
Why shouldn’t I use the entire 14-ounce can of sweetened condensed milk?
Most traditional recipes use the whole can, but this specific version features a dough-based crust rather than just crumbs and butter. Using all 14 ounces would overwhelm the base, making the bars excessively sweet and preventing the middle layers from ever fully setting. Stick to 8 ounces for the perfect balance of gooey and stable.
-
Can I use a different type of chip if I don’t like butterscotch?
Absolutely! Butterscotch can be a polarizing flavor. You can easily swap them for peanut butter chips, white chocolate chips, or even dark chocolate chunks. As long as you maintain the 1-cup ratio, the bars will bake up exactly the same way.
-
Why does this recipe use a dough for the crust instead of just crumbs?
Traditional Magic Bars can be quite crumbly and fragile. By creaming butter, sugar, and an egg with the crumbs and flour, you create a shortbread-style foundation. This results in a much sturdier bar that can support the weight of the heavy toppings without falling apart when you pick it up.
-
How can I tell when the bars are perfectly baked?
Don’t wait for the center to look dry! You are looking for two specific visual cues:
The Edges: They should be bubbling and a deep amber-gold color.
The Coconut: The tips of the shredded coconut should be toasted and golden brown. If the center still looks a bit fluid, don’t worry. It will firm up completely as the condensed milk cools and grabs the other ingredients. -
Why do my bars always fall apart or look messy when I cut them?
The culprit is almost always temperature. Because of the high sugar content in the condensed milk and chips, these bars stay soft for a long time. You must let them cool at room temperature and then chill them in the fridge until the bottom of the pan is cold. This solidifies the glue, allowing you to get those clean, professional-looking squares.
Magic Cookie Bars
16
servings15
minutes35
minutesThis magic cookie bars recipe combines layers of chocolate, nuts, and coconut for ultimate indulgence.
Ingredients
1 cup (180g) Semi-sweet chocolate chips
1 cup (175g) Butterscotch chips
1 cup (125g) All-purpose flour
1 cup (120g) Graham cracker crumbs (about 8–9 full crackers)
3/4 cup (226g) Sweetened condensed milk (8 ounces)
3/4 cup (150g) Packed light brown sugar
3/4 cup (50-60g) Shredded sweetened coconut
1/2 cup (113g) Unsalted butter, softened
1/2 cup (70g) Chopped pecans
1 large Egg
1 teaspoon Pure vanilla extract
1/2 teaspoon Baking powder
1/4 teaspoon Salt
Directions
- Set your oven to 350°F (177°C).
- Take a 9-inch square baking pan and line it with parchment paper. Make sure you leave a sling or overhang on the sides so you can easily lift the bars out later.
- In a large bowl, use a handheld or stand mixer to beat the butter and light brown sugar on medium speed. Continue for about 2 minutes until the mixture is creamy and smooth.
- Mix in the vanilla and the egg, beating until fully integrated. Remember to scrape down the sides of the bowl to ensure no butter pockets remain.
- Turn the mixer to low and slowly add the flour, graham cracker crumbs, baking powder, and salt.
- Once the dough forms, stir in the butterscotch chips. Press this thick graham cracker dough firmly into the bottom of your prepared pan.
- Place the pan in the oven for 5 minutes. This sets the crust so the toppings don't sink.
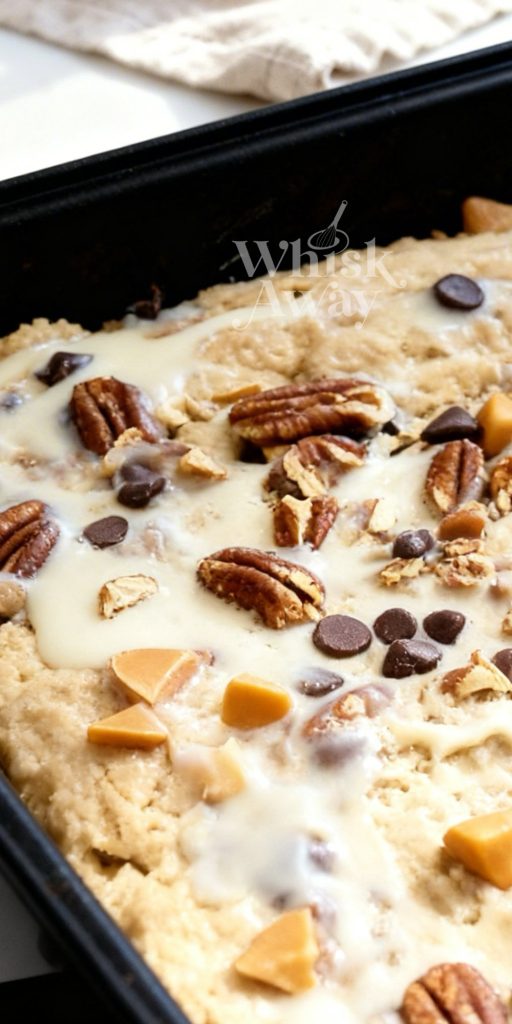
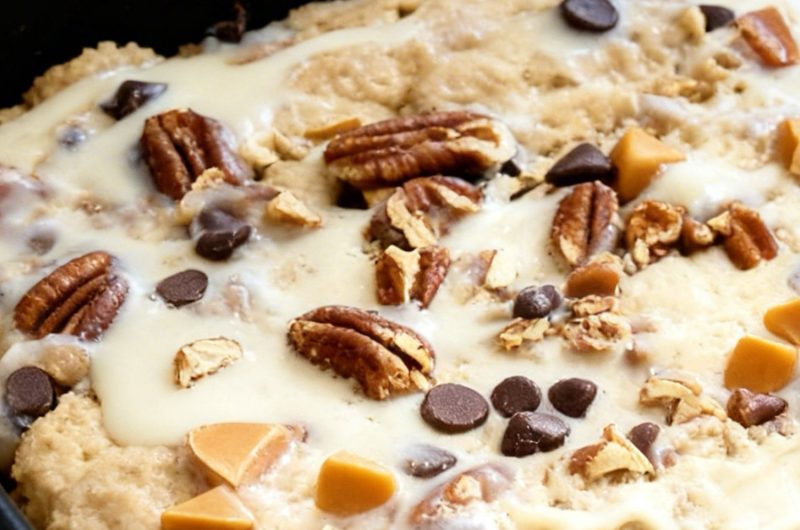
- Remove the pan and scatter the chocolate chips, shredded coconut, and chopped pecans evenly across the top.
- Drizzle 8 ounces (226g) of sweetened condensed milk over everything.
- Note: Do not use the entire 14oz can! You only need a little more than half. Feel free to sprinkle a few extra butterscotch chips on top for aesthetic flare.
- Bake for approximately 30 minutes. To ensure an even bake, rotate the pan twice during this time. If the coconut starts to brown too quickly, loosely lay a sheet of foil over the top halfway through.
- The bars are done when the edges are bubbling and the center feels set.
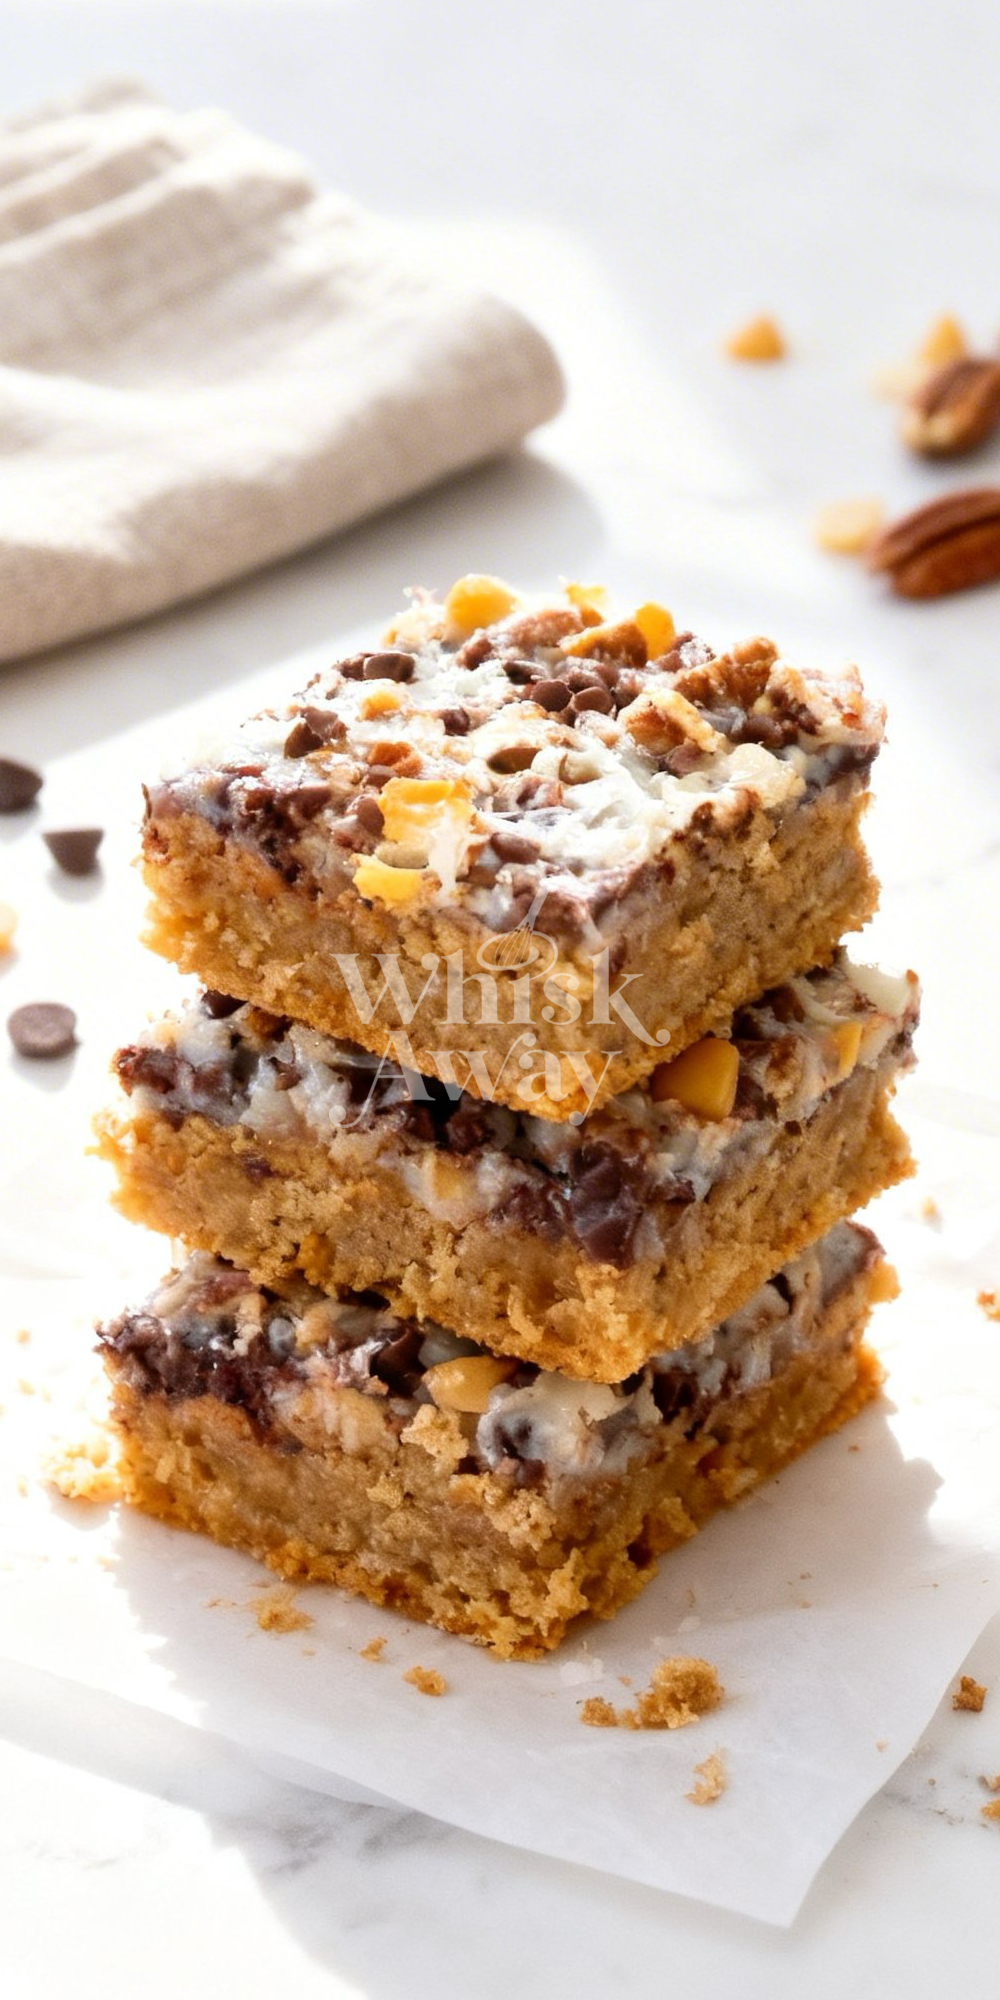
- Let the bars rest at room temperature for 30 minutes. Then, transfer the pan to the refrigerator until it is completely cold to the touch.
- Once chilled, lift the parchment paper to remove the bars and cut them into squares with a sharp knife.