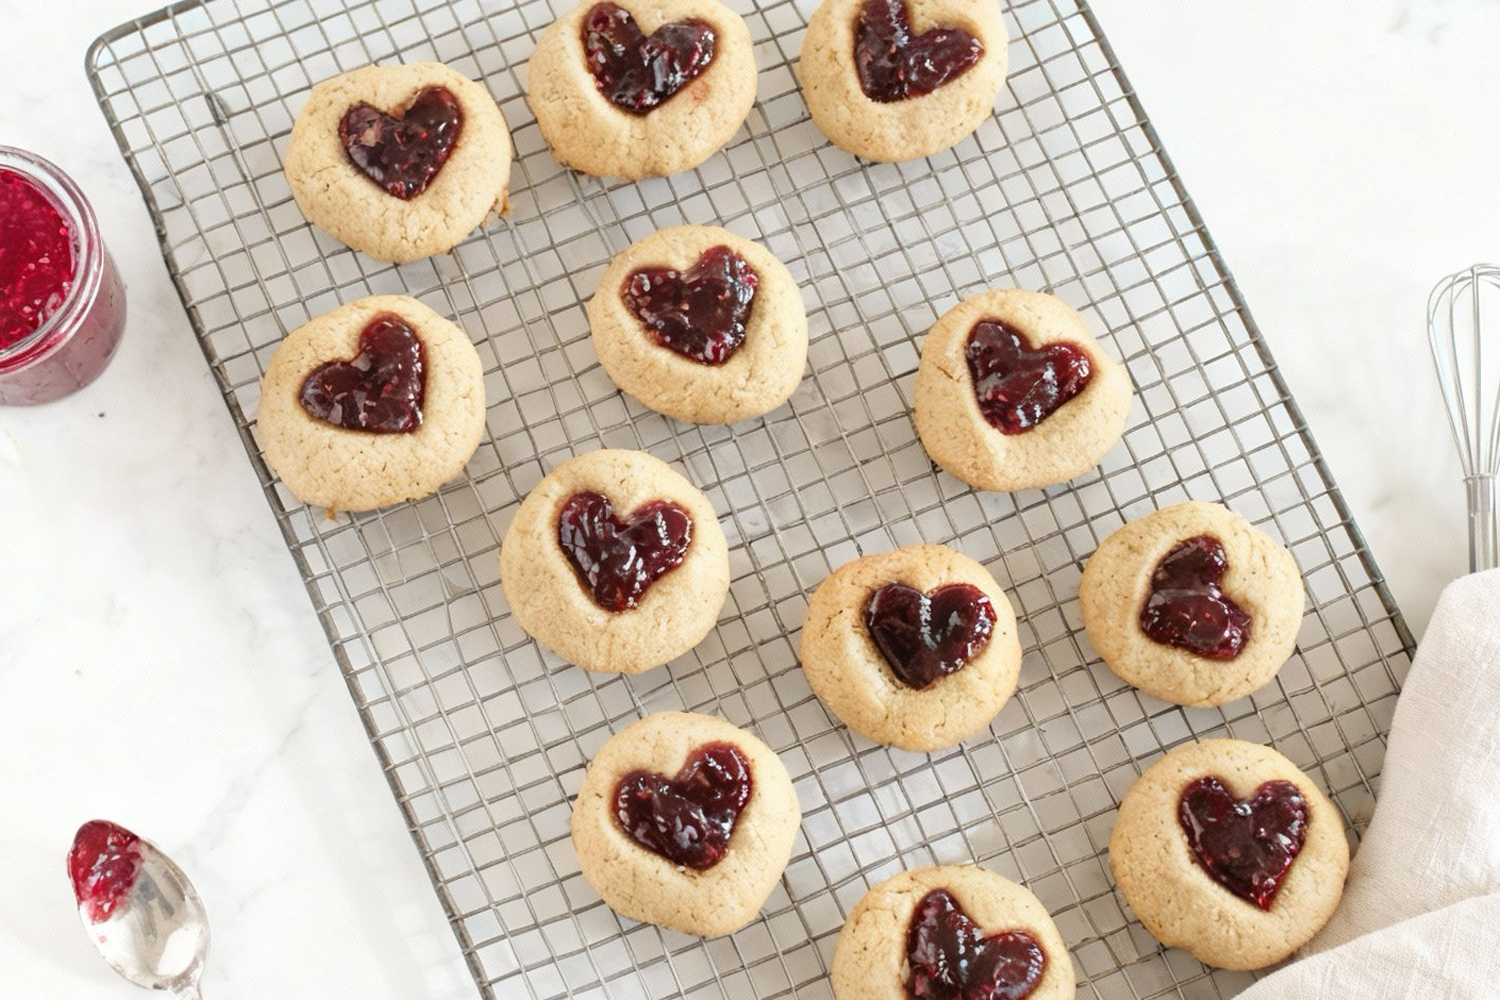
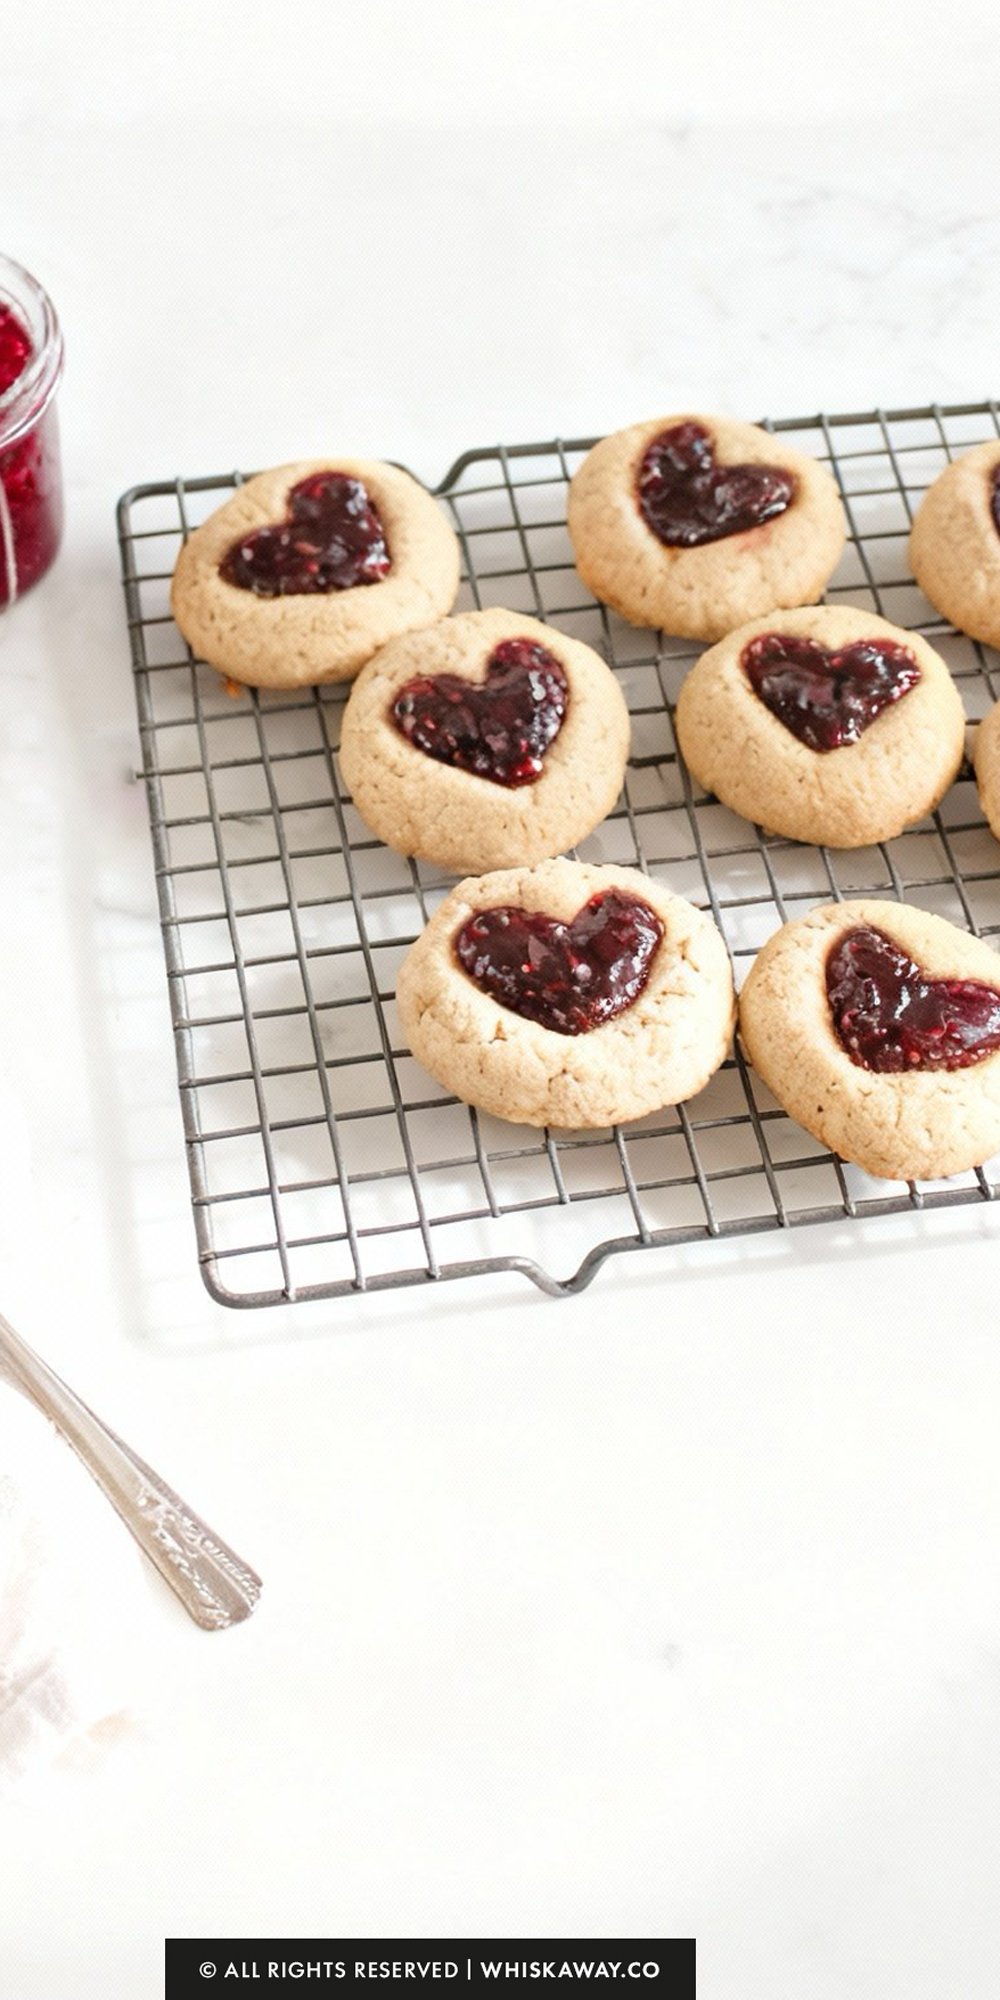
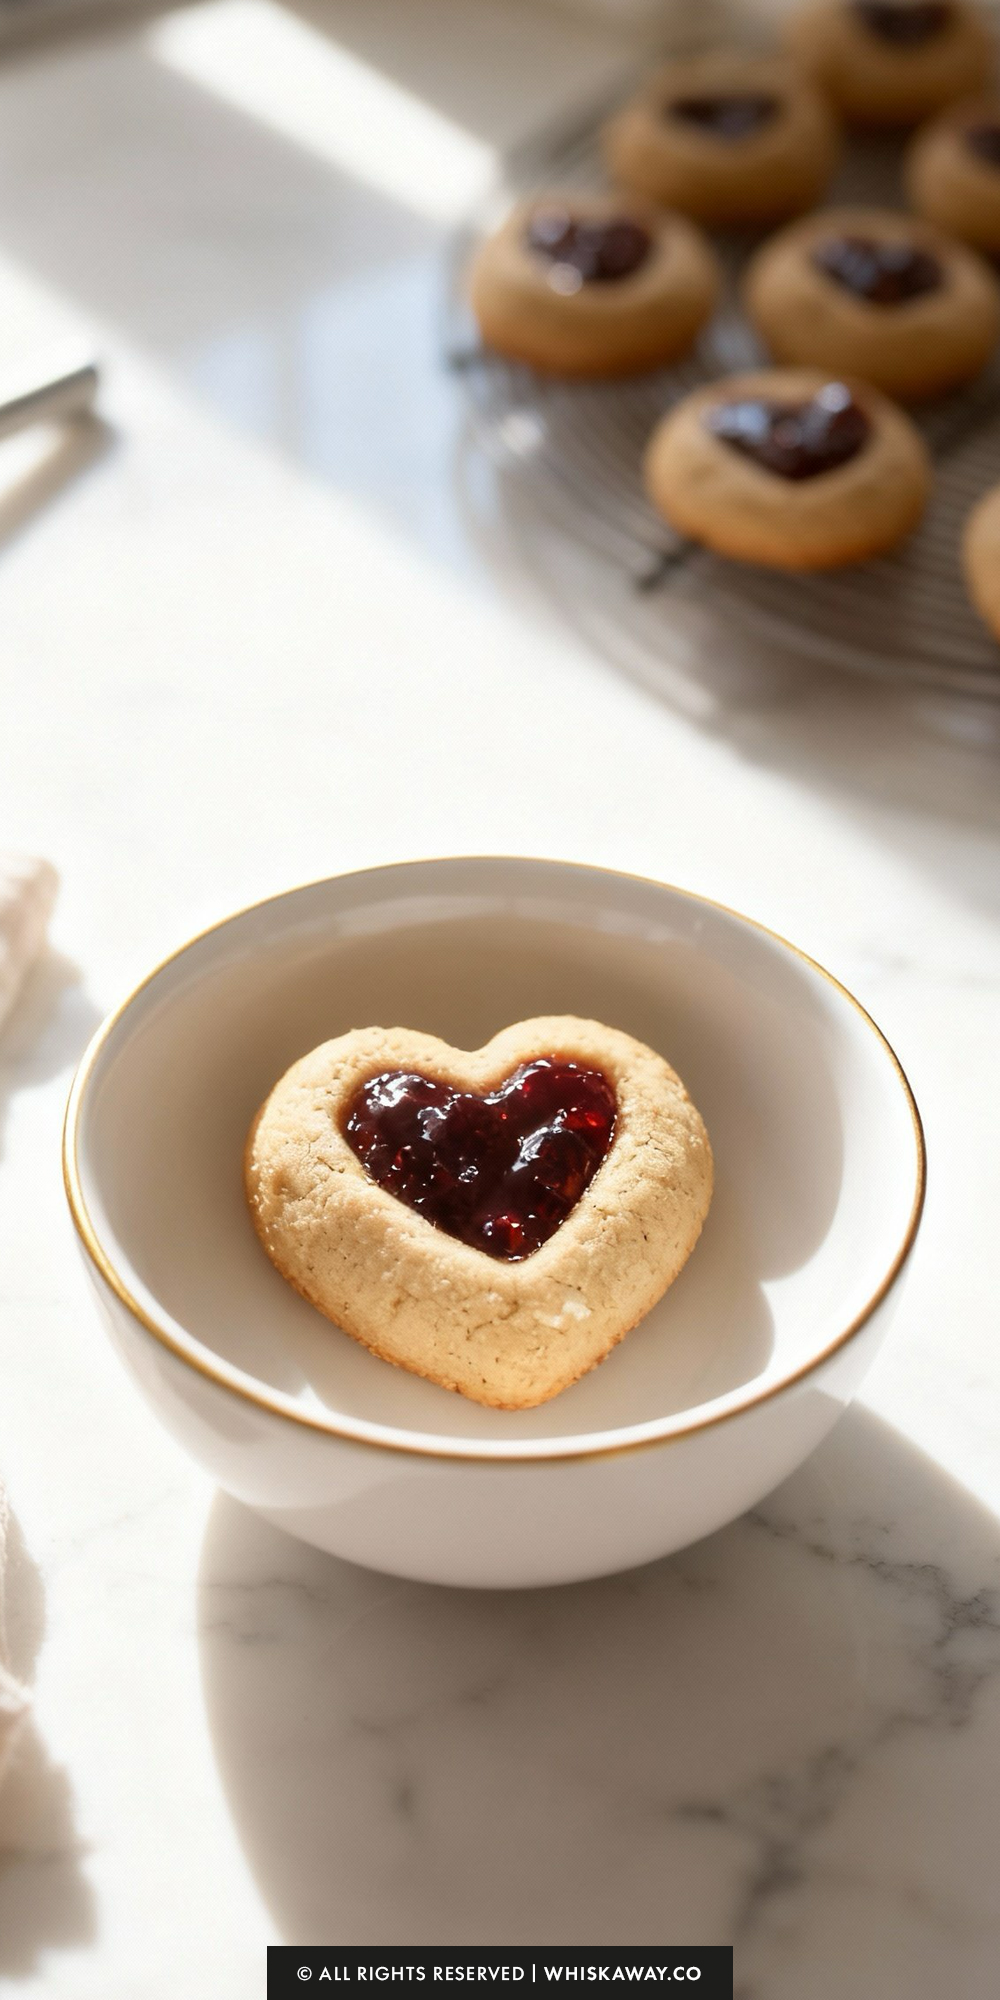
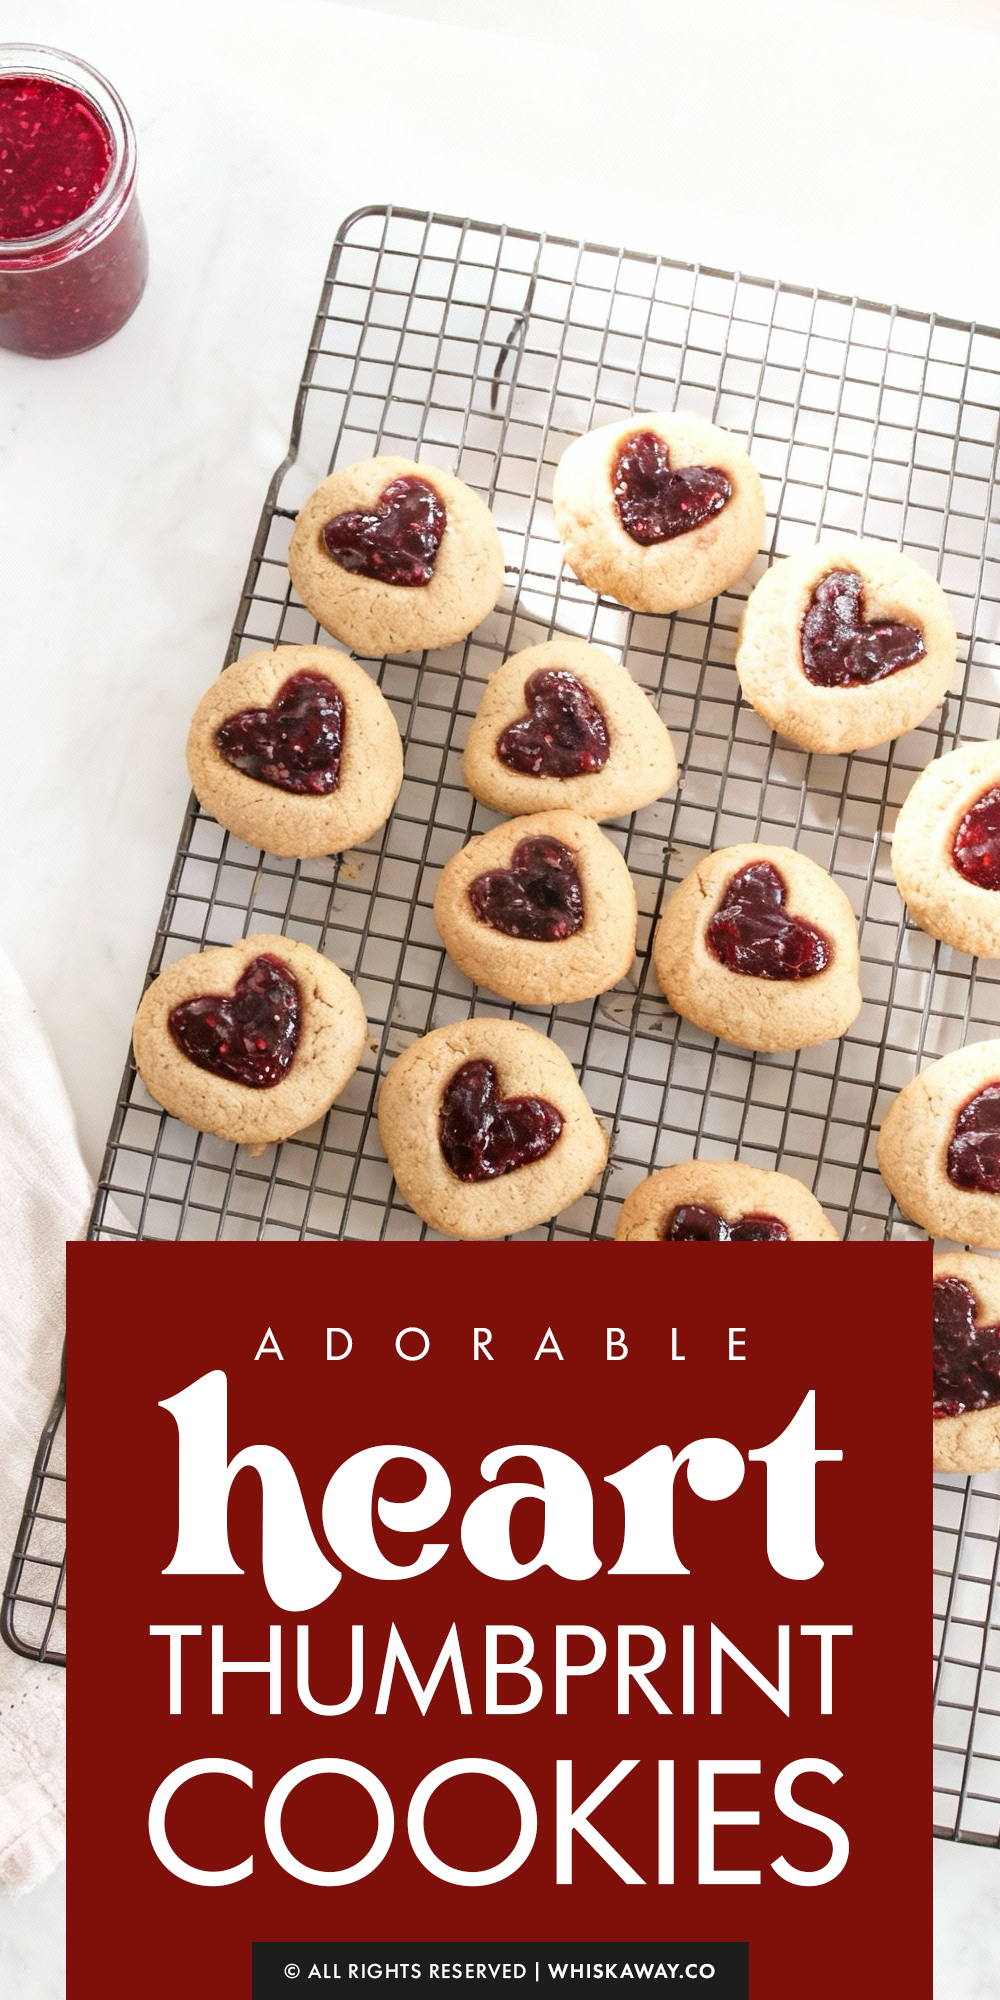
There is something incredibly charming about a Heart Thumbprint Cookie.
It’s the kind of treat that feels like a warm hug from a grandmother, but with a stylish, modern twist that makes it the star of any dessert table.
We are taking the classic buttery shortbread we all know and love and giving it a literal heart of gold, or, in this case, a heart of ruby-red jam.
They are the perfect “love language” in cookie form for Valentine’s Day.
So, grab your favorite jar of jam and let’s get to pressing!
Why You’ll Love This Recipe
Heart thumbprint cookies are nostalgic, tender, and visually appealing, with a sweet jam center that contrasts beautifully with the buttery cookie.
They’re perfect for holidays, gifts, or a cozy baking session at home.
Key Reasons to Love Them:
- Soft, tender cookie with sweet, fruity filling.
- Charming heart shape adds a special touch.
- Fun to make and engaging for beginners.
- Perfect for gifts, holidays, or sharing with loved ones.
- Visually appealing and flavorful, combining texture and sweetness.
🔥 For more charming Valentine’s cookies, try strawberry kiss cookies, festive red velvet blossom cookies, or light and airy meringue kisses.
How to Get Your Heart Thumbprint Cookies Just Right
Thumbprint cookies are a holiday classic, but getting that perfect “heart” shape to stay put requires a little bit of finesse.
Here is how to ensure your cookies are tender, buttery, and beautifully defined.
1. The “Reshape” Rule
The most common frustration is watching your perfect heart indents disappear in the oven as the dough rises.
The Secret: Cookies are still pliable for the first 60 seconds after they leave the oven.
As soon as the tray comes out, use the back of a small measuring spoon or a clean thumb to gently reinforce the heart shape.
If you wait until they cool, the cookie will crack; if you do it while they are piping hot, they will hold that shape perfectly as they firm up.
2. Avoid the “Cracked Edge”
Look If your dough balls crack around the edges when you press your thumb in, your dough is likely too cold or too dry.
The Fix: Before rolling the dough into a ball, squeeze it in your palm a few times.
The warmth from your hands will soften the butter just enough to make the dough supple. When you press the indent, do it slowly and gently.
If a large crack appears, just pinch it back together with your fingers before baking.
3. Choosing the Right Jam
Not all jams are created equal when it comes to cookies.
The Tip: Use a “seedless” jam or a thick preserve for the cleanest look.
If your jam is very chunky, give it a quick stir in a small bowl to break up the large fruit pieces before filling the cookies.
Pro Hack: For a glossy, professional finish that won’t get sticky, you can briefly microwave the jam (about 10–15 seconds) so it flows smoothly into the heart indent, then let it set.
4. Don’t Overbake
These are shortbread-style cookies, which means they shouldn’t get dark brown.
The Sign: You are looking for the bottoms to be golden, but the tops should still look relatively pale.
If the entire cookie turns golden brown, it will be crunchy rather than melt-in-your-mouth tender.
5. Measuring the Flour
Since this recipe has a high butter-to-flour ratio, being off by just a little bit of flour changes everything.
Common Mistake: Scooping the flour directly with the measuring cup packs it down, giving you too much flour and a crumbly cookie.
The Fix: Use a spoon to fluff the flour and sprinkle it into the cup, then level it off with a knife. This ensures the dough is soft enough to shape without falling apart.
6. Filling (Before or After)
This recipe suggests filling after baking, which keeps the jam bright and fresh.
The Benefit: If you bake the jam, it can sometimes bubble over or become gummy.
By filling them after the cookies have cooled, you get a beautiful, vibrant contrast between the golden cookie and the ruby-red jam.
Easy Baking Tips That Have Worked for Me
Pressing your thumb gently into small dough balls to create a well for jam feels nostalgic and comforting.
Filling each indentation with fruit jam creates a sweet, colorful contrast that is visually appealing.
During baking, the cookies puff slightly, while the jam bubbles and thickens into a glossy, inviting center.
The buttery aroma combined with the fruity sweetness fills the kitchen and makes waiting for them to cool challenging.
Once ready to eat, the cookies are soft, tender, and perfect for gifting or enjoying with a warm drink.
Variation Tips
These buttery thumbprints are incredibly versatile. While the classic jam-filled heart is a timeless look, you can easily adapt the flavor and texture to suit any occasion.
1. The Chocolate Lovers’ Heart
The Swap: Instead of jam, wait for the cookies to cool and fill the centers with a simple chocolate ganache or a dollop of Nutella.
The Finish: Place a single white chocolate chip in the center of the dark chocolate filling for a beautiful “bullseye” heart effect.
2. Citrus Shortbread Variation
The Dough: Add the zest of one lemon or orange to the butter and sugar while creaming. The citrus oils pair beautifully with the brown sugar base.
The Filling: Use a bright lemon curd or apricot jam to complement the citrus notes in the dough.
3. The “Jeweled” Nut Crust
The Technique: Before baking, roll the dough balls in a bowl of finely chopped walnuts or pecans. Press the heart indent after coating them in nuts.
The Texture: This adds a wonderful crunch and a nutty flavor that balances the sweetness of the jam.
4. Almond & Raspberry (Linzer Style)
The Swap: Replace the vanilla extract with 1/4 teaspoon of almond extract.
The Finish: Use seedless raspberry jam for the filling. Once the jam has set, lightly dust the entire cookie with powdered sugar for a sophisticated, bakery-style finish.
5. Savory-Sweet Twist
The Filling: Use a pepper jelly or a balsamic fig jam. The kick of heat or the deep earthiness of the fig works surprisingly well with the rich, buttery shortbread.
The Topping: Sprinkle a tiny pinch of flaky sea salt over the jam right before it sets.
6. Dietary Adaptations
Gluten-Free: Substitute the all-purpose flour with a 1-to-1 gluten-free baking blend. Because this dough doesn’t rely on gluten for structure (it’s a shortbread style), the texture remains remarkably similar.
Dairy-Free: Use a high-quality vegan butter stick (ensure it is the firm kind, not the spreadable tub version). Skip the salt if the vegan butter is already heavily salted.
7. “Hot Cocoa” Thumbprints
The Swap: Replace 2 tablespoons of the all-purpose flour with 2 tablespoons of unsweetened cocoa powder.
The Filling: Fill the heart with a marshmallow fluff or a white chocolate melt to mimic a steaming cup of cocoa.
Save for Later to Your Pinterest Board
How to Properly Store Your Heart Thumbprint Cookies
Because these cookies have a high butter content and a moist jam center, storing them correctly is the difference between a melt-in-your-mouth treat and a soggy one.
Here is how to keep your Heart Thumbprints in peak condition.
1. Room Temperature (Best for 2–3 Days)
The Environment: Store these in an airtight container in a cool, dark place.
The Stacking Secret: If you need to stack the cookies, place a sheet of parchment or wax paper between the layers. If the bottom of one cookie touches the jam of another, they will stick together and ruin the heart design.
Pro Tip: If your jam is particularly “wet,” leave the container lid slightly cracked for the first few hours of storage to allow the jam to set fully without creating excess condensation.
2. Refrigeration (Best for up to 1 Week)
When to Chill: If you live in a humid or warm climate, the fridge is your friend. The cold keeps the jam from becoming too runny and prevents the butter-rich dough from going stale.
The Container: Ensure the container is truly airtight; shortbread-style dough is like a sponge and will easily absorb “fridge smells” (like onions or leftovers).
Serving: These cookies are best enjoyed at room temperature. Take them out of the fridge about 20 minutes before serving to let the butter soften back up.
3. Freezing (Best for up to 3 Months)
Freeze Before Filling: For the absolute best results, freeze the baked, unfilled cookies. When you’re ready to eat, thaw them and then add the fresh jam.
Freezing Filled Cookies: You can freeze them after filling, but be aware that some jams can become slightly gummy or thin after thawing.
To do this, “flash freeze” them on a tray for an hour until the jam is solid before moving them to a freezer bag.
4. Storing the Dough (Make-Ahead)
The Method: You can roll the dough into balls and freeze them raw.
When the craving hits, thaw the balls for 15 minutes, press the heart indents, and bake as directed. You may need to add 1–2 minutes to the bake time.
5. Storage Mistakes to Avoid
The “Soggy Cookie” Error: Never store these cookies while they are still warm. Any residual steam trapped in the container will turn your crisp shortbread into a soft, mushy mess.
The Heat Trap: Avoid storing the container in direct sunlight or near the oven. The jam will soften and can “bleed” into the cookie dough, making the heart shape look messy.
The Microwave Mistake: Never microwave a jam-filled cookie to soften it. The jam can reach scorching temperatures much faster than the dough, leading to a “lava” effect that can burn your mouth.
FAQs
Why did my cookies crack when I pressed the heart shape into them?
Cracking usually happens if the dough is too cold or if the flour was packed too tightly during measuring. To prevent this, make sure your butter is truly at room temperature and “work” the dough ball in your palm for a few seconds to warm it up before pressing. If a small crack appears, simply pinch it back together with your fingers before it goes into the oven.
Can I use granulated sugar instead of brown sugar?
ou can, but it will change the texture. Brown sugar contains molasses, which makes these cookies soft and slightly chewy with a deep, caramelized flavor. Using white granulated sugar will result in a crispier, paler, more traditional shortbread texture. If you swap them, the cookie will still be delicious, but it will lose that signature “melt-in-your-mouth” softness.
My “hearts” puffed up and disappeared in the oven! What do I do?
Don’t panic—this is totally normal! As the baking soda and egg react, the dough rises. The key is to have a small measuring spoon or your thumb ready the second the tray comes out of the oven. While the cookies are still hot and soft, gently press the heart shape back into the center. They will firm up as they cool and hold the shape perfectly.
Can I use a different filling besides jam?
Absolutely. This cookie base is very versatile. You can use lemon curd, Nutella, chocolate ganache, or even a piece of a chocolate kiss. If you are using a filling that melts (like chocolate), wait until the cookies have cooled completely before adding it so the shapes stay clean.
Do I need to chill the dough before baking?
For this specific recipe, chilling isn’t required, which makes it a great “quick” dessert. However, if your kitchen is very warm and the dough feels oily or too soft to handle, popping it in the fridge for 15 minutes can make it much easier to roll into perfect, smooth balls.
Heart Thumbprint Cookies
24
cookies10
minutes15
minutesButtery heart thumbprint cookies filled with fruity jam make a charming Valentine’s Day or holiday treat.
Ingredients
1 1/2 cups all-purpose flour
3/4 cup butter (softened)
1/2 cup lightly packed brown sugar
1/4 cup jam of choice
1 egg
1/2 teaspoon vanilla
1/4 teaspoon salt
Directions
- Start by preheating your oven to 375°F (190°C). Line a large baking sheet with parchment paper to prevent sticking and make cleanup easier.
- In a large mixing bowl, beat the softened butter and brown sugar together using an electric mixer on high speed. You want the mixture to look pale and fluffy. Beat in the egg and vanilla extract until fully combined. Finally, add the flour and salt, mixing on low speed just until the flour disappears and a soft dough forms.
- Roll the dough into 1-inch balls and arrange them on your prepared baking sheet, leaving about 1.5 inches of space between them. To create the heart shape, gently press your thumb (or the back of a rounded teaspoon) into the center of the ball at an angle. Then, make a second impression next to it at the opposite angle to form a "V" or heart shape.
- Bake the cookies for 12 to 15 minutes, or until the edges are just set. Crucial Step: Immediately after taking the pan out of the oven, check your heart indents. If they have puffed up during baking, gently press them down again with the back of a spoon while the cookies are still soft to re-define the shape.
- Transfer the cookies to a wire rack to cool completely. Once they are at room temperature, spoon a dollop of your chosen jam into the center of each heart.


Mine turned out super cute 😮💨 Thankyou!
Happy I could help haha!