What if a scone could be fluffy, fruity, and completely gluten-free without losing any flavor?
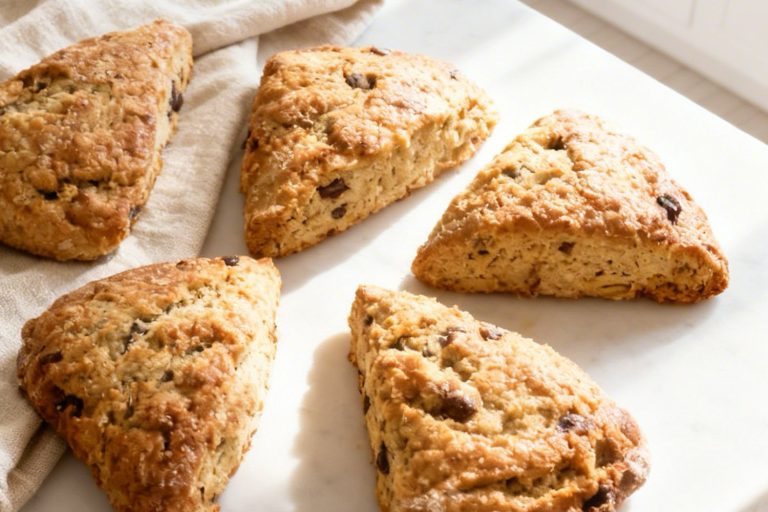
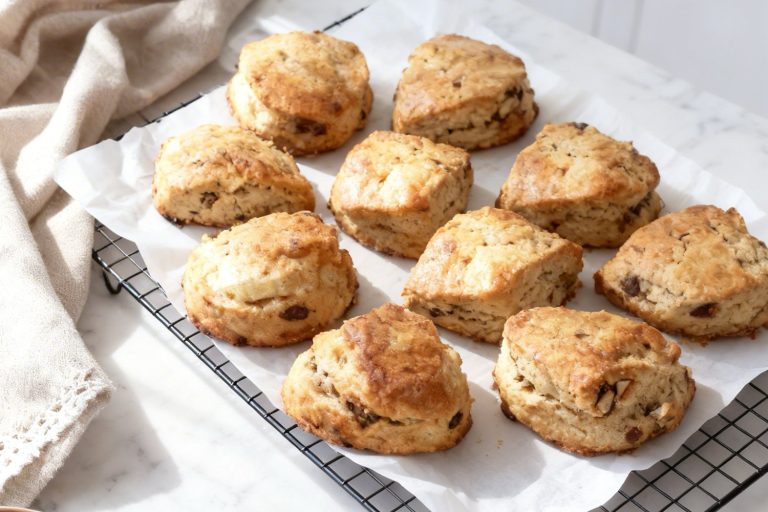
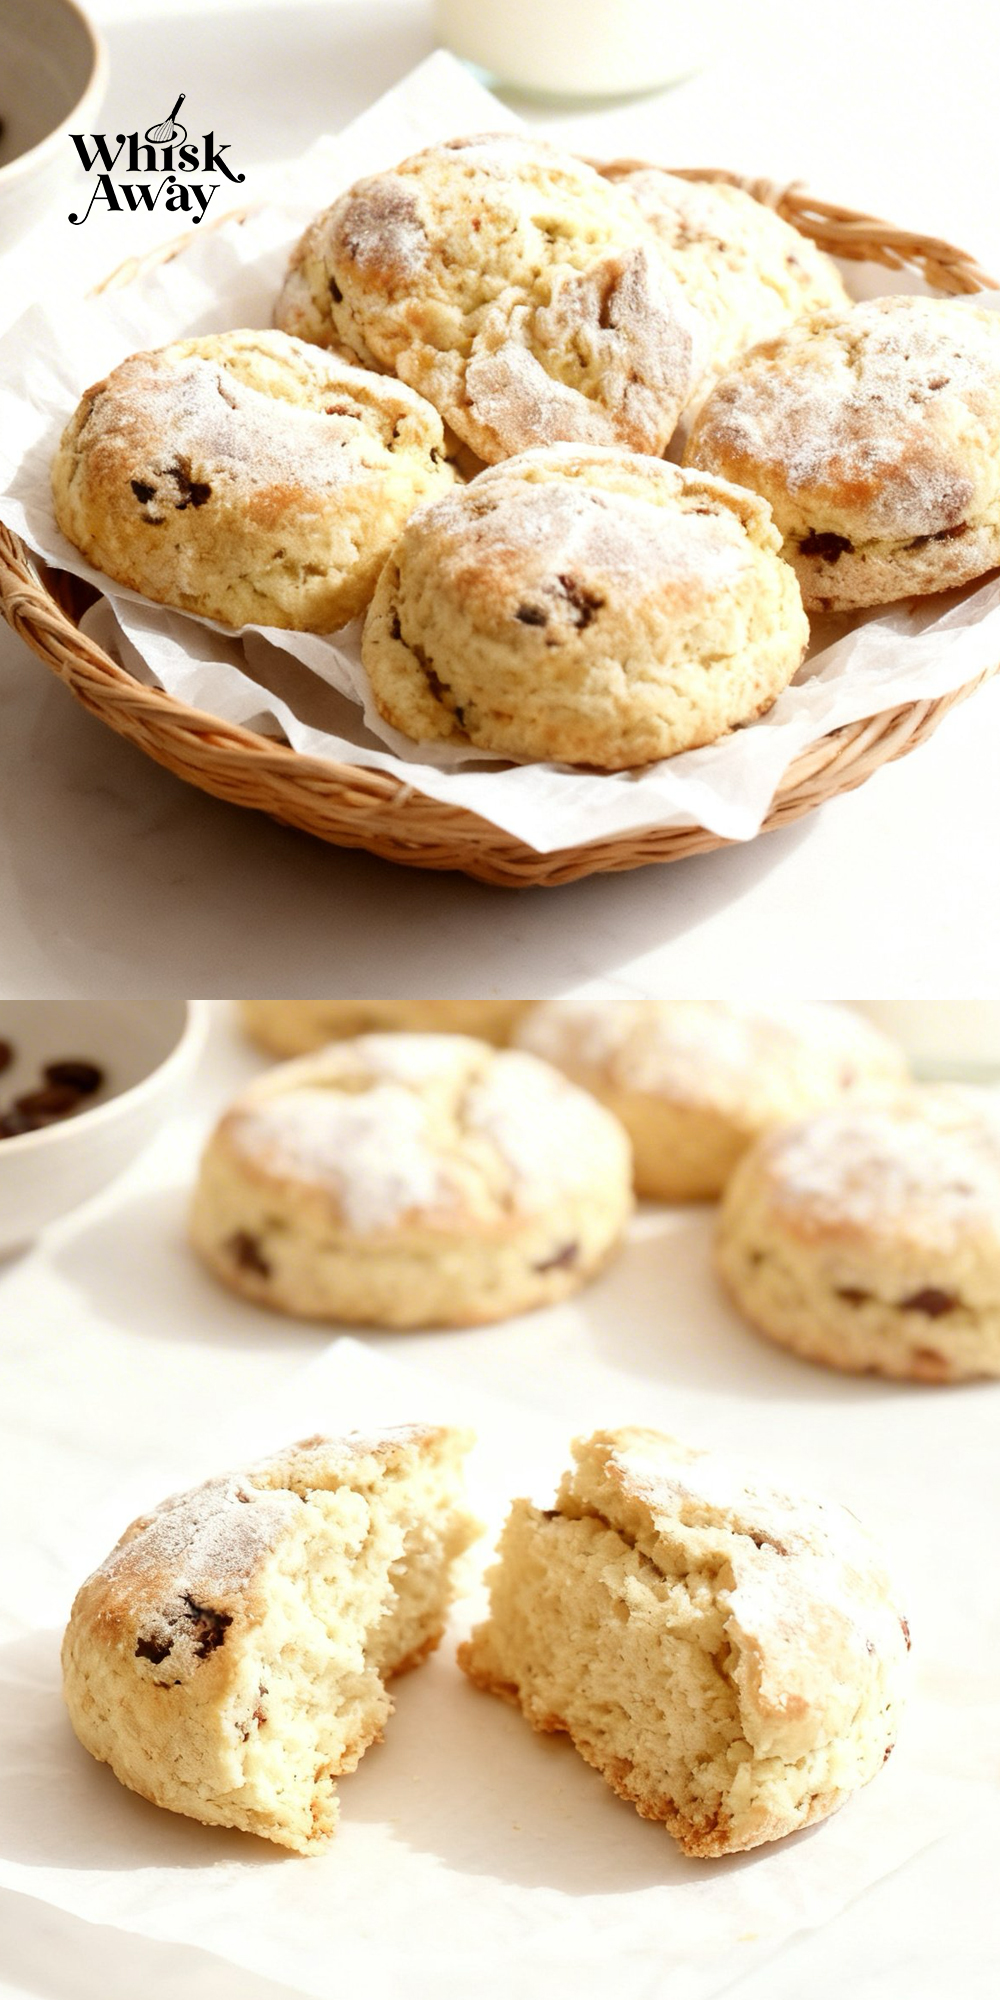
These gluten-free scones with fruit deliver tender, soft texture, sweet bursts of fruit, and the perfect lightly crisp exterior.
Whether it’s a weekend brunch or a casual tea, these scones prove gluten-free can still be indulgent, comforting, and downright delicious.
Why You’ll Love This Recipe
These gluten-free scones prove you don’t sacrifice flavor or texture for dietary needs. Soft, tender crumb with fruity bursts makes them just as satisfying.
What Makes Them Special
- Fruit adds natural pockets of sweetness and texture.
- Gluten-free blends can produce tender results when handled gently.
- Great alternative for guests with gluten sensitivities.
- Can be made ahead and frozen for convenience.
- Pairs with tea or dairy-free spreads for a complete treat.
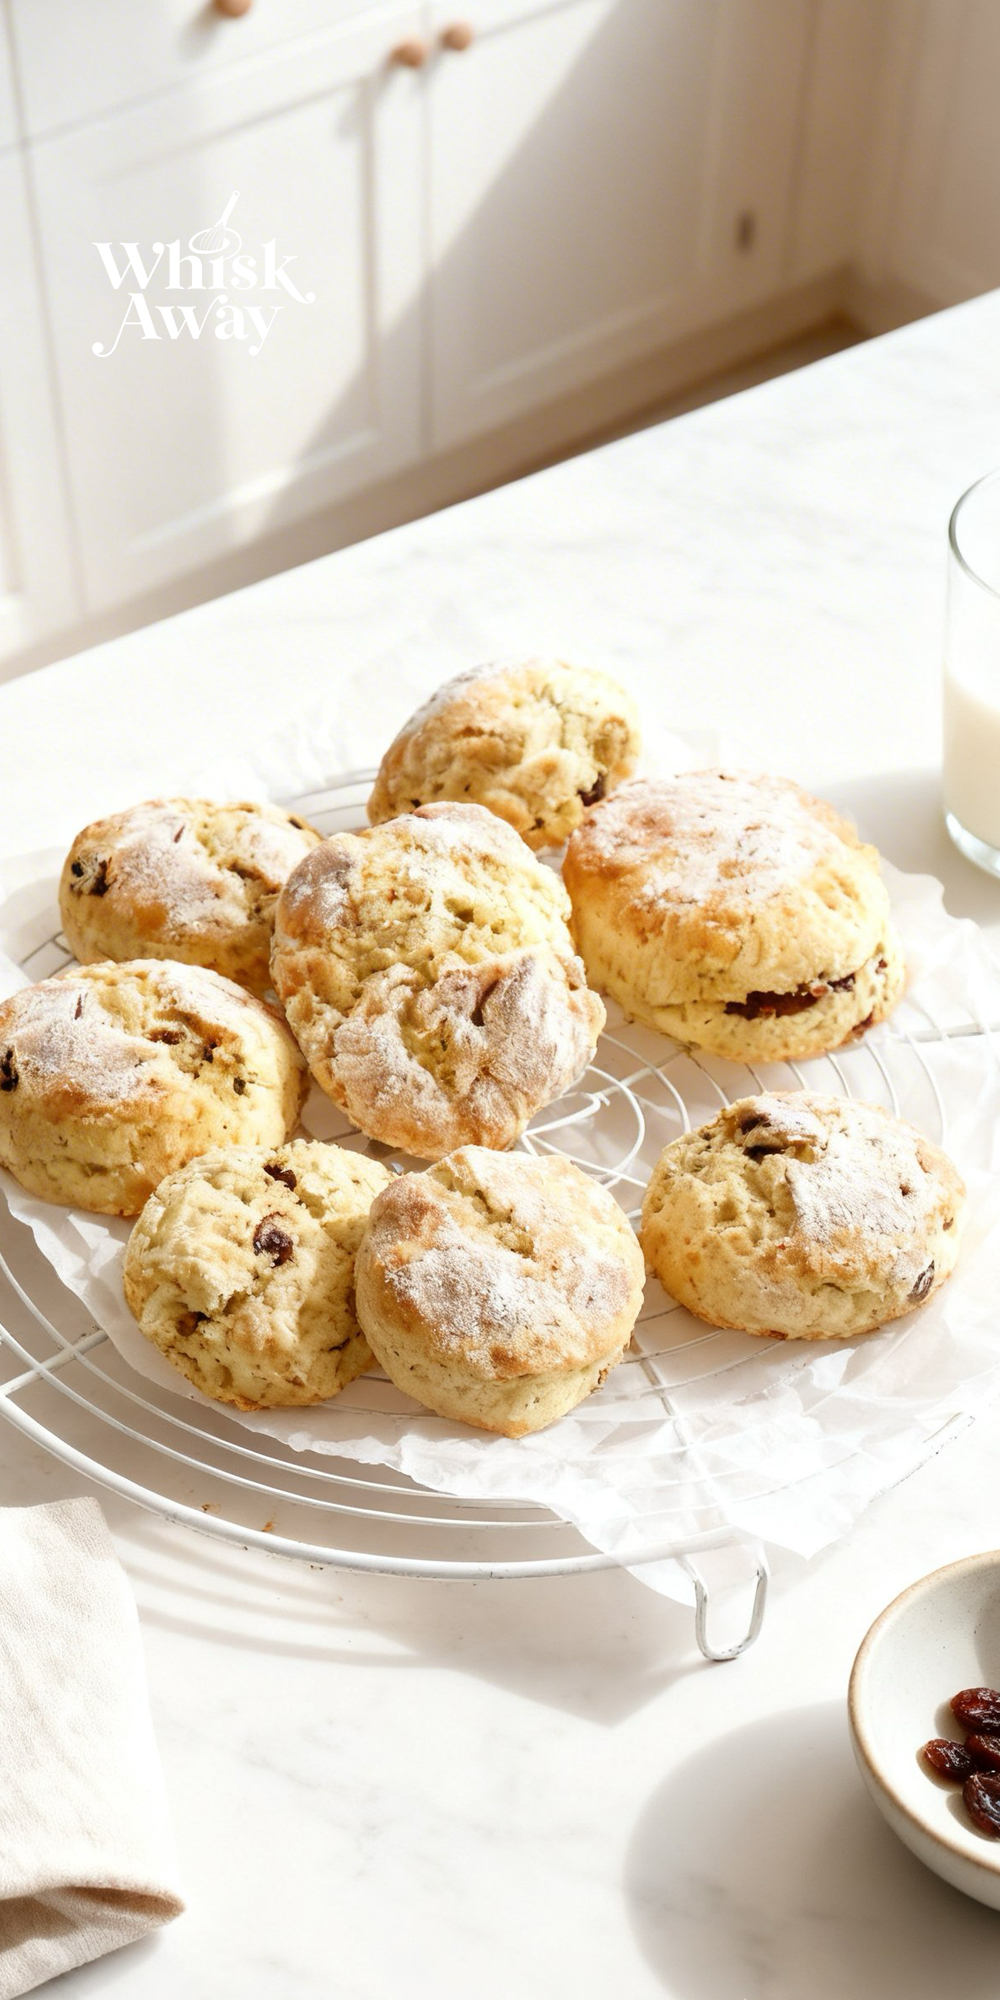
Save This Pin for Later to Your Pinterest Board

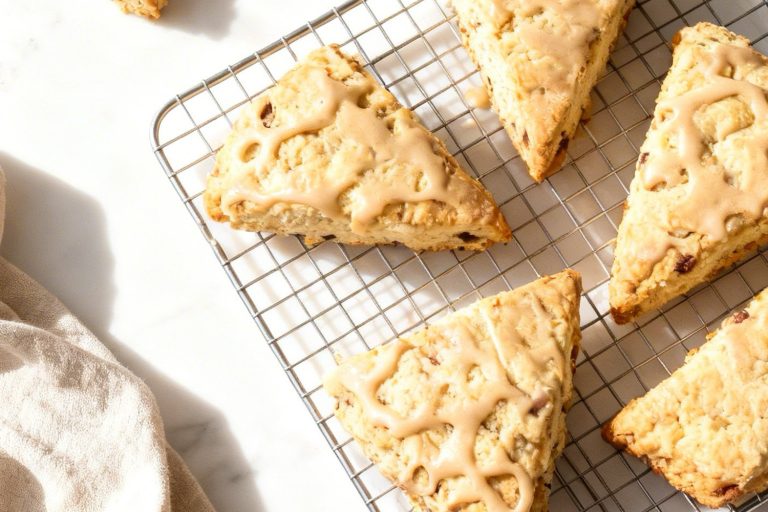
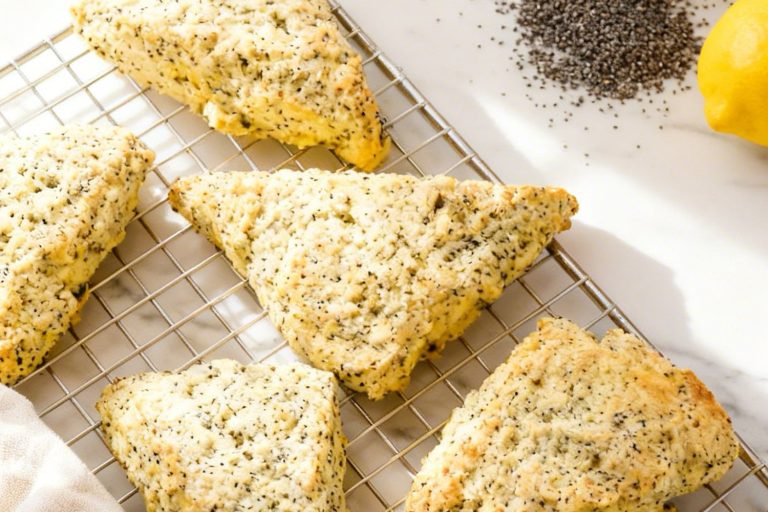
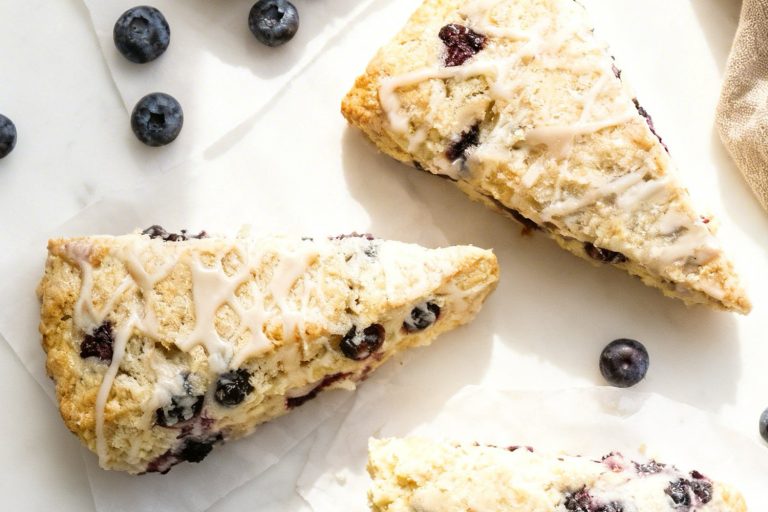
🔥 If you want more fruit-based options, blueberry scones and cranberry orange scones are great next recipes to try. For a citrus variation, lemon poppy-seed scones work beautifully.
How to Get Your Gluten-Free Scones With Fruit Just Right
Gluten-free baking requires a slightly different mindset than traditional wheat-based pastry.
Because you aren’t developing gluten, these scones rely on the high quantity of baking powder and the hydration of the flour to achieve their lift and soft interior.
1. The Secret to Hydration and Rest
(a) When you first add the milk and oil, the mixture might look more like a thick batter than a dough.
Don’t panic! Stir it steadily and then let it sit for 3–5 minutes.
Gluten-free flours (like the FREEE White Bread Flour mentioned) contain starches that need a few moments to absorb the moisture.
Once hydrated, the dough will be much easier to handle.
(b) With 5 teaspoons of baking powder, any clumps left unsifted will create bitter, metallic-tasting pockets in your scones.
Always sift the dry ingredients to ensure the leavening agent is perfectly dispersed for a uniform rise.
2. Maximizing Texture & Flavor
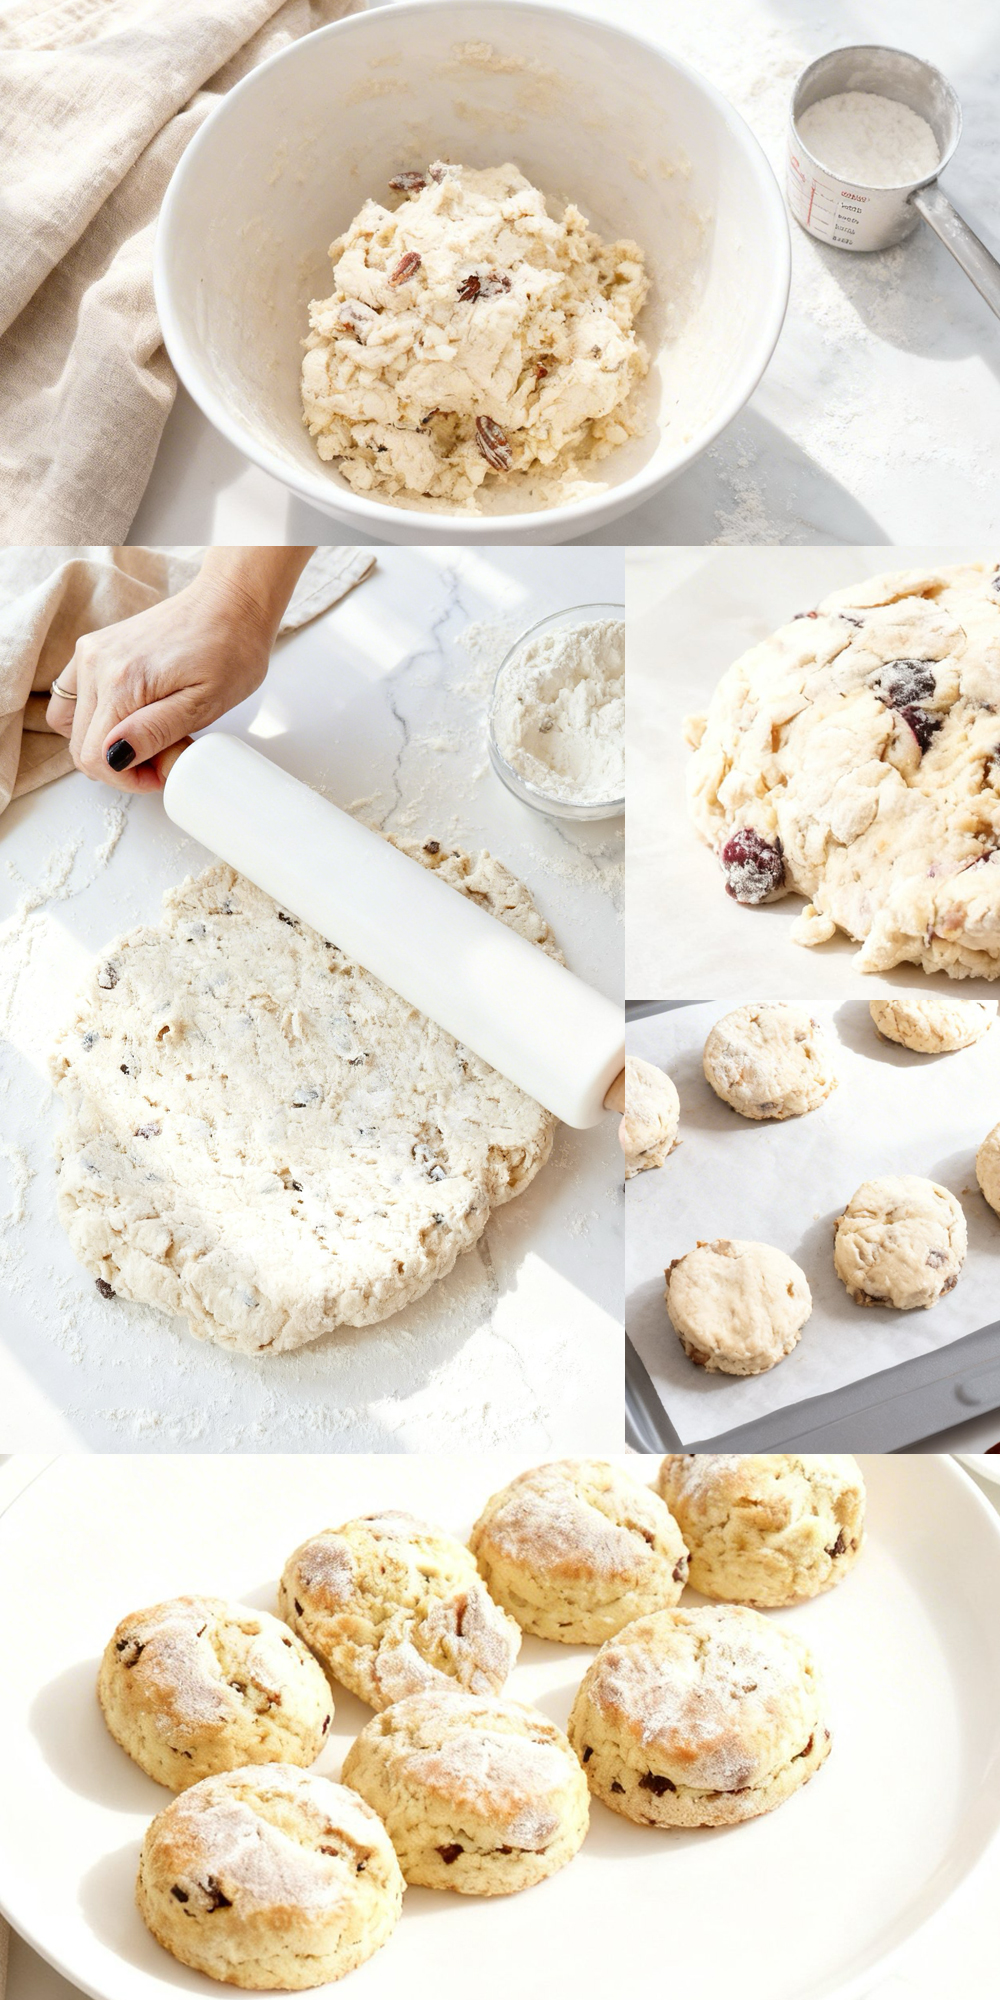
(a) Because this dough is stickier than traditional scone dough, we use the mound method rather than rolling and cutting.
By spooning the dough and then patting it into shape, you keep the edges rough and open, which allows the heat to penetrate and lift the scone more effectively.
(b) If your sultanas seem particularly dry or hard, soak them in a little warm water (or orange juice!) for 10 minutes, then pat them dry before adding.
This prevents them from sucking moisture out of the dough and ensures they remain juicy after baking.
3. Common Mistakes to Avoid
Over-Flattening: When patting your mounds into 3cm circles, resist the urge to make them too thin.
Gluten-free scones don’t have the same elasticity as wheat scones, so if you start thin, they will stay thin.
Keeping them at 3cm (1¼ inches) ensures a substantial, fluffy center.
Using Standard Baking Powder: Ensure your baking powder is specifically labeled Gluten-Free.
While many are naturally GF, some brands use wheat starch as an anti-caking agent.
The Warm Milk Trap: Use cold milk and room-temperature oil. If the milk is too warm, the baking powder may activate too quickly in the bowl rather than in the oven, leading to a fallen scone.
4. Timing & Technique Advice
Check the Bottoms: Gluten-free flour can brown more slowly than wheat flour. At the 20-minute mark, use a spatula to lift one scone slightly.
The bottom should be a rich golden brown and sound hollow when tapped.
The Cooling Window: This is the most important tip for gluten-free baking. Do not cut into these while they are hot.
Gluten-free structures are fragile until they cool. Letting them rest for at least 15 minutes allows the internal starches to set, giving you a clean slice rather than a crumbly mess.
Baking Tips for This Recipe
Use a cup-for-cup blend with xanthan gum: Xanthan helps mimic gluten’s structure so scones don’t crumble apart.
Increase liquid slightly if dough looks dry: Gluten-free flours absorb more liquid; add teaspoon by teaspoon so you don’t overhydrate.
Fold fruit in gently and last: Too much manipulation breaks the dough more easily when there’s no gluten.
Chill shaped dough before baking: Helps firm up fat and prevents spreading.
Bake until edges are golden: Gluten-free dough often doesn’t brown as much; golden edges signal doneness.
Variation Tips
The beauty of this Gluten-Free Fruit Scone recipe lies in its simplicity. Because it uses an oil-based mound method rather than the traditional cold-butter rub, it is incredibly forgiving when it comes to flavor swaps.
Here is how you can customize this base to suit your mood or dietary needs.
1. Lemon & Sultana
Brighten up the earthy notes of gluten-free flour with a burst of citrus.
Add the finely grated zest of 2 lemons to the dry ingredients.
The acidity of the lemon zest complements the sweetness of the sultanas perfectly, making these scones feel lighter and more refreshing.
2. The Spiced Autumn Twist
Transform the fruit scone into a warming, aromatic treat.
- Whisk 1 teaspoon of ground cinnamon and ½ teaspoon of ground ginger into the flour before sifting.
- Replace the sultanas with chopped dried apricots or figs.
These spices provide a “bakery-style” warmth that masks the slightly different flavor profile of some gluten-free flour blends.
3. The Crunchy Seed Addition
If you prefer a scone with more structural contrast:
- Fold in 2 tablespoons of chia seeds or poppyseeds along with the milk.
The seeds add a subtle pop in every bite and provide a boost of fiber, which is often lower in gluten-free white bread flours.
4. Texture & Ingredient Alternatives
The Yogurt Trick: For a more tangy and moist scone, replace 50ml of the milk with 50g of plain Greek yogurt.
The extra protein in the yogurt helps give gluten-free dough a slightly better “crumb” structure.
Berry Swap: If you find sultanas too sweet, replace them with 50g of dried cranberries or blueberries.
Their tartness provides a sophisticated balance to the icing sugar in the dough.
Flour dusting: Instead of using plain flour for dusting, try a light sprinkle of caster sugar on top of the mounds before baking.
This creates a crunchy, crackled crust that looks professional.
5. Dietary Adaptations
Vegan (Dairy-Free):
Use oat milk or soy milk (both have higher protein contents, which helps with browning). Ensure your baking powder is vegan-friendly.
Refined Sugar-Free:
Use coconut sugar or a granulated monk fruit sweetener in place of the icing sugar. Note that the scones may turn a darker amber color if using coconut sugar.
Extra Fiber:
Replace 50g of the white bread flour with oat flour (ensure it is certified gluten-free). This gives the scone a heartier, nuttier flavor and a more rustic appearance.
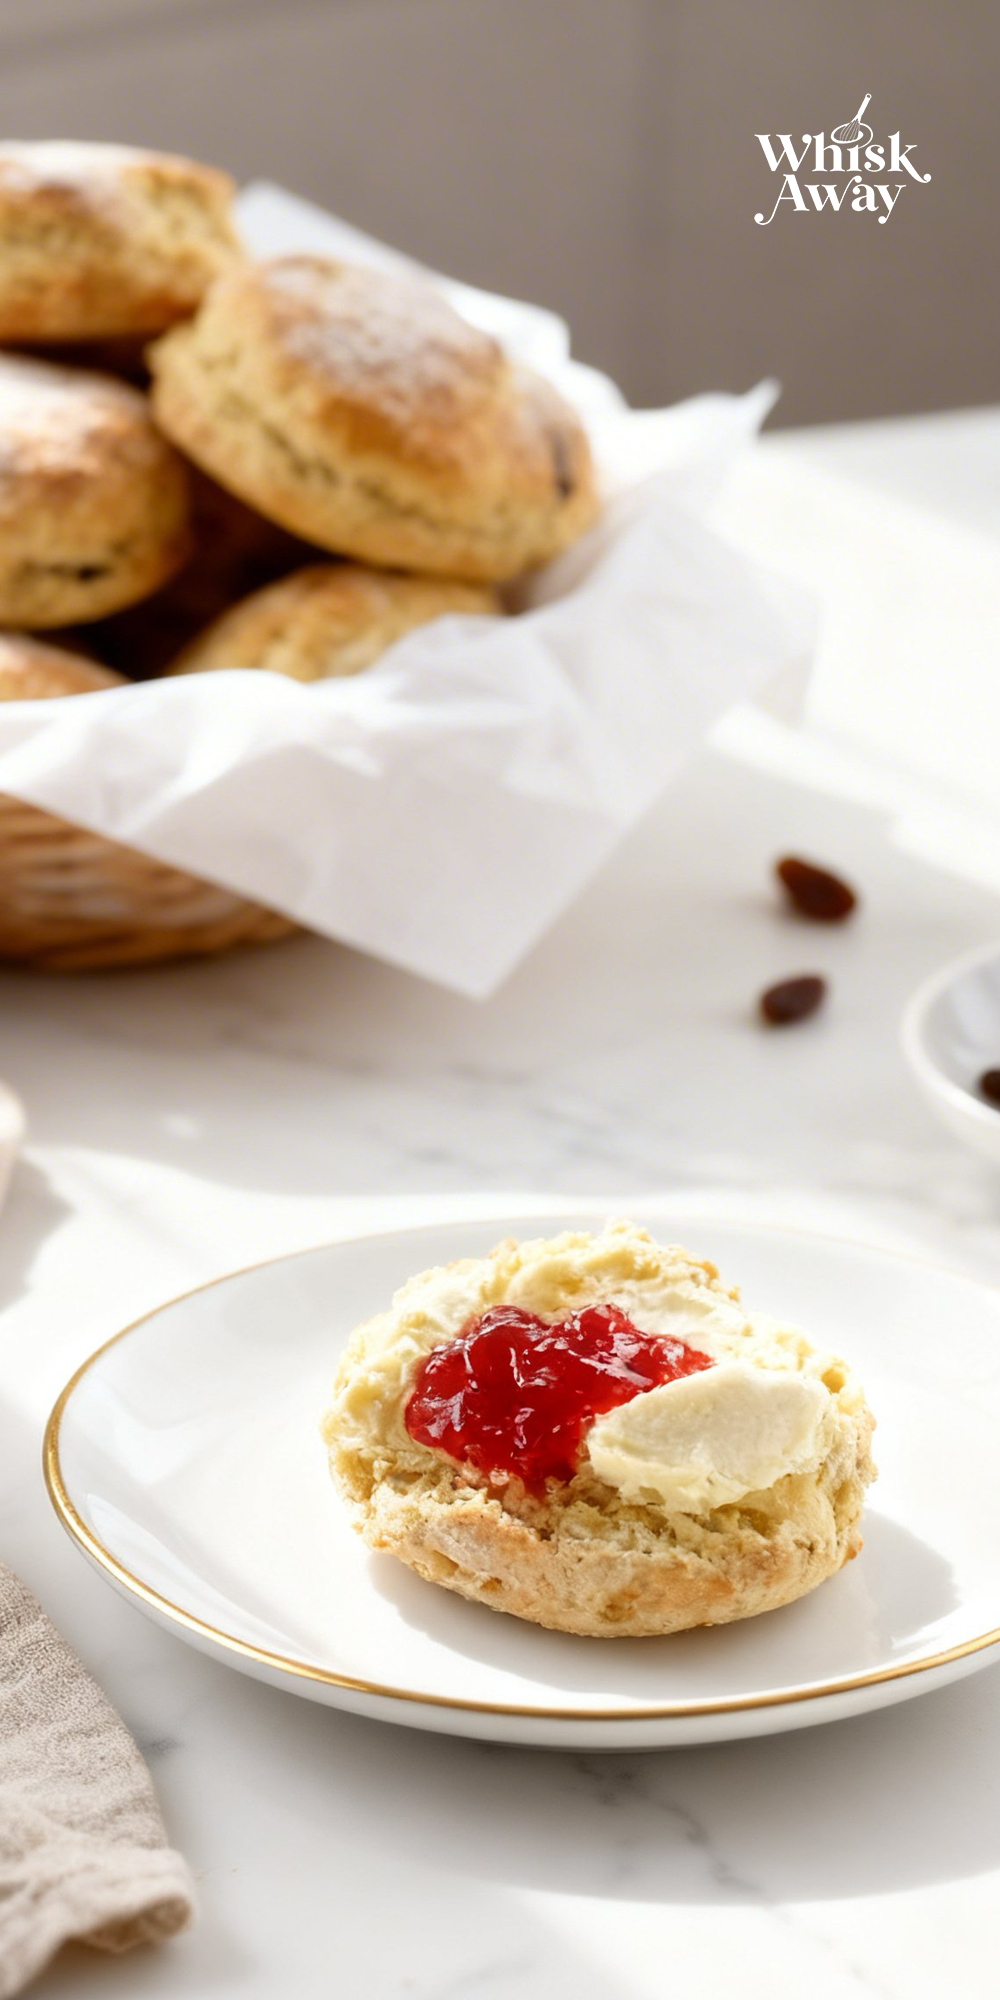
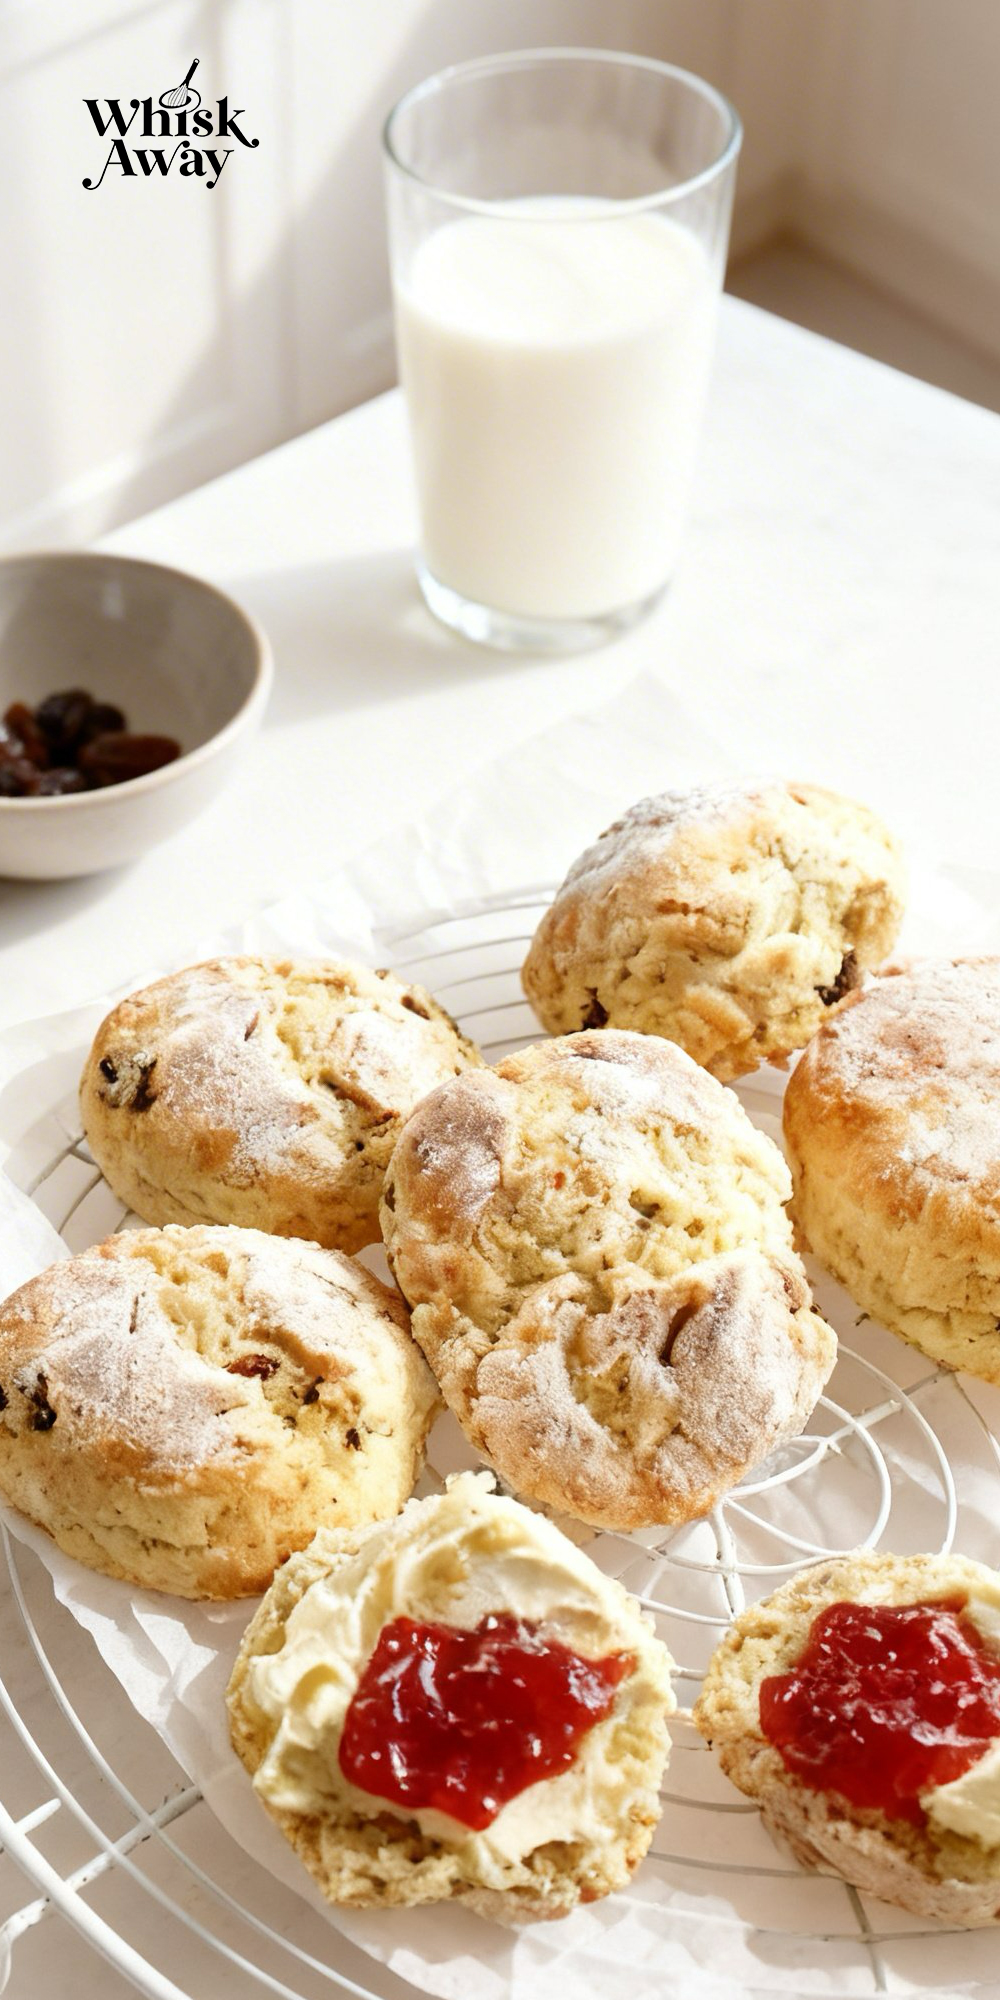
6. Creative Serving Idea
Since gluten-free scones can be slightly more delicate than wheat versions, try serving them Devonshire Style.
Split them open and top with a generous layer of strawberry jam, followed by a dollop of clotted cream.
The jam acts as a moisture barrier, keeping the scone perfectly tender.
How to Properly Store Your Gluten Free Scones With Fruit
Gluten-free bakes are notorious for losing moisture faster than their wheat-based counterparts.
Because this recipe uses a mound method and is oil-based, these scones stay soft for the first 24 hours, but they require specific care to prevent them from becoming crumbly or dry by day two.
1. Room Temperature (Best for Short-Term)
Duration: Up to 2 days.
Wait for the scones to reach room temperature. Place them in an airtight container or a heavy-duty zip-top bag.
To keep the sultanas plump and the crumb soft, place a small piece of fresh white bread (even a gluten-free slice) inside the container.
The scones will “pull” moisture from the bread, keeping them from drying out.
2. Refrigeration (Not Recommended)
Duration: Not advised.
Refrigerators tend to accelerate staling in gluten-free flours, drawing out the moisture and making the scones dense and gritty.
If you must refrigerate them due to high humidity, ensure they are double-wrapped in plastic wrap and always reheat them before serving.
3. Freezing (The Best Long-Term Option)
Duration: Up to 1 month.
These scones freeze remarkably well.
To Freeze: Wrap each scone individually in foil or plastic wrap once they are completely cool, then place them in a freezer bag.
To Thaw: Thaw at room temperature for 30 minutes, then follow the reheating instructions below to restore the “freshly baked” texture.
4. How to Reheat for Soft-Crumb Results
Reheating is the secret weapon for gluten-free scones. It reactivates the starches and makes the scone feel tender again.
The Oven/Air Fryer Method: This is the gold standard. Warm at 300°F (150°C) for 5 minutes.
This recrisps the floured exterior while softening the sultanas and the center.
The Steam Microwave Trick: If you are in a rush, place the scone in the microwave next to a small cup of water. Heat for 15–20 seconds.
The steam from the water prevents the gluten-free flour from turning into a “brick” and keeps the texture surprisingly light.
5. Storage Mistakes to Avoid
The Warm Wrap: If you package these while they are even slightly warm, the trapped steam will make the gluten-free flour gummy.
Wait at least 1 hour for them to be completely cool.
Open-Air Cooling: Don’t leave them on a wire rack for more than 2 hours. Once they are cool, get them into a sealed container immediately.
Gluten-free bakes begin to lose moisture the moment they hit the air.
The Breadbox Pitfall: Standard breadboxes are often too “breathable” for gluten-free scones. Use a plastic airtight container for the best seal.
FAQs
Why does this recipe call for so much baking powder (5 teaspoons)?
Gluten-free flour is denser and lacks the elastic protein structure of wheat, which usually helps trapped air expand. To compensate, a higher volume of baking powder is used to create a more powerful chemical lift. This ensures the scones rise quickly and develop a light, aerated crumb before the structure sets in the oven.
Can I use a different gluten-free flour, like almond or coconut flour?
For this specific recipe, it is best to stick to a Gluten-Free White Bread Flour blend (like FREEE). Bread blends contain specific starches (like tapioca or potato starch) that mimic the chew of wheat. Almond or coconut flours are far more absorbent and lack these starches; using them as a 1:1 swap would result in a scone that is either too oily or completely falls apart.
My dough feels very sticky. Should I add more flour?
Resist the urge to keep adding flour! Gluten-free dough is naturally stickier than traditional dough. If you add too much extra flour, the scones will become dry and sandy once baked. If it’s too difficult to handle, simply let the dough rest in the bowl for 5 minutes to allow the flour to fully hydrate, or use lightly oiled hands to shape your mounds.
Can I use butter instead of oil?
You can, but the texture will change. The oil in this recipe creates a cake-like tenderness that stays soft longer than butter-based gluten-free bakes. If you prefer the flavor of butter, use melted butter in the same quantity (2 tablespoons), but keep in mind the scones may be slightly more crumbly once they cool.
How do I prevent my gluten-free scones from being gritty?
Grittiness usually occurs when the flour hasn’t been properly hydrated. To avoid this, ensure you are stirring the milk and oil in thoroughly and letting the mix sit for a few minutes before portioning. Additionally, serving the scones with a moist topping like jam, lemon curd, or clotted cream helps mask any slight textural differences inherent in gluten-free flours.
Gluten Free Scones With Fruit
9
servings20
minutes22
minutesThese gluten-free scones with fruit are tender, fruity, and wholesome.
Ingredients
225 g White Bread Flour
200 ml Milk (or non-dairy milk)
50 g Sultanas
5 tsp Baking Powder
2 tbsp Icing sugar
2 tbsp Oil
Oil, for tray
Flour, for dusting
Directions
- Set your oven to 400°F (200°C).
- Lightly grease a large baking sheet with oil or line it with a reusable baking mat or parchment paper to ensure easy removal.
- In a bowl, measure out your gluten-free white bread flour, icing sugar, and baking powder. Give them a quick stir, then sift the entire mixture into a clean mixing bowl. Sifting is crucial here to ensure the high amount of baking powder is perfectly distributed for a consistent rise.
- Pour in the milk (or your preferred dairy-free alternative), the oil, and the sultanas.
- Stir the mixture steadily. You will notice the batter begin to transform and thicken into a cohesive, workable dough as the gluten-free flour absorbs the liquid.
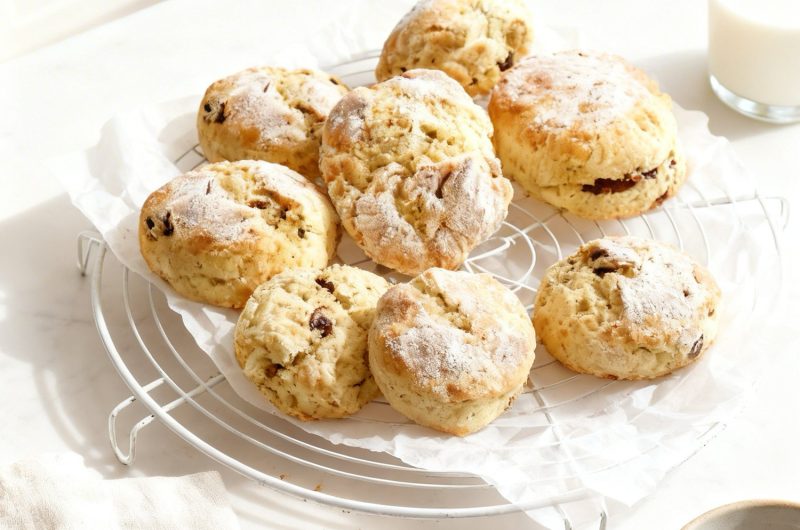
- Spoon the dough onto your prepared baking tray in 9 even mounds.
- Lightly dust the top of each mound with a little extra flour. Using your fingertips, gently pat each one down into a neat circle roughly 3cm (1¼ inches) thick.
- Keep the edges relatively vertical to help them rise upward rather than spreading outward.
- Place the tray in the center of the oven and bake for 20–22 minutes.
- The scones are ready when they have developed a beautiful golden-brown hue and feel firm to the touch.
- Allow them to sit on the tray for a few minutes before moving them to a rack; gluten-free bakes need a moment to set their structure while cooling.
- Pro-Tip for Gluten-Free Success:
- Since gluten-free flour can sometimes be thirsty, if your dough feels too sticky to shape, let it rest in the bowl for 5 minutes before portioning. This gives the starches time to fully hydrate, making the mounds much easier to handle.