I’ll never forget the first time I accidentally underbaked a batch of fudgy chocolate brownies and ended up with something so gooey it stuck to the pan but somehow it was better than perfectly baked ones. That’s the magic of this fudgy chocolate brownies recipe: it’s forgiving, delicious, and delivers that chewy, rich texture everyone loves. With simple ingredients like butter, sugar, eggs, and chocolate, you can make a dessert that’s dense, moist, and irresistibly chocolatey without complicated steps. Whether you’re baking for family, friends, or just yourself after a long day, these brownies are a crowd-pleaser. Pair them with ice cream, a drizzle of caramel, or enjoy them plain, they’re versatile enough for any occasion. Even beginner bakers can follow this homemade chocolate brownie recipe and end up with decadent bars that are soft in the middle, slightly crisp on top, and loaded with deep chocolate flavor.
🔥 InternalLinking
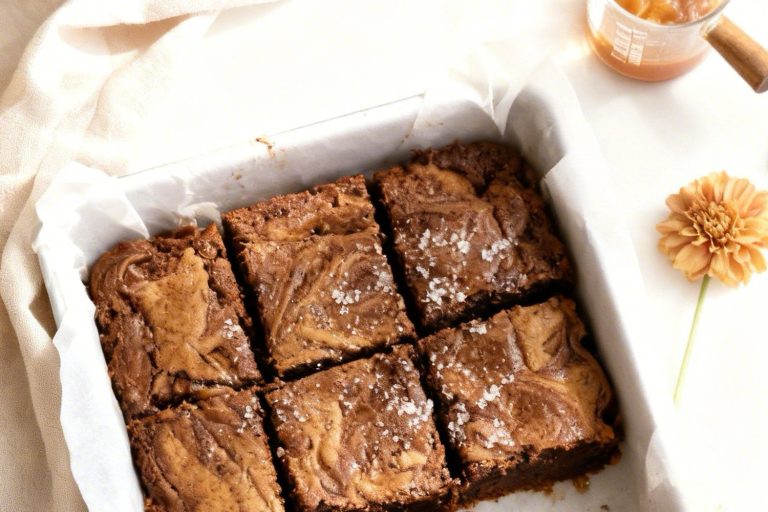
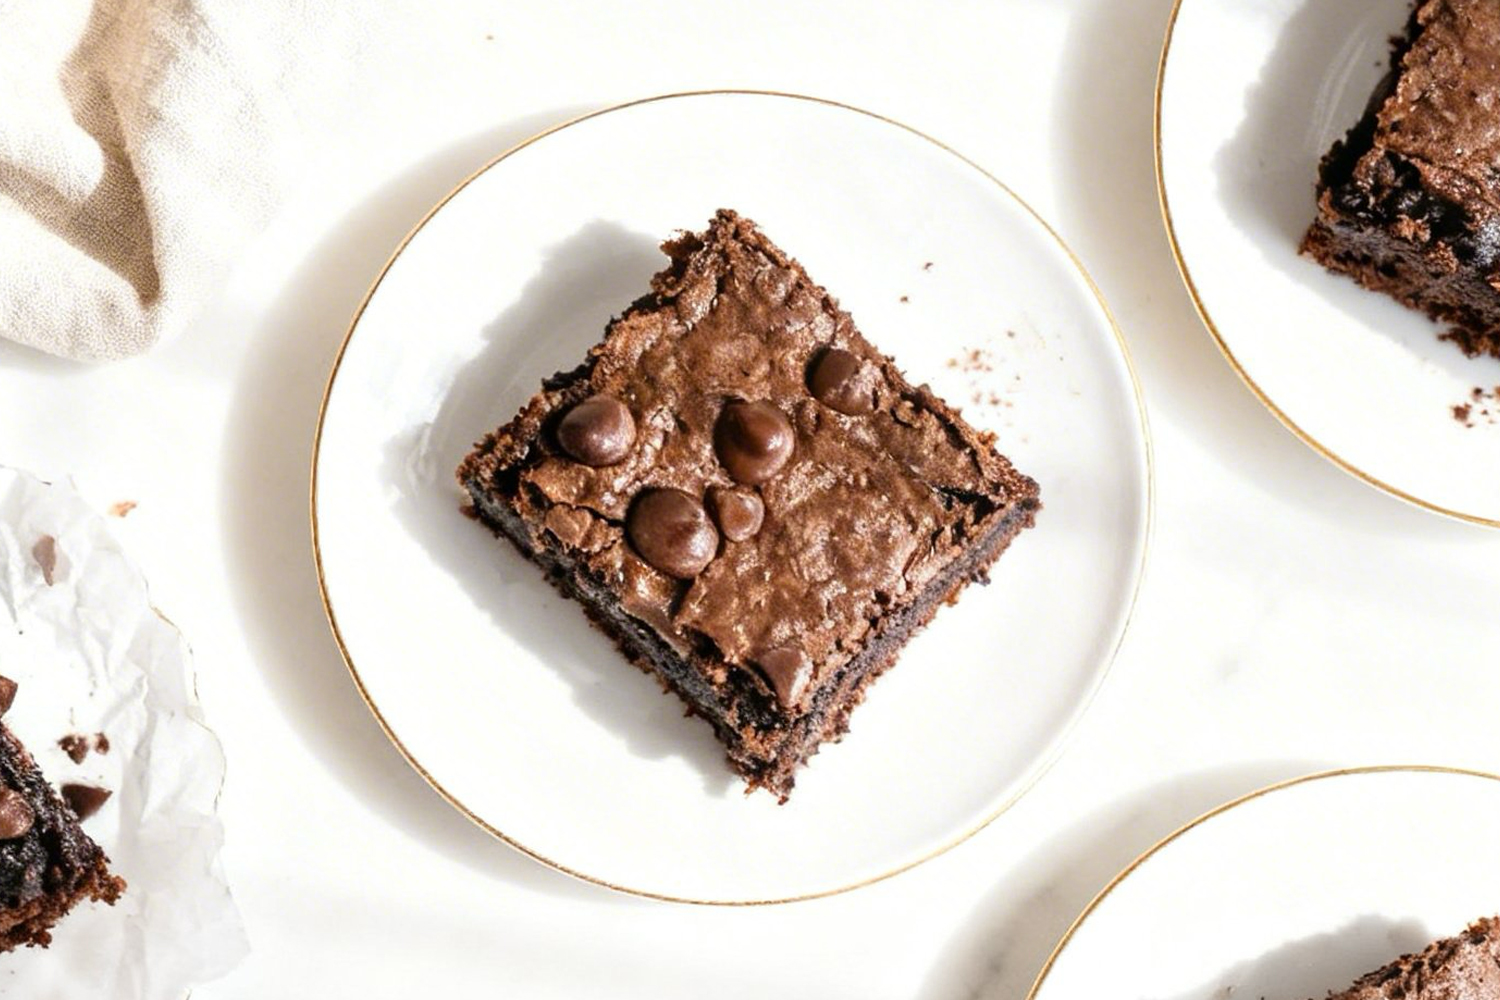
Why You’ll Love These Fudgy Chocolate Brownies
Once you’ve seen how easy these brownies are to make, you’ll love them even more for their indulgent, melt-in-your-mouth chocolate goodness.
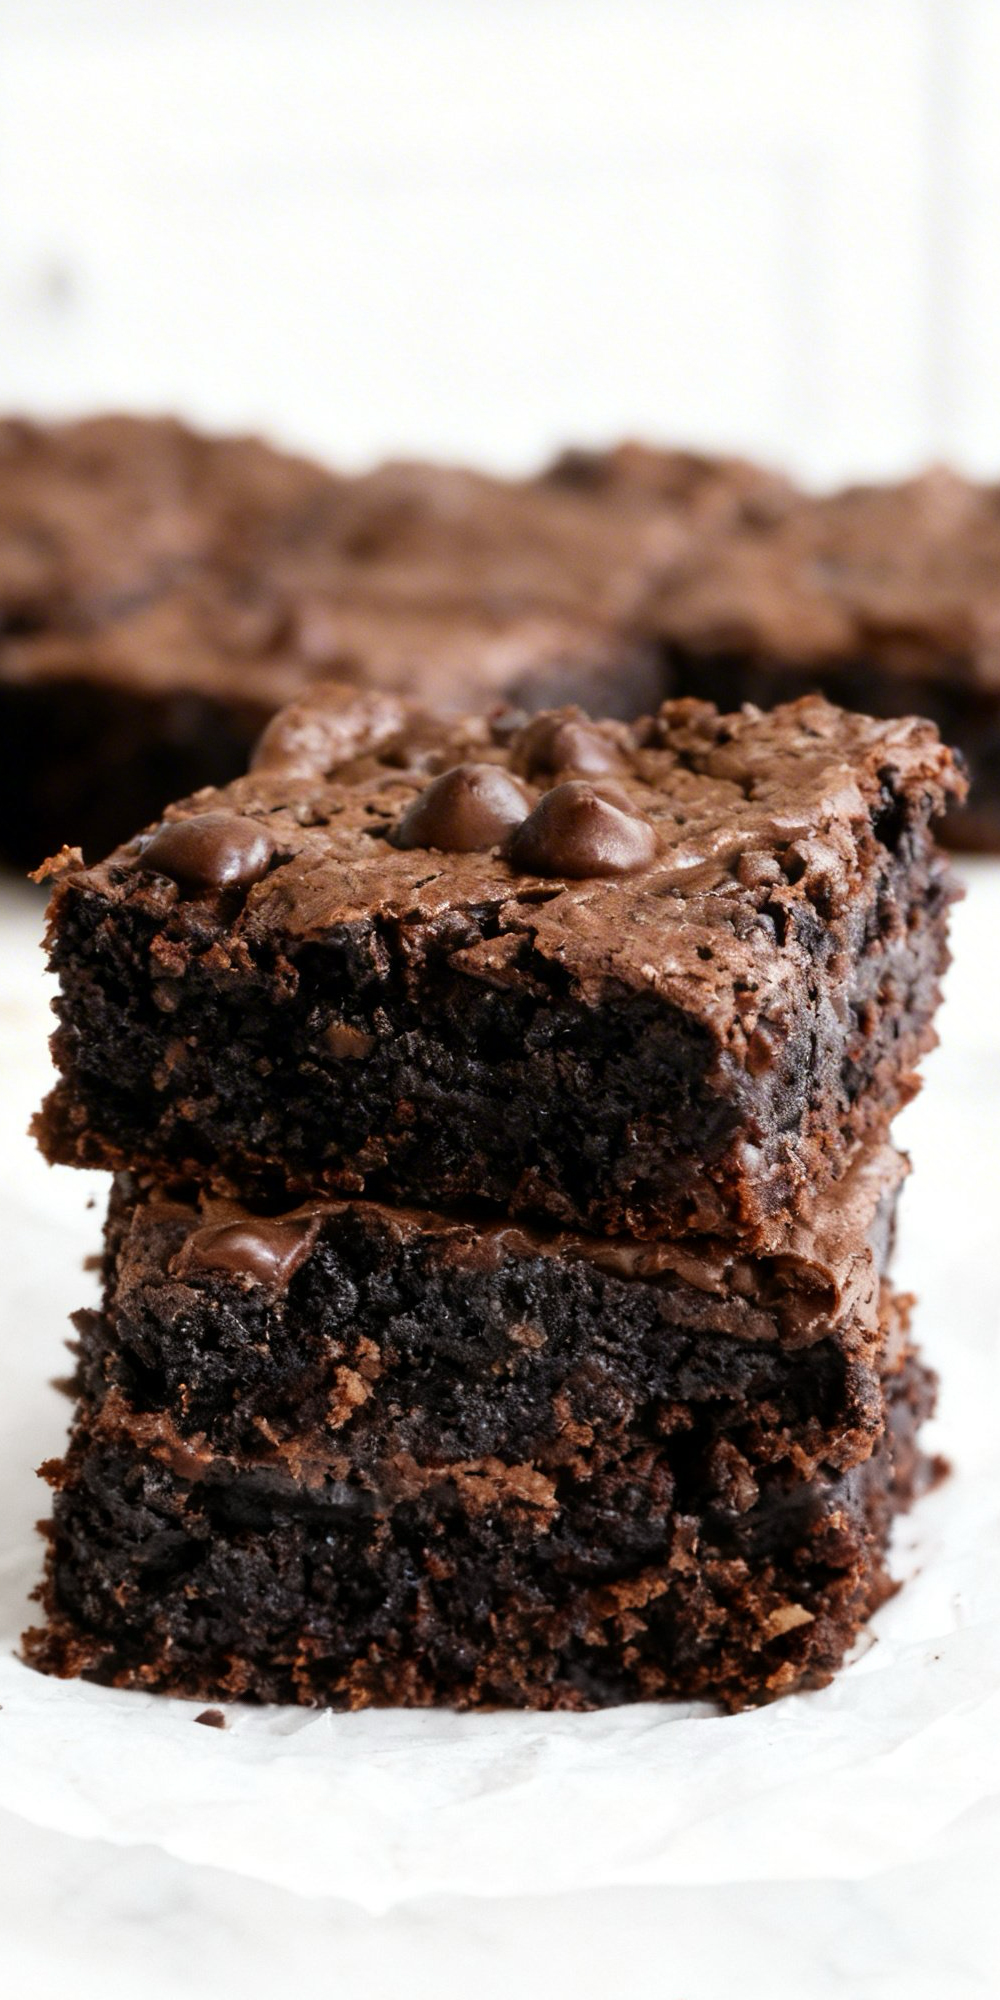
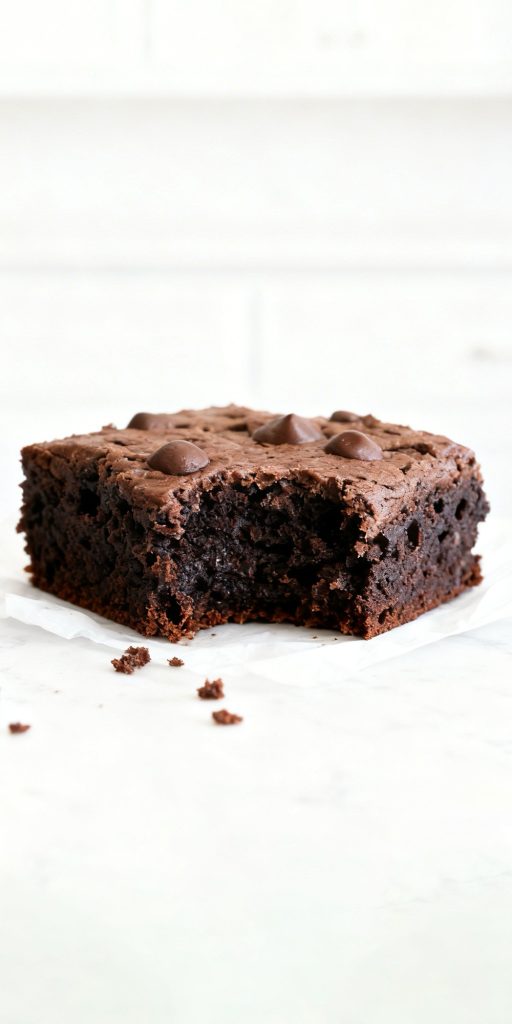
- Deep, fudgy texture that stays soft and rich.
- Intense cocoa flavor balanced with just the right sweetness.
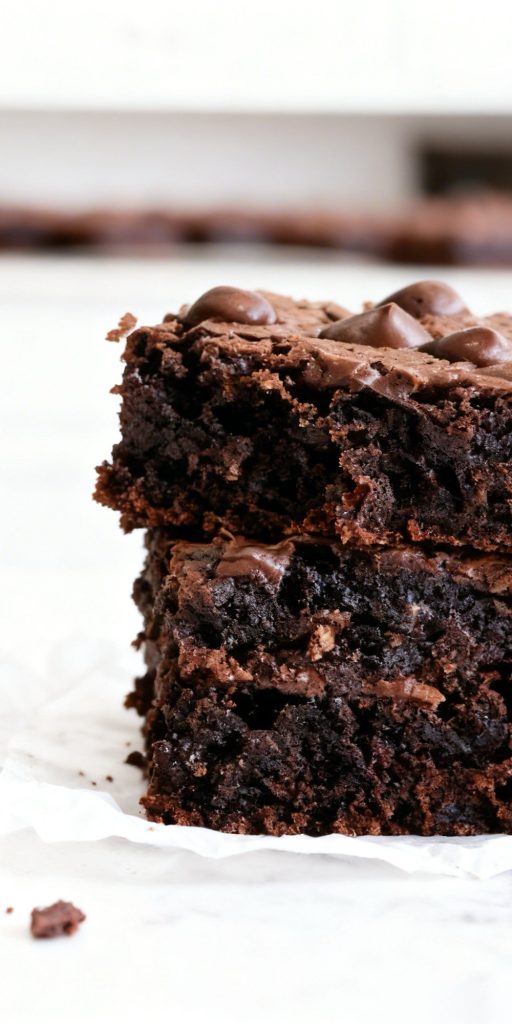
- Crisp edges surround a gooey, decadent center.
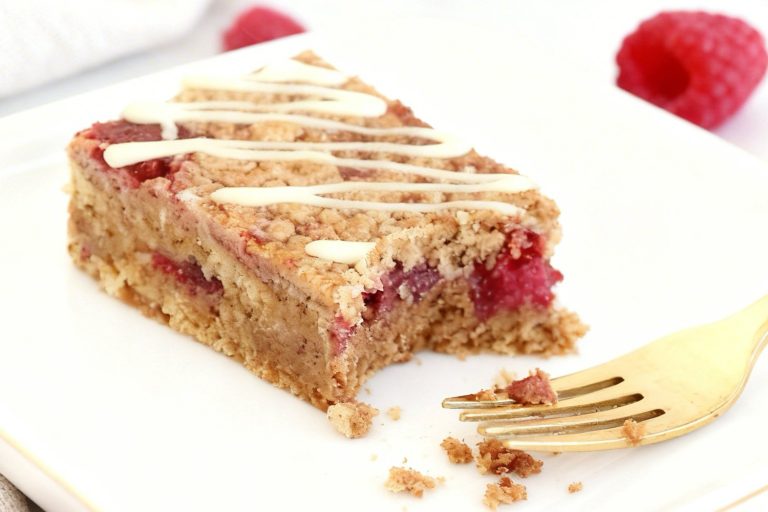
- Perfect for pairing with ice cream, whipped cream, or fresh berries.
- One-pan baking makes them simple yet impressive for any occasion.
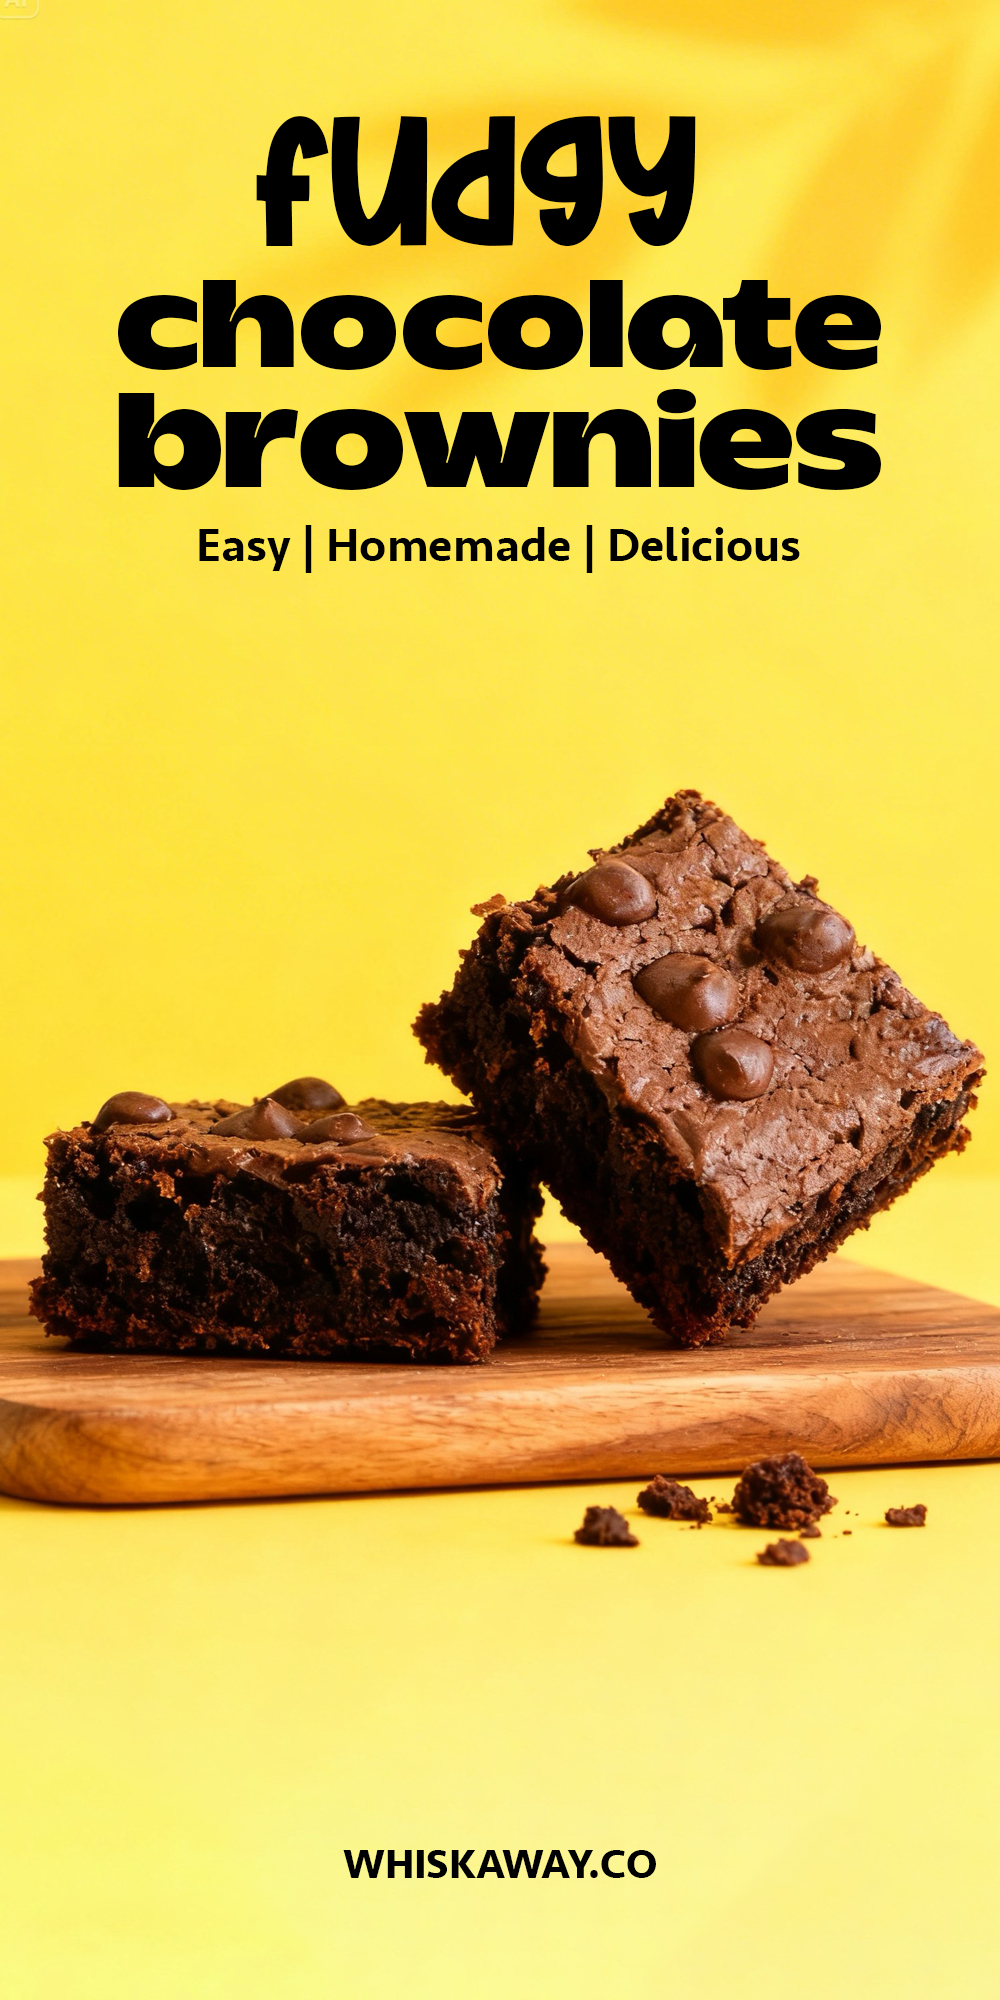
Save This Pin for Later to Your Pinterest Board
Ingredients
- Semi-sweet chocolate chips or chunks: This is the star of your brownies! I recommend using a good-quality chocolate for a rich, deep flavor. Break up larger chunks so they melt evenly and give pockets of gooey chocolate in every bite.
- All-purpose flour: Provides the structure that holds your brownies together. Be gentle when folding it in as you don’t want to overmix or your brownies will turn cakey instead of fudgy.
- Unsalted butter: I always melt the butter to make the batter smooth and fudgy. You can try browning it first for a nutty aroma. It really elevates the flavor.
- Sugar: Adds sweetness and helps create that slightly crackly top. You can reduce it slightly if you prefer less sweet brownies, but don’t cut too much or it will affect texture.
- Eggs: The binding agent that keeps everything together. Using room temperature eggs ensures they mix evenly and help create a tender, moist brownie.
- Cocoa powder: Choose high-quality cocoa for the best chocolate intensity. Dutch-processed cocoa gives a darker, smoother taste; natural cocoa works too, just adjust leavening slightly.
- Vanilla extract: Adds warmth and depth, enhancing the chocolate flavor. Pure vanilla extract always tastes better than imitation.
- Coarse sea salt: Sprinkled lightly on top before baking, it enhances the chocolate flavor and gives a perfect sweet-salty contrast.
- Baking soda: Helps with a little lift and keeps the texture soft. Don’t skip it unless you’re okay with a very dense brownie.
Tips To Get Your Recipe Right
- Mix the sugar well: Stir the sugar into the warm melted butter and eggs until the mixture looks smooth and slightly glossy. This step helps create a thin, shiny layer on top after baking. Once you add the flour, mix gently with a spatula so the brownies stay dense and moist.
- Melt the chocolate slowly: Use gentle heat when melting the chocolate and make sure the bowl does not touch the hot water. Remove it from the heat while a few small pieces are still visible, then stir until fully smooth. This keeps the batter silky and prevents a grainy texture.
- Measure the flour carefully: Lightly spoon the flour into your measuring cup and level it off with a knife. Adding too much flour can make brownies dry and more cake-like. The batter should look thick and rich but still easy to spread in the pan.
- Check early to avoid overbaking: Start testing the brownies a few minutes before the suggested baking time. Insert a toothpick into the center. It should come out with a few moist crumbs, not completely clean. The brownies will continue to cook slightly after you remove them from the oven.
- Let them cool before cutting: Allow the brownies to cool fully in the pan so they can set properly. Cutting them too soon can make them messy and crumbly. For an extra dense and fudgy texture, you can chill them in the fridge before serving.
Storage Tips
- Room temperature storage: Keep cooled brownies in an airtight container for up to 4 days, layering with parchment to prevent sticking and preserve the crackly top.
- Refrigeration: Wrap tightly in plastic and store up to a week. Chilling firms the chocolate and butter, giving a dense, truffle-like texture.
- Freezing: Individually wrap squares in plastic, place in a freezer bag, and freeze up to 3 months. Thaw at room temperature for 30 minutes.
- Reheating: Warm individual squares in the microwave for 10–15 seconds, or a whole tray at 300°F (150°C) for 5–8 minutes. For extra gooey edges, briefly sear in a skillet.
- Storage mistakes to avoid: Never seal warm brownies, avoid direct foil contact, and don’t store with fresh bread to prevent soggy or dry bars.
FAQs
Why did my brownies turn out cakey instead of fudgy?
This usually happens for two reasons: over-mixing or too much flour. When you whisk the batter excessively after adding the flour, you develop gluten and incorporate air, both of which create a bread-like structure. Additionally, if you “scoop” your flour directly with a measuring cup, you likely packed too much into the cup. For a fudgy result, always use a light hand when folding and measure flour by spooning it into the cup and leveling it off.
How do I get those perfectly clean, sharp edges when I slice them?
The secret is patience and a hot knife. Never slice brownies while they are warm; the fats are still liquid, and the knife will just tear through the center. Let them cool completely (or even chill them in the fridge for an hour). When ready, dip a large sharp knife into hot water, wipe it dry, and make one clean slice. Repeat the dip and wipe process for every single cut to ensure a bakery-standard finish.
Can I use cocoa powder alone instead of melting chocolate chips?
While you can, the texture will change significantly. Melting actual chocolate chips provides cocoa butter and extra fats that create the fudge factor. Cocoa powder alone tends to create a lighter, more airy brownie. This recipe uses both to give you the best of both worlds: the deep flavor of cocoa and the dense, melt-in-your-mouth quality of melted chocolate.
My brownies have a dull top instead of a shiny, crackled one.
What happened? The crackle top is essentially a thin layer of meringue. To get it, you must ensure the sugar is fully dissolved. If your eggs were cold or if you didn’t whisk the sugar into the warm butter/egg mixture long enough, the sugar stays granulated. Next time, try whisking the sugar and eggs together for a full minute until the mixture looks slightly pale and frothy before adding the other ingredients.
Is the baking soda really necessary for fudgy brownies?
Yes, but not for the reason you think! While baking soda is a leavener, in this recipe, it’s used in a very small amount to neutralize the acidity of the cocoa powder. This helps darken the color of the brownies and ensures the chocolate flavor is smooth rather than sharp or tangy. It provides just a tiny bit of “lift” so the brownies aren’t too heavy, while still maintaining that dense, fudgy core.

Fudgy Chocolate Brownies
16
servings10
minutes25
minutesThese fudgy chocolate brownies are rich, dense, and perfectly chocolatey.
Ingredients
2 ¼ cups semi-sweet chocolate chips or small chunks
2 cups all-purpose flour
2 sticks melted unsalted butter
1 ½ cups sugar
4 large eggs
⅓ cup cocoa powder
2 teaspoons vanilla
1 teaspoon coarse sea salt
1 teaspoon baking soda
Directions
- Fill a saucepan about a quarter of the way with water and bring it to a gentle simmer. Place a large metal bowl over the pot (making sure the bottom of the bowl doesn’t touch the water).
- Add 2 cups of your chocolate chips or chunks to the bowl. Stir occasionally with a rubber spatula until the chocolate is completely smooth and liquid. Remove from heat and set aside.
- In a separate large mixing bowl, whisk together the eggs and the 2 sticks of melted butter.
- Incorporate the sugar, vanilla, and salt. Whisk until the mixture is uniform, but be careful not to over-aerate the batter—we want fudgy brownies, not cakey ones!
- Sift the flour, cocoa powder, and baking soda directly into your egg and sugar mixture.
- Switch to a rubber spatula and gently fold the dry ingredients into the wet base until just combined.
- Pour the warm, melted chocolate into the batter. Fold everything together gently until you have a rich, dark, and glossy brownie batter.
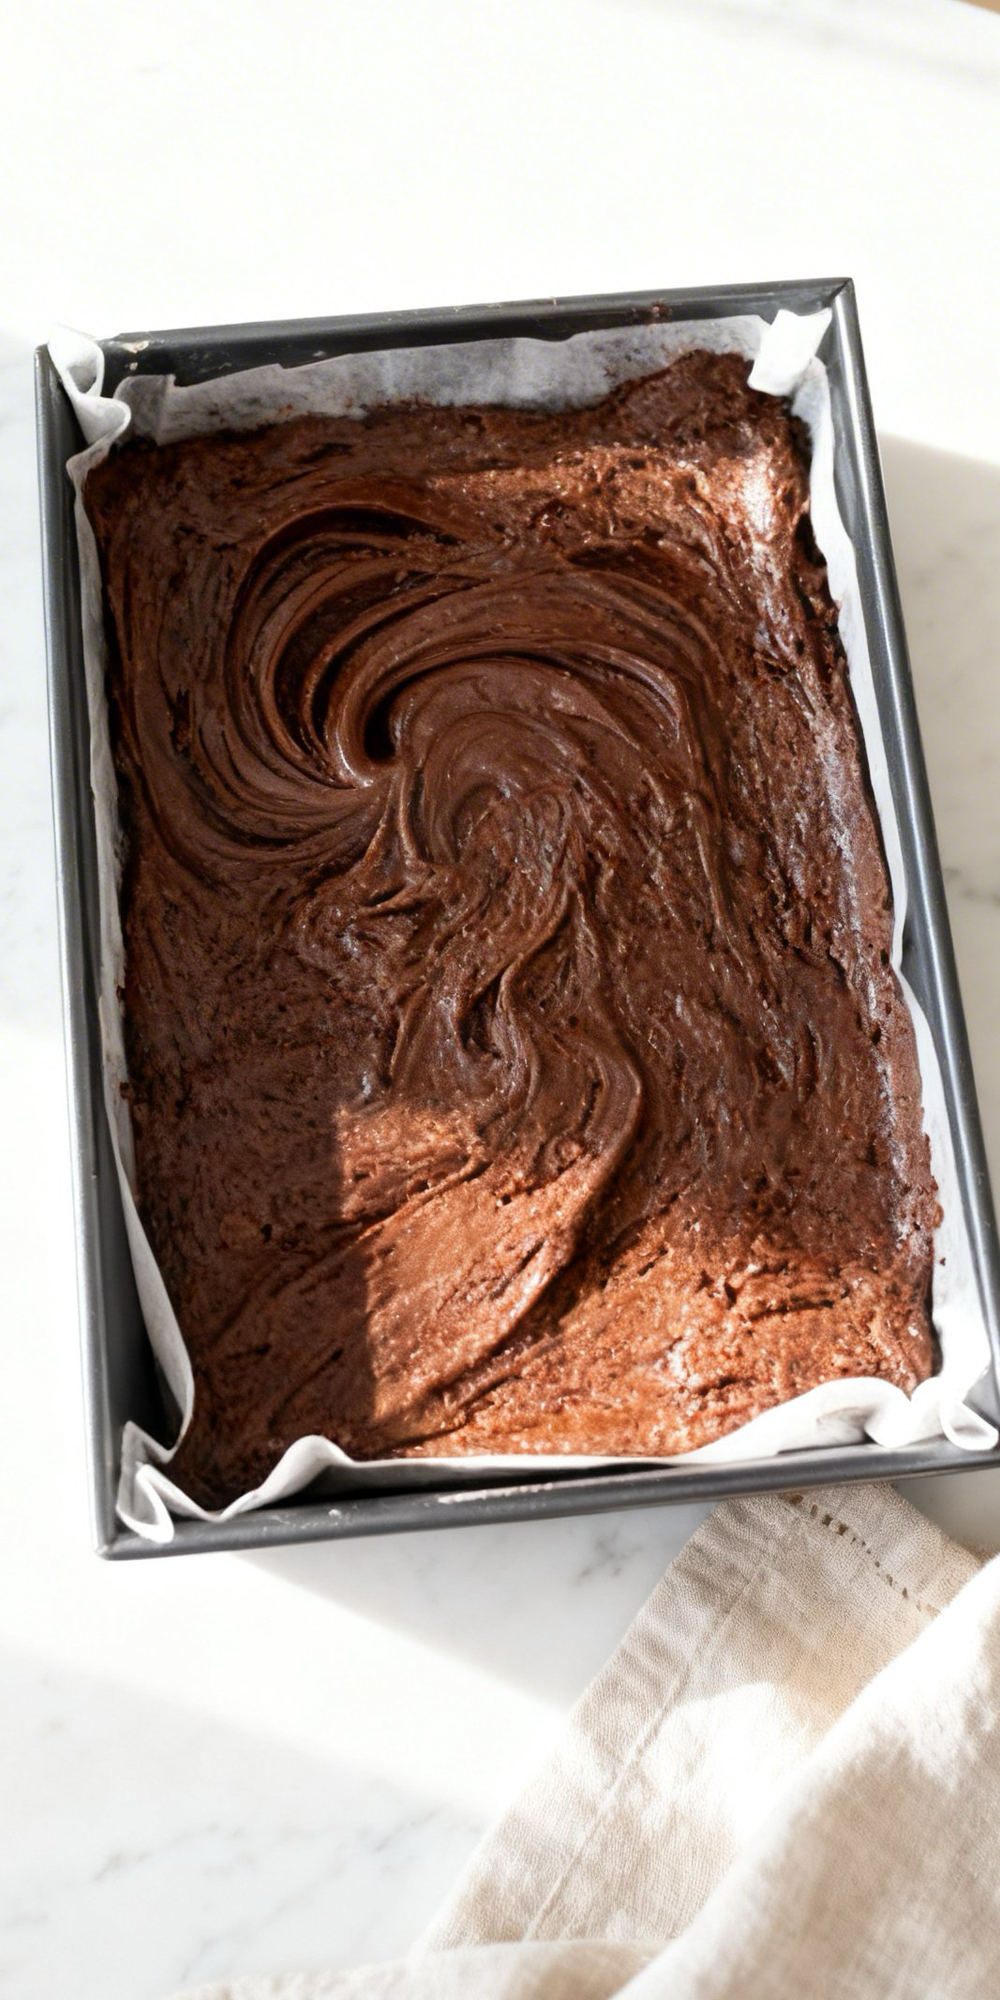
- Lightly butter a 13×9-inch baking dish, then line it with a sheet of parchment paper, ensuring it covers the bottom and sides for easy removal later.
- Pour the batter into the prepared pan. Use your spatula to smooth the surface so the brownies bake evenly.
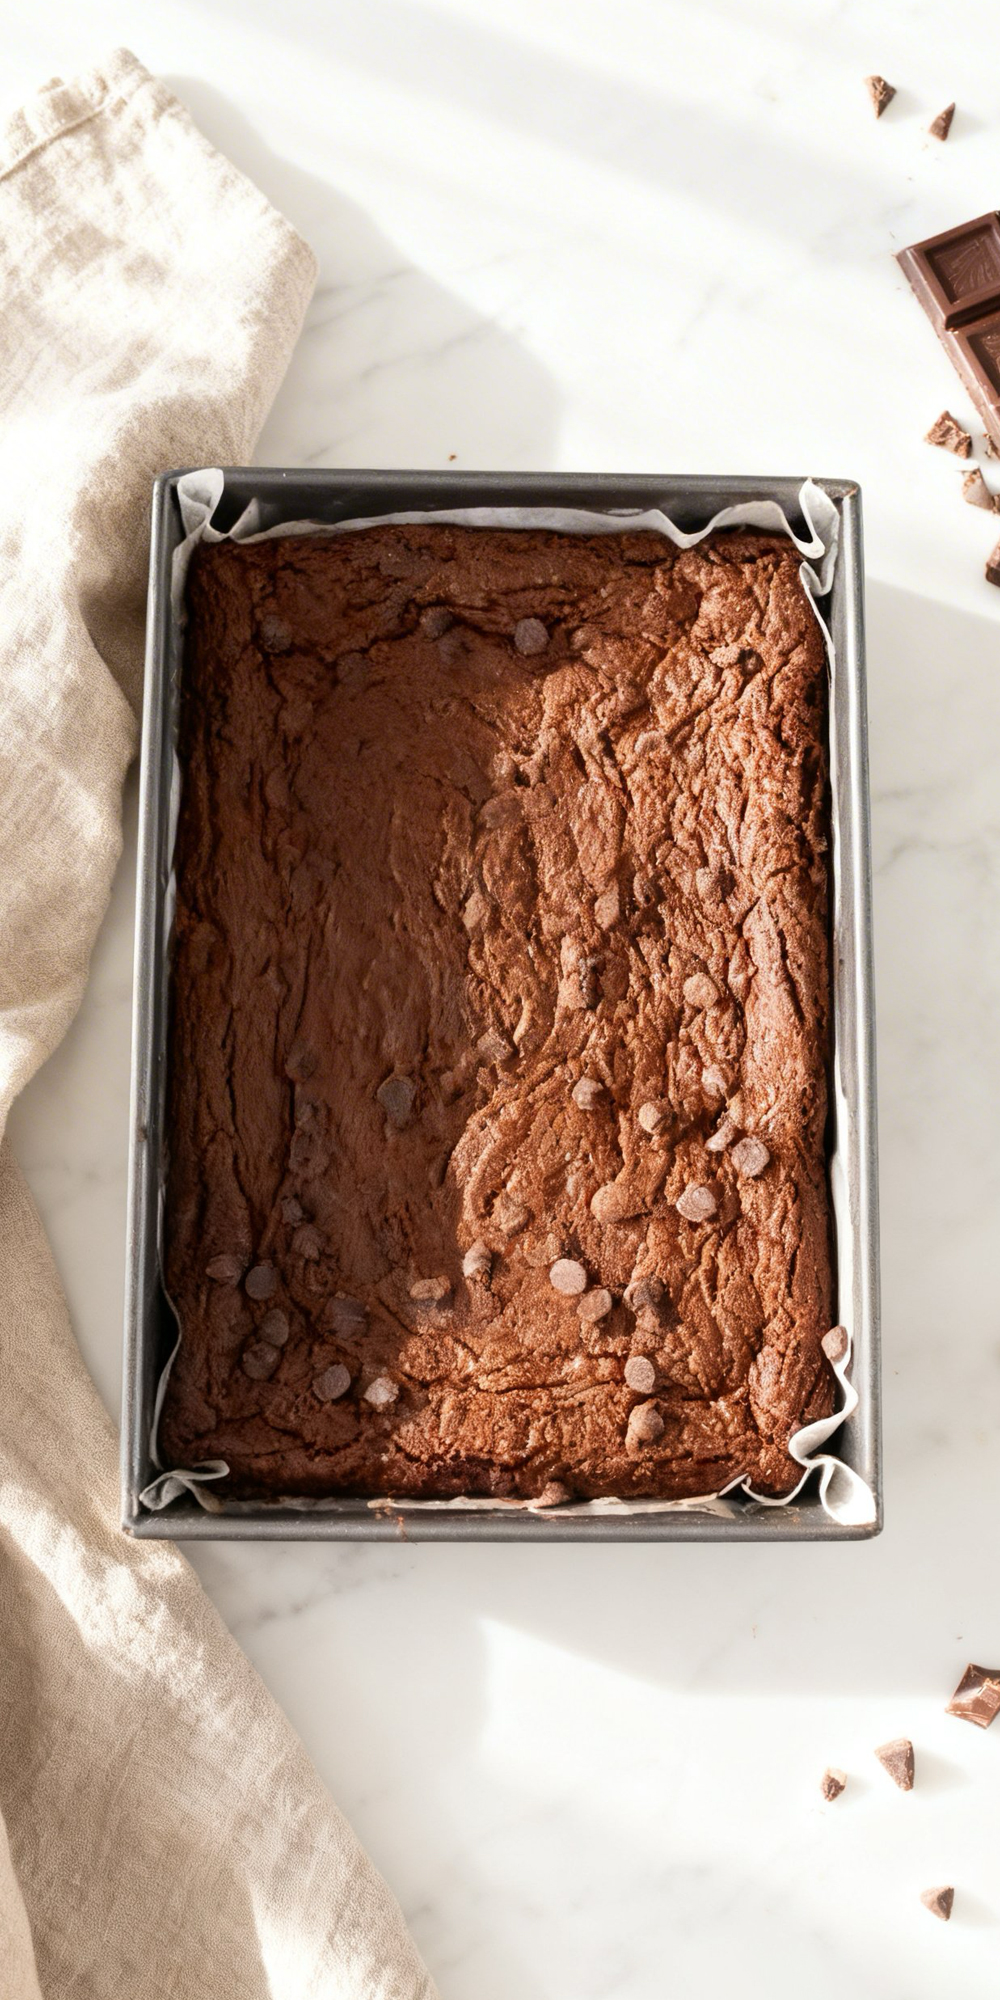
- Place in a preheated oven at 350°F (180°C). Bake for exactly 25 minutes to ensure the center stays perfectly fudgy.
- Immediately after taking the pan out of the oven, scatter the remaining ¼ cup of chocolate chips over the hot surface. They will soften and melt slightly, adding another layer of texture.
- Allow the brownies to cool in the pan for 25 to 30 minutes. This resting period is crucial—it allows the internal structure to set so you can cut clean, sharp squares.