Who doesn’t love the smell of warm apples and cinnamon filling the kitchen?
This classic apple pie brings that comforting, nostalgic feeling to life with a buttery, flaky crust and tender, spiced apple filling.
Each slice balances sweetness with a hint of tartness, creating a dessert that feels both timeless and irresistible.
Perfect for family gatherings, casual dinners, or just a cozy night in, baking a classic apple pie at home is easier than it looks.
A simple crust, fresh apples, and a sprinkle of cinnamon are all you need to create a dessert that will instantly become a favorite.
Let’s get to baking!
Why You’ll Love This Recipe
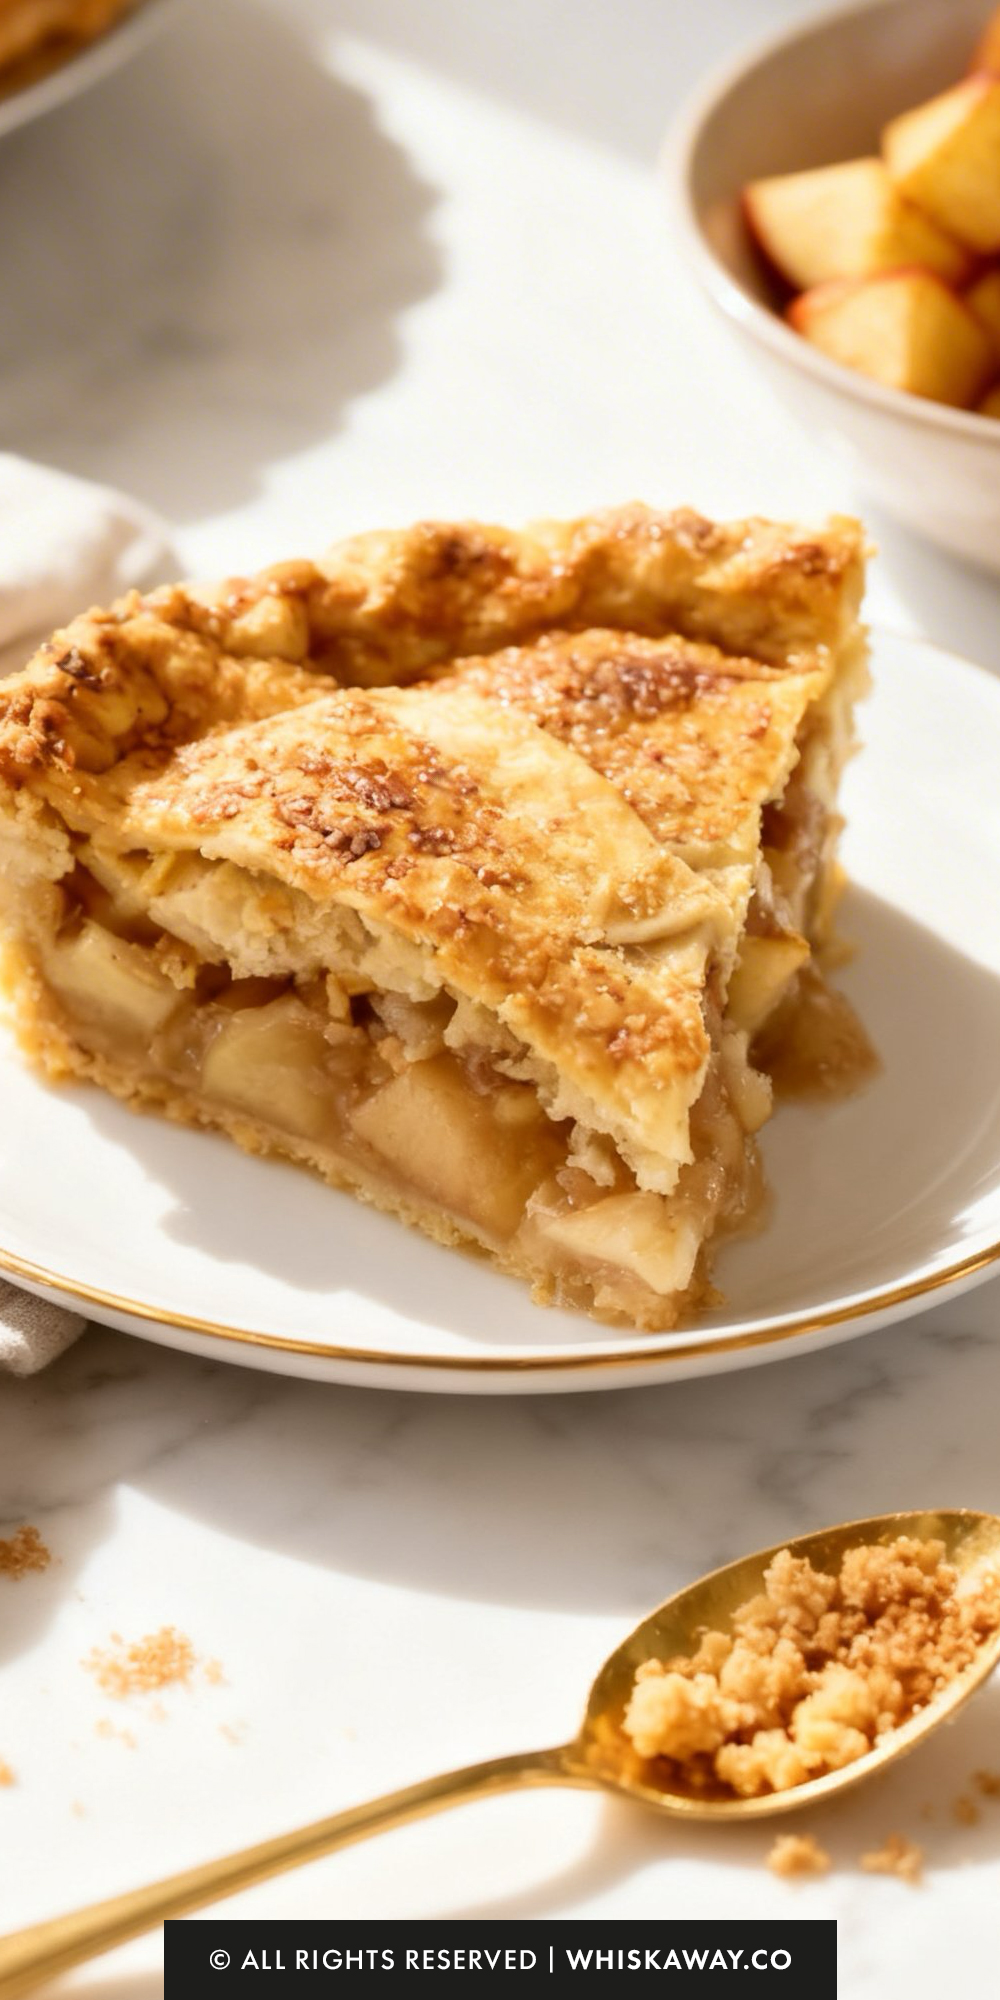
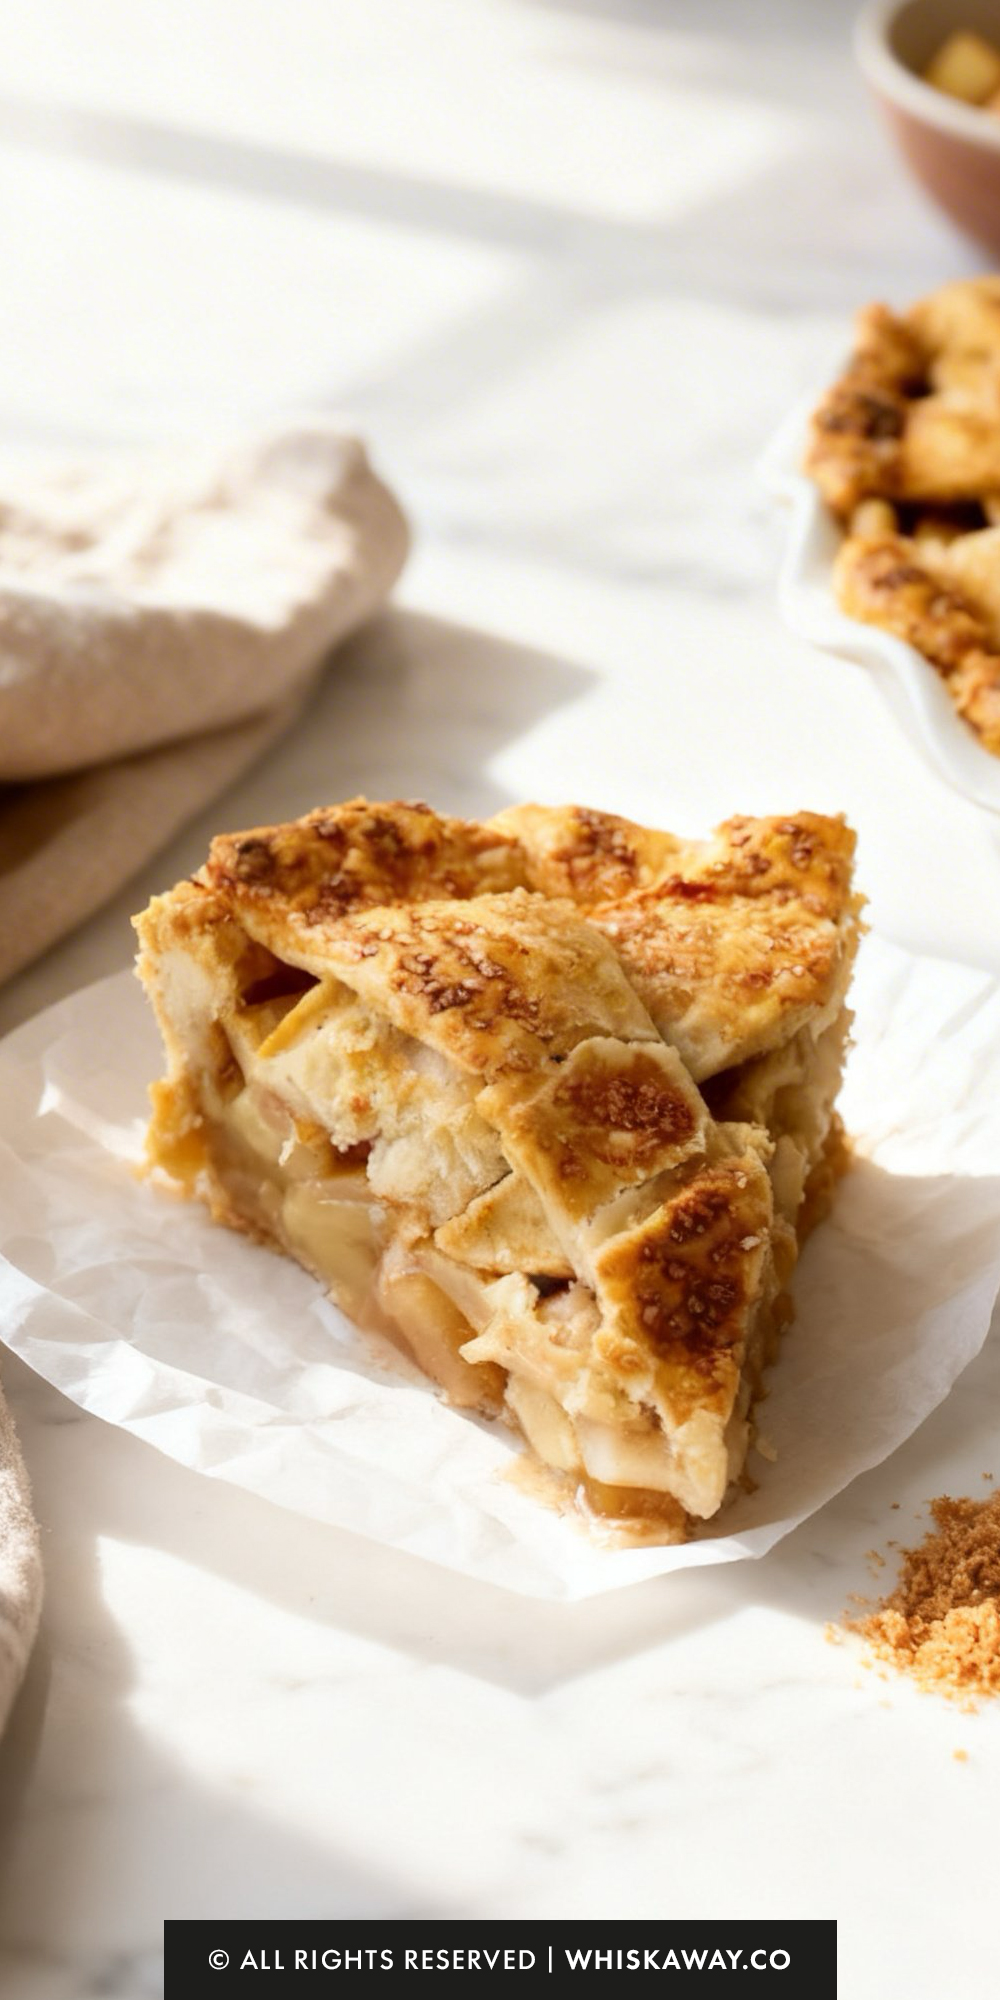
A properly executed classic apple pie is all about structure and balance: apples that hold their shape, juices that thicken into a glossy filling instead of running, and a crust that shatters slightly under the fork before giving way to tender fruit.
What Makes Them Special
- Uses firm baking apples that stay intact rather than turning mushy
- Balanced sugar-to-acid ratio so the filling tastes bright, not flat
- Thickened juices create clean slices instead of a soupy base
- Double crust locks in moisture while delivering flaky layers
- The spiced aroma (cinnamon + baked apples) creates that unmistakable “fresh from the oven” appeal
Save This Pin for Later to Your Pinterest Board

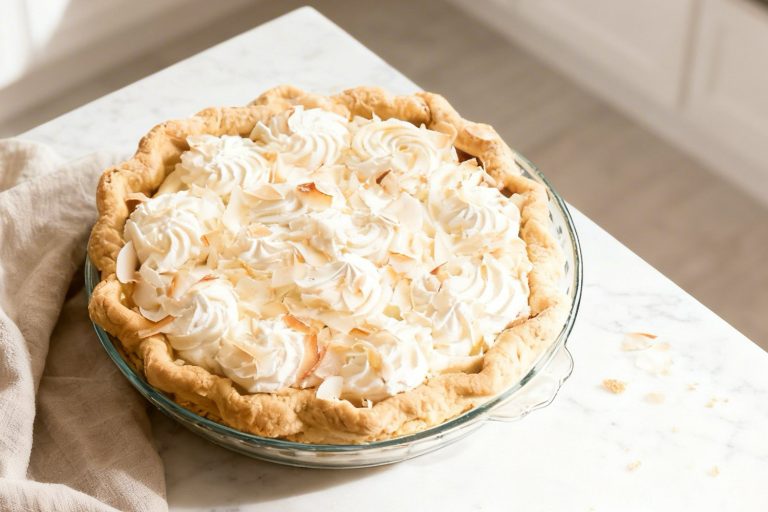
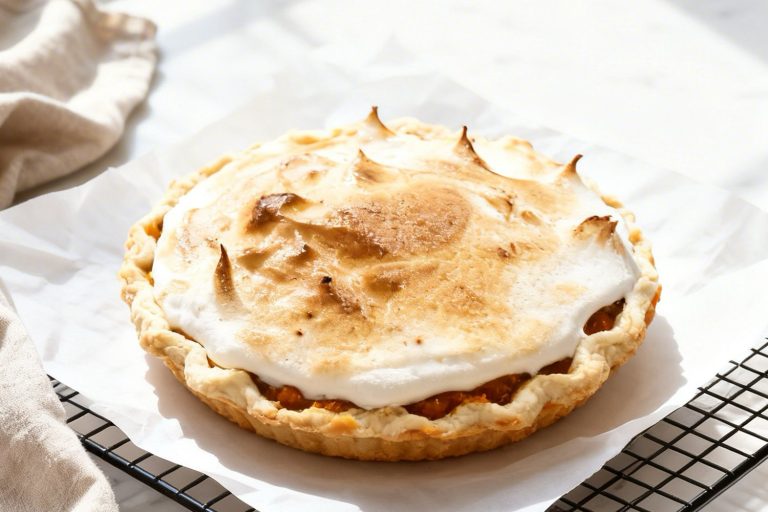
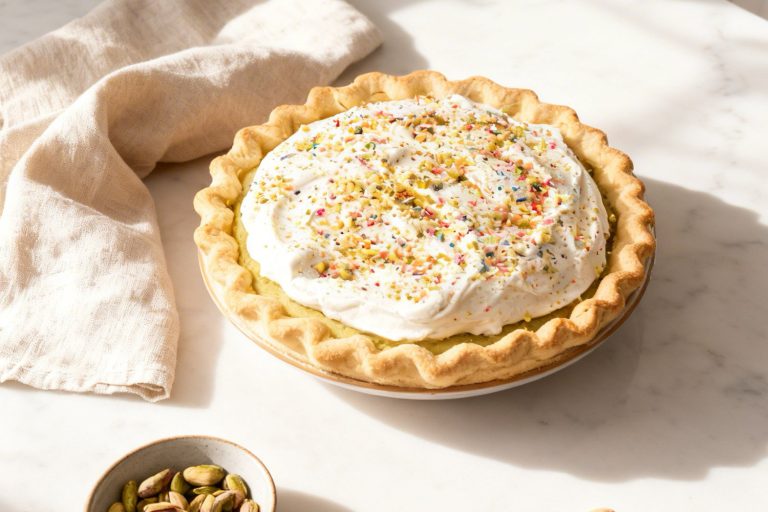
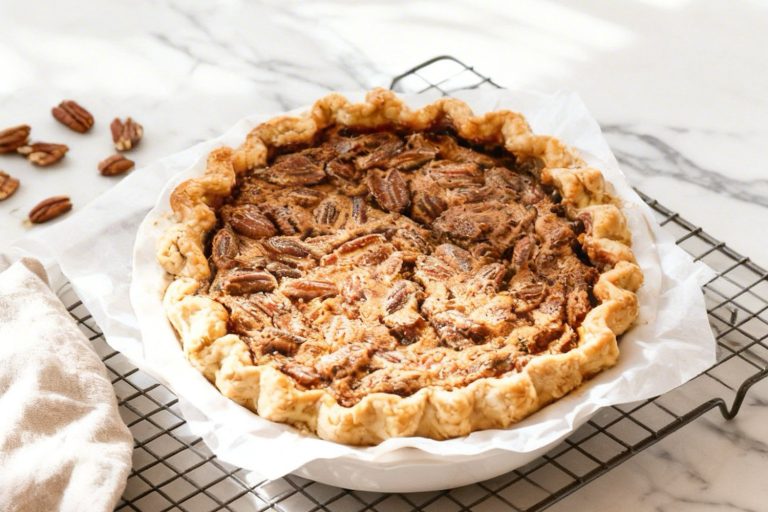
🔥 If you love warm, spiced fruit desserts with a flaky crust, you’ll want to explore these favorites next:
How to Get Your Classic Apple Pie Just Right
A perfect apple pie is a masterpiece of textures: a shatteringly crisp crust and a tender, jammy filling that stays in place when sliced.
Achieving this requires a bit of science and some strategic moisture management.
Here is how to ensure your pie is the star of the table.
1. The “Secret” Apple Blend
The Tip: Never use just one type of apple.
For the best flavor and texture, use a mix of tart, firm apples (like Granny Smith) and sweet, aromatic apples (like Honeycrisp, Braeburn, or Pink Lady).
Granny Smiths hold their shape and provide acidity, while the sweeter varieties break down slightly to create a thick, luscious sauce.
2. Avoid the “Soggy Bottom”
The Mistake: Pouring all the apple juices from the bowl into the crust.
As mentioned in the instructions, let the apples sit for 20 minutes and then use a slotted spoon to fill the pie.
The sugar draws out excess water from the fruit; if that liquid goes into the crust, it will boil and turn the dough into mush.
Placing the pie on the lower third rack ensures the bottom crust gets the most direct heat, helping it sear and crisp up before the fruit releases its steam.
3. Cold is Your Best Friend
The Rule: Keep your dough cold at every stage.
The flaky layers in a pie crust come from solid bits of butter melting and creating steam pockets in the oven.
If your dough gets warm while you are rolling it, the butter melts into the flour, resulting in a tough, cracker-like crust.
If the dough feels soft, pop it back in the fridge for 10 minutes.
4. The “Vent” Requirement
The Mistake: Forgetting to cut slits in a solid top crust.
As apples cook, they release a significant amount of steam. If that steam has nowhere to go, it will either bloat the top crust or turn the filling into soup.
If you aren’t making a lattice, ensure you cut at least 4 large slits in the center to allow that moisture to escape.
5. The Patience Test (Cooling)
The Hardest Part: Waiting for the pie to cool completely (at least 3–4 hours).
When the pie comes out of the oven, the filling is still liquid. As it cools, the starches in the flour and the natural pectin in the apples thicken and “set.”
If you cut into a hot pie, the filling will run out, leaving you with a hollow crust and a mess on the plate.
6. Watch the Browning
Keep a “pie shield” or a ring of aluminum foil handy.
Because this pie bakes for nearly an hour, the crimped edges often brown much faster than the center.
Check the pie at the 30-minute mark; if the edges are dark golden, cover them loosely with foil to prevent burning while the rest of the pie finishes.
Easy Baking Tips That Have Worked for Me
- Slice apples evenly (about ¼ inch thick). Uneven slices bake at different speeds and create gaps inside the pie.
- Toss apples with sugar and let them sit 20–30 minutes, then drain excess liquid before filling the crust. This prevents a watery bottom.
- Mix your thickener (flour or cornstarch) thoroughly into the apples. Don’t sprinkle it into the crust. Clumps cause patchy thickening.
- Bake until the filling is visibly bubbling in the center, not just at the edges. Bubbling activates the thickener fully.
- Let the pie cool at least 3–4 hours before slicing. Cutting early guarantees runny filling.
Variation Tips
A classic apple pie is a wonderful foundation for experimentation.
Whether you want to add a modern twist to the spices or need to adapt the recipe for specific dietary needs, here are several ways to customize your bake.
1. The “Salted Caramel” Apple Pie
For those who love a deeper, richer sweetness:
Replace the granulated sugar in the filling with an equal amount of brown sugar.
After the pie has cooled for about an hour, drizzle the top with a high-quality salted caramel sauce. This adds a decadent, buttery layer that pairs perfectly with tart apples.
2. The “Dutch” Crumble Top
If you prefer a crunchy texture over a traditional pastry lid:
Skip the second pie crust. Instead, mix 1 cup flour, 1/2 cup brown sugar, and 1/2 cup cold butter into a crumbly texture.
This “streusel” topping adds a cookie-like crunch and is much easier for beginners than weaving a lattice.
3. Fragrant Herb & Citrus Notes
Elevate the sophisticated side of the apple flavor:
Add 1 teaspoon of freshly grated lemon or orange zest to the filling.
Stir in 1/2 teaspoon of finely chopped fresh thyme or rosemary. It sounds unusual, but the piney notes of the herbs beautifully cut through the sweetness of the fruit.

4. The “Cheddar Crust” Tradition
A nod to the classic Vermont and English tradition:
Fold 1/2 cup of finely shredded sharp cheddar cheese into your pie dough before rolling it out.
The salty, sharp cheese melts into the crust, creating a savory-sweet balance that makes the apple flavor pop.
5. Dietary Adaptations
Vegan / Dairy-Free:
- Use a vegan-certified store-bought crust or a homemade version using chilled coconut oil or vegan butter sticks.
- Swap the tablespoon of butter for vegan butter or omit it entirely.
- Replace the egg and milk with a mixture of 1 tablespoon maple syrup and 1 tablespoon almond milk. This provides a beautiful golden glaze and a slight sweetness.
Gluten-Free:
- Use a 1:1 Gluten-Free Baking Flour for the filling thickener.
- Use a gluten-free pie crust recipe or a frozen pre-made GF crust. Since the filling is naturally gluten-free (just swap the 1/4 cup flour), this is an easy transition.
Refined Sugar-Free:
- Replace both sugars with coconut sugar or monk fruit sweetener.
- If using a liquid sweetener like maple syrup, increase the flour in the filling by 1 tablespoon to account for the extra moisture.
How to Properly Store Your Classic Apple Pie
A fruit pie is a living thing, even after it leaves the oven, the apples continue to release moisture. Proper storage is the difference between a pie that stays crisp for days and one that becomes a soggy mess.
1. Room Temperature (Best for the First 24 Hours)
Duration: 2 days.
If you plan to finish the pie quickly, keep it on the counter. Once it is completely cool, cover it loosely with plastic wrap or aluminum foil.
Room temperature storage helps maintain the “shatter” of the crust. If the environment is too humid, however, the sugars in the crust will begin to attract moisture, so keep it in a cool, dry spot.
2. Refrigeration (For Longer Freshness)
Duration: Up to 5 days.
After the second day, move the pie to the fridge. The sugar and fruit acids will keep the apples from spoiling, but the cold environment is safer for long-term storage.
Wrap the pie plate tightly in plastic wrap to prevent the crust from absorbing “fridge smells” like onions or garlic.
3. Freezing (The Long-Term Solution)
Duration: Up to 4 months.
Wrap the fully cooled pie (or individual slices) in a double layer of plastic wrap, followed by a layer of heavy-duty aluminum foil.
For best results, thaw the pie overnight in the refrigerator. Never thaw a fruit pie at room temperature, as the sudden temperature change causes the crust to absorb the thawing fruit juices, resulting in a soggy bottom.
4. How to Reheat for the Best Texture
Reheating is the secret to making a three-day-old pie taste like it just came out of the oven.
The Oven (Highly Recommended): Place the pie (or slice) on a baking sheet and heat at 350°F (175°C) for 10–15 minutes. This recrisps the butter in the crust and thins out the apple filling.
The Microwave (Use with Caution): Only use the microwave if you are in a rush. Heat for 30–45 seconds.
Note that the microwave will soften the crust significantly, so you’ll lose that signature crunch.
The Air Fryer (The Modern Hack): For a single slice, place it in the air fryer at 325°F (160°C) for 3–4 minutes. It’s the fastest way to get a perfectly crisp crust and warm center.
5. Storage Mistakes to Avoid
Wrapping While Warm: This is the #1 cause of a ruined pie. If you wrap a warm pie, the trapped steam will condense on the underside of the plastic and rain back down onto the crust, turning it into a gummy paste.
The “Naked” Fridge Storage: Never leave an uncovered pie in the fridge. Fridge air is very dry and will strip the moisture from the apples while simultaneously making the crust taste like whatever else is in your refrigerator.
Freezing “Wet” Pies: If your pie was particularly juicy/runny when you cut it, it won’t freeze well. The high water content in the filling will expand into ice crystals, which break down the fruit even further, leading to a very mushy pie once thawed.
FAQs
Which apples are truly the best for pie?
For the best results, use a combination of apples rather than just one variety. Aim for a 50/50 split between tart, firm apples (like Granny Smith or Northern Spy) and sweet, aromatic apples (like Honeycrisp, Braeburn, or Pink Lady). This mix ensures your pie has a complex flavor and a filling that is both tender and holds its shape.
How do I prevent the dreaded “soggy bottom” crust?
The most effective way to avoid a soggy base is to bake your pie in the lower third of the oven on a preheated baking sheet or a pizza stone. This delivers immediate, intense heat to the bottom crust, searing it before the apple juices can soak in. Additionally, using a slotted spoon to transfer your fruit—leaving the excess liquid in the bowl—is essential.
Do I really have to wait 3 to 4 hours for it to cool?
Yes! While a warm slice of pie is tempting, the filling needs time to “set.” When the pie is hot, the juices are liquid. As it cools to room temperature, the starches (flour) and natural pectin in the apples thicken. If you cut it too early, the filling will run out, leaving the rest of the pie messy and the bottom crust damp.
Should I pre-cook the apple filling before baking?
This recipe uses the “maceration” method (letting the apples sit in sugar and spices), which is classic and easier. Pre-cooking the filling on the stove is an alternative that guarantees no “gap” between the crust and the fruit, but it can result in a softer, more jam-like texture. For a traditional pie with a bit of “bite” to the apples, stick to the maceration method provided.
Can I use a store-bought crust instead of making one from scratch?
Absolutely. If you are using a store-bought crust, look for the refrigerated rolled-up versions rather than the frozen ones already in a tin. This allows you to roll them out slightly thinner and use your own deep-dish pie plate, which usually results in a better ratio of filling to crust. Just make sure the dough is very cold before it goes into the oven.
Classic Apple Pie
8
Slices45
minutes55
minutesThis classic apple pie recipe is perfectly balanced with sweet, tender apples and a buttery, flaky crust.
Ingredients
7 cups (840 grams) sliced apples (peeled, cored, and sliced into 1/4-inch slices)
2 pie crusts (homemade or store-bought)
1/2 cup (100 grams) granulated sugar
1/4 cup (50 grams) light brown sugar, packed
1 large egg
1/4 cup (32 grams) all-purpose flour (spooned & leveled)
1 tablespoon (15 ml) fresh lemon juice
1 tablespoon (15 grams) butter, cut into pieces
1 tablespoon milk
1 teaspoon ground cinnamon
1/4 teaspoon ground nutmeg
Coarse sugar for sprinkling on top (optional)
Directions
- Start by preheating your oven to 400°F (204°C). Position your oven rack in the lower third of the oven; this placement is key to ensuring the bottom crust bakes thoroughly and turns golden brown.
- Place your sliced apples in a large mixing bowl and drizzle them with lemon juice. Toss the fruit well until every slice is lightly coated.
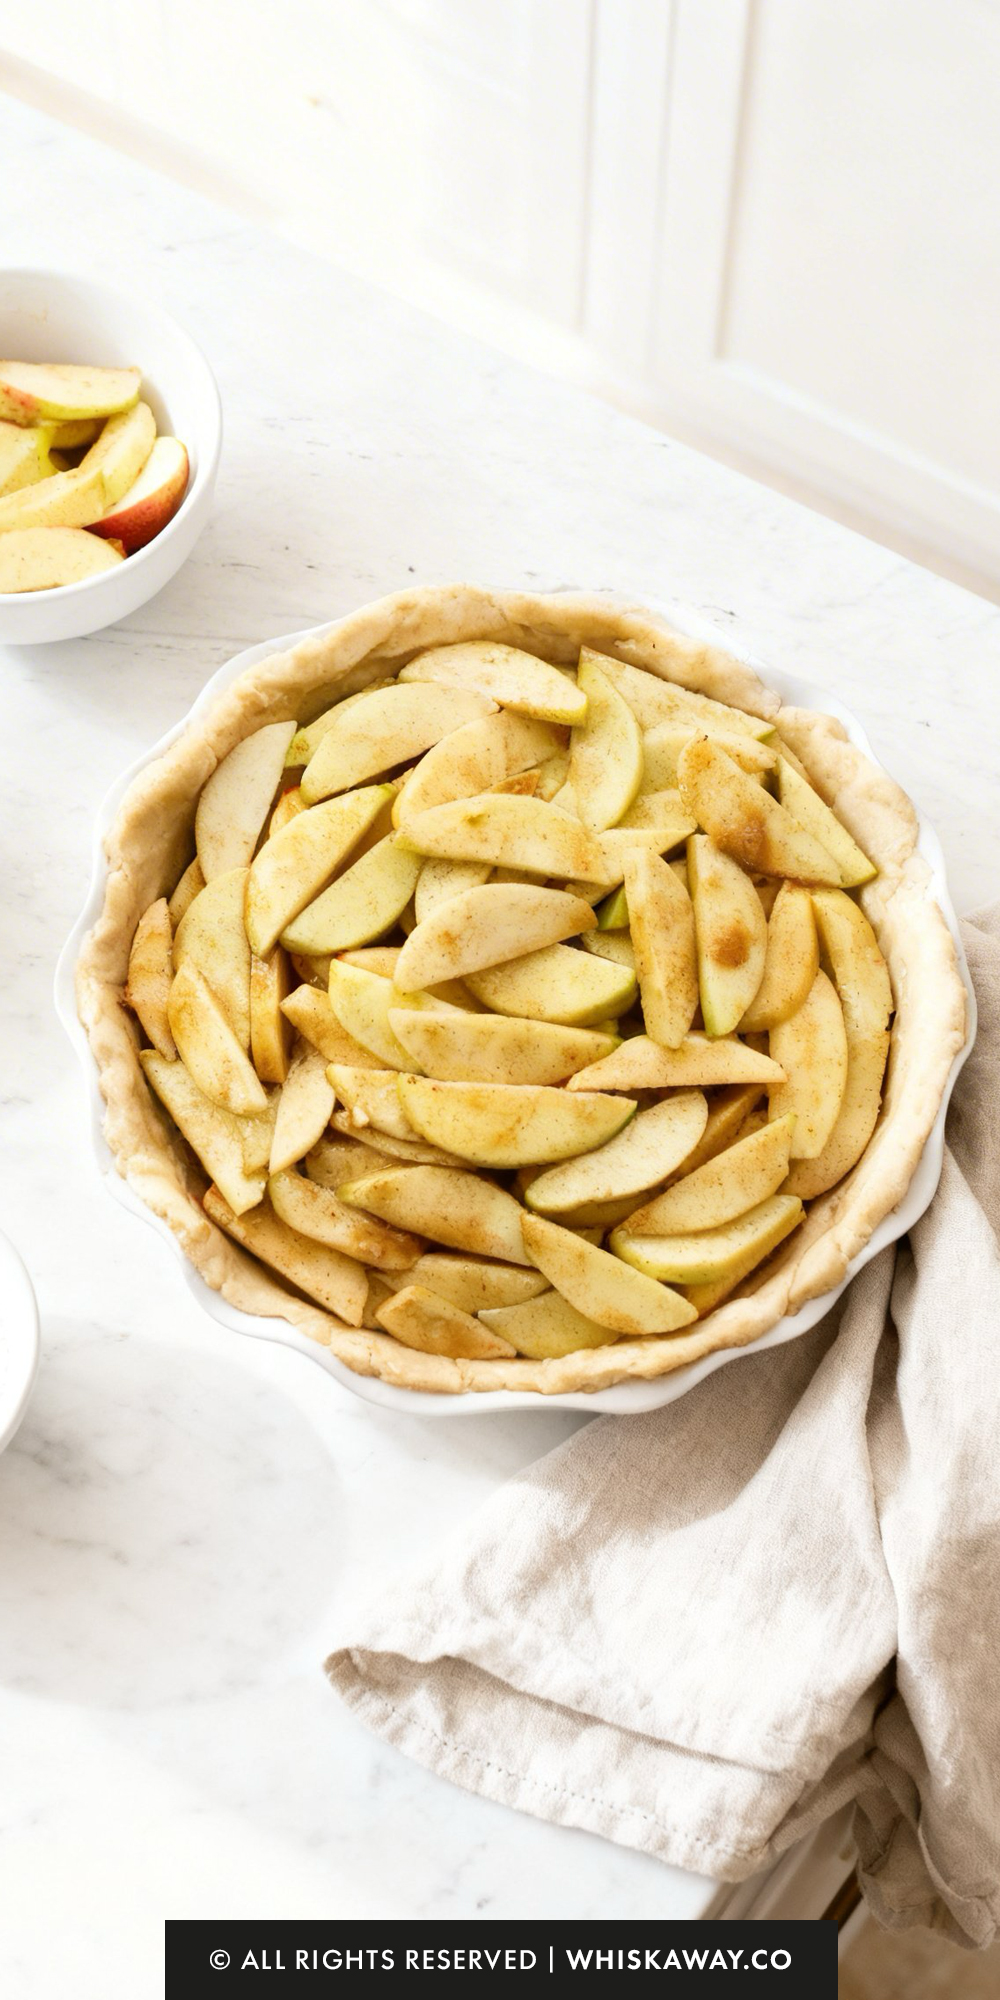
- In a separate bowl, whisk together the granulated sugar, light brown sugar, flour, cinnamon, and nutmeg. Pour this spice mixture over the apples and stir until the fruit is completely coated. Let the apples rest for 15 to 20 minutes. This allows the sugars to draw out excess moisture, which prevents a soggy crust later.
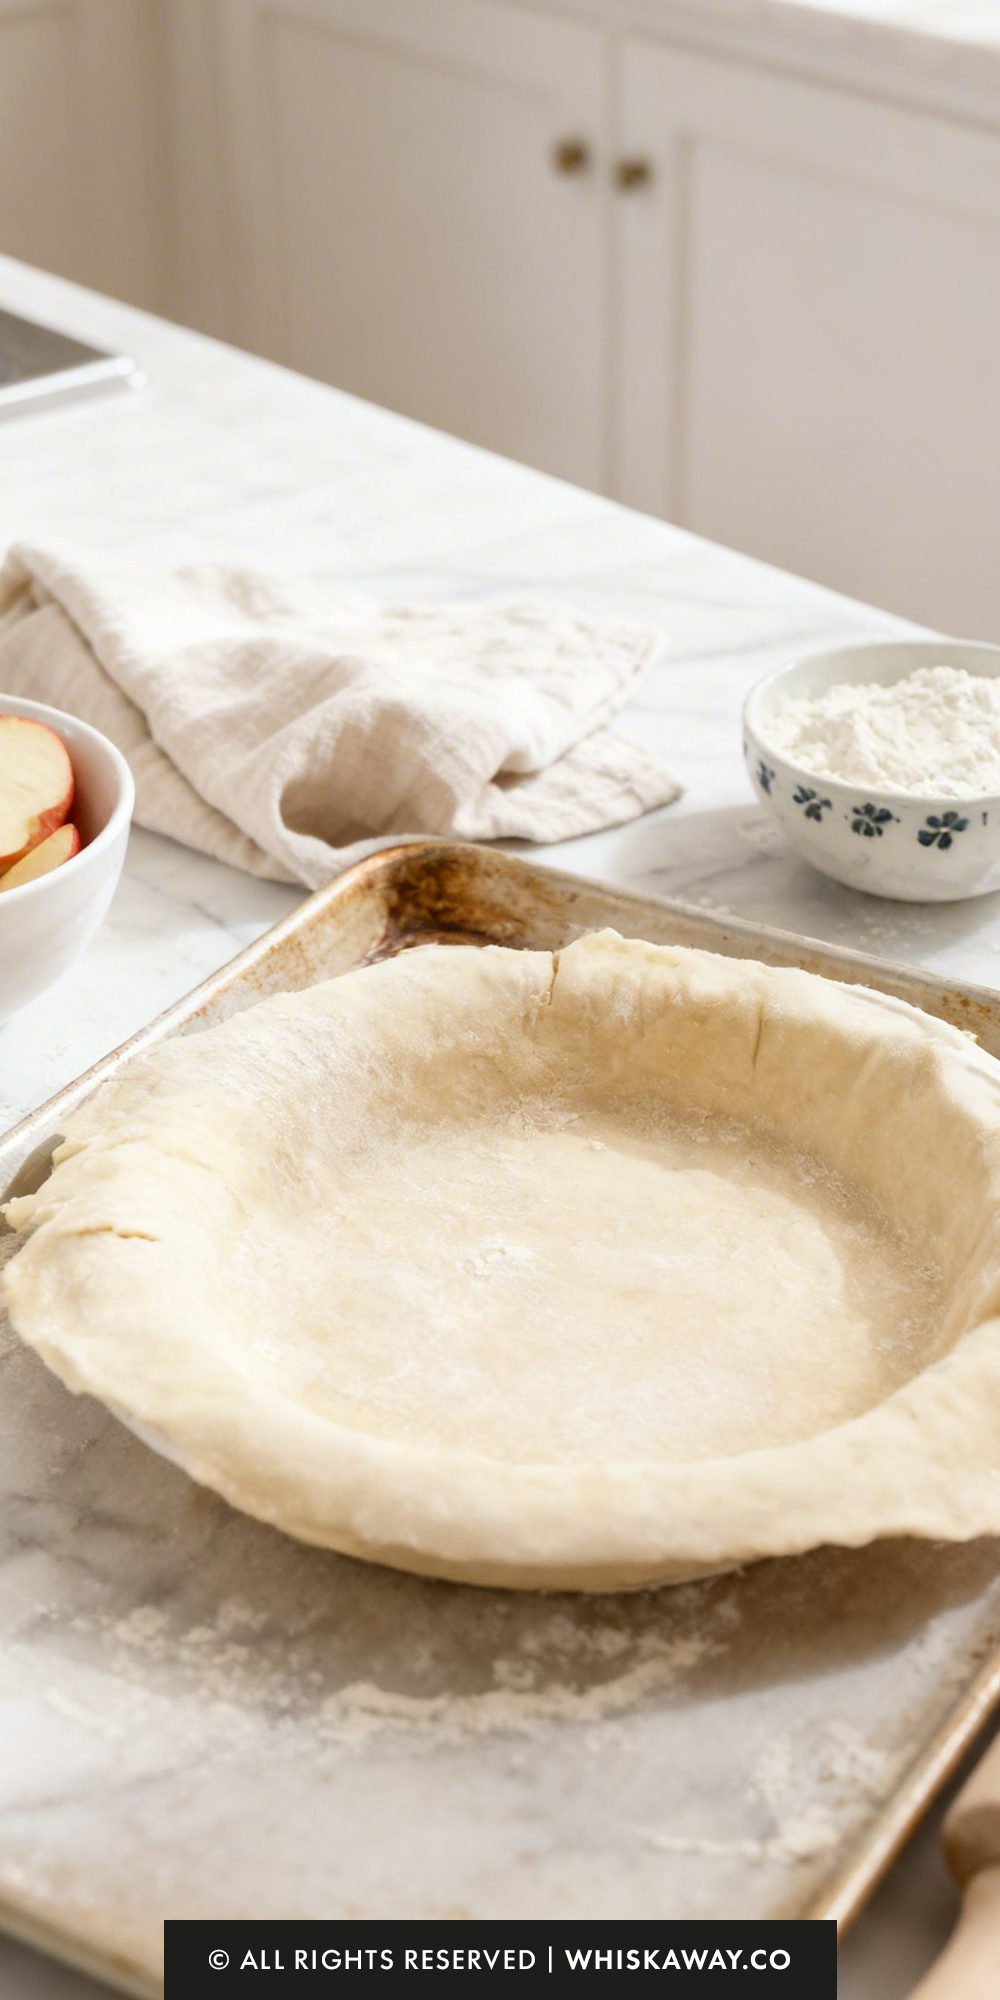
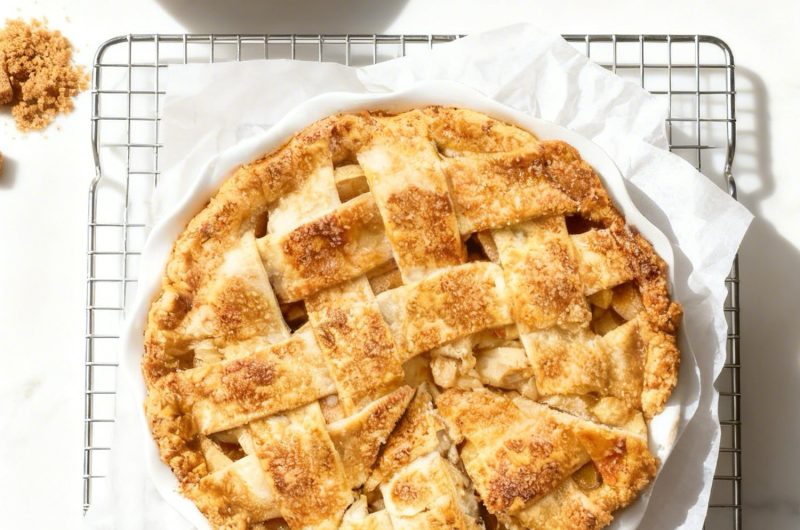
- Roll out your first pie crust until it reaches a 12-inch diameter. Gently drape it over a 9-inch pie plate, pressing it into the bottom and sides without stretching the dough. Trim any excess hanging over the edge, then place the dish in the refrigerator to keep the fats cold. Roll out your second crust and decide on your top: you can cut it into strips for a lattice design, use decorative cutouts, or keep it as a solid sheet.
- Retrieve the pie plate from the fridge. Use a slotted spoon to move the apples into the crust, leaving the pooled liquid behind in the bowl (this prevents a "soupy" pie). Level the apples out and scatter the butter pieces over the top. Place your top crust over the fruit and seal the edges by crimping them. If using a solid top crust, be sure to cut several slits to allow steam to vent.
- In a small bowl, whisk the egg and milk together. Lightly brush this egg wash over the top of the pie and along the crimped edges. For a professional finish and extra crunch, sprinkle with a layer of coarse sugar.
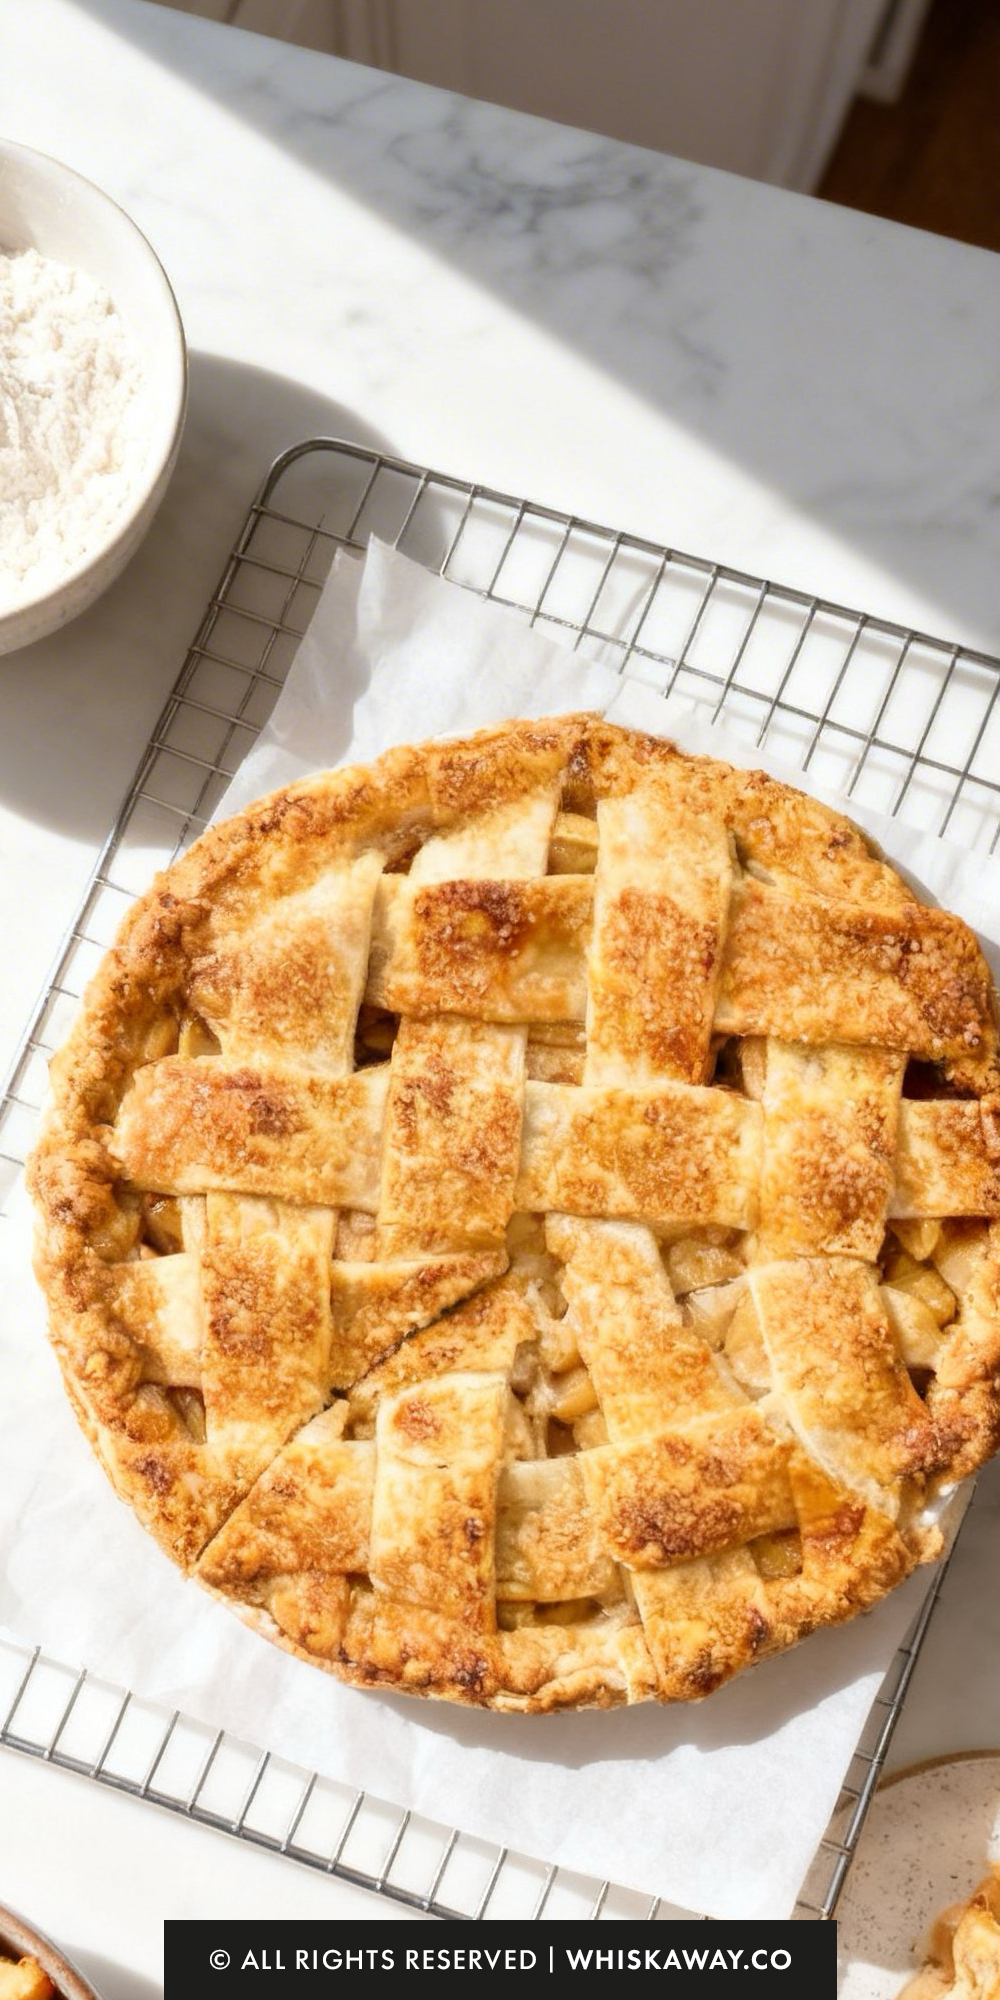
- Place the pie in the lower third of the oven. Bake at 400°F (204°C) for the first 20 minutes. Then, lower the oven temperature to 375°F (190°C) and continue baking for 35 to 40 minutes. You are looking for a deep golden crust and filling that is bubbling through the vents.
- Note: if the edges or the top start browning too quickly, loosely cover them with a pie shield or aluminum foil.
- Remove the pie from the oven and let it rest on a wire rack until it has cooled completely. This cooling period is vital, as it allows the fruit starches to thicken so the slices hold their shape.