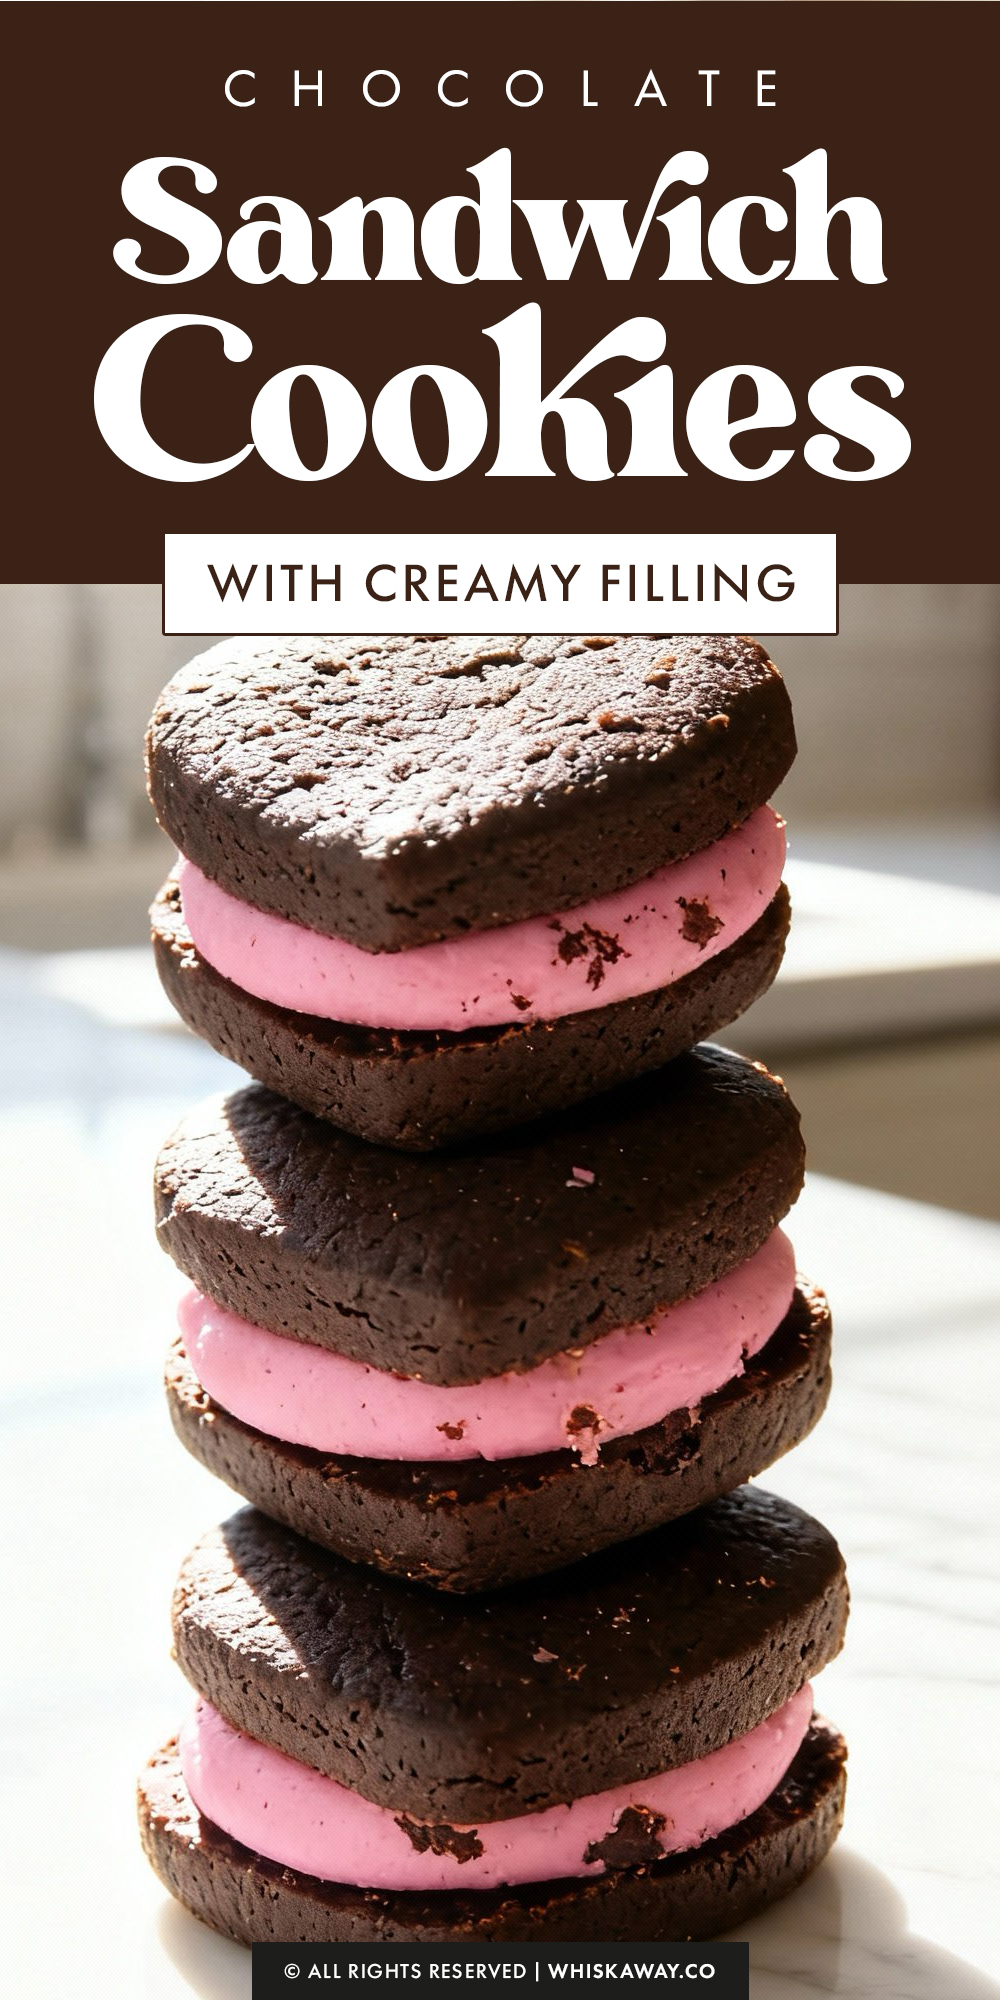
If you’ve been hunting for the perfect homemade version of everyone’s favorite snack, these Chocolate Sandwich Cookies are about to change your entire snack game forever.
Don’t let the “sandwich” part intimidate you, either. This recipe is low-key one of the easiest ways to look like a total pastry chef without actually having to do the most.
So, what are you waiting for? Dust off your rolling pin, turn up your favorite playlist, and let’s get baking!
You’re only a few steps away from the best cookie sandwich of your life. Trust me, once you try these, there’s no going back.
Why You’ll Love This Recipe
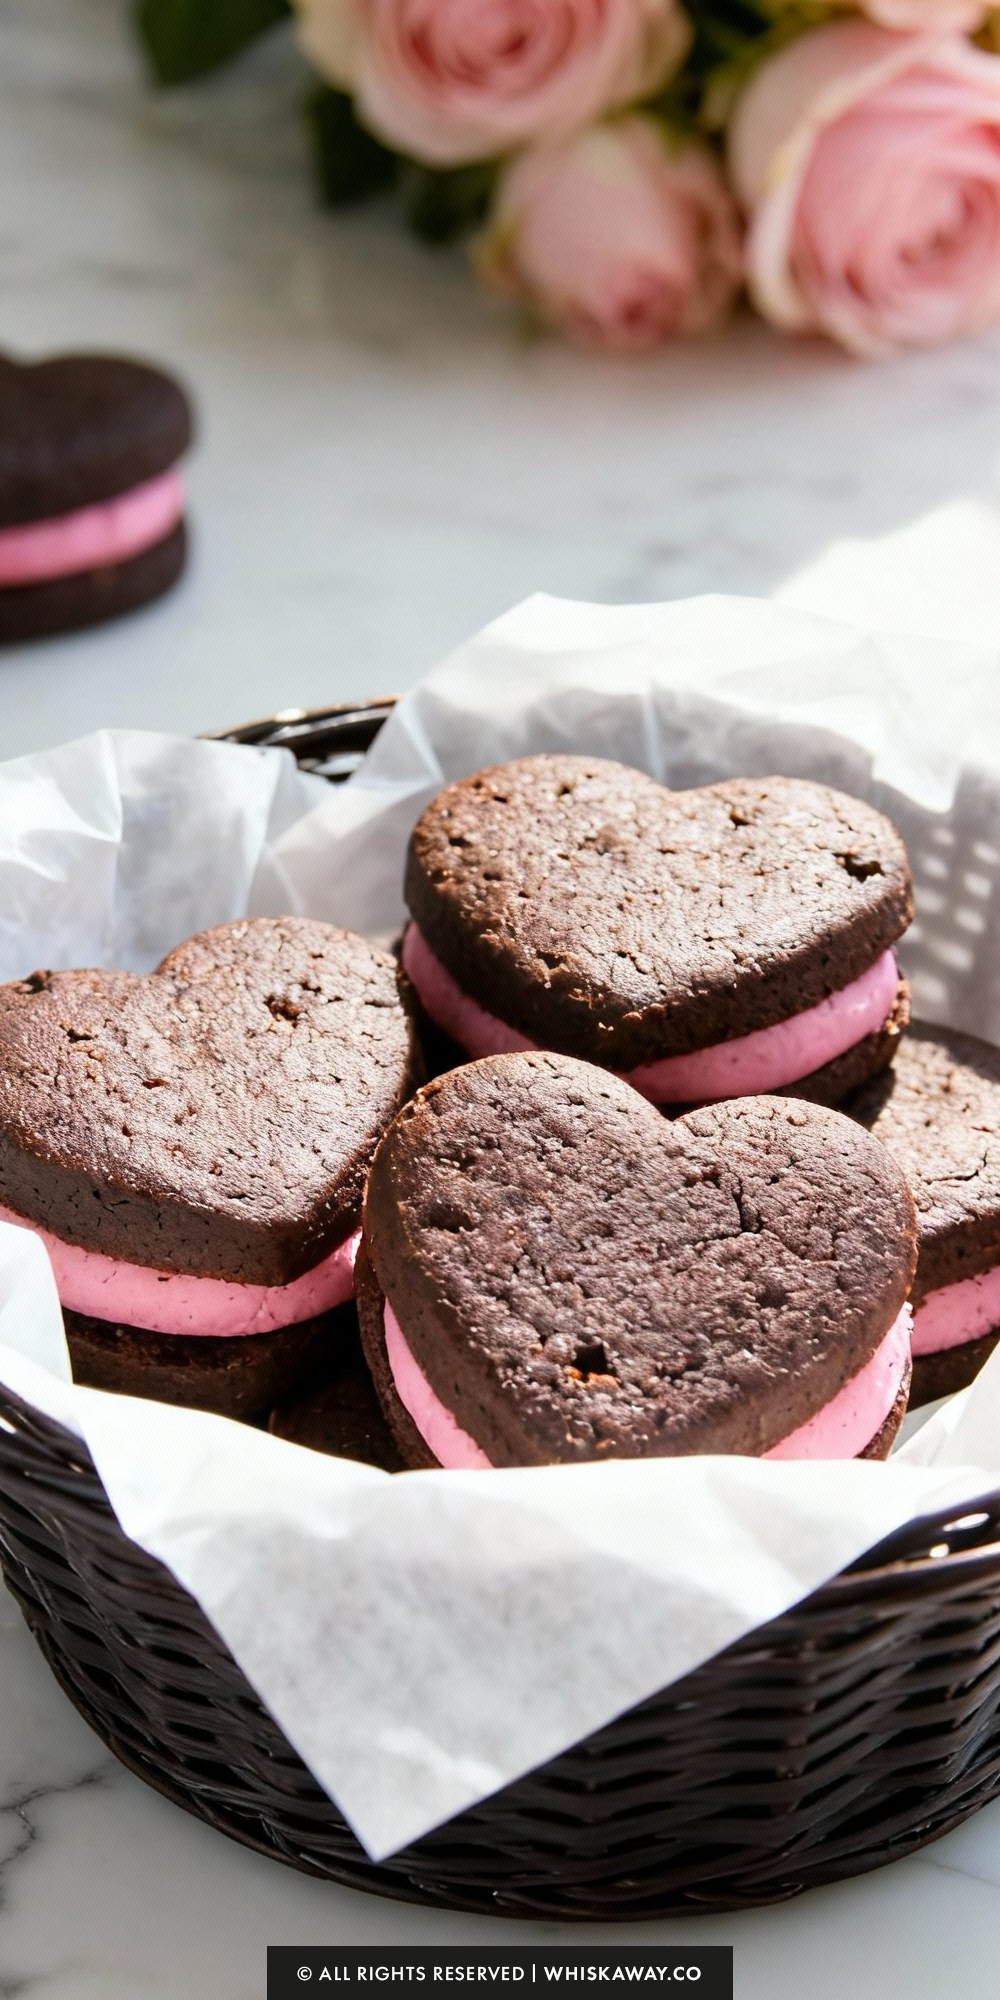
Chocolate sandwich cookies are classic, indulgent, and perfectly balanced with crisp cookies and creamy filling.
They’re fun to assemble, visually appealing, and perfect for gifts, parties, or personal indulgence.
The combination of textures and flavors makes each bite satisfying and memorable.
Key Reasons to Love Them:
- Crisp cookie exterior with creamy, smooth filling inside.
- Fun to assemble and decorate for a personal touch.
- Flavor versatility: chocolate, vanilla, or fruit fillings.
- Teaches layering and filling techniques for beginners.
- Elegant presentation suitable for any dessert table.
🔥 These chocolate sandwich cookies are ideal for Valentine’s cookie boxes alongside sandwich cookies, festive red velvet sugar cookies, or delicate meringue kisses.
How to Get Your Chocolate Sandwich Cookies Just Right
Chocolate sandwich cookies are all about the contrast between a crisp, deep cocoa biscuit and a creamy, sweet center.
Because the dough is dark, it can be tricky to judge doneness, but these expert tips will help you achieve that perfect “snap”.
1. The Cocoa Choice Matters
The recipe calls for Dutch-process cocoa powder, and this is non-negotiable for that classic sandwich cookie flavor.
Dutch-process cocoa is treated with alkali, making it darker, less acidic, and much smoother. It provides that deep, “Oreo-like” color and flavor.
Regular cocoa powder will result in a lighter, more acidic cookie that may react differently with the baking powder.
2. Use the “Parchment Paper” Rolling Trick
Dealing with chilled chocolate dough can be messy if you use too much extra flour.
Instead of flouring your counter heavily (which can leave white streaks on your dark cookies), roll the dough out between two sheets of parchment paper.
This prevents sticking without adding extra flour that could make the cookies tough or dry.
3. Judging Doneness by Sight
Since these cookies are already dark, you can’t look for the edges to “turn golden brown.”
Watch for the surface of the cookies to lose their “wet” or shiny look. They should appear matte and slightly puffed.
If you touch the edge of one, it should feel firm to the touch. If it feels soft or leaves an indentation, give it another minute.
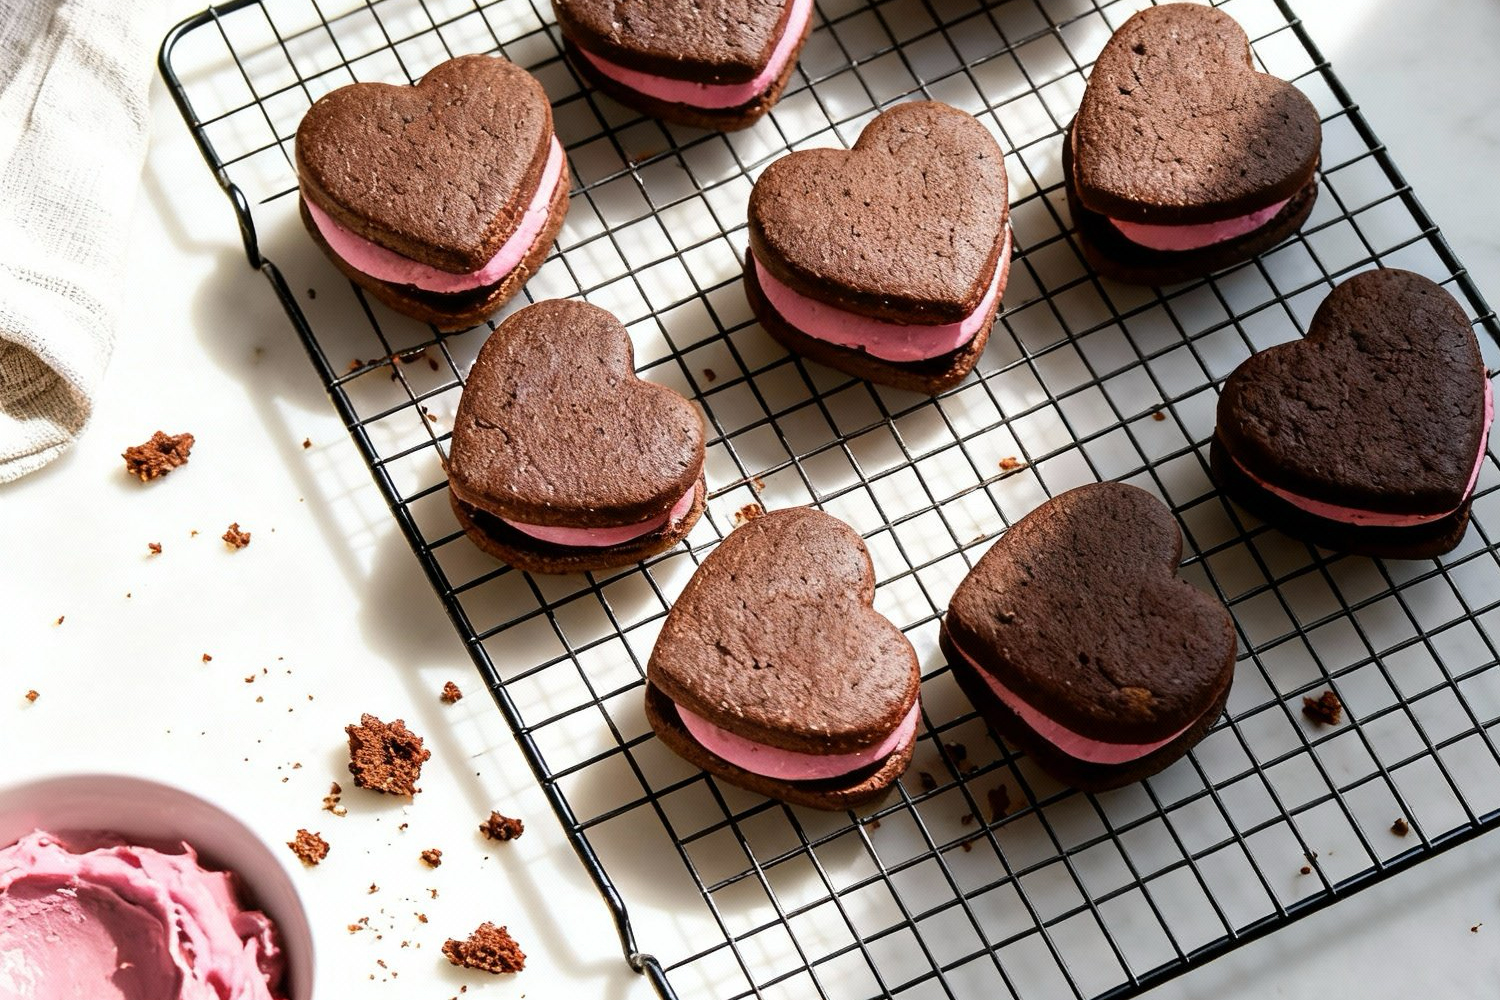
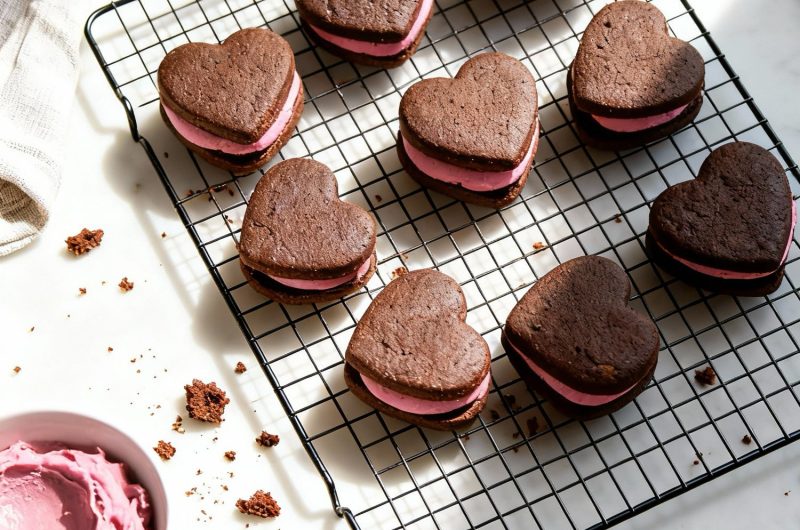
4. The “Twin” Method for Assembly
Not every heart-shaped cookie will be perfectly identical after baking.
Before you start piping the filling, take a minute to pair up your cookies. Find “twins” that match in size and shape.
Flip one over so the flat bottom is facing up, ready for the filling. This ensures your sandwiches look professional and symmetrical.
5. Achieving “Stiff” Filling
A sandwich cookie filling needs to be significantly thicker than cupcake frosting so it doesn’t squeeze out the sides when you take a bite.
If your filling feels too soft, add more powdered sugar one tablespoon at a time. If it’s too stiff to pipe, add the half-and-half in tiny drops. It should hold a stiff peak when you lift the beater.
6. The Setting Period
Once assembled, let the cookies sit at room temperature or in the fridge for about 30 minutes before serving.
This allows the moisture from the filling to slightly soften the inner face of the cookie, “locking” the sandwich together so the top doesn’t slide off when you bite into it.
7. Avoid “Overworking” the Scraps
When you cut out your heart shapes, you’ll have leftover scraps of dough.
You can gather and re-roll these once or twice, but try to do it quickly. Each time you roll the dough, it develops more gluten and warms up the butter, which can lead to a tougher, less crisp cookie.
Easy Baking Tips That Have Worked for Me
Baking crisp chocolate cookies with even shapes and thickness feels precise but rewarding.
Preparing a smooth, creamy filling and spreading it evenly onto one cookie allows you to practice control and patience. Sandwiching another cookie on top creates the perfect layered bite.
Each bite delivers a satisfying snap from the cookie followed by soft, sweet filling that melts in your mouth.
The process is fun and approachable, giving beginners confidence while creating a classic treat that looks as good as it tastes.
Variation Tips
The deep, dark cocoa flavor of these biscuits makes them a fantastic canvas for experimentation.
Whether you want to change the flavor profile or adapt them for a specific dietary need, here are a few ways to switch up the classic chocolate sandwich.
1. Mocha Espresso Cookies
If you want a more “grown-up” flavor profile, this is the move.
Add 1 tablespoon of instant espresso powder to your dry ingredients before mixing. It intensifies the chocolate and adds a sophisticated coffee finish.
Stick with the vanilla filling, or add a tiny drop of coffee extract for a double-mocha hit.
2. Peanut Butter Dream
Chocolate and peanut butter is a legendary duo that never fails.
In the filling recipe, replace the ½ cup of butter with ½ cup of creamy peanut butter.
You may need to add an extra tablespoon of half-and-half to keep it pipeable, as peanut butter is denser than plain butter.
3. Peppermint “Thin Mint” Style
Perfect for the holidays or if you just love a refreshing zing.
Omit the vanilla extract in the filling and replace it with ½ teaspoon of peppermint extract.
Tint this filling a very pale green to signal the minty flavor to your guests.
4. Red Velvet Sandwich Cookies
To get that classic red velvet look, add 1 tablespoon of red gel food coloring to the egg and vanilla mixture.
Swap the standard buttercream filling for a cream cheese frosting (use 4 oz of cream cheese and 4 tablespoons of butter as the base) to get that tangy red velvet signature taste.
5. Chocolate-Dipped Hearts
Once the sandwiches are assembled and set, dip half of each heart into melted white chocolate.
Immediately sprinkle with crushed freeze-dried raspberries or tiny gold stars before the chocolate sets for a high-end bakery finish.
6. Dietary Adaptations
Use a high-quality 1-to-1 Gluten-Free Flour blend. Because cocoa powder is naturally gluten-free and provides a lot of the structure here, these cookies adapt very well.
Just ensure your flour blend contains xanthan gum to prevent the hearts from being too crumbly.
Vegan: Replace the butter in the dough and filling with vegan butter sticks (the sticks work better than the tubs for cookies).
Use an egg replacer (like a flax egg or a commercial “just egg” product) and swap the half-and-half for oat milk.
7. Salted Caramel Centers
Add 2 tablespoons of salted caramel sauce to the buttercream filling.
Sprinkle a tiny pinch of flaky sea salt on top of the piped filling before pressing the top cookie on. It creates a perfect sweet-and-salty balance.
Save for Later to Your Pinterest Board
How to Properly Store Your Chocolate Sandwich Cookies
To keep that satisfying snap in your chocolate cookies and that creamy, velvet texture in the center, you need to store these with a bit of strategy.
Because the filling contains moisture, it will eventually soften the cookie, so here is how to manage the timeline.
1. Room Temperature (Best for Texture)
The Duration: 3 to 5 days.
Store the assembled cookies in a single layer inside an airtight container. If you must stack them, place a sheet of parchment paper between the layers to keep the hearts from sticking to each other.
Keeping them at room temperature preserves the crispiness of the cocoa biscuit.
2. Refrigeration (Best for Hot Climates)
The Duration: Up to 1 week.
Place in a sealed container. Because of the butter in the filling, the cookies will firm up significantly when cold.
Pro Tip: Take the cookies out of the fridge about 20 minutes before eating. This allows the buttercream to soften back into a cloud-like consistency while the chocolate flavor becomes more pronounced.
3. Freezing (The Long-Term Solution)
You have two great options here:
Freezing the Dough: You can freeze the dough discs for up to 3 months. Thaw in the fridge overnight before rolling and cutting.
Freezing Assembled Cookies: These freeze beautifully! Place the finished sandwiches on a baking sheet to “flash freeze” for one hour, then toss them into a freezer-safe bag. They’ll stay fresh for 2 to 3 months.
To Serve: Thaw at room temperature for about 30 minutes.
4. Reheating and Refreshing
While you don’t usually “reheat” a sandwich cookie, if you find that your cookies have softened too much from the moisture in the filling, you can pop the unassembled biscuits into a 300°F (150°C) oven for 3–4 minutes to crisp them back up.
Let them cool completely before adding fresh filling.
5. Storage Mistakes to Avoid
Never put the filling on a cookie that is even slightly warm, and never put warm cookies into a container.
The residual heat will create steam, which turns your crisp chocolate hearts into soggy bread.
Cocoa and butter act like sponges for smells. Keep these away from strong-smelling foods (like onions or garlic) in the fridge or pantry, or your cookies will pick up those flavors.
FAQs
Can I use regular cocoa powder instead of Dutch-process?
You can, but the results will be different. Dutch-process cocoa is treated to reduce acidity, giving it that deep, dark “Oreo” color and a smoother chocolate flavor. Regular cocoa powder is more acidic and lighter in color; if you use it, your cookies will be paler, and the flavor will be slightly more sharp or citrusy.
Why did my cookies lose their heart shape and spread in the oven?
The most common culprit is warm dough. If the butter in the dough is too soft when it enters the oven, it will melt before the flour sets the structure. Always ensure your dough has chilled for the full hour, and if you’ve been handling the cutouts for a while, pop the tray back into the fridge for 10 minutes before sliding it into the oven.
How do I get the filling to be perfectly white (or a specific color)?
To get a bright white filling or a vibrant pink, try to use the palest butter possible. Some European butters are very yellow, which can tint your frosting. Additionally, using clear vanilla extract instead of brown vanilla extract will prevent the filling from turning an off-white or beige color.
Can I make these cookies ahead of time?
Yes! You have a few options:
The Dough: Can be made and kept in the fridge for up to 3 days or frozen for 3 months.
The Biscuits: You can bake the cookies up to 2 days in advance and store them in an airtight container at room temperature before filling.
The Assembled Cookies: These are actually better on day two! The filling slightly softens the interior of the cookie, creating a perfect texture.
My filling is too soft and keeps squeezing out; how do I fix it?
Your filling needs to be stiffer than standard cake frosting. If it’s too runny, gradually beat in more powdered sugar, one tablespoon at a time. You can also refrigerate the filling for 15 minutes before piping it to help the butter firm up, which gives you more control during assembly.
Chocolate Sandwich Cookies
20
minutes10
minutes1
hour30
minutesRich chocolate sandwich cookies filled with smooth cream make a bakery-style treat at home.
Ingredients
- For the Cookies
2 cups all-purpose flour
1 cup (2 sticks) unsalted butter, softened
1 cup granulated sugar
¾ cup dutch process cocoa powder
1 egg
1 ½ teaspoons baking powder
1 teaspoon pure vanilla extract
1 teaspoon salt
- For the Filling
3 cups powdered sugar
½ cup (1 stick) unsalted butter, softened
2–3 tablespoons half and half (or milk)
2 teaspoon pure vanilla extract
1/8 teaspoon salt
Directions
- The Dough
- In a large mixing bowl, beat the softened butter and granulated sugar together on medium speed. Continue until the mixture looks pale, light, and aerated.
- Mix in the egg and vanilla extract, beating until the mixture is smooth and fully combined.
- In a separate smaller bowl, whisk together the flour, cocoa powder, baking powder, and salt.
- Set your mixer to its lowest speed. Gradually pour the dry ingredients into the creamed butter mixture. Mix only until the flour and cocoa have just disappeared into the dough. Be careful not to overwork it.
- The Chill
- Split the dough into two equal portions and shape each into a flat disc. Wrap them tightly in plastic wrap and let them rest in the refrigerator for at least 1 hour. This makes the dough much easier to roll out later.
- Roll and Bake
- Preheat your oven to 350°F (175°C). Prepare your baking sheets by lining them with parchment paper or silicone mats.
- Work with only one dough disc at a time, keeping the other in the fridge to stay cold. On a lightly floured surface, roll the dough out to a thickness of 1/8 to 1/4 inch. Use a heart-shaped cutter to punch out your cookies and carefully move them to the prepared sheets.
- Place in the oven for 9 to 10 minutes. Once done, move the cookies to a wire rack and allow them to cool completely before you attempt to fill them.
- The Creamy Filling
- While the cookies cool, prepare the center. Combine the softened butter, half and half (or milk), vanilla, and salt in a bowl. Beat until smooth.
- Slowly incorporate the powdered sugar, mixing until the filling is perfectly smooth. The texture should be slightly firmer and stiffer than standard cupcake frosting so it doesn't squish out of the cookies.
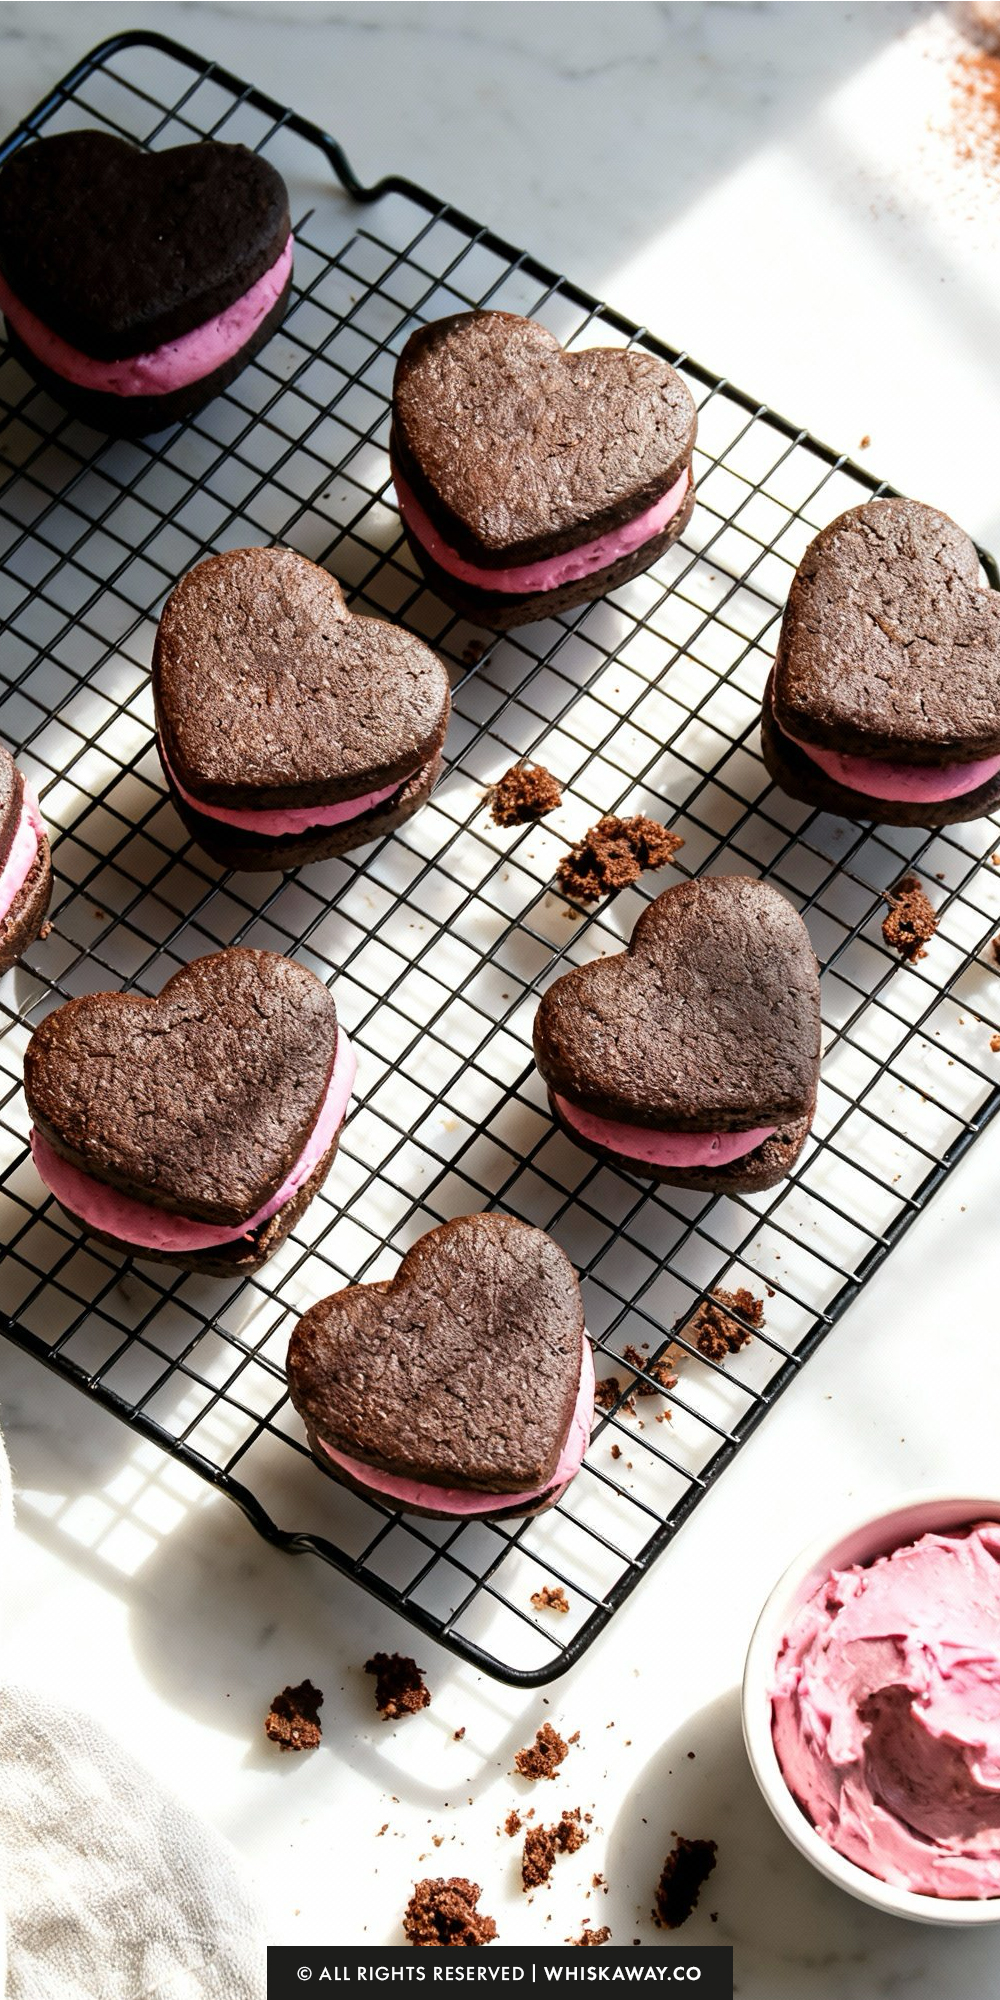
- Tint the filling with pink or red food coloring until you achieve your desired Valentine’s shade.
- Assembly
- Fit a piping bag with a large round tip (or simply snip the corner off a sturdy freezer bag). Pipe a dollop of frosting onto the flat underside of half of your cookies.
- Gently press a second cookie on top of the filling to create a sandwich. Repeat until all your cookies are paired up.