Sometimes the most elegant desserts are the ones that require the least amount of work.
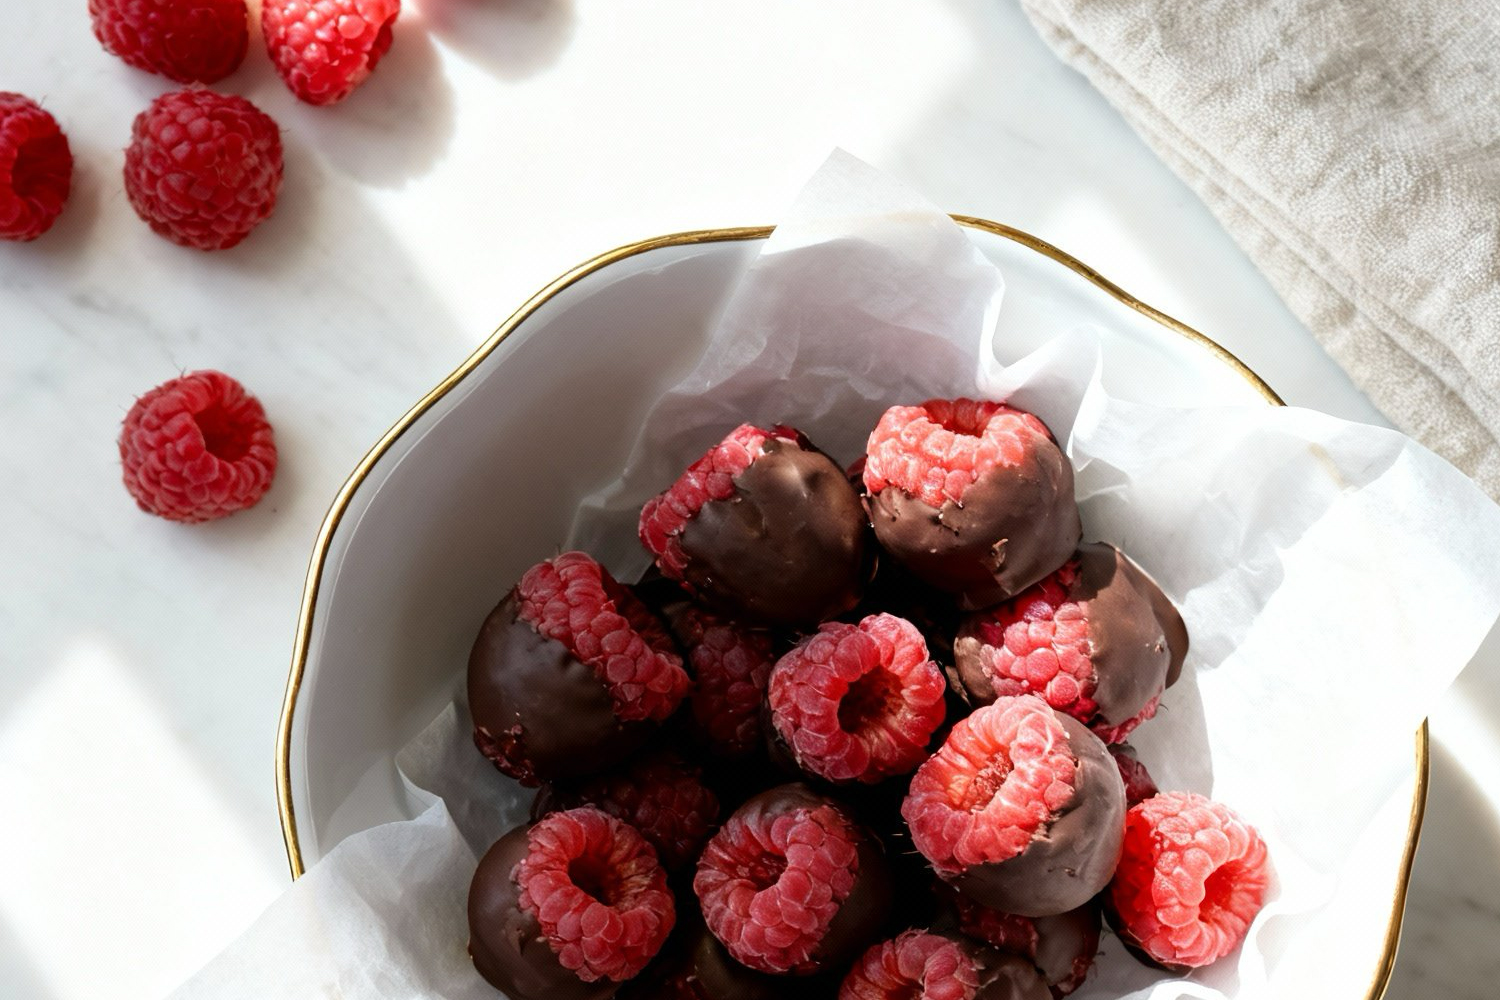
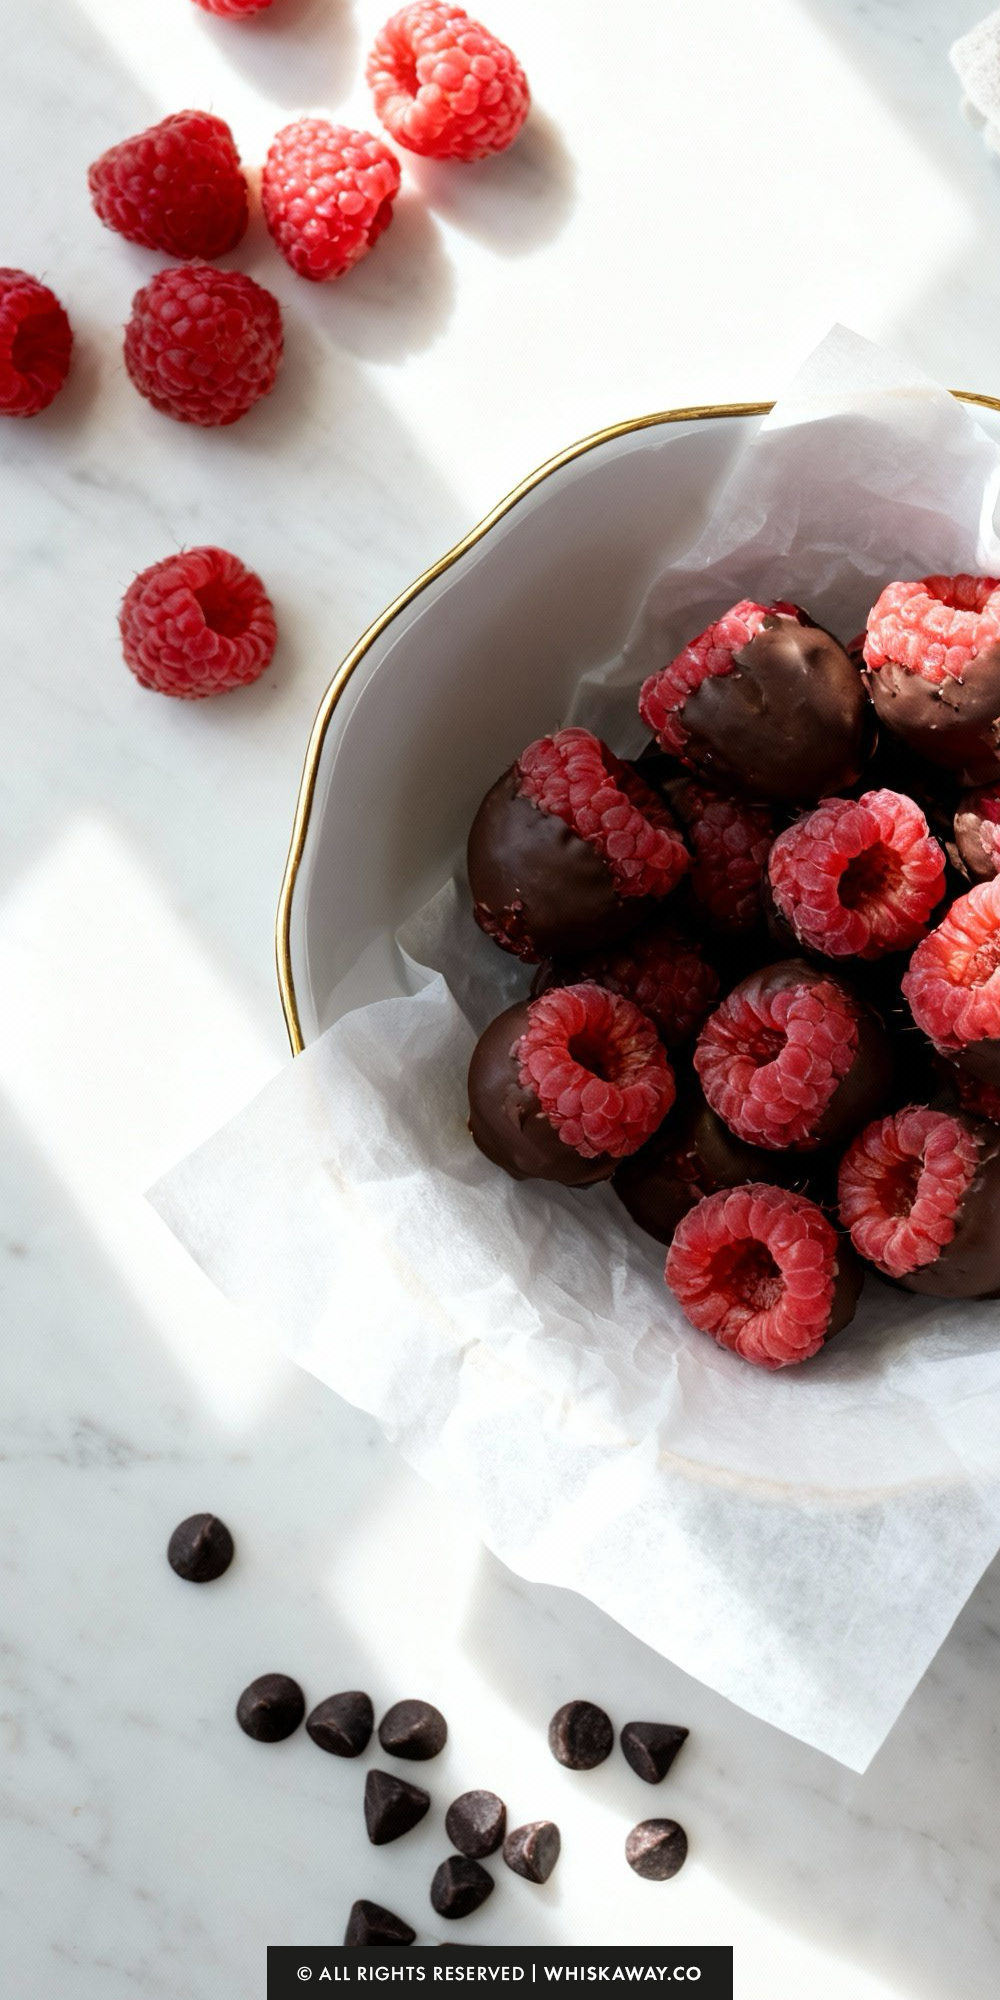
Enter chocolate covered raspberries: a treat that proves you don’t need a mixer, an oven, or even a bag of flour to create something genuinely gourmet.
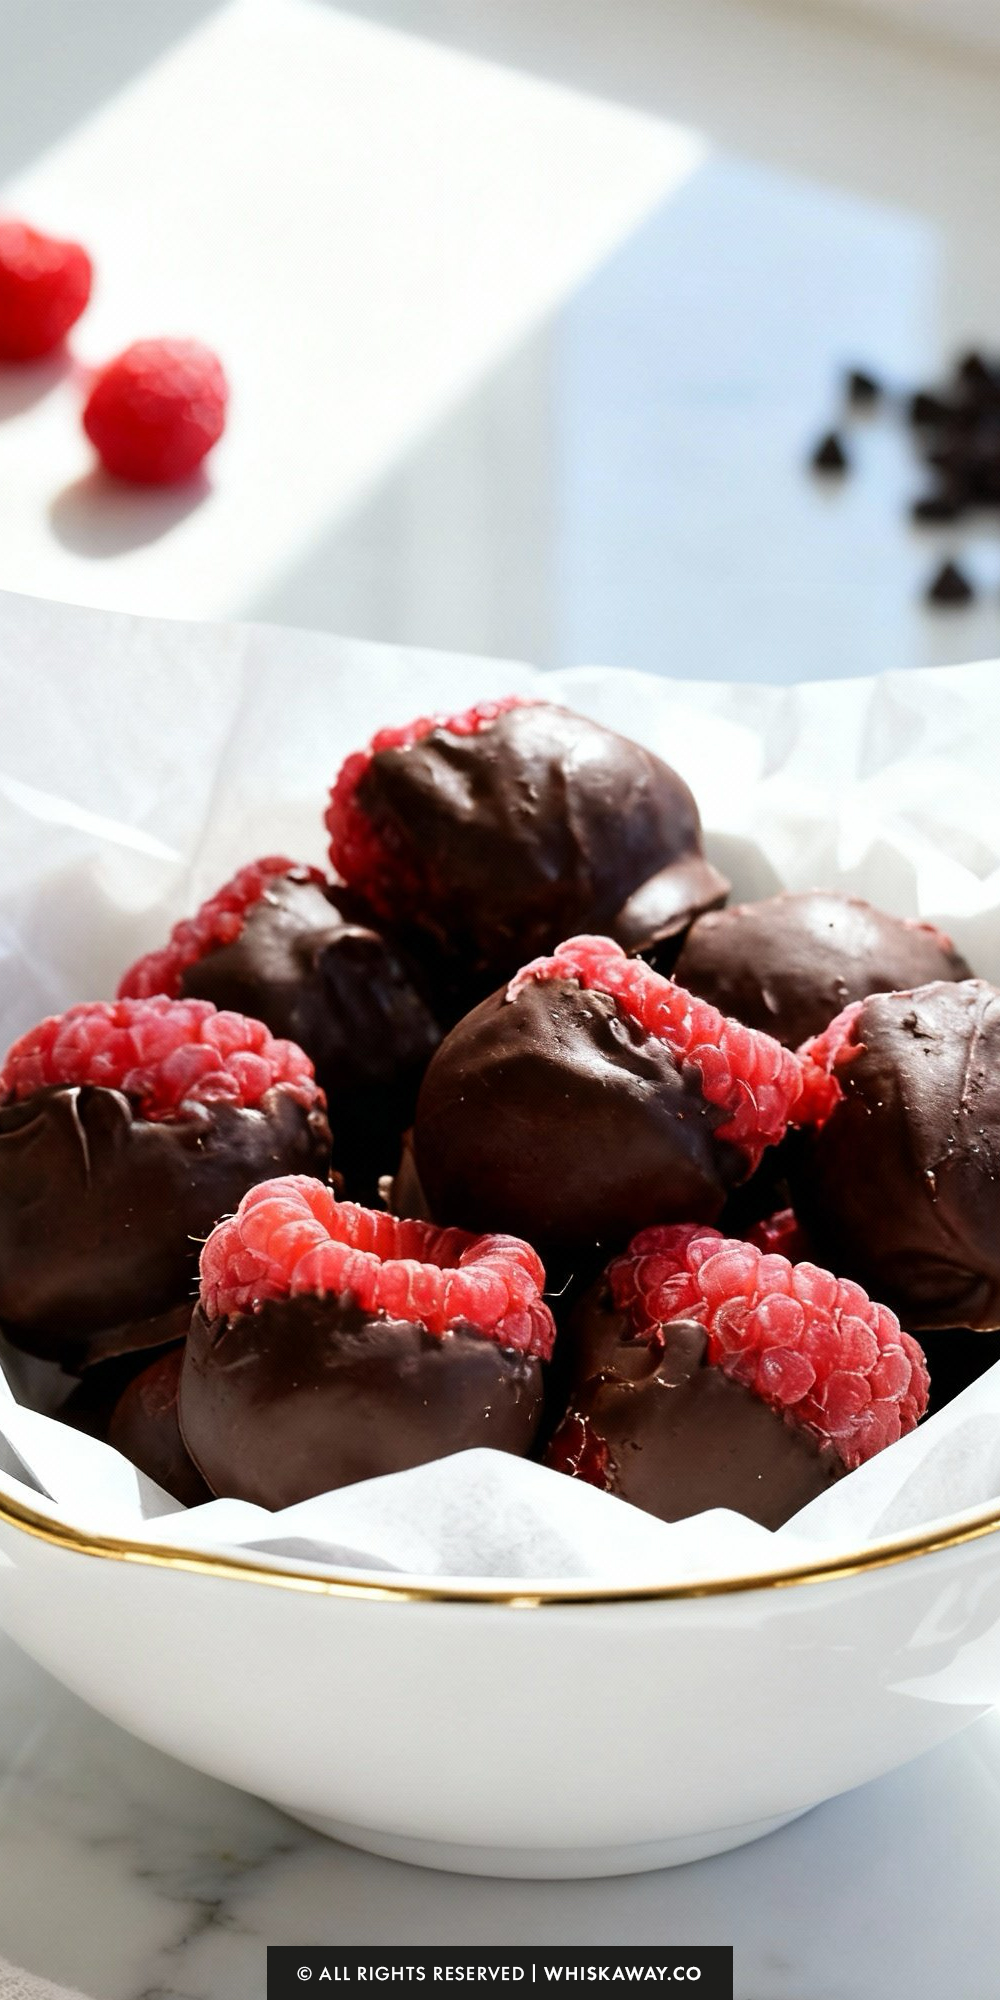
This recipe is the definition of nature’s candy upgraded. You get the satisfying snap of a crisp dark chocolate shell, followed immediately by the bright, juicy burst of a fresh raspberry.
It is a texture combination that is practically addictive.
Whether you are looking for a lighter Valentine’s Day treat, a quick energy bite, or just a way to use up that punnet of berries in the fridge, this is the 15-minute miracle you need.
Let’s get dipping!
Why You’ll Love This Recipe
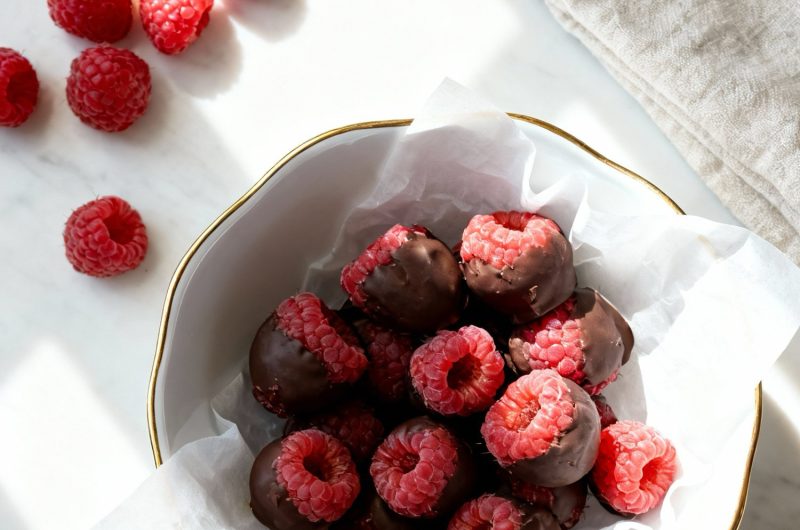
Chocolate covered raspberries are simple yet elegant, combining fresh, juicy fruit with smooth, crisp chocolate. They are visually stunning, quick to make, and perfect for gifts or dessert platters.
Key Reasons to Love Them:
- Crisp chocolate shell with soft, tart fruit inside.
- Elegant and visually appealing presentation.
- Quick and approachable for beginners.
- Perfect for gifting, entertaining, or personal indulgence.
- Sweet and tart balance makes them irresistible.
🔥 These chocolate covered raspberries make a romantic addition to desserts like raspberry chocolate mousse cake, elegant heart shaped macarons, or creamy strawberry cheesecake truffles.
How to Get Your Chocolate Covered Raspberries Just Right
Covering fruit in chocolate sounds simple, but raspberries are delicate little gems that require a gentle touch.
Here is how to ensure your berries turn out crisp, juicy, and beautifully coated without becoming a mushy mess.
1. The “Bone Dry” Rule
This is the single most important step. Raspberries have a hollow center that loves to trap water.
The Risk: If you dip a damp berry, the water will cause the chocolate to “seize” (turn into a gritty, clumpy paste) instantly. Furthermore, water on the surface prevents the chocolate from sticking.
The Fix: After washing, let them air dry on a towel for at least 30 minutes. If you are in a rush, gently pat them dry with a paper towel, paying extra attention to the hollow opening.
2. Select the “Bodybuilders”
Not every raspberry in the punnet is a candidate for dipping.
The Selection: Pick only the firmest, tightest berries. If a berry is slightly squishy or starting to separate, set it aside for a smoothie.
The heat of the chocolate and the weight of the coating will cause soft berries to collapse.
3. The Toothpick Trick
Using your fingers to dip raspberries is messy, and using a fork can sometimes crush them.
The Technique: Insert a toothpick into the stem hole of the raspberry. Dip the berry, tap the toothpick against the side of the bowl to shake off excess chocolate, and then use a second toothpick to gently slide the berry off onto the wax paper. This keeps your hands clean and the berry intact.
4. Temperature Control
Raspberries are very sensitive to heat.
The Tip: Once your chocolate is melted, let it sit on the counter for 2–3 minutes before you start dipping.
If the chocolate is scorching hot, it will slightly “cook” the exterior of the berry, making it weep juice and turn soggy inside the shell.
You want the chocolate to be fluid but warm, not hot.
5. Avoid the “Chocolate Foot”
You know that pool of chocolate that forms at the bottom of the berry as it dries? It looks messy.
The Fix: After dipping, hold the berry upside down for a few seconds to let the excess drip off.
When you place it on the wax paper, gently drag it one millimeter to the side to leave the excess “tail” behind before it sets.
6. Why the Oil Matters
Do not skip the teaspoon of oil!
The Science: The oil (coconut or avocado) thins the chocolate, ensuring a delicate, thin shell rather than a thick, waxy layer that overpowers the fruit.
It also gives the chocolate a glossy sheen that looks professional.
Easy Baking Tips That Have Worked for Me
Dipping plump, juicy raspberries into smooth chocolate feels elegant and rewarding.
As the chocolate sets, it forms a firm, glossy shell that contrasts beautifully with the soft, tart fruit inside.
Handling each piece carefully ensures a clean finish and professional appearance.
The process is fun, creative, and satisfying for beginners, giving them confidence in both technique and presentation.
Once set, each bite combines a burst of fruity flavor with sweet, silky chocolate, making it a simple yet luxurious treat.
Variation Tips
The combination of tart fruit and rich chocolate is already a winner, but with a few simple tweaks, you can turn these simple bites into gourmet truffles.
Here are a few ways to elevate your raspberries.
1. The “Surprise Inside” (Stuffed Raspberries)
Utilize the hollow center of the berry to hide a delicious secret.
The White Chocolate Core: Before dipping the berry in dark chocolate, tuck a single white chocolate chip inside the cavity. The snap of the dark shell followed by the creamy white center is perfection.
The Nut Butter Fill: Use a piping bag (or a ziplock bag with the corner snipped) to pipe a tiny amount of peanut butter or almond butter inside the berry. Freeze the filled berries for 10 minutes before dipping to keep the filling secure.
2. The “Tuxedo” Berry
For a fancy, high-contrast look.
The Dip: Dip the berry in dark chocolate as usual and let it set.
The Drizzle: Melt a small amount of white chocolate and fork-drizzle it over the dark shell. The black-and-white contrast looks incredibly elegant on a dessert platter.
3. Pistachio & Sea Salt
This variation adds a savory crunch that balances the sweetness.
The Topping: Immediately after dipping the berry (while the chocolate is still wet), sprinkle the top with finely chopped pistachios and a tiny pinch of flaky sea salt. The green nuts against the dark chocolate look beautiful.
4. Keto / Low-Sugar Friendly
Since raspberries are naturally low in sugar, this is easily adapted for low-carb diets.
The Swap: Use sugar-free chocolate chips (sweetened with Stevia or Monkfruit) instead of standard dark chocolate.
The Oil: Stick to coconut oil, which creates a “magic shell” texture that fits the Keto profile perfectly.
5. Zesty Orange Infusion
Chocolate and orange are best friends.
The Method: Zest half an orange directly into the melted chocolate. Stir it well before dipping. The citrus oils will infuse the warm chocolate, giving the berries a sophisticated, aromatic flavor profile.
6. The “Frozen Yogurt” Bite
If you want a breakfast-friendly or lighter version.
The Swap: Replace the melted chocolate with vanilla Greek yogurt.
The Method: Dip the berries in the yogurt and freeze them on a baking sheet lined with parchment paper. Note: These will need to stay in the freezer much longer (at least 1 hour) to firm up completely.
7. Coconut Snowballs
The Coating: Roll the wet, chocolate-dipped berry in shredded coconut. This works particularly well if you swap the dark chocolate for white chocolate.
Save for Later to Your Pinterest Board
How to Properly Store Your Chocolate Covered Raspberries
Fresh raspberries are highly perishable, and while the chocolate coating acts as a delicious barrier, these treats have a much shorter shelf life than cookies or fudge.
Here is how to keep them fresh and snappy.
1. Refrigeration (Best for 24–48 Hours)
The Sweet Spot: The fridge is the best place to store these if you plan to eat them within a day or two. The cold keeps the fruit fresh and the chocolate crisp.
The Method: Line an airtight container with a paper towel. Place the raspberries in a single layer on top. The paper towel is crucial—it absorbs any excess moisture or condensation that the berries release, preventing them from getting soggy.
Serving: You can eat them straight from the fridge for a crisp snap!
2. Freezing (Best for Long-Term Snacking)
The “Frozen Truffle” Effect: Freezing is actually the preferred storage method for many people. The raspberry freezes into a sorbet-like texture that is incredibly refreshing.
They will last for up to 1 month in the freezer.
The Container: Once the chocolate has initially set on the tray, transfer the berries to a freezer-safe bag or container. Because they are frozen hard, you can stack them without worrying about crushing them.
Serving: Eat them frozen. Do not try to thaw them completely, as the berry will become mushy and leak juice as it defrosts.
3. Room Temperature (Not Recommended)
The Warning: Unlike dried fruit or nuts, fresh raspberries contain a lot of water. If you leave them on the counter for more than 2–4 hours, the juice inside will start to break down the fruit, and the chocolate may bloom (turn white) or soften. Only keep them out if you are serving them immediately at a party.
4. Storage Mistakes to Avoid
The Reheating Myth: Never attempt to reheat these. Unlike a baked good, applying heat will melt the chocolate instantly and turn the fruit into a hot, soupy mess. These are designed to be enjoyed cold.
The Condensation Trap: If you move the berries from the freezer to a humid room, they will “sweat” (beads of water will form on the chocolate). This is normal and doesn’t affect the taste, but it can make them messy to hold.
Overcrowding: Don’t toss them all into a bowl together unless they are frozen solid. The weight of the top berries can crack the delicate chocolate shells of the ones on the bottom.
FAQs
Can I use frozen raspberries for this recipe?
It is highly recommended to use fresh raspberries. Frozen raspberries release a significant amount of water as they thaw, which will cause the melted chocolate to “seize” (turn grainy and hard) instantly upon contact. Additionally, frozen berries tend to be mushy once thawed, losing the firm texture needed to hold the chocolate shell.
Why is the chocolate sliding off the berry?
This is almost always due to moisture. If the raspberry is even slightly damp after washing, the chocolate won’t adhere to the skin. Ensure you let the washed berries air dry on a towel for at least 30 minutes. If you are in a rush, very gently pat them dry with a paper towel, making sure to check the hollow center for trapped water.
Do I really need to add the oil?
Yes, the teaspoon of oil (coconut or avocado) is a game-changer. Dark chocolate can be quite thick when melted, resulting in a heavy, clumpy coating that overpowers the delicate fruit. The oil thins the chocolate, creating a smooth, glossy shell that is easier to bite through. It also gives the finished product a professional shine.
How far in advance can I make these?
Because fresh fruit breaks down quickly, these are best enjoyed within 24 hours of making them. If you are making them for a party, you can prepare them the morning of the event and store them in the fridge. If you need to store them longer, freeze them immediately after dipping; they will last for a month as a frozen treat.
Can I use milk or white chocolate instead?
Absolutely. You can use any type of baking chip or bar. Just keep in mind that white and milk chocolates have different melting points and are softer than dark chocolate. You might find you need slightly less oil (or none at all) for white chocolate, as it is naturally more fluid when melted.
Chocolate Covered Raspberries
3
servings20
minutes1
minute45
minutesJuicy raspberries dipped in rich chocolate make an elegant, easy dessert for date nights and special occasions.
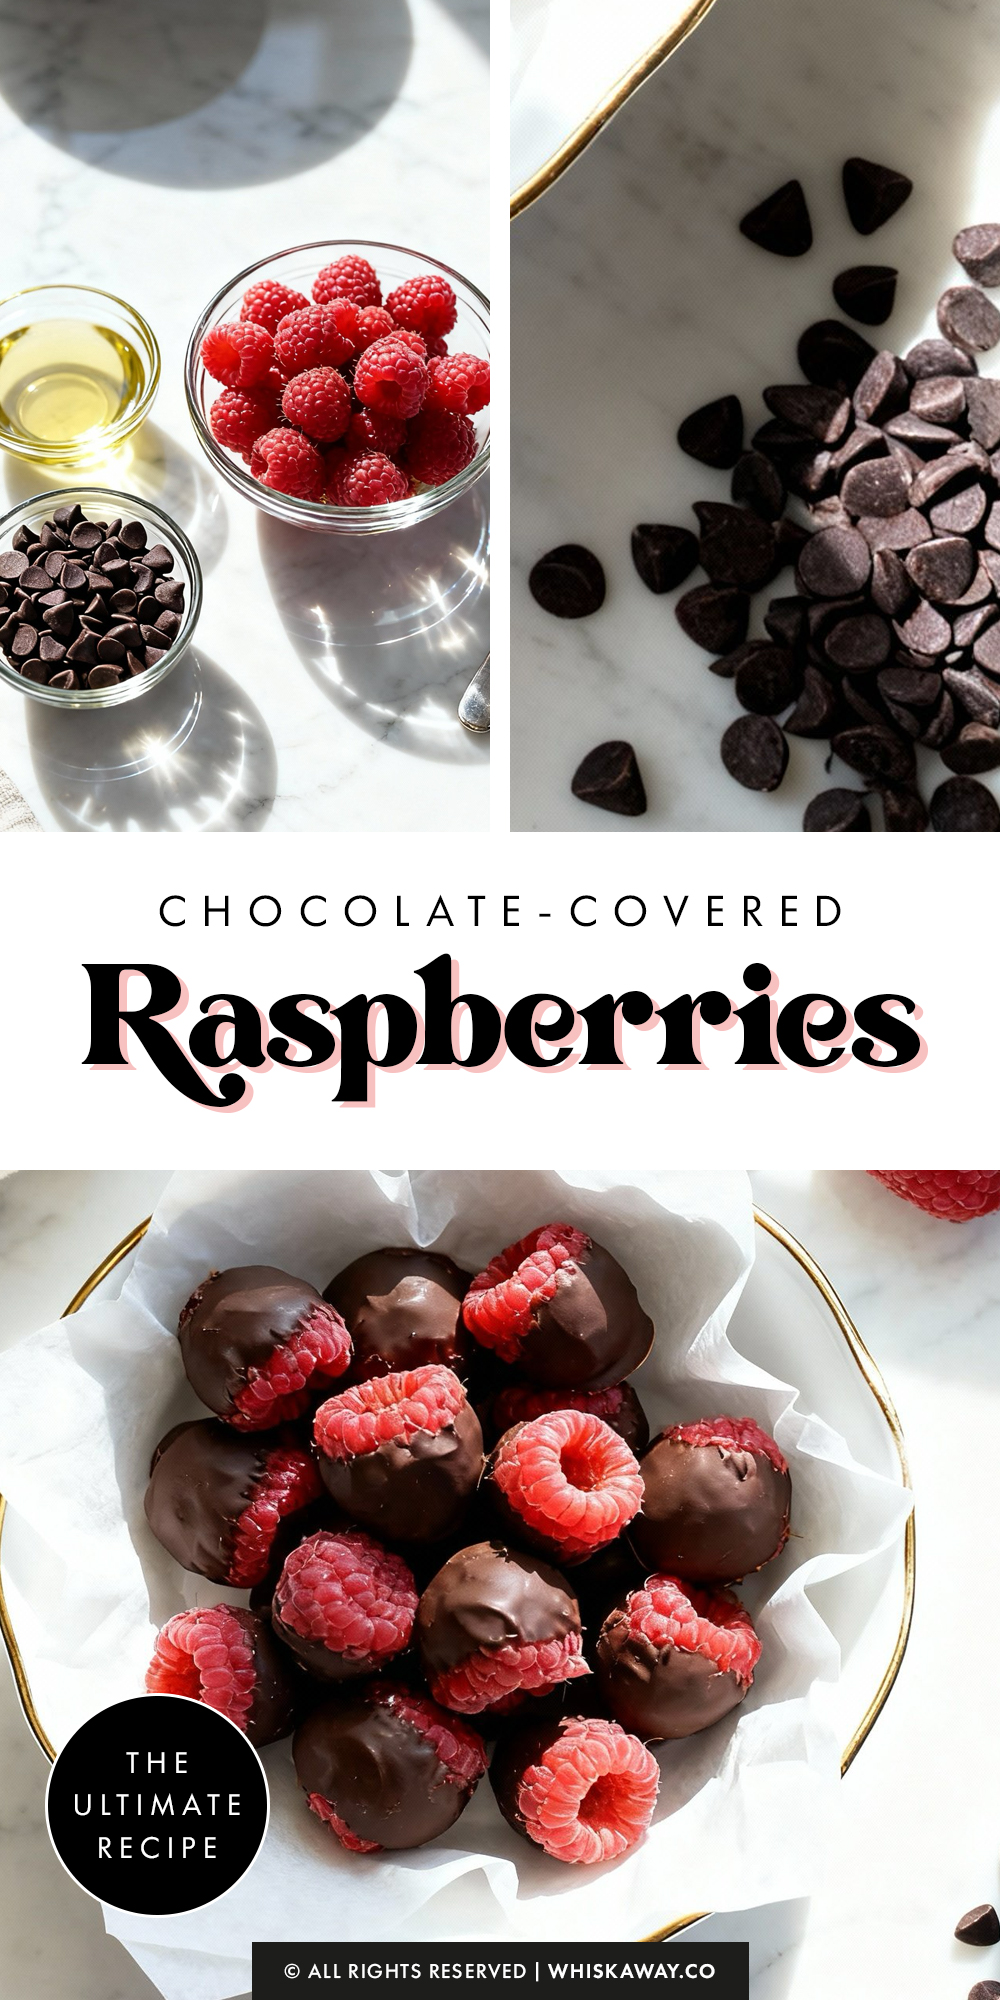
Ingredients
30 fresh raspberries (1 heaping cup; pick large and firm ones)
1/3 cup dark chocolate chips (2 ounces)
1 teaspoon neutral oil
Directions
- Start by lining a baking sheet or a large dinner plate with wax paper (parchment works too).
- Rinse your raspberries gently under cool water, then lay them out in a single layer on a clean kitchen towel or paper towels.
- Let them sit for about 30 minutes as they need to be completely dry, or the chocolate won't adhere properly.
- Add the dark chocolate chips to a small, microwave-safe bowl.
- Heat them in the microwave in 30-second intervals. Be sure to remove the bowl and stir the chocolate well after every interval. It typically takes about three rounds for the chips to melt into a smooth liquid.
- Pour the teaspoon of oil (avocado or coconut works best) into the warm chocolate and stir until it is fully incorporated. This thins the mixture slightly, making it much easier to get a smooth, even coating on the berries.
- Drop a raspberry into the chocolate (or hold it carefully if you prefer). Lift it out and give it a gentle twist or shake to let any excess chocolate drip back into the bowl.
- Place the coated berry onto your prepared wax paper. Repeat until all the fruit is covered.
- Place the tray in the freezer for 15 minutes. This quick blast of cold snaps the chocolate shell so they are crisp and ready to serve immediately.