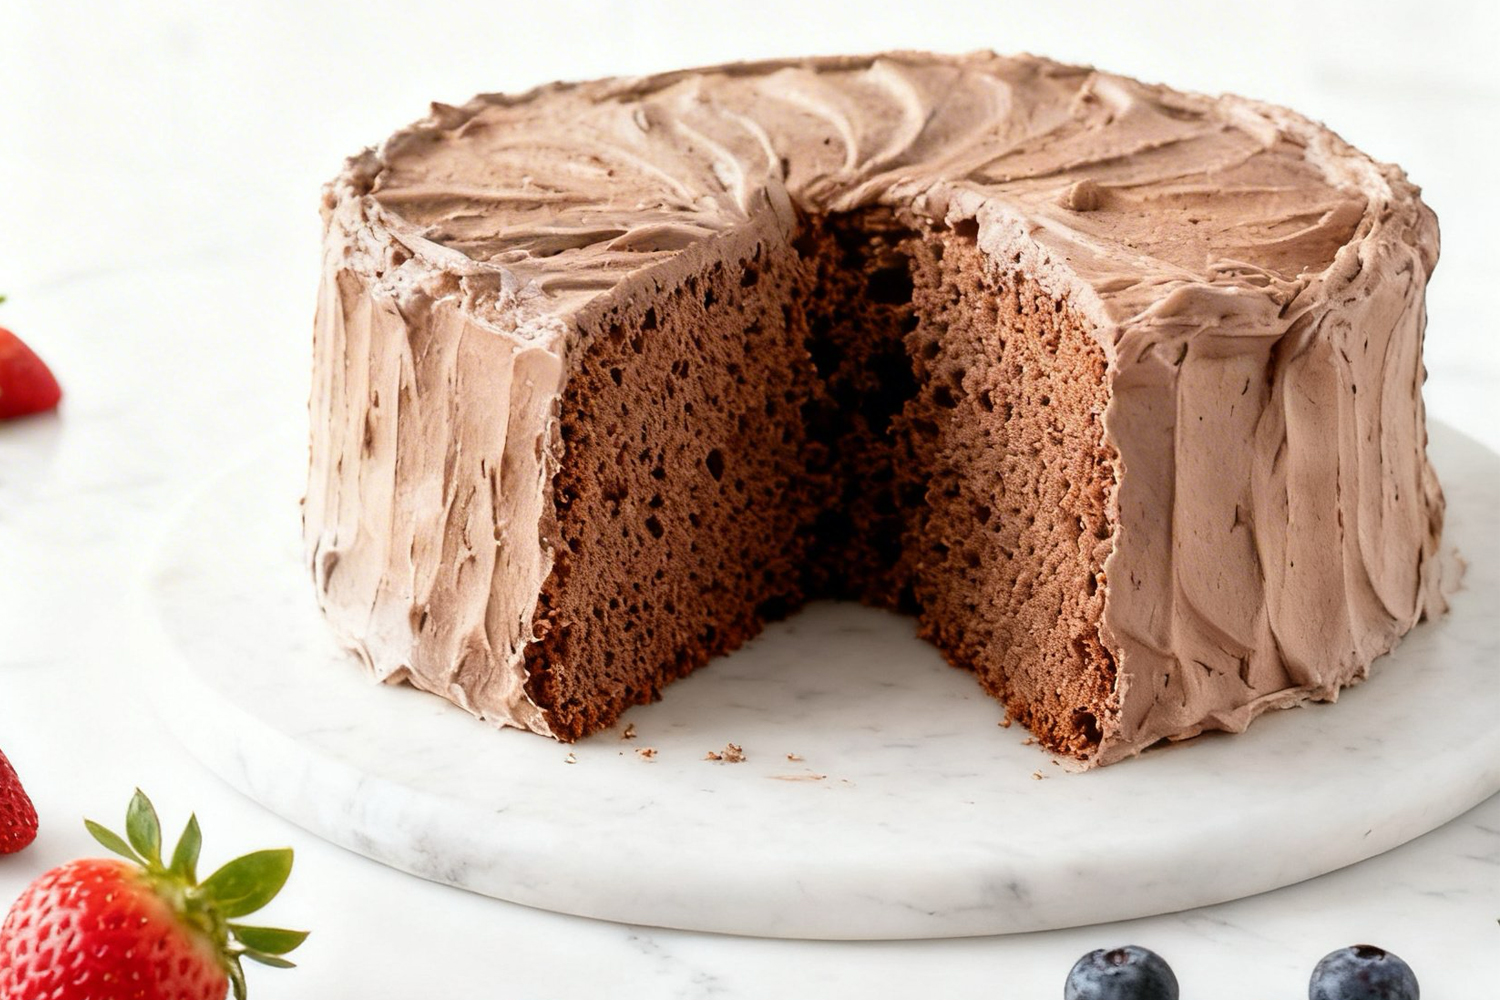
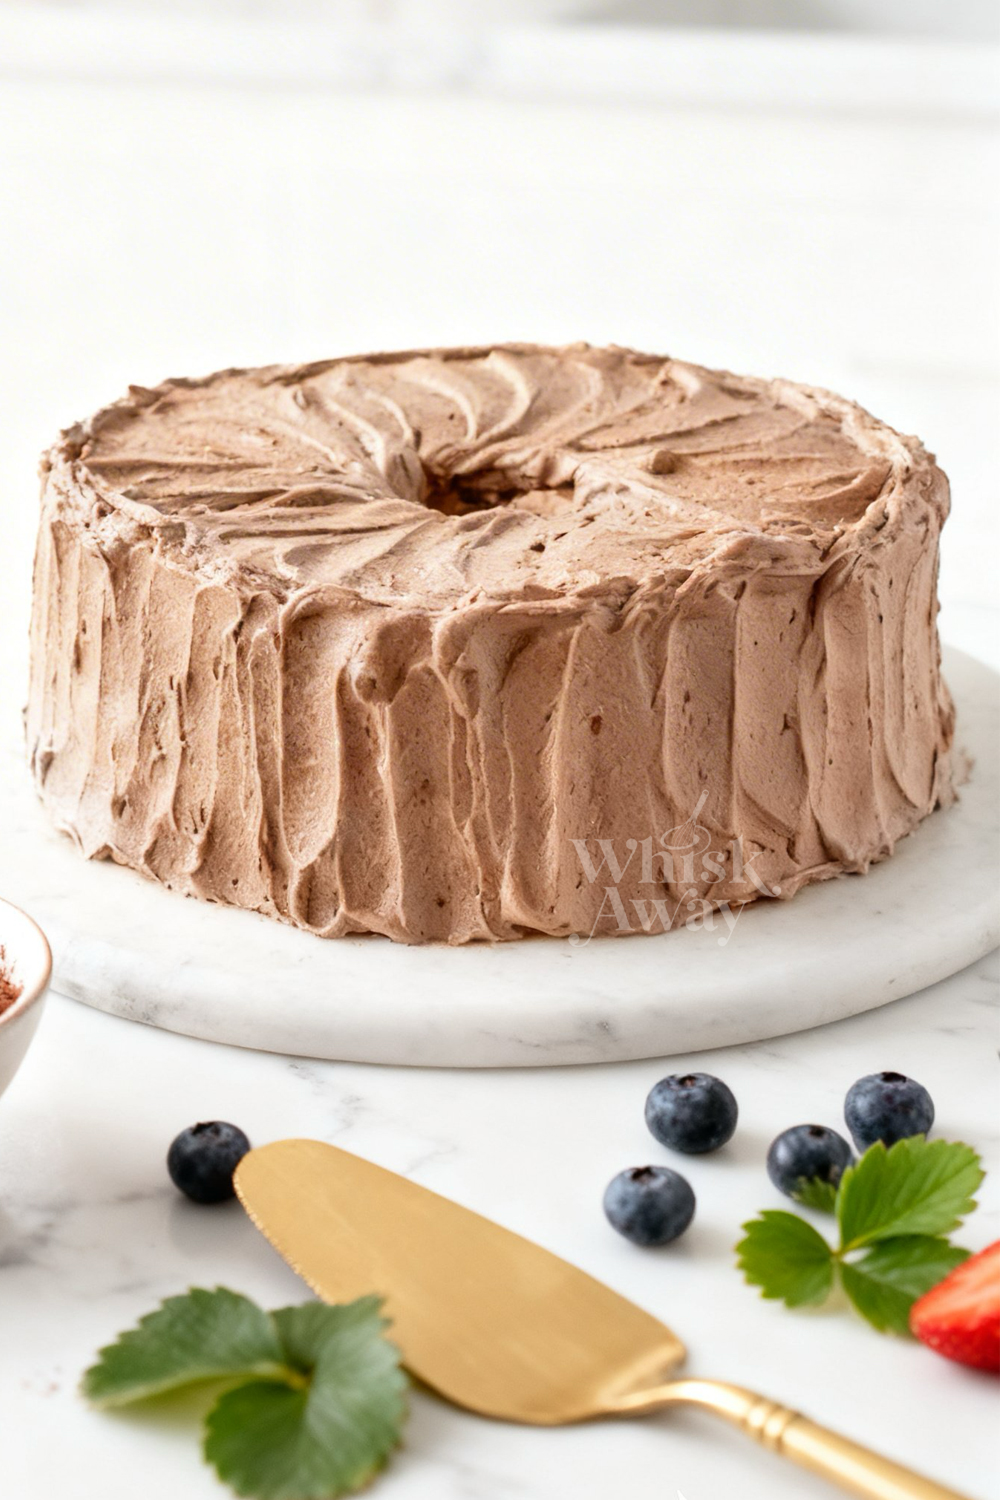
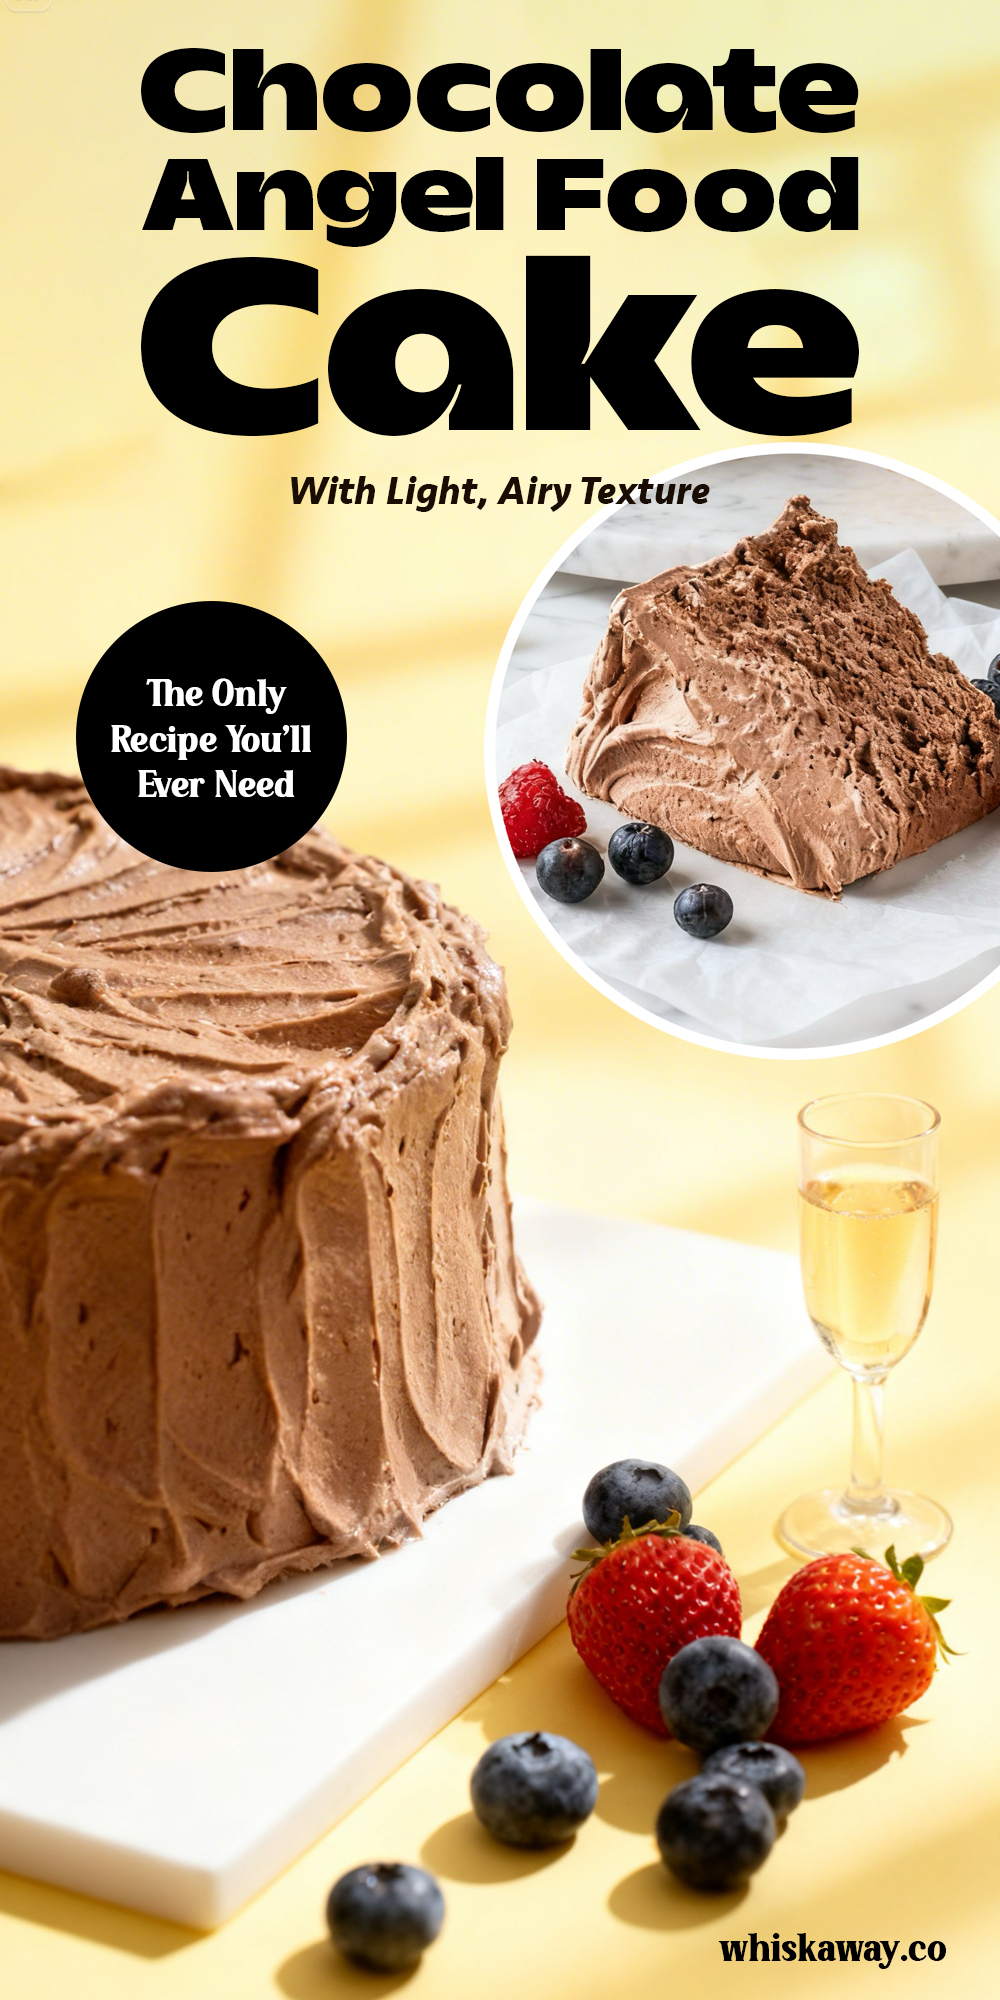
Light, airy, and unexpectedly chocolatey, chocolate angel food cake transforms a classic delicate dessert into something playful and indulgent. The sponge-like texture practically melts in your mouth, offering a lighter chocolate option that still satisfies cravings without feeling heavy. Baking it at home is manageable, even for beginner bakers, and the cake looks elegant on a dessert table or casual serving. Pair it with fresh berries, whipped cream, or a drizzle of chocolate sauce to elevate its flavor. Each slice delivers soft, sweet, and airy bites, making chocolate angel food cake a versatile dessert that works for celebrations, brunch, or weekend treats. It’s chocolatey enough to satisfy, yet light enough to feel refreshing, turning a classic sponge cake into an indulgent, playful dessert.
🔥 InternalLinking
Why You’ll Love This Chocolate Angel Food Cake
Light, airy, and chocolatey, this cake defies expectations with a delicate texture.
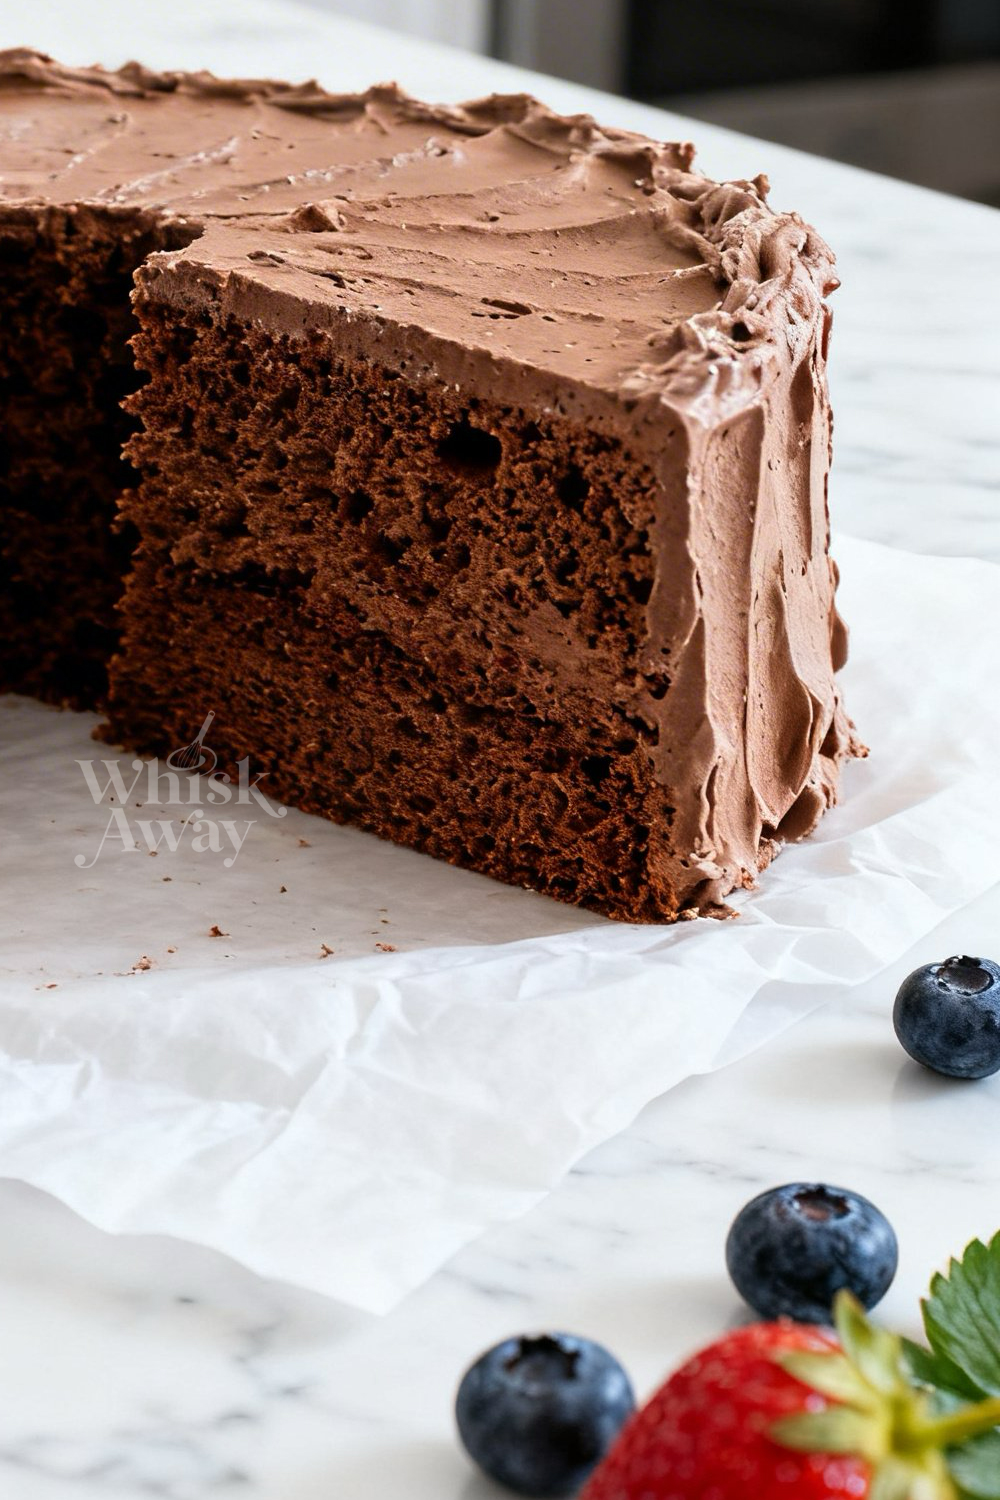
- Fluffy, melt-in-your-mouth sponge with chocolate flavor
- Guilt-light option for dessert lovers
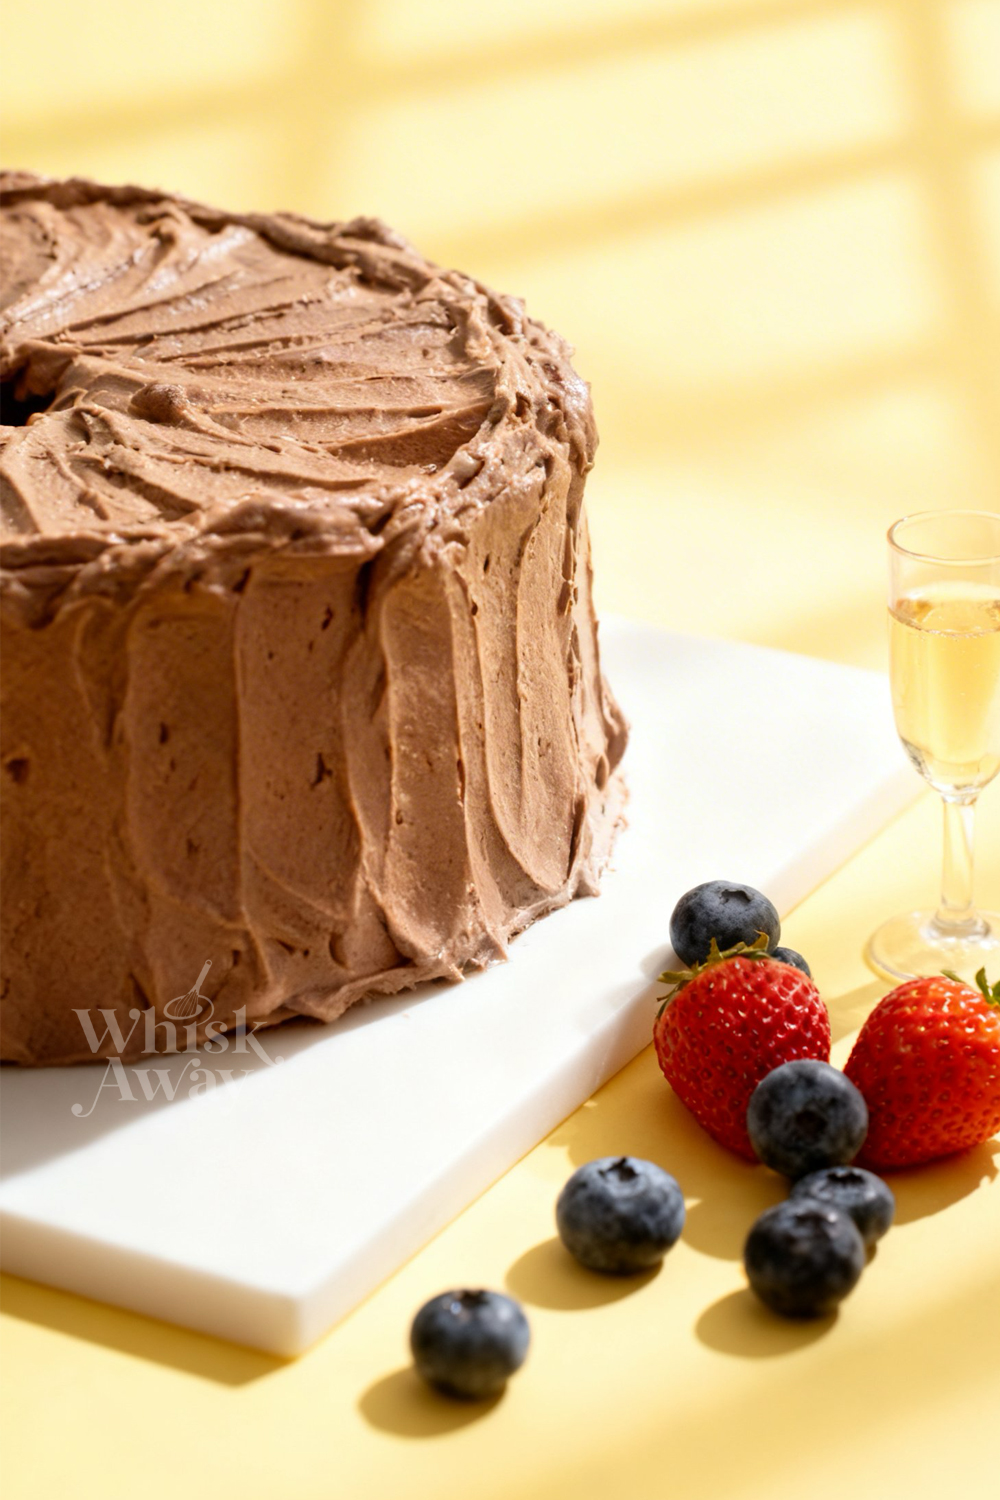
- Works beautifully with berries or whipped cream
- Easy to slice while maintaining structure
- Elegant yet approachable for any occasion
Save This Pin for Later to Your Pinterest Board
Ingredients
- Egg whites: Provide structure, lift, and a light, airy texture.
- Granulated sugar: Sweetens the cake and stabilizes the whipped egg whites for volume.
- Cake flour: Creates a tender, fine crumb and supports the delicate structure.
- Cocoa powder: Adds chocolate flavor and color.
- Boiling water: Intensifies chocolate flavor and helps dissolve the cocoa powder for a smooth batter.
- Orange: Adds citrus aroma and flavor; zest enhances brightness without adding moisture.
- Instant espresso: Deepens chocolate flavor and adds richness.
- Cream of tartar: Stabilizes whipped egg whites and helps maintain volume.
- Salt: Balances sweetness and enhances chocolate flavor.
Tips To Get Your Recipe Right
- Keep everything spotless: Even a tiny bit of grease on your mixing bowl or whisk will stop egg whites from whipping properly. Wipe equipment with a little vinegar or lemon juice before starting.
- Bring egg whites to room temperature: Cold eggs separate easily, but whites whip taller and faster at room temperature. Separate first, then let them sit for 45–60 minutes before beating.
- Use the three-bowl method: Crack each egg into a small bowl first, then transfer to the main mixing bowl. A stray yolk can ruin the whole meringue.
- Follow the sacrificial scoop step: Folding a small portion of meringue into the chocolate-water mixture helps lighten it so the remaining whites fold in without deflating.
- Fold gently: Use a wide spatula, cut straight down, scrape the bottom, and fold over the top. Rotate and repeat. Avoid stirring in circles to preserve the trapped air.
- Do not grease the pan: The airy batter needs to cling to the metal to rise. A slick pan will make the cake collapse.
- Cool inverted: Immediately flip the tube pan after baking. This prevents the fragile sponge from collapsing and keeps the crumb tall and airy.
Storage Tips
- Room Temperature (best option): Keep the cake in a cool, dry place on the counter. This preserves the soft, airy texture for 2–3 days.
- Refrigeration (avoid if possible): Refrigerators dry out fat-free sponges quickly. Only refrigerate in very hot or humid conditions, and wrap exceptionally well; it will last up to 4 days.
- Freezing (long-term, 4–6 months): Angel food cake freezes well without altering texture. Wrap whole or sliced pieces loosely in plastic wrap, then a layer of aluminum foil to prevent freezer burn.
Mistakes to Avoid
- Tight wrapping: Avoid crushing the airy sponge; use a loose wrap or rigid cake keeper.
- Slicing too soon: Cutting the whole cake exposes delicate crumb to air, accelerating staling.
- Placing near strong odors: Egg-white sponges absorb surrounding smells easily.
- Wrapping while warm: Wait until fully cooled to prevent condensation that makes the crust sticky.
FAQs
What can I do with the 15 leftover egg yolks?
Please do not throw them away! Leftover egg yolks are liquid gold in the kitchen. You can use them to make rich homemade ice cream, lemon curd, hollandaise sauce, or a decadent pastry cream. If you cannot use them right away, you can freeze them. Whisk the yolks gently with a pinch of salt or sugar (this prevents them from turning rubbery) and store them in an airtight container in the freezer for up to three months.
Can I use a regular bundt pan instead of a tube pan?
No, a traditional tube pan (preferably one with a removable bottom) is essential for angel food cake. The batter needs completely bare, ungreased, straight metal sides to grip and climb as it bakes. A bundt pan’s non-stick coating and intricate curves will cause the delicate batter to slide down and collapse, and it will be nearly impossible to remove the cake without tearing it.
Why did my cake collapse while it was cooling?
This almost always happens because the cake was cooled right-side up. The internal structure of an angel food cake is entirely supported by the whipped egg whites, which are incredibly fragile when hot. If you leave the pan sitting flat on the counter, the weight of the warm cake will cause it to compress and sink into itself. You must invert the pan immediately after taking it out of the oven so gravity can keep the crumb stretched out while it sets.
How far in advance can I make this cake?
You can comfortably bake this cake one to two days before you plan to serve it. As long as it is loosely covered and stored at room temperature, it will maintain its perfectly springy, airy texture. If you need to prep further ahead, bake the cake, let it cool completely, and freeze it for up to four months. Just let it thaw at room temperature before slicing.
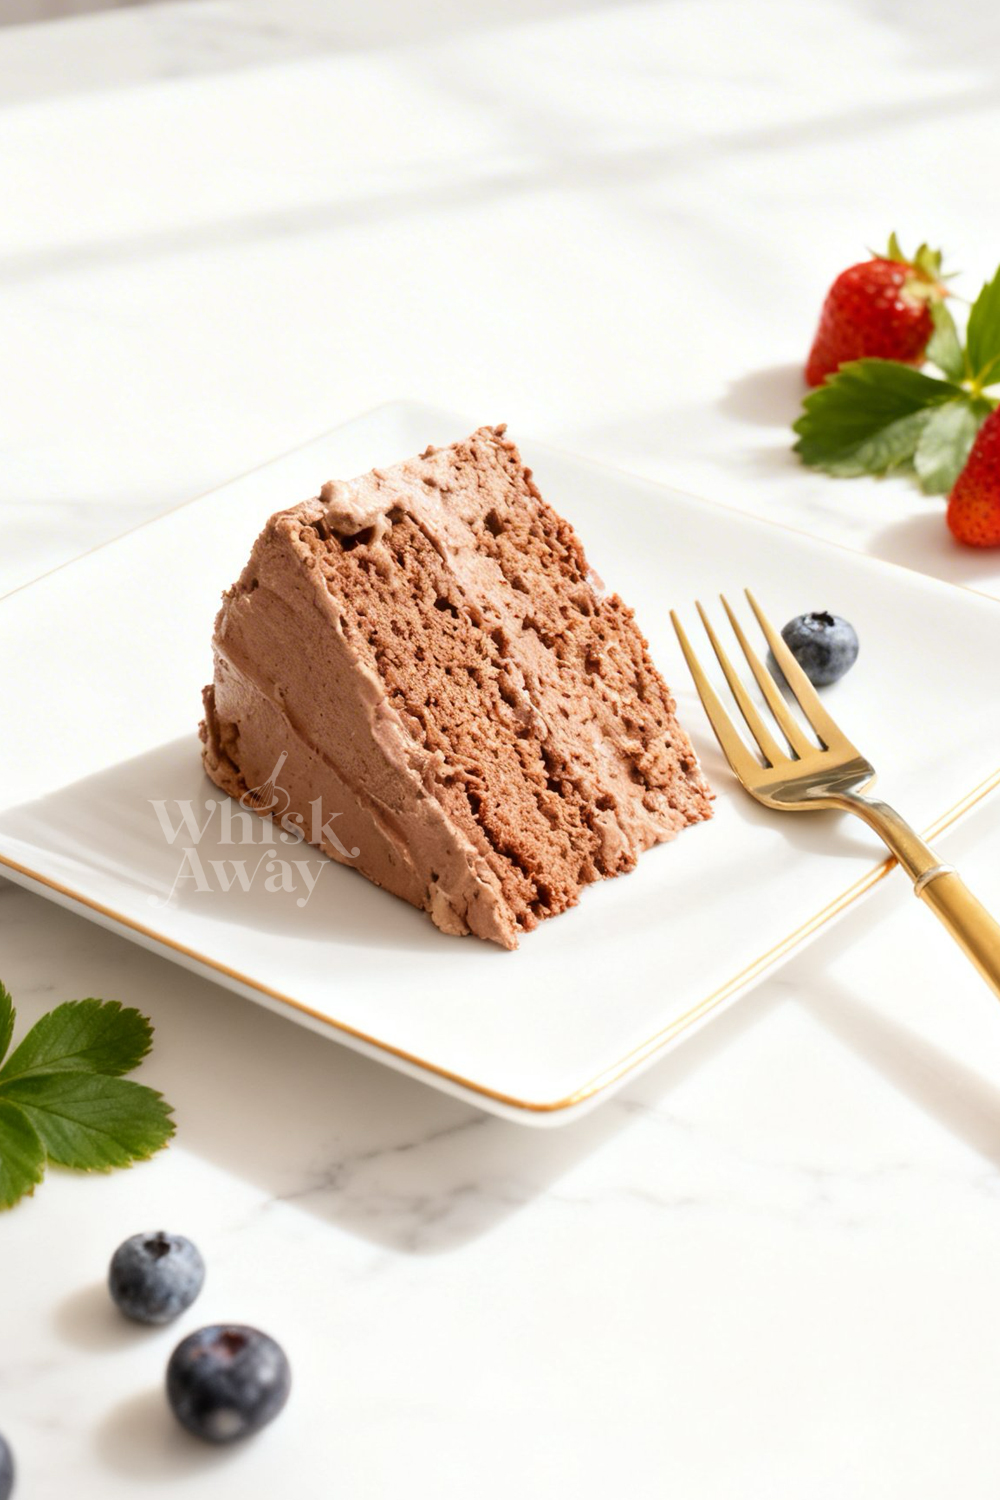
What is the best way to slice and serve angel food cake without squishing it?
Because the sponge is mostly trapped air, pressing straight down with a standard chef’s knife will instantly crush the cake into a dense puck. Always use a sharp serrated knife (like a bread knife) and use a very gentle, horizontal sawing motion to cut through the crumb. Serve the slices with a dollop of lightly sweetened whipped cream and fresh raspberries or strawberries to beautifully complement the dark chocolate and orange notes.

Chocolate Angel Food Cake
12
servings20
minutes45
minutes5
hoursThis chocolate angel food cake is light, fluffy, and perfect for chocolate lovers.
Ingredients
15 Large Egg Whites
1 ¾ Cups (12 ¼ Ounces) Granulated Sugar, Divided
1 Cup (4 Ounces) Cake Flour
1 Cup (3 Ounces) Cocoa Powder, Divided
½ Cup Boiling Water
1 Orange, Sliced Thin For Garnish
1 Tablespoon Zest From 1 Orange
2 Teaspoons Instant Espresso
¾ Teaspoon Cream Of Tartar
¼ Teaspoon Salt
Directions
- Set your oven rack to the lower-middle position and preheat to 350°F (175°C).
- In a medium-sized bowl, sift together 1/2 cup of the cocoa powder, 3/4 cup of the sugar, and the cake flour. Sifting is non-negotiable here; you need this mixture to be as light as possible to avoid crushing your egg whites later.
- In a separate large bowl, combine the rest of the cocoa powder, the espresso powder, and the salt. Pour in the boiling water and add the orange zest, stirring until the mixture is silky and smooth. Set this aside to cool slightly.
- Using a stand mixer with the whisk attachment, beat the egg whites on medium speed until they look bubbly and frothy. Drop in the cream of tartar and continue whisking until the whites start to lose their transparency and look opaque (this usually takes about a minute).
- Crank the speed up to medium-high and gradually stream in the remaining cup of sugar. Keep whisking until you have a glossy meringue that holds stiff peaks but still looks moist, not dry or chunky. This should take between 3 and 5 minutes.
- Take about a cup of your fluffy meringue and whisk it directly into the chocolate-orange mixture. This sacrificial scoop lightens the heavy chocolate so it doesn’t sink to the bottom. Gently fold the rest of the egg whites into the chocolate mixture in three separate stages, using a slow, circular motion with a spatula.
- Sift a third of your flour-sugar-cocoa mix over the batter and fold it in with a light hand. Repeat this in two more additions until everything is just combined. Be careful: The goal is to keep as much air in the batter as humanly possible.
- Carefully spoon the batter into your ungreased tube pan. Bake for roughly 40 minutes. The cake is done when it has puffed up, feels set to the touch, and a toothpick comes out clean.
- Let the pan sit on a wire rack for 5 minutes. Then, flip the entire pan upside down onto the rack. This gravity-assisted cooling prevents the delicate structure from collapsing as it sets.
- Let it cool completely in the pan for about 4 hours.
- Run a thin knife around the edges to loosen the cake, then invert it onto a serving platter. Garnish with those thin orange slices for a beautiful, professional finish.