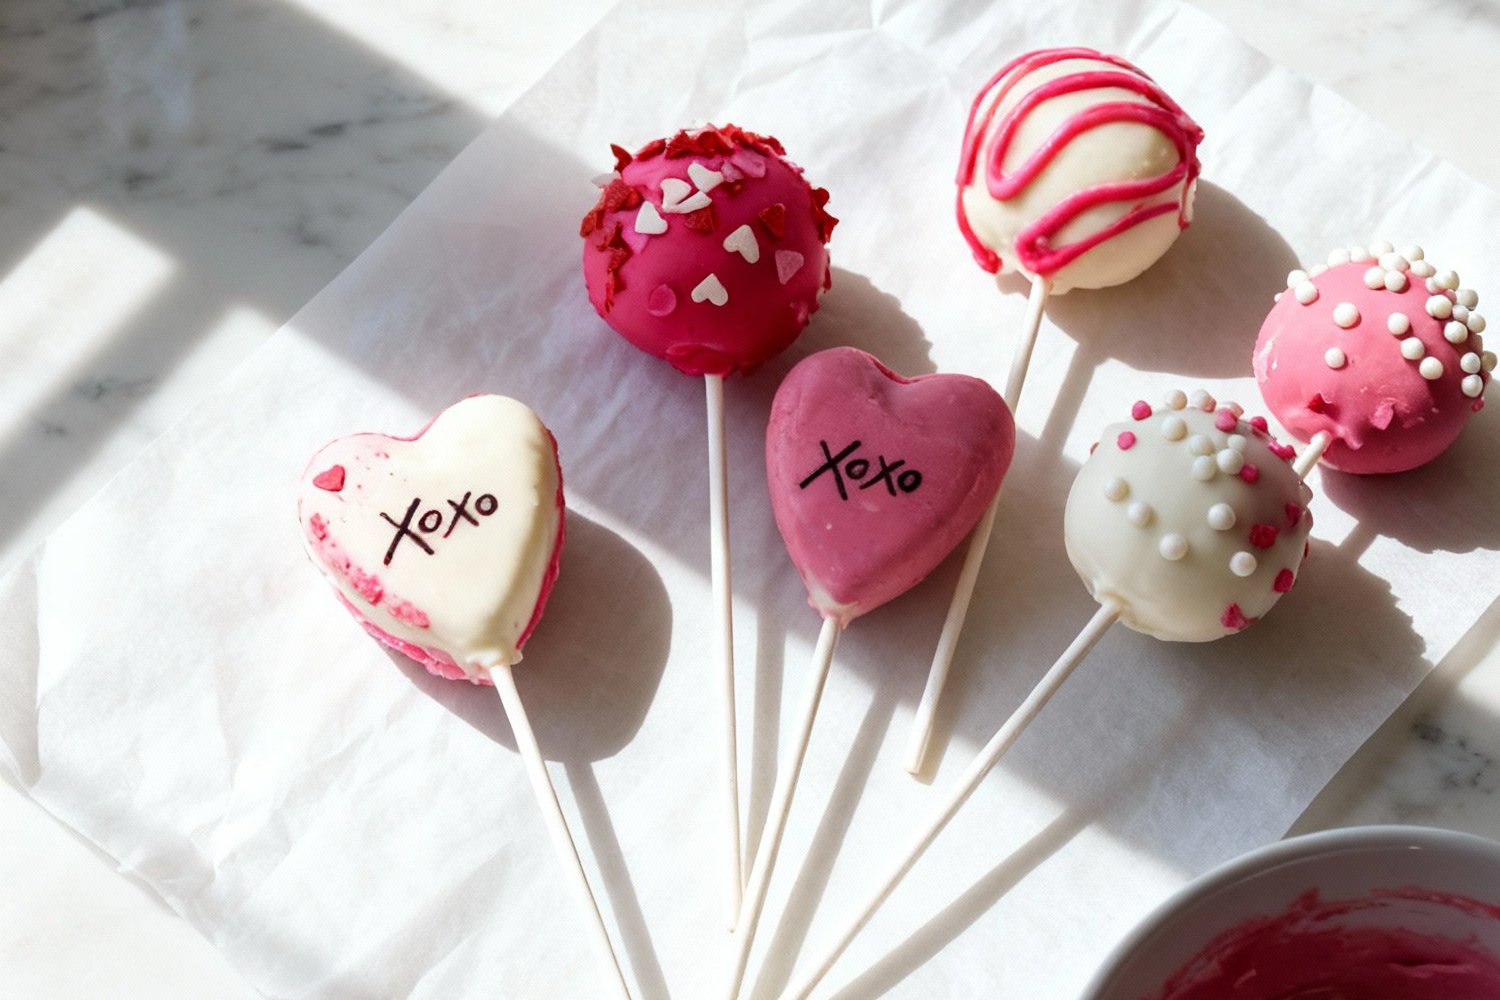
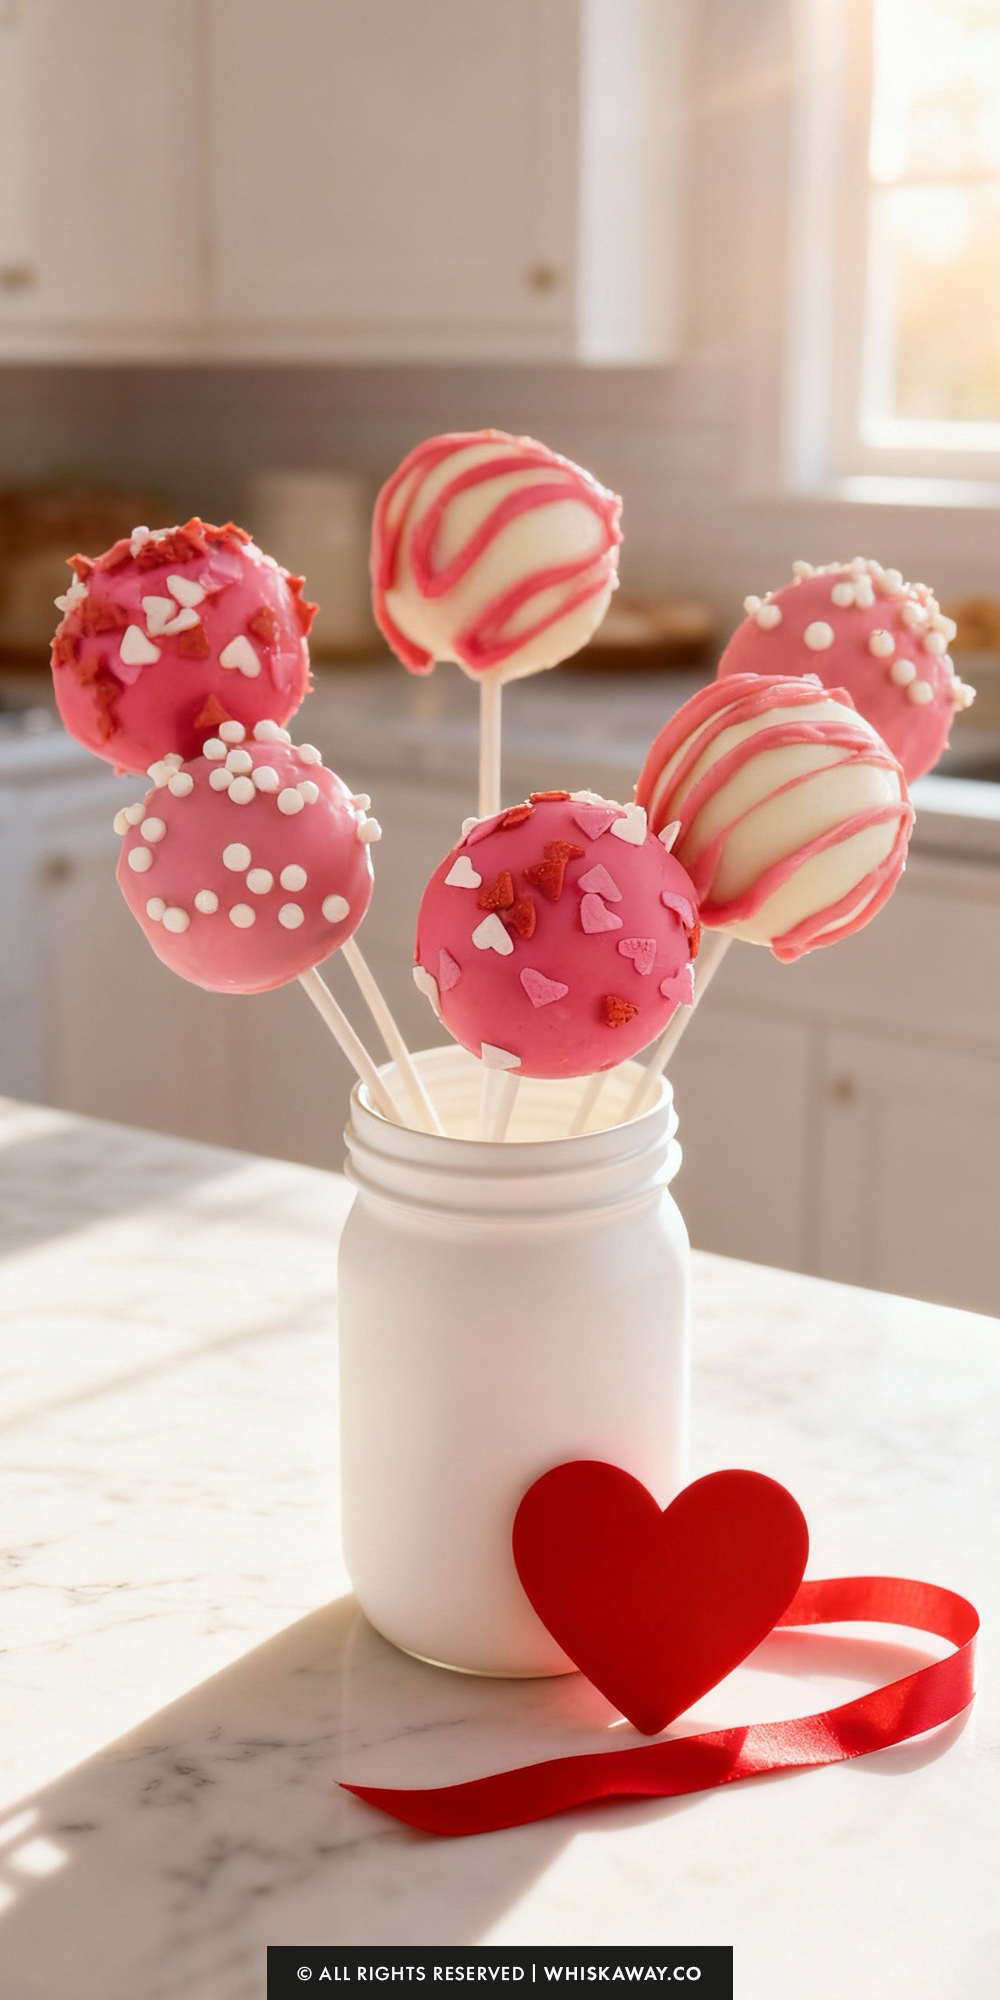
If you have ever stared longingly at the pastry case in a coffee shop, you already know the irresistible magnetic pull of Cake Pops.
There is just something so satisfying about a dessert you can eat on a stick. It’s efficient, it’s adorable, and let’s be real, eating three of them somehow feels less guilty than eating a giant slice of cake, right?
So, clear some space in your freezer, grab a bag of lollipop sticks, and let’s get rolling. These are about to be your new obsession!
Why You’ll Love This Recipe
Cake pops are fun, bite-sized desserts that are as enjoyable to make as they are to eat.
Rolling cake and frosting into spheres and dipping them in chocolate offers a creative and hands-on experience. They’re perfect for parties, gifts, or a sweet treat on the go.
Key Reasons to Love Them:
- Small, portable, and visually appealing dessert.
- Fun to decorate with chocolate, sprinkles, or drizzles.
- Combines soft cake and creamy frosting for perfect texture.
- Hands-on process teaches shaping and coating techniques.
- Ideal for holidays, parties, or personal indulgence.
🔥 These cake pops are perfect for parties and pair well with marshmallow pops, bakery-style red velvet donuts, or festive pink buttercream cupcakes.
How to Get Your Cake Pops Just Right
Cake pops are a technical dessert. They seem simple, but physics is often working against you (gravity pulling them off the stick, thermodynamics causing cracks).
Here is how to troubleshoot the most common issues before they happen.
1. The “Play-Dough” Texture
Test The most common mistake is adding too much frosting.
- The Risk: If the dough is too wet, the cake pop will be heavy, greasy, and will slide right off the stick when dipped.
- The Fix: Start with a small amount of frosting (less than you think you need). Mash it together and test it. You want the consistency of Play-Dough, smooth and moldable, but firm. If you roll it into a ball and it leaves a sticky residue on your hands, it’s too wet. Add more cake crumbs to balance it out.
2. Avoiding the Dreaded Cracks
Nothing is more frustrating than a perfect cake pop that suddenly develops a hairline crack 5 minutes after dipping.
- The Cause: Temperature shock. If your cake ball is frozen solid and your dipping chocolate is hot, the cake ball will expand as it warms up, bursting through the hardening chocolate shell.
- The Fix: The recipe calls for 20 minutes in the freezer—stick to this strictly. Do not leave them in overnight. Before dipping, let the chilled balls sit on the counter for about 5 minutes so they aren’t “ice cold” when they hit the warm chocolate.
3. Thinning Your Chocolate
Candy melts (like Wilton) are designed to harden fast, but they can be very thick and gloppy when melted, resulting in a lumpy finish.
- The Secret Ingredient: Add 1 teaspoon of coconut oil or shortening (or store-bought “paramount crystals”) to your melted chocolate. Stir it in until it dissolves.
- The Result: This thins the consistency, making it flow like a liquid glaze. It ensures a smooth, thin coating rather than a thick, heavy shell that drags the cake ball down.
4. The “Anchor” is Essential
Never skip the step of dipping the stick into the chocolate before inserting it into the cake ball. This acts as “edible glue.”
Without it, the stick will just spin inside the cake ball when you try to dip it, or the ball will remain in the chocolate cup while you pull out a naked stick.
5. The Tap and Twirl Technique
To get that professional smooth surface without a “nipple” or drip mark on top:
- Dip the pop, pull it straight out, and then hold it over the bowl at a 45-degree angle.
- Gently tap your wrist (not the stick) with your other hand. This vibration shakes off the excess chocolate gently.
- Twirl the stick slowly as you tap to even out the coating.
6. Drying Without Flat Spots
If you lay a wet cake pop on a plate, it will get a flat head.
The Stand: You need to dry them upright. If you don’t have a Styrofoam block, you can use a cardboard box with small holes poked in it, an overturned egg carton (poke holes in the humps), or a heavy jar filled with uncooked rice or dried beans.
Easy Baking Tips That Have Worked for Me
Crumbling cooled cake and mixing it with frosting is surprisingly fun, as the mixture becomes soft, pliable, and easy to shape.
Rolling it into small spheres allows for creative control, and inserting the sticks gives the pops structure while preparing them for dipping.
Dipping each cake ball into melted chocolate is rewarding, as the smooth coating covers the cake perfectly.
Adding sprinkles or decorative touches gives each pop a playful personality.
Once set, the finished cake pops are beautiful, bite-sized treats that are visually appealing and delicious, perfect for sharing or gifting.
Variation Tips
The basic formula of “cake + frosting + coating” is infinitely adaptable. Once you master the technique, you can customize these pops for any holiday or craving.
1. The Binder Switch-Up
While this recipe uses a homemade buttercream, you can use other delicious binders to change the flavor profile entirely.
- Cream Cheese Frosting: This is the gold standard for Red Velvet cake pops. The tanginess cuts through the sugar.
- Peanut Butter or Nutella: For a rich, nutty variation, swap half of the buttercream for creamy peanut butter or hazelnut spread. Pair this with a chocolate cake base for a “Buckeye” style pop.
- Cookie Butter: Use Biscoff or Speculoos spread as the binder with a vanilla or spice cake base.
2. Texture & Crunch
Cake pops are typically soft all the way through, but adding texture makes them more interesting.
- Inside: Fold in mini chocolate chips, toffee bits, or crushed nuts into the dough after you have mixed the crumbs and frosting. (Keep the pieces small so the balls stay round).
- Outside: Instead of sprinkles, roll the wet chocolate-coated pops in crushed graham crackers, crushed Oreos, or shredded coconut.
3. Flavor Extracts
You aren’t limited to vanilla extract in the frosting.
- Peppermint: Add a few drops of peppermint extract to the frosting and coat the pops in white chocolate with crushed candy canes for a holiday vibe.
- Almond: Use almond extract with a white cake base for a sophisticated “wedding cake” flavor.
- Lemon: Add lemon zest and a drop of lemon extract to the frosting, paired with a lemon cake mix.
4. The “Adults Only” Pop
For parties, you can infuse a little kick into the recipe.
- The Method: Replace the tablespoon of milk/cream in the buttercream with a liqueur like Baileys, Kahlúa, or Amaretto.
- Note: The alcohol won’t bake out, so label these clearly!
5. Gluten-Free Adaptation
This is one of the easiest recipes to make gluten-free because the texture of the cake is changed anyway.
The Swap: Simply use a 15 oz Gluten-Free Box Cake Mix. The crumbling and mixing process remains exactly the same. Ensure your melting wafers are also certified GF.
6. Coloring Your Own Chocolate
If you can’t find pink melting wafers, or want a specific custom color (like a dusty rose or teal):
- White Base: Buy white melting wafers or white chocolate bark.
- The Golden Rule: You must use oil-based candy coloring. Do not use standard water-based liquid food coloring or gel, as it will cause the chocolate to seize and turn into a chunky mess instantly.
Save for Later to Your Pinterest Board
How to Properly Store Your Cake Pops
One of the best things about cake pops is that the hard chocolate coating acts as a protective seal, keeping the inside moist for days.
However, chocolate is sensitive to temperature changes, so proper storage is key to keeping them looking smooth and shiny.
1. Room Temperature (Best for 3–5 Days)
The Ideal Spot: If your kitchen is cool (below 70°F/21°C), storing them on the counter is the best way to preserve the texture of the chocolate.
How to Store: You can store them upright in a stand or lay them flat (once fully dry) in an airtight container.
Safety: Since the amount of milk/cream in the frosting is very small and stabilized by a large amount of sugar, they are generally safe at room temperature. However, if you used fresh cream cheese frosting, they must be refrigerated.
2. Refrigeration (Best for up to 2 Weeks)
When to Chill: If your house is warm or you want to extend their shelf life, the fridge is a great option.
The “Sweating” Issue: The biggest risk with the fridge is condensation. When you take a cold cake pop out into a warm room, water beads can form on the chocolate (sweating), which can make them sticky or cause the colors to run.
The Fix: To minimize this, store the pops in an airtight container with a paper towel at the bottom to absorb excess moisture. When removing them from the fridge, leave the container lid on until they come to room temperature.
3. Freezing (Best for up to 6 Weeks)
Preparation: You can freeze fully dipped cake pops! Wrap each pop individually in a plastic treat bag or plastic wrap to protect the surface. Place them in a rigid container so they don’t get crushed.
Thawing: Thaw them in the refrigerator overnight, then move them to the counter. Do not microwave them. Thawing them slowly helps prevent the chocolate shell from cracking due to rapid expansion.
4. Packaging Tips
Individual Bags: The most professional way to store cake pops is in small cellophane treat bags tied with a twist tie or ribbon. This prevents them from sticking to each other and keeps them sanitary for parties.
Flat Storage: If you don’t have a stand, you can lay the pops flat in a Tupperware container. Separate layers with wax paper or parchment paper to prevent scuffing.
5. Common Storage Mistakes
Direct Sunlight: Never leave the container in direct sunlight or near the oven. Even if the room feels cool, the radiant heat will melt the coating and cause the cake ball to slide down the stick.
Warm Packing: Ensure the chocolate is 100% set and hard before wrapping or boxing. If the chocolate is even slightly tacky, the wrapper will adhere to the surface and ruin the smooth finish when peeled off.
FAQs
Why do my cake pops keep falling off the stick while dipping?
This usually happens for two reasons. First, the cake ball might be too heavy because too much frosting was added. The dough should be firm, not mushy. Second, you may have skipped the “anchor” step. You must dip the tip of the lollipop stick into melted chocolate before inserting it into the cake ball. This acts as glue to hold it in place.
Can I use store-bought canned frosting instead of making buttercream?
Yes, absolutely! Store-bought frosting is a great time-saver. However, canned frosting is often softer and oilier than homemade buttercream. You will likely need less of it to achieve the right consistency, so add it very slowly (start with 1–2 tablespoons) to avoid making the dough too wet.
Why does my chocolate coating crack after drying?
Cracks are caused by temperature shock. If you dip a frozen or very cold cake ball into warm melted chocolate, the cake ball expands as it warms up, causing the hard shell to burst. To prevent this, let your chilled cake balls sit on the counter for about 5 to 10 minutes before dipping so they aren’t ice-cold.
My melted chocolate is too thick and clumpy. How do I fix it?
Candy melts can sometimes be too viscous for a smooth dip. To thin the chocolate, stir in 1 teaspoon of solid coconut oil or vegetable shortening (or store-bought “paramount crystals”) into the hot chocolate. Stir until dissolved. This will turn the chocolate into a smooth, pourable glaze that coats the pop evenly.
How far in advance can I make these?
Cake pops are a great make-ahead treat! You can form the undipped cake balls and freeze them for up to 6 weeks. If you want to make the fully finished pops, they can be made 3 to 4 days in advance and stored at room temperature (in a cool spot) or in the fridge. The candy coating seals in the moisture, keeping the cake inside fresh.

Cake Pops
30
pops40
minutes20
minutesLearn how to make perfectly smooth cake pops with simple ingredients, ideal for birthdays, holidays, and special occasions.
Ingredients
- Cake Pops
15 ounce box cake mix (bake according to package directions in a 9×13" pan)
10 ounce package pink melting wafers (I prefer Wilton)
- Buttercream Frosting
2–2 ½ cups powdered sugar
½ cup salted butter, softened
3 tbsps cocoa powder, if doing chocolate
1 tbsp heavy cream or milk
1 tsp vanilla extract
Optional: Sprinkles, jimmies, or other desired decorations
Directions
- In a medium mixing bowl, beat the softened butter until creamy. Mix in about 1 cup of the powdered sugar until fully incorporated.
- Next, add the cocoa powder (if using), the vanilla extract, and the tablespoon of heavy cream or milk. Gradually mix in the remaining powdered sugar until the frosting is thick, creamy, and stiff enough to hold a peak.
- Take your fully cooled 9x13 cake and crumble it into a large bowl. You want fine, even crumbs. Tip: If the edges of the cake are hard or dark brown, trim them off first to keep the texture smooth.
- Add two large spoonfuls of your buttercream to the crumbs. Use your hands or a large spoon to mash the mixture together. Continue adding small amounts of frosting only as needed until the dough reaches a "play-dough" consistency. It should hold together firmly when squeezed without crumbling, but shouldn't be greasy.
- Use a medium cookie scoop to portion out the dough so they are all the same size. Roll each portion between your palms into a tight, smooth ball and place them on a baking sheet or plate. Continue until all the dough is used.
- Place your candy melting wafers in a small microwave-safe bowl. Heat them in 30-second intervals, stirring well between each burst, until completely smooth.
- Take a lollipop stick and dip the tip (about half an inch) into the melted chocolate. Immediately push the dipped end into the center of a cake ball, stopping about halfway through. Repeat for all the pops.
- Place the tray in the freezer for 20 minutes. This sets the "anchor" so the balls don't fall off the stick later.
- Just before removing the pops from the freezer, reheat your chocolate if it has hardened, or melt a fresh batch if needed. Tip: Using a tall, narrow vessel like a 2-cup glass measuring cup makes dipping much easier than using a shallow bowl.
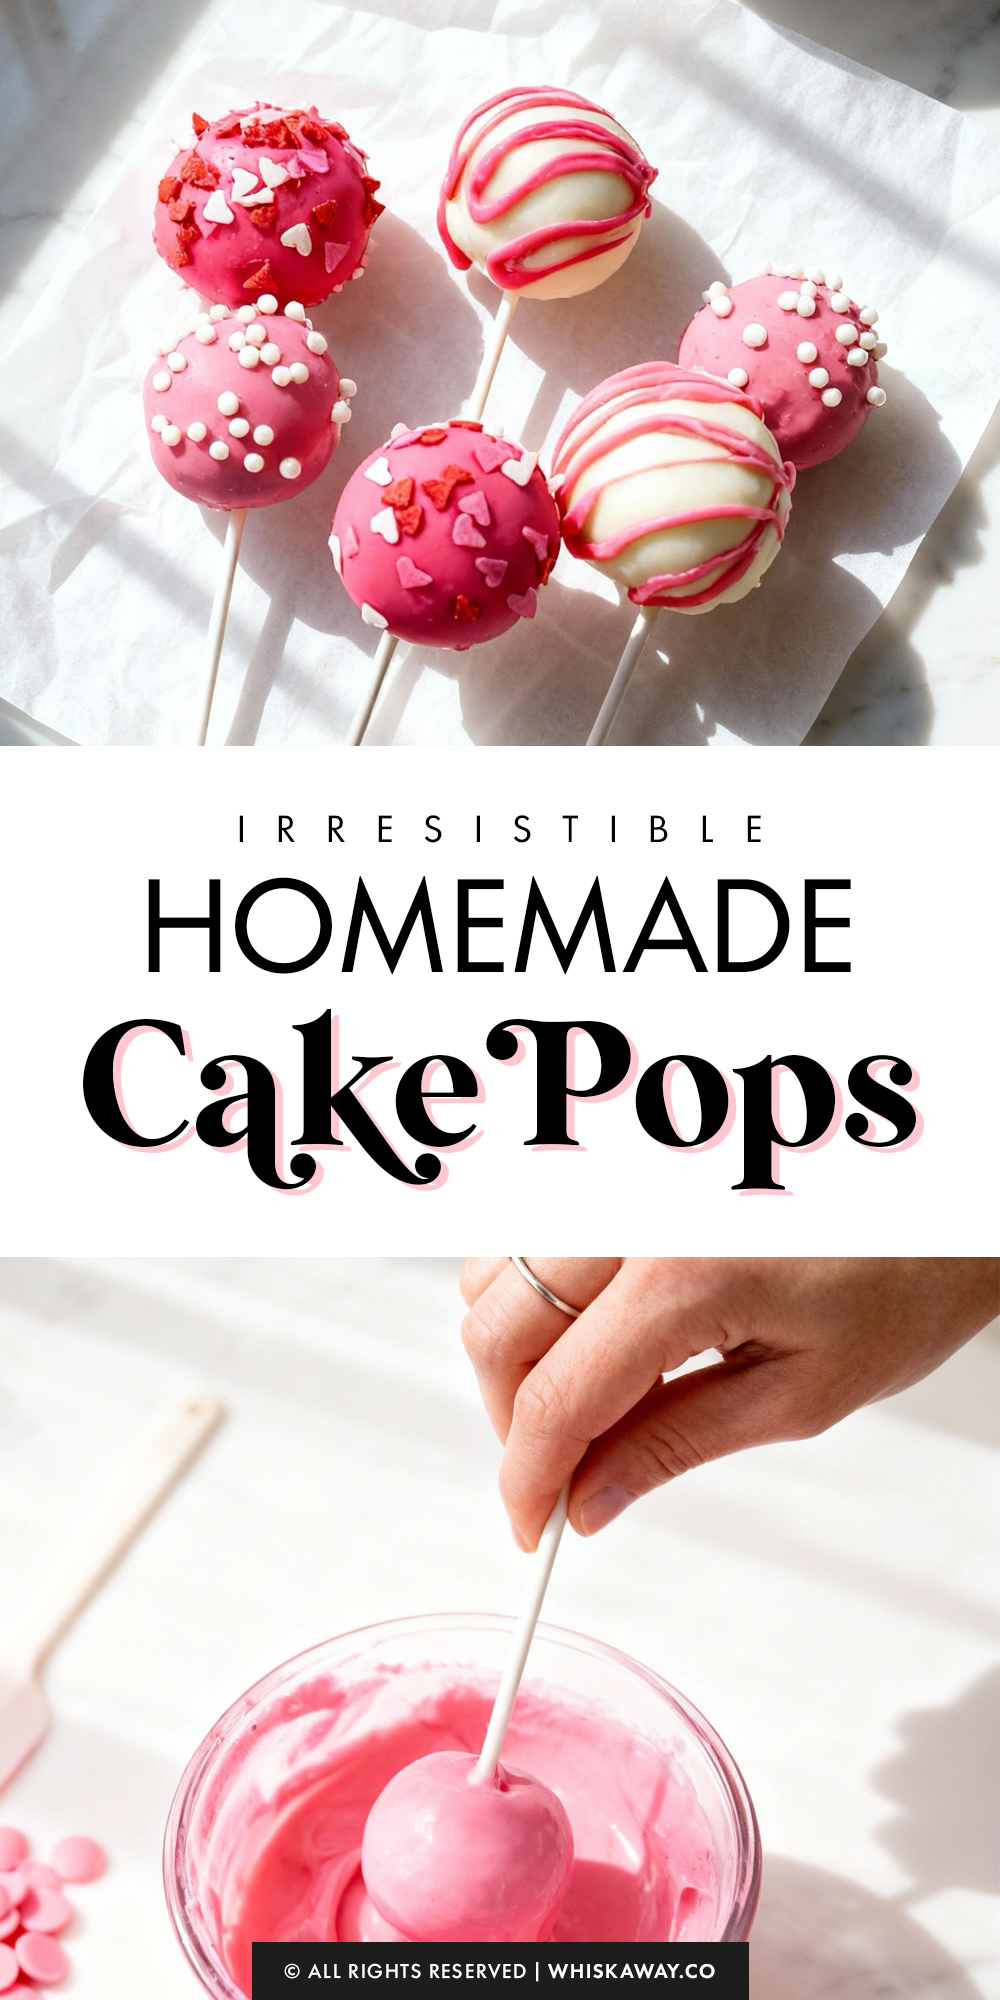
- Dip each cake pop straight down into the chocolate until fully submerged. Lift it out and gently tap the stick against the rim of the cup, or twirl the stick between your fingers, to encourage excess chocolate to drip off.
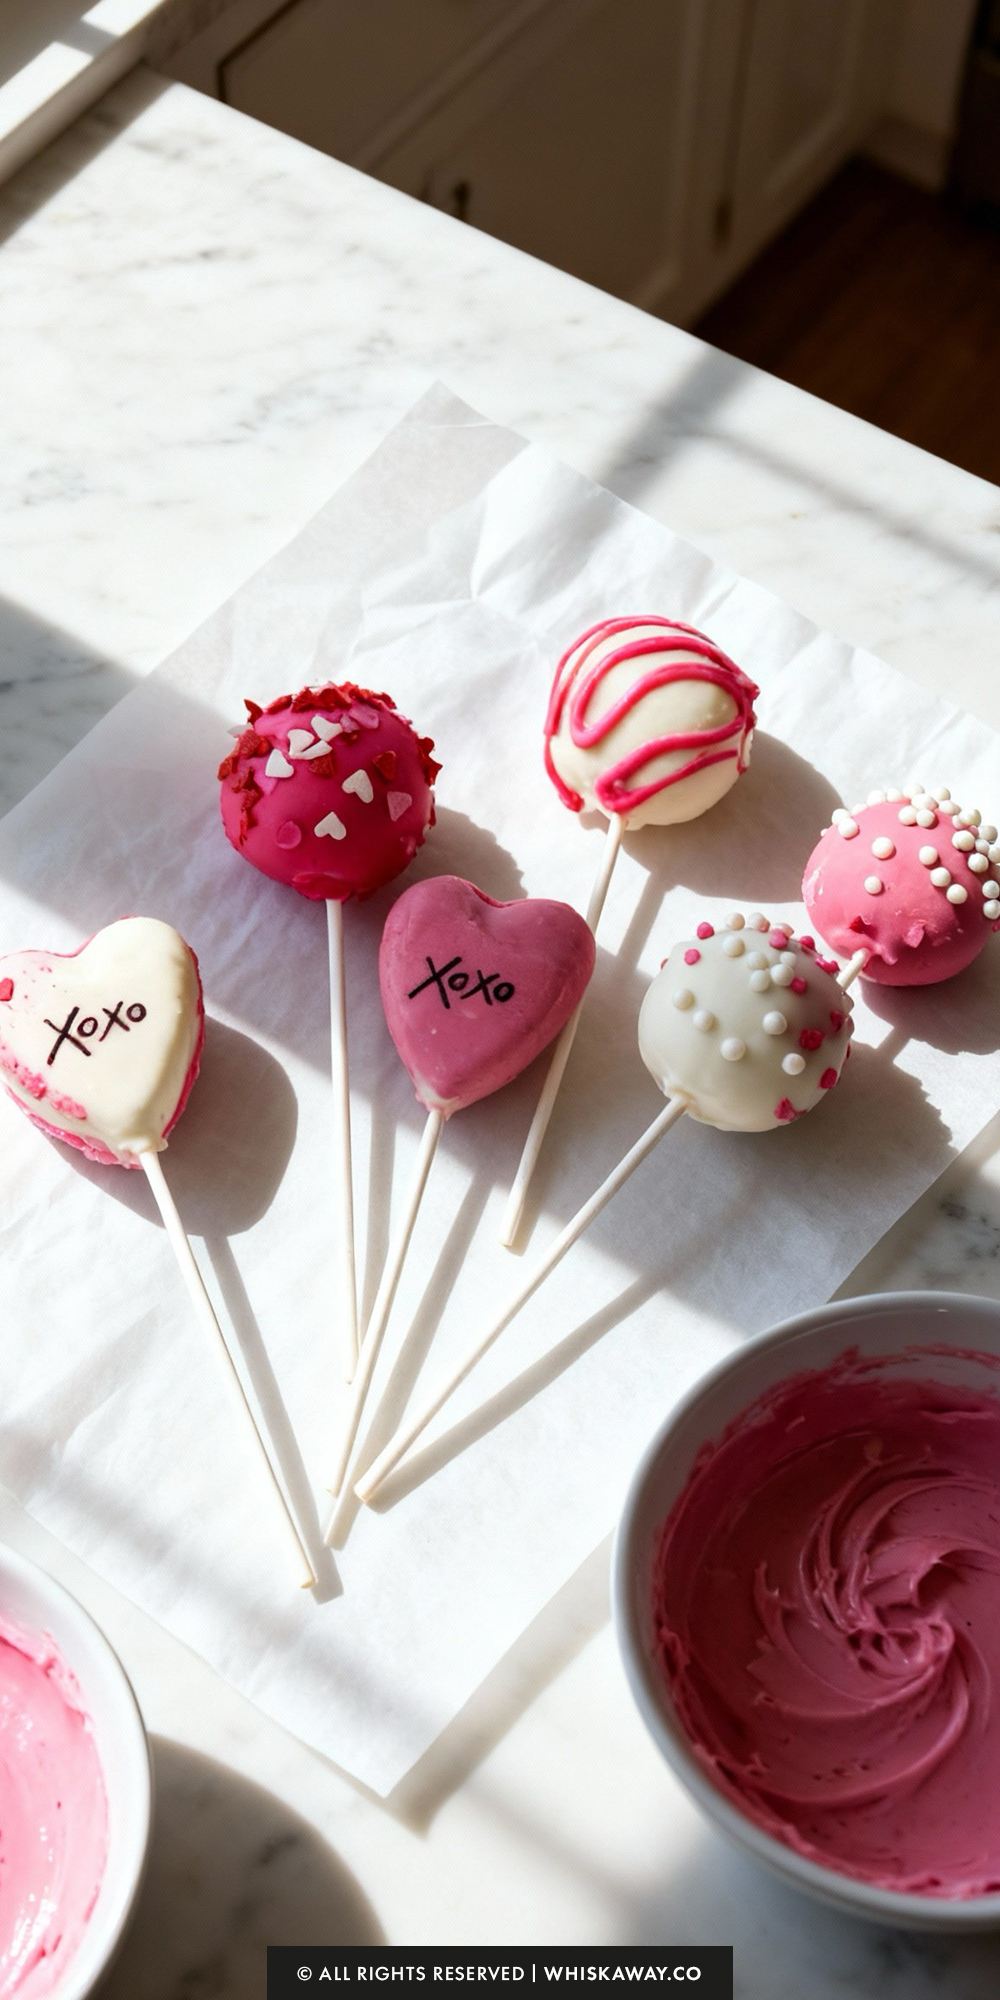
- While the chocolate coating is still wet, immediately add your sprinkles or jimmies so they stick. If you prefer to do a chocolate drizzle design instead, wait until the base coating is fully dry, then use a fork or spoon to drizzle contrasting chocolate over the top.
- Stand the finished cake pops upright by pushing the sticks into a block of Styrofoam or placing them in a jar filled with uncooked rice or beans.
- Allow the pops to sit for about an hour until the coating is completely hard. Store them in an airtight container in a cool, dry place for 3 to 4 days.