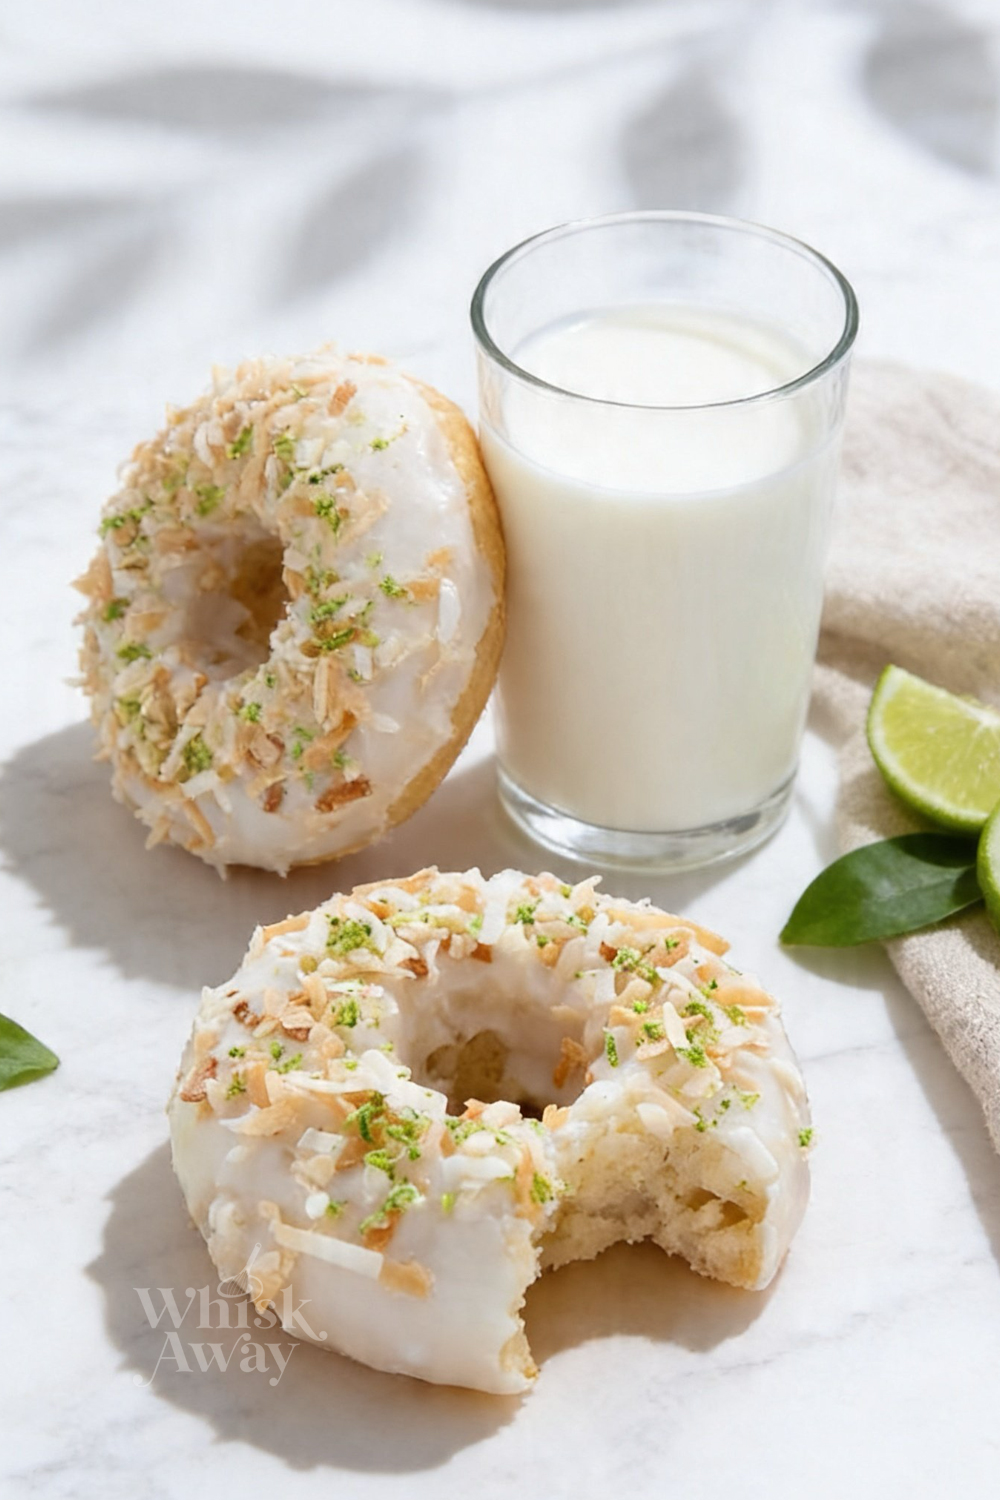
Are you searching for the perfect tropical dessert to brighten your mornings? Look no further, because these baked key lime coconut donuts are guaranteed to become your new obsession. Whether you are hosting a summer brunch or simply craving a refreshing citrus baking project, this foolproof baked donut recipe delivers bakery-quality results right in your own kitchen. Every single bite perfectly balances zesty, vibrant citrus flavors with sweet, creamy tropical undertones. The tender, cakey crumb practically melts in your mouth, while the sweet and tangy glaze adds a beautifully glossy finish. Forget about messy deep fryers or complicated techniques; these treats come together quickly using standard pantry staples and a trusty donut pan. They are an effortless way to bring sunshine to your dessert table. Whip up a batch of these key lime coconut donuts today and watch them disappear in mere minutes. Your sweet family will beg for more!
🔥
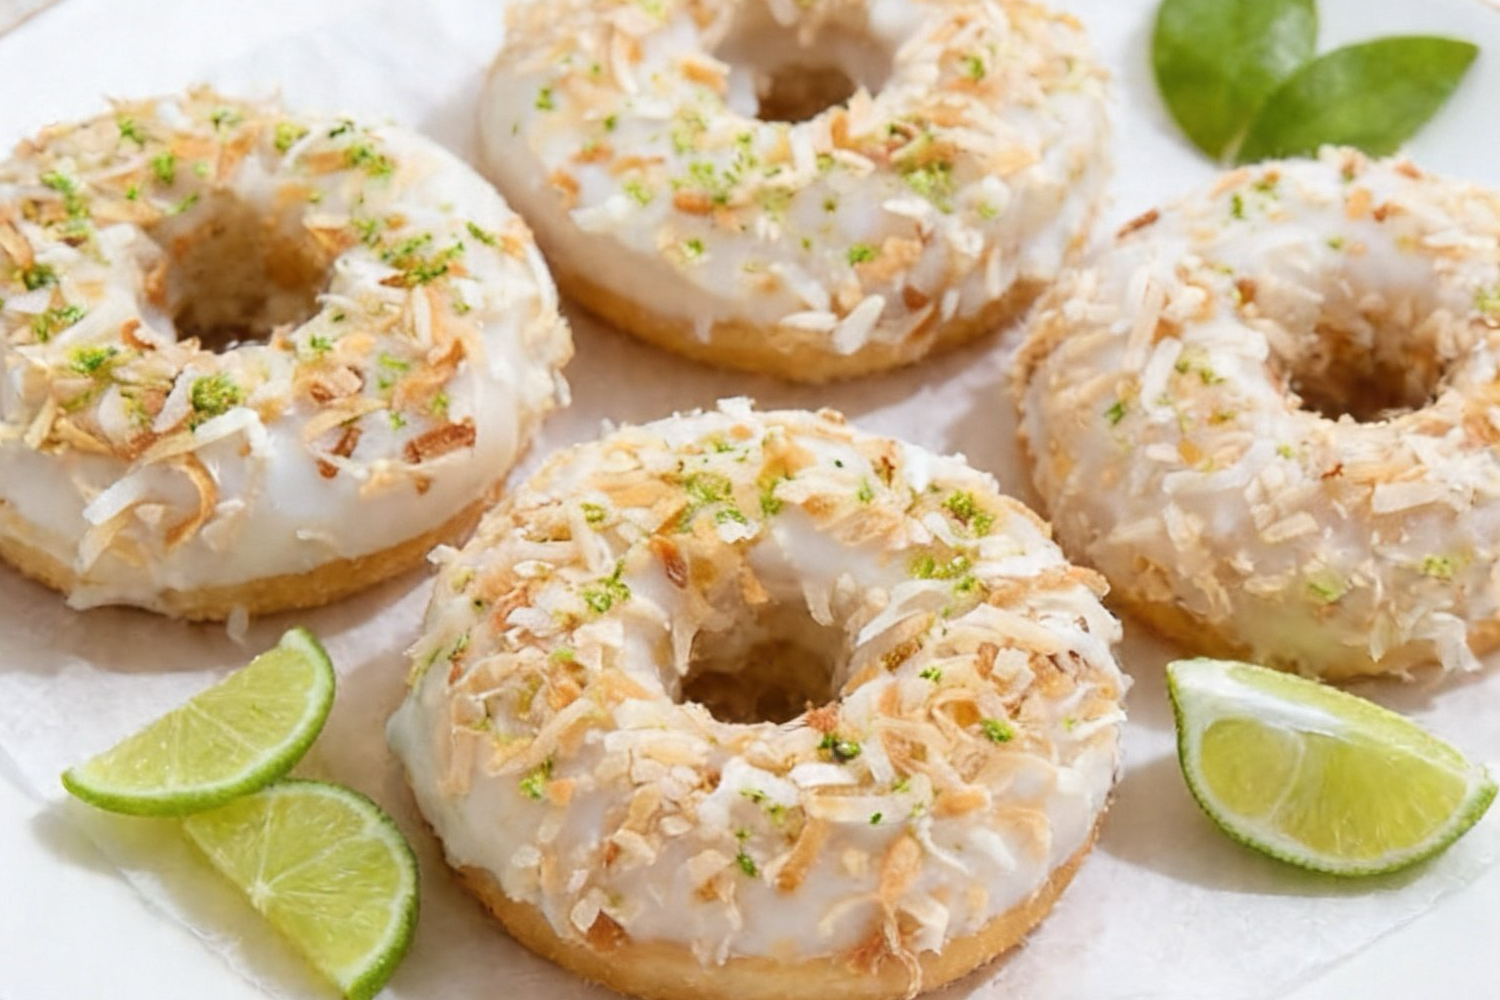
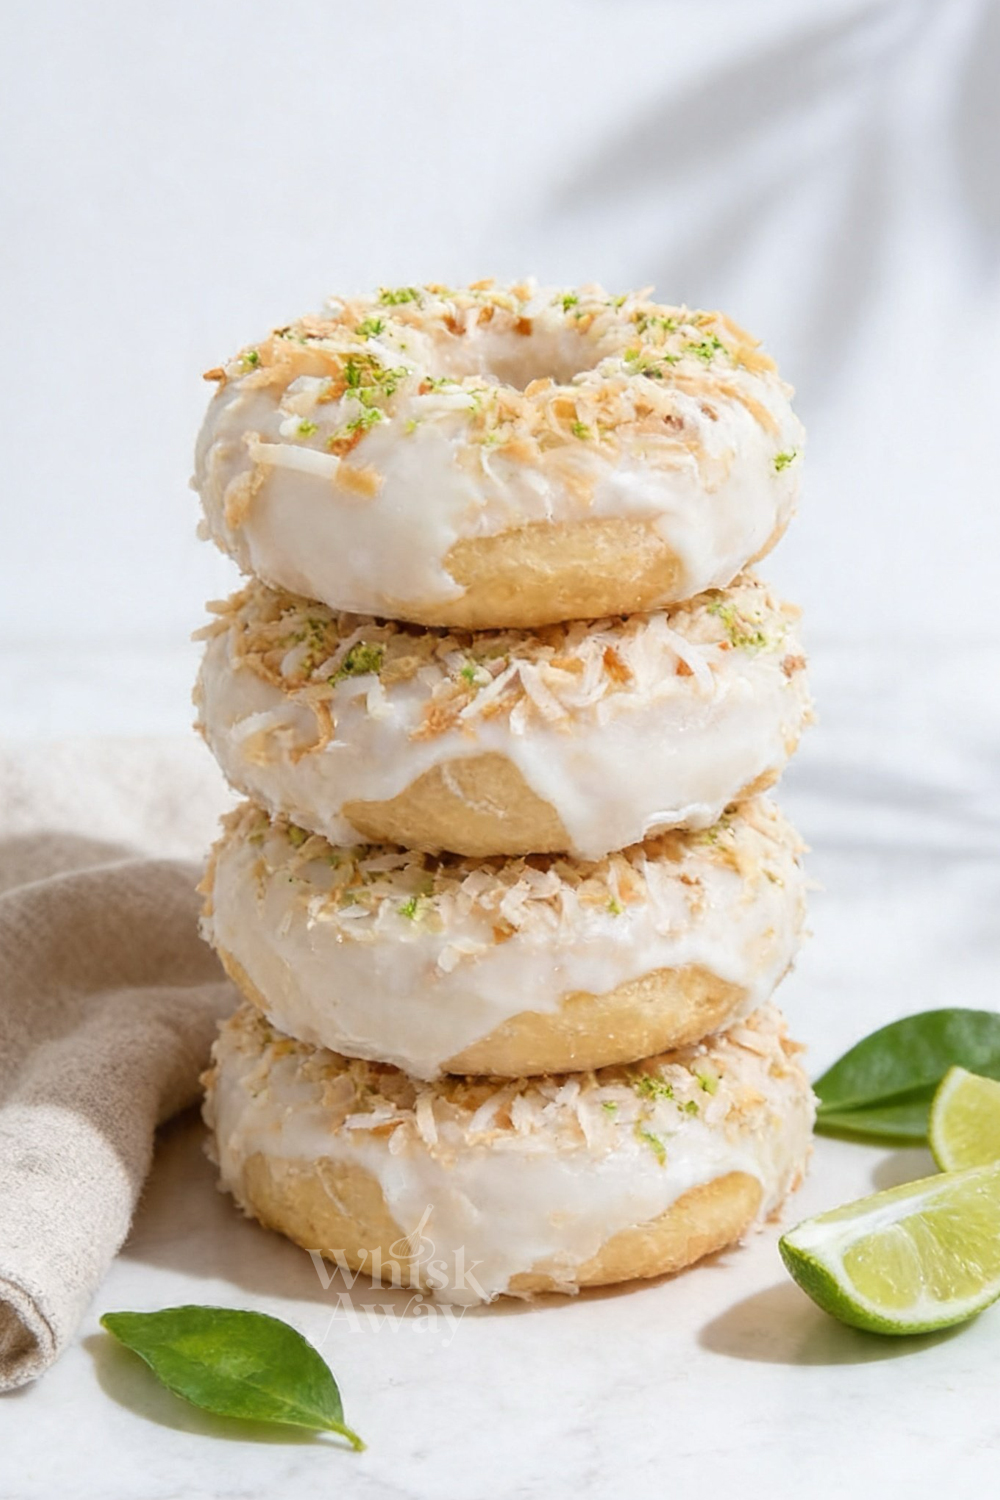
Why You’ll Love This Key Lime Coconut Donuts
These refreshing treats blend the sunny flavor of citrus with the rich taste of the tropics.
They are incredibly simple to make, requiring no special frying equipment or complicated dough proofing.
- Fast Preparation: From pantry to plate, this entire recipe takes under 30 minutes to complete.
- Baked, Not Fried: Enjoy a soft, tender cake texture without the hassle or mess of deep-frying in hot oil.
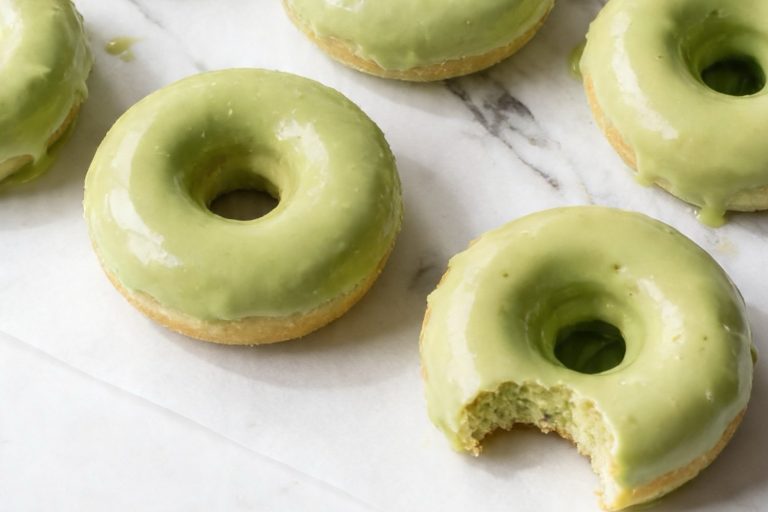
- Vibrant Glaze: The authentic key lime glaze offers a sharp, tangy contrast to the sweet coconut crumb.
- Accessible Ingredients: You can easily substitute standard limes if fresh key limes are hard to find in your area.
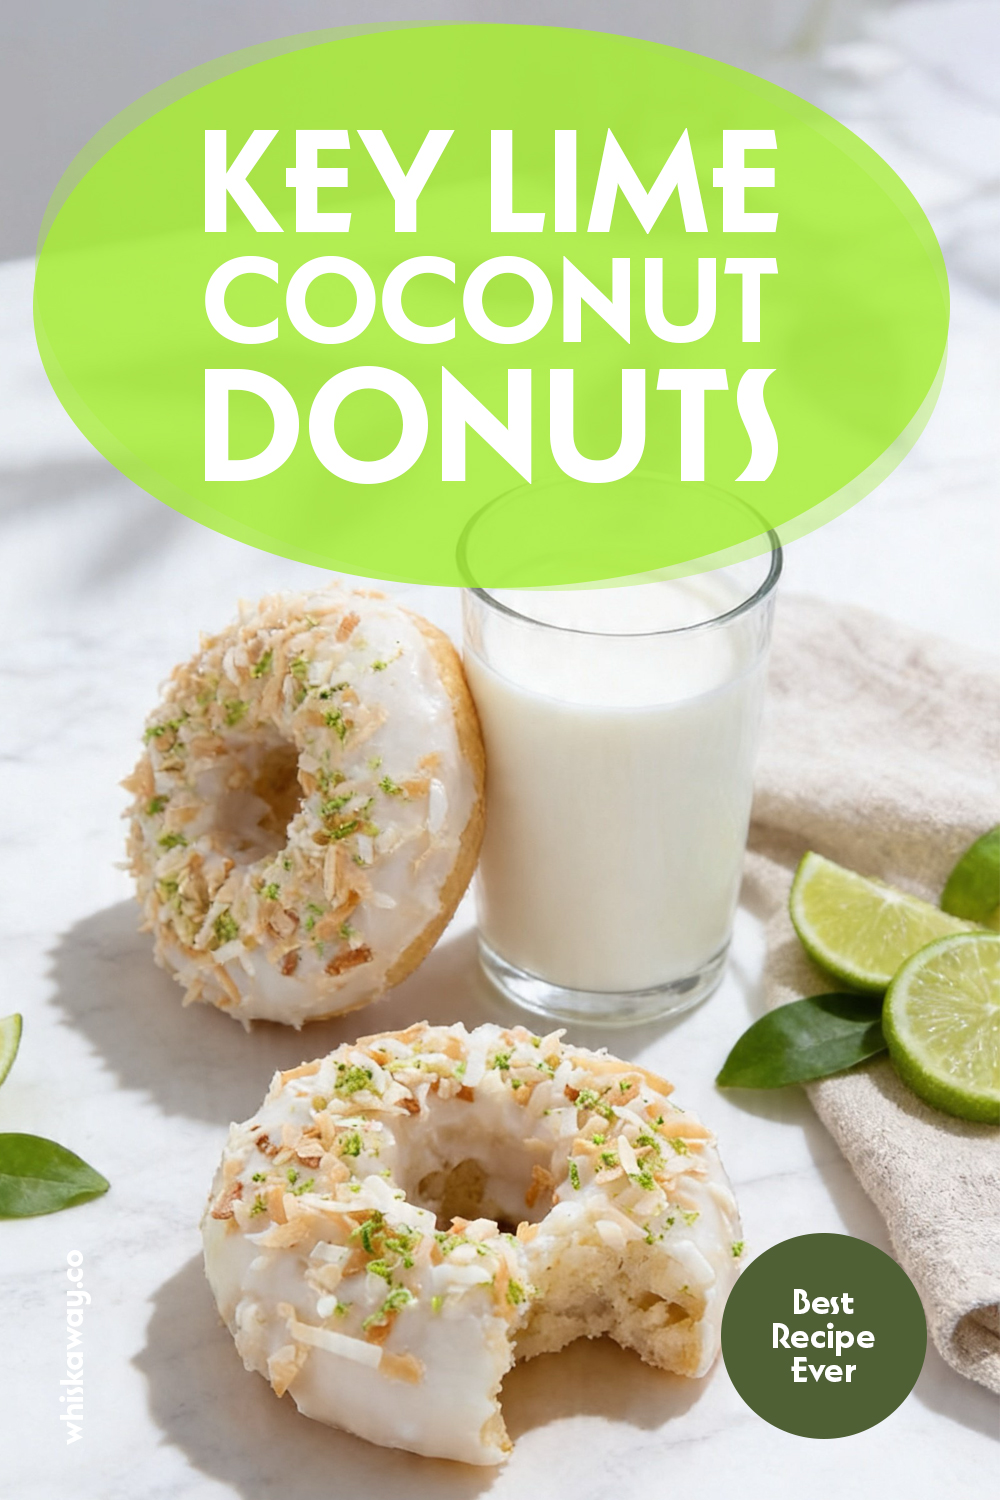
Save This Pin for Later to Your Pinterest Board
Ingredients
- All-Purpose Flour: Forms the structural base of the donut, yielding a soft and fluffy crumb.
- Confectioners’ Sugar: Dissolves completely into the glaze to create a smooth, sweet, and glossy coating.
- Granulated Sugar: Sweetens the donut batter while ensuring a moist texture.
- Coconut Milk: Infuses the batter with subtle tropical richness and provides necessary moisture.
- Shredded Coconut: Toasted for an aromatic, crunchy garnish that highlights the tropical profile.
- Coconut Oil: Adds a delicate coconut flavor and tenderizes the crumb, replacing traditional butter.
- Key Lime Juice: Delivers the sharp, signature acidity required for an authentic zesty glaze.
- Fresh Lime Zest: Distributes bright, aromatic essential oils throughout the batter and the glaze.
- Baking Powder: The essential leavening agent that gives these baked donuts their airy lift.
- Salt: Balances the sweetness and enhances the overall citrus and coconut flavors.
- Egg: Binds the ingredients together and provides structure and richness to the batter.
Tips To Get Your Recipe Right
- Melt the Oil Carefully: Ensure your coconut oil is completely melted before combining it with the sugar. A quick trip to the microwave will do the trick if it is solid.
- Prepare the Pan Properly: You absolutely need a specialized donut pan for this recipe. Be sure to generously grease all the cavities so your delicate treats release effortlessly after baking.
- Source the Best Limes: While fresh key limes offer the most authentic flavor, you can confidently substitute bottled key lime juice or standard fresh limes if you are in a pinch.
- Massage the Zest: Use your fingers to rub the lime zest directly into the granulated sugar. This process releases the lime’s essential oils, maximizing the citrus flavor in the final bake.
- Do Not Overmix: When combining your wet and dry ingredients, use a gentle folding motion with a rubber spatula. Overmixing will develop the gluten and result in dense, tough donuts.
- Watch the Clock: Baked donuts cook rapidly! Keep a close eye on your oven around the 10-minute mark; they are ready when the tops are firm and lightly golden.
- Patience with Glazing: Allow the donuts to cool completely on a wire rack before dipping them in the glaze. A warm donut will simply melt the frosting and create a slippery mess.
Storage Tips
- Room Temperature Safe: Store any leftover unglazed donuts in an airtight container at room temperature for up to two days.
- Glaze Before Serving: For the best texture, keep the glaze separate and only dip the donuts right before you plan to eat them to prevent them from becoming soggy.
- Freezing the Bake: You can freeze unglazed baked donuts in a freezer-safe bag for up to two months. Thaw them at room temperature before adding the fresh key lime glaze.
- Avoid the Fridge: Refrigerating baked goods like these donuts can dry out the crumb prematurely, so stick to room temperature or freezing.
FAQs
Can I make these without a donut pan?
While you can try baking the batter in a muffin tin, you will end up with muffins rather than the classic donut shape. A dedicated donut pan is highly recommended for the correct texture and baking time.
Can I use standard limes instead of key limes?
Absolutely. If fresh key limes or bottled key lime juice are difficult to find, regular Persian limes are a fantastic substitute and will still yield a deliciously zesty flavor.
Why did my donuts turn out dense and heavy?
Dense donuts are typically the result of overmixing the batter or using too much flour. Always measure your flour accurately using a kitchen scale or the spoon-and-level method, and fold the wet and dry ingredients together until just combined.
Should I bake or fry this recipe?
This specific recipe is formulated strictly for baking. Attempting to fry this cake-like batter will not yield the correct results and could easily fall apart in the oil.
How can I intensify the coconut flavor?
To boost the tropical notes, ensure you use full-fat canned coconut milk and generously top your glazed donuts with deeply toasted shredded coconut.

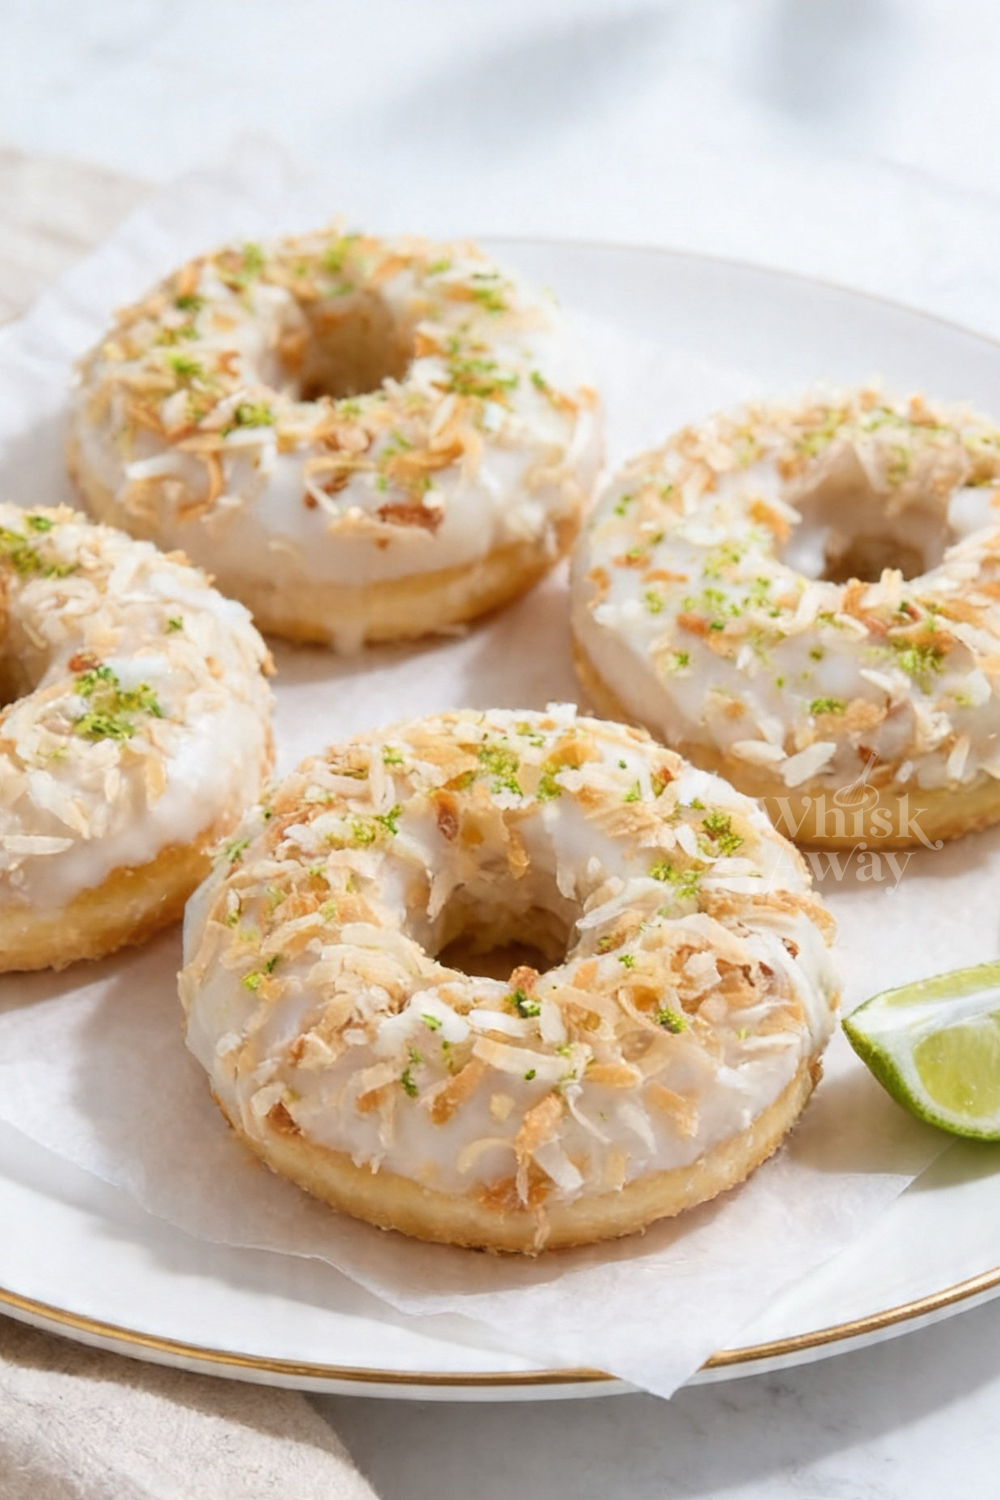
Key Lime Coconut Donuts
6
donuts10
minutes10
minutesThese key lime coconut donuts are tangy, tropical, and perfectly moist with a zesty glaze.
Ingredients
- Key Lime Coconut Donuts
1 1/4 cups all purpose flour
1/2 cup granulated sugar
1/2 cup coconut milk
2 1/2 tablespoons coconut oil, melted
2 teaspoons fresh lime zest
1 teaspoon baking powder
1/2 teaspoon salt
1 large egg, at room temperature
- Key Lime Glaze
1 cup confectioners' sugar
1 1/2 tablespoons key lime juice
1 teaspoon lime zest
1/8 teaspoon salt
- Decoration (Optional)
1/2 cup shredded coconut, toasted
2 teaspoons lime zest
Directions
- Kick things off by preheating your oven to 350°F. Give your donut pan a solid coating of non-stick spray or grease to ensure a clean release later.
- In a small bowl, whisk together the flour, baking powder, and salt. Set this aside for a moment.
- In a larger mixing bowl, combine the granulated sugar and lime zest. Use your fingertips to rub the zest into the sugar—this releases the essential oils and makes the flavor much more intense.
- Whisk the melted coconut oil into the fragrant sugar. Follow this by beating in the egg, then stirring in the coconut milk until the mixture is smooth.
- Incorporate the dry ingredients into the wet. Use a rubber spatula to fold them together gently. Stop the moment the streaks of flour vanish; over-mixing is the enemy of a light, fluffy donut.
- Distribute the thick batter into your prepared pan, filling each cavity about 2/3 of the way. Bake for 10–11 minutes. You're looking for the tops to feel firm to the touch and show just a hint of golden color.
- Let the donuts rest in the pan for at least 10 minutes. This allows them to set so they don't break when you flip them onto a wire cooling rack. They must be completely cool before you even think about glazing.
- Grab a wide, shallow dish and whisk together the confectioners' sugar and key lime juice. If the glaze feels like paste, add a tiny splash more juice. If it’s running off your spoon like water, whisk in an extra tablespoon of sugar. Aim for a thick, honey-like consistency.
- Submerge the top half of each cooled donut into the glaze. Lift it out and let any excess drip off before setting it back on the rack.
- While the glaze is still tacky, sprinkle on your toasted coconut and a fresh dusting of lime zest.
- Let the donuts sit for about 5 minutes to let the glaze firm up. It’s the hardest part of the recipe, but it ensures your toppings stay put!
There are no reviews yet. Share your thoughts above!