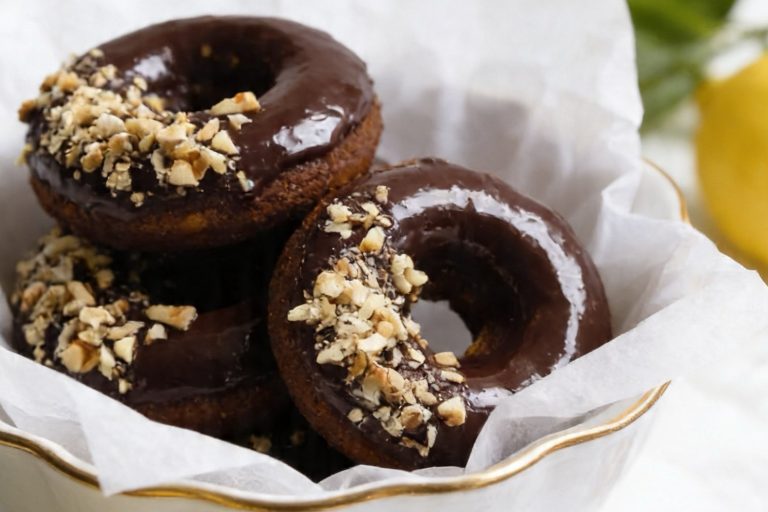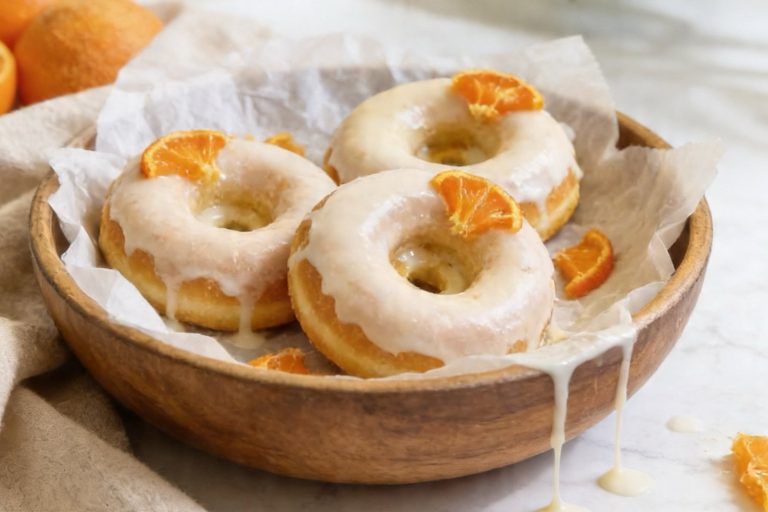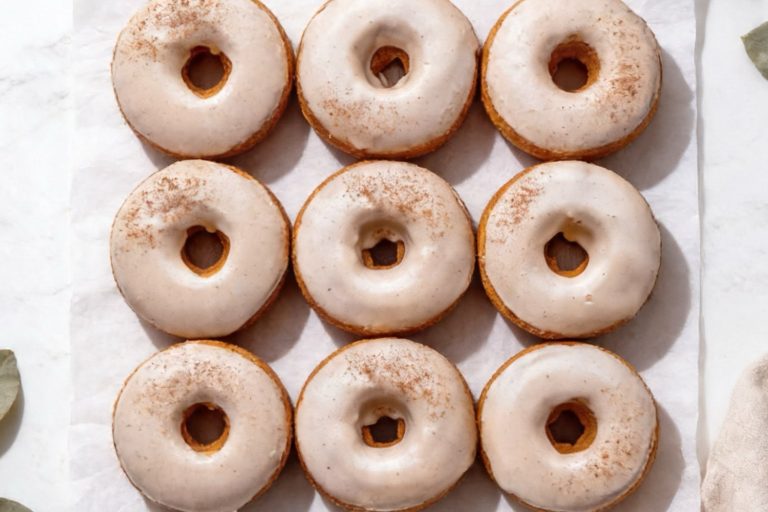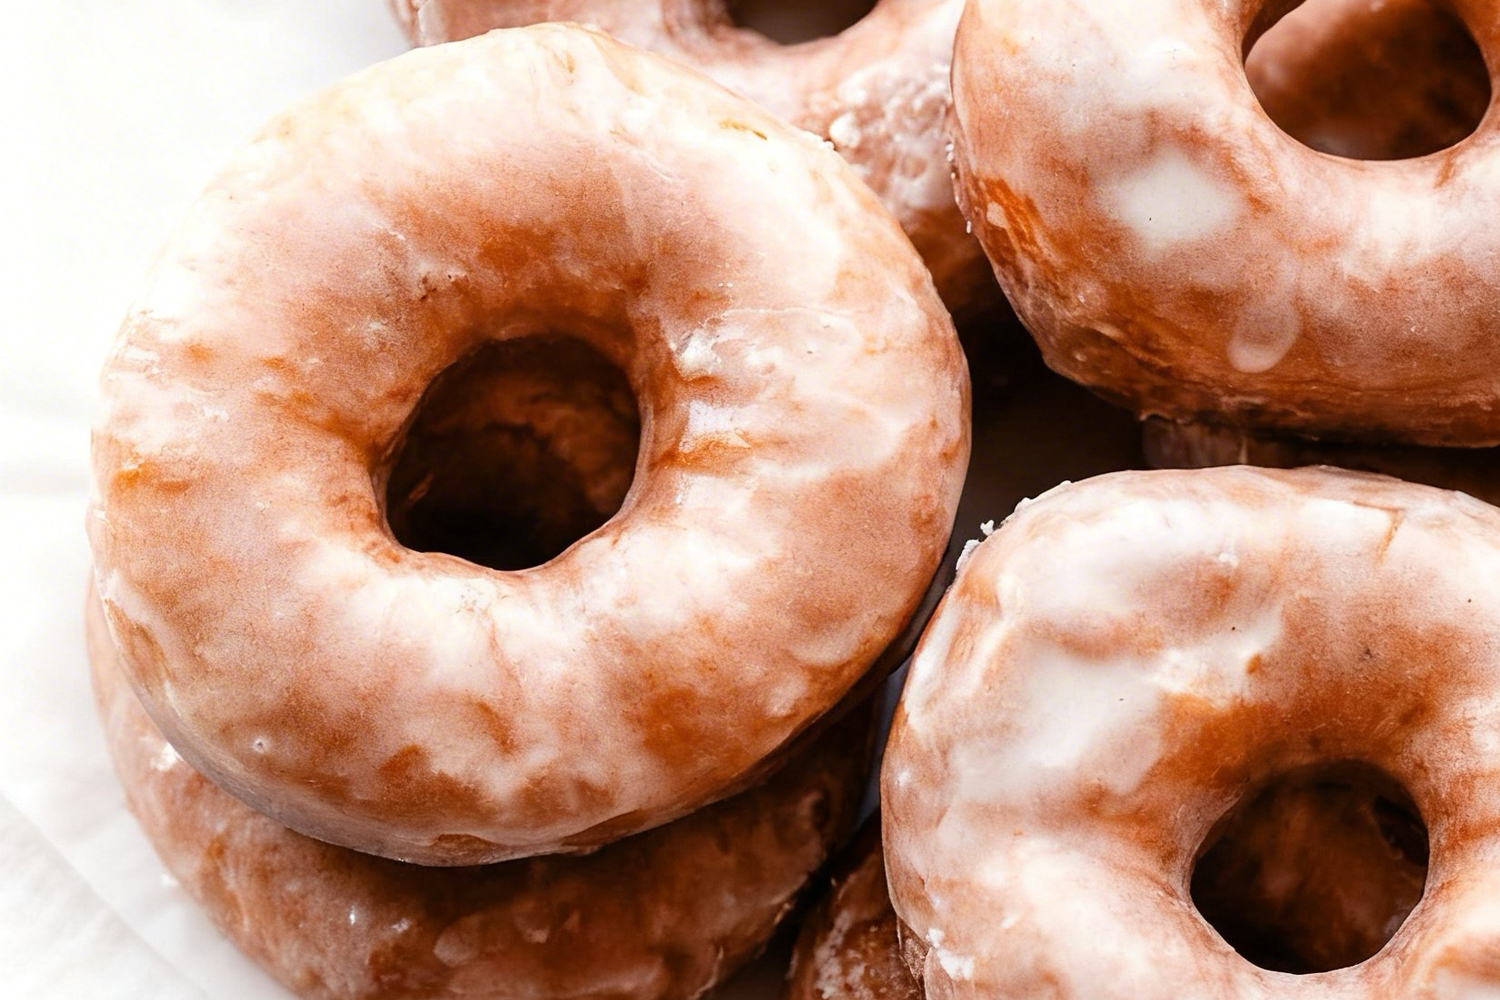
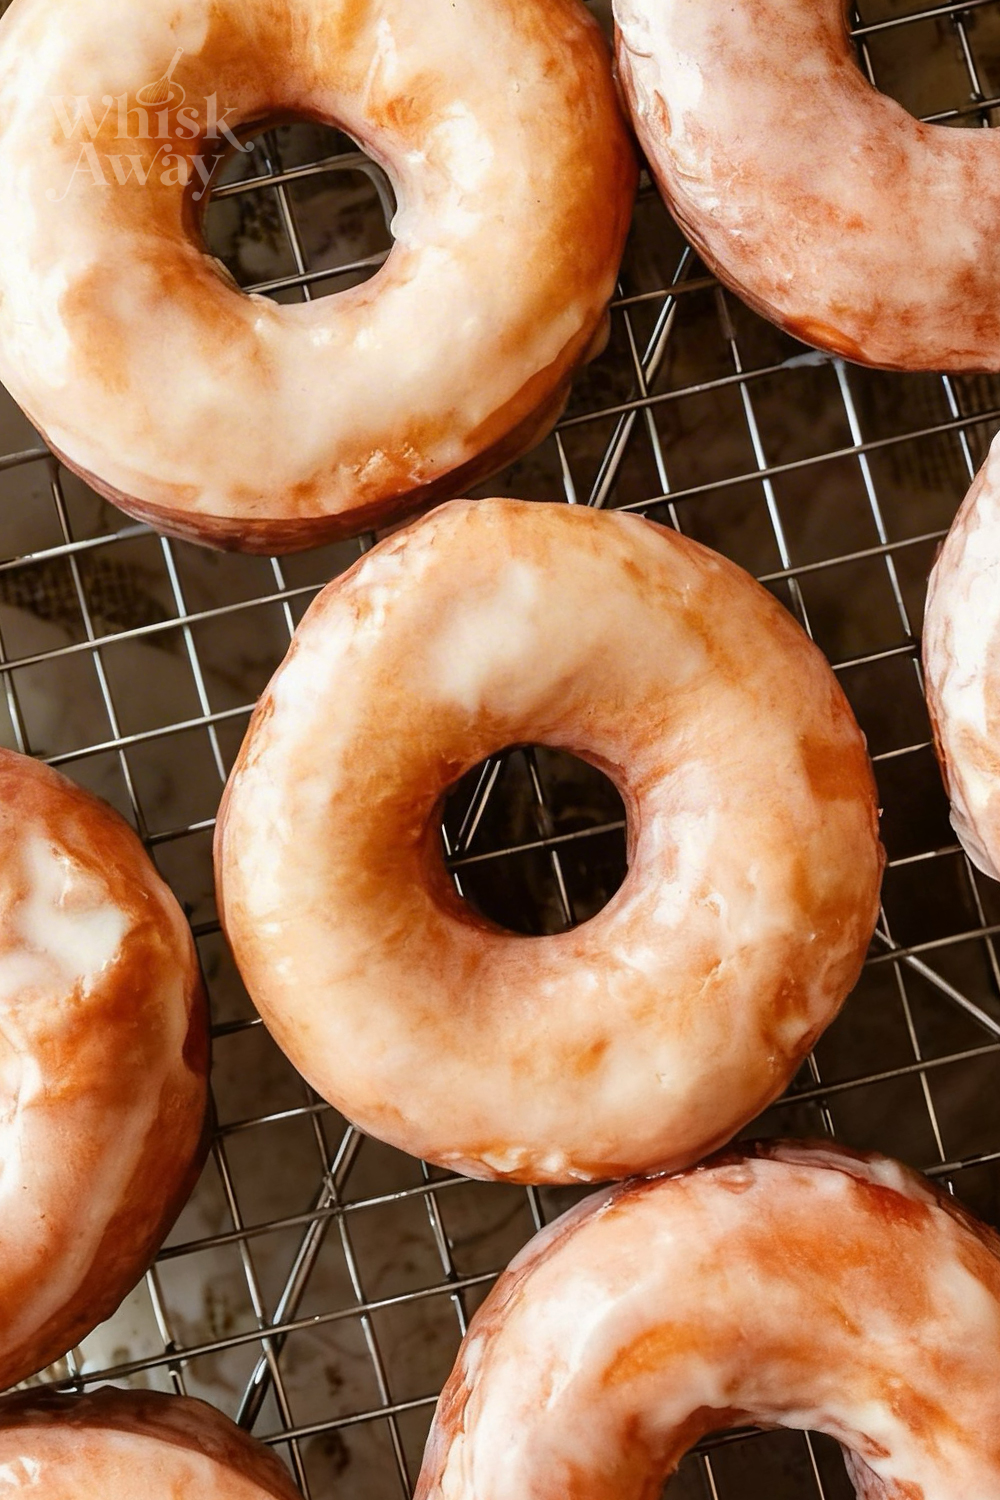
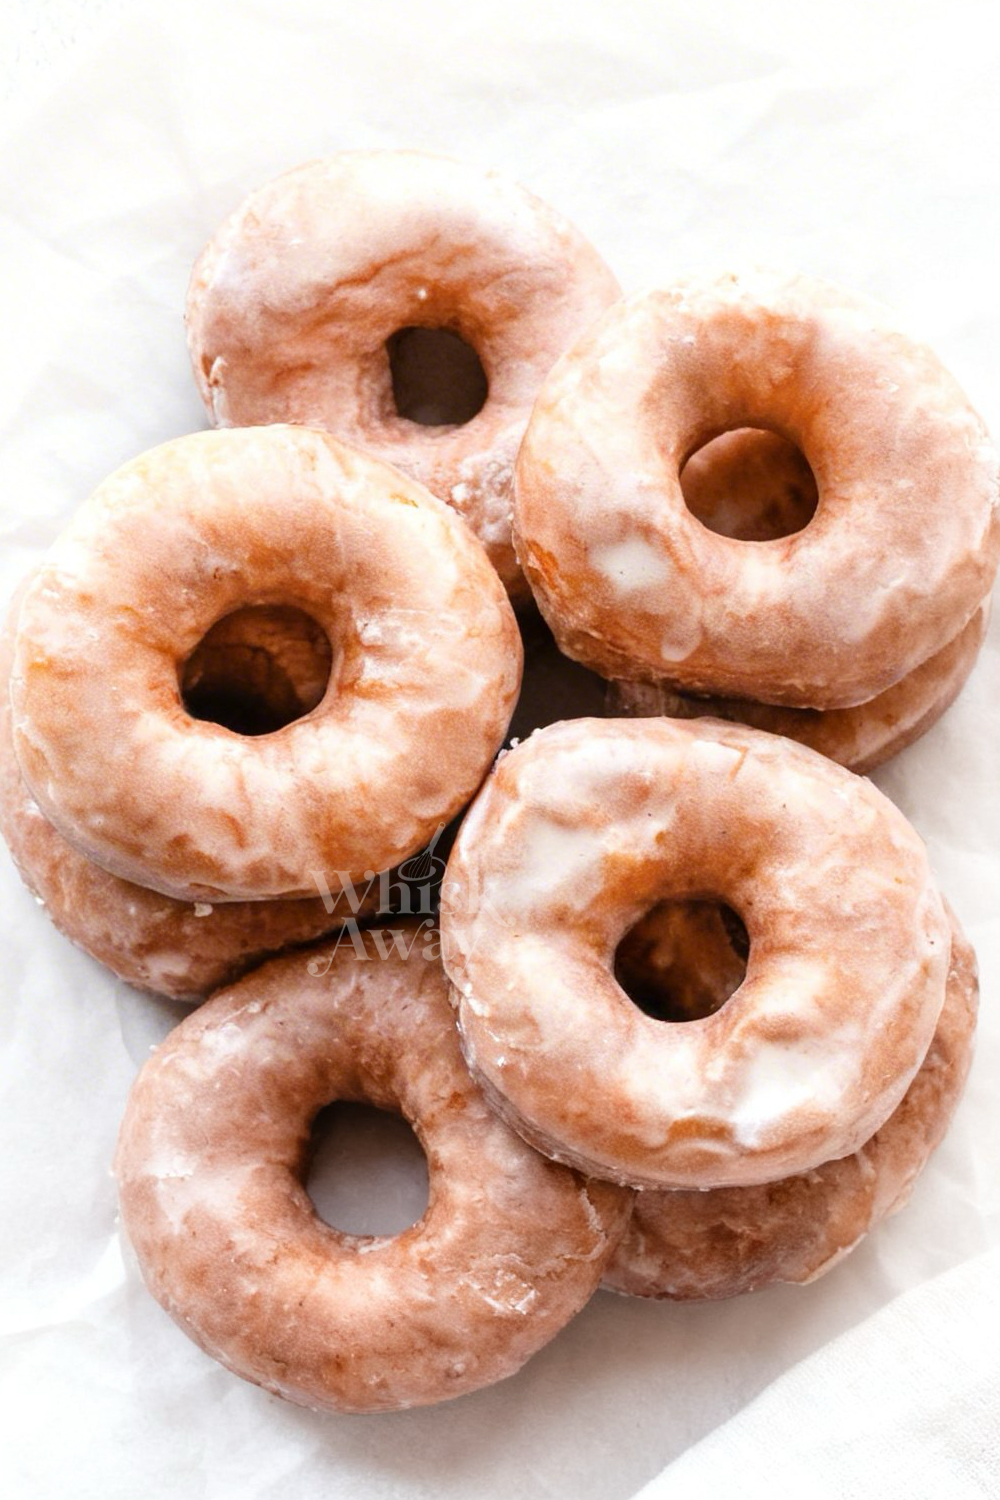
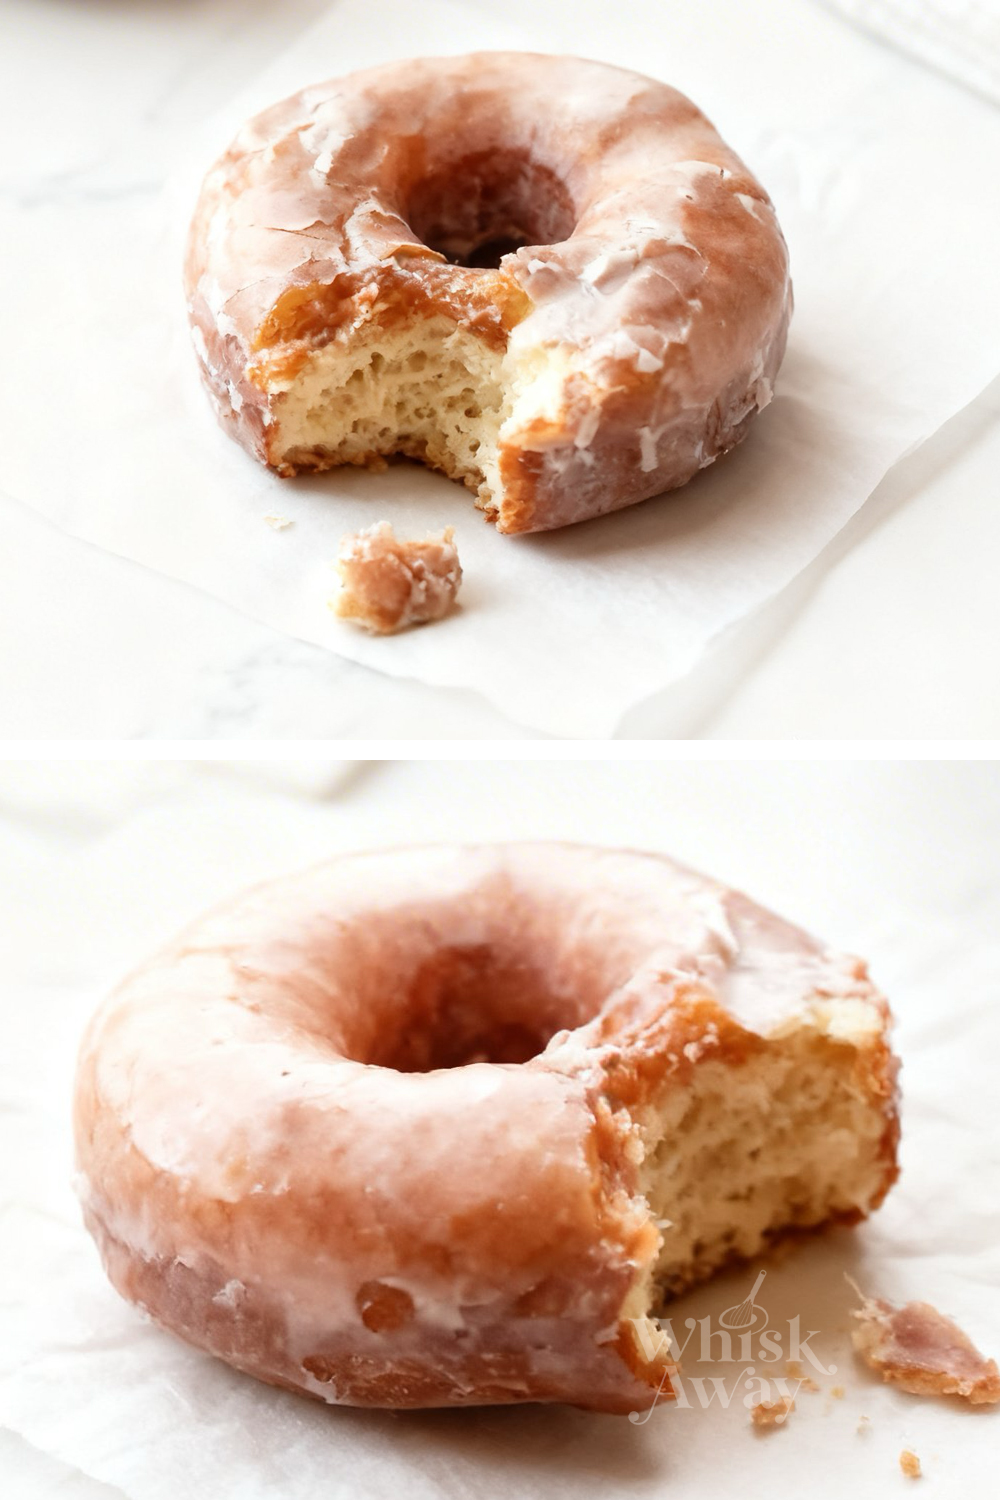
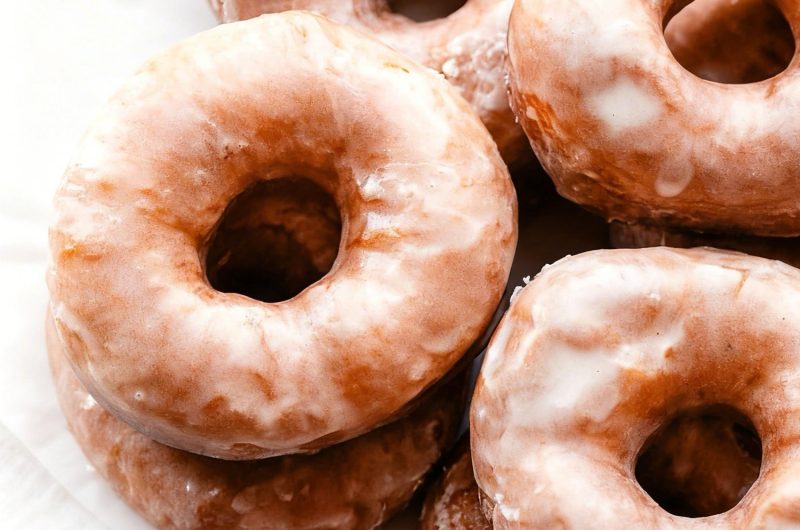
There’s something about classic glazed donuts that makes them impossible to ignore, especially when they’re soft, warm, and freshly coated in that signature sweet glaze. The texture is light and pillowy, with just enough structure to hold that glossy finish without feeling heavy. Making them at home might sound like a big project, but once you try it, the process feels surprisingly manageable—and incredibly rewarding. They’re perfect for slow weekend mornings, sharing with friends, or simply treating yourself to something homemade. The dough rises into a soft, airy base that fries up beautifully, and the glaze adds just the right amount of sweetness to every bite. Classic glazed donuts bring that familiar bakery experience right into your kitchen, delivering a treat that’s nostalgic, satisfying, and well worth the effort from start to finish.
🔥
Why You’ll Love This Classic Glazed Donuts
Once you see these donuts come out of the oven, it’s easy to understand why they’re a timeless favorite.
- Soft, pillowy texture that melts in your mouth
- Sweet, shiny glaze that adds the perfect finishing touch
- Easy to make for breakfast, brunch, or snacks
- Pairs perfectly with coffee or tea
- A classic treat everyone can enjoy
Save This Pin for Later to Your Pinterest Board

Ingredients
Donut Dough Ingredients
- Vegetable oil: Used for frying the donuts, vegetable oil has a neutral flavor and a high smoke point, which allows the donuts to cook evenly and develop a golden, crispy exterior without burning.
- All-purpose flour: Provides the structural base for the donuts, giving them the ability to rise and hold their shape while remaining tender.
- Whole milk (warmed): Adds moisture and richness to the dough while the warmth helps activate the yeast for proper fermentation.
- Unsalted butter (melted and cooled): Adds richness and flavor to the dough while contributing to a tender crumb. Using unsalted butter allows you to control the salt level precisely.
- Granulated sugar: Sweetens the dough and helps feed the yeast for better rise and flavor development.
- Eggs: Provide structure, richness, and help bind the ingredients together, contributing to a soft, airy texture.
- Instant or active dry yeast: Acts as the leavening agent, causing the dough to rise and become light and fluffy.
- Vanilla extract: Adds depth of flavor and enhances the overall sweetness of the donuts.
- Salt: Balances sweetness and strengthens the dough structure.
- Ground nutmeg: Adds a subtle warm spice that complements the sweet glaze and enhances the flavor complexity of the donuts.
Donut Glaze Ingredients
- Confectioners’ sugar: Provides a smooth, sweet coating for the glaze. Sifting prevents lumps for a silky finish.
- Heavy cream, half-and-half, or whole milk: Liquids help achieve the desired consistency for pouring or dipping the glaze onto the donuts.
- Vanilla extract: Adds a sweet, aromatic flavor to the glaze, enhancing the classic donut taste.

Tips To Get Your Recipe Right
- Perfect Milk Temperature: Keep your milk around 110°F (43°C). Too hot kills the yeast; too cold slows it. If you don’t have a thermometer, it should feel like warm bath water on your wrist. This ensures a light, airy rise.
- Dough Consistency: The dough should be tacky, not sticky. It should stick briefly to your finger but pull away cleanly. A slightly wetter dough creates more steam during frying, giving a soft, airy interior. Add flour one tablespoon at a time if needed.
- Check Proofing: Gently press the side of a shaped donut with your pinky. If it springs back slowly and leaves a slight indentation, it’s ready to fry. Under-proofed dough will be dense; over-proofed dough will be fragile.
- Oil Temperature: Heat frying oil to 375°F (191°C). Too low makes donuts greasy; too high browns the outside before the inside cooks. Fry only 2–3 donuts at a time to keep the temperature steady.
- Glaze Timing: Dip donuts in glaze while they are still warm. This allows the glaze to thin slightly and soak into the crust, creating a smooth, translucent shell that sticks without flaking.
Storage Tips
- Room Temperature: Store donuts in a sturdy cardboard box or a loosely closed paper bag for 12–18 hours. Avoid plastic bags with fresh glaze, as trapped moisture will make the glaze weepy and the donut soggy.
- Refrigeration: Generally not recommended because cold air dries out the airy crumb. Only refrigerate if the donuts have a dairy-based filling like pastry cream or whipped cream.
- Freezing: Freeze unglazed donuts for up to 2 months. If already glazed, flash freeze on a baking sheet for 1 hour, then wrap individually in plastic and place in a freezer bag.
- Reheating: Microwave a day-old donut for 8–10 seconds to restore fluffiness. If the glaze is sticky, warm in a 300°F (150°C) oven for 3 minutes. For frozen donuts, thaw at room temperature for 30 minutes, then use the microwave technique.
FAQs
My donuts came out greasy and heavy instead of light and airy. What happened?
Greasy donuts are almost always caused by low oil temperature. If the oil isn’t hot enough (at least 375°F / 191°C), the dough won’t sear and puff instantly; instead, it will soak up the oil like a sponge. Always use an oil thermometer and wait for the temperature to recover between batches.
Can I make the dough ahead of time and fry them in the morning?
Yes, and many bakers prefer this! You can let the dough do its first rise in the refrigerator overnight (up to 12–15 hours). The cold fermentation actually develops a deeper, more complex flavor. Just let the dough sit at room temperature for about 30 minutes the next morning before rolling and cutting.
Why didn’t my yeast bloom or get foamy?
This usually happens for two reasons: either your milk was too hot (killing the yeast) or the yeast was expired. Your milk should be warm to the touch (110°F), similar to bath water. If the mixture doesn’t look frothy after 10 minutes, discard it and start over with fresh yeast, or your donuts will never rise.
I don’t have a stand mixer. Can I still make these?
Absolutely. You can mix the dough with a sturdy wooden spoon until it becomes too difficult to stir, then turn it out onto a floured surface and knead by hand for about 8–10 minutes. It is a workout, but you’ll know it’s ready when the dough is smooth, elastic, and passes the windowpane test.
How do I get that perfect white ring around the middle of the donut?
That iconic white line is the sign of a perfectly proofed donut. It means the dough is so full of air that it sits high in the oil, leaving the center un-submerged. If your donuts are fully submerged, they are likely under-proofed. If they deflate when they hit the oil, they are over-proofed.
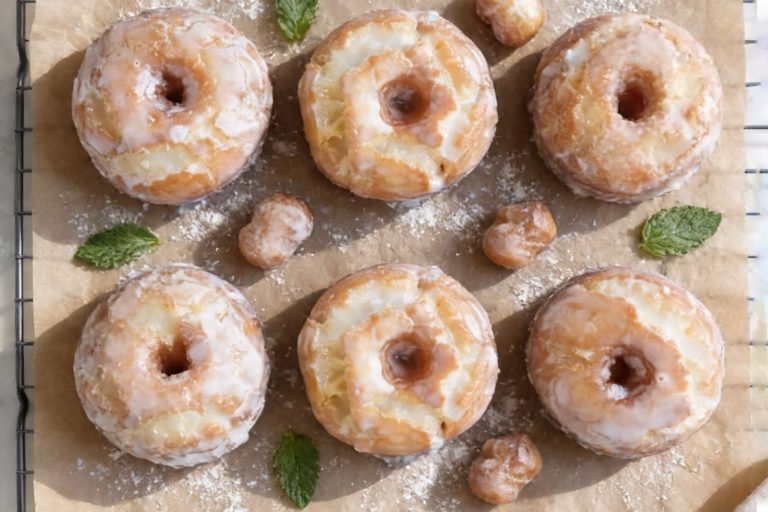
Classic Glazed Donuts
12
Donuts2
hours10
minutesThese classic glazed donuts are light, fluffy, and coated in a sweet, shiny glaze.
Ingredients
- The Dough
1–2 quarts Vegetable oil (for frying)
4 cups (500g) All-purpose flour
1 cup (240ml) Whole milk (warmed to ~110°F)
6 Tablespoons (85g) Unsalted butter (melted and cooled)
1/3 cup (65g) Granulated sugar
2 large Eggs
2 1/4 teaspoons (7g) Instant or active dry yeast (1 packet)
1 teaspoon Pure vanilla extract
1/2 teaspoon Salt
1/4 teaspoon Ground nutmeg
- The Glaze
2 cups (240g) Confectioners’ sugar (sifted)
1/3 cup (80ml) Heavy cream, half-and-half, or whole milk
1/2 teaspoon Pure vanilla extract
Directions
- In the bowl of a stand mixer (or a large mixing bowl), combine the warmed milk, 1 tablespoon of the sugar, and the yeast. Give it a quick whisk.
- Cover the bowl loosely and let it rest for 5–10 minutes. You’re looking for a thick, frothy foam to develop on the surface; this confirms your yeast is alive and ready to work.
- Add the remaining sugar, eggs, melted butter, vanilla, nutmeg, salt, and the first 2 cups (250g) of flour. Using the paddle attachment on low speed, mix for about 1 minute, scraping the sides of the bowl as needed.
- Switch to the dough hook. Gradually add the rest of the flour and increase to medium speed. Continue mixing for about 2 minutes until the dough begins to pull away from the walls of the bowl. The dough should be slightly sticky and soft. If it’s clinging to the bowl too much, add 1 tablespoon of flour at a time until it releases, but be careful not to over-flour—moisture is the secret to a fluffy donut.
- Knead the dough in the mixer for 5–7 minutes (or by hand on a floured surface for the same duration). The dough is ready when it is smooth and tacky. Perform the Windowpane Test: stretch a golfball-sized piece of dough gently; if you can see light through it without it tearing, the gluten is perfectly developed. Alternatively, poke the dough; if it slowly bounces back, it’s ready.
- Place the dough in a lightly greased bowl, turning once to coat the surface. Cover tightly and let it rise in a warm, draft-free spot for 1.5 to 2 hours, or until it has doubled in size.
- Gently press the air out of the risen dough. On a floured surface, roll it out to a 1/2-inch thickness.
- Use a 3.5-inch donut cutter (or two circular cookie cutters of different sizes) to punch out your shapes. Re-roll scraps once to finish the batch.
- Place the donuts and holes on parchment-lined baking sheets. Cover loosely and let them proof for another 30 minutes. They will puff up slightly during this time.
- Fill a heavy-duty pot with oil and attach an oil thermometer. Heat the oil to 375°F (191°C). Carefully drop 2 or 3 donuts into the oil at a time. Fry for 1 minute per side until golden brown. Use a slotted metal spoon or spatula to remove them and place them on a wire cooling rack. Monitor your thermometer constantly; if the oil gets too hot, the outside will burn before the inside cooks.
- Whisk together the confectioners' sugar, milk/cream, and vanilla.
- While the donuts are still warm, submerge them in the glaze to coat both sides. Return them to the rack so the excess can drip off. The glaze will set into a crackly, sweet shell in about 20 minutes.
There are no reviews yet. Share your thoughts above!