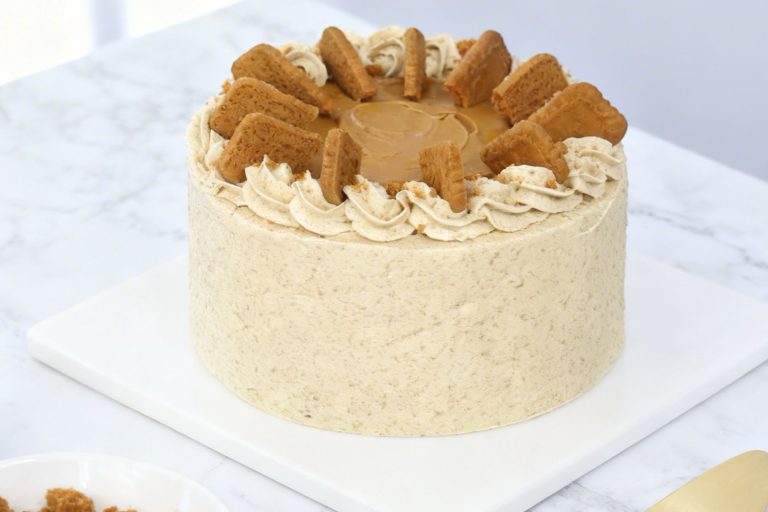
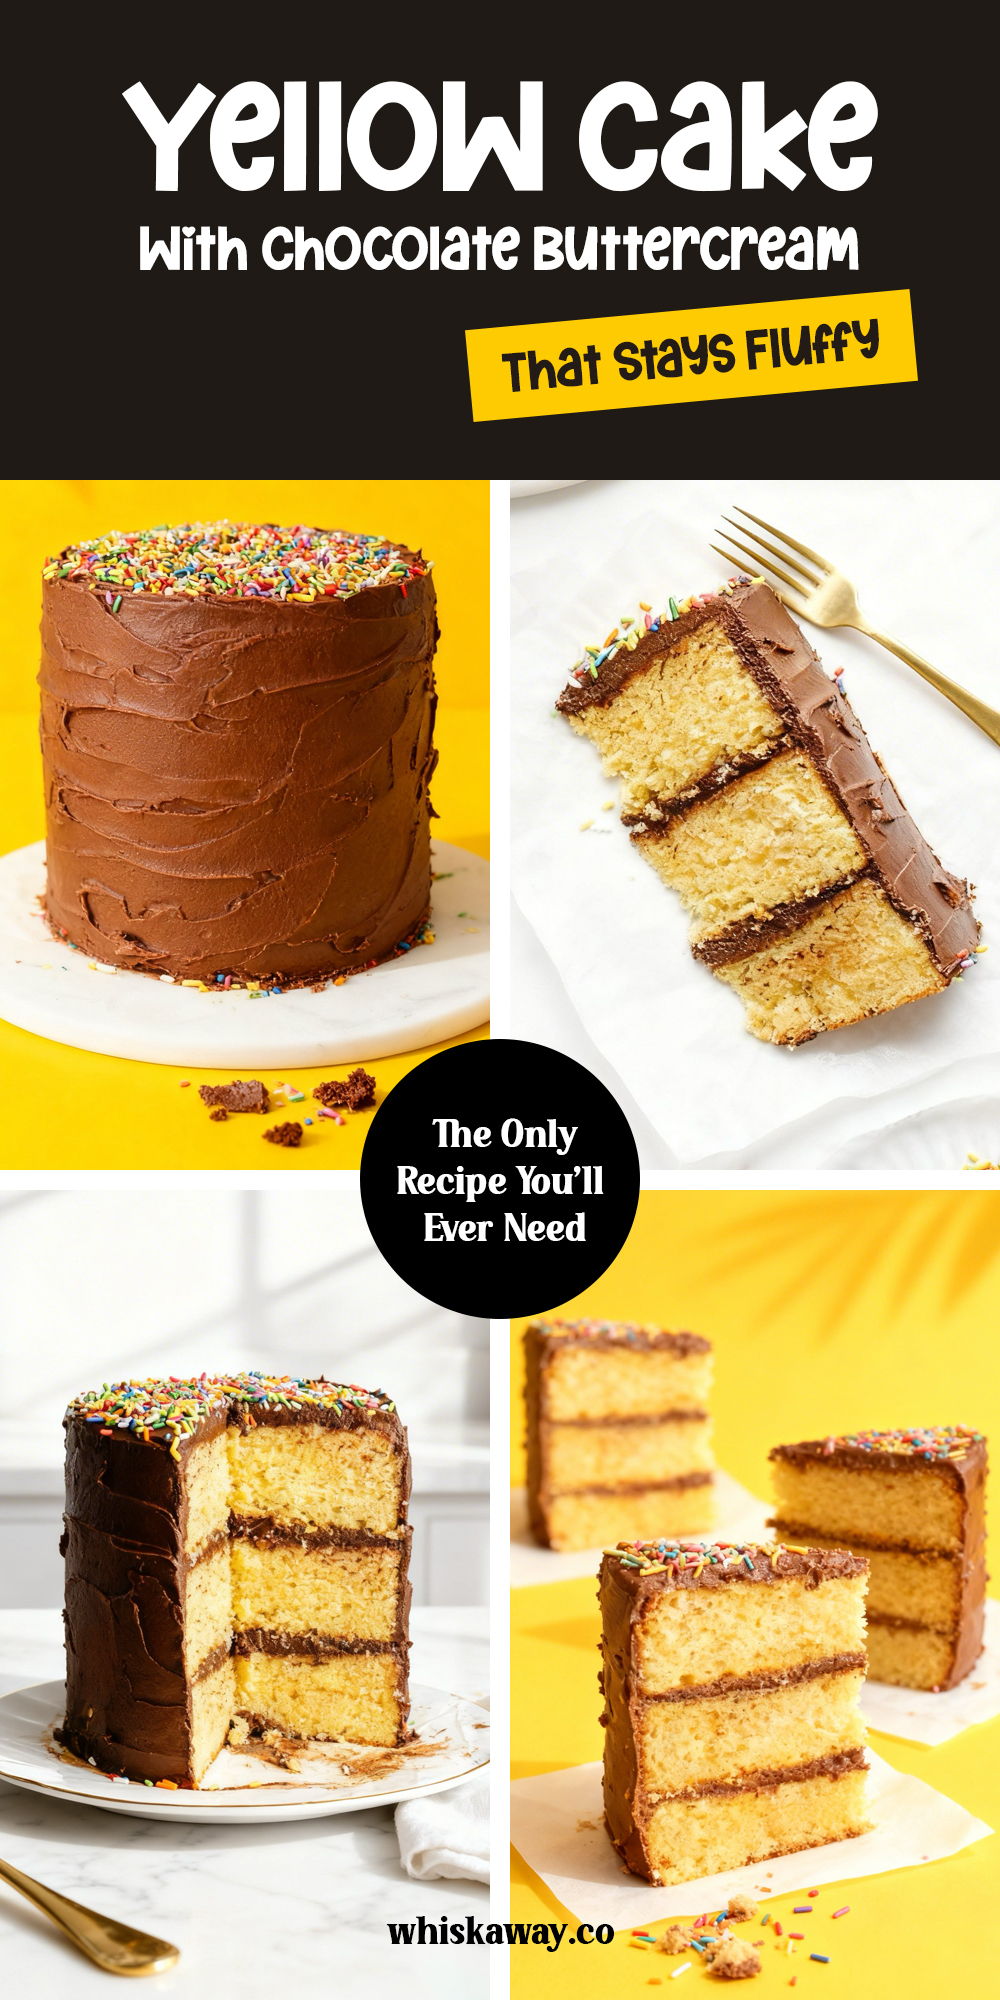
There’s something comforting about the classic pairing of yellow cake and chocolate buttercream, where soft, buttery sponge meets smooth, decadent frosting. Yellow cake with chocolate buttercream balances sweetness and richness, offering a dessert that’s approachable for home bakers but impressive for guests. The tender layers hold frosting beautifully, creating a cake that’s easy to slice and share while maintaining a moist texture. Perfect for birthdays, celebrations, or weekend indulgences, each bite combines airy cake with luscious chocolate, satisfying both kids and adults. Simple pantry ingredients and a straightforward method produce a cake that tastes indulgent without being complicated. Yellow cake with chocolate buttercream delivers flavor, texture, and visual appeal in every slice, making it a reliable favorite for almost any occasion.
🔥 This yellow cake paired with chocolate buttercream is a timeless combination of buttery richness and deep cocoa flavor. If you enjoy this balance, try:
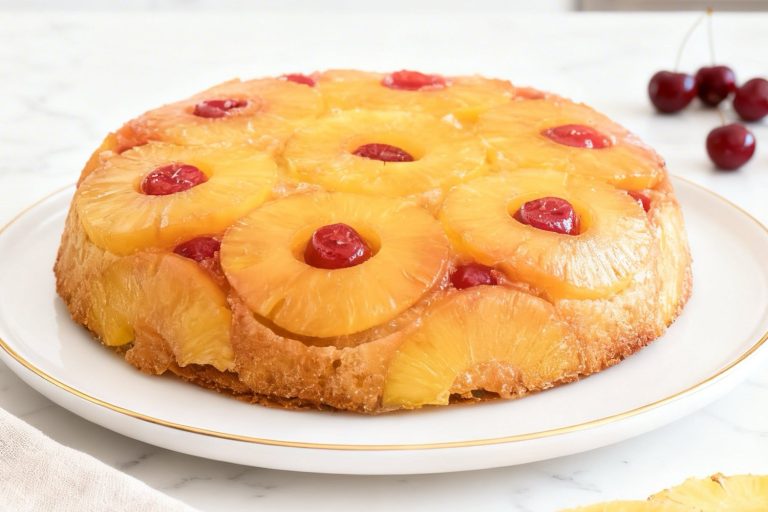
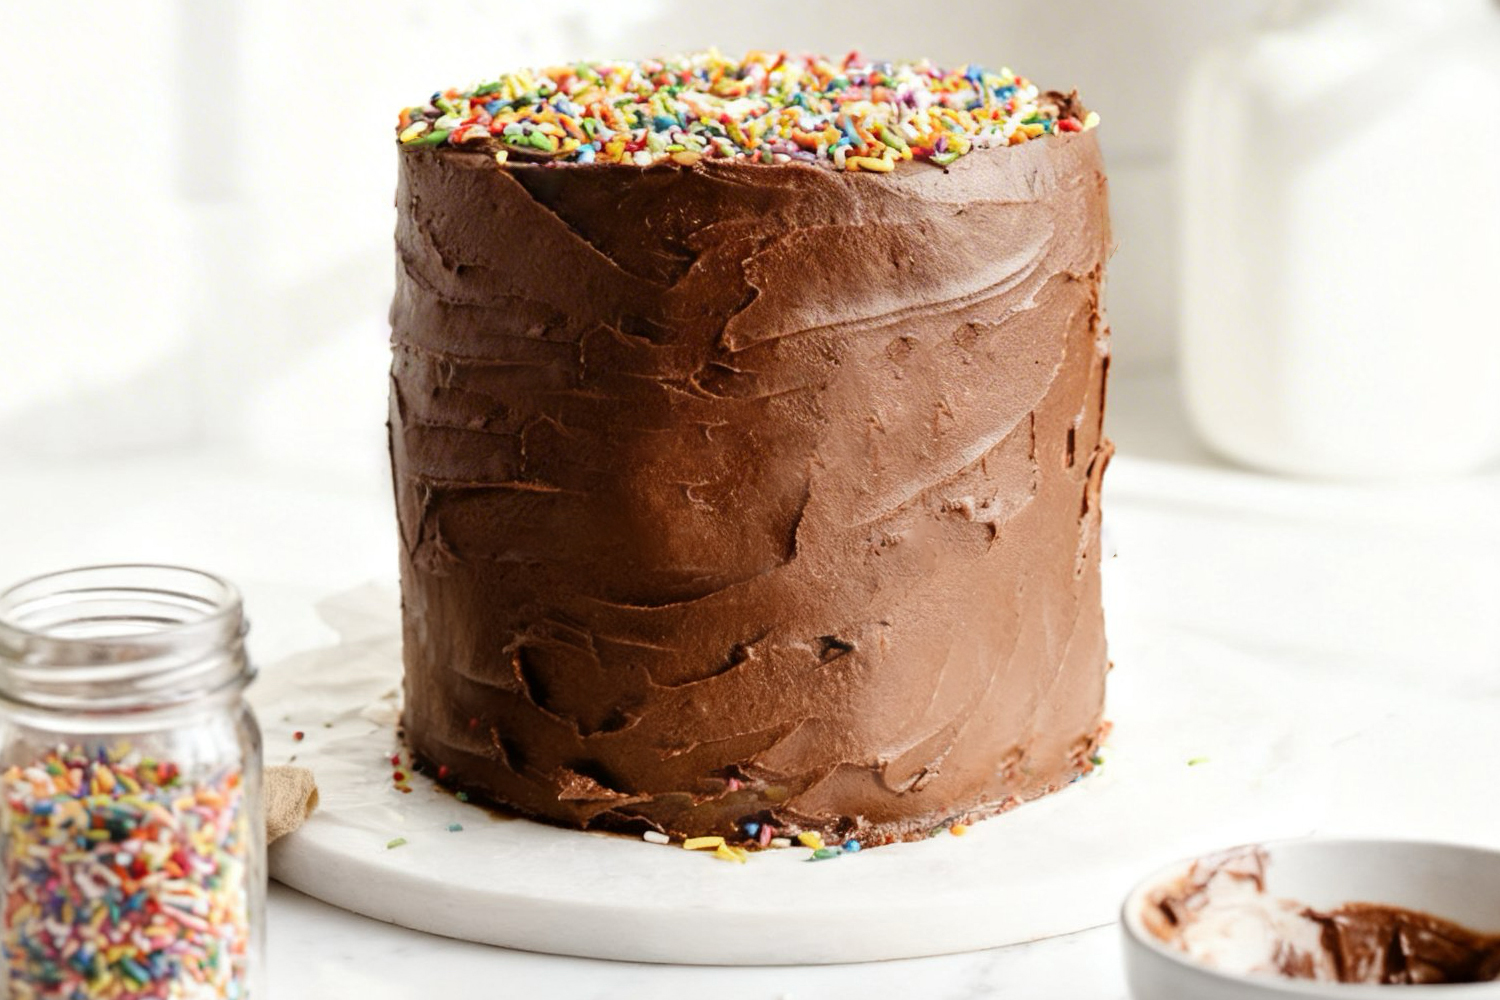
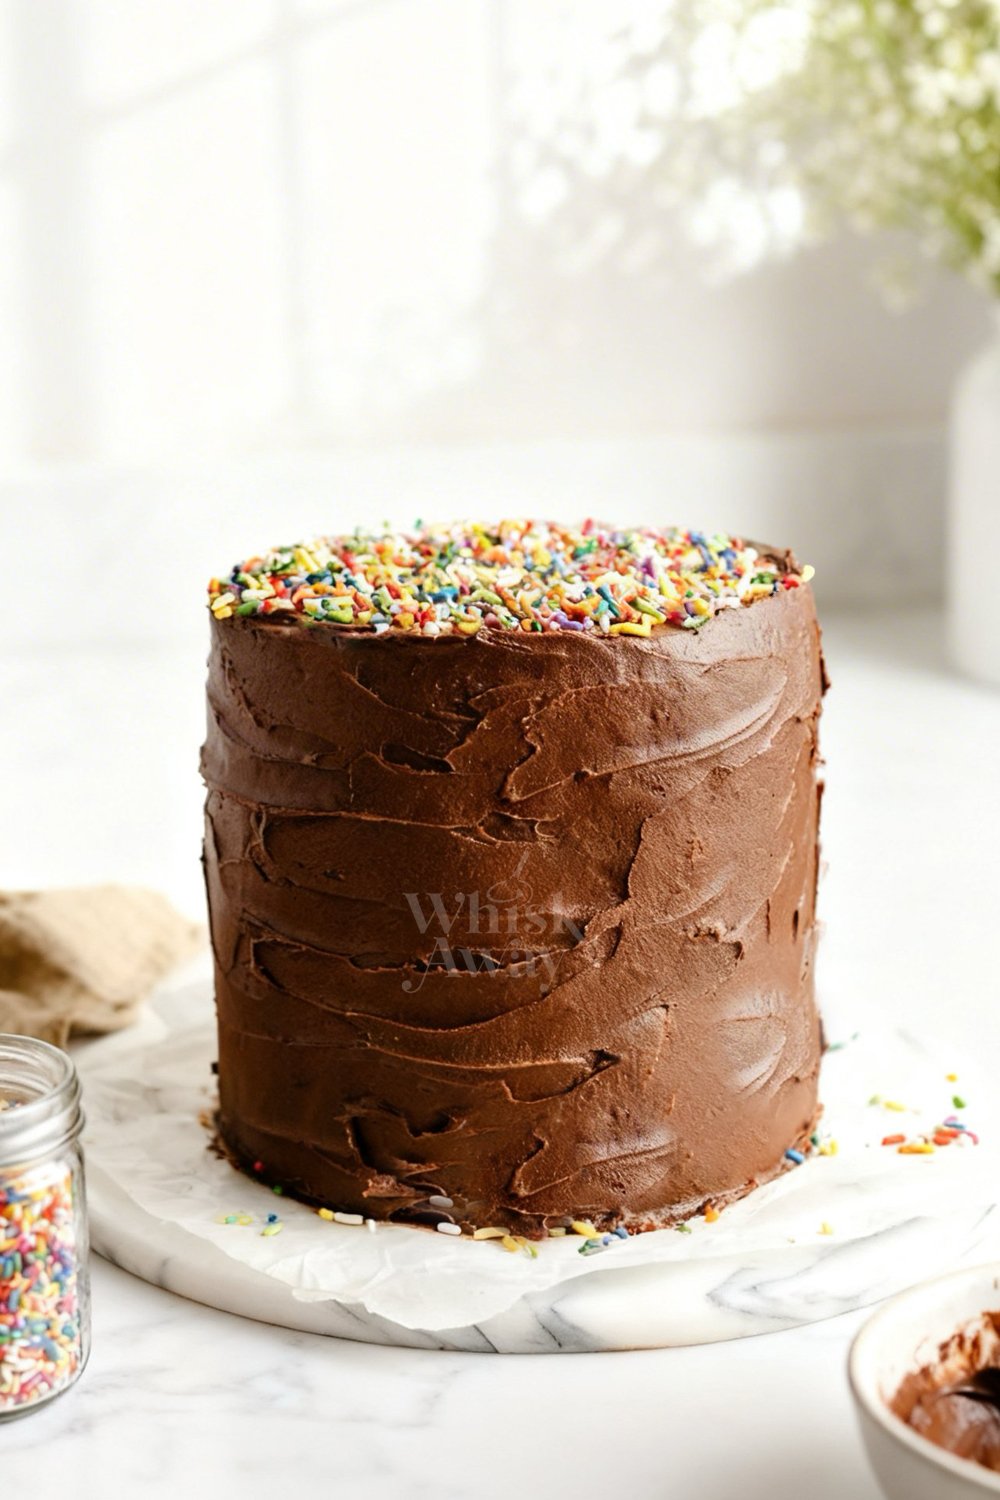
- Chocolate Ganache Cake – for a more intense chocolate experience
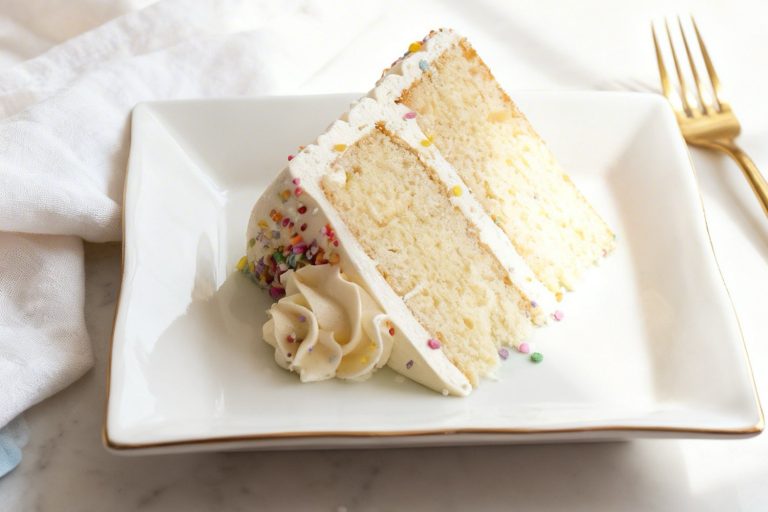
- Classic Vanilla Layer Cake – a lighter base with similar structure
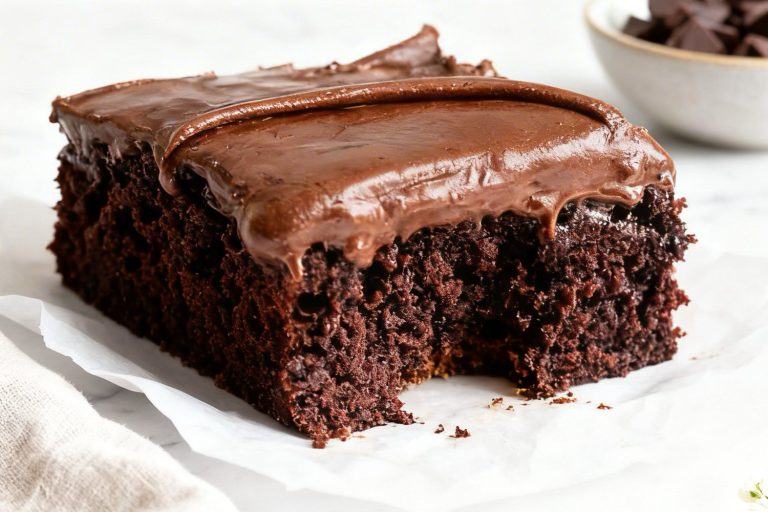
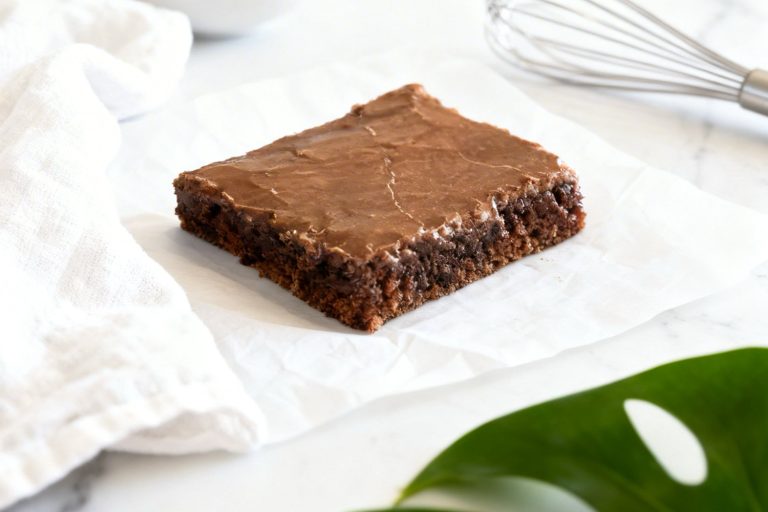
- Texas Sheet Cake – a simpler, more casual chocolate option
Why You’ll Love This Yellow Cake
Classic and comforting, this combination is hard to beat, right?! After seeing your yellow cake come to life, you’ll understand why!
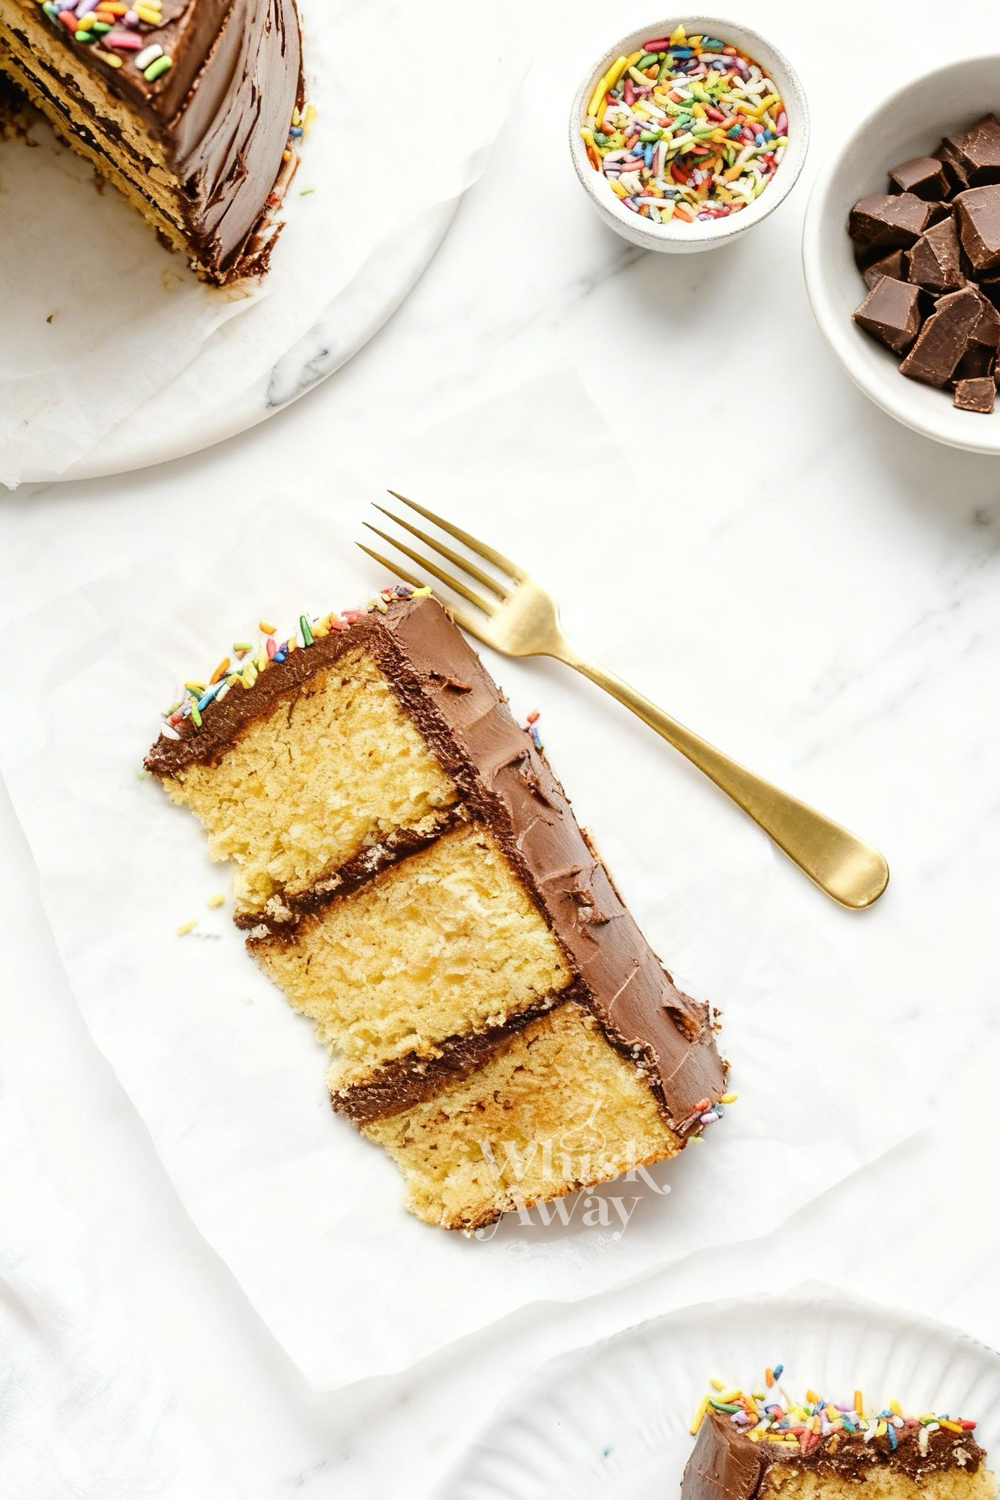
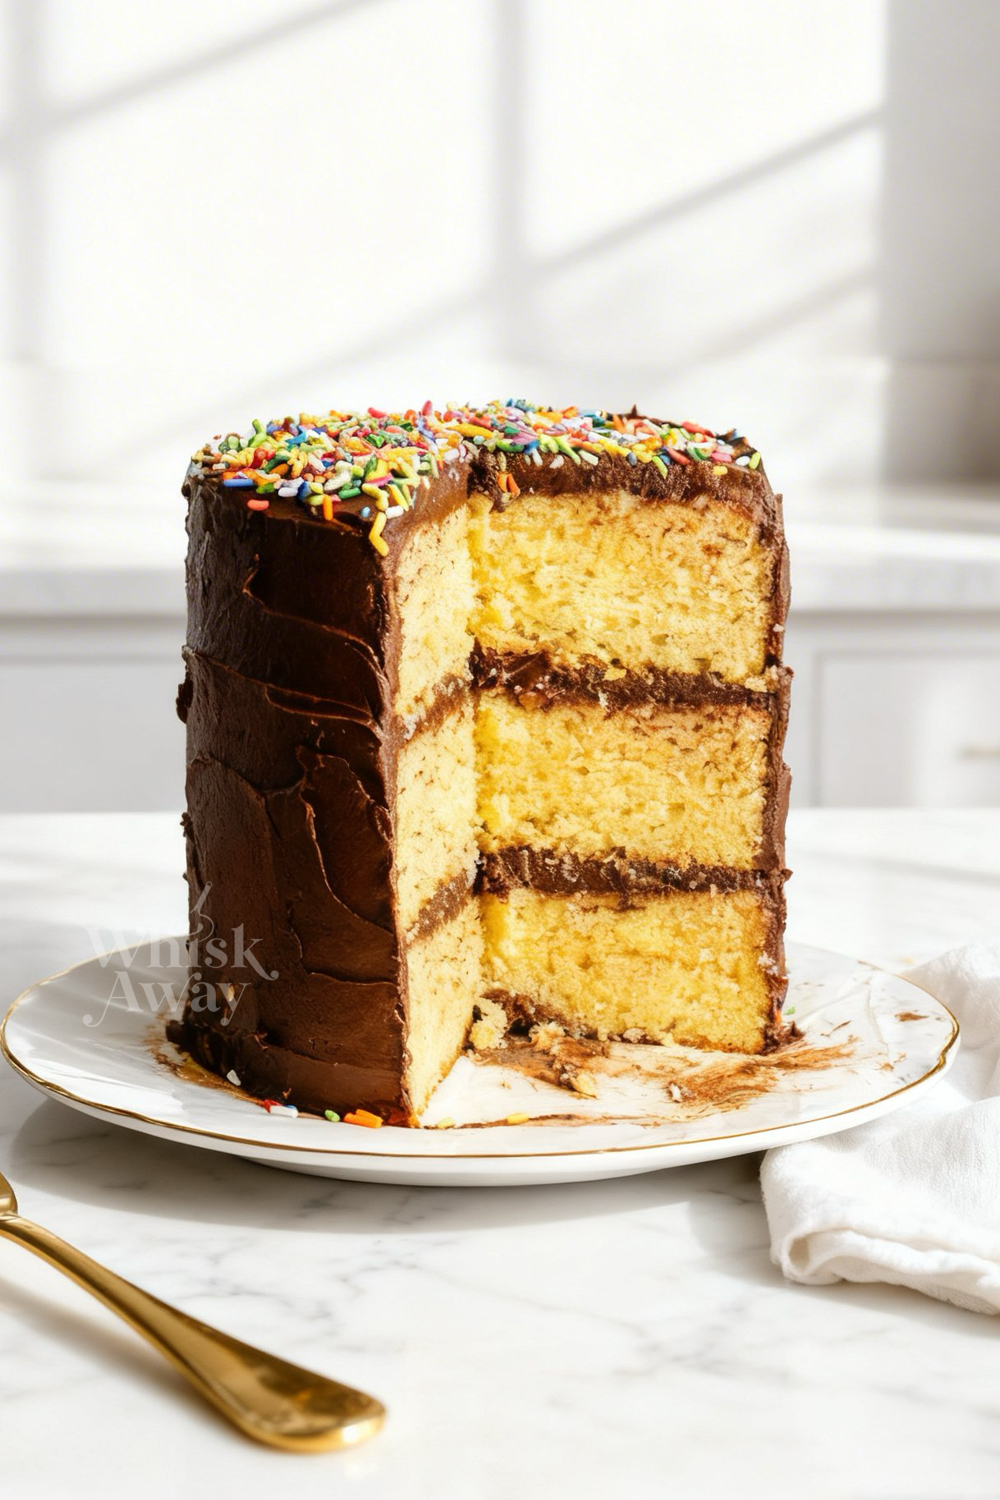
- Soft yellow layers with a tender crumb
- Rich chocolate buttercream adds decadent contrast
- Perfect for birthdays, potlucks, or celebrations
- Slices cleanly, making serving simple
- Timeless pairing of vanilla and chocolate that everyone loves
Save This Pin for Later to Your Pinterest Board
Ingredients
Wet Ingredients
- Granulated sugar: Sweetens the cake and helps create a tender crumb.
- Salted butter: Adds richness, moisture, and buttery flavor to the cake.
- Buttermilk (or whole milk): Keeps the cake moist, tender, and slightly tangy.
- Vanilla whole-milk Greek yogurt: Adds creaminess, moisture, and a subtle tang to enhance flavor.
- Eggs & egg yolks: Provide structure, help the cake rise, and keep it soft and tender.
- Vanilla extract: Adds warm, aromatic flavor that complements the sweetness.
Dry Ingredients
- All-purpose flour (or cake flour): Gives structure and stability while keeping the cake light.
- Baking powder: Leavens the cake for a fluffy, airy texture.
- Kosher salt: Balances sweetness and enhances all other flavors.
- Baking soda: Supports leavening and helps the cake brown evenly.
Frosting & Assembly
- Chocolate buttercream frosting: Adds creamy, rich sweetness and pairs perfectly with the soft vanilla cake.
Tips To Get Your Recipe Right
- Beat each egg for a full minute after adding it: This ensures the water in the eggs emulsifies fully with the fat in the butter, preventing a curdled, greasy batter and giving a light, airy sponge.
- Use extra egg yolks: do this for that rich golden color and tender crumb. The additional fat coats the flour proteins, keeping the cake soft and preventing a tough texture.
- Keep all dairy and eggs at room temperature: Cold ingredients will shock the creamed butter, causing lumps and a broken emulsion that can ruin the cake’s delicate structure.
- Always apply a crumb coat before your final frosting layer: This thin initial layer traps loose crumbs and gives a smooth surface for chocolate buttercream, making the cake look polished and bakery-worthy.
Storage Tips
- Keep it at room temperature: Store the frosted cake under a glass dome or in an airtight container for 2–3 days. This keeps the buttercream silky and the sponge soft and moist.
- Refrigerate only if necessary: In a hot or humid kitchen, place the cake in the fridge. Always bring it out 1–2 hours before serving so the sponge softens and the frosting isn’t hard or greasy.
- Freeze unfrosted layers for long-term storage: Wrap cooled sponge layers individually in plastic wrap and foil. Thaw at room temperature for a couple of hours before frosting and assembling.
- Protect cut edges: Press parchment or wax paper against any exposed sponge to prevent it from drying out and maintain a soft crumb.
- Refresh slightly stiff slices: If a slice feels dry or firm after a few days, microwave it for 5–8 seconds to soften the sponge and buttercream, making it taste freshly baked.
FAQs
Can I use regular milk instead of buttermilk and Greek yogurt?
For the best texture, no. The acid in the buttermilk and Greek yogurt is essential because it reacts with the baking soda to give the cake its lift and tenderizes the flour’s gluten. If you only have regular milk, you can make a quick substitute: stir 1 tablespoon of white vinegar or lemon juice into ½ cup of whole milk and let it sit for 5 minutes until it curdles.
Why did my yellow cake turn out dense or heavy instead of fluffy?
This usually comes down to ingredient temperature or mixing technique. If your butter and eggs were cold, the batter likely curdled, preventing it from holding onto air. Alternatively, if you overmixed the batter once the flour was added, you developed too much gluten, resulting in a tough, dense sponge. Always use room-temperature ingredients and mix the dry ingredients just until incorporated.
What exactly is a crumb coat, and do I really need to do it?
Yes, it is highly recommended! A crumb coat is a very thin, initial layer of frosting spread over the entire stacked cake to trap any loose crumbs.
Without this step, the tender yellow crumbs will easily tear away and get mixed into your final layer of chocolate frosting, leaving your cake looking messy and speckled. Chill the crumb-coated cake for 15 minutes to lock those crumbs in place before applying the final, thicker layer of buttercream.
Can I make this cake gluten-free or reduced-sugar?
Absolutely. For a gluten-free version, simply swap the all-purpose flour for a high-quality 1:1 gluten-free baking blend that contains xanthan gum. The heavy moisture from the yogurt and buttermilk easily prevents the sponge from becoming crumbly. If you prefer a reduced-sugar option, you can drop the granulated sugar in the batter to 1 ¼ cups without losing structure, and swap the intensely sweet American buttercream for a whipped dark chocolate ganache.
How long does this cake last, and should I keep it in the fridge?
Thanks to the rich yolks and butter, this cake stays incredibly fresh. It will last for 2 to 3 days at room temperature stored in an airtight cake keeper, which keeps the sponge and frosting perfectly soft. If your kitchen is very warm, you can store it in the fridge for up to 5 days, but you must let slices sit at room temperature for an hour before serving so the butter can soften again.
Yellow Cake With Chocolate Buttercream
30
minutes1
hourThis yellow cake with chocolate buttercream is fluffy, sweet, and topped with rich chocolate buttercream frosting.
Ingredients
- Wet Ingredients
1 ¾ Cups (350 G) Granulated Sugar
1 Cup (2 Sticks / 226 G) Salted Butter (Room Temperature)
½ Cup (120 G) Buttermilk (Or Whole Milk)
½ Cup (113 G) Vanilla Whole-Milk Greek Yogurt
3 Large Eggs
3 Large Egg Yolks
1 Tablespoon Vanilla Extract
- Dry Ingredients
2 ½ Cups (300 G) All-Purpose Flour (Or Cake Flour)
2 Teaspoons Baking Powder
½ Teaspoon Kosher Salt
¼ Teaspoon Baking Soda
- Frosting
1 Batch Chocolate Buttercream Frosting
Directions
- Preheat your oven to 350°F.
- You can use either two 8-inch round pans or three 6-inch round pans. Line the bottoms with parchment paper circles, then generously coat both the paper and the sides of the pans with cooking spray. This guarantees your delicate cakes won't stick!
- In a separate mixing bowl, thoroughly whisk together the flour, baking powder, baking soda, and kosher salt. Set this aside.
- In the bowl of a stand mixer (or using a hand mixer), beat the room-temperature salted butter and granulated sugar on high speed. Let it run for 1 to 2 minutes until the mixture transforms into a pale, fluffy yellow. Scrape down the sides of the bowl with a spatula.
- Add the whole eggs one at a time, beating for a full minute after each addition to build the cake's structure. Mix in the extra egg yolks, vanilla extract, and Greek yogurt on medium speed for about 1 minute until everything is perfectly smooth. (Hold off on the buttermilk for now!)
- Turn your mixer down to low speed. Add exactly half of your dry ingredient mixture.
- Once the flour is mostly incorporated, pour in all of the buttermilk.
- Add the remaining dry ingredients. Mix on medium-low just until the batter comes together. Be careful not to overmix here—alternating the wet and dry ingredients is the secret to a beautifully soft crumb.
- Divide the batter evenly among your prepared pans and smooth out the tops. For 8-inch pans, bake for 25 to 35 minutes. For 6-inch pans, bake for 30 to 40 minutes. The cakes are ready when a toothpick inserted into the center comes out clean or with just a few moist crumbs attached.
- Let the cakes cool in their pans entirely. Once cold, run a butter knife around the inner edges and invert them onto wire cooling racks.
- Make-Ahead Tip: You can bake these sponges up to a day in advance! Wrap the cooled layers tightly in plastic wrap and store them at room temperature or in the fridge.
- Have your batch of Chocolate Buttercream Frosting ready. Dab about 2 tablespoons of it directly onto the center of your cake stand or platter to act as glue.
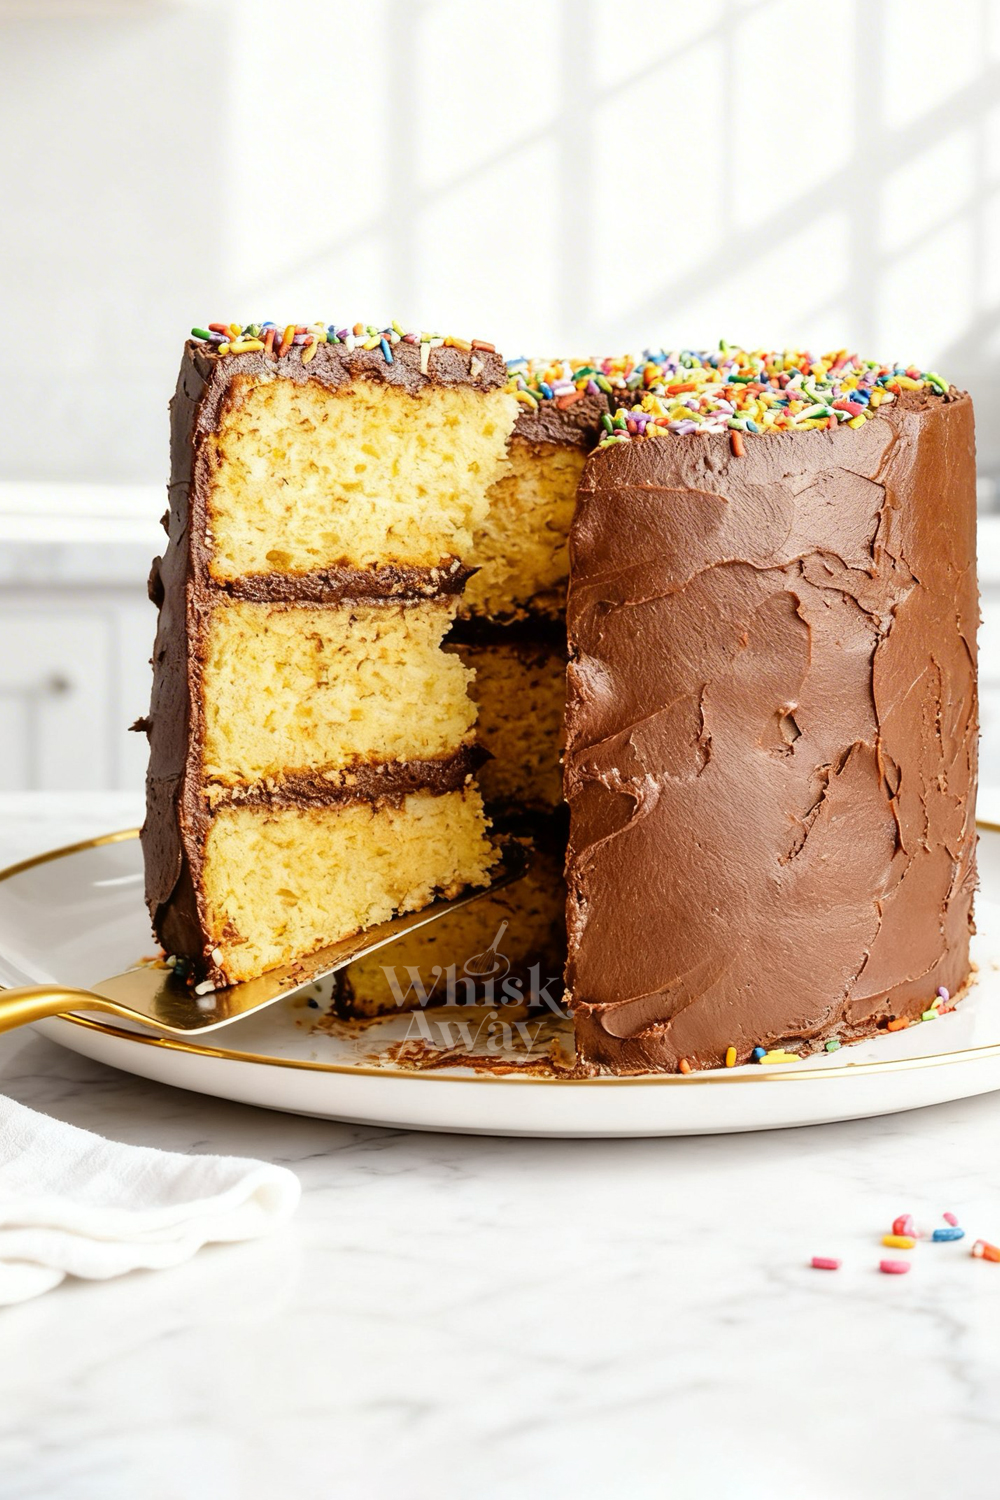
- Place your first cake layer on the stand, flat-side up. Spread roughly ½ cup of frosting evenly to the edges. Add the next layer (flat-side up) and repeat with another ½ cup of frosting. If you made three layers, place the final cake on top, flat-side up.
- Spread a very thin layer (about ½ to ¾ cup) of frosting all over the top and sides of the stacked cake. Use a bench scraper while slowly turning the cake stand to smooth it out. This traps any loose crumbs so they don't ruin your final design.
- Place the cake in the refrigerator for at least 15 minutes until this base coat feels firm to the touch. Once chilled, use the remaining frosting and an offset spatula to add a generous, smooth final coat to the top and sides.