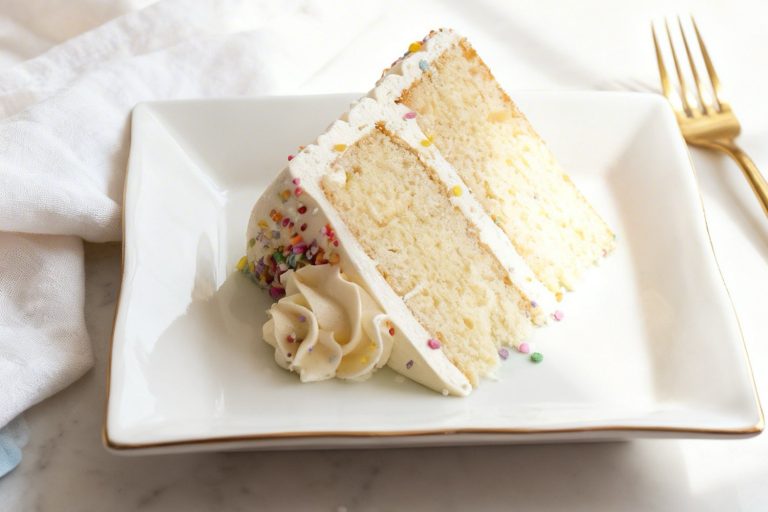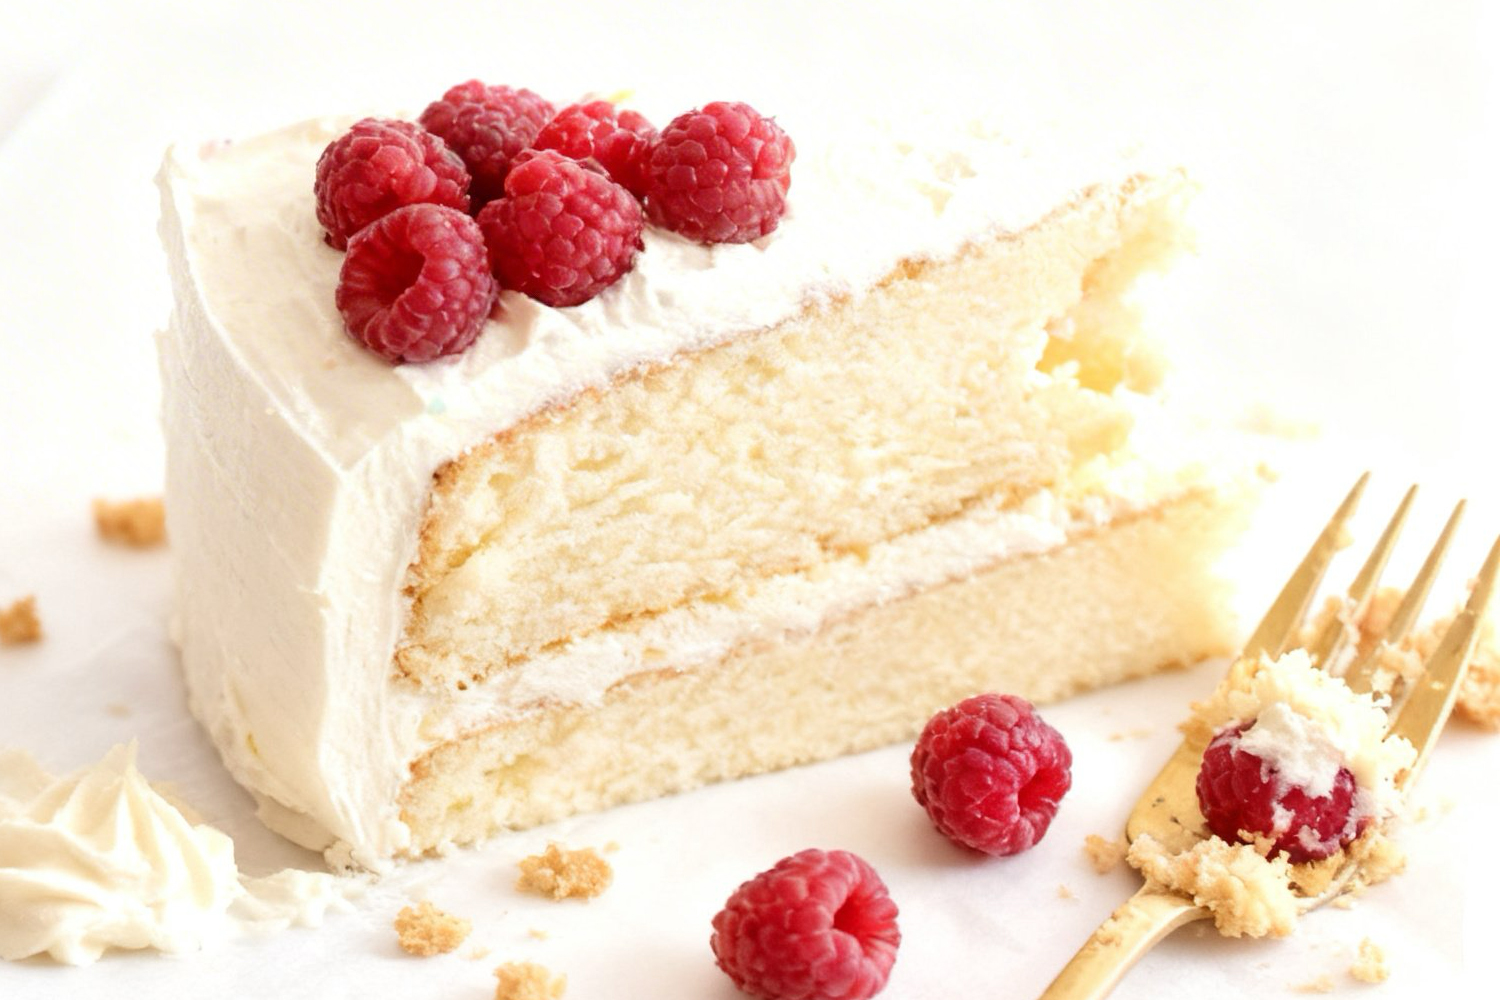
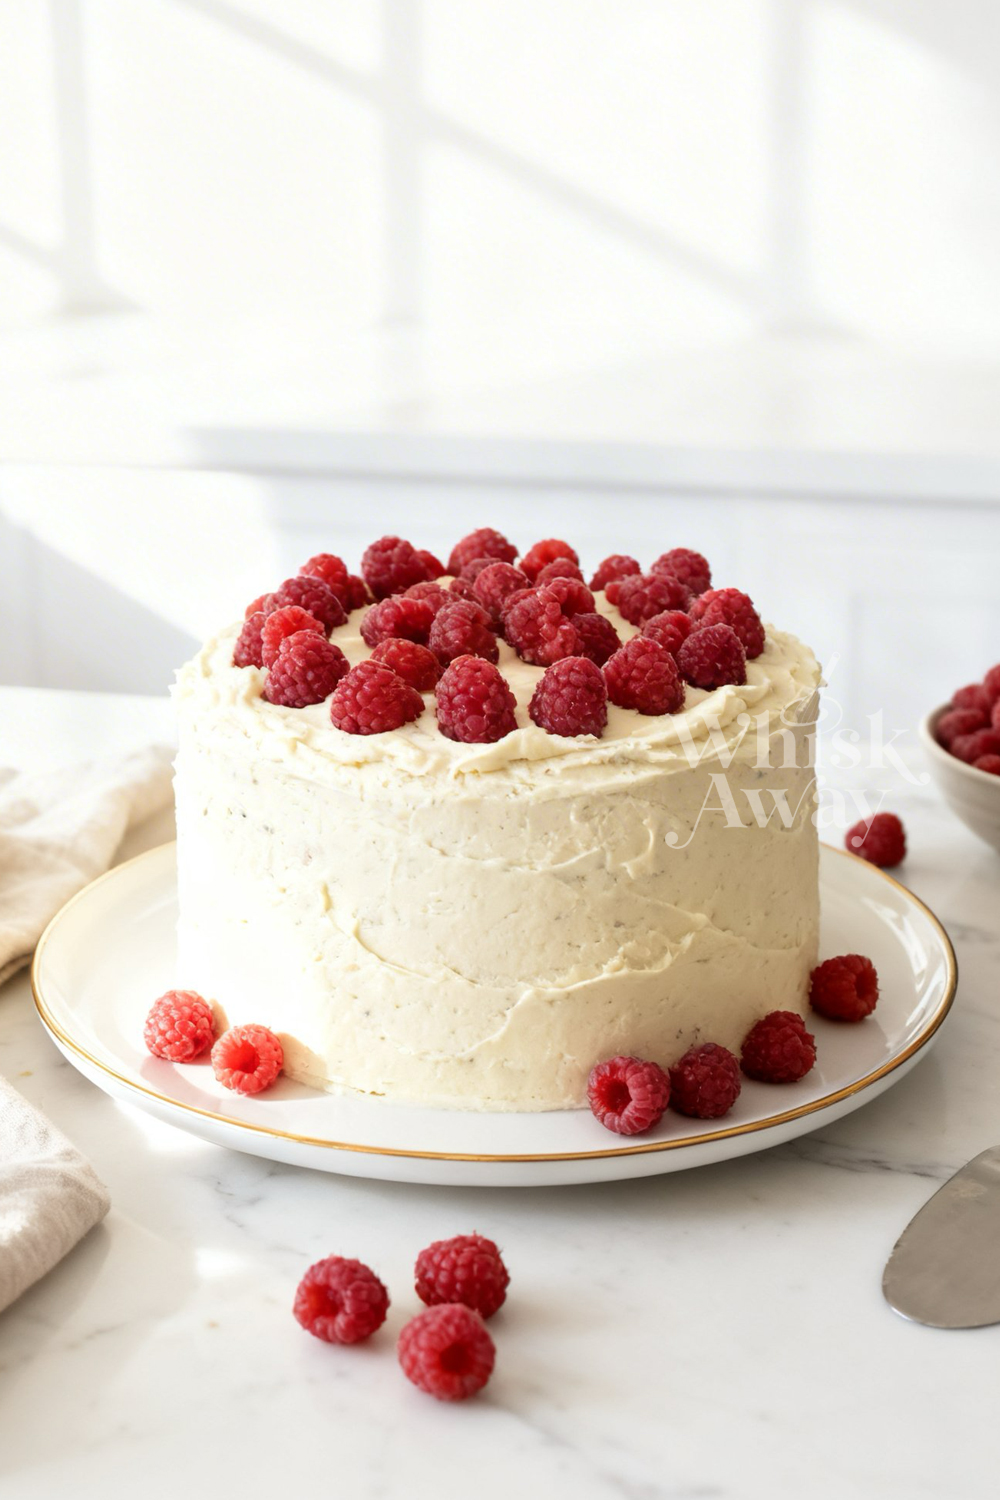
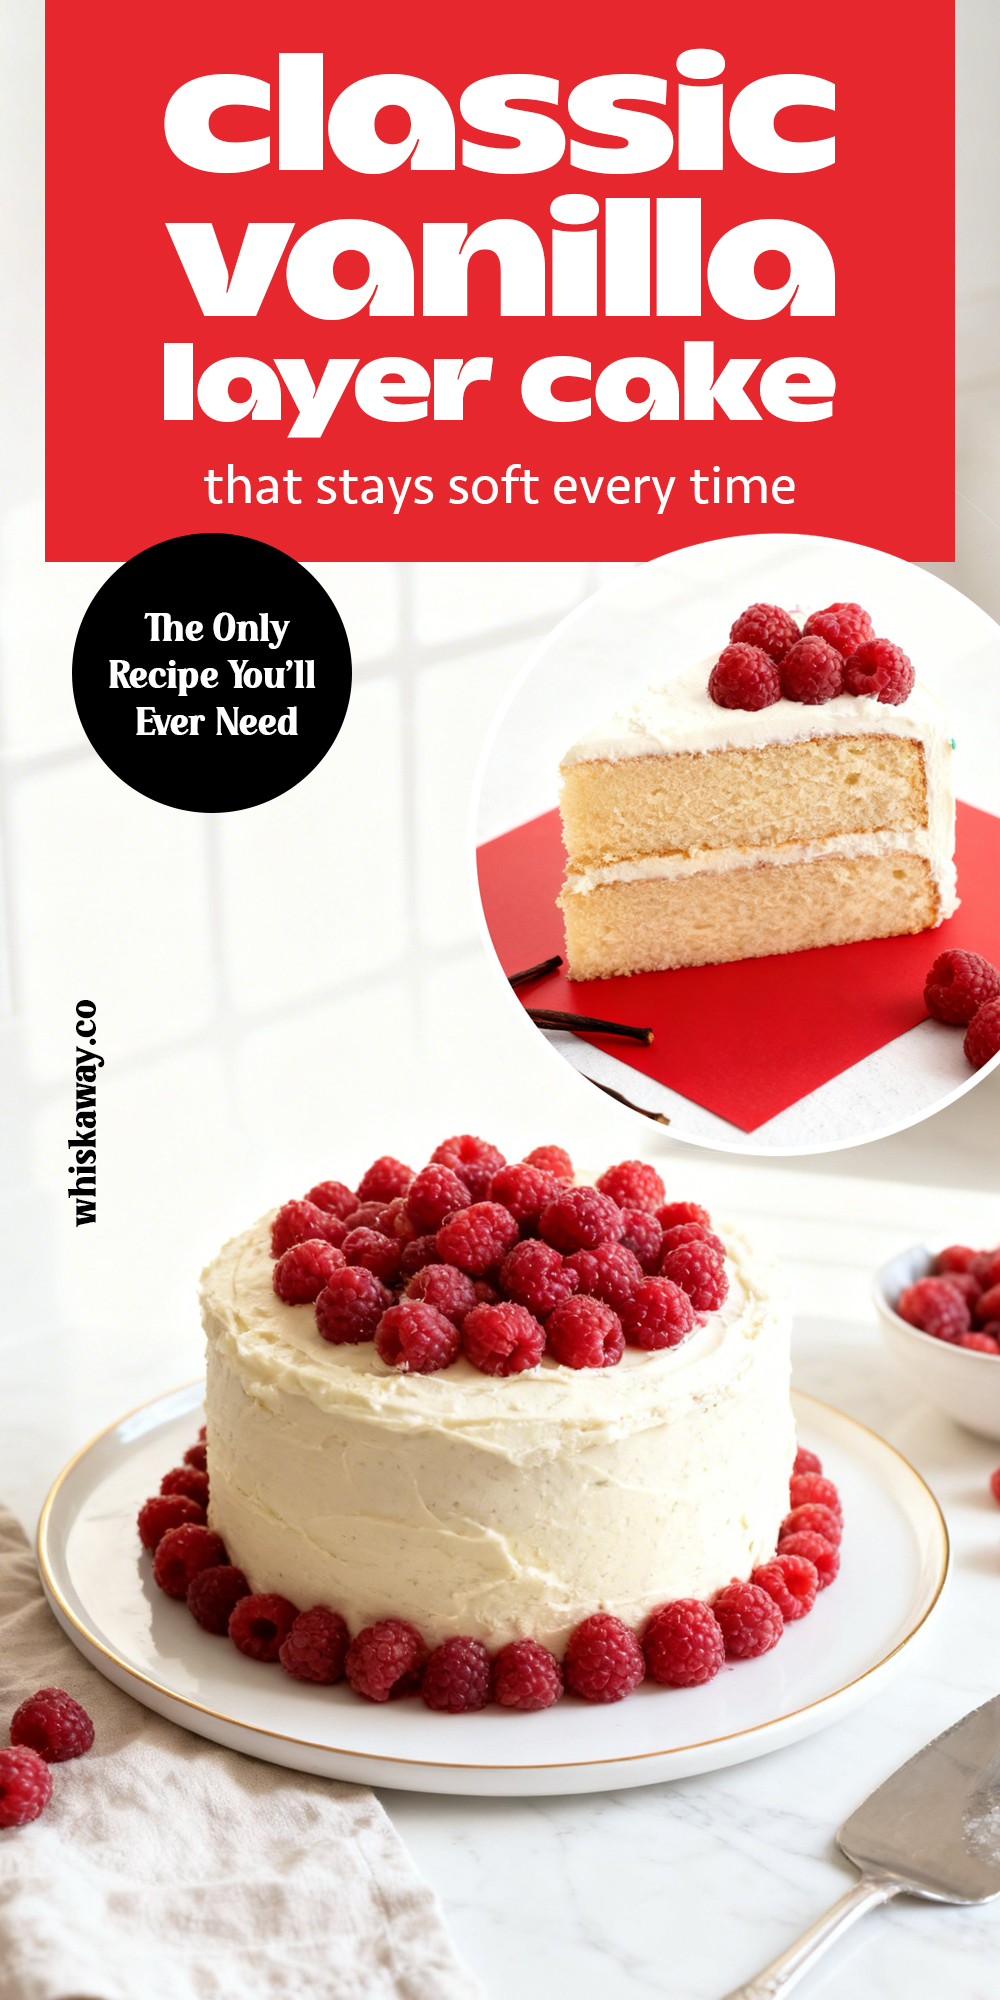
Rich, fluffy, and perfectly sweet, classic vanilla layer cake is the ultimate crowd-pleaser. Moist layers of vanilla cake are stacked and filled with a creamy frosting, creating a dessert that’s as beautiful as it is delicious. The delicate vanilla flavor is versatile and pairs perfectly with almost any frosting or filling, making it a go-to for birthdays, celebrations, or just a sweet treat at home. Baking this cake from scratch is easier than you might think, and the result is a soft, tender cake that melts in your mouth. Every slice delivers a satisfying balance of sweetness, light texture, and comforting flavor, making classic vanilla layer cake a timeless favorite that never goes out of style.
🔥 This classic vanilla layer cake is the kind of reliable, go-to bake that works for any occasion, from birthdays to casual gatherings. If you enjoy mastering foundational recipes, there are a few other cakes worth exploring that build on similar techniques while offering different flavors and textures:
- Funfetti Birthday Cake – adds a playful twist with sprinkles while using a similar base method
- White Cake with Vanilla Buttercream – a lighter, fluffier variation for a more delicate crumb
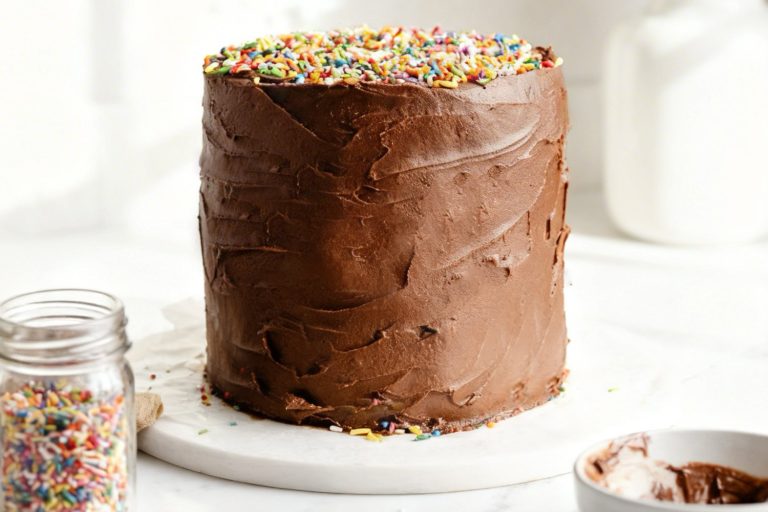
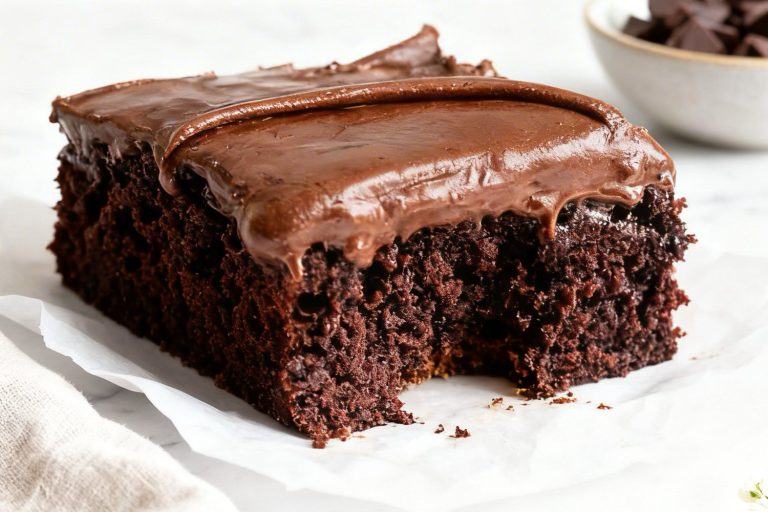
- Yellow Cake with Chocolate Buttercream – perfect if you want to contrast vanilla cake with a richer frosting
Why You’ll Love This Classic Vanilla Layer Cake
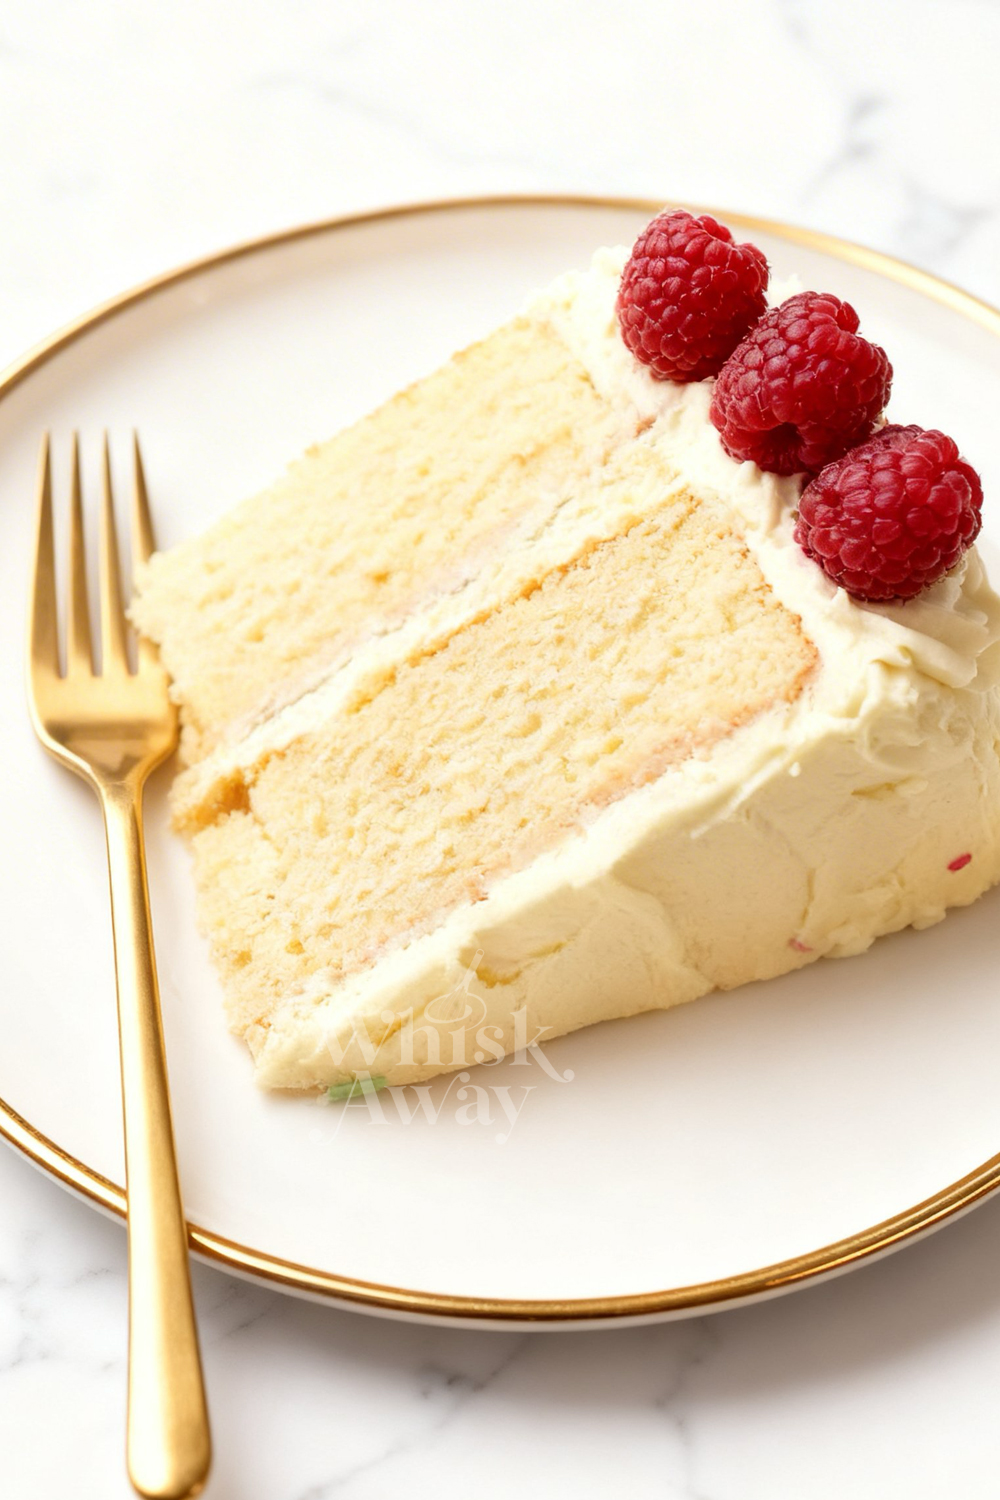
After seeing how beautifully this cake comes together, it’s easy to appreciate why this classic never goes out of style.
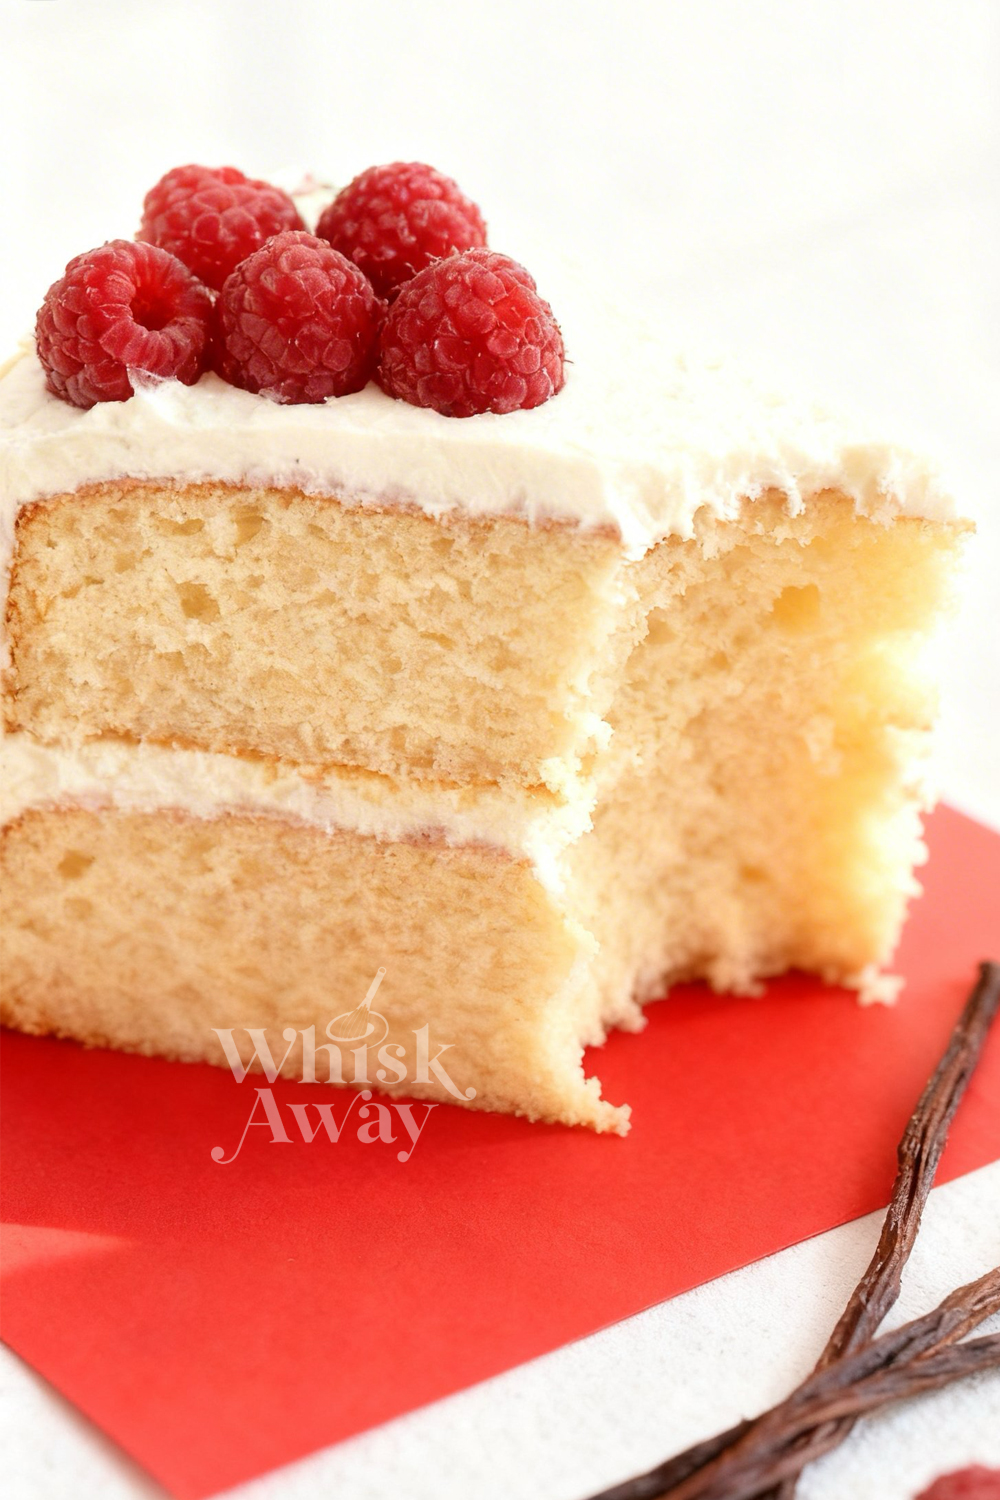
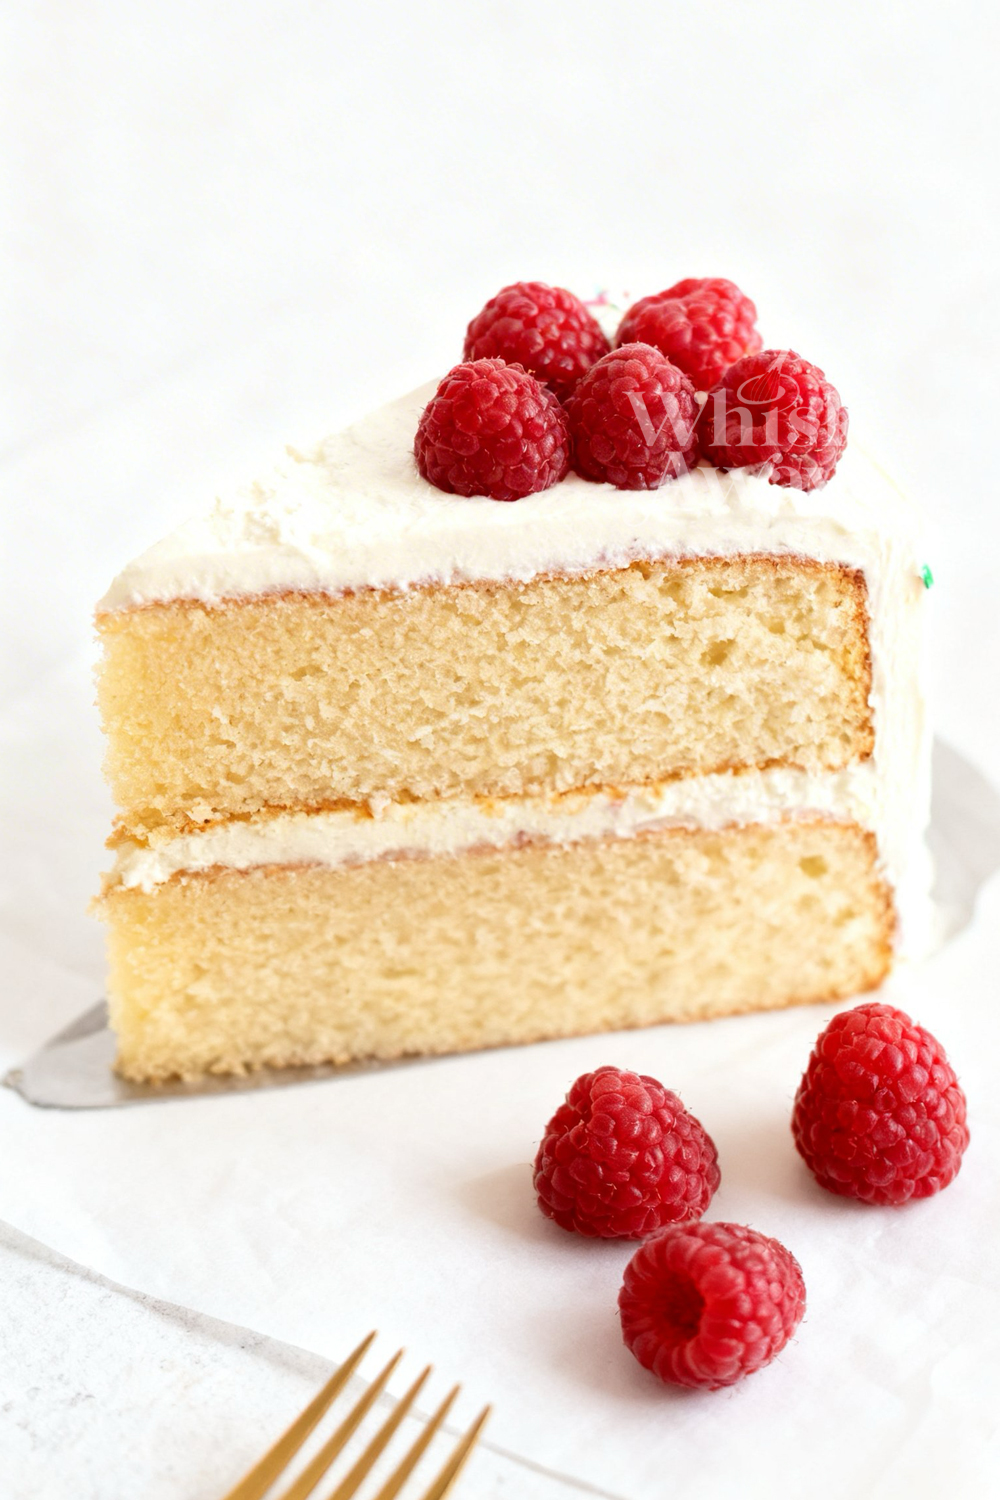
- Soft, fluffy layers with a light and tender crumb.
- Rich vanilla flavor that feels simple yet elegant.
- Perfect base for a variety of fillings and frostings.
- Slices cleanly, making it ideal for celebrations.
- A timeless dessert that suits birthdays, weddings, or any special occasion.
Save This Pin for Later to Your Pinterest Board
Ingredients
- All-purpose flour: Provides structure while keeping the cake soft and tender.
- Caster / superfine sugar: Sweetens and dissolves easily, creating a fine, light crumb.
- Milk Adds moisture and richness, contributing to a soft, tender texture.
- Unsalted butter: Adds flavor, richness, and helps create a soft, buttery crumb.
- Eggs: Bind ingredients, add structure, and help the cake rise evenly.
- Vanilla extract: Adds warmth and enhances the overall flavor of the cake.
- Vegetable or canola oil: Keeps the cake extra moist and soft for longer.
- Baking powder: Acts as a leavening agent, helping the cake rise light and fluffy.
- Salt: Balances sweetness and enhances the vanilla flavor.
- Icing sugar / powdered sugar: Sweetens and stabilizes the buttercream while keeping it smooth.
- Unsalted butter: Provides creaminess, richness, and structure for a fluffy frosting.
- Milk for Buttercream: Adjusts the consistency of the buttercream, making it smooth and spreadable.
- Vanilla extract (for buttercream): Enhances flavor and gives the frosting a warm, classic vanilla taste.
Tips To Get Your Recipe Right
The Classic Vanilla Layer Cake is the crown jewel of baking, but its simplicity is where precision matters most. Because this recipe relies on egg aeration and the hot milk method rather than traditional creaming, technique directly determines whether your crumb is light and plush or dense and flat.
- Room temperature eggs: Cold eggs won’t whip properly. Place them in warm water for 5 minutes before using to ensure maximum volume.
- 7-minute beating: Whip eggs and sugar for a full 7 minutes until pale and ribbon-like. Shorter mixing gives a dense cake.
- Tempering hot milk: Mix a small portion of the batter into hot milk before adding it to prevent cooking the eggs and losing air.
- Avoid over-mixing flour: Stir just until incorporated. Over-mixing develops gluten and makes the cake tough.
- Cooling and leveling: Flip warm cakes onto a rack to flatten domes naturally, keeping more cake and ensuring an even surface for frosting.
Storage Tips
- Room temperature storage: Fully frosted cake can sit on a cake stand or in a cool, dry cupboard for up to 2 days. The buttercream seals in moisture and keeps layers fresh.
- Refrigeration for warm kitchens: Store perishable or frosted cakes in the fridge for up to 5 days. Let slices sit 30–60 minutes at room temperature before eating to soften the butter and frosting.
- Freezing layers: Wrap cooled, unfrosted layers in two layers of plastic wrap and one layer of foil. Thaw in the fridge overnight for easier frosting and minimal crumbs.
- Avoid frosting a wet or hot cake: Let frozen layers reach room temperature and dry off condensation before frosting. Frosting a warm or damp cake can make buttercream slide.
- Protect against odors and dryness: Always use airtight containers; uncovered cake in the fridge or cardboard boxes will absorb smells and dry out quickly.
FAQs
Can I use this recipe to make cupcakes instead of layers?
Absolutely! This batter makes incredible cupcakes because the hot milk method produces a very flat, even rise. Simply line a cupcake tin and fill each well about 2/3 full. Reduce the baking time to 18–22 minutes. You’ll know they are ready when the tops are springy and a toothpick comes out clean.
Why did my cake sink in the middle after I took it out of the oven?
This usually happens for one of two reasons: either the eggs were under-beaten or the oven door was opened too early. If the eggs aren’t whipped for the full 7 minutes, they won’t have the structural strength to hold up the flour. Additionally, if you peek before the 25-minute mark, the sudden rush of cool air can cause the fragile, aerated structure to collapse before it has set.
Is it really necessary to heat the milk and butter?
Yes! This is the Hot Milk Sponge technique. The heat helps the fat (butter) and liquid (milk) emulsify more effectively with the aerated eggs, resulting in a much finer, tighter crumb that stays moist longer than a traditional sponge. If you use cold milk, the batter will be lumpy and the cake will be dense.
My buttercream feels grainy. How do I fix it?
Grainy frosting is caused by icing sugar that hasn’t fully integrated into the butter. This is why sifting the sugar is non-negotiable. If it’s already grainy, add a teaspoon of room-temperature milk and beat it on high for another 2–3 minutes. The extra whipping time and tiny bit of liquid will help dissolve those stubborn sugar crystals.
Can I use regular granulated sugar if I don’t have caster sugar?
You can, but the texture will be slightly different. Because the eggs are whipped for so long, granulated sugar might not dissolve entirely, which can lead to a slightly speckled top or a less delicate crumb. If you only have regular sugar, you can pulse it in a blender for 5–10 seconds to create your own DIY caster sugar!

Classic Vanilla Layer Cake
10
servings20
minutes30
minutes2
hoursThis classic vanilla layer cake is moist, tender, and frosted to perfection.
Ingredients
- Cake Batter
2 Cups Plain / All-Purpose Flour
1 1/2 Cups Caster / Superfine Sugar
1 Cup Milk (Full Fat)
115G (1/2 Cup) Unsalted Butter (Cubed)
4 Large Eggs (Room Temperature)
3 Tsp Vanilla Extract
3 Tsp Vegetable Or Canola Oil
2 1/2 Tsp Baking Powder
1/4 Tsp Cooking Salt
- Vanilla Buttercream
500G (1 Lb) Soft Icing Sugar / Powdered Sugar (Sifted)
225G (2 Sticks) Unsalted Butter (Softened)
2–4 Tbsp Milk
3 Tsp Vanilla Extract
Directions
- Ignite your oven to 180°C/350°F (160°C fan). Ensure the rack is positioned in the center and allow at least 20 minutes for it to reach a stable temperature.
- Butter two 20cm (8”) round cake pans and line the bottoms with parchment paper. Using pans with solid bases (rather than springform) is ideal for this specific batter.
- Using a stand mixer with the whisk attachment, beat the eggs on medium-high for 30 seconds. Keeping the mixer running, slowly stream in the sugar over the course of 45 seconds. Crank the speed to high and beat for a full 7 minutes. The mixture should triple in volume, turning thick, pale, and almost white.
- In a separate bowl, whisk the flour, baking powder, and salt. Set aside.
- While the eggs are whipping, combine the milk and butter in a microwave-safe jug. Heat for about 2 minutes (or on the stove) until the butter is completely melted and the milk is hot.
- Sift one-third of the flour over the whipped egg mixture. Mix on the lowest speed for 5 seconds. Add half of the remaining flour, mix for 5 seconds, then add the rest and mix for 5–10 seconds. Stop the moment you can no longer see dry flour to avoid deflating the eggs.
- Pour the vanilla and oil into your hot milk mixture. Take about 1.5 cups of your thick egg/flour batter and whisk it vigorously into the hot milk until smooth and foamy.
- Turn the mixer back to low speed. Slowly pour the foamy milk mixture back into the main egg batter over 15 seconds.
- Stop the mixer, scrape the sides and bottom of the bowl with a spatula, and give it one final 10-second mix on low until the batter is smooth and liquid.
- Divide the batter evenly between the two pans. Tap the pans firmly on the counter three times to burst any large air pockets.
- Bake for 30 minutes. They are finished when the tops are golden and a toothpick emerges clean from the center.
- Let the cakes rest in their pans for 15 minutes.
- Invert the cakes onto a wire rack. Cool them upside down; the weight of the cake will naturally flatten any slight dome, giving you perfectly level layers for frosting without needing to trim them.
- After the cake layers have cooled completely to room temperature, it is time to assemble. You can finish the cake with your favorite frosting, or keep things light by stacking the sponges with whipped cream and a swoop of jam or fresh fruit.
- Using the paddle attachment, whip the softened butter for 3 minutes on high until it is pale (almost white) and very fluffy.
- Add the sifted icing sugar in three batches. Start on low speed to avoid a sugar cloud, then whip on high for 3 minutes until voluminous.
- Beat in the vanilla and a splash of milk (if needed) for 30 seconds until the texture is silky and spreadable.