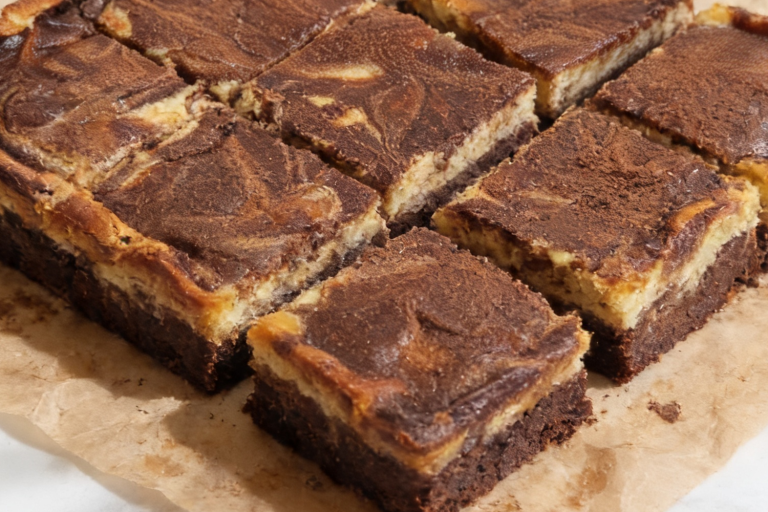
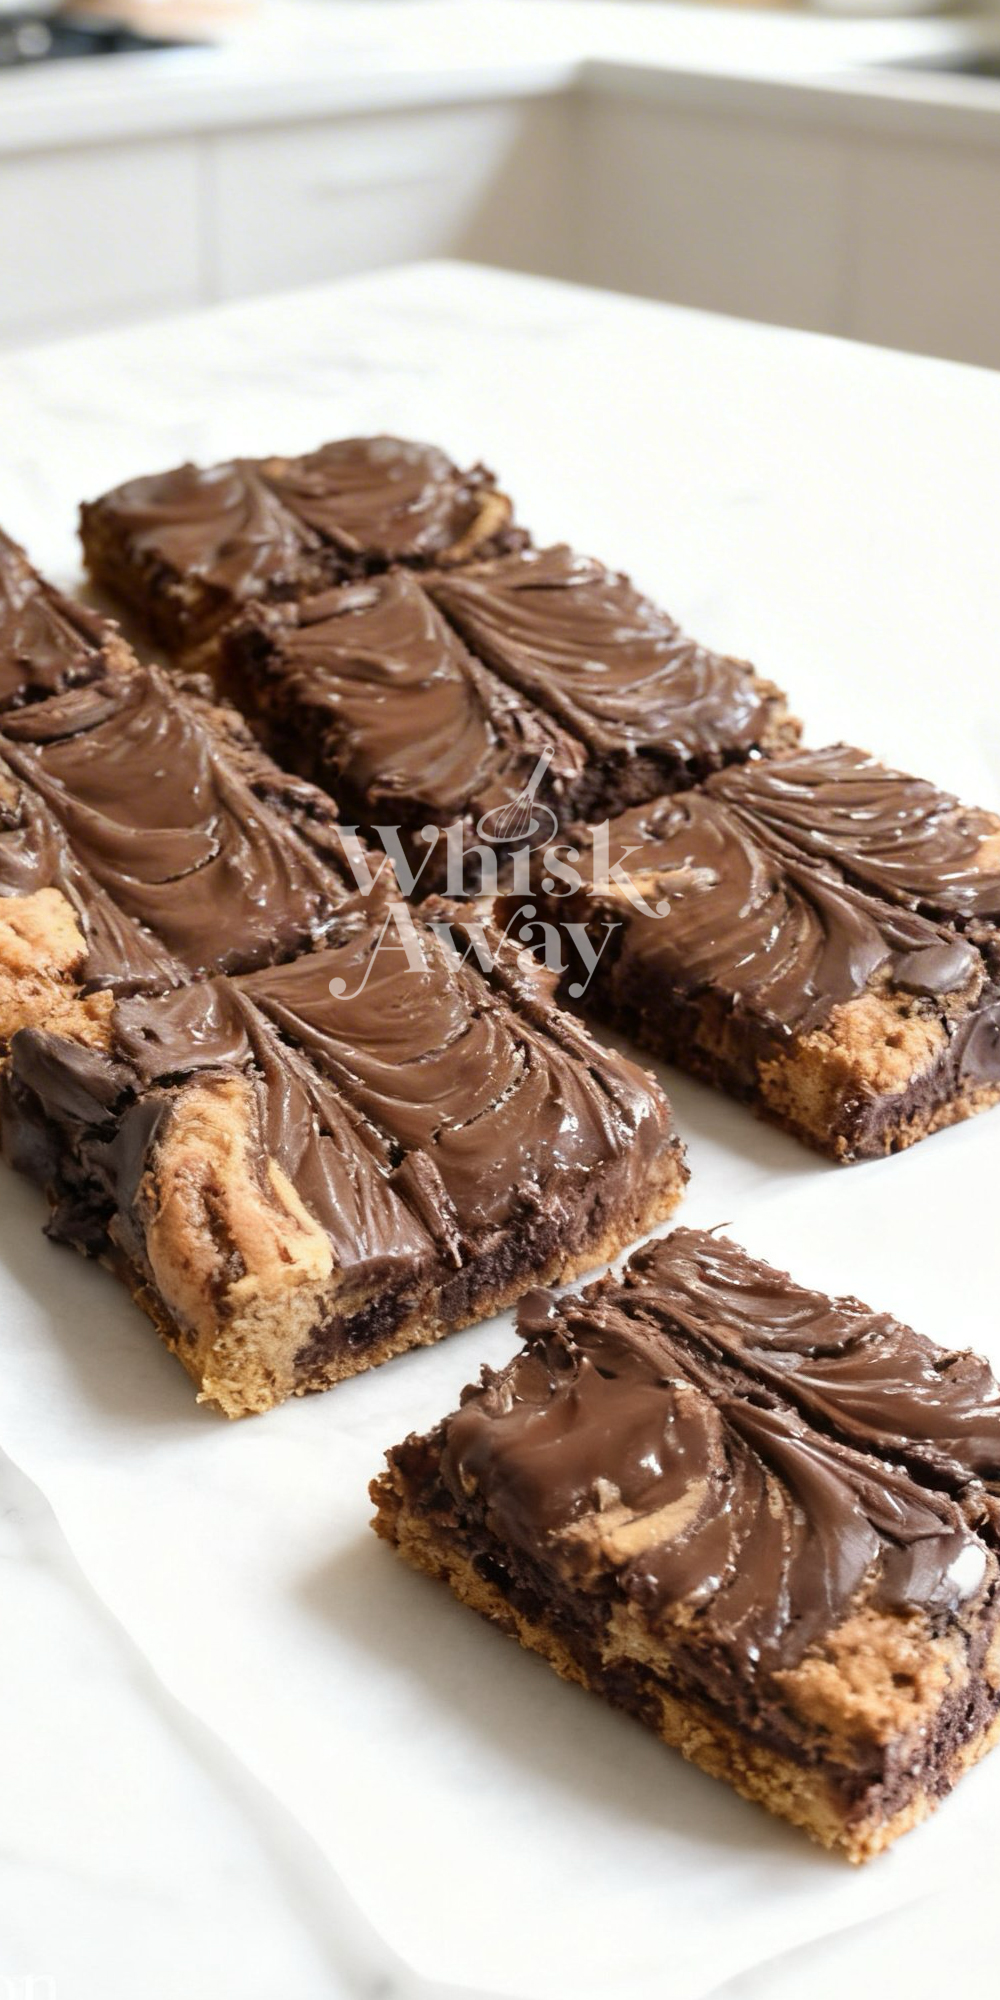
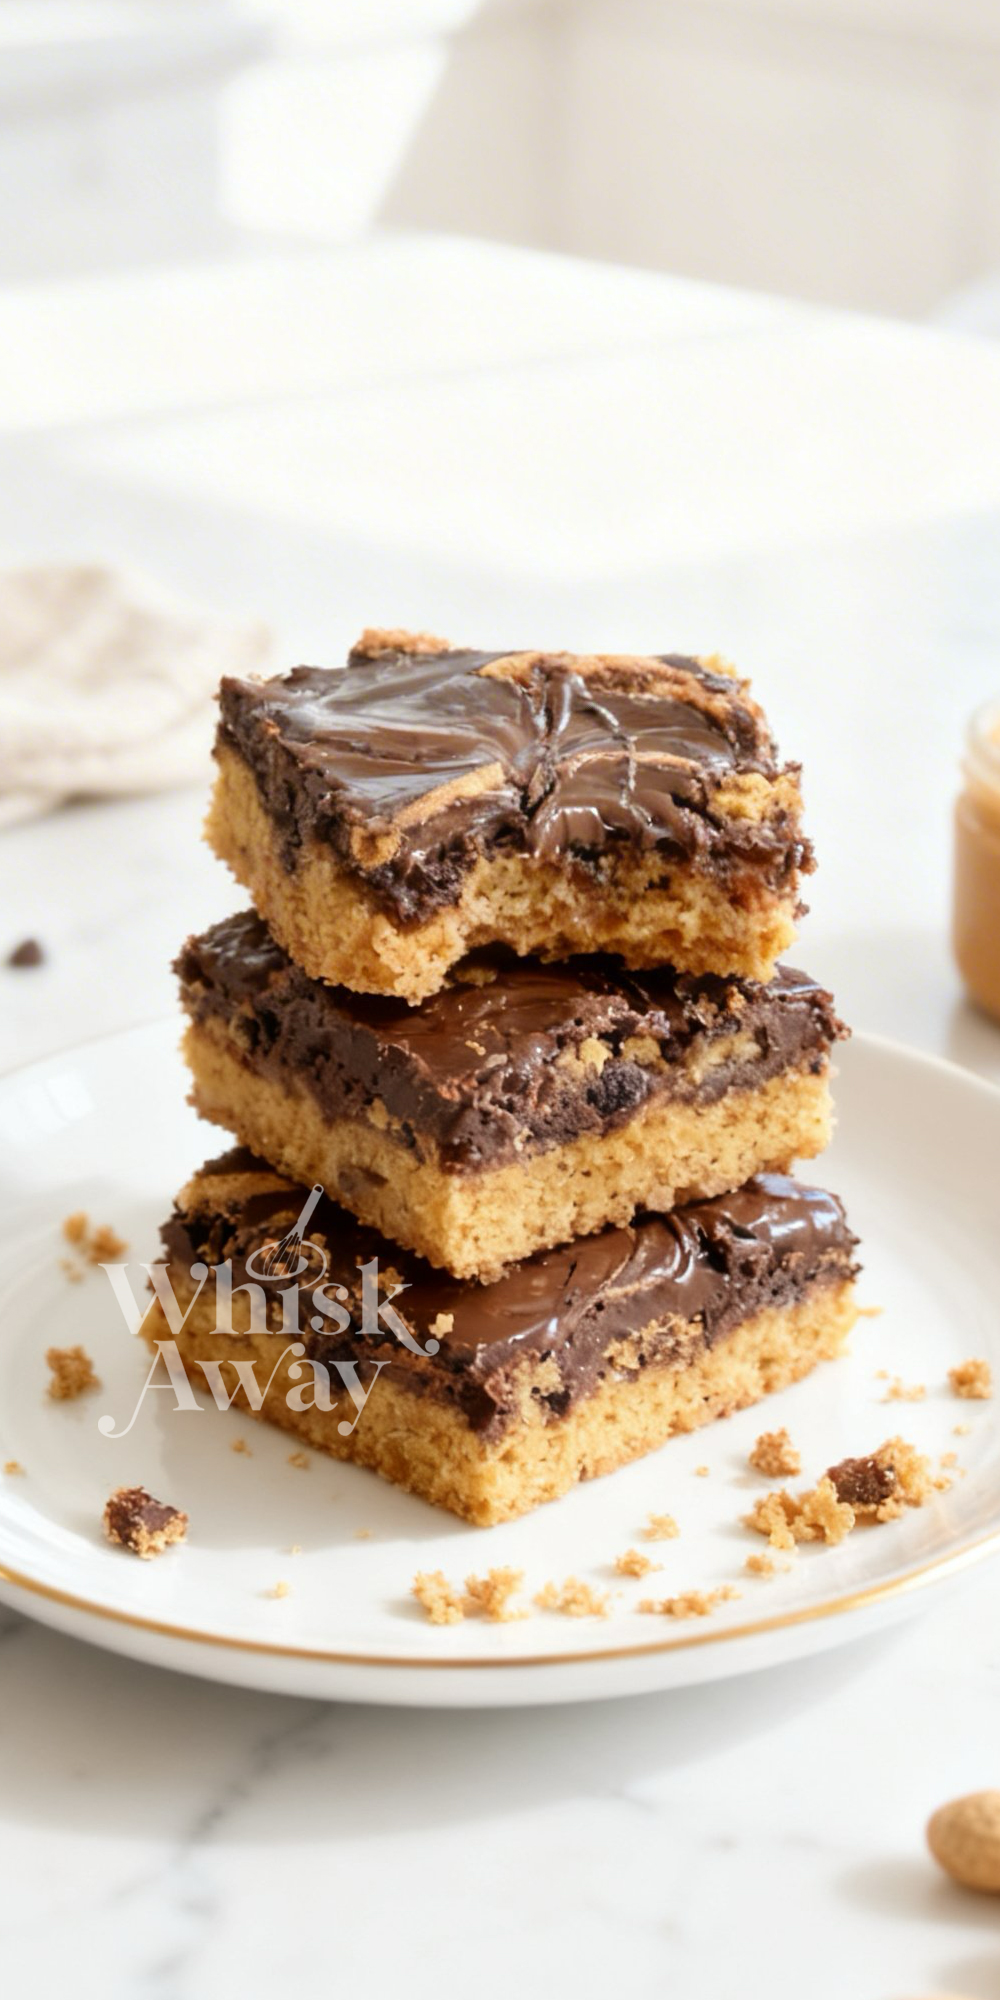
Chocolate peanut butter swirl bars combine two classic flavors into a rich, visually striking dessert. A fudgy chocolate base is swirled with creamy peanut butter, creating a marbled effect that makes slicing and serving fun and impressive. Each bar delivers a dense, chewy texture with a smooth, sweet peanut butter contrast, offering a perfect balance of flavors. They’re ideal for dessert tables, snack packs, or as a simple homemade treat to satisfy chocolate and peanut butter cravings. The recipe uses common ingredients like butter, sugar, eggs, and chocolate, making it approachable for bakers of all levels. Whether served warm or at room temperature, these bars are indulgent without being overly complicated. They store well, slice cleanly, and bring a satisfying richness to any occasion, ensuring each bite is as enjoyable as the first.
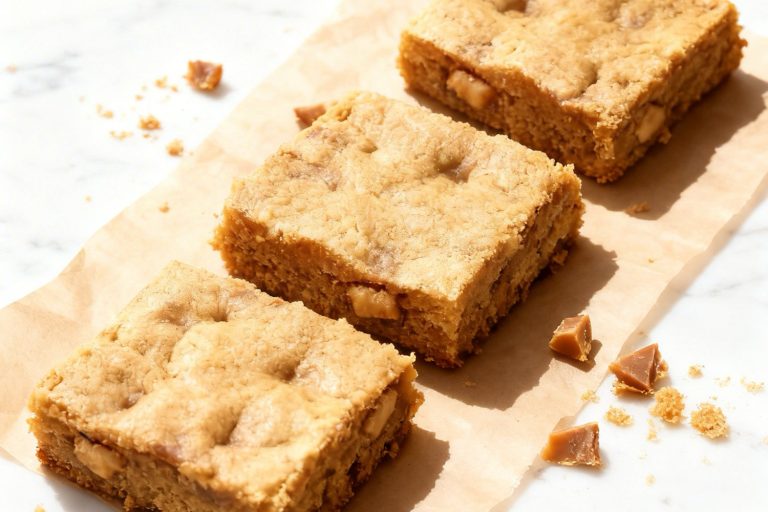
🔥 The rich swirl of chocolate and peanut butter makes these bars a go-to for classic flavor lovers. Peanut Butter Cup Brownie Bars intensify that pairing with chunks of candy throughout, while Oat Peanut Butter Bars offer a more wholesome, chewy alternative. If you’re after something even more indulgent, Chocolate Chip Cookie Dough Brownie Bars layer in extra richness and texture.
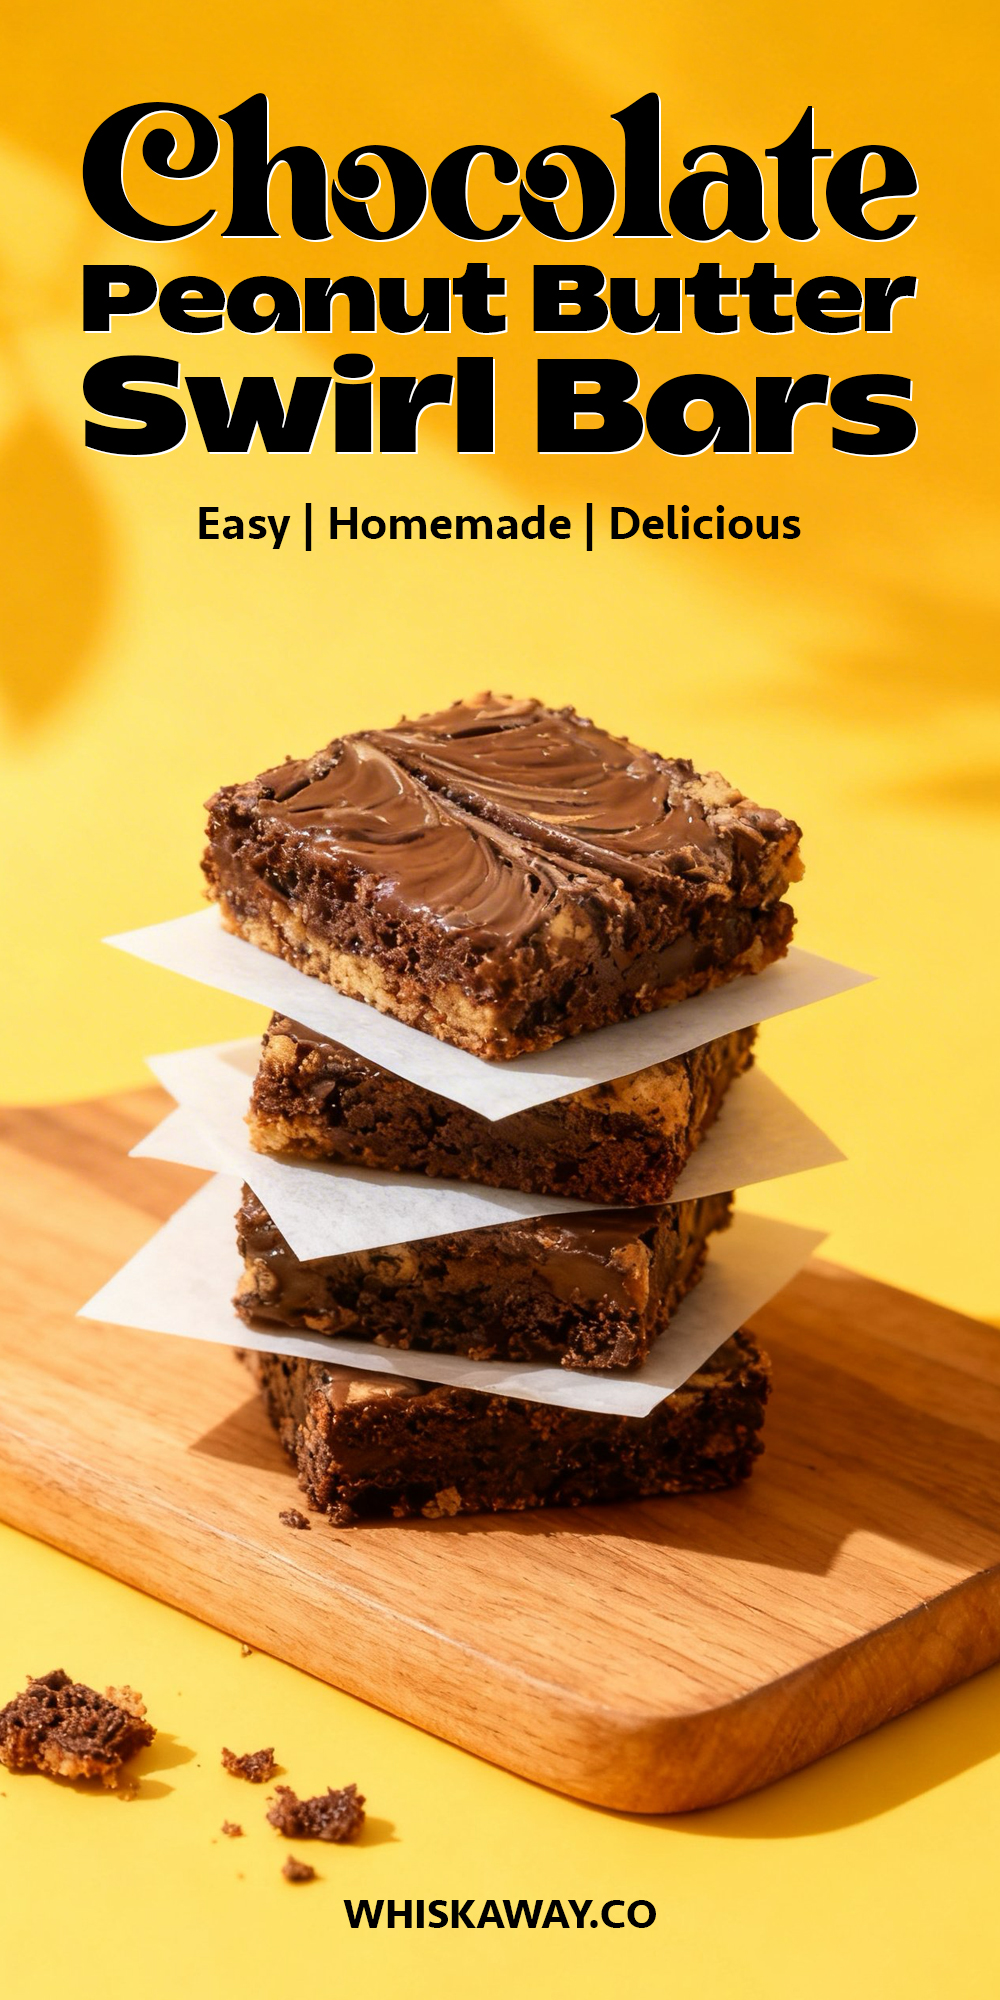
Why You’ll Love These Chocolate Peanut Butter Swirl Bars
With beautiful swirls baked right in, these bars deliver a timeless flavor combination that never disappoints.
- Rich chocolate base balanced by creamy peanut butter.
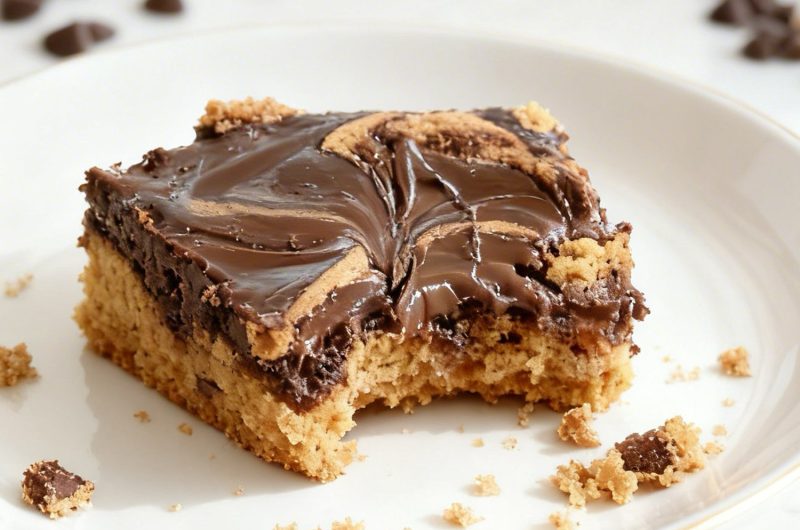
- Marbled appearance makes them visually stunning.
- Soft, chewy texture ensures a decadent bite.
- Easy to portion into neat dessert squares.
- A dependable treat for chocolate-peanut butter fans.
Save This Pin for Later to Your Pinterest Board
Ingredients
- Dark chocolate chips: Creates a rich, fudgy chocolate base. Chop them evenly so they melt smoothly and form a decadent layer.
- Peanut butter: Swirled through the chocolate for creamy, nutty flavor. Warm it slightly if it’s too thick, which makes swirling easier.
- All-purpose flour: Adds structure to keep your bars soft but not mushy. Fold gently for best texture.
- Brown sugar & white sugar: Brown sugar gives chewiness, white sugar balances sweetness and adds structure.
- Butter: Adds richness and helps the bars achieve a fudgy texture. Melt gently before adding.
- Eggs: Bind everything together while keeping the bars soft and moist.
- Vanilla extract: Enhances the chocolate and peanut butter flavors.
- Baking powder & salt: Just enough lift and balance to make each bite perfect.
Tips To Get Your Recipe Right
- Watch the initial bake carefully: Bake the bars for 5 minutes before swirling the chocolate. The chips should look shiny and wet but not melted completely, ready to marble without scorching.
- Use a stable peanut butter: Commercial brands work best. Natural, oily peanut butter can make the bars greasy or prevent them from setting properly.
- Mix flour gently: Fold the flour in until just combined. Over-mixing makes the dense peanut butter batter tough and rubbery.
- Swirl the chocolate lightly: Use only 4–5 long, sweeping motions with a knife. Over-stirring will turn the marble layer muddy and uneven.
- Cool completely before slicing: Let the bars set so the chocolate solidifies and holds the layers together. Cutting too soon will cause the top layer to slide off.
Storage Tips
- Room temperature: Store in an airtight container for up to 5 days in a cool, dark spot. Add a slice of apple or bread to keep the bars soft.
- Refrigeration: Keep for up to 10 days; chilling firms the peanut butter base and gives the chocolate swirl a candy-like snap. Wrap tightly to prevent fridge odors.
- Freezing: Slice, wrap each square in parchment and foil, and freeze for up to 3 months. Thaw 20 minutes at room temperature or enjoy semi-frozen for a fudge-like texture.
- Reheating: Warm a single bar 8–10 seconds in the microwave or 2–3 minutes in a low toaster oven to soften the chocolate without greasing the peanut butter.
- Storage mistakes to avoid: Never cut while warm, avoid foil-only storage, and prevent condensation by letting cold bars reach room temperature before opening.
FAQs
-
Why didn’t my chocolate chips melt enough to swirl?
The 5-minute pre-bake window is the secret. If your oven hasn’t reached a true 350°F (177°C), the chips won’t soften enough. Additionally, avoid using low-melt or high-stabilizer chips (often found in bargain brands); high-quality dark chocolate chips with more cocoa butter will always marble more smoothly.
-
Can I use Natural or Drippy peanut butter?
While you can, it isn’t recommended for this specific recipe. Natural peanut butters that require stirring are very high in oil, which can cause the bars to turn out greasy or fail to hold their structure. For that classic, soft, fudgy-cake texture, a standard creamy peanut butter (like Jif or Skippy) is the gold standard.
-
How do I know the bars are done if the chocolate covers the top?
Don’t look at the chocolate; look at the perimeter. The edges of the bars should be a light golden brown and just starting to pull away from the sides of the pan. If you give the pan a gentle nudge, the center should be set, not sloshing. Because they are dense, they will finish firming up as they cool.
-
What if I want to make these nut-free?
You can easily swap the peanut butter for Sunflower Seed Butter (SunButter) or Soy Nut Butter (WowButter). Note: Sunflower butter can sometimes turn slightly green when it reacts with baking powder. It’s completely safe to eat, but adding a teaspoon of lemon juice to your batter can help neutralize the pH and keep the color golden!
-
My bars are dry and crumbly. What went wrong?
This usually comes down to two culprits: over-baking or improper measuring. Make sure you aren’t packing the flour into your measuring cup (spoon it in and level it off instead). Also, remember that these bars continue to cook in the hot pan after you take them out. If they look 100% dry in the oven, they are likely already over-done.
Chocolate Peanut Butter Swirl Bars
24
servings10
minutes25
minutesThese chocolate-peanut-butter swirl bars are rich, decadent, and irresistible.
Ingredients
2 cups Dark chocolate chips (one 12-ounce bag)
1 cup Packed brown sugar
1 cup Flour
1/2 cup Peanut butter
1/2 cup White sugar
1/3 cup Softened butter
2 Eggs
2 teaspoons Vanilla
1 teaspoon Baking powder
1/4 teaspoon Salt
Directions
- In a large mixing bowl, combine the peanut butter, softened butter, brown sugar, and granulated sugar. Beat the mixture thoroughly until it is uniform and well-integrated.
- Incorporate the eggs and vanilla extract. Continue beating the mixture until it transforms into a light, airy, and fluffy consistency. This aeration is what gives the bars their tender crumb.
- Gradually stir in the flour, baking powder, and salt. Blend until the dry ingredients are just fully incorporated and no streaks of flour remain, ensuring a smooth, cohesive batter.
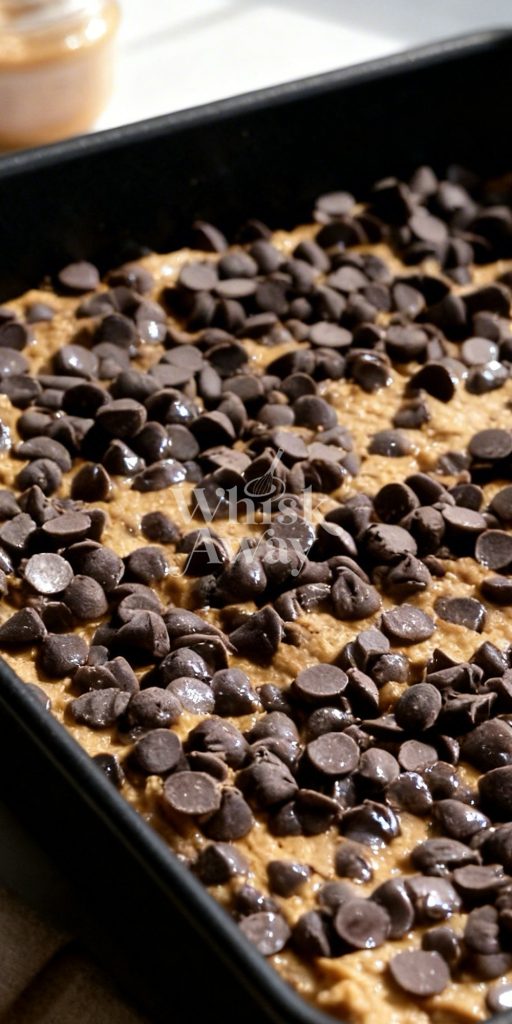
- Transfer the batter into an ungreased 13x9-inch baking pan, spreading it into an even layer with a spatula. Scatter the entire 12-ounce bag of dark chocolate chips across the surface as uniformly as possible.
- Place the pan in a preheated 350°F (177°C) oven and bake for exactly 5 minutes.
- Carefully remove the pan from the oven. The chocolate chips should now be glossy and soft.
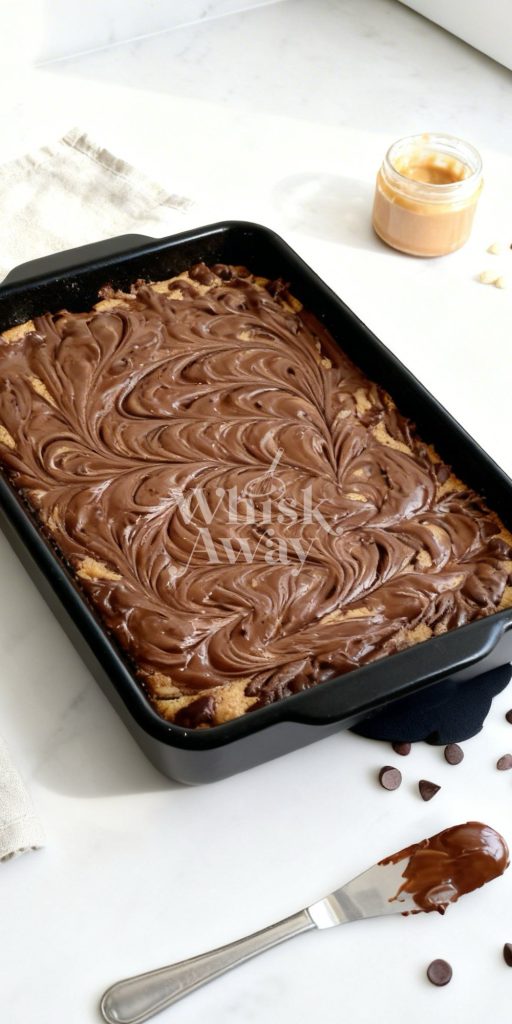
- Take a butter knife and gently drag it through the softened chocolate and the top layer of batter to create a beautiful marbled pattern.
- Pro-Tip: Avoid over-swirling; you want distinct ribbons of chocolate rather than a solid brown top.
- Return the pan to the oven for an additional 20 minutes. You are looking for the edges to turn a light golden brown.
- Allow the bars to cool completely in the pan. This is crucial for structural integrity; cutting them while warm will cause the edges to crumble and the chocolate swirl to smudge.
- Once cold, cut into 24 even bars and serve.
There are no reviews yet. Share your thoughts above!