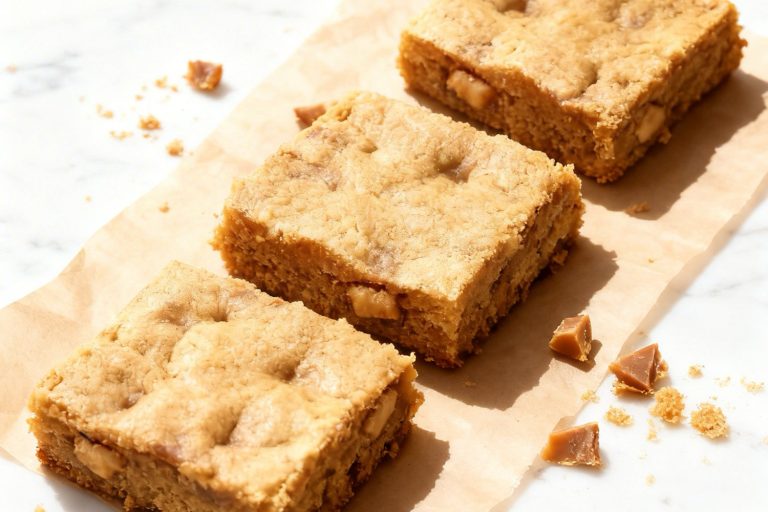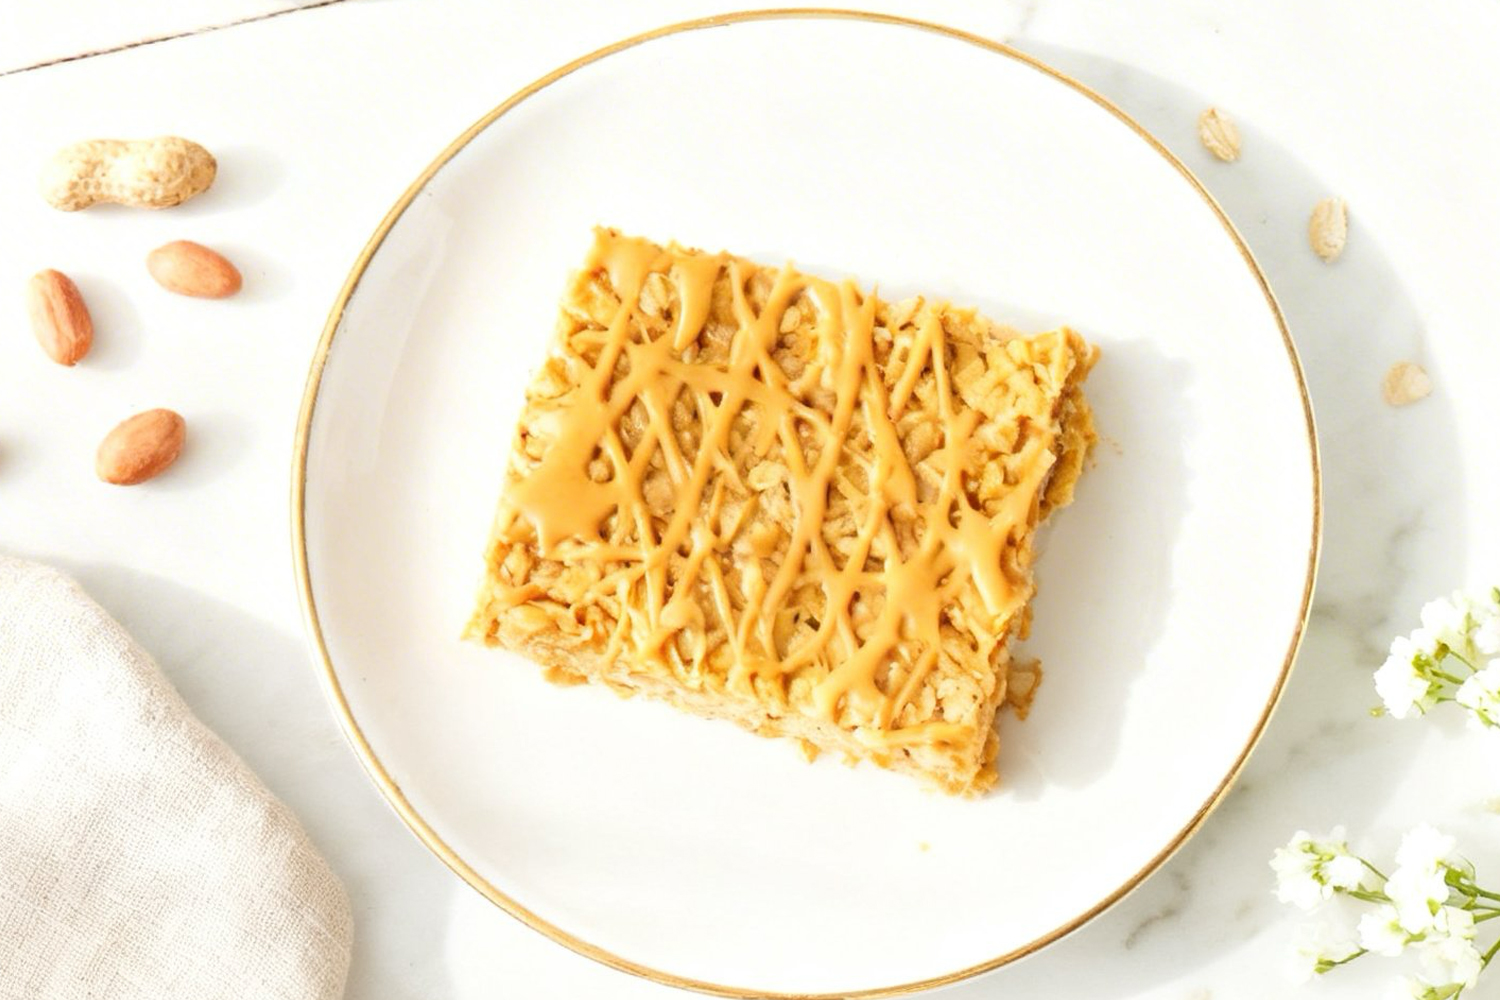
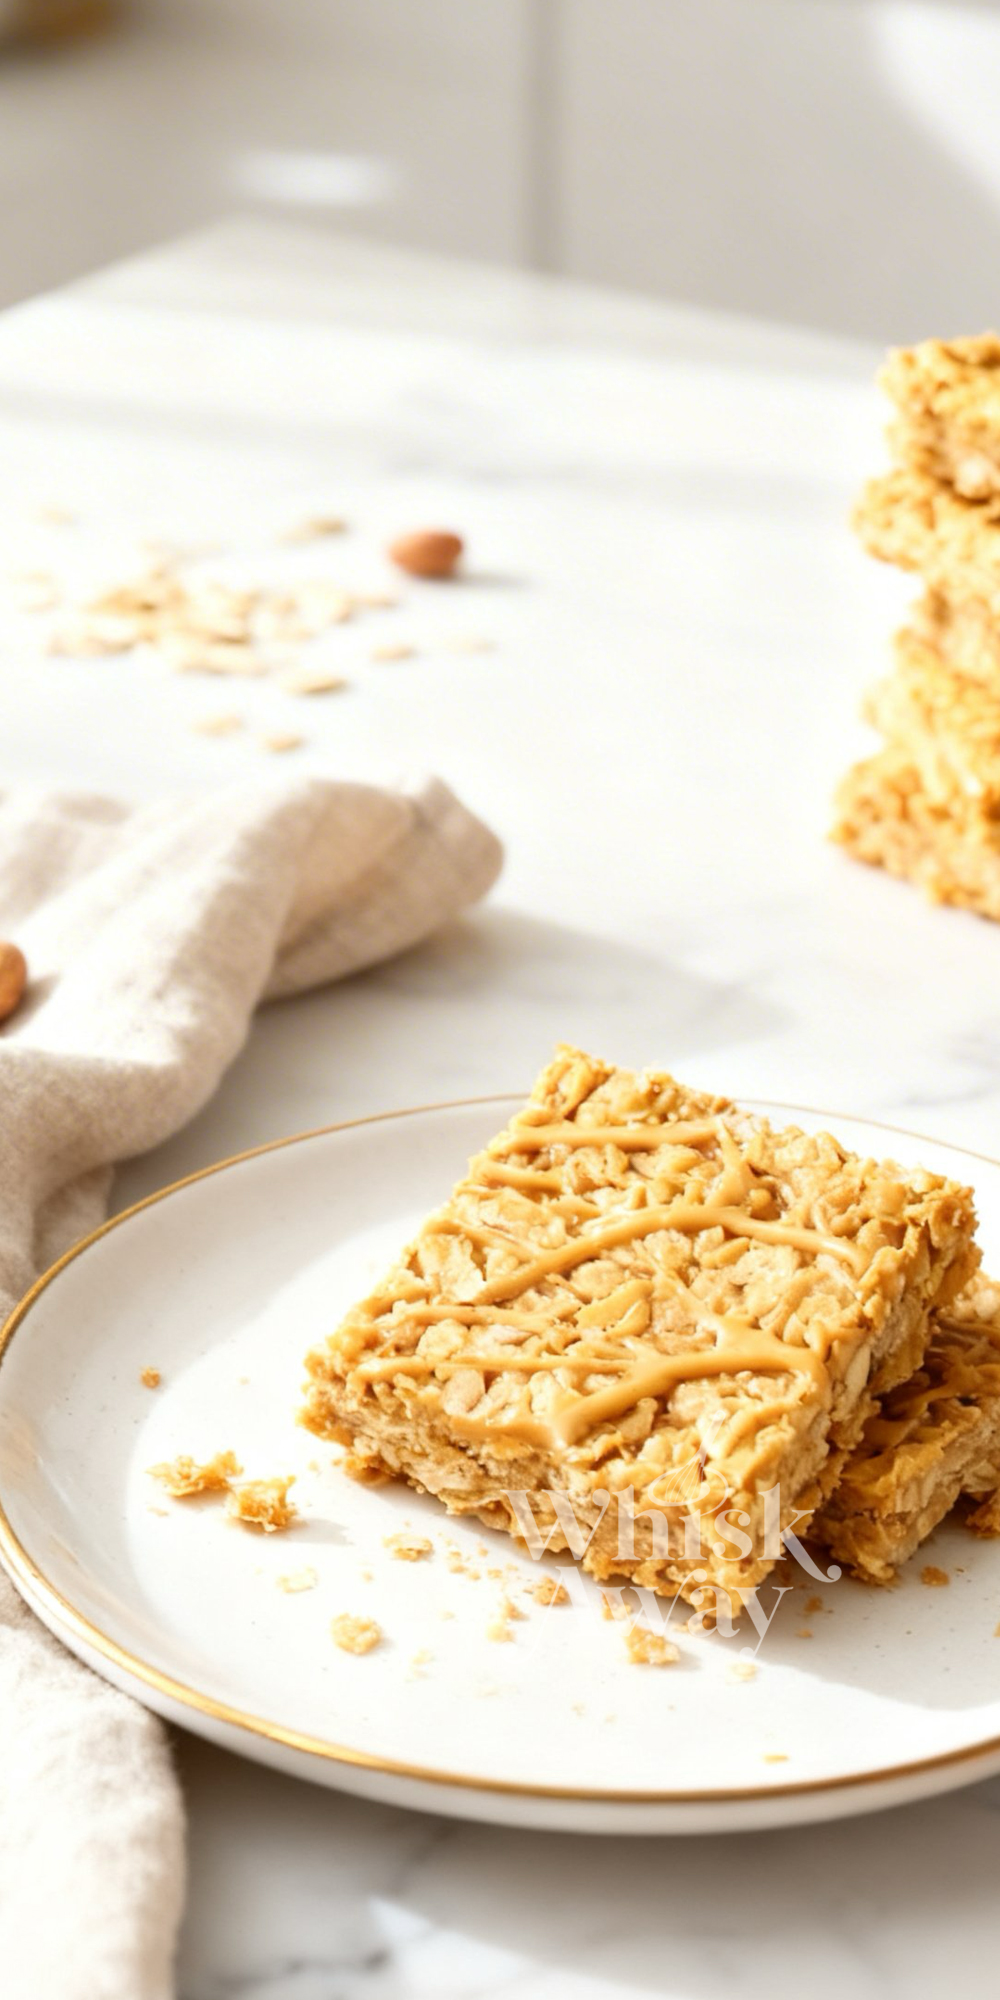
Oat peanut butter bars are my go-to when I want a snack that feels homemade but travels well. This easy peanut butter bar recipe combines oats, creamy peanut butter, and a touch of sweetness for chewy, satisfying bars. They’re perfect for school lunches, quick breakfasts, or an afternoon energy boost. With simple ingredients and a straightforward method, even beginners can pull them off, and they store well for several days.
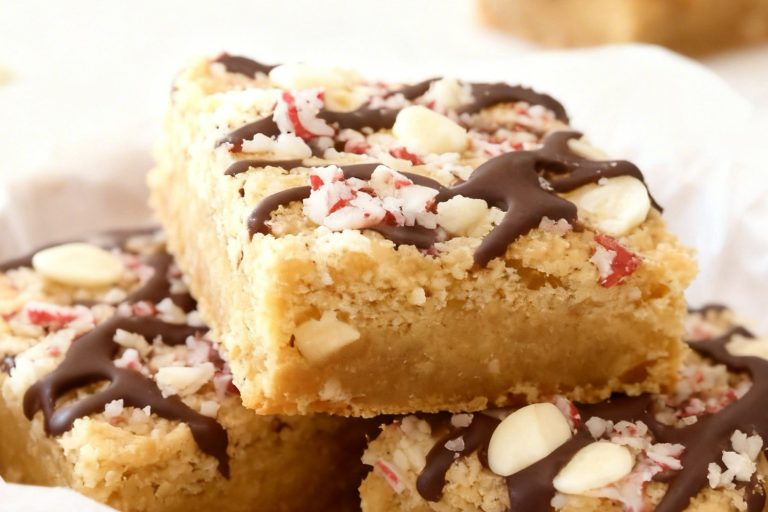
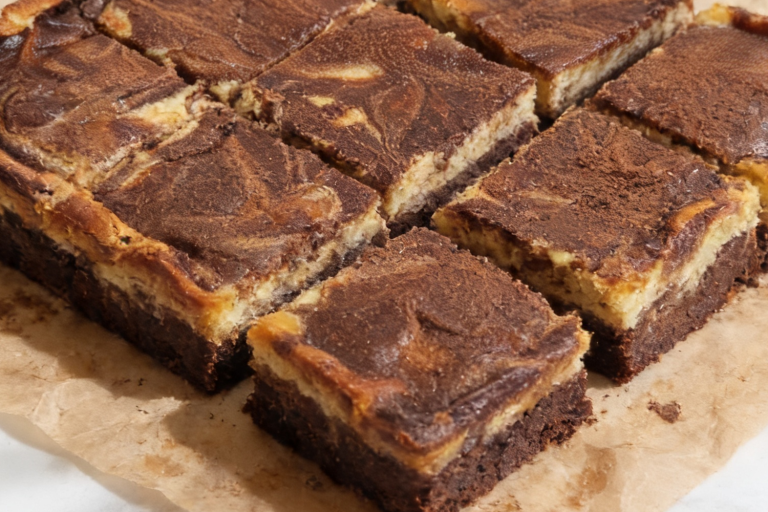
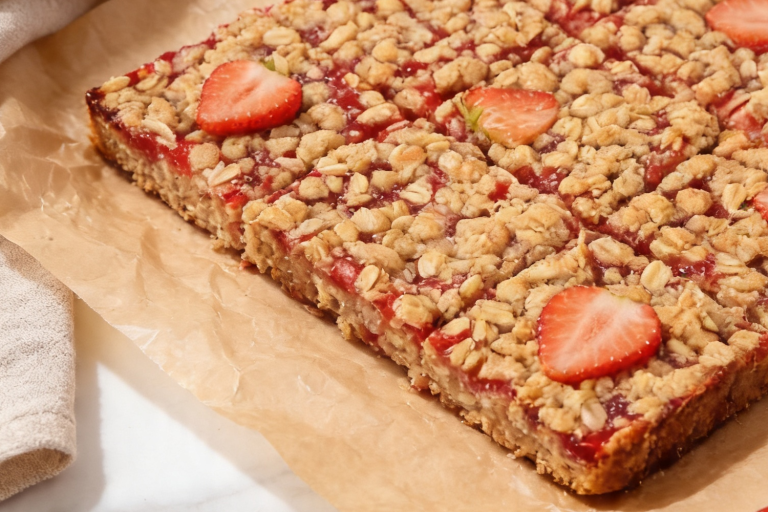
🔥 These bars are all about hearty texture and nutty comfort, which pairs well with similar wholesome treats. Raspberry White Chocolate Oat Bars add a fruity brightness to that chewy base, while Chocolate Peanut Butter Swirl Bars deepen the flavor with a rich chocolate contrast. For a dessert that leans even more into indulgence, Peanut Butter Cup Brownie Bars combine that same nutty flavor with a fudgy chocolate base.
Why You’ll Love These Oat Peanut Butter Bars
From the first wholesome bite, these hearty bars deliver comforting flavor and satisfying chew.
- Creamy peanut butter pairs perfectly with chewy oats.
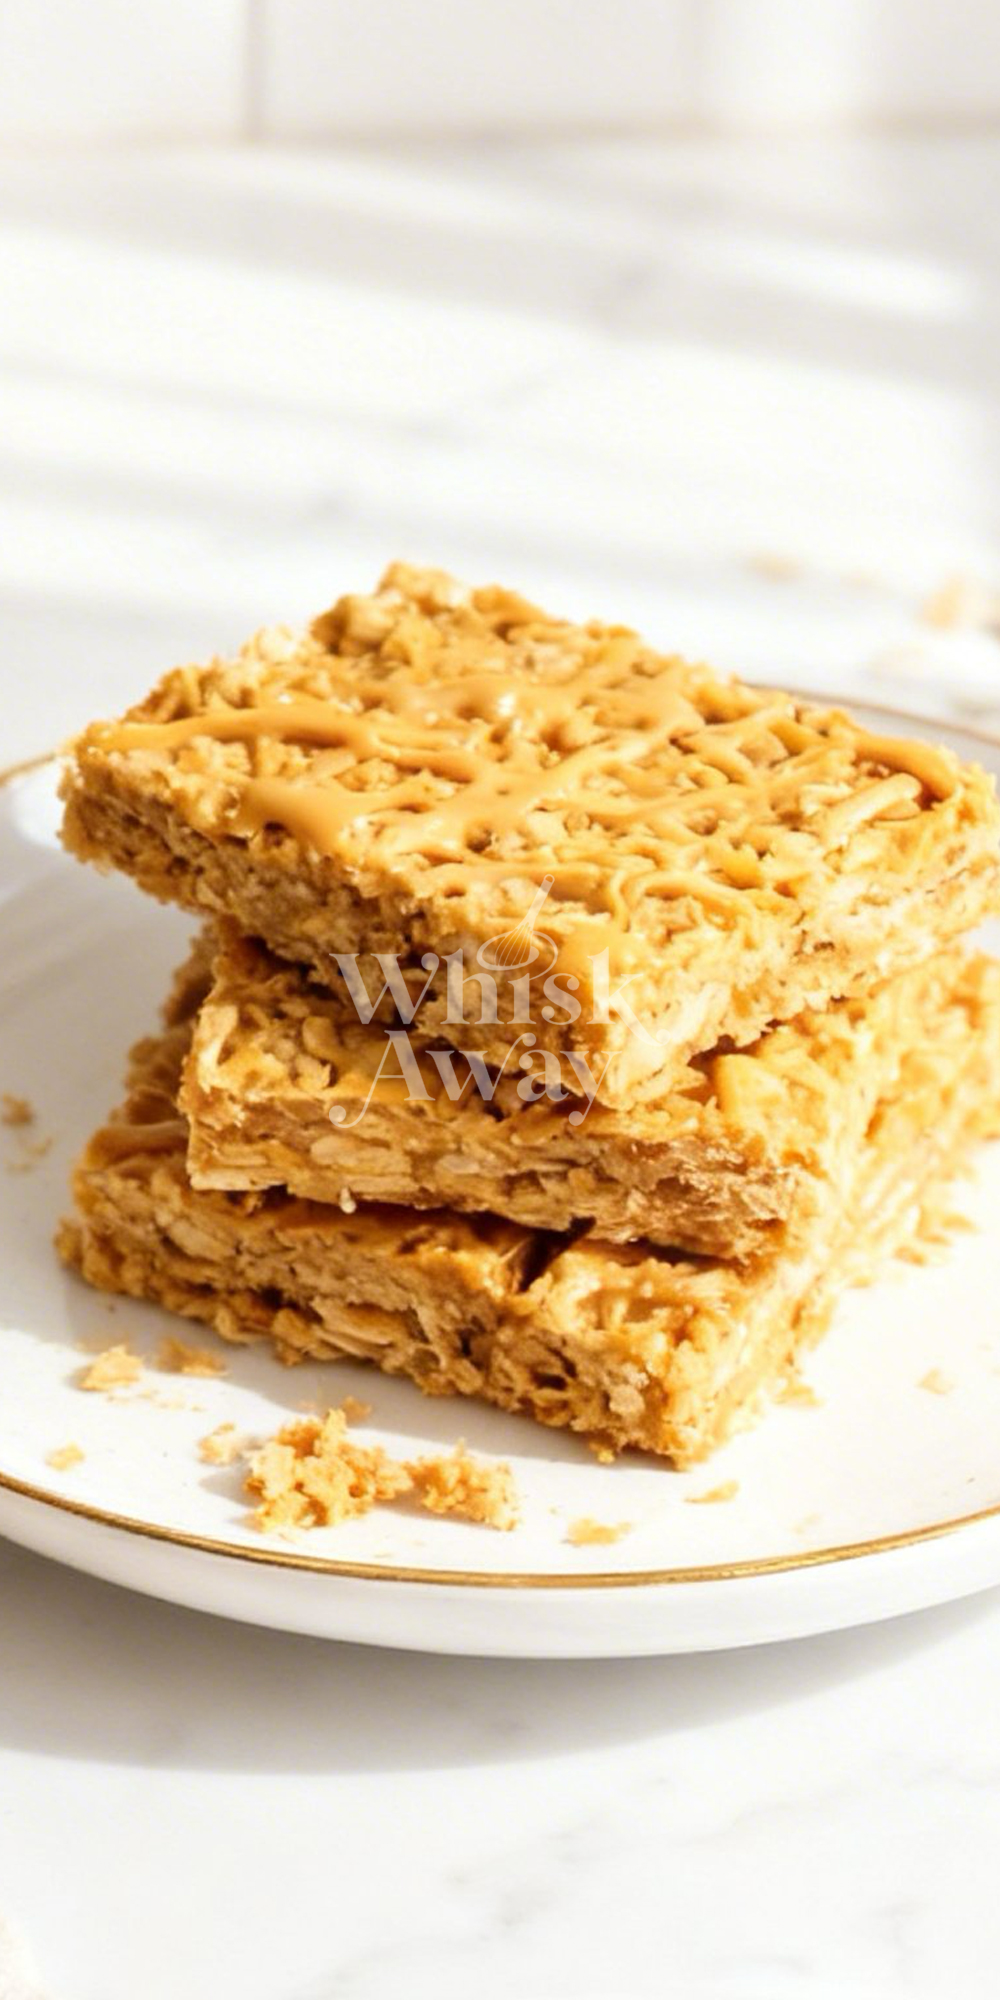
- Filling texture makes them great for snacks or quick breakfasts.
- Balanced sweetness keeps them from feeling too heavy.
- Easy to customize with chocolate chips or dried fruit.
- Ideal for meal prep or lunchbox treats.
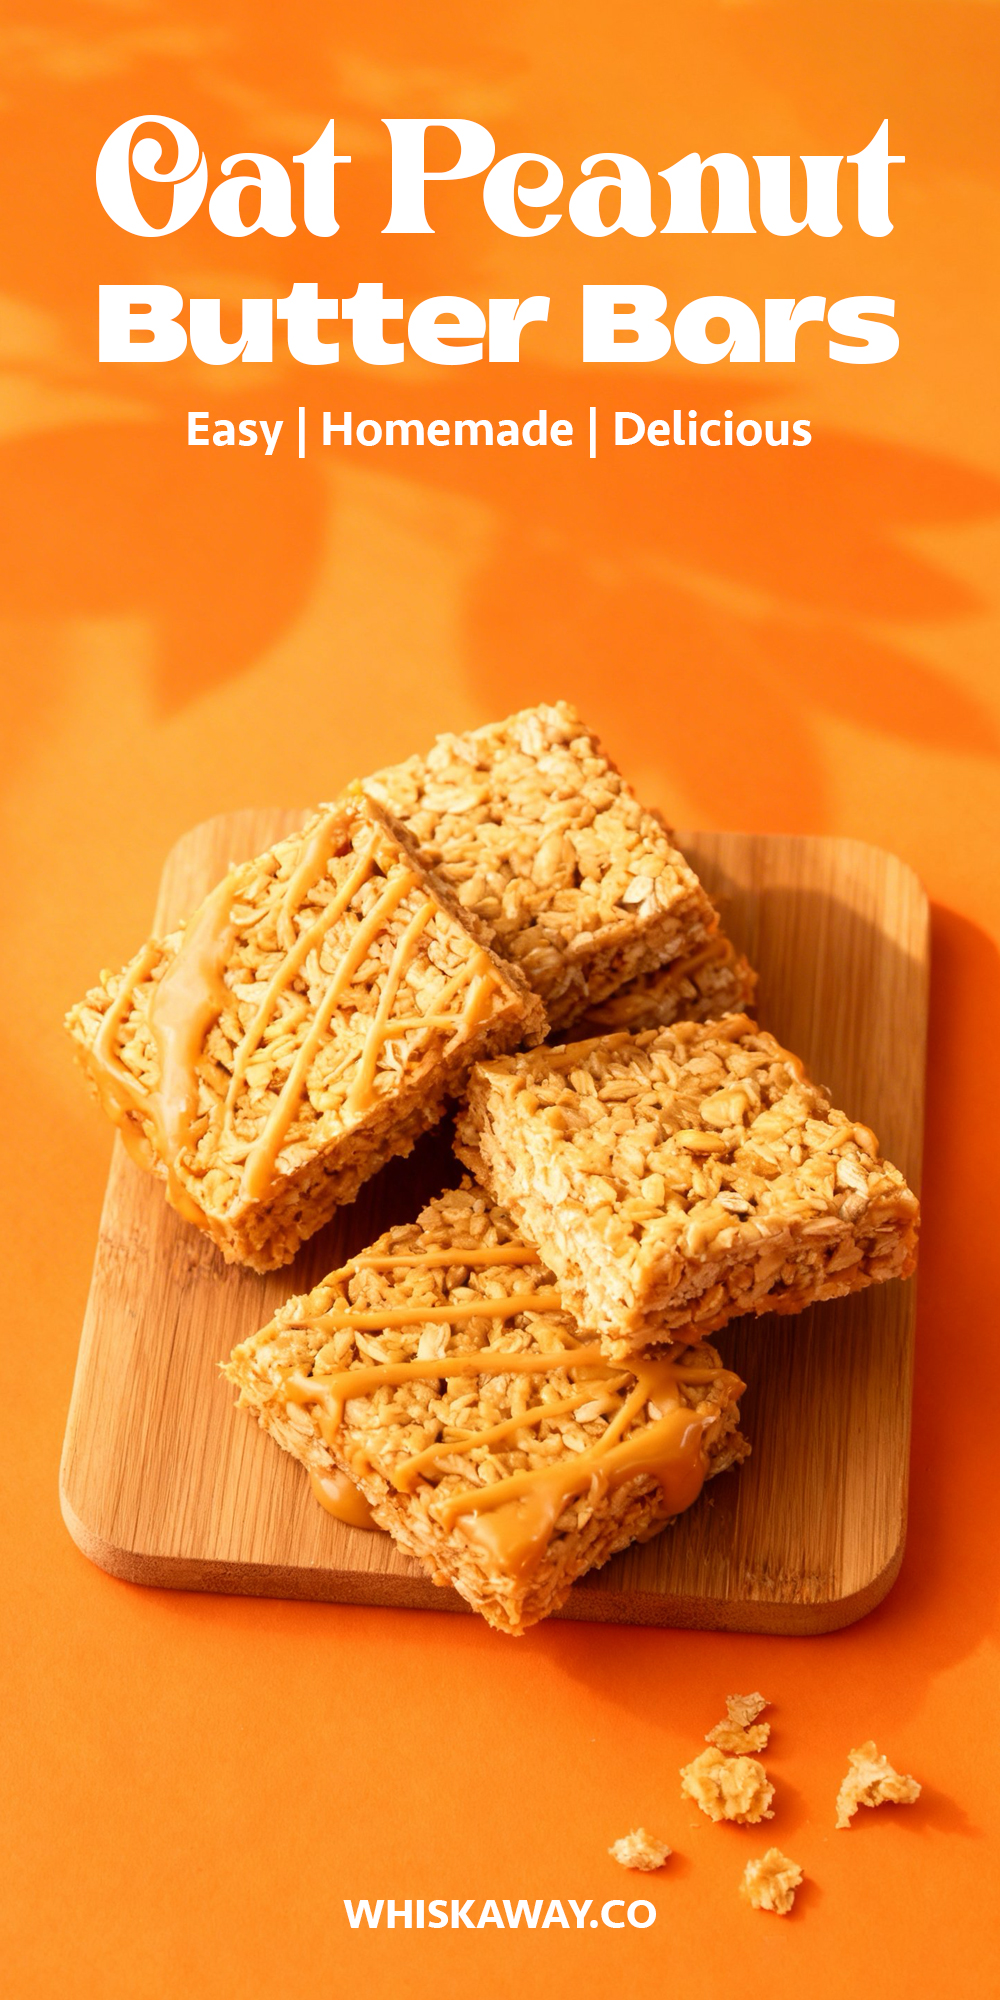
Save This Pin for Later to Your Pinterest Board
Ingredients
- Old-fashioned oats: These give your bars a hearty, chewy texture. Make sure to use the large rolled oats, not quick oats, for the best bite. Toasting them lightly in a pan before mixing adds a subtle nutty flavor.
- Creamy peanut butter: The glue that holds the oats together and gives a rich, nutty flavor. Natural peanut butter works, but you may need to add a little honey if it’s runny.
- Honey: Sweetens the bars naturally and helps bind the ingredients. Drizzle it slowly and stir well so the bars stick together perfectly.
Tips To Get Your Recipe Right
- Melt ingredients gently: Warm the peanut butter and honey just until pourable. Do not let it boil, or the mixture will harden too much when cooled.
- Use the right oats: Old-fashioned rolled oats give the best chew. Quick oats are denser, and steel-cut oats are too hard and gritty.
- Press lightly into the pan: Press the mixture just enough to flatten and hold together. Pressing too hard removes air pockets and makes the bars too dense.
- Chill before cutting: Let the bars sit in the fridge for at least an hour so they set. Cutting too soon will make them fall apart.
- Add a touch of salt if needed: If your peanut butter is unsalted, add a pinch of sea salt to the mixture or sprinkle Maldon salt on top before chilling to enhance the flavors.
Storage Tips
- Refrigeration: Keep the bars in an airtight container for up to 2 weeks; chilling firms the peanut butter and honey, keeping the bars stable and chewy, and use parchment between layers if stacking.
- Room temperature: Store in a cool, dark spot for up to a week; natural peanut butter may soften at room temperature, so avoid heat and sunlight.
- Freezing: Wrap individually and freeze for up to 3 months; thaw on the counter for 10–15 minutes or overnight in the fridge for a firmer, candy-like texture.
- Serving: Eat cold or at room temperature—reheating melts the honey and peanut butter, ruining the structure; keep cold if transporting.
- Storage mistakes to avoid: Never leave uncovered, stack without parchment, or store in a moist container, as oats will dry, become mushy, or stick together.
FAQs
-
Why are my bars falling apart or too crumbly?
The most common reason for crumbling is insufficient chilling. Because honey is the glue in this recipe, it needs to be cold to hold the oats together. If they are still falling apart after an hour in the fridge, your peanut butter might have been too dry (bottom-of-the-jar syndrome) or you may have used too many oats. Next time, try adding an extra tablespoon of honey to the warm mixture.
-
Can I use maple syrup instead of honey?
You can, but there’s a catch! Maple syrup is thinner and less tacky than honey. If you make a direct 1:1 swap, the bars will be much softer and may not hold their shape at room temperature. To fix this, you can either boil the maple syrup for 1 minute before adding the peanut butter to thicken it, or simply store the finished bars in the freezer and eat them cold.
-
Do I really not have to bake these?
Correct! These are 100% no-bake. The only heat required is on the stovetop to melt the peanut butter and honey into a smooth liquid. In fact, putting these in the oven would likely dry out the oats and cause the honey to become unpleasantly hard. The setting happens entirely in the refrigerator.
-
Can I use natural drippy peanut butter?
Yes, but be prepared for a softer bar. Natural peanut butters that require stirring are higher in oil, which stays liquid at room temperature. If you use the drippy kind, you’ll find the bars are much more stable if kept exclusively in the fridge until the moment you’re ready to eat them. Crunchy peanut butter also works perfectly if you want an extra bit of texture!
-
Are these bars healthy enough for a breakfast replacement?
Absolutely. With high-fiber old-fashioned oats, protein from the peanut butter, and natural sweetness from the honey, these are a fantastic energy-dense breakfast. To make them even more breakfast-ready, try folding in 1 tablespoon of flax or chia seeds for extra nutrients. They provide long-lasting energy without the sugar crash of processed cereal bars.
Oat Peanut Butter Bars
9
servings5
minutes5
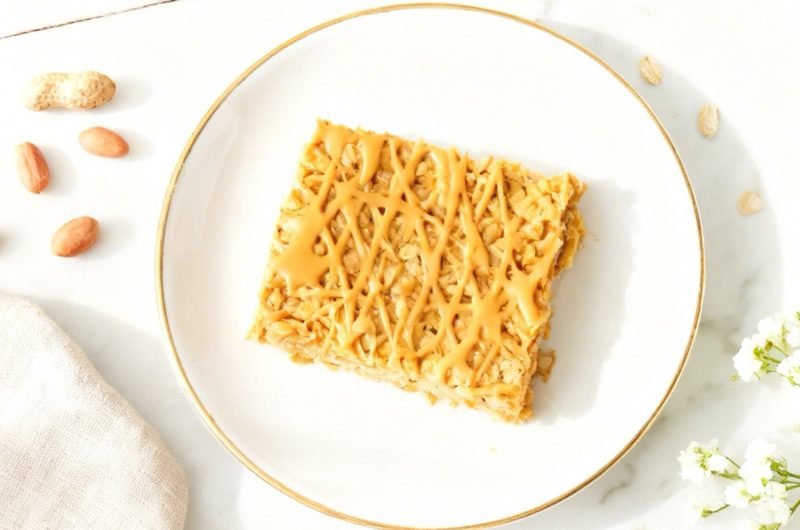
minutesThese oat peanut butter bars are chewy, nutty, and perfect for a quick snack or dessert.
Ingredients
3 cups Old-fashioned oats
1 cup Creamy peanut butter
3/4 cup Honey
Directions
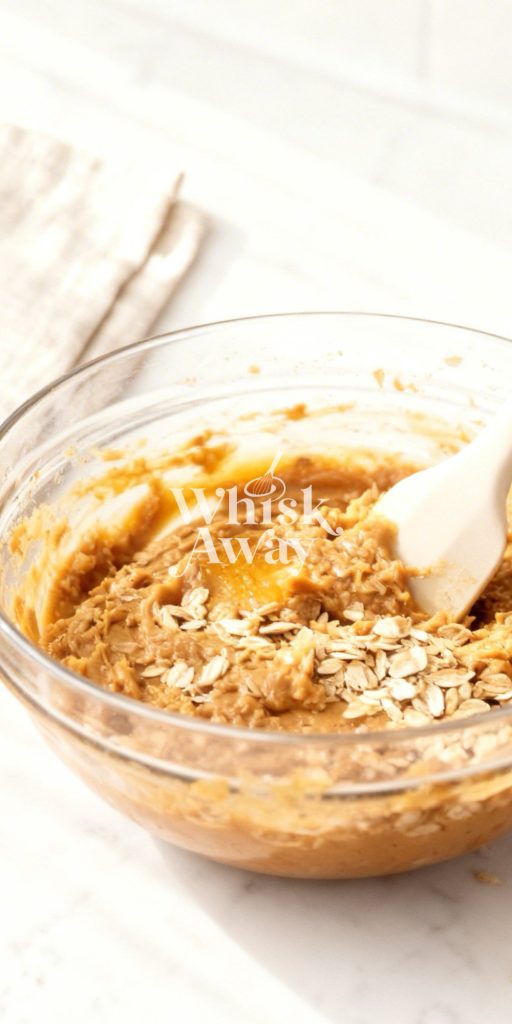
- In a small saucepan, add the creamy peanut butter and the honey.
- Place the pan over medium-low heat. Stir continuously until the mixture is fully liquefied, smooth, and the two ingredients are completely integrated.
- Note: Do not let it come to a boil; you just want it warm enough to be easy to stir.
- Take the pan off the heat immediately.
- Pour in the old-fashioned oats and stir until every oat is thoroughly coated in the warm peanut butter mixture.
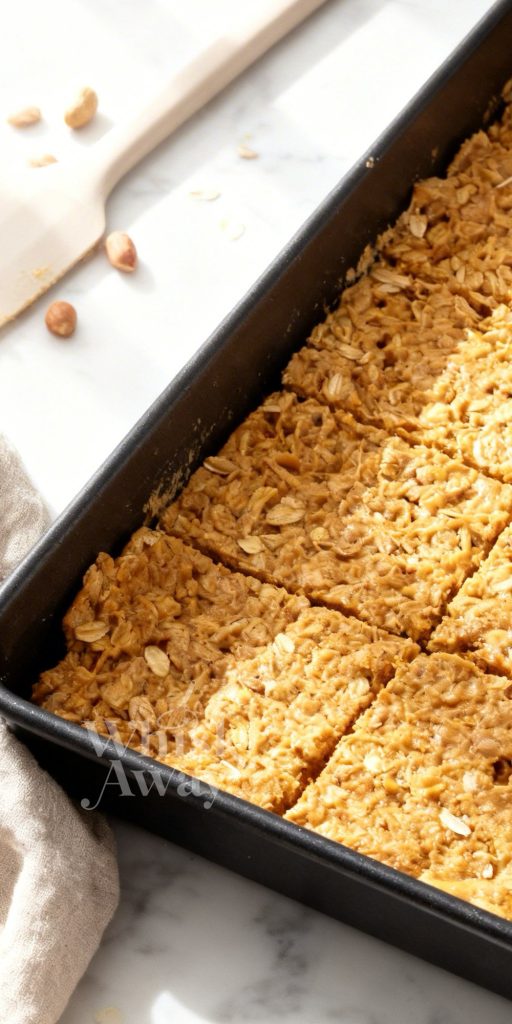
- Spread the mixture into a 9-inch square baking dish that has been lightly greased or lined with parchment paper.
- Use a spatula or the back of a spoon to press the oats down into an even layer. Use a light touch, pressing too hard can make the bars overly dense.
- Allow the pan to sit on the counter until it reaches room temperature.
- Once cooled, cover the pan and place it in the refrigerator for at least one hour. This allows the honey to set, ensuring the bars hold their shape when sliced.
- Pro-Tip for the Perfect Texture
- If you find the mixture is too loose or sticky after chilling, it usually means the honey was a bit thin. You can solve this by adding an extra quarter-cup of oats next time, or by popping the bars into the freezer for 20 minutes before cutting for a much cleaner edge.
There are no reviews yet. Share your thoughts above!