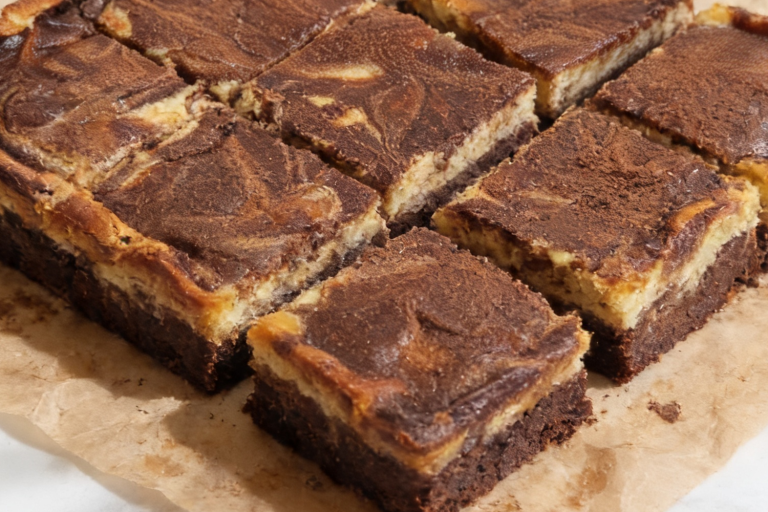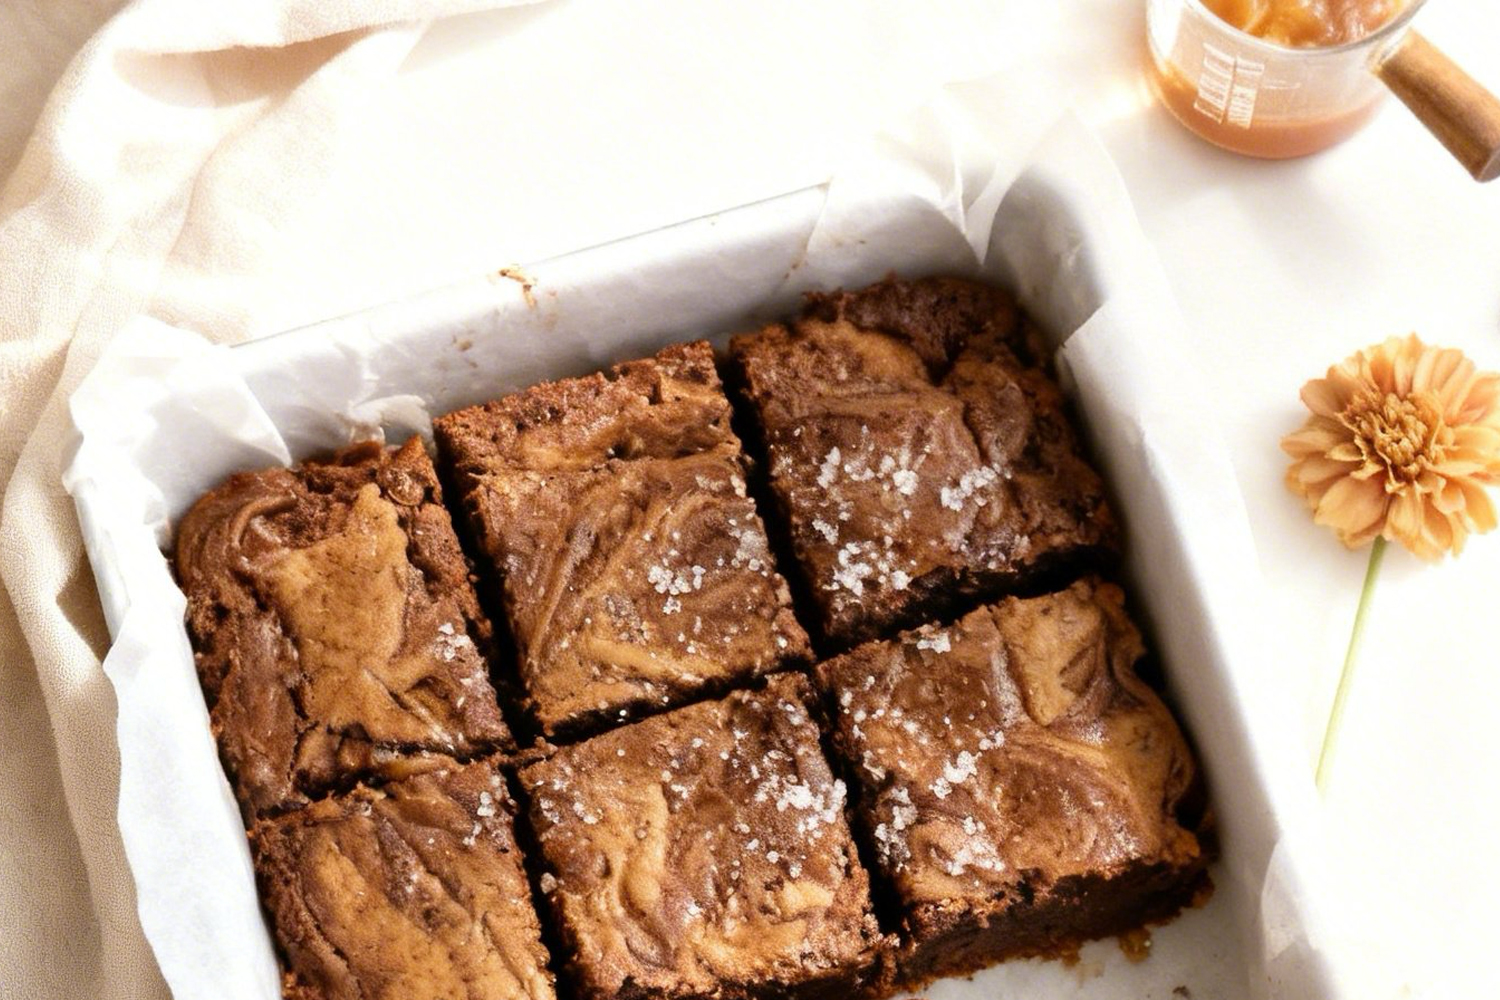
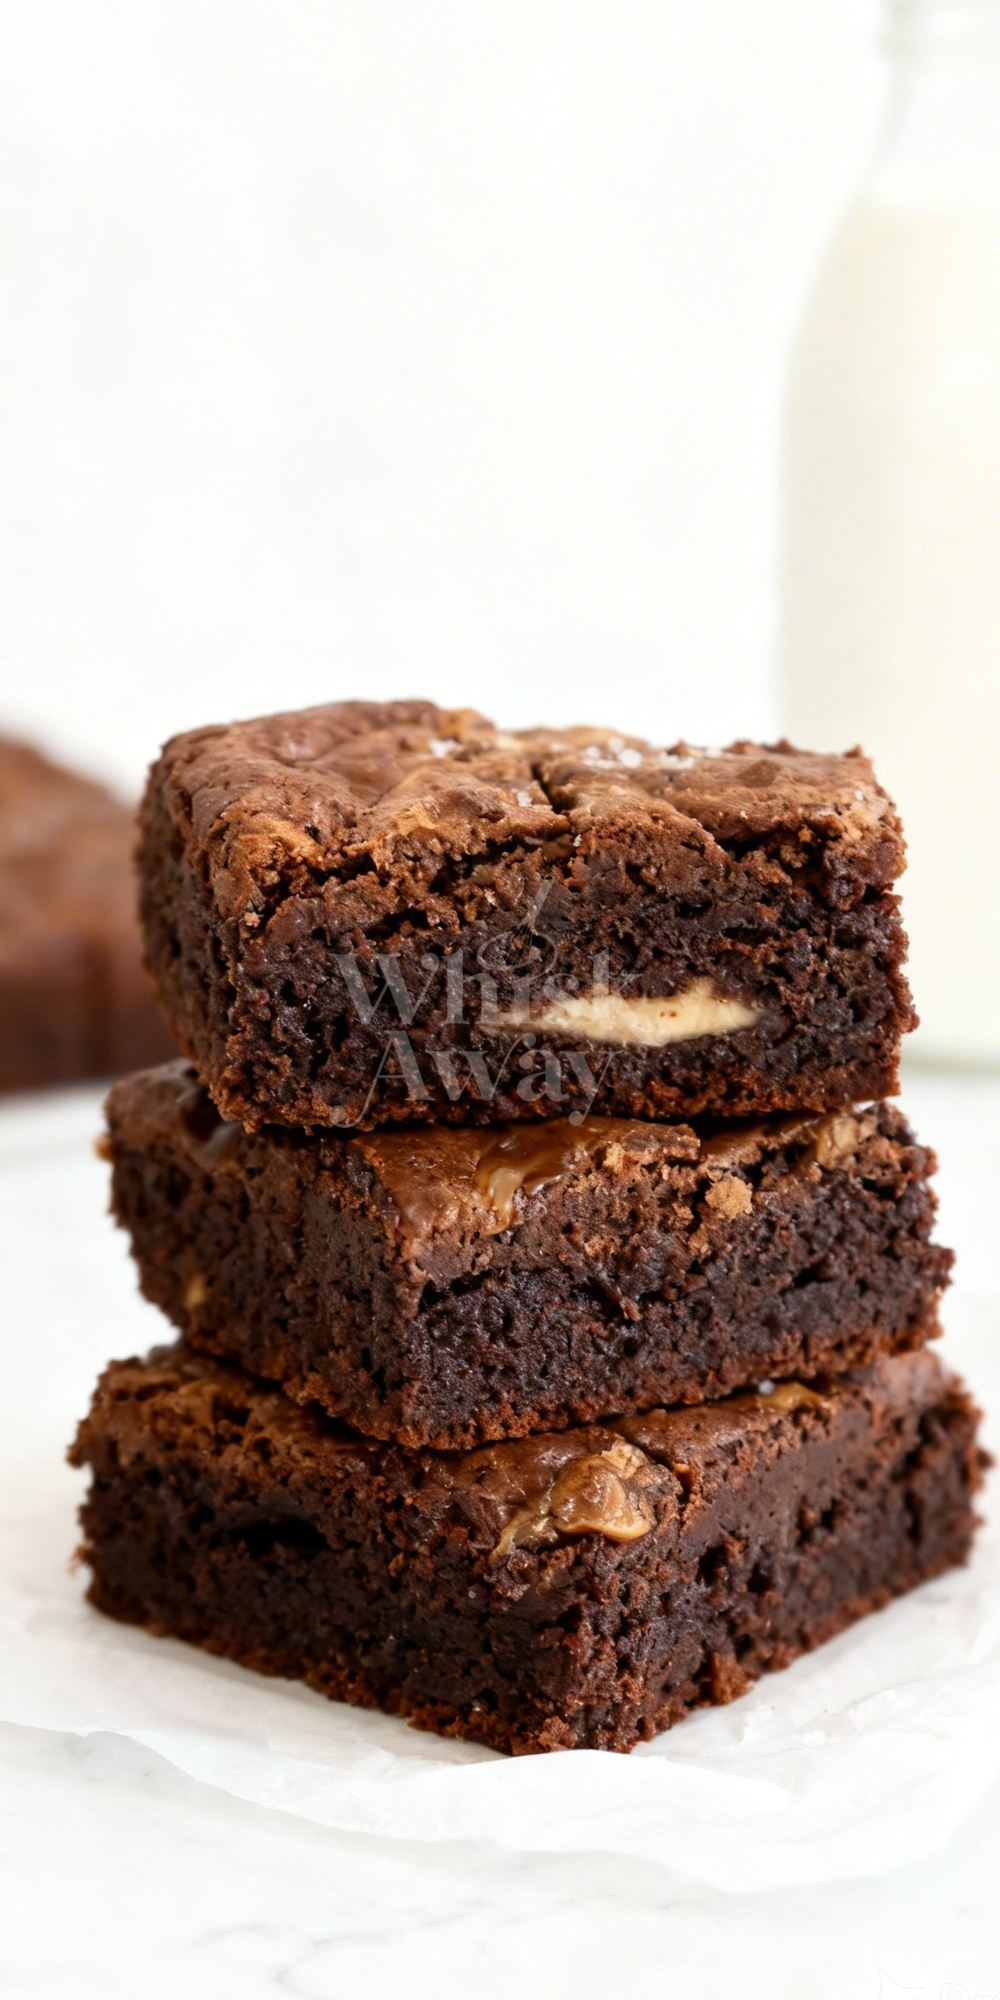
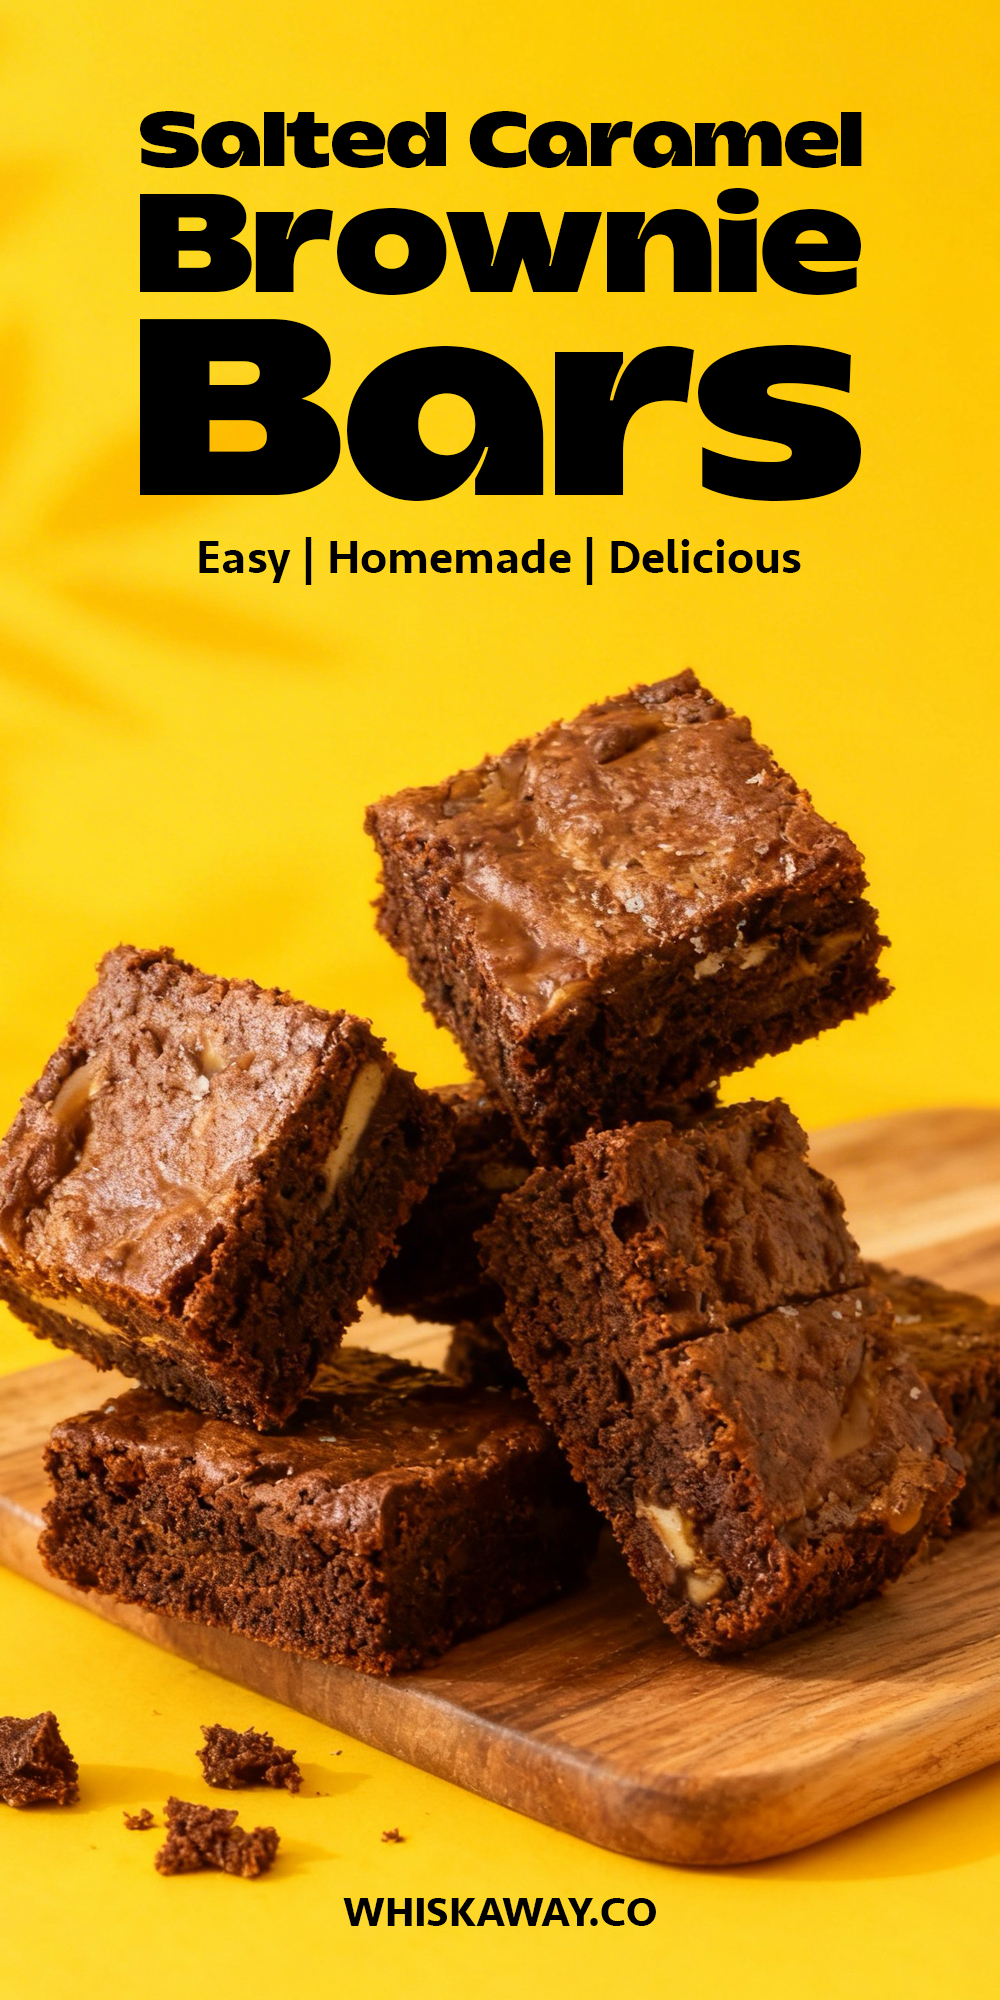
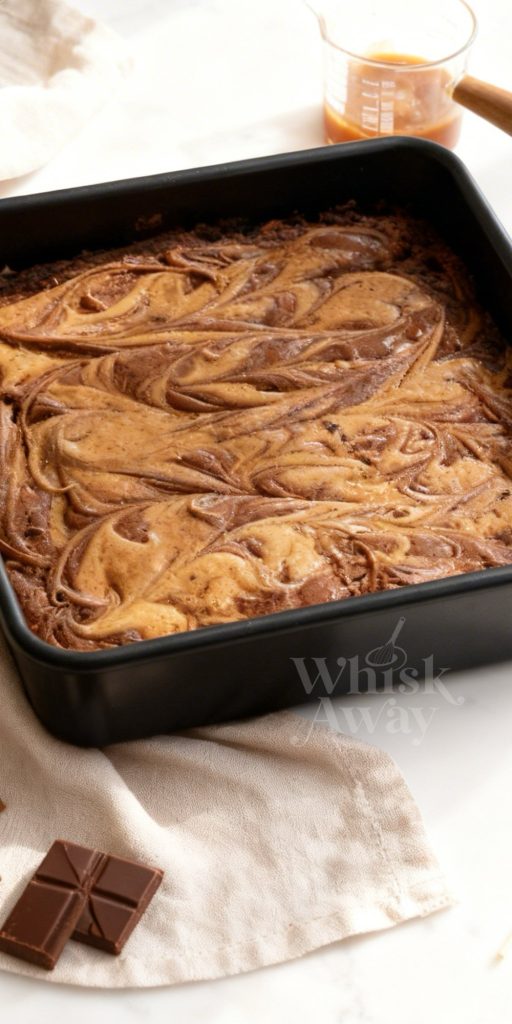
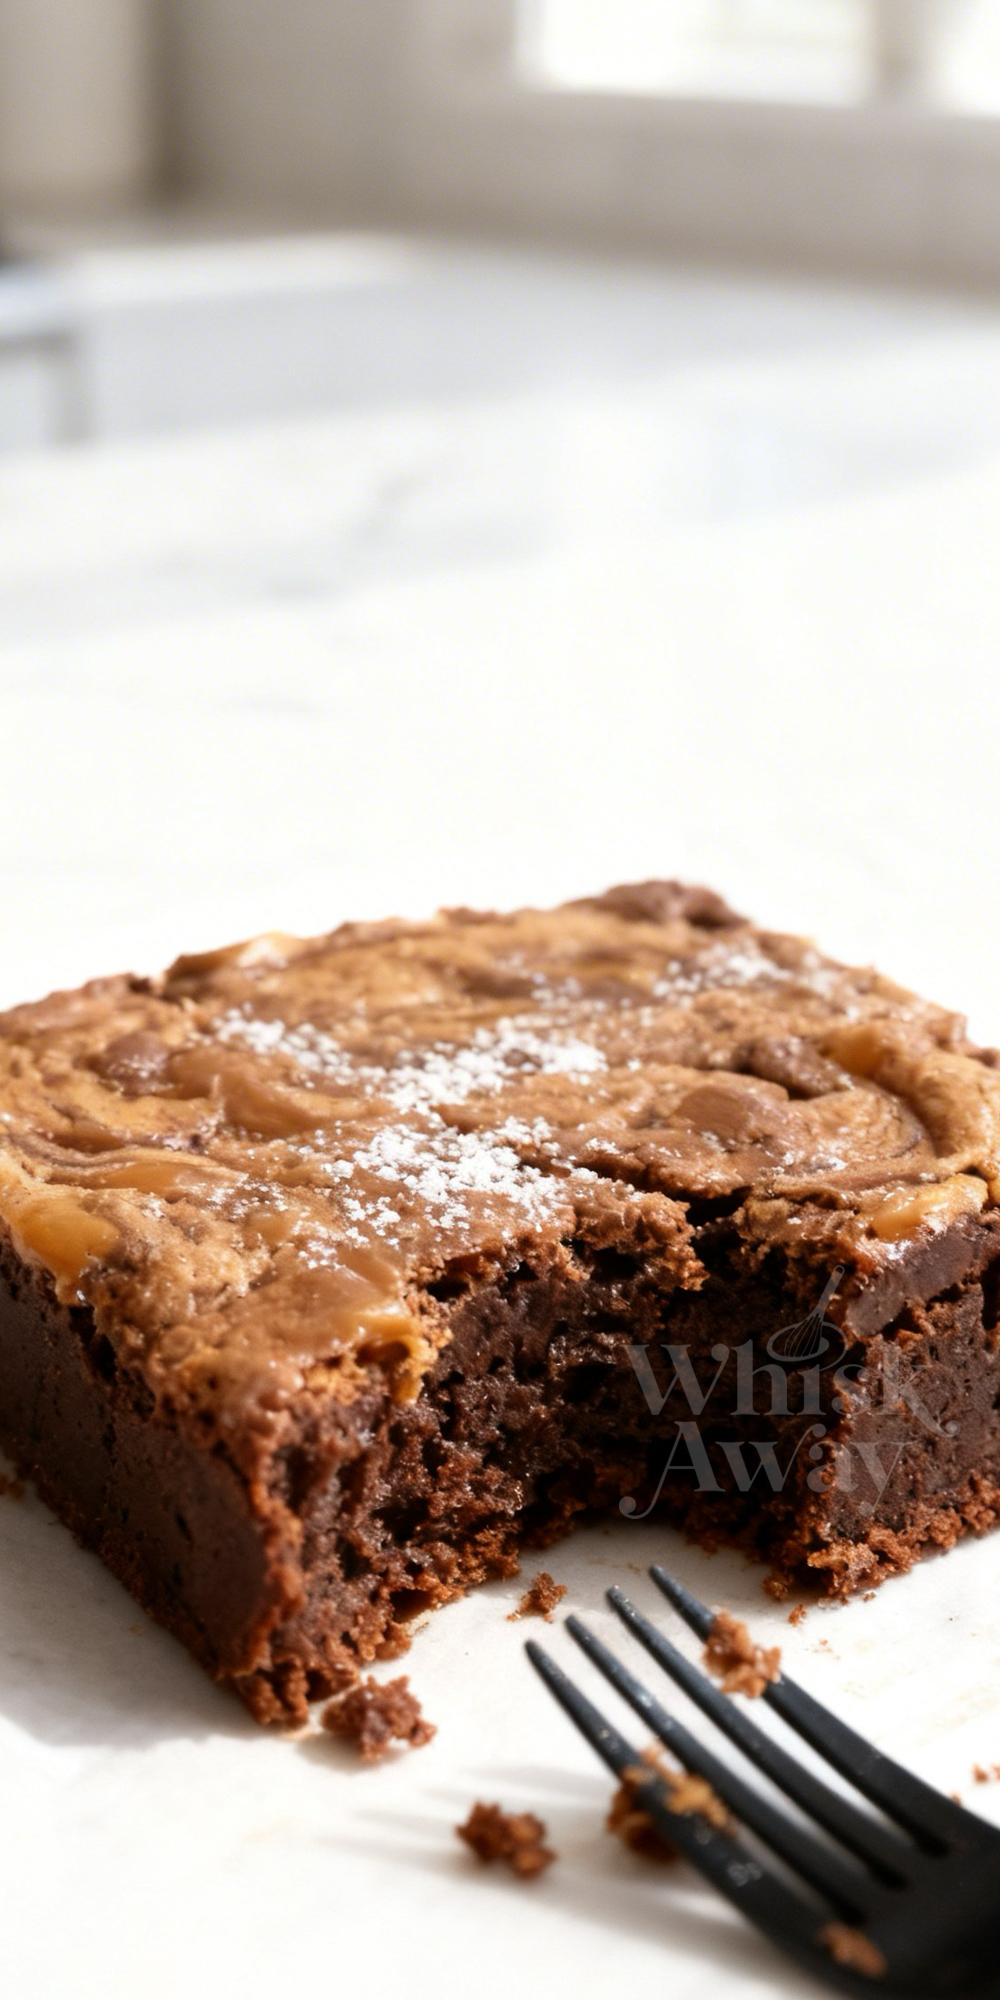
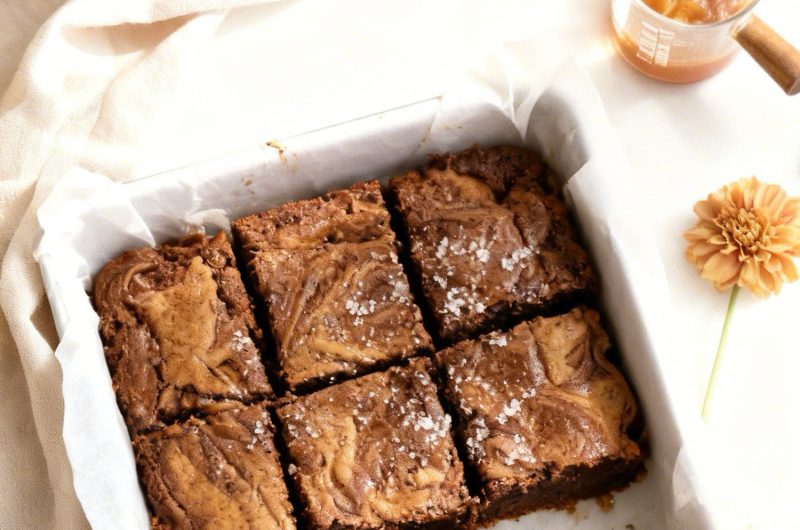
If you love chocolate and caramel, these salted-caramel brownie bars are worth trying. This homemade brownie recipe layers soft, fudgy brownies with gooey caramel and a touch of sea salt. It’s a dessert that works for parties, bake sales, or a cozy night at home. Even beginner bakers can pull it off because the steps are straightforward, and the ingredients are easy to work with. The result is rich, chocolatey, and slightly salty, making each bite addictive.
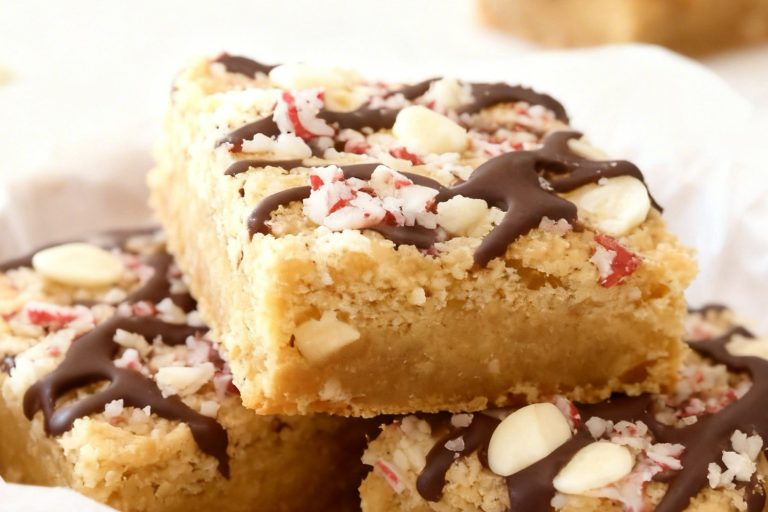
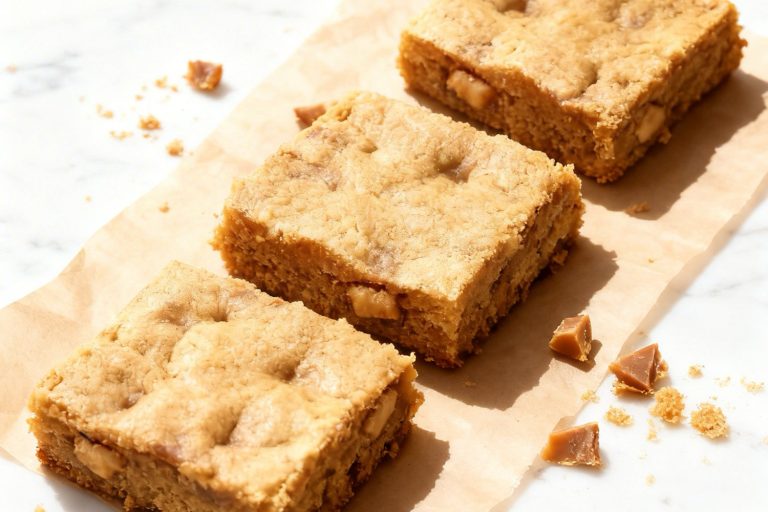
🔥 If the sweet-salty contrast is what draws you in, there are several equally irresistible directions to explore. Chocolate Peanut Butter Swirl Bars deliver that same richness with a nutty twist, while Chocolate Chip Cookie Dough Brownie Bars layer in a creamy, indulgent topping. For something more textured, S’Mores Blondie Bars bring gooey marshmallow and a hint of crunch to complement the caramel notes.
Why You’ll Love These Salted Caramel Brownie Bars
Once you taste the luscious caramel layered into these brownies, they quickly become a favorite indulgence.
- Sweet-salty contrast enhances the deep chocolate flavor.
- Gooey caramel ribbons create a luxurious texture.
- Chewy edges and soft centers offer the best of both worlds.
- Perfect centerpiece for dessert platters.
- A guaranteed crowd-pleaser for special occasions.
Save This Pin for Later to Your Pinterest Board
Ingredients
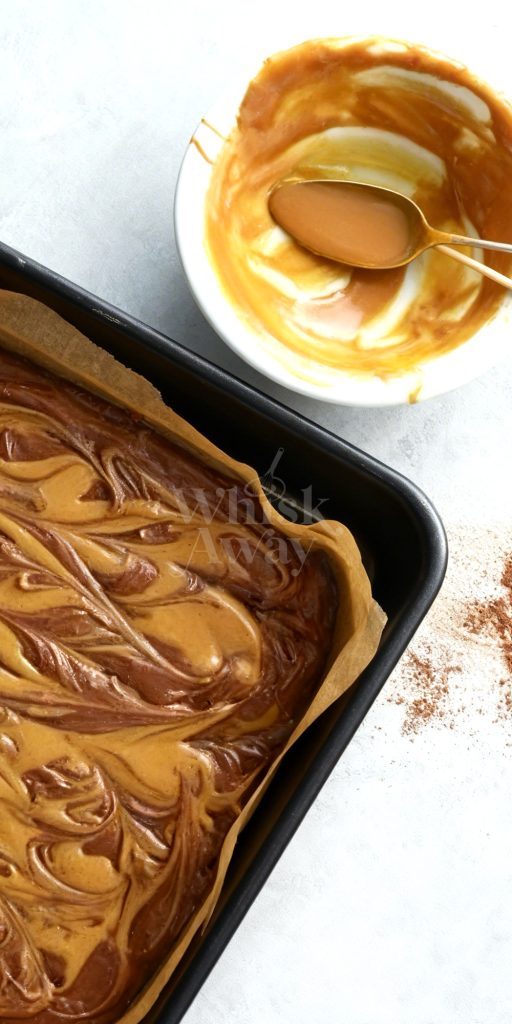
- Carnation Caramel (or your favorite caramel): This is what makes these bars unforgettable! Swirling the caramel through the brownie adds gooey, indulgent pockets of sweetness. Warm it slightly before swirling to make it easier to work with.
- Buttery baking spread or unsalted butter: Provides richness and helps create that fudgy, soft brownie texture. I like to melt it gently for smooth incorporation. If you want extra flavor, try browning it slightly for a nutty undertone.
- Dark chocolate (70% and 50% cocoa solids mix): Using a mix of chocolate gives a deep, rich flavor without being overly bitter. Chop into even pieces so it melts evenly into your batter.
- Caster sugar: Sweetens the brownies while helping to create a slightly crisp top. Don’t skip it—you want that perfect contrast with the fudgy interior.
- Plain flour: Gives structure to your brownies so they hold together beautifully. Fold it in gently to avoid overmixing.
- Cocoa powder: Intensifies the chocolate flavor and adds depth. A good-quality cocoa powder makes a noticeable difference.
- Eggs: Bind everything together and help create that dense, fudgy texture. Room temperature eggs mix more smoothly and ensure an even batter.
- Flaky sea salt: Sprinkled on top, it contrasts perfectly with the sweet caramel and chocolate. Don’t be shy—it’s what elevates these brownies from delicious to irresistible!
Tips To Get Your Recipe Right
- Use caramel at the right temperature: Caramel should be room temperature and pourable. Too cold and it clumps, too hot and it melts into the batter. A quick 5-second microwave zap can make it perfect for drizzling.
- Swirl gently: Use a skewer to marble the top layer only. Avoid digging to the bottom, or the caramel can stick and burn, making the bars hard to remove.
- Add flaky salt: Sprinkle flaky sea salt on top for little bursts of crunch. If using very dark chocolate, a tiny pinch of salt in the batter helps balance the flavor.
- Bake carefully: Pour the second layer of batter gently over the caramel. Bake until the edges are firm but the center still has a slight jiggle. Overbaking dries the brownie and sinks the caramel.
- Cool completely before cutting: Let the brownies chill for at least 2 hours. Use a sharp knife warmed and wiped between cuts to keep the layers clean and prevent caramel from running.
Storage Tips
- Room temperature: Keep cooled bars in an airtight container for up to 3 days, separating layers with parchment to prevent the caramel from sticking.
- Refrigeration: Store for up to a week in a tightly wrapped container; chilling firms the caramel and gives the brownie a dense, chewy texture.
- Freezing: Freeze individual squares for up to 3 months, wrapped in plastic and placed in a freezer-safe bag; thaw in the fridge or at room temperature.
- Reheating: Warm a single square 10–15 seconds in the microwave or 5–8 minutes at 300°F (150°C) in the oven to revive a gooey caramel center; a low toaster oven setting works for a soft interior with a crisp top.
- Storage mistakes to avoid: Never store warm bars, skip airtight wrapping, or stack without parchment, as this leads to sticky, soggy, or fused layers.
FAQs
-
Why did my caramel sink to the bottom of the pan?
This usually happens if the brownie batter is too thin or if the caramel is dropped in large, heavy clumps. To prevent sinking, ensure you sift the flour and cocoa properly to keep the batter thick enough to support the caramel. Also, instead of big dollops, drizzle the caramel in long, thin stripes. This distributes the weight more evenly so the caramel floats between the layers rather than plummeting to the base.
-
Can I use a different type of caramel or homemade dulce de leche?
Yes, but consistency is key. This recipe is designed for a thick, canned caramel (like Carnation). If your caramel is too runny (like a dessert sauce), it will vanish into the batter during baking. If it’s too stiff, it won’t marble. If using homemade caramel, ensure it has cooled to a soft-ball or thick spreadable consistency before adding it to the batter.
-
The center still looks very wobbly; is it underbaked?
Because there is a literal river of caramel in the middle, these bars will always have more movement than a standard brownie. You are looking for the edges to be firm and slightly risen, while the center should have a jelly-like wobble rather than a liquid splash. Remember, these brownies set significantly as they cool—if they are rock-solid in the oven, they will be dry and tough once cold.
-
Can I substitute milk chocolate for the dark chocolate?
You can, but proceed with caution! The caramel and sugar already provide a high level of sweetness. Using milk chocolate can make the bars feel cloying. If you do use milk chocolate, increase the flaky sea salt by another half-teaspoon and perhaps reduce the caster sugar by 25g to maintain a balanced flavor profile.
-
How do I get the marble look without making the top look messy?
The secret is the less is more rule. When you use your skewer or knife to marble the top, only go about half an inch deep. If you stir too much, the caramel and chocolate will simply blend into a muddy brown color. Drag the skewer in a figure-eight motion just 3 or 4 times across the surface to keep the colors distinct and vibrant.
Salted-Caramel Brownie Bars
18
servings25
minutes35
minutesThese salted-caramel brownie bars are rich, fudgy, and topped with gooey caramel.
Ingredients
397g Carnation Caramel
200g Buttery baking spread or butter (plus extra for greasing)
200g Dark chocolate (70% and 50% cocoa solids mix)
200g Caster sugar
130g Plain flour
50g Cocoa powder
4 Eggs
1 level tsp Flaky sea salt
Directions
- Set your oven to 180°C (160°C for fan ovens) or Gas Mark 4.
- Grease a baking tin with a little extra butter and line it with parchment paper to make removal easy.
- Combine the butter (or baking spread) and the dark chocolate in a saucepan over very low heat, stirring constantly. Alternatively, use the microwave in 20-second intervals, stirring between each.
- Pro Tip: Go slowly! Chocolate can seize or burn easily if it gets too hot, so remove it from the heat as soon as it’s mostly melted and stir until smooth.
- Scoop out half of the caramel from the tin into a small bowl. Stir in the flaky sea salt until the texture loosens and becomes easy to drizzle.
- In a large mixing bowl, combine the remaining half of the caramel, the caster sugar, and the eggs. Use an electric mixer or a sturdy whisk to beat them together.
- Pour the melted chocolate and butter mixture into this bowl and stir until fully incorporated.
- In a separate bowl, whisk together the flour and cocoa powder to remove large lumps, then sift this directly into your wet chocolate base.
- Stir gently until the batter is glossy and smooth.
- Pour roughly half of the brownie batter into your prepared tin, spreading it evenly into the corners.
- Use a teaspoon to drizzle half of your prepared salted caramel in long, horizontal stripes across the batter. Carefully spoon the remaining brownie batter over the caramel. Use a spatula to level the top gently so you don't disturb the caramel lines underneath.
- Drizzle the rest of the salted caramel on top in stripes. Take a skewer or a thin knife and lightly drag it through the layers to create a marbled effect.
- Place in the oven for 30–35 minutes.
- Look for the top to be slightly crusty and the edges to be risen. The center should have a very slight wobble when the tin is gently shaken—this ensures a fudgy interior.
- Allow the brownies to cool completely in the tin. This is vital to let the caramel set so you can cut clean, beautiful squares.
There are no reviews yet. Share your thoughts above!