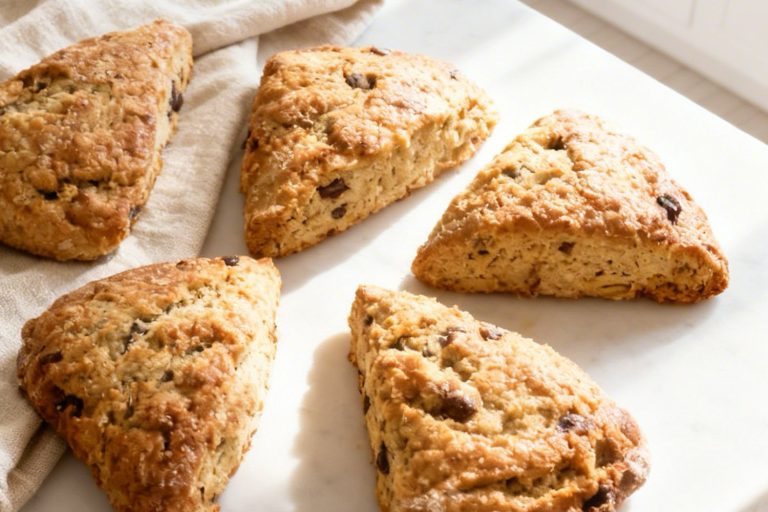
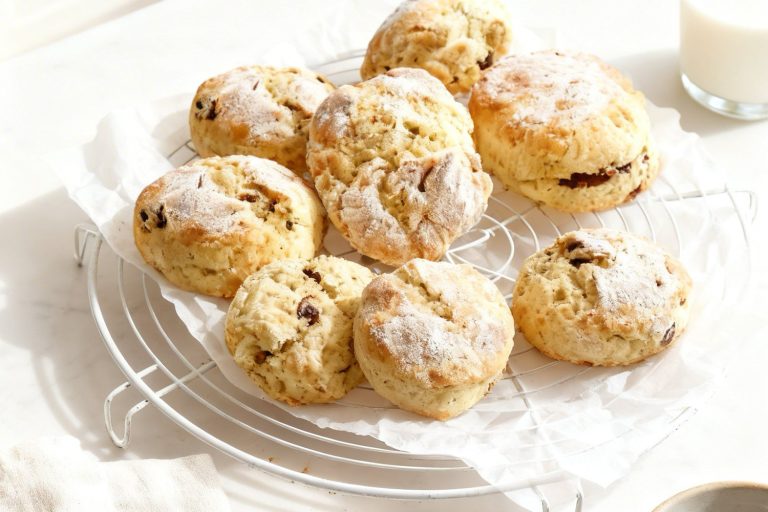
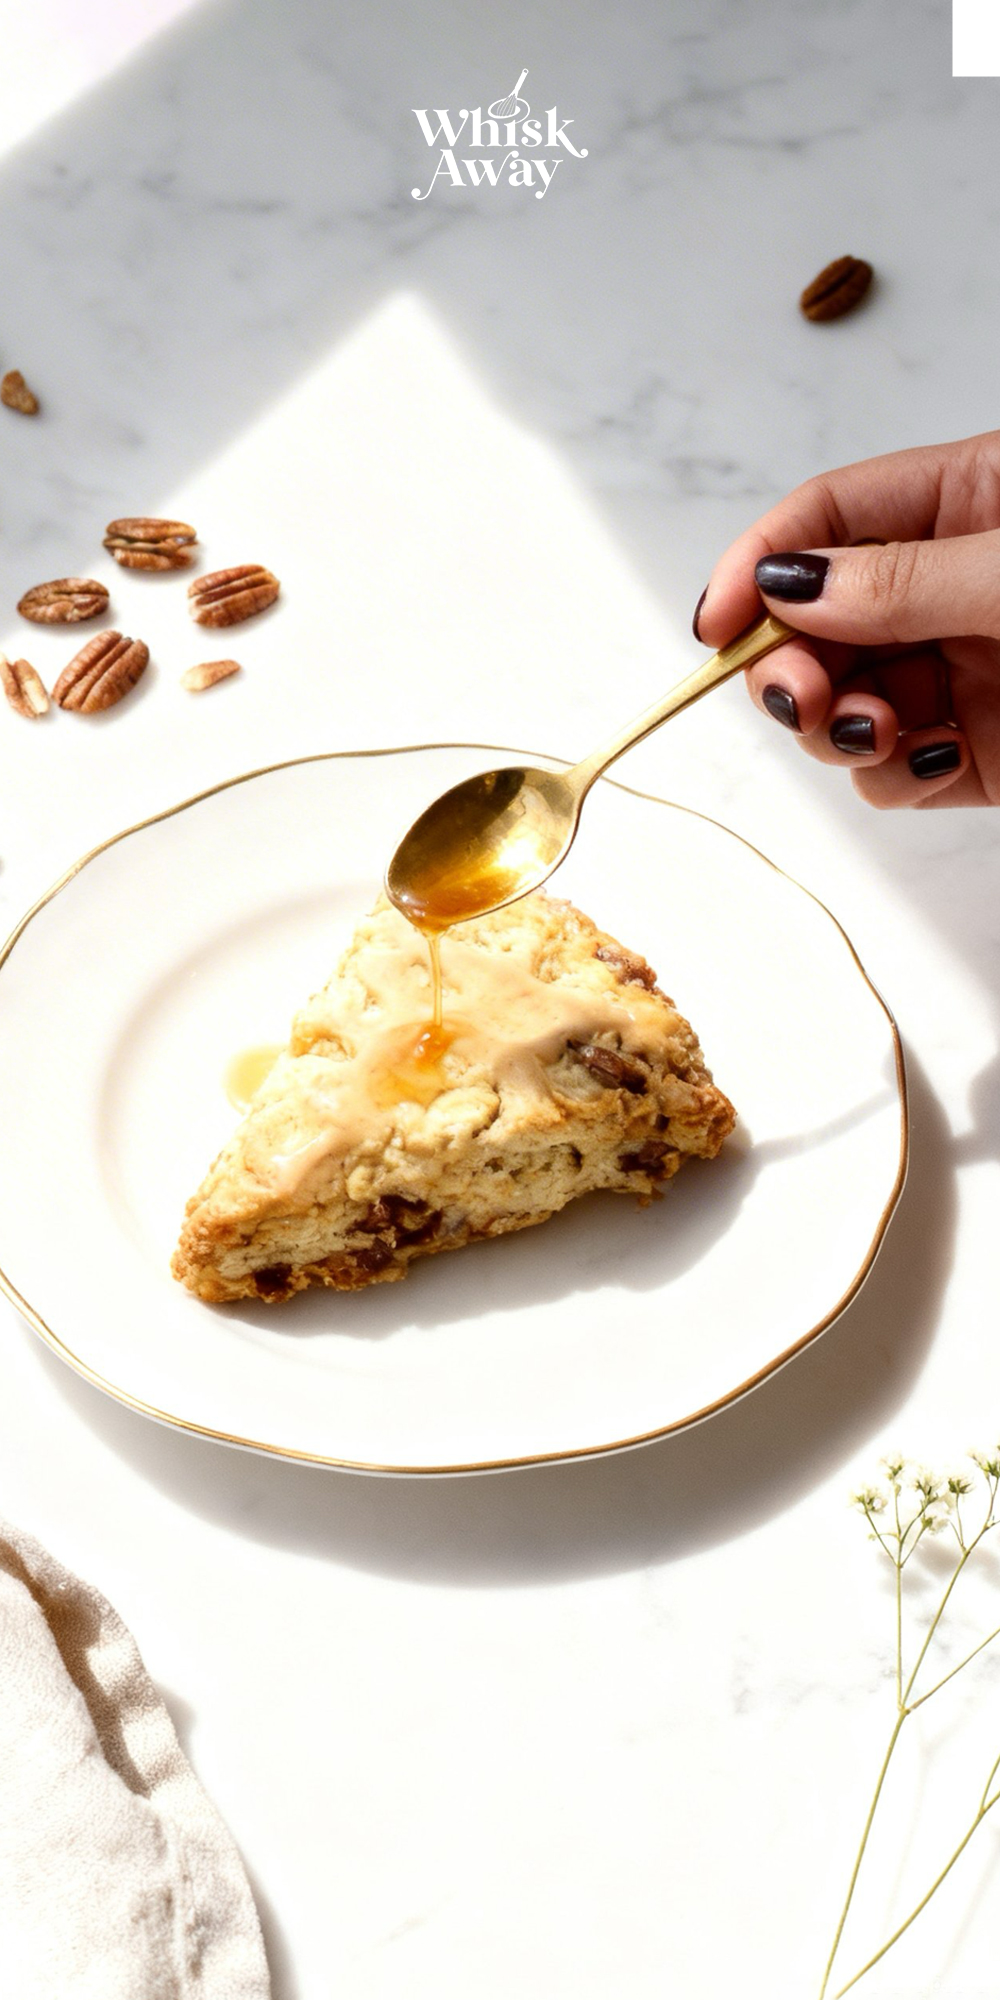
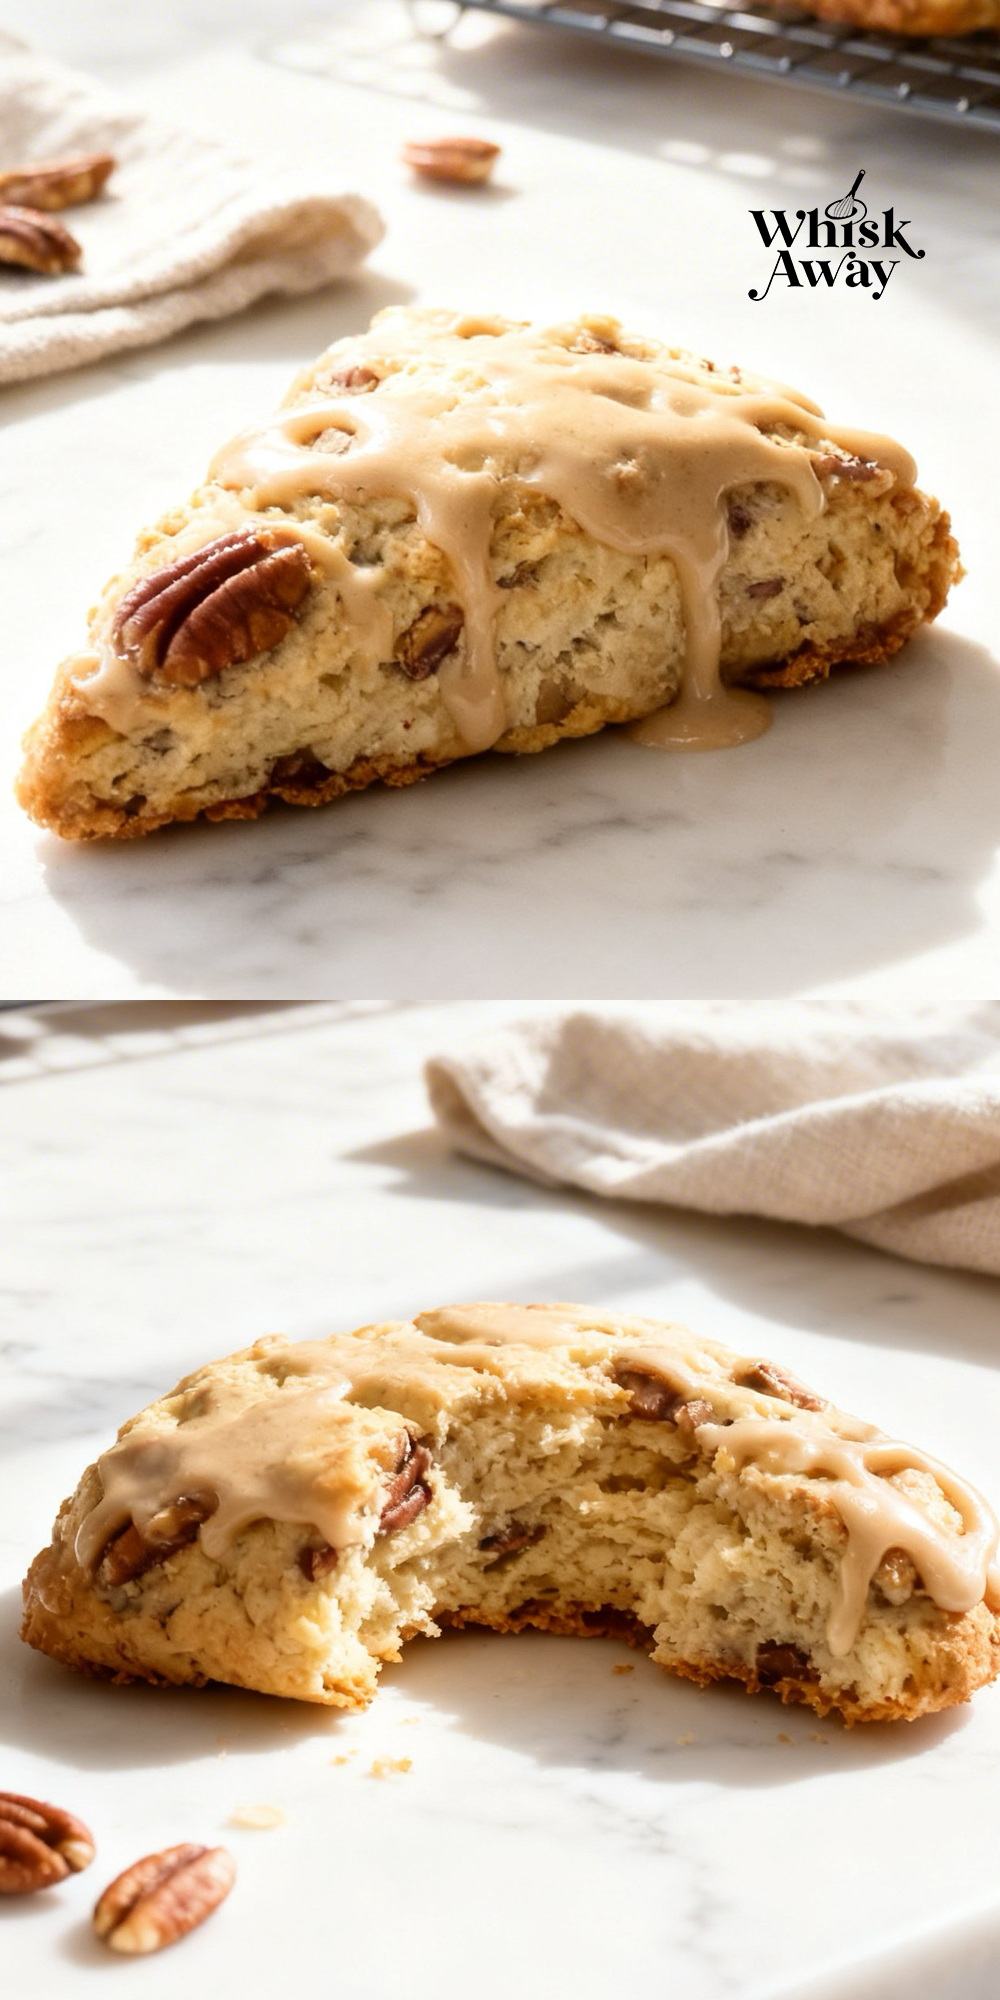
Could a scone capture the essence of rich, nutty sweetness in every bite? These maple pecan scones pair buttery dough with toasted pecans and a hint of natural maple syrup, creating a dessert-like treat that’s perfect for breakfast or an afternoon snack.
Each bite combines crunch, softness, and a hint of maple warmth that keeps you coming back for more.
If you’re ready to create these nutty treats, then grab your baking tools!
Why You’ll Love This Recipe
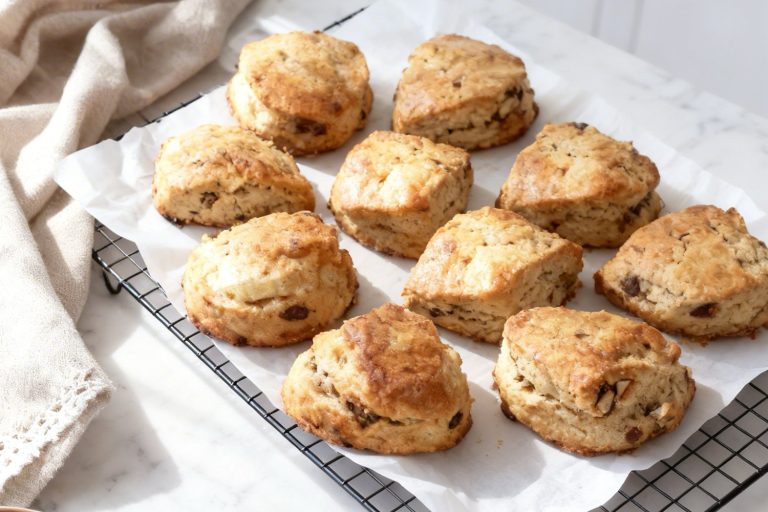
Maple-pecan scones highlight rich, toasted pecans and warm maple sweetness, turning a humble scone into something cozy and slightly indulgent.
What Makes Them Special
- Toasted pecans add deep nuttiness and a pleasant crunch.
- Maple syrup brings cozy sweetness without cloying.
- Elegant flavor that feels seasonal and comforting.
- Works well with morning coffee, latte, or chai.
- Slightly richer profile than basic scones
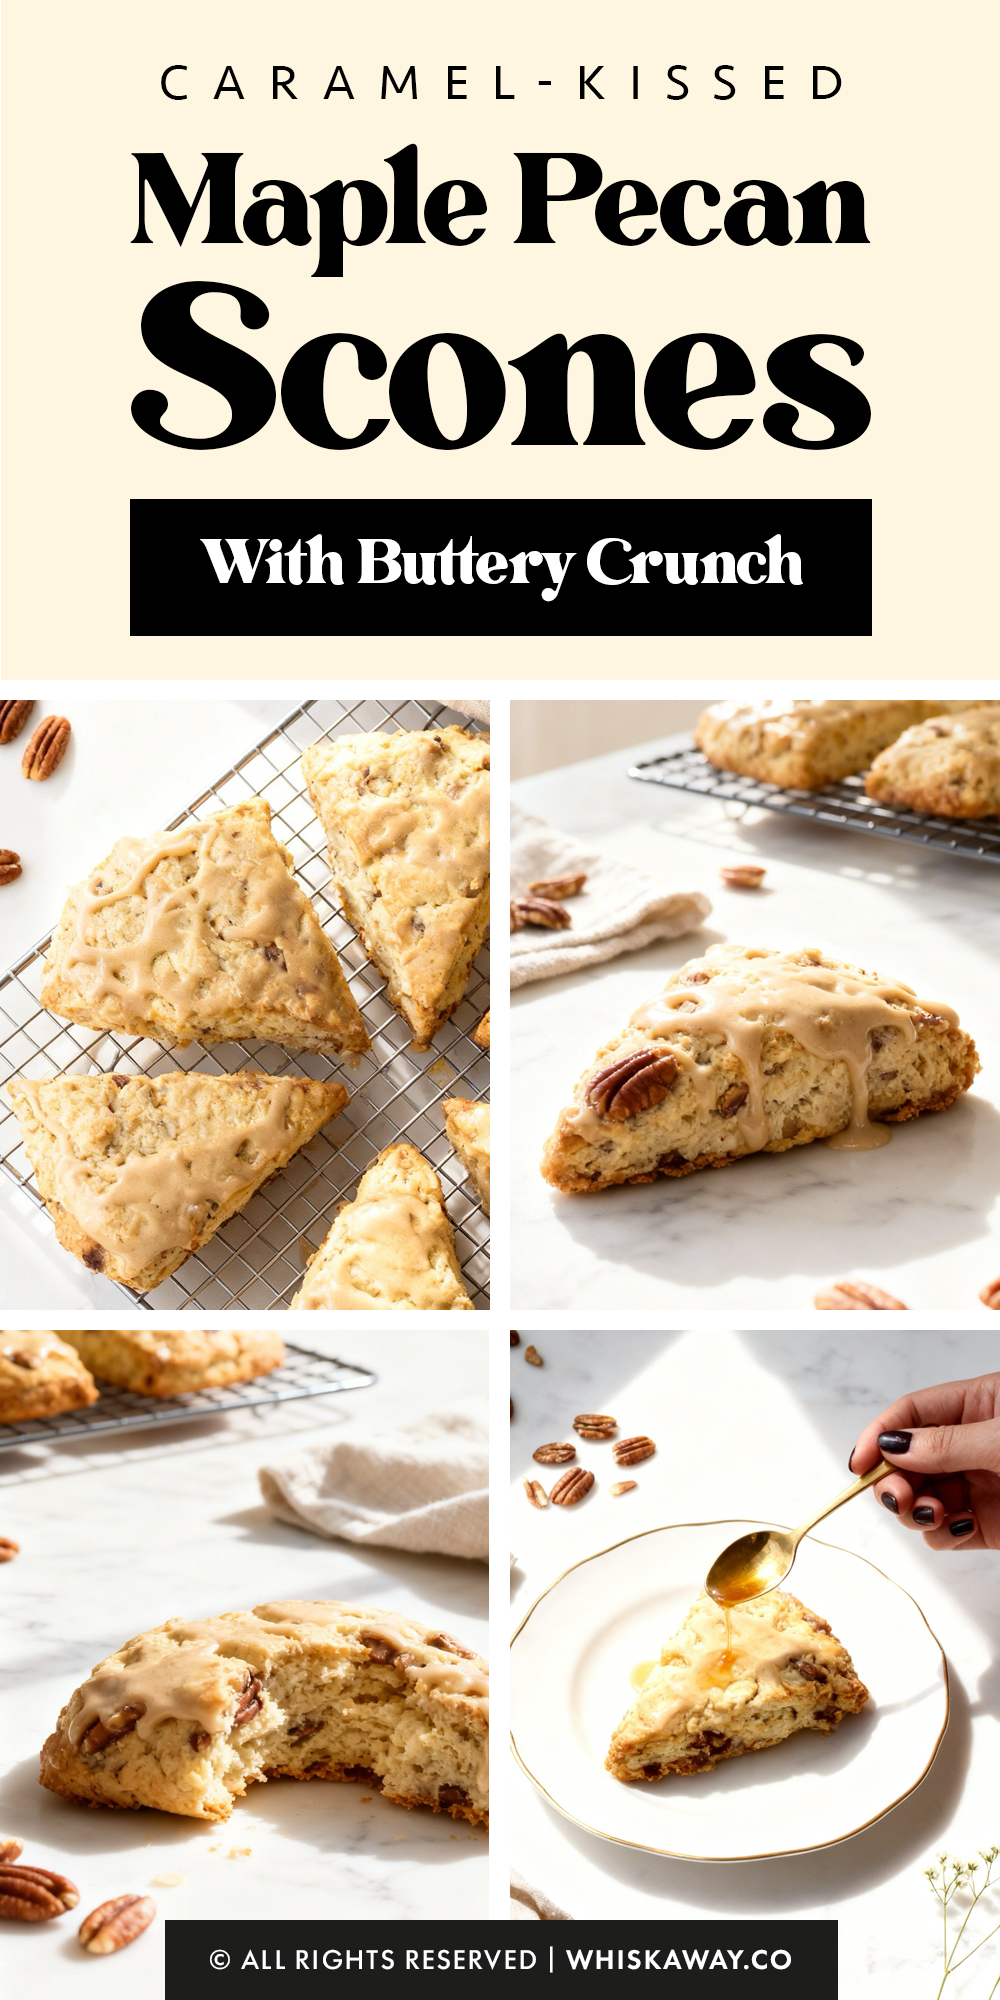
Save This Pin for Later to Your Pinterest Board
🔥 If you enjoy similar flavors, date and walnut scones and vegan banana bread-style scones are great next recipes to try. For a classic option, plain English scones work beautifully.
How to Get Your Maple Pecan Scones Just Right
These scones use a fascinating reverse method, combining melted butter with freezing-cold cream.
This creates a specific, tender texture that differs from the classic flaky layers of cold-cut butter.
To master this recipe and ensure your maple flavor isn’t lost, follow these expert guidelines.
1. The Secret to the Butter Globules
The 10-Minute Rule: Do not skip the freezer step for the heavy cream.
The cream must be near-freezing so that when the melted butter hits it, the butter shocks into solid, tiny beads.
These beads are what create the lift and tenderness in the oven.
The Fork Stir: When combining the butter and cream, use a fork and stir vigorously but briefly.
You want a clumpy liquid, not a smooth emulsion. If the mixture looks like a thick, smooth sauce, your cream wasn’t cold enough.
2. Maximizing the Maple & Pecan Profile
(a) Raw pecans can be a bit soft. For the best result, toast your chopped pecans in a dry pan for 3–5 minutes until they smell fragrant before adding them to the flour.
This keeps them crunchy even after they are enveloped in the dough.
(b) When making the glaze, ensure the butter, syrup, and brown sugar mixture actually bubbles vigorously in the microwave.
This slight caramelization step removes the raw sugar taste and creates a professional, fudge-like set on the icing.
(c) Always add the vanilla to the glaze after the bubbling stage.
High heat can dull the flavor of vanilla extract; adding it at the end keeps the aroma bright.
3. Common Mistakes to Avoid
Over-Kneading: Because this dough is made with melted butter, it is more delicate than standard scone dough.
Knead it 5–6 times only. Any more will make the scones bready and tough rather than tender and melt-in-your-mouth.
Glazing Warm Scones: This glaze is meant to sit on top like a crown. If the scones are still warm from the oven, the glaze will melt and soak into the pastry.
This makes the scone soggy and hides the beautiful maple finish.
Measuring Flour by Volume: If you pack your flour into the measuring cup, you’ll end up with too much, leading to dry scones.
Use the spoon and level method or, better yet, a kitchen scale for accuracy.
4. Timing & Technique Advice
The Drizzle Consistency: If your glaze feels like a thick paste, add heavy cream one teaspoon at a time.
It should fall off the spoon in a steady ribbon. If it runs off like water, add more powdered sugar.
The Set Time: Be patient! Letting the glazed scones sit for 15 minutes is crucial.
This allows the maple icing to form a slight crust on the outside while staying soft underneath, giving you that perfect bakery-style bite.
Oven Calibration: Scones are sensitive to heat. Since you’re looking for a golden-brown finish at 400°F, start checking them at the 15-minute mark.
If the pecans on the surface look like they are browning too fast, tent the tray loosely with foil.
Baking Tips for This Recipe
Toast pecans lightly before adding: Toasting enhances their natural oils and flavor, preventing them from tasting raw.
Fold in maple syrup–soaked pecans at the end: Absorbing a tiny amount of syrup before mixing helps them release less moisture inside the dough.
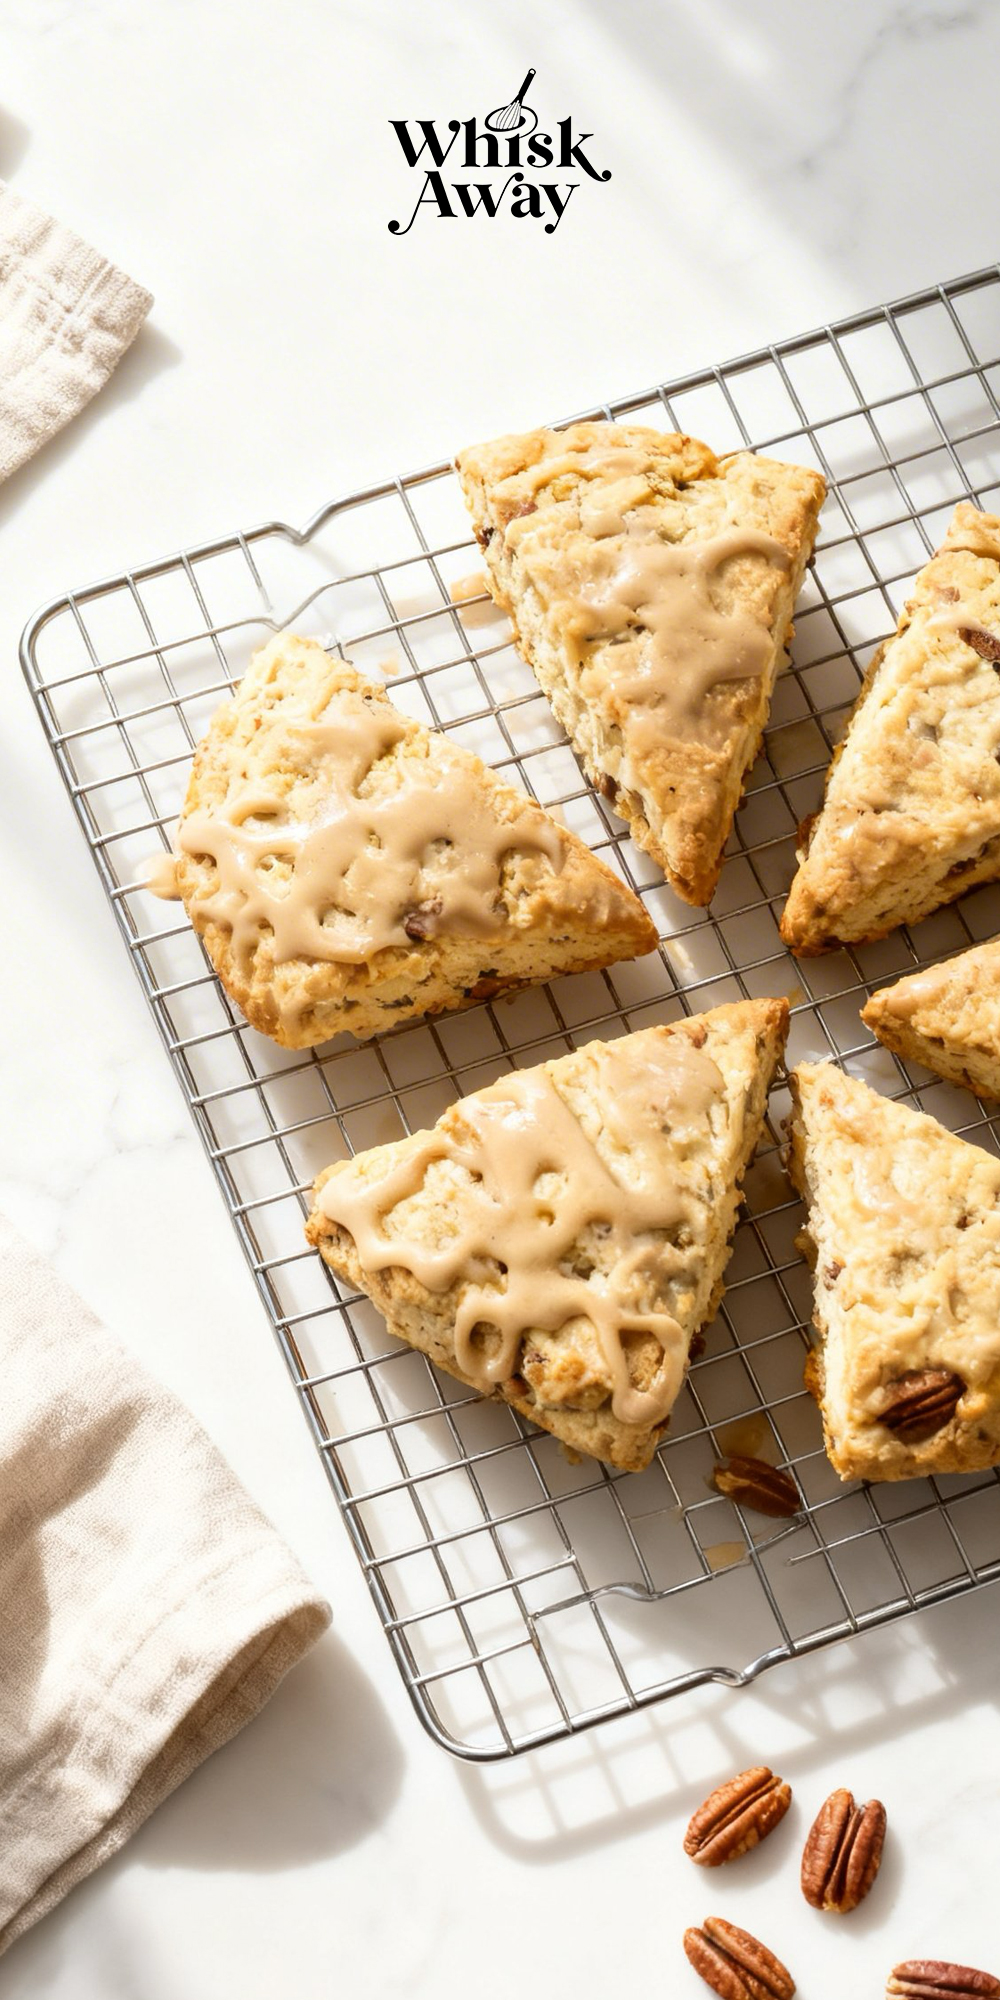
Add a thin maple glaze after baking: Warm scones can soak up glaze; wait until slightly cooled so it sticks on top.
Maintain cold ingredients: Cold butter and cold dairy give the best rise and flaky layers.
Don’t press dough too thin: Slightly taller scones keep pockets of steam and pecans evenly distributed.
Variation Tips
1. Maple X Bacon
For a head of planning who loves a sophisticated sweet-and-savory brunch:
Fold in 3–4 strips of crisped, finely crumbled bacon when you add the pecans to the dry ingredients.
Add a pinch of black pepper to the flour mixture.
The smoky saltiness of the bacon perfectly cuts through the sweetness of the maple glaze.
2. Maple X Walnut
If you prefer a slightly more robust, earthy nut flavor:
- Replace the pecans with chopped walnuts.
Be sure to toast the walnuts first; they have a slightly higher tannin content than pecans, and toasting mellows them out to pair beautifully with the maple.
3. The “Bourbon-Maple” Upgrade
For an adult-friendly version with deep, oaky notes:
- Replace the vanilla extract in the glaze with 1 teaspoon of high-quality Bourbon.
The alcohol cooks off slightly in the bubbling glaze, leaving behind a complex, smoky sweetness that elevates the pecans.
4. Texture & Ingredient Alternatives
(a) Instead of just melting the butter in the microwave, brown it in a pan until it smells nutty and has little brown flecks.
Let it cool before adding it to the cold cream. This doubles down on the toasted pecan flavor.
(b) Add ½ teaspoon of ground cinnamon and a pinch of nutmeg to the dry ingredients. This pushes the scone into Autumnal Spice territory.
(c) If you are out of heavy cream, full-fat Greek yogurt can be used. Note that you won’t get the butter globule effect as easily, but you will get a very moist, tangy scone.
5. Dietary Adaptations
Gluten-Free:
Use a 1:1 gluten-free flour blend. Because this recipe uses a high amount of fat (butter + heavy cream), the dough remains tender and avoids the dryness often associated with gluten-free baking.
Dairy-Free & Vegan:
Use melted vegan butter and full-fat canned coconut milk (chilled in the freezer for the globule effect).
Use vegan butter and a dairy-free milk alternative for the icing.
Lower Refined Sugar:
Replace the granulated sugar in the dough with coconut sugar.
For the glaze, you can use a monk fruit-based powdered sugar substitute and ensure you are using 100% pure maple syrup (not pancake syrup).
6. Creative Serving Idea
These are incredible when split and served with a thin slice of salted Brie cheese.
The creamy, slightly funky cheese is a world-class partner for the maple-glazed pecans.
How to Properly Store Your Maple Pecan Scones
Storing maple pecan scones requires a bit of finesse because of the boiled maple glaze.
If stored incorrectly, the glaze can become sticky or dissolve into the scone, and the pecans can lose their toasted crunch.
To keep your bakes tasting like they just came out of the oven, follow these guidelines.
1. Room Temperature (Best for the First 48 Hours)
Duration: Up to 2 days.
Once the maple glaze has fully set (it should be firm and not tacky to the touch), place the scones in an airtight container.
Place a small piece of wax paper or parchment paper between layers. The sugar content in maple glaze is high, and without a barrier, the scones will eventually fuse together.
2. Refrigeration (For Humid Environments)
Duration: Up to 5 days.
Because of the heavy cream and butter content, the fridge is a great place to maintain freshness, especially in a tropical climate.
Note: The cold will make the glaze quite hard. For the best texture, always allow the scone to come to room temperature for 20 minutes before eating, or use the “Quick Warm” method below.
3. Freezing
Duration: Up to 3 months.
These scones freeze beautifully, even with the glaze.
To Freeze: Wrap each scone individually in plastic wrap, then place them in a freezer-safe bag. This prevents the maple aroma from migrating to other foods.
To Thaw: Thaw at room temperature for an hour. The glaze may appear slightly more matte after freezing, but the flavor remains intact.
4. How to Reheat
Reheating these scones helps “reset” the butter in the dough and softens the glaze just enough to make it feel like a fresh drizzle.
The Oven Method (Recommended): Heat your oven to 300°F (150°C) and warm the scones for 5–7 minutes.
This recrisps the pecans and softens the crumb without melting the glaze completely off the scone.
The Toaster Oven: If you have a “Warm” setting, use it for 4 minutes. It’s the perfect way to revive a single scone for a quick breakfast.
The Microwave: Use extreme caution. Heat for 8–10 seconds only.
The sugar in the maple glaze heats up much faster than the dough; any longer and you risk a sugar burn or a soggy scone.
5. Storage Mistakes to Avoid
(a) Never put these in a container while they are even slightly warm.
The steam will turn your professional maple glaze into a sticky liquid and make the pecans soft and rubbery.
(b) Leaving these out on a plate overnight will turn them into rocks.
The high fat content in the heavy cream dries out quickly once exposed to air.
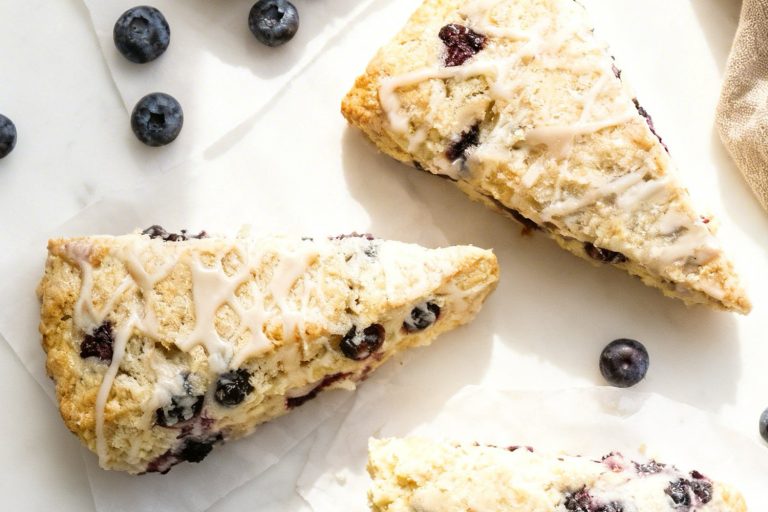
(c) The maple and pecan scent is very strong. If you store these with plain or blueberry scones, the other bakes will end up tasting like maple (which isn’t always a bad thing, but it may not be what you intended!).
FAQs
Why do I have to put the heavy cream in the freezer for 10 minutes?
This is the most critical step for this specific recipe! The near-freezing cream shocks the melted butter into tiny, solid beads (globules). These beads act like the cold butter chunks in a traditional scone, creating pockets of steam in the oven that result in a light, tender rise. If the cream is only “fridge cold,” the butter will simply emulsify into a liquid, resulting in a flat, dense scone.
Can I use Pancake Syrup instead of Pure Maple Syrup?
It is highly recommended to use 100% Pure Maple Syrup. Pancake syrups are usually made of corn syrup and artificial flavorings; they are thinner and significantly sweeter, which can prevent the glaze from setting properly. Pure maple syrup has a higher sugar-to-water ratio that allows it to bubble into a thick, fudge-like consistency during the boiling process.
My glaze is too thick to drizzle. How do I fix it?
If the glaze becomes too stiff as it cools, simply whisk in heavy cream or milk, one teaspoon at a time, until it reaches a ribbon consistency. Conversely, if it’s too runny, add a tablespoon of powdered sugar. Remember that the glaze will firm up significantly as it sits on the scone, so it’s okay if it looks a little fluid when you first start drizzling.
Why do I need to melt the butter instead of rubbing it in?
This specific method is designed for speed and tenderness. While “rubbing in” cold butter creates flaky layers, this melted-and-chilled method creates a more cake-like, delicate crumb. It is an excellent technique for beginners or those who find traditional scone-making (cutting in butter) to be too time-consuming or difficult to get right.
How do I know when the scones are perfectly baked?
Because of the pecans and sugar content, these scones can brown more quickly than others. Look for a light golden-brown color on the tops and slightly darker edges. A toothpick inserted into the center of a wedge should come out clean. If the scones feel very soft when pressed, they likely need another 2 minutes to ensure the center isn’t “doughy” under that heavy glaze.
Maple Pecan Scones
10
servings30
minutes20
minutesThese maple-pecan scones are buttery, sweet, and enhanced with toasted pecans.
Ingredients
- For the Scones
2 cups all-purpose flour
1 cup heavy cream (plus extra for brushing)
8 tablespoons butter
½ cup chopped pecans
¼ cup sugar
1 tablespoon baking powder
½ teaspoon salt
- For the Glaze
¾ cup confectioners' sugar
2-3 tablespoons heavy cream, half & half, or milk
2 tablespoons maple syrup
2 tablespoons butter
2 tablespoons dark brown sugar
1 teaspoon vanilla
Directions
- Preheat your oven to 400°F (200°C) and prepare a baking sheet with a layer of parchment paper.
- Measure out 1 cup of heavy cream and pop it into the freezer for approximately 10 minutes. This extreme cold is vital for the upcoming butter reaction.
- Melt the 8 tablespoons of butter in a microwave-safe bowl (cover it to avoid splatters). Let it sit on the counter to cool slightly while you handle the dry base.
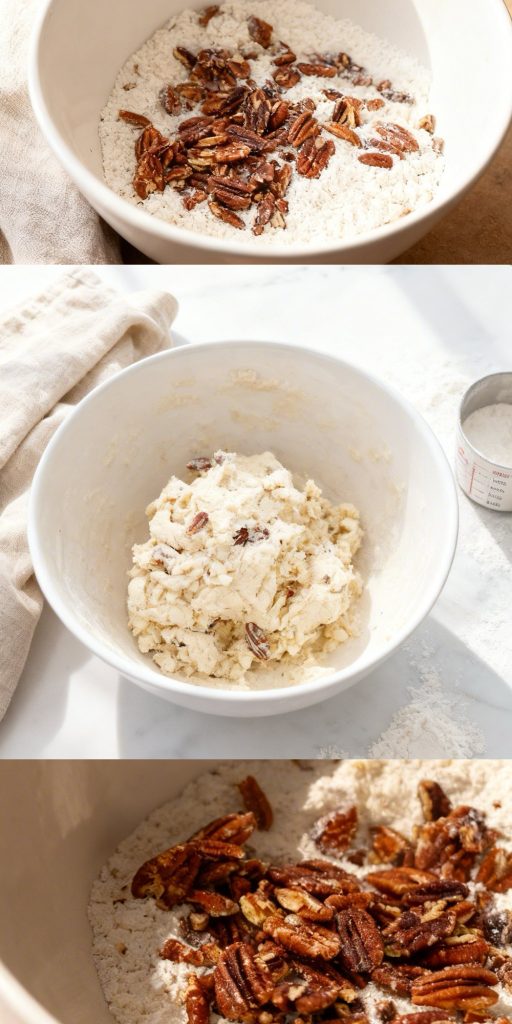
- In a large mixing bowl, whisk together the flour, baking powder, sugar, and salt. Stir in the chopped pecans so they are evenly distributed.
- Once the cream is icy cold, pour the melted butter into it. Stir with a fork; the cold cream will cause the butter to solidify into tiny, bead-like clumps or globules.
- Pour this mixture into your dry ingredients. Use a rubber spatula to fold everything together until the flour is fully absorbed and the dough begins to pull away from the bowl's edges. Do not over-mix.
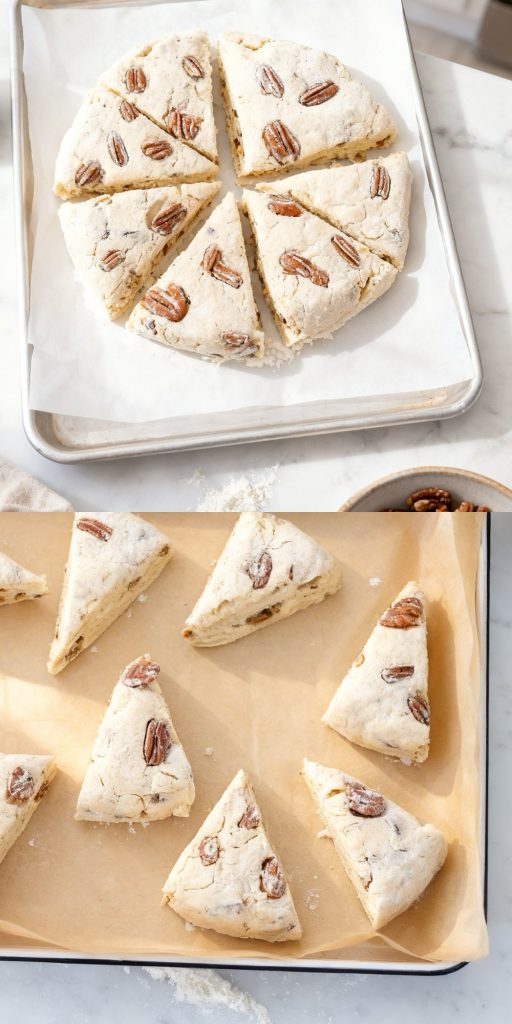
- Generously dust your workspace with flour. Turn the dough out, coating all sides in flour. Knead gently about 5 or 6 times (roughly 30 seconds) until it holds together.
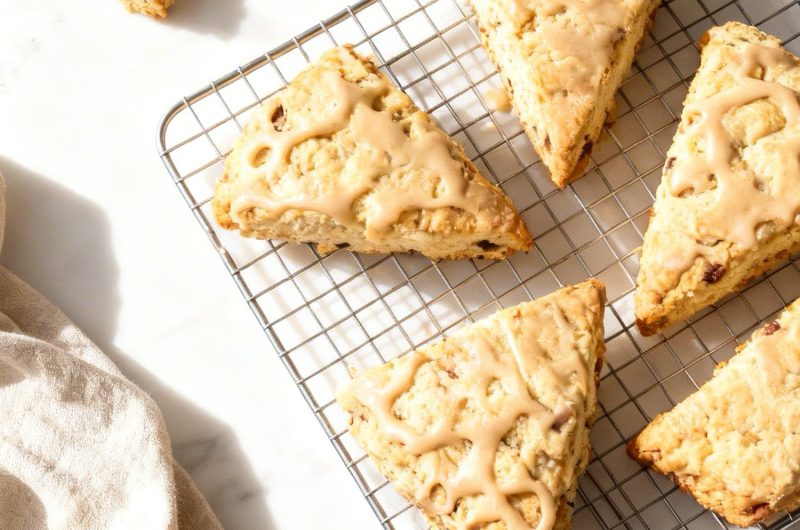
- Using a sharp knife, slice the circle into 8 to 10 equal triangles. Move these to your prepared tray and brush the tops with a little extra heavy cream.
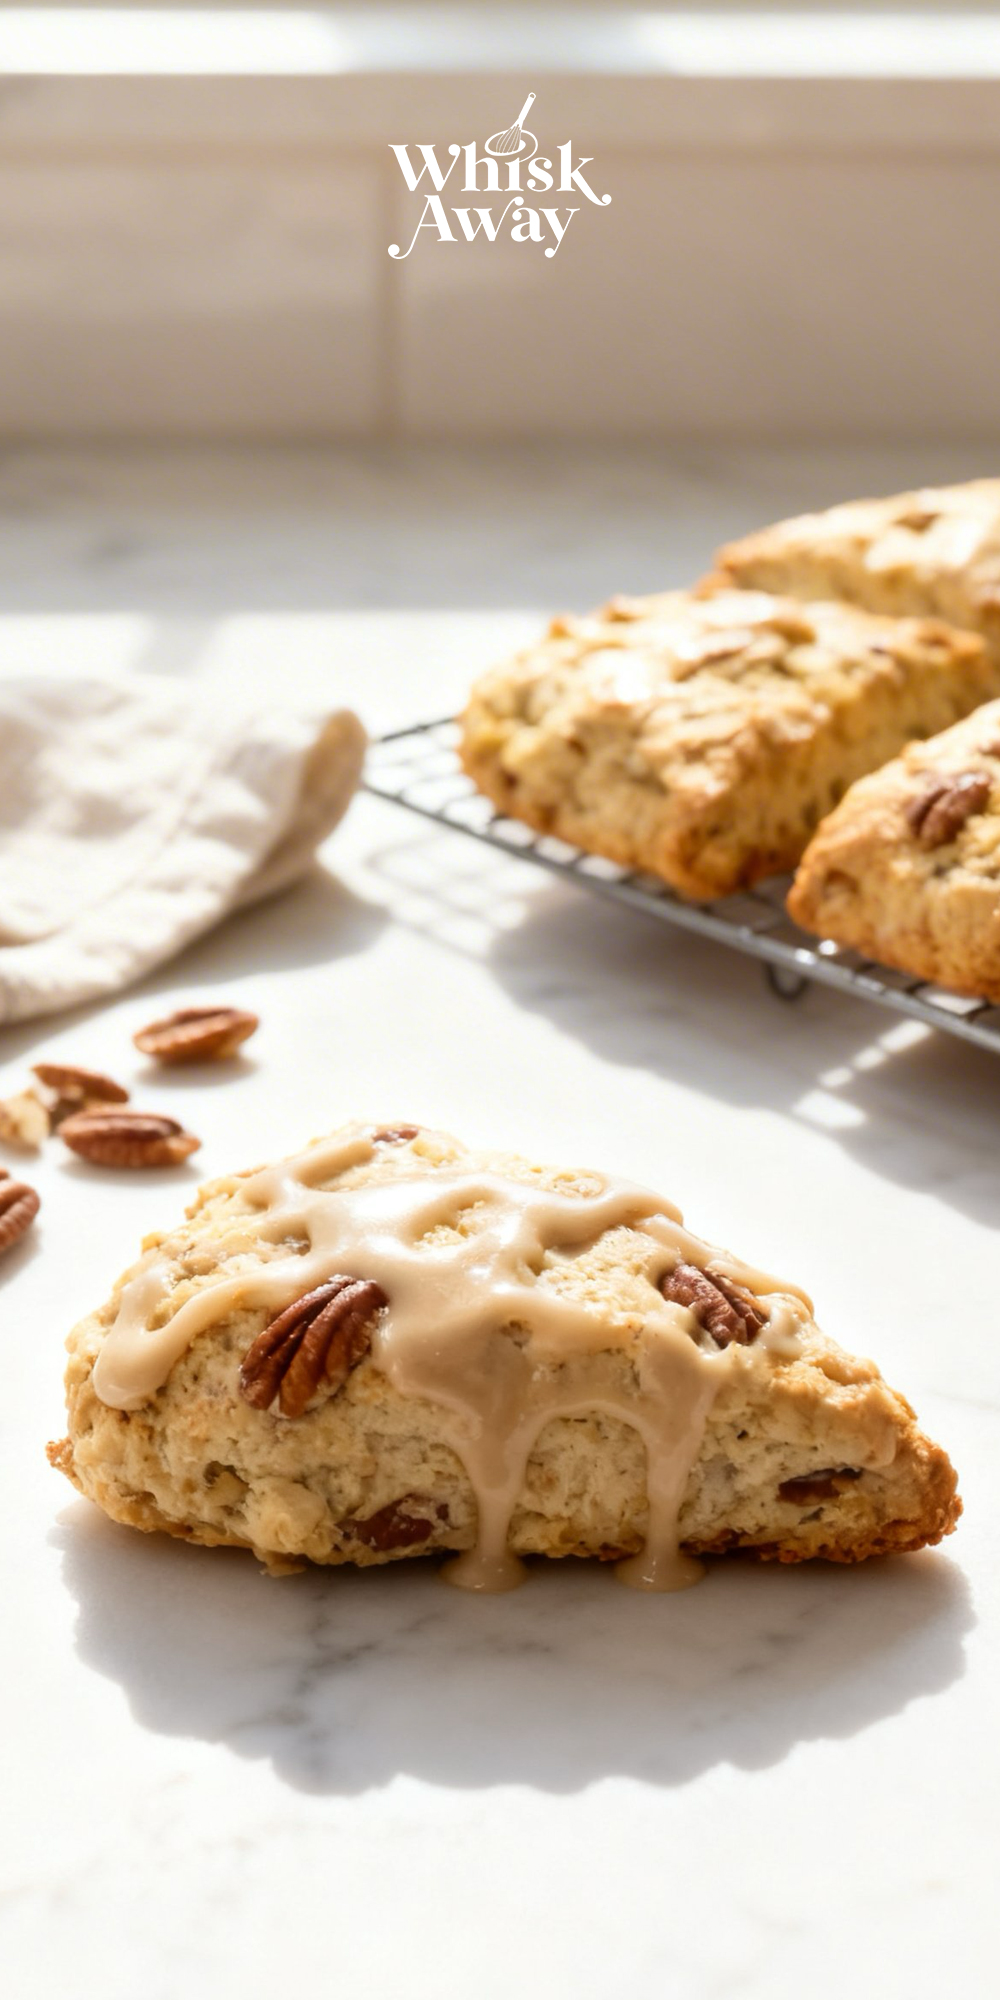
- Place in the oven for 15–20 minutes until the tops are a beautiful golden brown. Transfer to a rack to cool completely.
- While the scones bake, combine the maple syrup, butter, brown sugar, and cream in a microwave-safe bowl. Heat on high for 1 minute, whisk, then heat for another minute until it is bubbling vigorously.
- Whisk in the powdered sugar and vanilla until smooth. Adjust with a splash more cream or a spoonful of sugar until it reaches a drizzle-able consistency.
- Drizzle the glaze over the cooled scones and allow them to rest for 15 minutes so the icing can harden before you serve them.