Ever thought scones could be savory and totally irresistible?
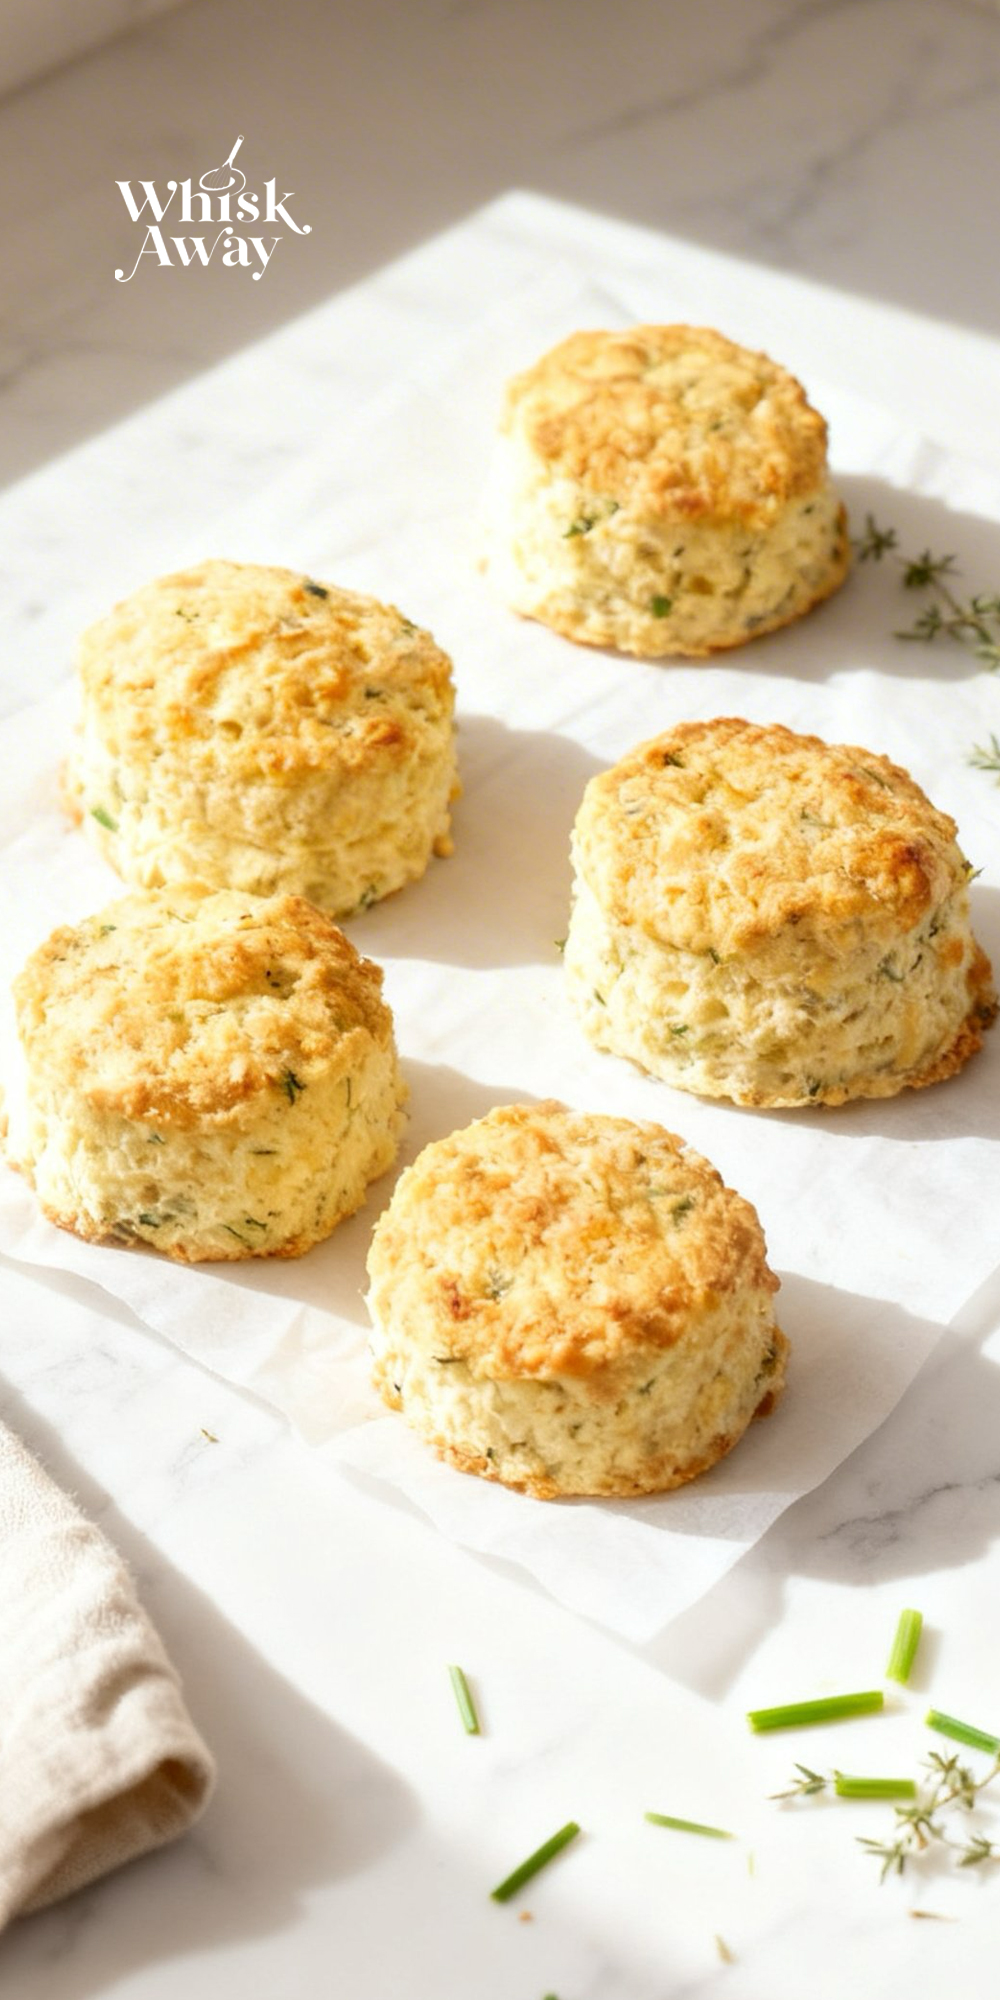
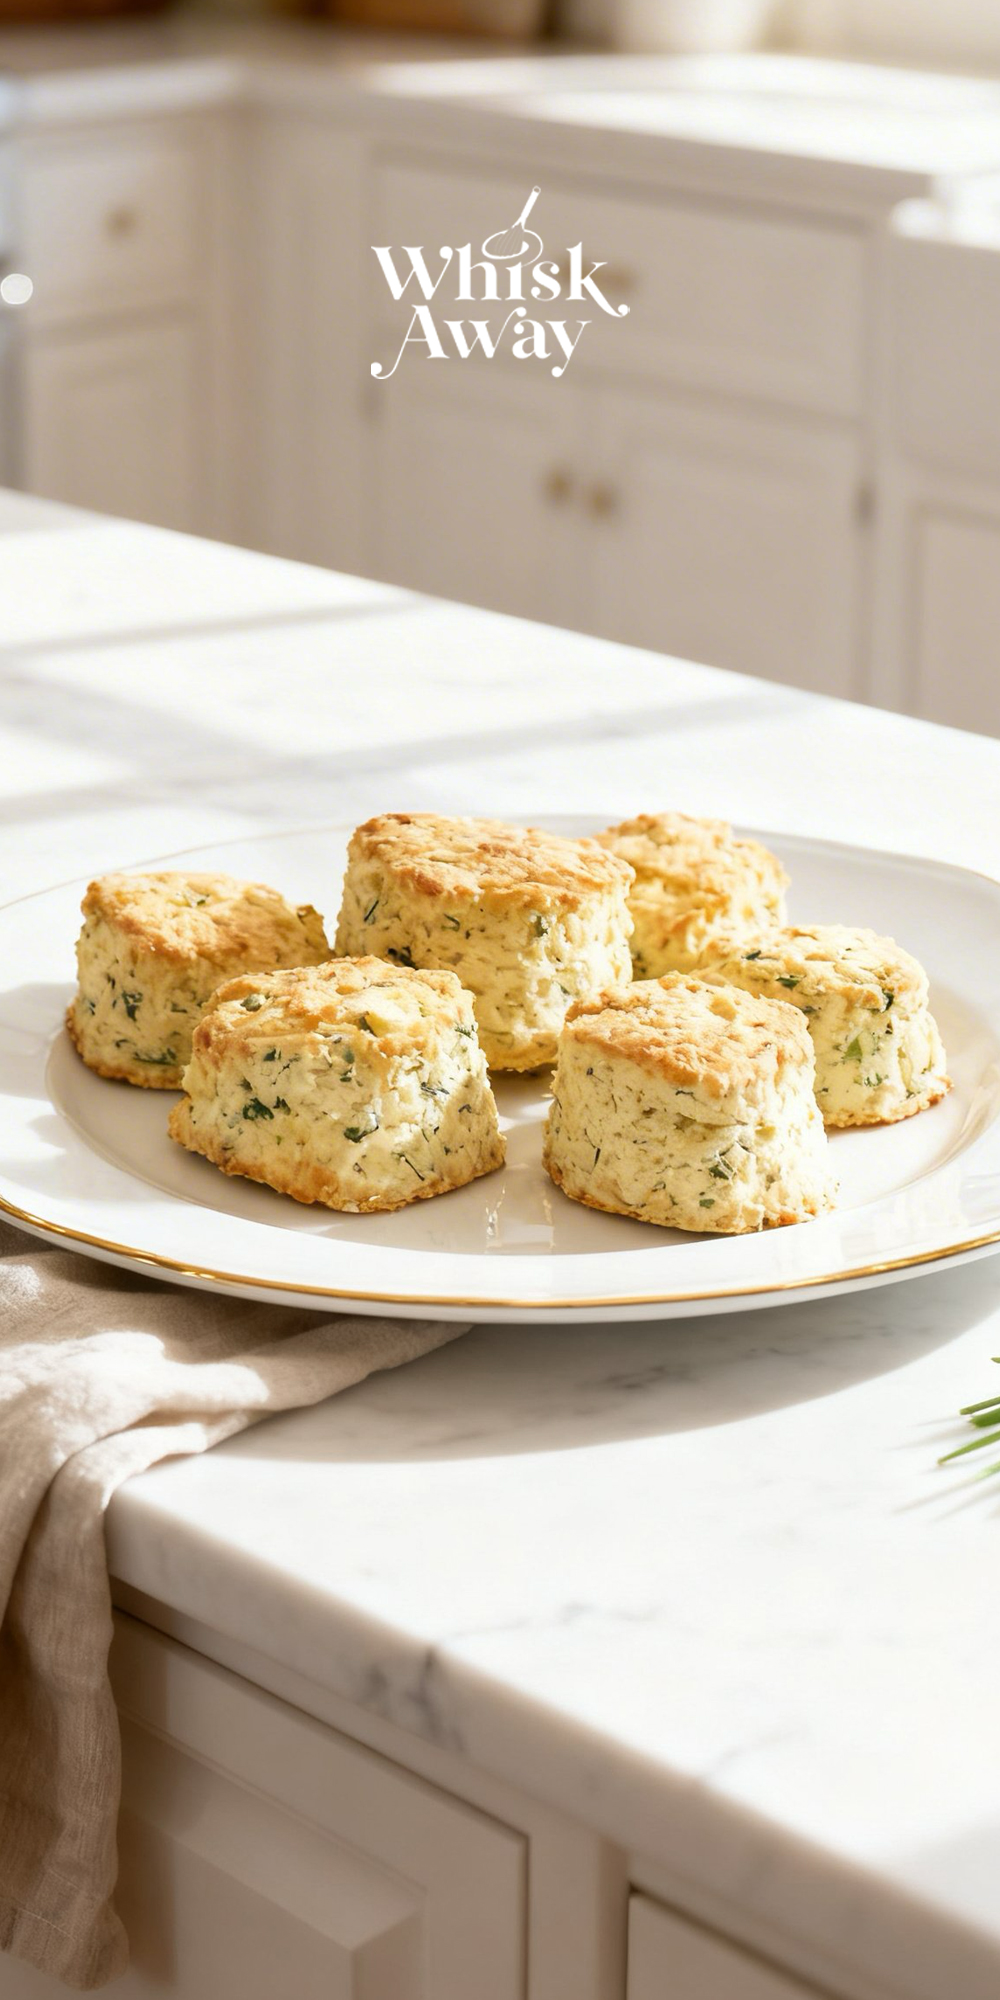
These savory herb cheese scones blend sharp cheese with fresh herbs in a tender, buttery dough, offering a rich, flavorful bite every time.
Even if you’re beginner, baking these savory herb-cheese scones at home is straightforward, and they make a perfect side for soups, salads, or as a snack on their own.
The aroma of baked cheese and herbs is enough to draw everyone to the kitchen instantly.
Ready for baking? Grab your apron and baking tools!
Why You’ll Love This Recipe
These scones are perfect if you love savory flavor with substance; the cheese adds richness, while fresh herbs bring brightness and aroma you can smell before tasting.
What Makes Them Special
- Cheese adds rich, salty pockets that elevate every bite.
- Fresh herbs (like thyme, rosemary or chives) create aroma and complement savory pairings.
- Great alongside soups, salads, or breakfast eggs.
- Balances structure and tenderness, not too sweet, not too savory.
- Can be served warm with herb butter or cream cheese for extra depth.
Save This Pin for Later to Your Pinterest Board

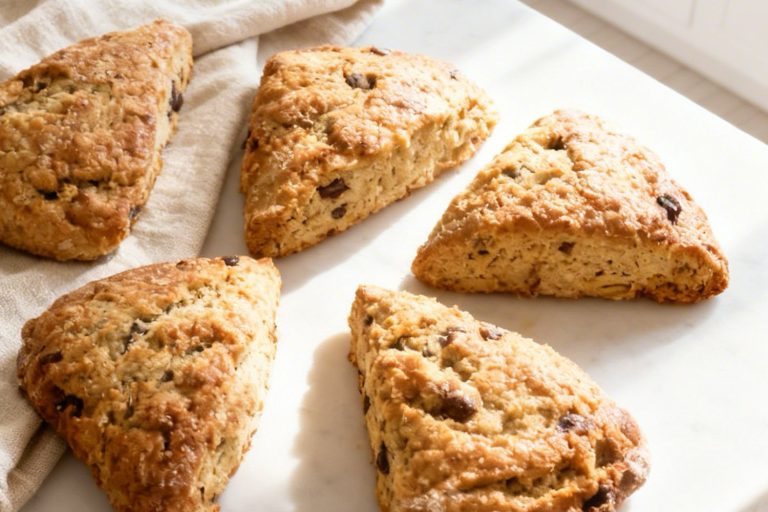
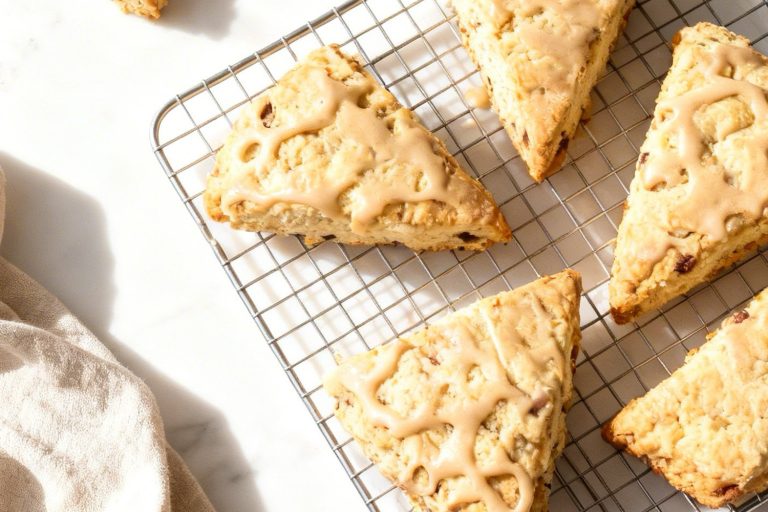
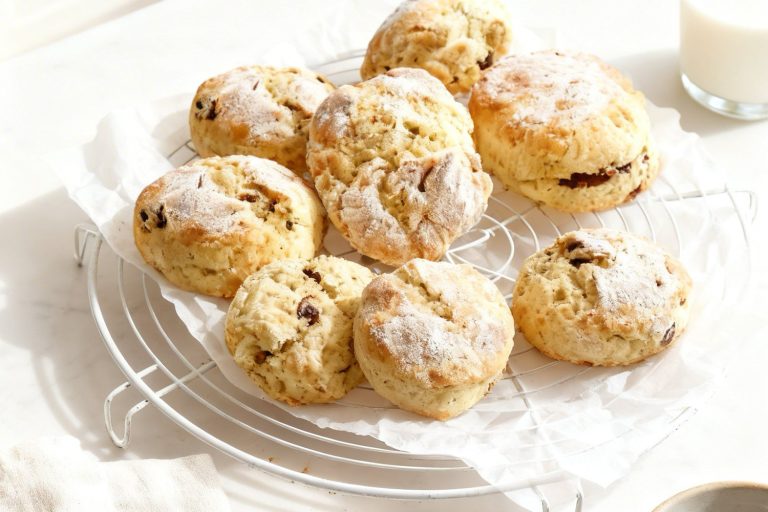
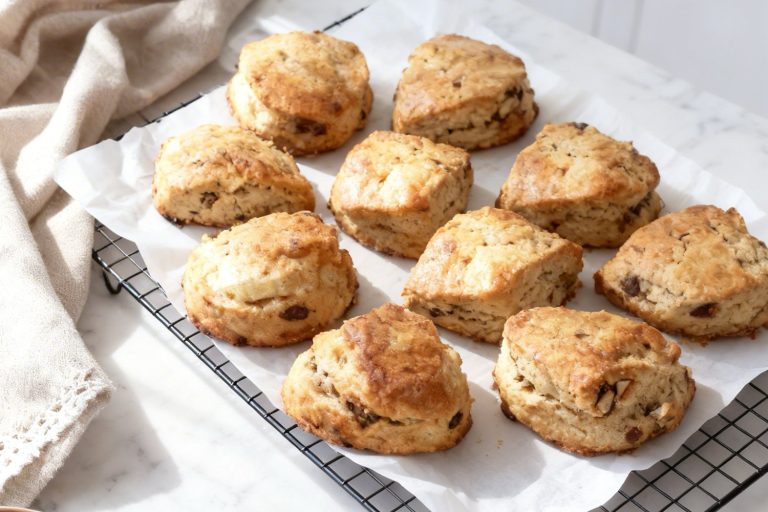
🔥 These savory herb-cheese scones are rich, flaky, and packed with flavor. If you want to explore sweet variations, date and walnut scones and chocolate-chip scones are great next recipes to try. For a classic base, plain English scones work beautifully.
How to Get Your Herb Cheese Scones Just Right
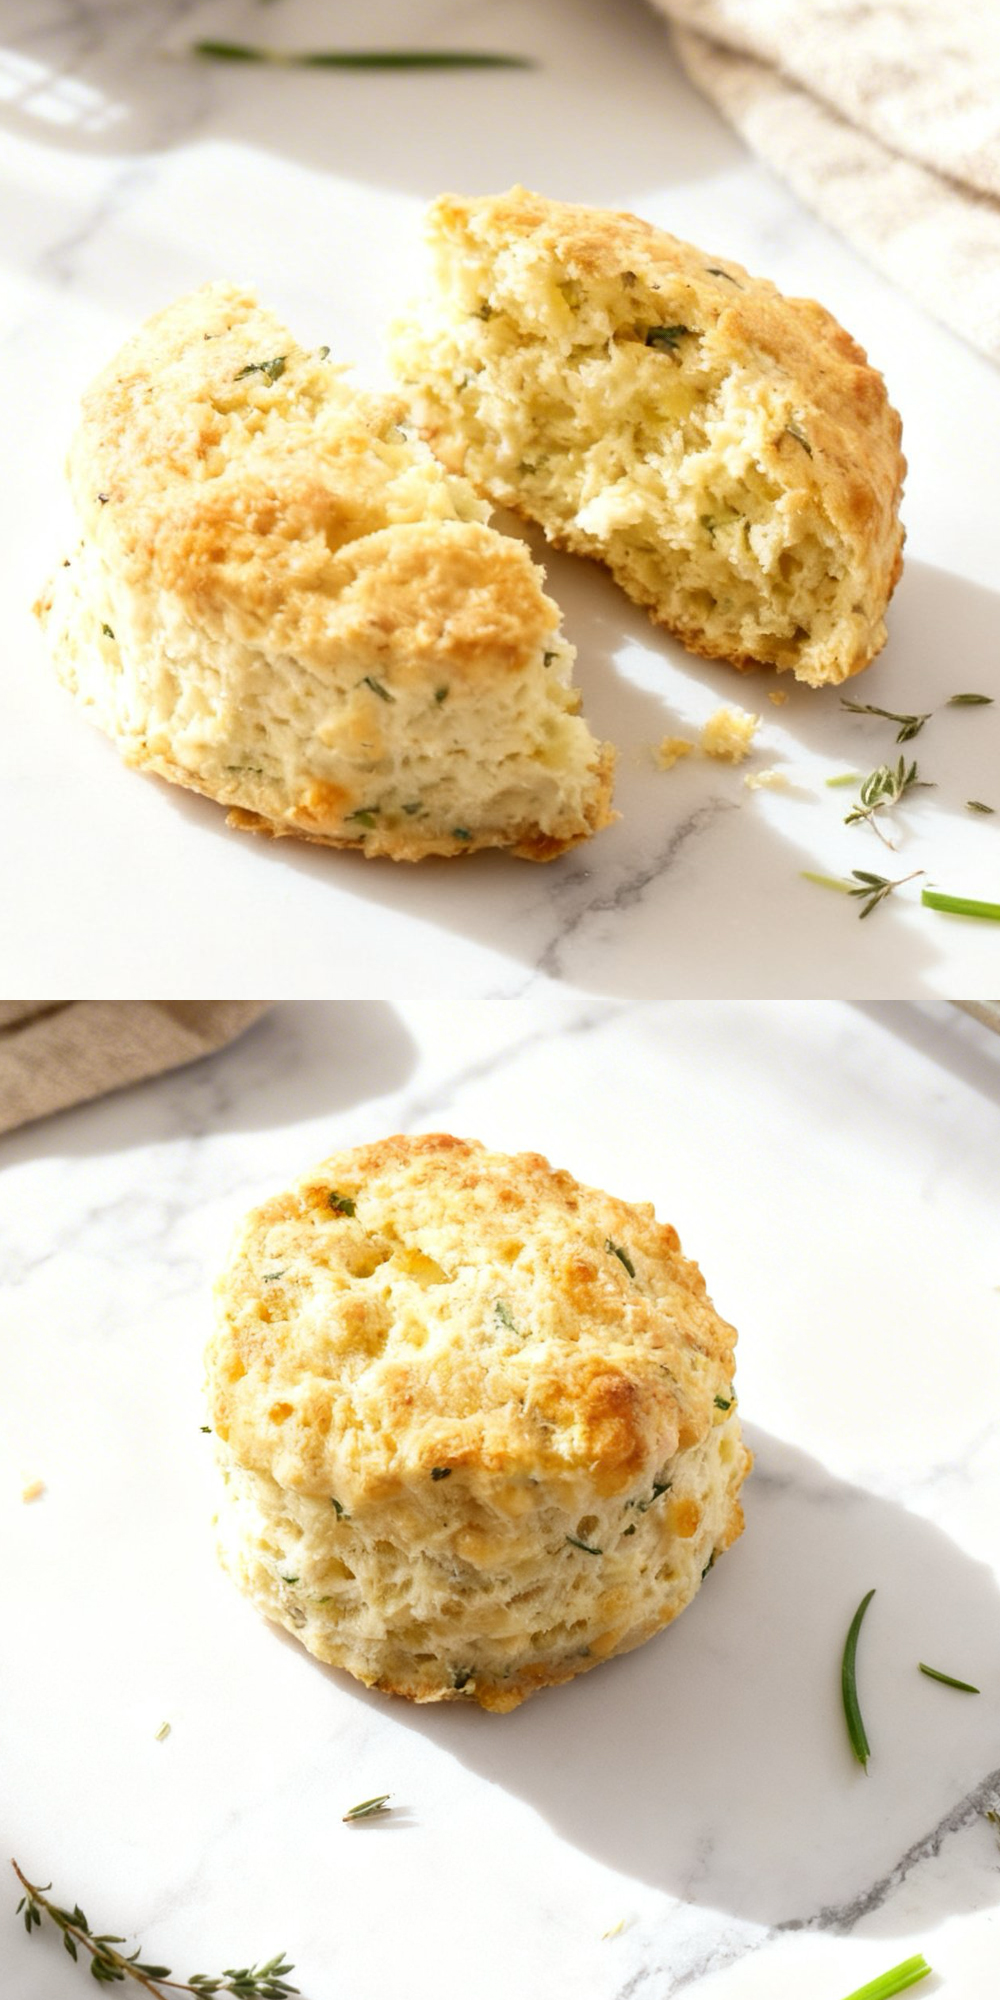
Creating a savory scone is all about balancing the high fat content of the cheese and butter with the structural lift of the dough.
When done correctly, you get a scone that smells like a garden and tastes like a gourmet grilled cheese.
1. The Secret to the Savory Crumb
The Lumpy Rule: When cutting in your butter, do not aim for a fine meal. You want visible lumps.
These pockets of butter expand in the oven, creating a flaky contrast to the melted cheese.
Sharpness Matters: Use the sharpest cheddar you can find.
A mild cheddar often melts away and disappears into the dough, whereas an extra-sharp or aged cheddar holds its flavor and creates those beautiful cheese-lacquered spots on the crust.
Fresh vs. Dried Herbs: This recipe relies on the moisture and oils of fresh chives and thyme.
If you must use dried herbs, reduce the amount to 1 teaspoon each, as dried herbs are far more concentrated and can easily become overpowering.
2. Common Mistakes to Avoid
The Grey Dough: If you over-mix the dough once the herbs and cheese are added, you can inadvertently bruise the herbs, which may tint your dough a dull grey-green.
Stir until just combined. The dough should still look a bit shaggy.
Warm Milk: Ensure your milk is truly at room temperature. If it is too cold, it will cause the butter to seize into hard pellets.
And if it is too hot, it will melt the butter and cheese prematurely, leading to a heavy, greasy scone.
Over-Broiling: The optional broiler step is for color only. If you leave them under the grill for more than a minute, the high heat will evaporate the moisture in the center of the scone, turning a tender treat into a dry biscuit.
3. Timing & Technique Tricks
The Vertical Press: Just like with sweet scones, never twist your cutter. Press straight down and pull straight up.
Twisting seals the edges of the dough, which will prevent your scones from rising and showing off those cheesy layers.
Center-Rack Baking: Bake these on the middle rack of your oven. The high cheese content makes the bottoms prone to browning faster than the tops.
A middle-rack position ensures even heat distribution.
The Scent Test: You’ll know these are close to done when your kitchen starts to smell like toasted cheese and warm thyme.
At the 18-minute mark, check the bottoms; they should be a deep golden brown.
Baking Tips for This Recipe
Grate or cube cold cheese: Larger, cold pieces melt more slowly, leaving pockets of cheese that add savory texture rather than running into the dough.
Mix herbs in the dry ingredients first: This prevents clumping and ensures flavor is evenly distributed.
Don’t overwork the dough: As with sweet scones, too much handling develops gluten, which makes savory scones tough.
Press dough gently but firmly: You want a cohesive dough without compressing it too much; over-compression reduces steam lift.
Brush with cream, not egg wash: Cream browns beautifully without adding sweetness, so savory scones remain true to flavor.

Variation Tips
The herb cheese scone is one of the most adaptable recipes in a baker’s repertoire.
While the cheddar and thyme pairing is a timeless classic, the base dough can easily be “re-planned” to showcase different flavor profiles or accommodate various dietary needs.
1. Jalapeño & Pepper Jack
If you want a scone with a bit of a kick that pairs perfectly with chili or roasted tomato soup:
Replace the sharp cheddar with grated Pepper Jack cheese.
Fold in 2 tablespoons of finely minced fresh jalapeños (seeds removed for less heat) and a pinch of smoked paprika.
2. Feta & Sundried Tomato
For a salty, tangy profile that feels like a trip to the coast:
- Use crumbled Feta instead of cheddar.
- Add ¼ cup of chopped sundried tomatoes (patted dry) and replace the chives with fresh oregano or rosemary.
A denser, more flavorful scone that is excellent served alongside grilled lamb or a fresh salad.
3. Bacon & Scallion
Turn your scone into a full morning meal:
Fold in ½ cup of crispy, crumbled bacon and swap the chives for finely sliced scallions (green parts only).
This variation is incredibly savory and hearty, especially when served warm with a poached egg.
4. Texture & Topping Alternatives
(a) Before baking, brush with melted butter and sprinkle generously with “Everything Bagel” seasoning (sesame seeds, poppy seeds, garlic, and onion).
(b) For a sharp, professional depth of flavor, whisk 1 teaspoon of Dijon mustard into the milk before adding it to the dry ingredients.
(c) For an extra-crunchy exterior, sprinkle finely grated Parmesan cheese over the tops of the scones during the last 5 minutes of baking.
5. Dietary Adaptations
Gluten-Free:
Use a high-quality 1:1 gluten-free flour blend. Because this is a savory scone with plenty of “mix-ins” (cheese and herbs), the texture remains remarkably close to the original.
Dairy-Free & Vegan:
Use a chilled vegan butter block and a sharp dairy-free cheddar alternative. Replace the milk with unsweetened soy or almond milk.
Add 1 tablespoon of nutritional yeast to the flour mixture to mimic the “umami” depth of real cheese.
Lower Fat:
While the butter is essential for flakiness, you can substitute the whole milk with low-fat buttermilk.
The acidity will actually help the scones rise even higher, offsetting the reduction in fat.
How to Properly Store Your Herb Cheese Scones
These herb and cheese scones are unique because the melted cheese and butter can affect how they age.
While they are undoubtedly at their peak about 15 minutes after they leave the oven, these storage methods will help you maintain that fresh-baked herbaceous aroma and cheesy snap for several days.
1. Room Temperature (Short-Term)
Duration: Up to 2 days.
Once the scones are completely cool, place them in an airtight container or a zip-top bag.
This is the best way to keep the exterior from becoming too soft.
If the environment is particularly humid, adding a piece of paper towel to the container will help absorb excess moisture from the cheese.
2. Refrigeration (The “Safety” Option)
Duration: Up to 1 week.
Because these scones contain a significant amount of cheese, they can be stored in the fridge.
Serving Note: Cold cheese and butter make the scone feel dense and heavy. Always reheat refrigerated scones before eating to wake up the fats and the herb oils.
3. Freezing (Best for Prep)
Duration: Up to 3 months.
These freeze exceptionally well. Wrap each scone individually in plastic wrap, then place them in a freezer-safe bag.
To Thaw: Thaw at room temperature for an hour, or overnight in the fridge.
4. How to Reheat for “Crispy-Edge” Results
The goal of reheating a savory scone is to get the cheese slightly bubbling again without drying out the crumb.
The Oven or Air Fryer: This is the preferred method. Place scones on a tray in a 300°F (150°C) oven for 5–10 minutes (or 3–5 minutes in an air fryer).
This recrisps the bottom and makes the interior light again.
The Skillet Toast: For a gourmet twist, slice the scone in half and place it face-down in a dry skillet over medium heat.
This caramelizes the cheese in the dough, creating a “grilled cheese” effect on the cut side.
The Microwave: Avoid if possible. It will make the cheese oily and the pastry chewy.
If you must, use a very short 10-second burst.
5. Storage Mistakes to Avoid
(a) Never package these while they are still warm. The steam will trap moisture against the cheese, turning your scones into a gummy, unappetizing mess.
(b) Butter and cheese are highly absorbent. Ensure your container has a perfect seal, or your scones might end up tasting like the cut onion sitting elsewhere in your fridge.
(c) If keeping them on the counter, keep them in a cool, dark spot. Heat from the sun can cause the fats to start weeping out of the scone.
FAQs
Can I use dried herbs if I don’t have fresh chives or thyme?
Yes, but you’ll need to adjust the measurements. Dried herbs are much more potent than fresh ones. Use 1 teaspoon of dried herbs for every 1 tablespoon of fresh herbs called for in the recipe. Also, rub the dried herbs between your palms before adding them to the flour to wake up the essential oils.
What is the best type of cheese to use for these scones?
A sharp or extra-sharp cheddar is the gold standard because its flavor doesn’t get lost during the bake. Avoid using pre-shredded cheese from a bag if possible; those are often coated in potato starch or cellulose to prevent clumping, which can interfere with how the cheese melts into the dough. Grating your own cheese ensures a much better texture.
Why are my scones dense instead of flaky?
Density usually comes from two things: warm butter or over-handling. If the butter melts into the flour before it hits the oven, you lose those steam pockets that create flakes. If you knead the dough like bread, you develop gluten, which makes the scone tough. Keep your hands “light” and your butter “ice-cold.”
Can I prepare the dough in advance?
Scones are best when baked immediately after the liquid is added, but you can definitely “dry-prep.” Mix your flour, leavening, and salt, and even rub in the butter. Keep this “crumb” mixture in the fridge. When you’re ready to eat, just stir in the cheese, herbs, and milk, then bake. You can also freeze the unbaked cutouts and bake them directly from the freezer. Just add 2–3 minutes to the total baking time.
How should I serve these for a party?
While they are excellent with a simple pat of salted butter, they truly shine when served alongside a hearty soup, chili, or a charcuterie board. For a sophisticated touch, serve them with a small bowl of pepper jelly or a savory whipped goat cheese spread.

Herb Cheese Scones
9
servings10
minutes18
minutesThese savory herb-cheese scones are cheesy, fragrant, and perfect with soups.
Ingredients
2 ½ cups plain (all-purpose) flour (325g / 11.5oz)
1 cup packed grated sharp cheddar (100g / 3.5oz)
85 g unsalted butter, grated & cold (3oz / ¾ stick)
¾ cup milk, room temperature (180ml)
2 ½ tsp baking powder
1–2 tablespoons butter, melted (for brushing)
1 tablespoon finely chopped fresh chives
1 tablespoon finely chopped fresh thyme
½ tsp salt
Directions
- Set your oven to 395°F (200°C) or 350°F (180°C) for fan-forced ovens.
- Line a large baking sheet with parchment paper so nothing sticks.
- In a medium-sized bowl, whisk the flour, baking powder, and salt together until the mixture is uniform.
- Take your chilled butter and work it into the flour using a pastry blender or a knife. You want to stop once the mixture looks slightly lumpy—those tiny bits of solid butter are what create the flaky layers.
- Toss in the grated cheddar, fresh chives, and thyme. Use a fork to stir them through so the savory elements are evenly distributed throughout the flour.
- Pour in the milk and stir gently. Stop the moment the ingredients cling together and form a cohesive dough.
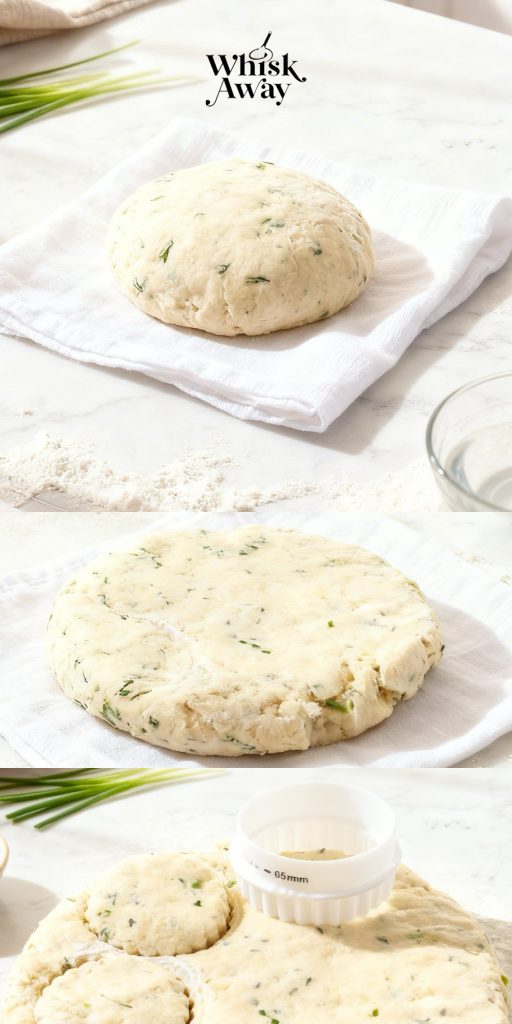
- Move the dough onto a surface that has been very lightly dusted with flour. Gently bring the mass together with your hands and pat it down until you have a disk that is 1-inch thick.
- Use a 2 ½ inch circular cutter to press out your scones. Arrange them on the prepared tray, leaving about 1 to 2 inches of space between each one to allow for airflow. You can gently reform the dough scraps to cut out the final scones, but be careful not to overwork the dough.
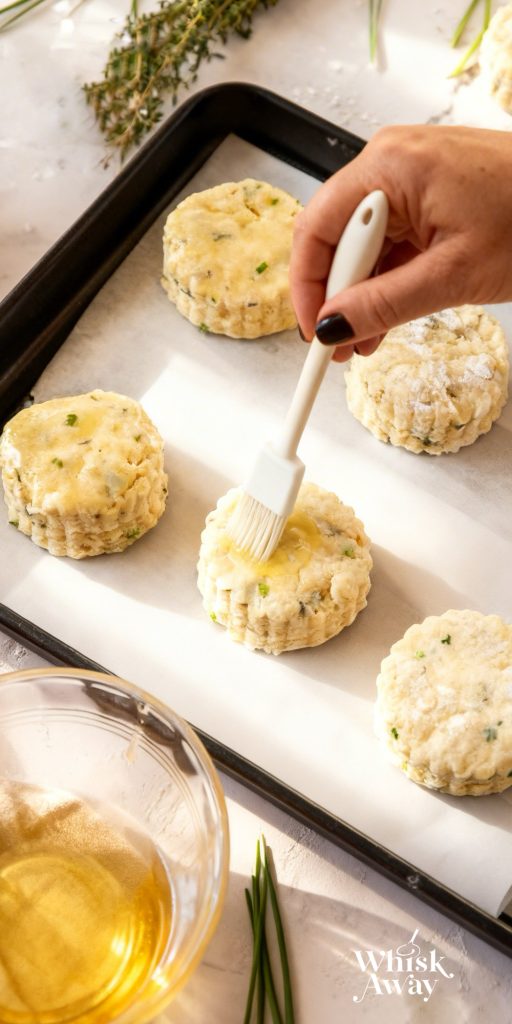
- Lightly coat the tops of the scones with melted butter for a rich finish.
- Place them in the oven for 18–20 minutes.
- The Broiler Trick (Optional): For a professional, deep golden top, brush them with a tiny bit more butter after baking and pop them under the broiler (grill) for just 60 seconds. Watch them closely. Any longer and you’ll dry out the interior.