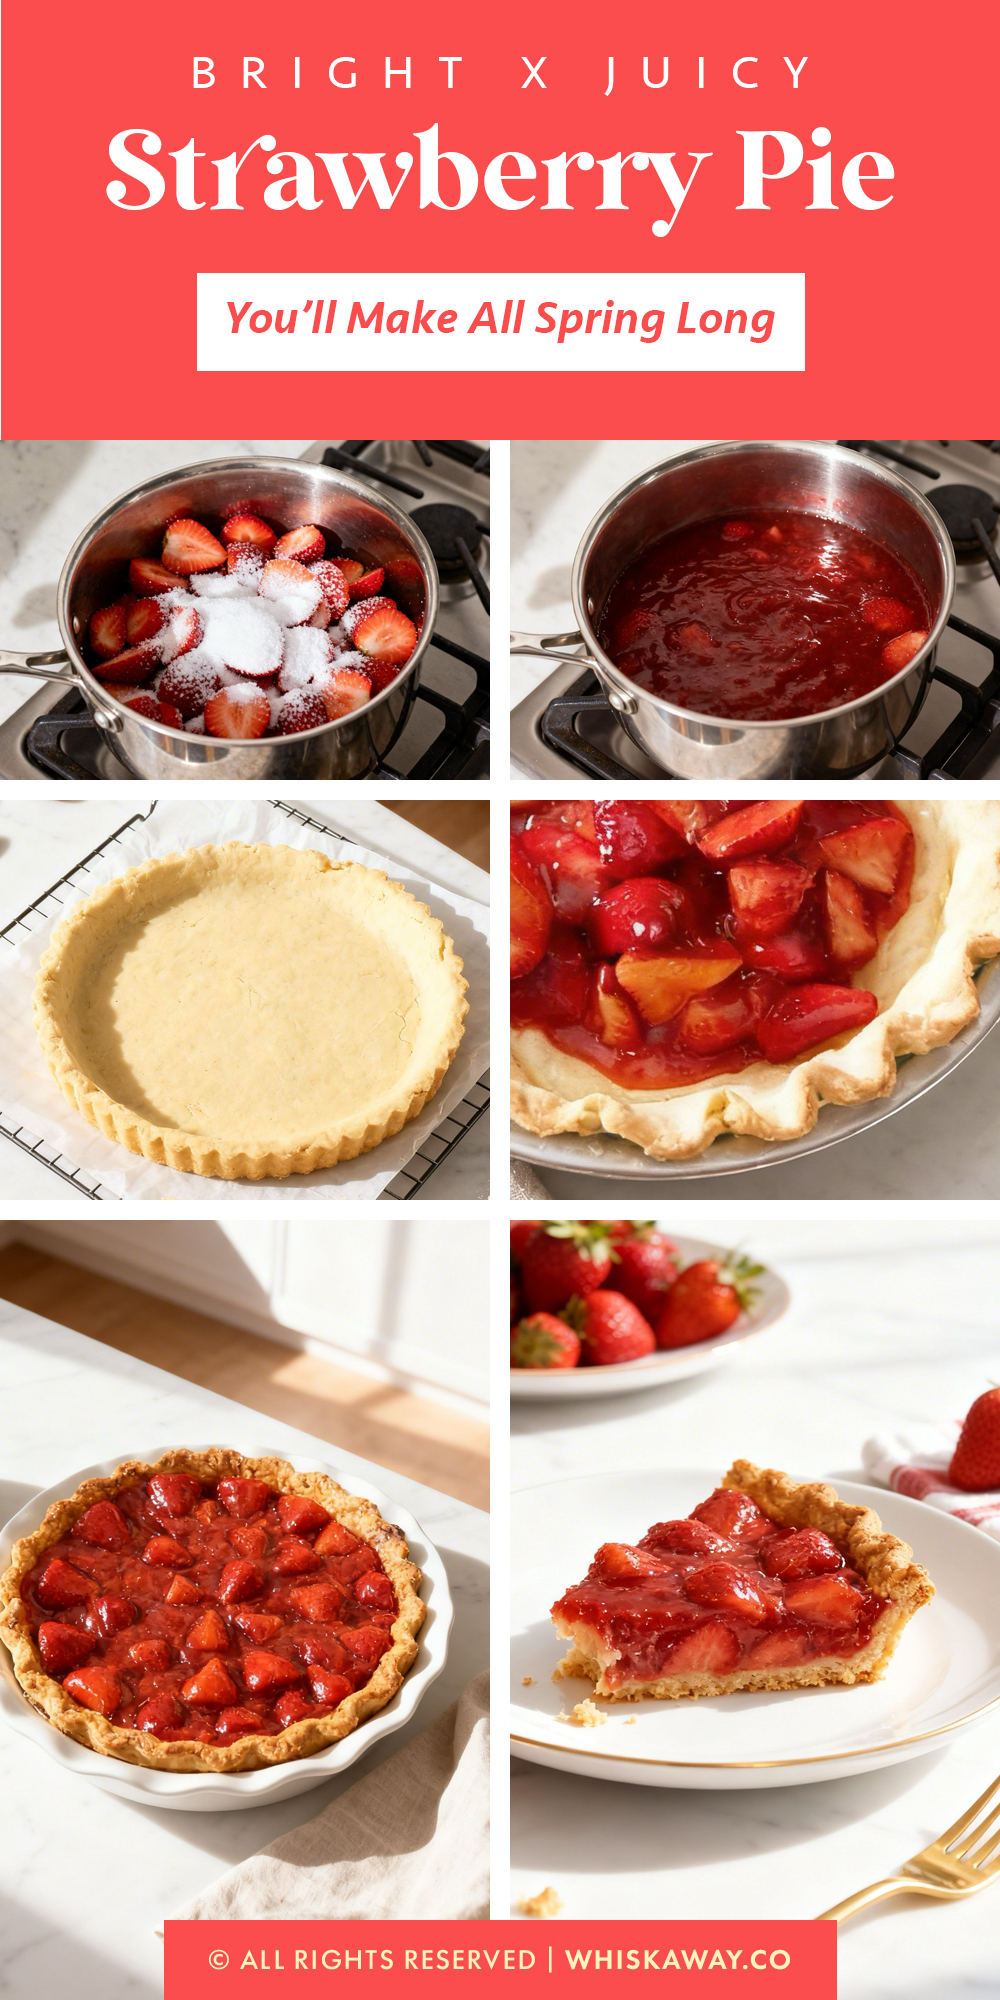
Looking for a dessert that’s juicy, sweet, and perfectly summery? You’ll surely love this strawberry pie that combines fresh, ripe strawberries with a sweet, lightly thickened filling in a flaky crust.
Each bite bursts with fruity flavor and a balance of sweetness that’s irresistible.
Perfect for brunch, tea time, or as a treat for friends and family, it’s a classic fruit dessert that never goes out of style.
Why You’ll Love This Recipe
Fresh strawberry pie highlights raw fruit brightness.
What Makes Them Special
- Fresh berries retain natural texture
- Light glaze binds without masking flavor
- Vibrant red presentation
- Chilled set makes clean slices
- Perfect for peak-season berries
Save This Pin for Later to Your Pinterest Board
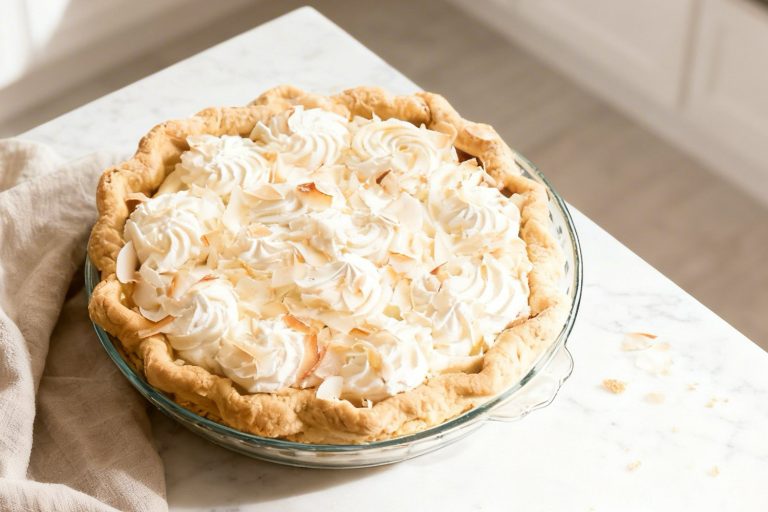
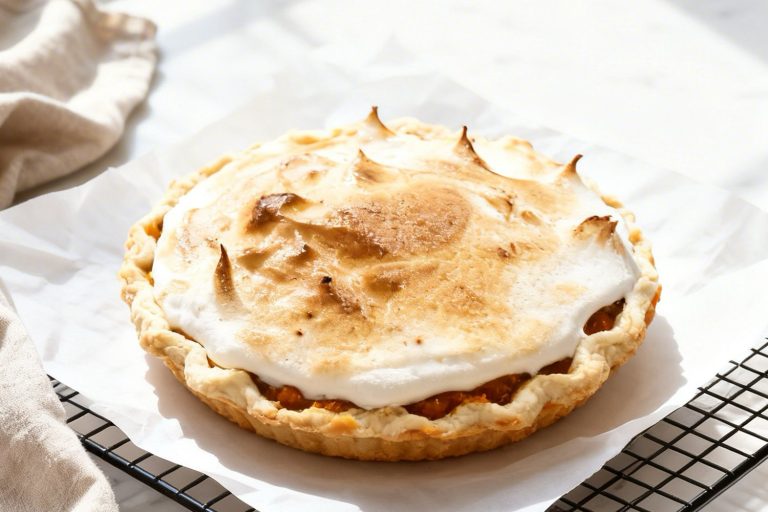
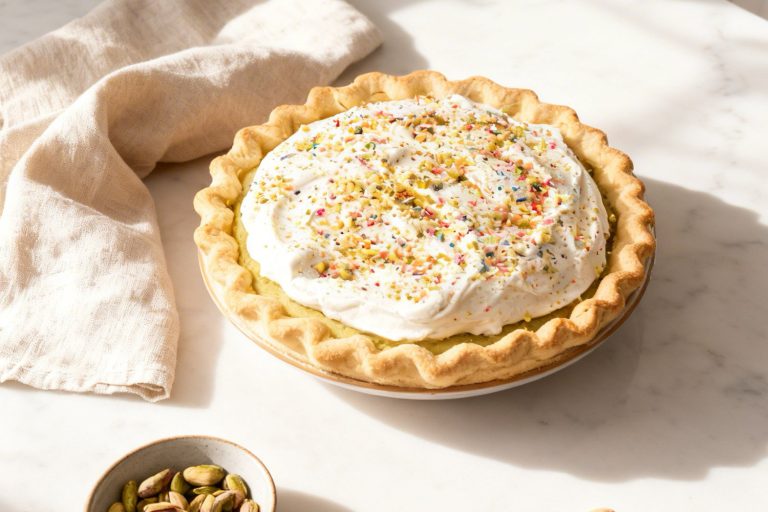
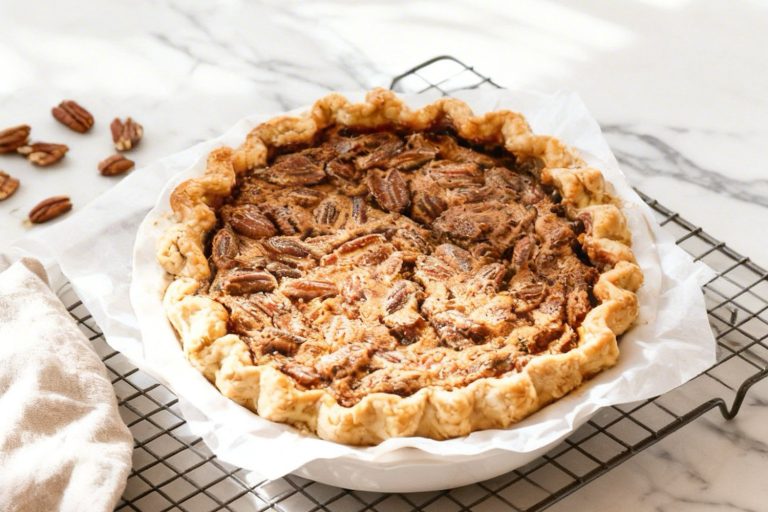
🔥 If fresh, vibrant fruit pies are your favorite, don’t miss:
How to Get Your Strawberry Pie Just Right
Because this is a “resh-glaze pie rather than a baked one, success depends on the quality of your fruit and the clarity of your glaze.
It’s a delicate balance of keeping the berries crisp while ensuring the sauce is thick enough to hold a slice.
1. Master the Glaze
When cooking the glaze, watch the color carefully. It will start out cloudy and opaque.
You must cook it until it becomes clear and jewel-toned.
If it’s still cloudy, the cornstarch hasn’t fully cooked, and the pie will have a floury taste and won’t set properly.
The 10-Minute Window: Don’t pour the glaze over the fresh berries the second it comes off the stove.
If the glaze is boiling hot, it will cook the fresh berries, turning them mushy.
Waiting 10 minutes allows the glaze to cool just enough to coat the fruit without damaging its texture.
The Mash Consistency: When mashing the saucepan berries, aim for chunky, not a smooth purée.
Those small bits of fruit in the glaze add a rustic, artisanal look to the finished pie.
2. Perfecting the Fruit & Texture
Dry Your Berries: After washing and hulling your strawberries, make sure they are bone dry before mixing them with the glaze.
Any extra water clinging to the fruit will thin out your glaze, leading to a runny pie that collapses when sliced.
Size Matters: Try to choose strawberries that are relatively uniform in size. If you have massive berries mixed with tiny ones, the pie will have large air gaps.
Slicing the larger ones into quarters and the medium ones into halves helps the filling pack together tightly.
The Jiggle Technique: Once you pour the filling into the crust, don’t just smooth the top.
Give the pie a few gentle taps on the counter.
This encourages the glaze to settle into the nooks and crannies at the bottom, acting as the glue that prevents the crust from separating from the fruit.
3. Common Mistakes to Avoid
Using Overripe Fruit: While soft, overripe berries are great for the saucepan glaze, the fresh half of your berries must be firm and bright.
Overripe berries in the fresh mix will release too much juice and lose their shape within hours.
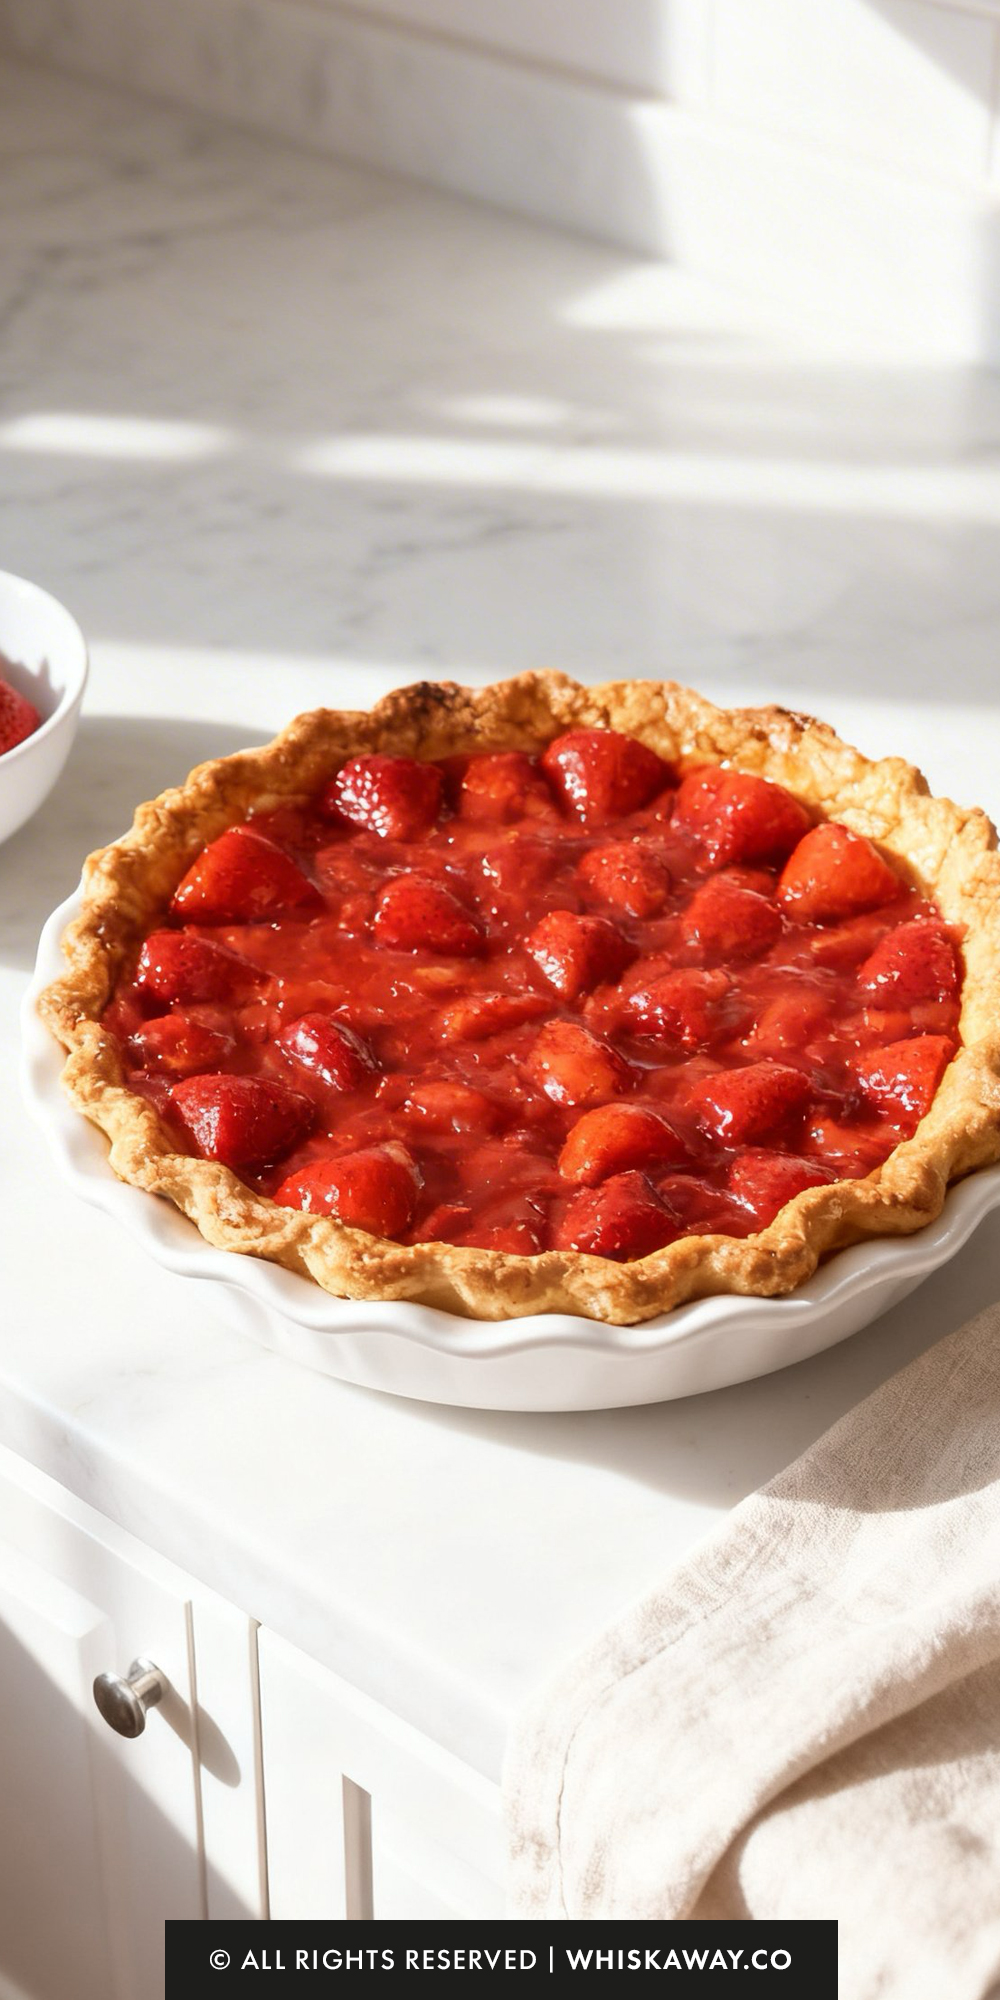
Covering While Chilling: Never cover the pie with plastic wrap while it’s setting in the fridge.
The trapped heat will create condensation, which drips onto the glaze and ruins that beautiful, glossy shine.
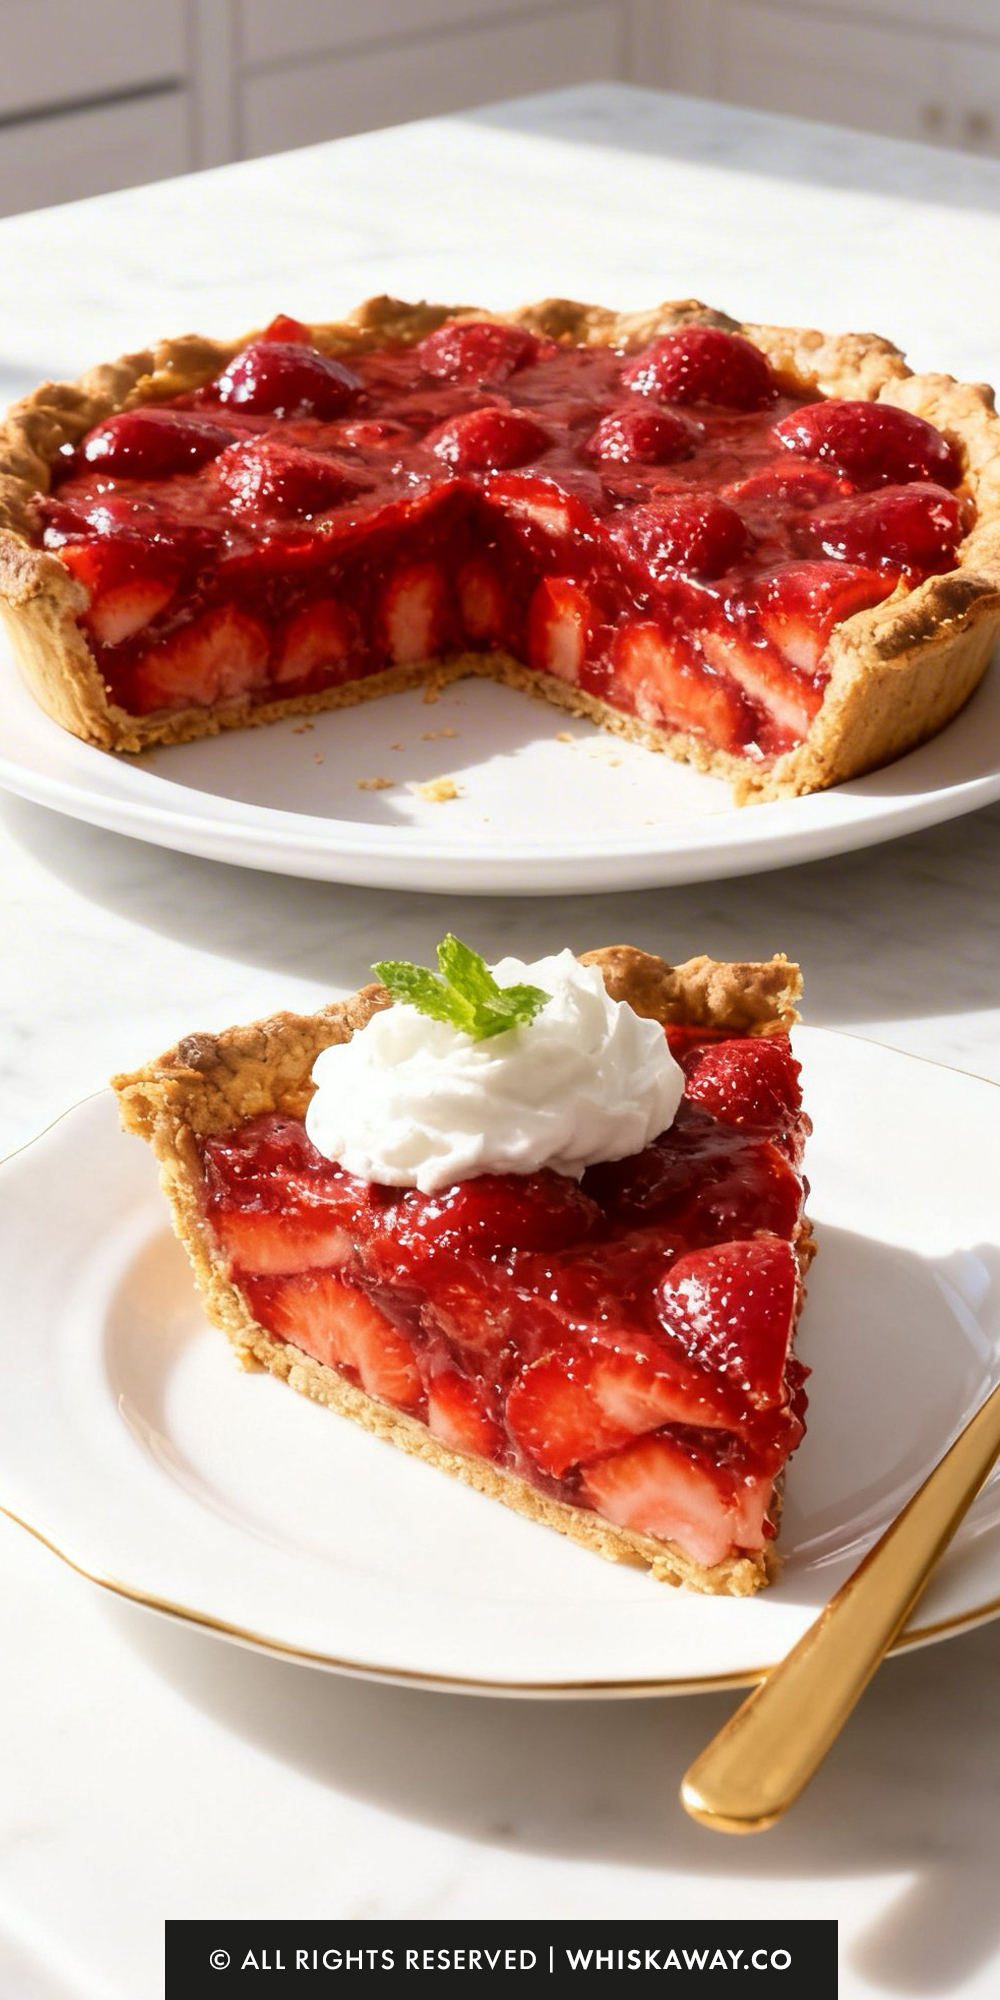
Slicing Too Early: Resist the urge! This pie needs a full 3 hours to set.
If you cut it early, the glaze won’t have reached its maximum holding strength, and the berries will tumble out.
4. Timing & Flavor Tips
The Lemon Brightness: Don’t skip the lemon juice. It doesn’t just add flavor; the acidity helps the cornstarch set and keeps the red color of the strawberries from turning a dull brick-brown.
The Bottom Seal: To prevent a soggy bottom, you can brush the inside of your cooled, baked crust with a thin layer of melted white chocolate or a beaten egg white (and bake for 2 more minutes) before adding the fruit.
This creates a waterproof barrier.
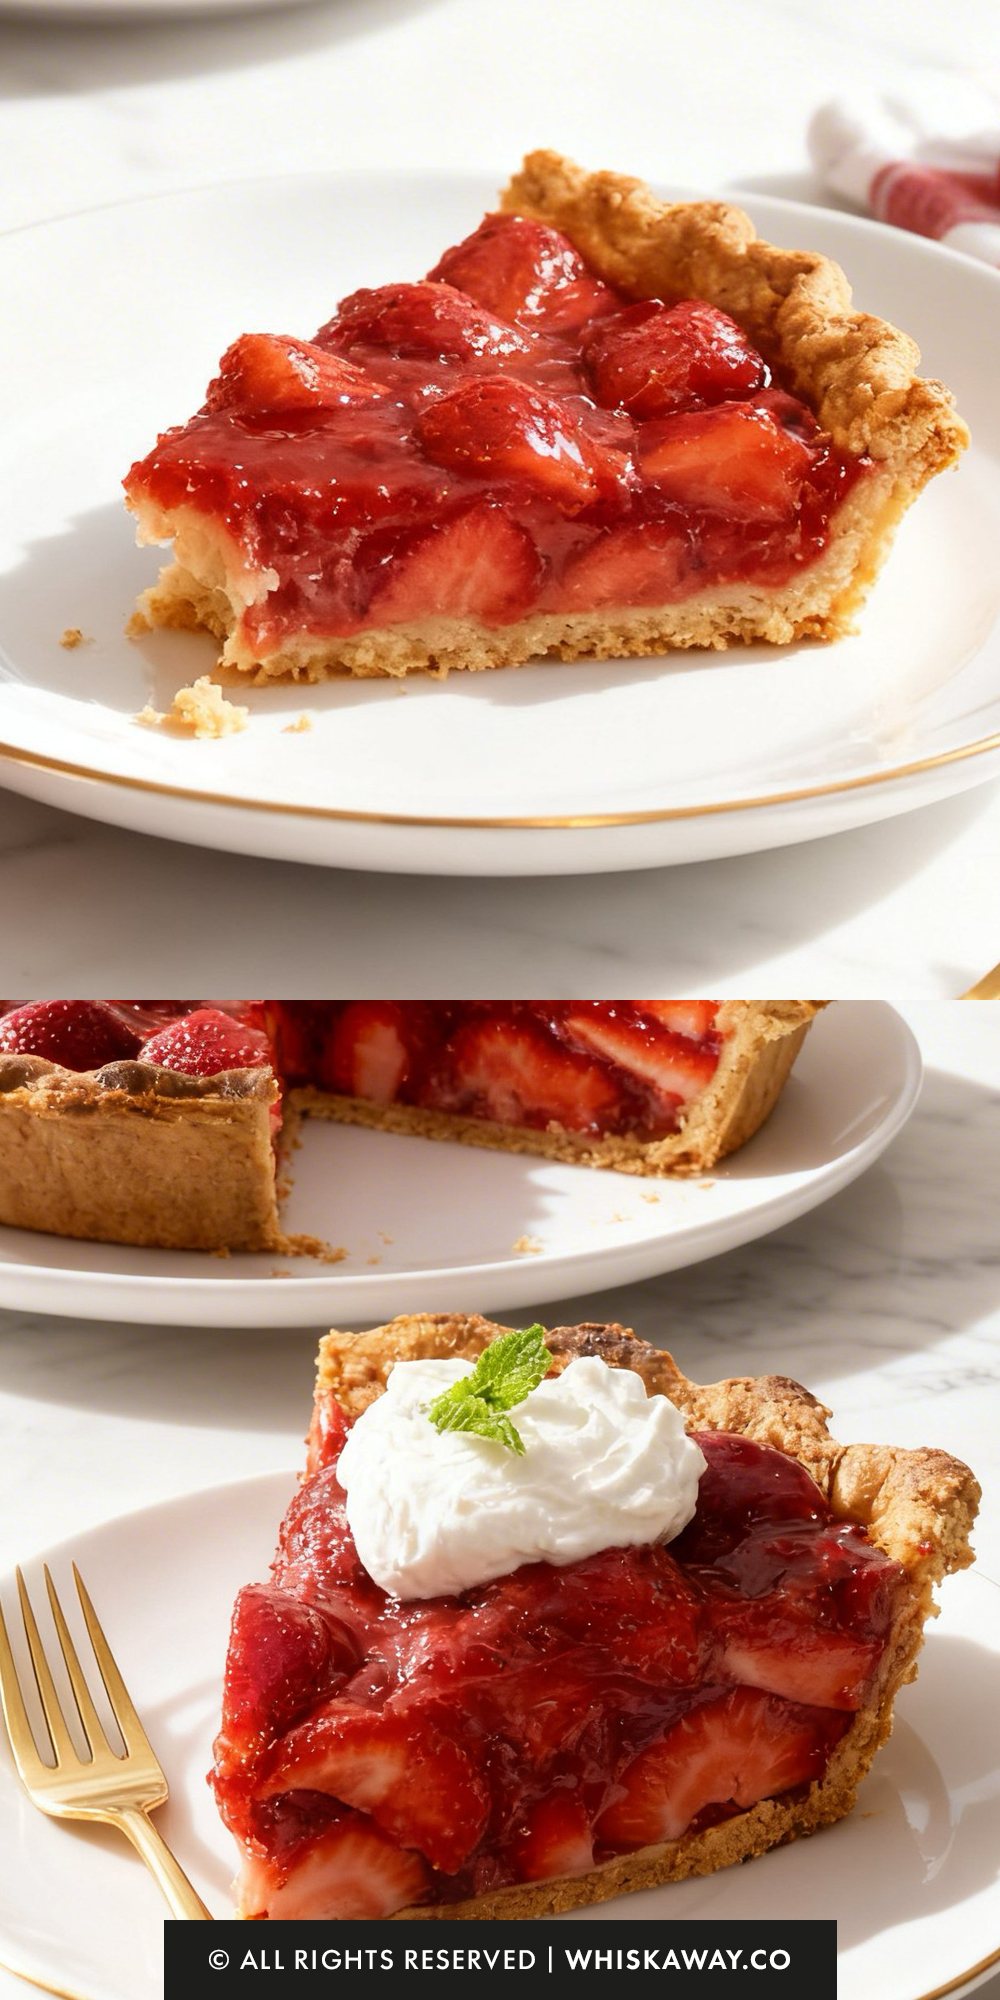
Serving Strategy: Add the whipped cream only when ready to eat.
If you top the pie with cream and put it back in the fridge, the moisture from the cream can start to break down the glaze.
Baking Tips for This Recipe
- Dry strawberries completely before glazing.
- Let glaze cool slightly before pouring to prevent cooking berries.
- Chill until fully set before slicing.
Variation Tips
The beauty of a fresh Strawberry Pie lies in its vibrant, sun-ripened flavor, but that doesn’t mean you can’t experiment.
Because this recipe uses a cooked glaze rather than a baked filling, you have a lot of room to play with aromatics and textures without risking a soupy disaster.
1. Balsamic & Black Pepper
It sounds unconventional, but balsamic vinegar is a strawberry’s best friend—it deepens the red color and intensifies the fruitiness.
Stir 1 tablespoon of high-quality balsamic glaze into the saucepan while the strawberries are simmering.
Add a tiny, almost imperceptible pinch of freshly cracked black pepper to the glaze. It adds a sophisticated warmth that cuts through the sweetness.
2. The Strawberry-Basil Refresh
For a bright, herbaceous twist that smells like a summer garden:
Steep 3 or 4 large, bruised basil leaves in the glaze while it cools for 10 minutes, then remove them before mixing with the fresh berries.
Use very thin ribbons (chiffonade) of fresh basil on top of the whipped cream just before serving.
3. The Creamy Foundation (Strawberry Cream Pie)
If you find a pure fruit pie a bit too light, add a rich barrier between the crust and the berries.
Whip 4 ounces of softened cream cheese with 1/4 cup of powdered sugar and a splash of vanilla.
Spread this thinly over the bottom of the cooled crust before adding the glazed berries.
This creates a cheesecake vibe and acts as a waterproof seal to keep your crust extra crispy.
4. Crust & Texture Alternatives
The Chocolate Cookie Crust: Strawberries and chocolate are a legendary pairing.
Swap the standard pastry for a crushed Oreo or chocolate wafer crust.
The dark cocoa provides a stunning visual contrast to the bright red glaze.
The Shortbread Base: Use a shortbread crust for a more tart-like”experience. The buttery, crumbly texture mimics a strawberry shortcake in pie form.
5. Dietary Adaptations
Gluten-Free:
The filling is naturally gluten-free (cornstarch is your hero here!). Simply use a gluten-free pastry crust or a crust made from GF graham crackers.
Vegan / Dairy-Free:
This filling is already vegan! To complete the pie, use a vegan butter-based crust or a coconut oil pastry.
Serve with whipped coconut cream or a dairy-free almond-based whip.
Lower Sugar:
If your berries are exceptionally sweet, you can reduce the sugar to 1/2 cup. To maintain the shine of the glaze, don’t go much lower than that, as the sugar helps create that glossy, translucent look.
Pro Tip: If you want a “Mixed Berry” version, replace 1 cup of the fresh strawberries with whole raspberries or blueberries. They don’t need to be sliced and will hold their shape perfectly in the strawberry glaze.
How to Properly Store Your Strawberry Pie
Storing a fresh Strawberry Pie is a race against time and humidity.
Because the berries are fresh and the glaze is moisture-heavy, the goal is to prevent the crust from absorbing that liquid and becoming soggy.
1. Refrigeration (The Primary Method)
Duration: 2 to 3 days.
This pie must be stored in the refrigerator to keep the fresh berries from fermenting and the glaze from breaking down.
Once the pie has fully set (after the initial 3-hour chill), you can cover it. However, avoid tight plastic wrap, which can smash the berries and trap moisture.
A pie dome or a large inverted bowl is best. If you use foil, tent it loosely so it doesn’t touch the glossy surface.
2. Room Temperature (Service Only)
The Limit: 2 hours.
Beyond two hours, the glaze may begin to soften and the fresh berries will start to “weep” juice. In warmer climates, this window is even shorter.
Always return the pie to the fridge immediately after serving.
3. Freezing (Not Recommended)
Do not freeze a completed fresh Strawberry Pie. While the crust handles the freezer well, the fresh strawberries will lose their cellular structure when frozen.
Upon thawing, the berries will turn to mush and the glaze will become a watery, unappealing liquid. If you must prep ahead, freeze the baked pie crust only, and make the filling fresh.
4. The “No Reheat” Rule
Unlike apple or marionberry pies, this is a cold-service dessert. Never attempt to reheat this pie in the oven or microwave.
The heat will melt the cornstarch glaze and cook the fresh strawberries, destroying the “snap” and vibrant color that makes this recipe special.
If you find the crust has softened, it is best to enjoy it as is rather than attempting to recrisp it.
5. Storage Mistakes to Avoid
The Condensation Trap: The most common mistake is covering the pie while the glaze is still even slightly warm.
This creates steam that turns into water droplets on the inside of your cover, which then drip back onto the pie, ruining the shine and making the crust soggy.
Premature Whipped Cream: Never store the pie with the whipped cream already applied for more than an hour or two.
Whipped cream “weeps” moisture as it sits, which will dissolve the glaze and turn the top of your pie into a pink, watery mess.
The Fruit Leak: If you notice a small pool of red juice at the bottom of the pie plate after a day, don’t panic. This is natural.
However, to minimize this, ensure your strawberries were completely dry before you added the glaze.
FAQs
Can I use frozen strawberries for this recipe?
For the saucepan glaze, frozen strawberries work perfectly well since they are being mashed and cooked down. However, for the fresh half of the berries, frozen fruit is not recommended. Once thawed, frozen berries become soft and release excess water, which will prevent the pie from setting and lead to a mushy texture.
Why is my glaze cloudy and not clear?
Cloudiness is a sign that the cornstarch hasn’t finished cooking. Cornstarch must reach a full simmer to “clear” and activate its thickening power. Continue to cook the glaze over medium-low heat until it shifts from a milky pink to a bright, translucent jewel-red.
My pie is runny and falls apart when I slice it. What happened?
This usually occurs if the berries were still wet when mixed with the glaze or if the pie wasn’t chilled long enough. Any water on the surface of the fruit will thin out the cornstarch bond. Ensure your strawberries are patted dry with paper towels after washing, and give the pie at least 3 full hours in the fridge to firm up.
Can I use a different thickener like flour or gelatin?
While you can use gelatin (which creates a “Jell-O” style pie), cornstarch is the best choice for this specific recipe because it provides a silky, spreadable consistency that doesn’t feel rubbery. Flour is not recommended for a fresh glaze as it will remain opaque and won’t provide the necessary shine.
How do I prevent the crust from getting soggy?
To keep the base crisp, make sure the baked crust and the cooked glaze are both completely cool before assembly. For an extra layer of protection, you can brush a thin layer of melted white chocolate or apricot preserves over the bottom of the crust before adding the berries; this creates a moisture barrier that keeps the pastry flaky for longer.
Strawberry Pie
8
Slices20
minutes20
minutes3
hoursThis strawberry pie is bright, juicy, and ideal for summer gatherings.
Ingredients
2½ pounds (1125g) fresh strawberries, hulled
¾ cup (150g) granulated sugar
½ cup (120mL) water
5 tablespoons cornstarch
1 tablespoon (15mL) fresh lemon juice
1 pie crust
Sweetened whipped cream (for serving)
Directions
- Bake your pie shell following your preferred recipe or the package directions.
- It is essential to let the crust reach room temperature before you begin the filling. Adding a fruit glaze to a warm crust will result in a soggy bottom.
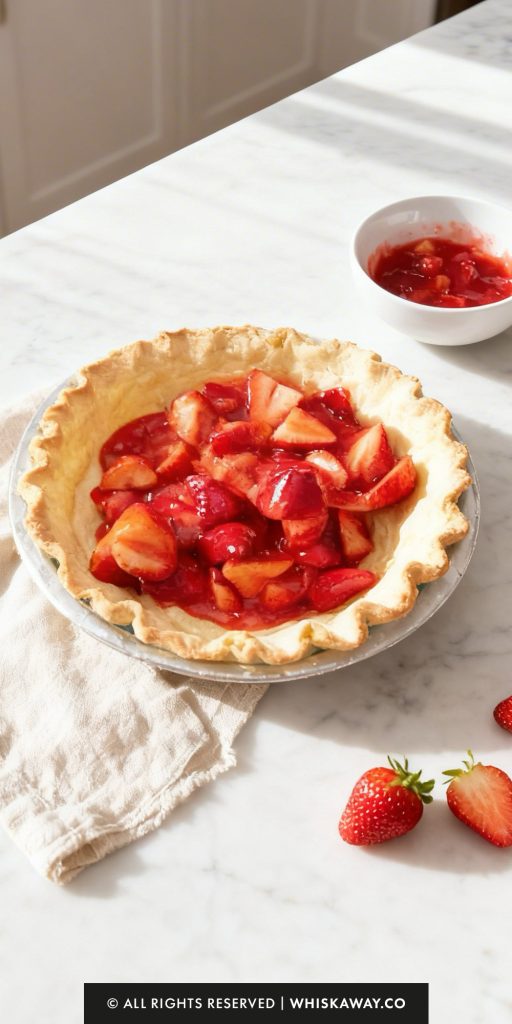
- After hulling your strawberries, slice them in half. Place half of the berries into a large mixing bowl and keep them to the side—these will remain fresh to provide texture.
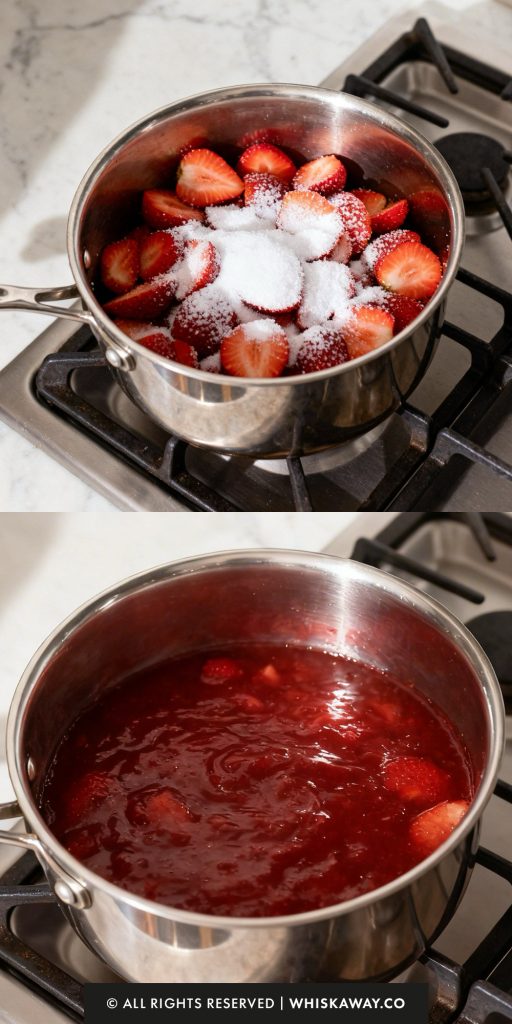
- Transfer the other half of the berries into a medium saucepan. Add the granulated sugar, the first 1/4 cup of water, and the lemon juice.
- Use a potato masher or a sturdy fork to crush the berries into a chunky pulp. Place the pan over medium heat and bring the liquid to a steady boil, stirring every so often.
- While the berries simmer, mix the cornstarch with the remaining 1/4 cup of water in a small bowl until smooth.
- Lower the heat to medium-low and stir the cornstarch mixture into the bubbling fruit. Continue to simmer for about 5 minutes, stirring often. The glaze is ready when it transitions from cloudy to translucent and thick.
- Pull the pot off the heat and let the glaze sit for 10 minutes to lose its initial intensity.
- Pour the warm glaze over the fresh halved strawberries in your large bowl. Fold them gently until every berry is glistening and well-coated.
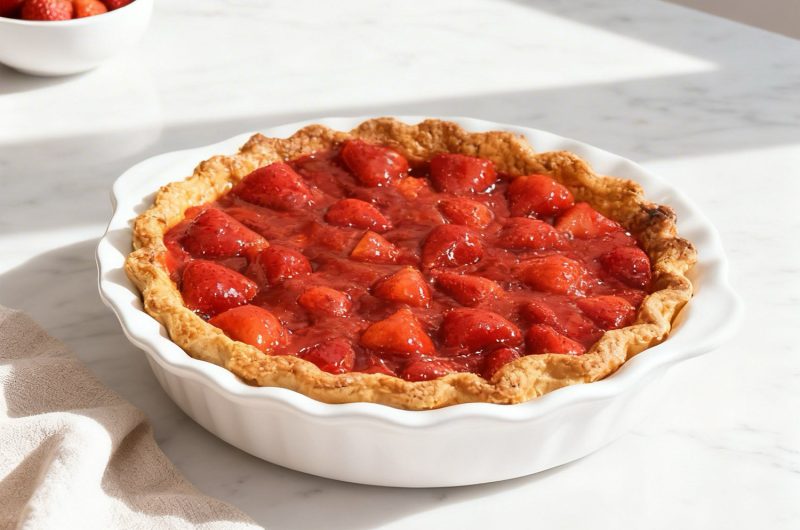
- Transfer the mixture into your cooled pie shell. Give the pan a light jiggle or use a spatula to nudge the berries into place, ensuring the glaze fills every gap and reaches the bottom of the crust. Smooth over the top for a polished look.
- Refrigerate the pie uncovered for at least 3 hours. This allows the cornstarch to fully bond the berries together so the slices hold their shape.
- Top with generous clouds of sweetened whipped cream just before serving.
There are no reviews yet. Share your thoughts above!