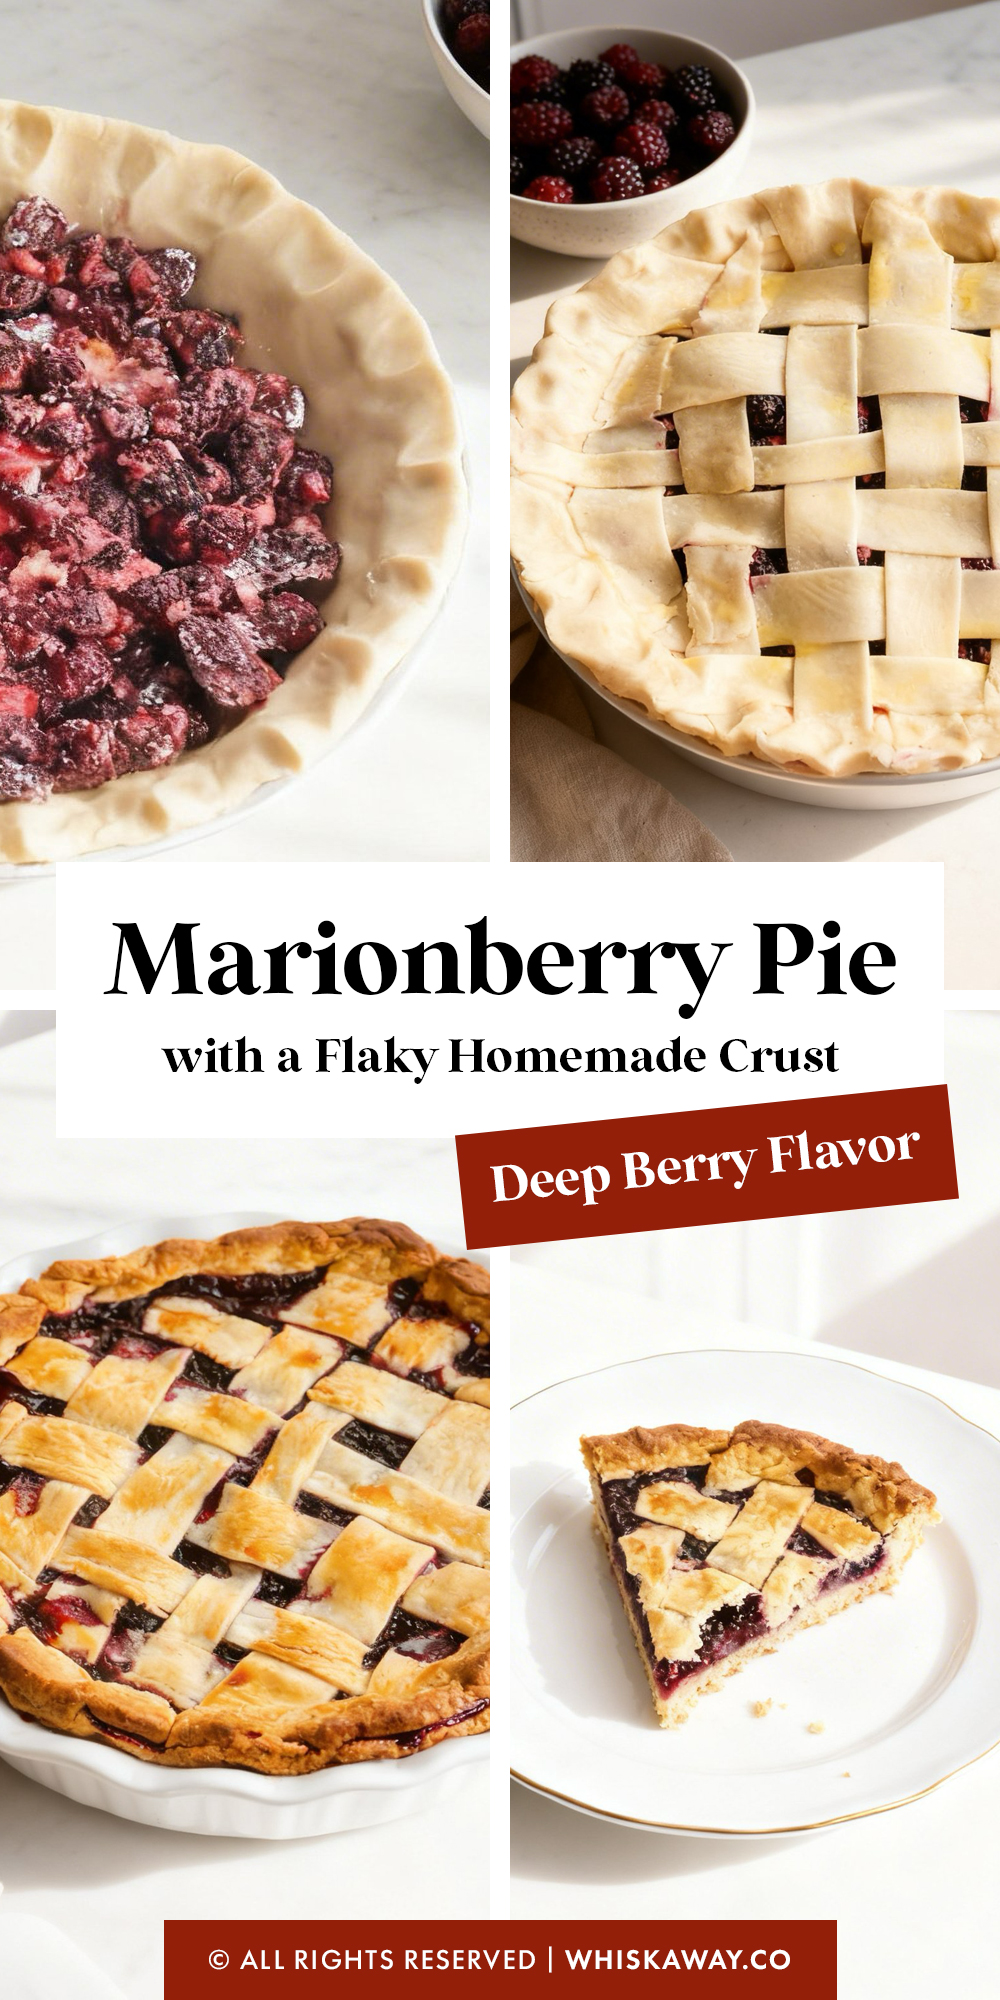
Looking for a fruit pie that’s sweet, slightly tart, and bursting with flavor? You’ve gotta try this marionberry pie then!
It features juicy, hand-picked marionberries baked in a tender, flaky crust. Every bite offers a rich, fruity taste that’s sweet, tangy, and satisfyingly complex.
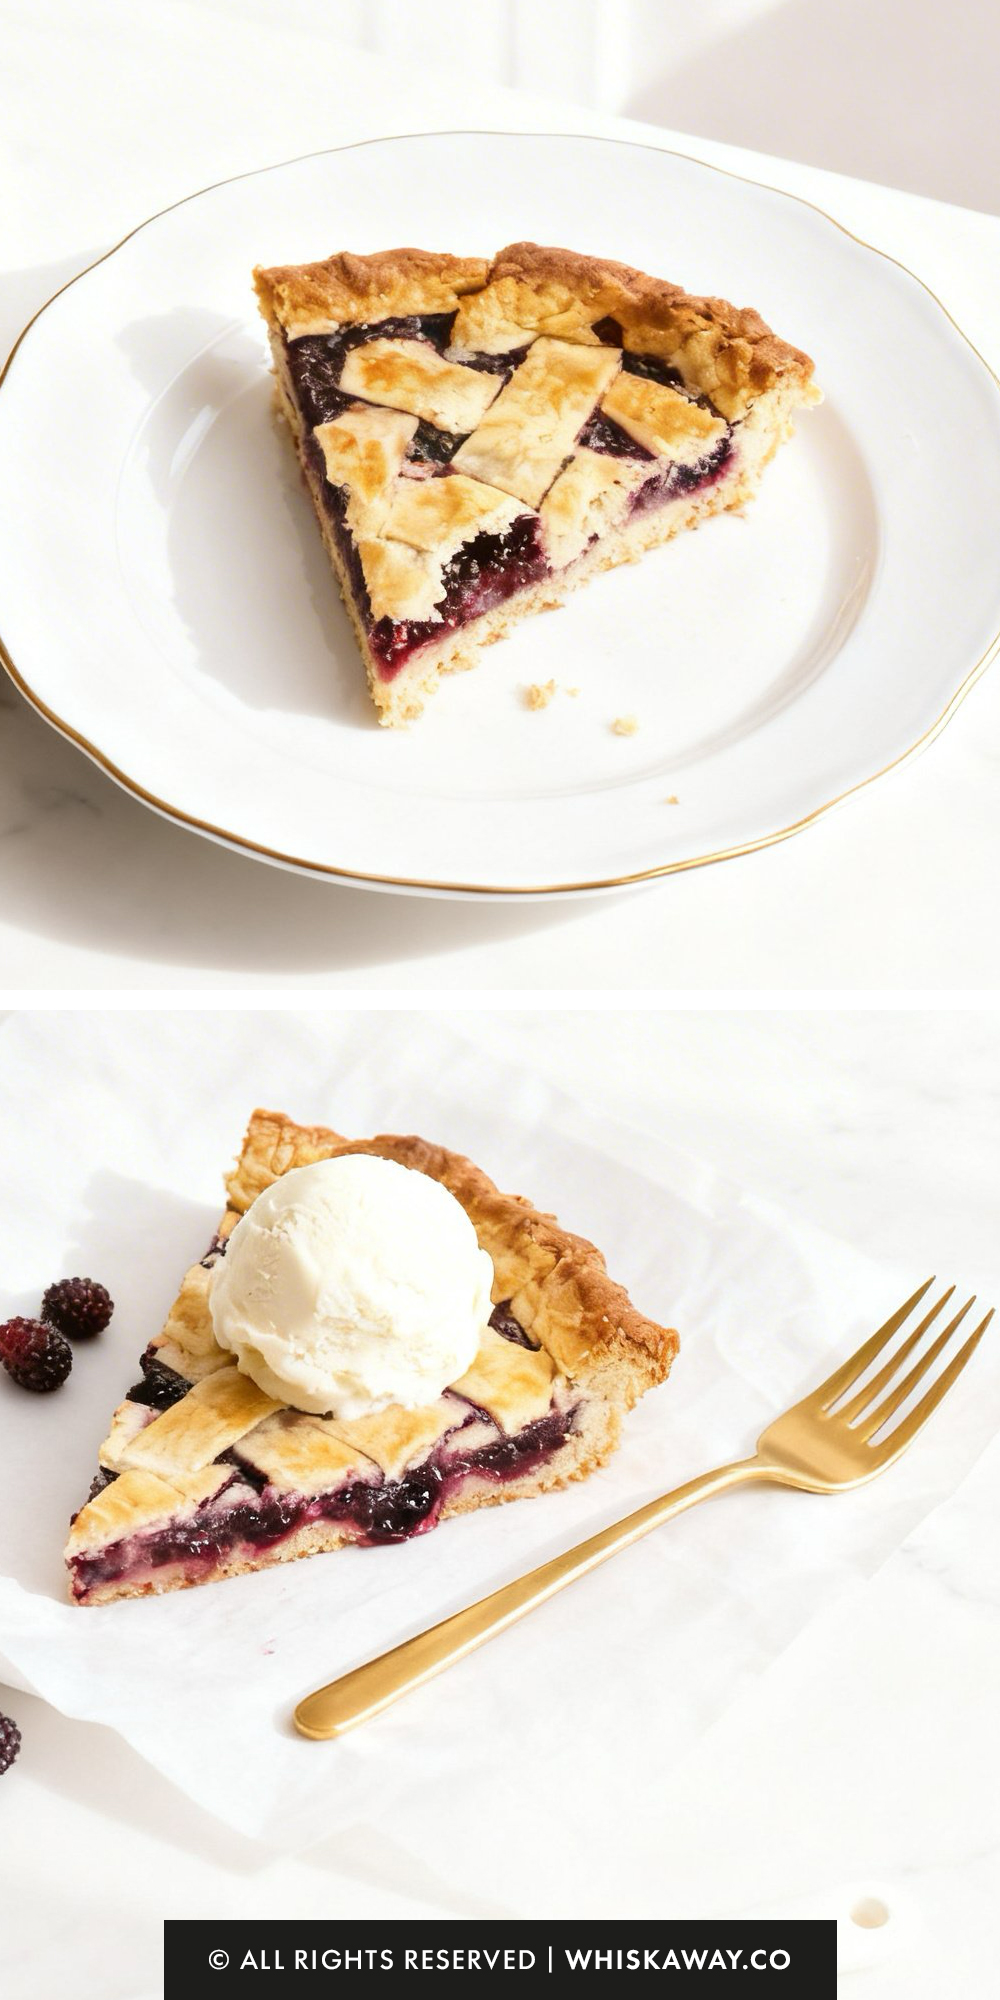
Serve warm or at room temperature, perhaps with a scoop of ice cream, and enjoy a dessert that feels both indulgent and homemade.
Why You’ll Love This Recipe
Marionberries deliver a deeper, more complex berry flavor than standard blackberries.
What Makes Them Special
- Intense, slightly wine-like berry depth
- Naturally balanced sweetness and acidity
- Thickened filling that stays cohesive
- Rich purple color
- Pairs beautifully with buttery crust
Save This Pin for Later to Your Pinterest Board
🔥 If you love deep berry flavor and juicy fillings, these are great next picks:
How to Get Your Marionberry Pie Just Right
The Marionberry is the cabernet of blackberries, known for its complex, earthy sweetness and high juice content.
Because these berries are so juicy, the challenge is achieving a jammy, thickened filling without losing the integrity of the fruit.
1. Master the Filling Texture
The “Clear Jel” Secret: While the recipe calls for cornstarch, marionberries are quite acidic.
If you find your pies are often too runny, you can swap the cornstarch for tapioca starch or Clear Jel.
These thickeners hold up better against high acidity and result in a glossy, clear filling rather than a cloudy one.
Frozen vs. Fresh: If you are using frozen marionberries, do not thaw them before mixing!
Toss them with the sugar and starch while frozen and put them straight into the oven.
This prevents the berries from collapsing prematurely and bleeding too much juice before the starch has a chance to thicken.
The Bubble Test: Fruit pies are only “done” when the filling is visibly bubbling in the center, not just around the edges.
If the juices aren’t bubbling, the cornstarch hasn’t reached its thickening temperature, and the pie will be soupy when cut.
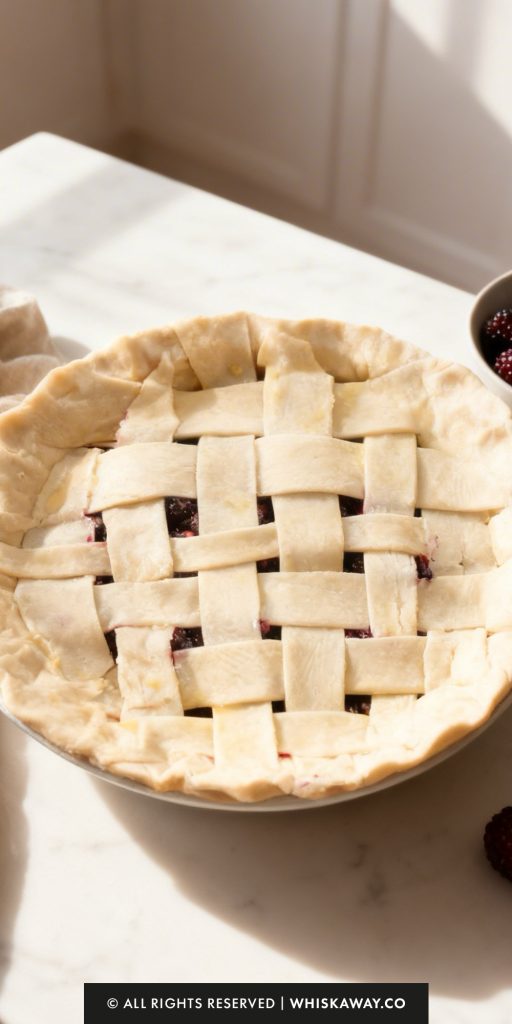
2. Perfecting the Lattice & Crust
If your dough starts to feel soft or sticky while you are weaving the lattice, stop and put the whole pie in the fridge for 10 minutes.
Cold dough is easier to handle and ensures a flakier crust.
Also, because this pie has a long bake time (up to 80 minutes), the edges of the crust often brown much faster than the center.
Check the pie at the 40-minute mark; if the edges are already golden, wrap them loosely with aluminum foil or a pie shield to prevent burning while the fruit finishes cooking.
3. Common Mistakes to Avoid
Slicing Too Soon: This is the most common error. A marionberry pie needs time to “gel.” If you cut it while it’s hot, the filling will run everywhere.
For a perfect, stackable slice, let the pie cool for at least 3 to 4 hours (or even overnight).
Over-mixing the Berries: Marionberries have relatively thin skins. Toss them gently with the sugar and starch using a rubber spatula.
If you are too aggressive, you’ll break the berries down into a mash before they even hit the oven.
Skipping the Egg Wash: The egg wash isn’t just for color; it acts as a sealant for the lattice strips and provides that classic bakery-style shine. Don’t skip it!
4. Timing & Flavor Tips
The Acid Balance: Marionberries vary in sweetness. Taste a berry before you start; if they are particularly tart, add an extra tablespoon of sugar.
If they are very sweet, a small squeeze of extra lemon juice will help brighten the flavor.
Add a Spice Note: A tiny pinch of cinnamon or ground cloves can enhance the deep, wine-like notes of the marionberry without making it taste like a “spiced” pie.
The Baking Sheet: Always place your pie dish on a rimmed baking sheet lined with parchment paper.
Marionberry juice is notoriously difficult to clean off the bottom of an oven if it bubbles over!
Baking Tips for This Recipe
- Combine berries with sugar and let them release juices before baking.
- Use cornstarch for a glossy, cohesive set.
- Bake until filling bubbles thickly in the center.
Variation Tips
The Marionberry is naturally bold and earthy, making it a fantastic foundation for experimentation.
Whether you want to heighten its wine-like depth or adapt the crust for a different texture, these ideas will help you make the recipe your own.
1. The “Forest Berry” Blend
If you don’t have enough marionberries or want a more complex flavor:
Replace 2 cups of marionberries with wild blueberries or raspberries.
The blueberries add a nice structural pop, while the raspberries provide a bright, tart contrast to the deep marionberry sweetness.
2. The “Hazelnut Hill” Twist
Oregon marionberries are often grown near hazelnut orchards, and the flavors are a regional classic.
Finely grind ¼ cup of toasted hazelnuts and incorporate them into your dry flour mixture when making the pie dough.
Sprinkle some chopped hazelnuts over the egg-washed lattice before baking for a crunchy, nutty finish.
3. The Bourbon & Spice Upgrade
To lean into the sophisticated, “Cabernet” notes of the berry:
Add 1 tablespoon of bourbon and ½ teaspoon of ground cinnamon to the filling mixture.
This adds a warm, smoky undertone that is incredible when served with slightly melted vanilla ice cream.
4. Crust & Texture Alternatives
The Almond Streusel Top: Instead of a lattice crust, use a crumble topping made of flour, brown sugar, butter, and sliced almonds.
This creates a “Marionberry Crisp” style pie that is much faster to assemble.
The Sugar Sparkle Finish: Use Demerara or turbinado sugar (coarse sugar) on top of the egg wash. This provides a satisfying crunch and a professional, sparkly look once baked.
5. Dietary Adaptations
Gluten-Free:
Marionberries are naturally gluten-free. Use your favorite GF pie crust recipe (ensure it has xanthan gum for elasticity if you plan to do a lattice).
Because the filling is thickened with cornstarch, no changes are needed there!
Vegan-Friendly:
Use a vegan butter substitute or chilled coconut oil for the pastry.
Instead of an egg/milk wash, brush the top with maple syrup thinned with a little water or plain almond milk to achieve a golden brown color.
Reduced Sugar:
Marionberries are quite sweet on their own.
You can reduce the granulated sugar to ½ cup without affecting the set of the pie, provided you keep the cornstarch amount the same.
6. Creative Filling Add-ins
Vanilla Bean Paste: Stir 1 teaspoon of vanilla bean paste into the berry mixture.
The tiny black specks and floral aroma elevate the pie from “home-style” to “gourmet.”
Black Pepper Hint: It sounds strange, but a tiny pinch of freshly cracked black pepper enhances the dark fruit flavors without making the pie spicy.
How to Properly Store Your Marionberry Pie
A Marionberry Pie is relatively sturdy thanks to the high acidity of the berries and the baked pastry, but the crust’s texture is its most vulnerable feature.
To keep that lattice crisp and the filling jammy, follow these guidelines.
1. Room Temperature (Best for the First 24 Hours)
Duration: Up to 2 days.
Fruit pies with high sugar and acid content (like marionberry) can safely sit on the counter. This keeps the crust the flakiest.
Cover the pie loosely with a clean kitchen towel or a specialized pie cloche. Avoid airtight plastic at this stage, as it can trap residual moisture and make the crust soggy.
2. Refrigeration (Best for Long-Term)
Duration: 4 to 5 days.
If you haven’t finished the pie within two days, move it to the fridge to prevent any fermentation of the fruit.
Wrap the pie dish tightly with plastic wrap or aluminum foil to prevent the crust from absorbing “fridge odors.”
3. Freezing (For Future Cravings)
Duration: Up to 4 months.
You can freeze the pie either unbaked or fully baked.
Unbaked: Wrap the assembled pie in several layers of plastic wrap and foil. Bake directly from frozen (adding 15–20 minutes to the bake time). This results in the freshest tasting pie.
Baked: Let the pie cool completely, then wrap tightly. Thaw in the refrigerator overnight before reheating.
4. How to Reheat for “Just-Baked” Results
Never use a microwave to reheat a fruit pie! It will turn the pastry rubbery and the berries into molten lava.
The Oven Method: Place a slice or the whole pie on a baking sheet. Heat at 350°F (175°C) for 10–15 minutes.
This recrisps the butter in the crust and thins out the jammy filling just enough to make it luscious again.
5. Storage Mistakes to Avoid
Cutting While Hot: As mentioned in the tips, if you store the pie before it has fully cooled and set, the juices will pool at the bottom, ensuring a “soggy bottom” for the rest of the pie’s life.
Trapping Steam: Never wrap a pie while it is even slightly warm.
The steam will condense on the inside of the wrapping and turn your beautiful lattice into a mushy mess.
Ignoring the Baking Sheet: If you are reheating a slice, always put it on a tray.
Fruit pies often leak a little more juice during the second heating, and you don’t want that burning on the floor of your oven.
FAQs
I can’t find Marionberries. What is the best substitute?
Since Marionberries are a specific cultivar of blackberry, the best substitute is standard blackberries. However, because blackberries can be slightly more tart and less juicy, you may want to add an extra tablespoon of sugar and reduce the cornstarch by a teaspoon. Black raspberries or boysenberries also work beautifully as alternatives.
Should I thaw frozen berries before putting them in the pie?
No! In fact, it’s better if you don’t. Using frozen berries prevents them from breaking down too quickly in the oven, helping them keep their shape. Just toss them with the sugar and starch while frozen. Note that you may need to add 10–15 minutes to the total baking time to ensure the center gets hot enough to bubble.
Why is my pie filling still runny after it cooled?
This usually happens if the filling didn’t reach a full boil in the oven. Cornstarch needs to hit about 203°F (95°C) to activate its thickening power. Look for thick, slow-popping bubbles in the center of the lattice; if you only see thin liquid at the edges, the pie needs more time.
How do I prevent the bottom crust from getting soggy?
For a crisp bottom, place your pie dish on a preheated heavy baking sheet or a pizza stone on the lowest rack of the oven. This direct heat hits the bottom of the pan immediately, searing the crust and creating a moisture barrier before the berry juices can soak in.
Can I make this pie without the lattice top?
Yes, you can use a solid top crust. If you do, make sure to cut large vents (at least 4 or 5 slashes) in the center to allow steam to escape. Without vents, the steam from the juicy berries will trapped, which can make the crust soggy or cause the filling to explode out the sides.
Marionberry Pie
8
Slices15
minutes1
hour20
minutesThis marionberry pie recipe combines juicy marionberries with a flaky, buttery crust.
Ingredients
5 cups frozen or fresh marionberries
3/4 cups granulated sugar
1/4 cup cornstarch
2 tablespoons lemon juice
2 9 inch pie crusts
1 teaspoon lemon zest
1/2 teaspoon salt
Directions
- Take your first pie crust and gently fit it into a 9-inch pie dish. If you're feeling decorative, you can flute or crimp the edges now to create a beautiful border.
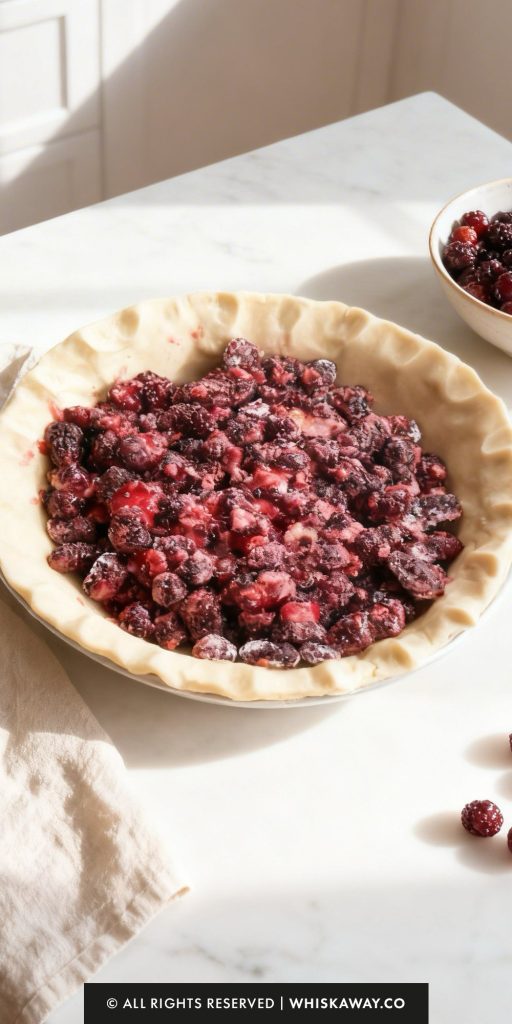
- In a large mixing bowl, toss together the marionberries, cornstarch, granulated sugar, lemon juice, lemon zest, and salt. Stir the mixture thoroughly to ensure every berry is evenly coated in the thickener and aromatics.
- Carefully spoon the fruit mixture into the bottom crust, spreading it out evenly.
- Slice your second pie crust into 12 uniform strips.
- Lay 6 of these strips vertically across the top of the fruit. To create the lattice effect, fold back every other vertical strip halfway. Place one horizontal strip across the center, then unfold the vertical strips back over it.
- Continue this "over-under" process with the remaining 5 horizontal strips until the entire pie is covered in a woven grid. Trim any excess dough and press the ends into the bottom crust to seal.
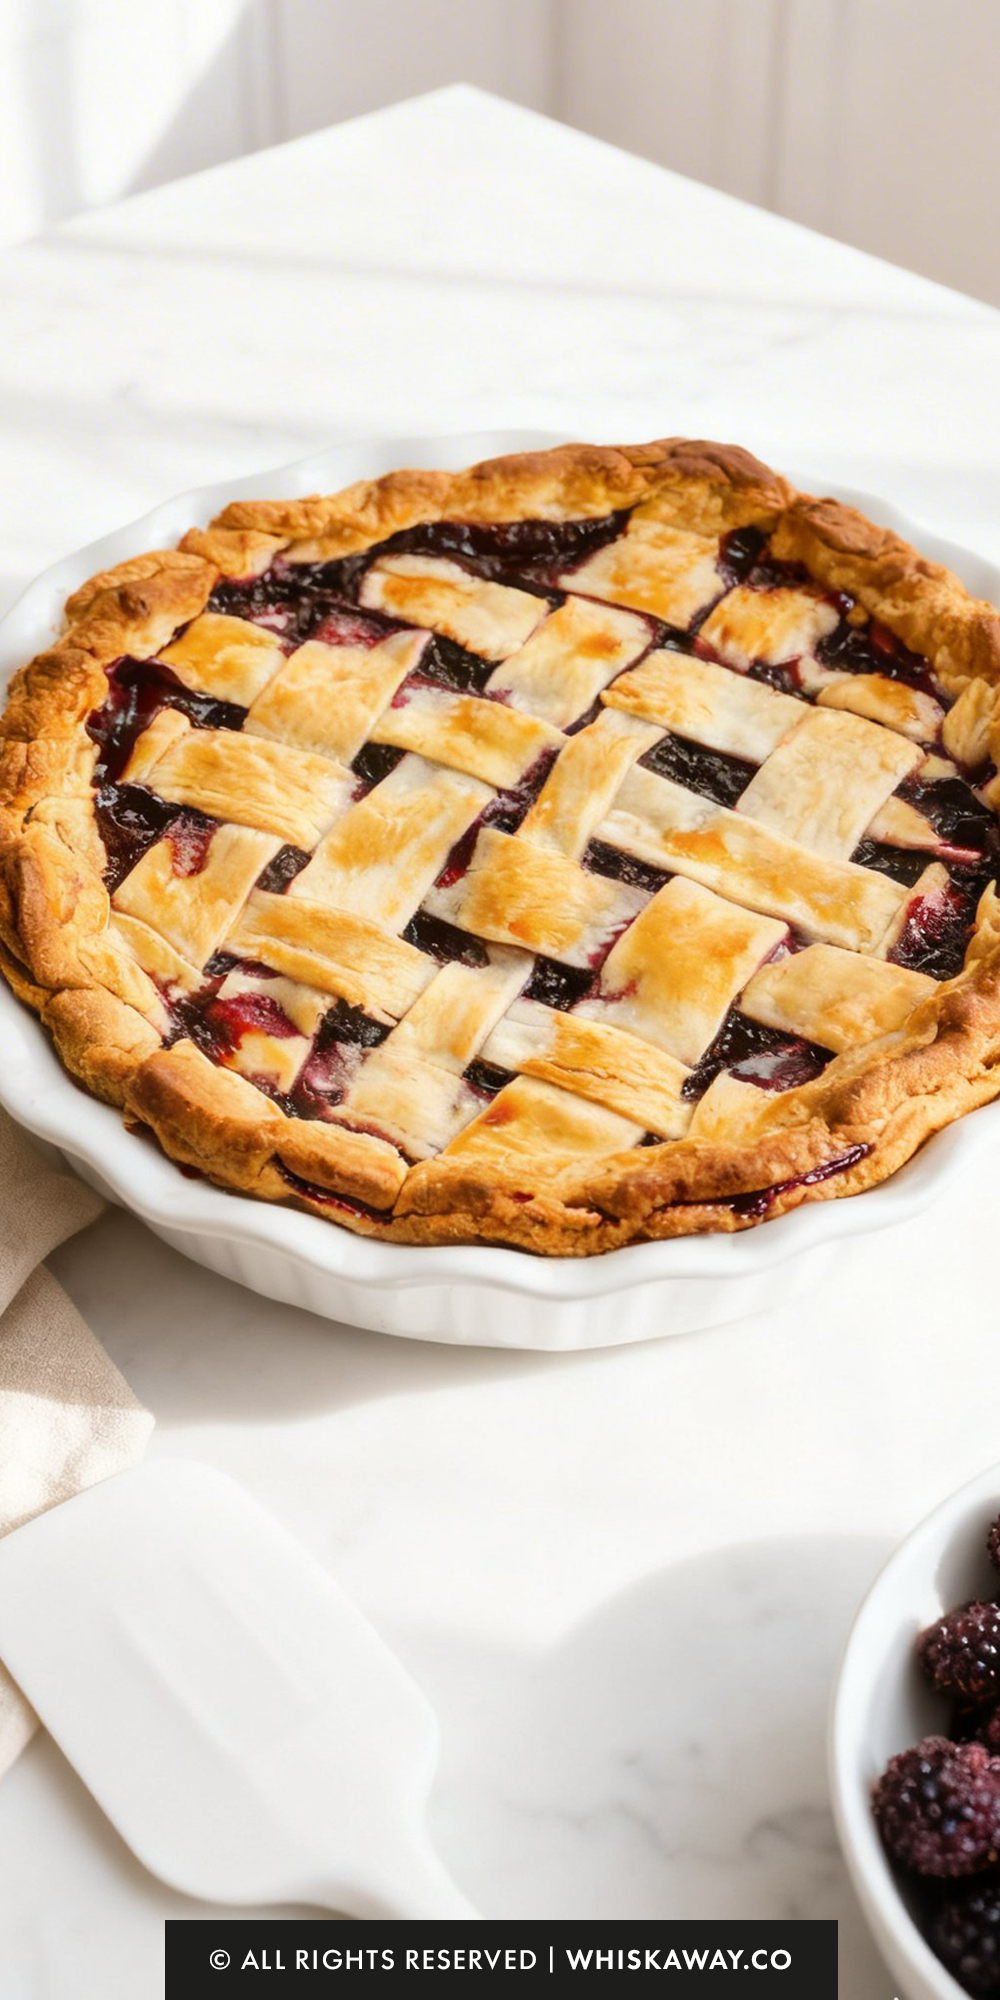
- For a professional, golden-brown finish, lightly brush the lattice and edges with a simple egg and milk wash.
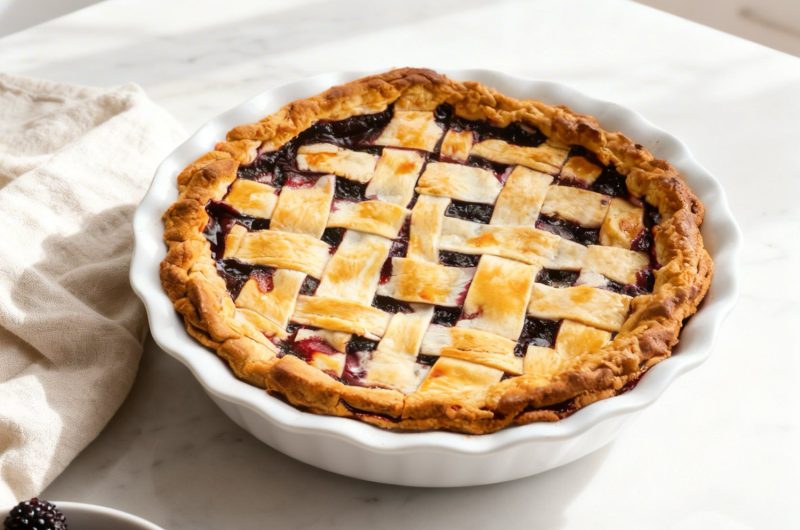
- Place the pie in an oven preheated to 400°F. Bake for 60 to 80 minutes. You’ll know it’s ready when the crust is a rich golden brown and the berry juices are thick and bubbling through the gaps in the lattice.
- Resist the urge to slice it immediately! Let the pie rest on a cooling rack for at least 30 minutes. This allows the cornstarch to fully set the juices so the filling doesn't run out.
- Serve it warm or at room temperature. For the ultimate experience, top each slice with a generous scoop of vanilla bean ice cream.
There are no reviews yet. Share your thoughts above!