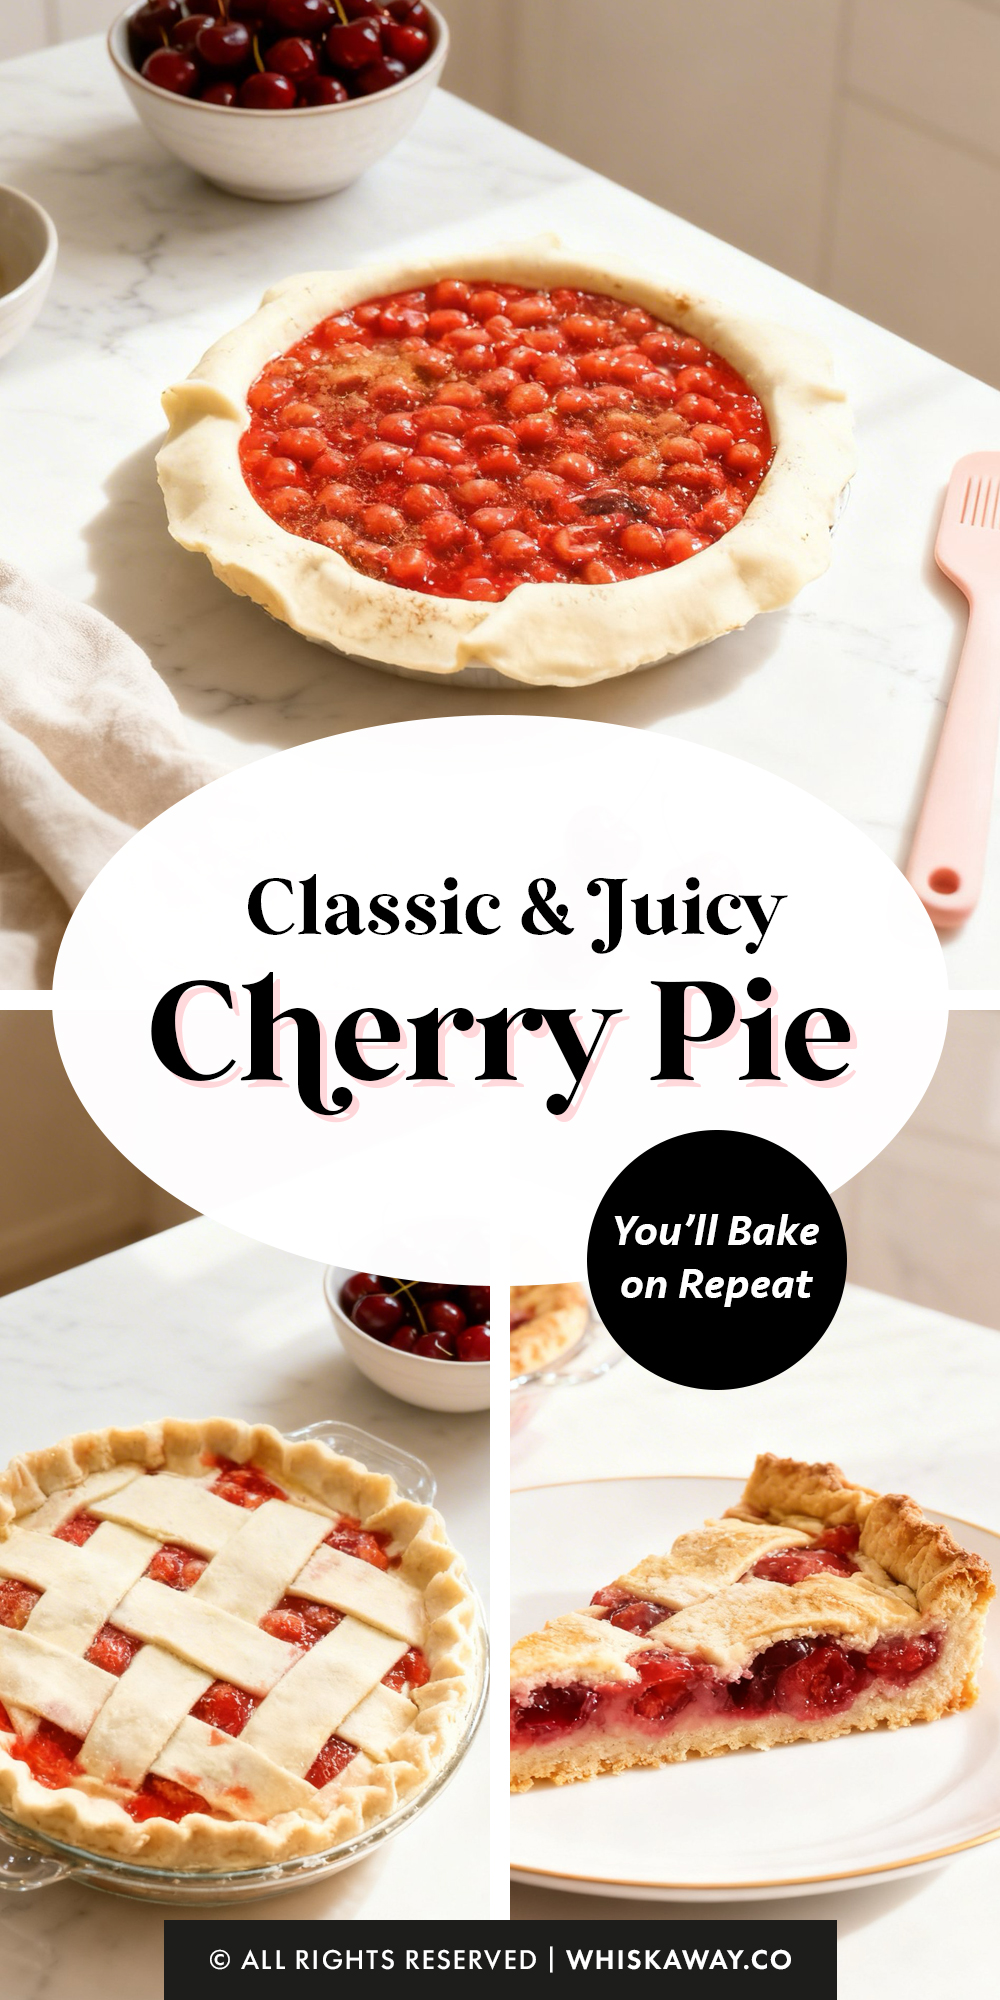
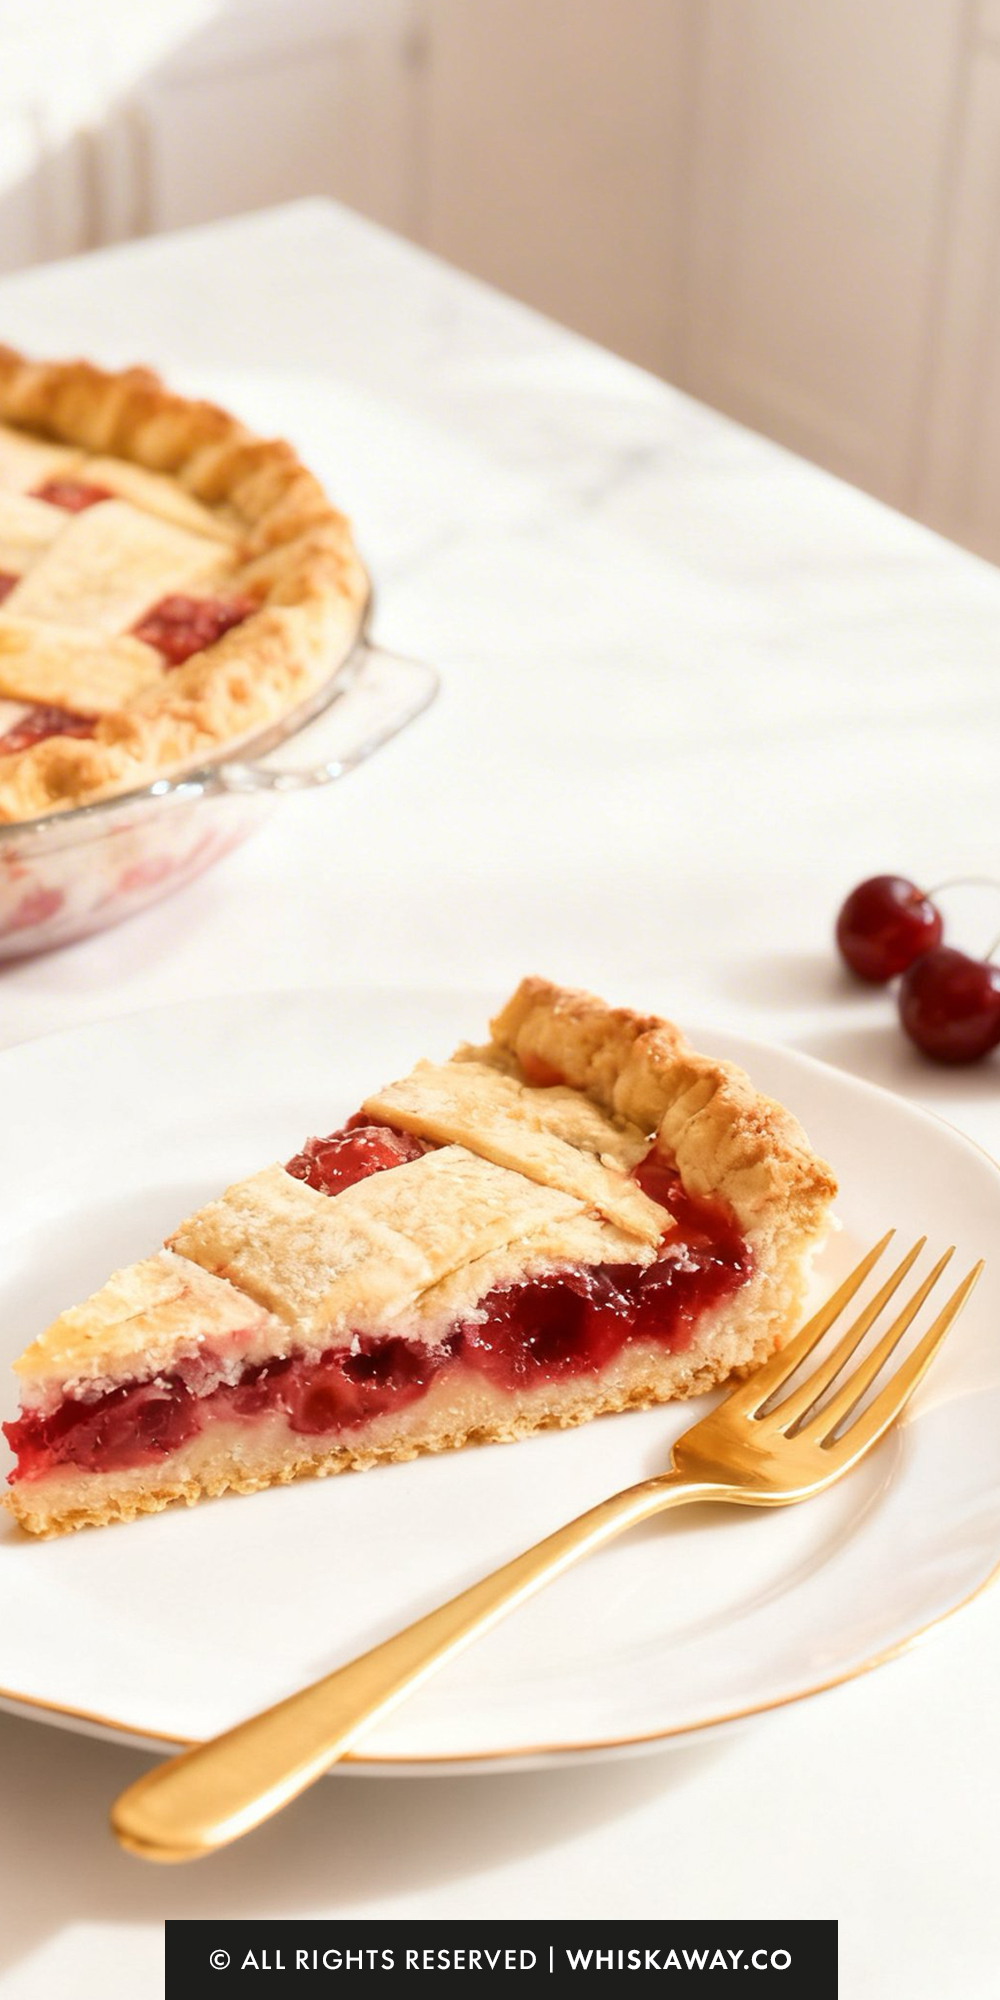
Craving a dessert that bursts with sweet and tart flavors? Cherry pie brings juicy cherries encased in a buttery, flaky crust, creating a perfect balance of sweetness and tang.
Whether served warm with a scoop of vanilla ice cream or enjoyed at room temperature, it’s a dessert that never fails to impress.
This classic treat is perfect for holidays, special occasions, or just a cozy weekend indulgence.
Why You’ll Love This Recipe
This cherry pie wins with its sweet-tart intensity and vibrant filling.
What Makes Them Special
- Natural tartness prevents excess sweetness
- Thickened juices create glossy, cohesive slices
- Deep red color makes it visually striking
- Flavor intensifies after cooling
- Excellent warm or room temperature
Save This Pin for Later to Your Pinterest Board
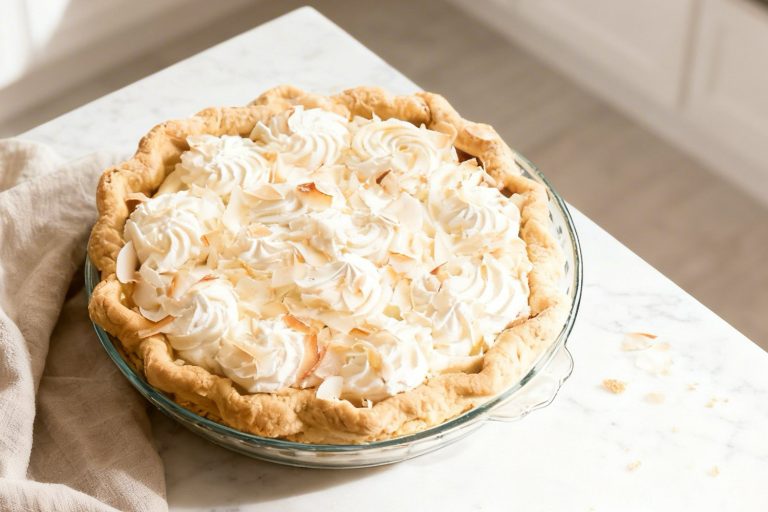
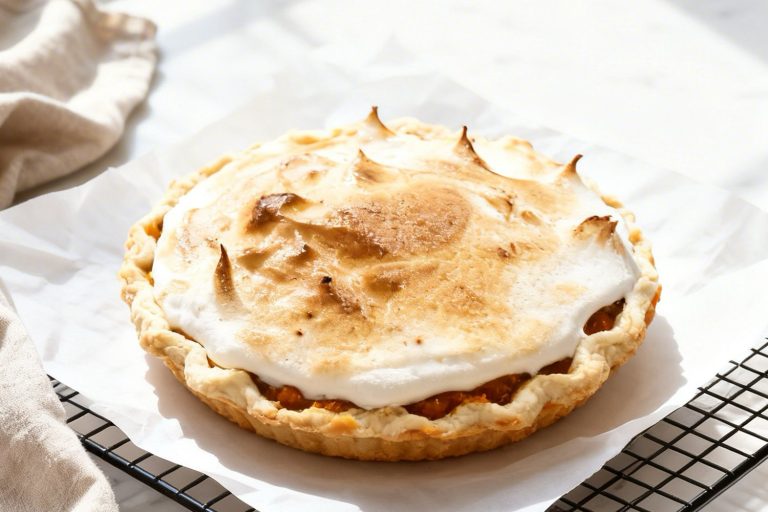
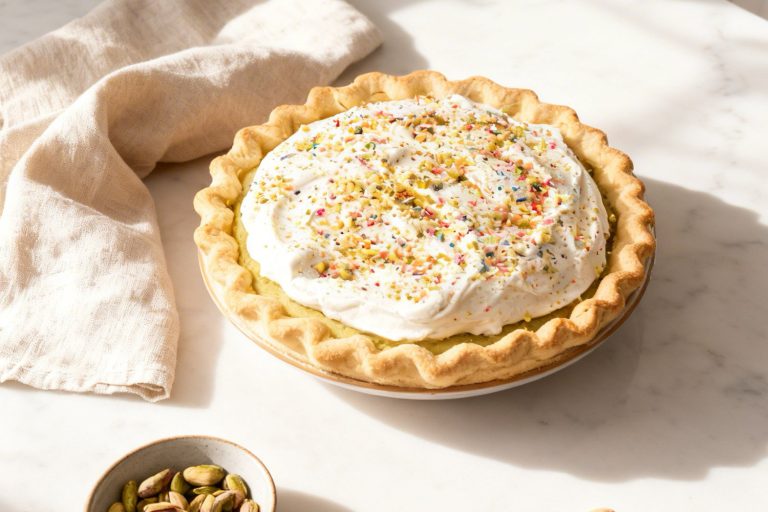
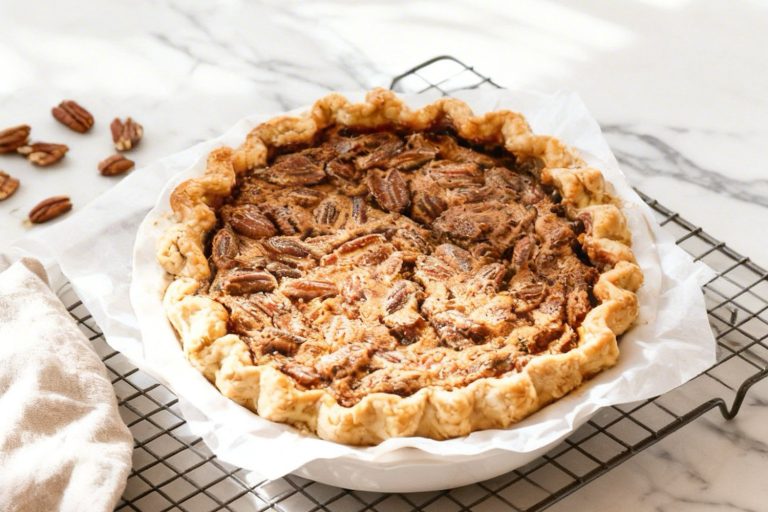
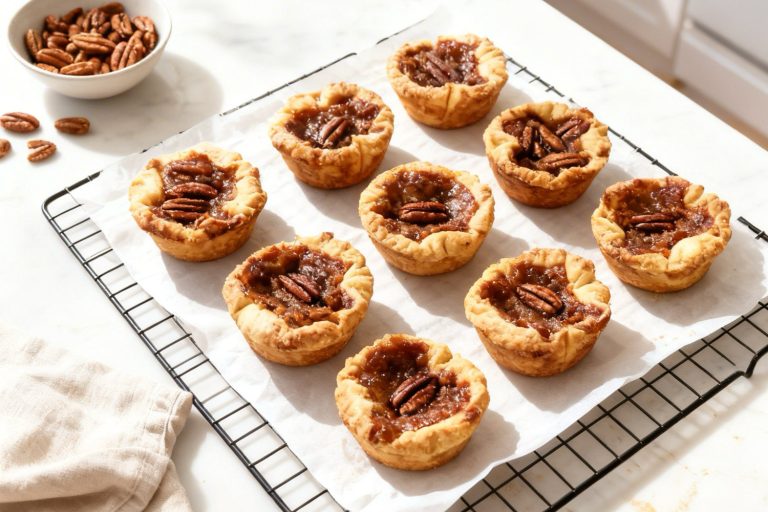
🔥 If you enjoy bold, juicy fruit pies with vibrant flavor, don’t miss these:
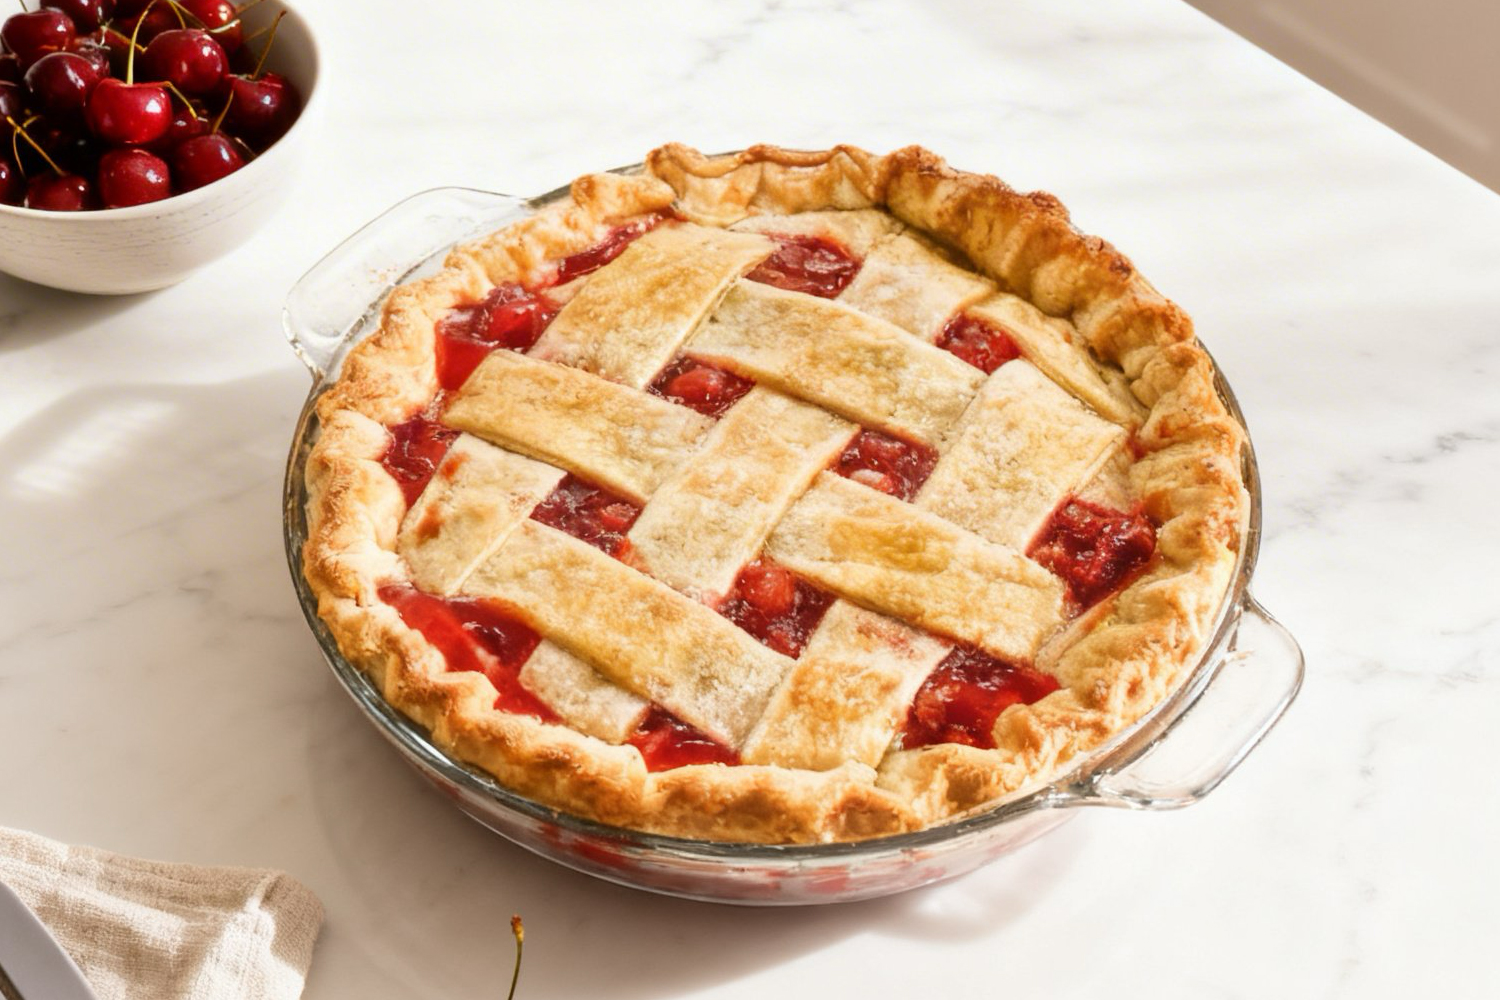
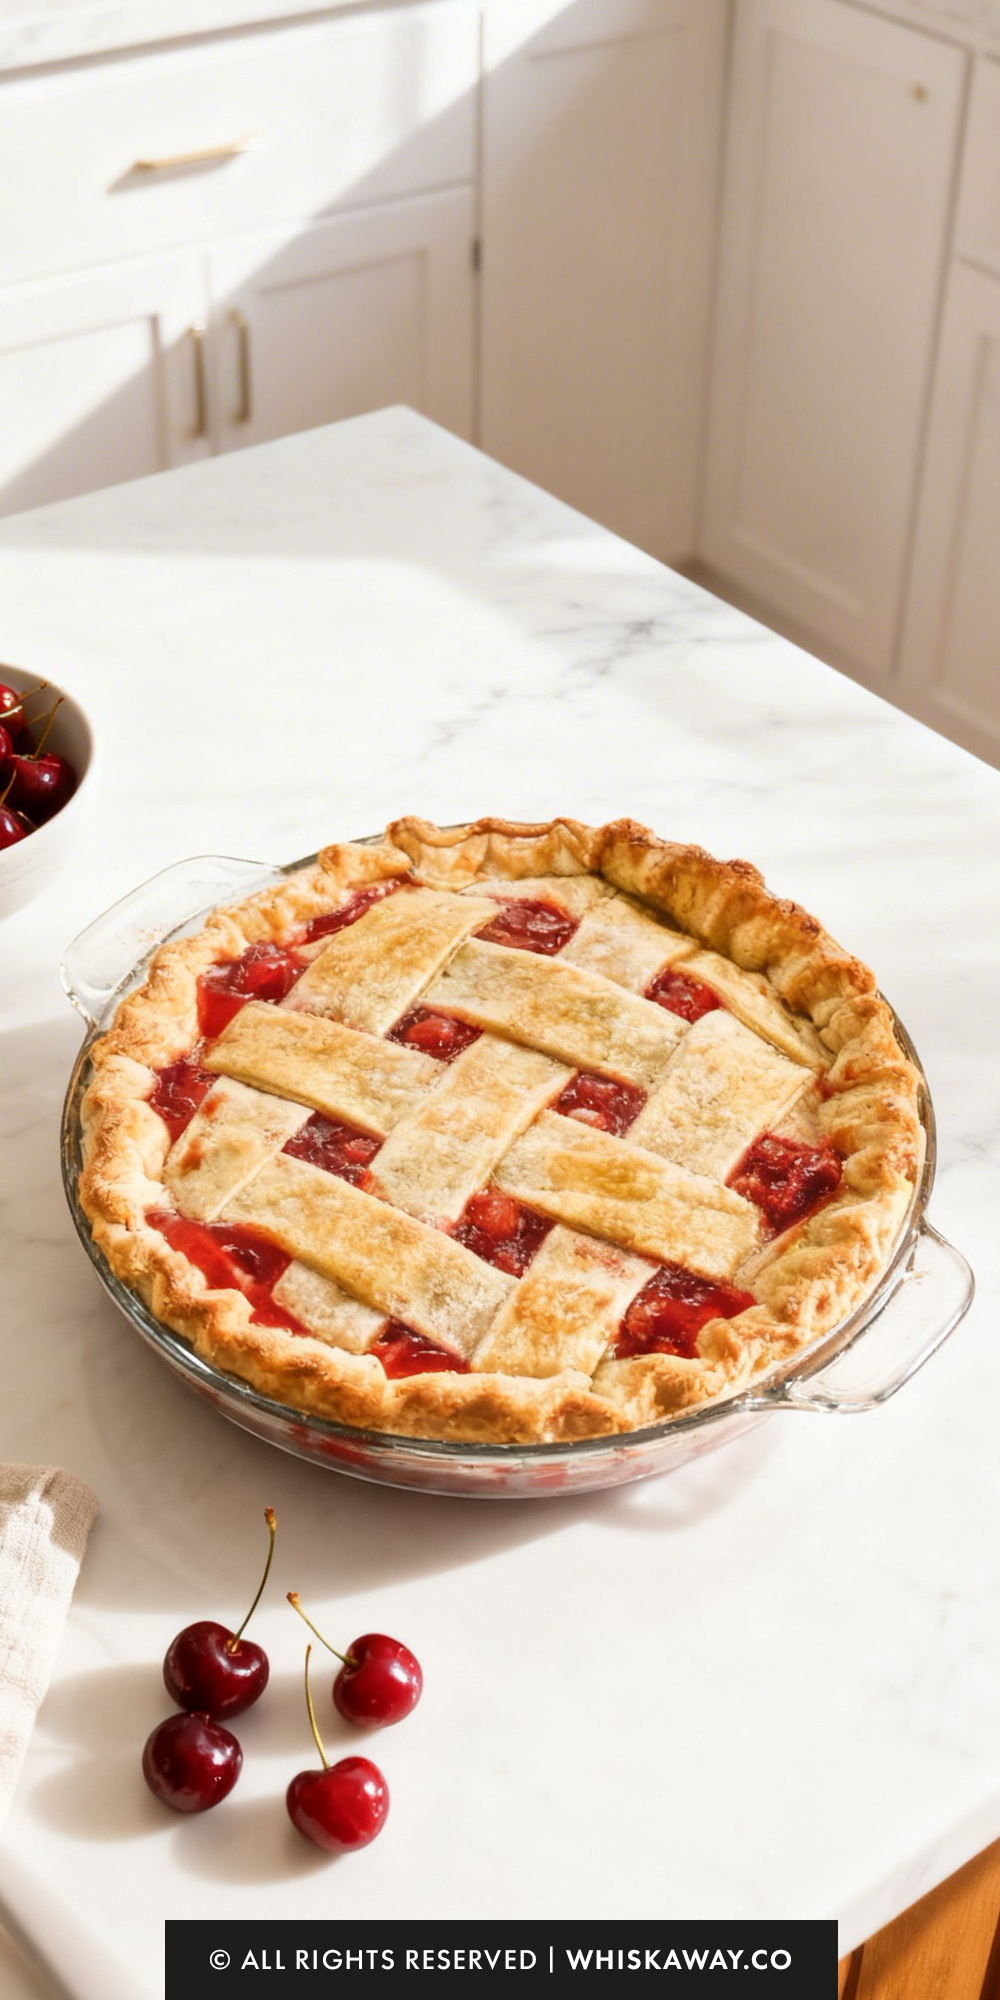
How to Get Your Cherry Pie Just Right
A perfect cherry pie is a balance of textures: a shattering, flaky crust and a jammy filling that holds its shape.
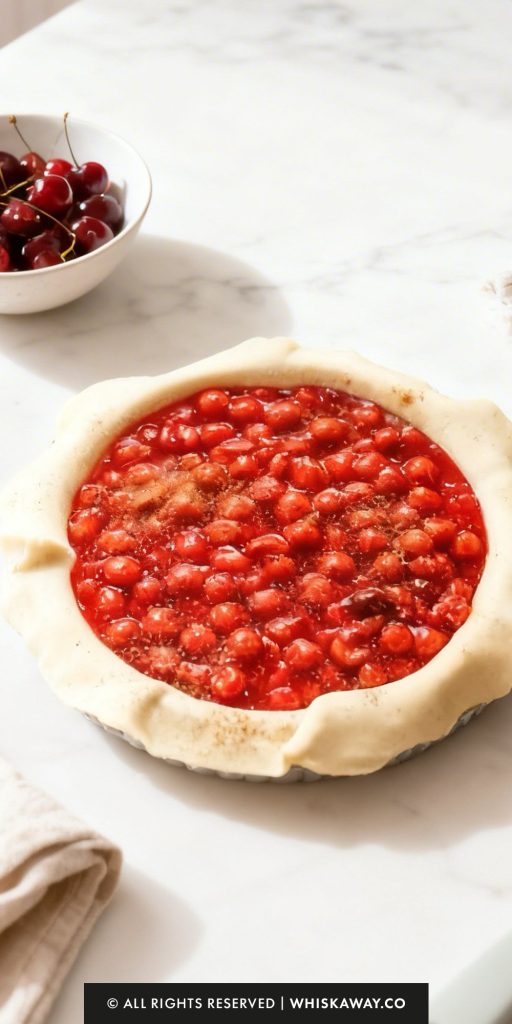
Because cherries, especially sour ones, release a significant amount of liquid, mastering the starch-to-fruit ratio and the baking temperature is key.
1. Master the Filling Consistency
The Cornstarch “Slurry” Rule: Never add dry cornstarch directly to a pot of hot fruit; it will clump instantly.
Always whisk it into a small amount of cold juice or water first. This ensures your filling is smooth and translucent rather than lumpy or cloudy.
You will know the filling is properly thickened when it changes from a milky, opaque color to a vibrant, clear red. If it still looks cloudy, it needs another minute or two of simmering to fully activate the starch.
Fresh cherries vary in juiciness based on the season. If your fresh cherry mixture looks exceptionally watery after releasing the juices, add an extra teaspoon of cornstarch to the slurry to ensure the pie doesn’t end up “soupy.”
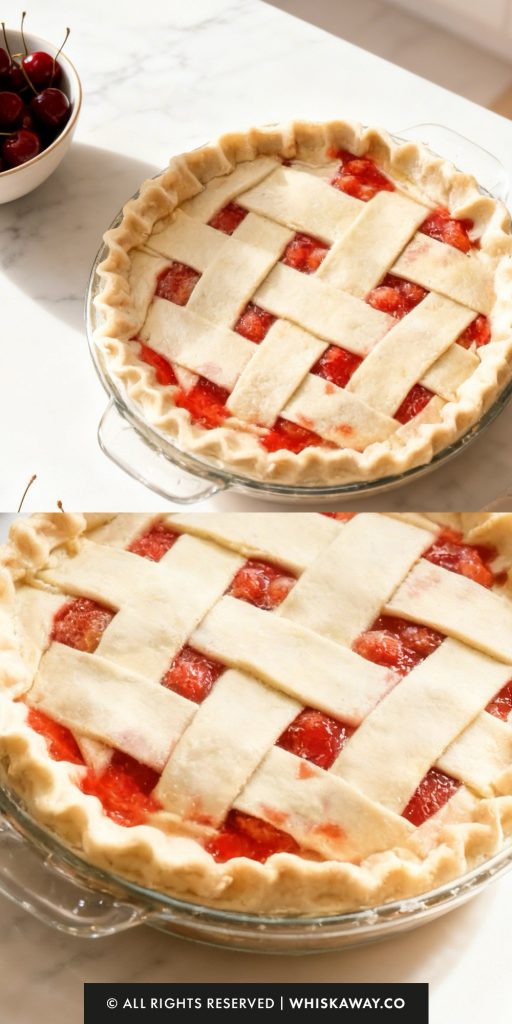
2. Perfecting the Crust and Lattice
Keep your dough chilled until the very moment you are ready to roll it.
If the butter in the lattice strips gets too soft, they will stretch and tear as you weave them.
While a lattice looks beautiful, its primary job is functional: it allows a massive amount of steam to escape. This prevents the bottom crust from becoming soggy and keeps the filling from boiling over the edges.
Brushing with egg white (rather than a whole egg) provides a crisp, shiny finish without adding the deep browning that yolks provide.
This allows the crust to bake long enough for the bottom to crisp up without the top burning.
3. Common Mistakes to Avoid
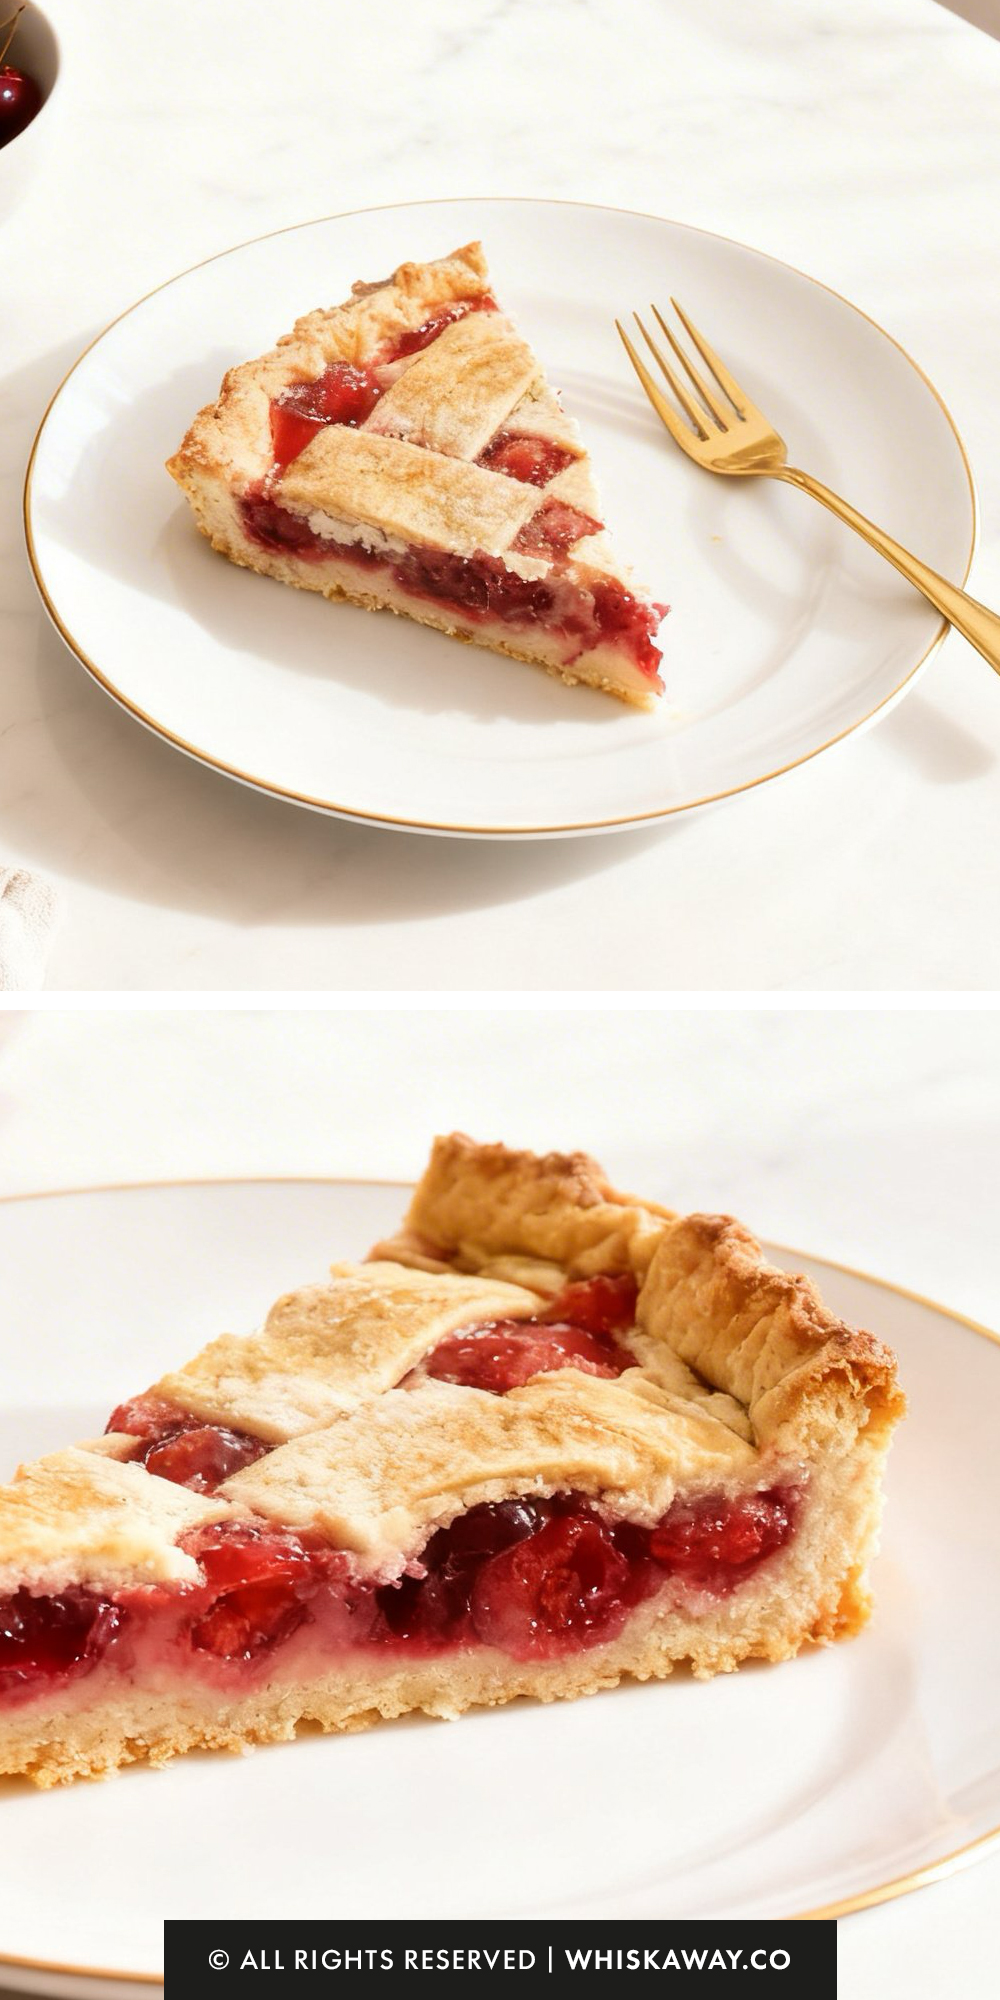
Cutting Too Soon: This is the most common cherry pie fail. Because the filling is thickened with cornstarch, it stays liquid while hot.
It must cool completely to room temperature (about 3–4 hours) to set into a sliceable gel. If you cut it warm, the filling will run out like a soup.
Under-Baking the Bottom: If the bottom of your pie feels pale or soft, it’s undercooked.
For the best results, bake the pie on the lowest rack of the oven or on a preheated baking stone.
This helps “sear” the bottom crust so it stays crisp under the fruit.
Using Sweet Cherries Only: Traditional cherry pie uses sour (Montmorency) cherries.
If you only have sweet Bing cherries, reduce the sugar by 2–3 tablespoons and add an extra tablespoon of lemon juice to provide that essential tartness.
4. Timing & Technique Advice
The Foil Tent: Around 25 minutes in, the edges usually brown faster than the center.
Use a “pie shield” or a ring of aluminum foil to cover just the edges, leaving the center lattice exposed to continue crisping.
The Bubble Test: Your pie is done when the crust is golden and the filling is visibly bubbling in the center of the lattice.
If it’s bubbling at the edges but still in the middle, give it 5 more minutes.
Baking Tips for This Recipe
- If using fresh cherries, macerate them first and drain excess liquid.
- Add a small amount of almond extract to enhance cherry flavor naturally.
- Bake until juices bubble thickly through vents.
- Cool at least 4 hours before slicing.
Variation Tips
A classic Cherry Pie is a masterpiece on its own, but it is also a fantastic base for experimentation.
Whether you want to deepen the flavor profile or accommodate a specific diet, these tweaks are easy to implement without compromising the pie’s structural integrity.
1. The “Almond Soulmate” Twist
Cherries and almonds are botanical cousins, and their flavors complement each other perfectly.
Add ½ teaspoon of pure almond extract to the filling along with the vanilla.
Sprinkle slivered almonds over the lattice crust after brushing with the egg white but before baking.
The extract enhances the “cherryness” of the fruit, providing a professional, bakary-style depth.
2. The Dark & Boozy Filling
For a more sophisticated, adult dessert:
- Stir in 1 to 2 tablespoons of Bourbon, Amaretto, or Kirsch (cherry brandy) into the filling after it has thickened on the stove.
Use dark brown sugar instead of granulated sugar to add a rich, molasses undertone that pairs beautifully with the spirits.
3. Cherry-Berry Fusion
If you don’t have enough cherries or want a more complex tartness:
- Replace 1 cup of the cherries with fresh raspberries or blackberries.
- Berries can be quite juicy, so add an extra teaspoon of cornstarch to your slurry to ensure the filling stays set.
4. The Lazy Streusel Top
If weaving a lattice feels too daunting, swap the top crust for a buttery crumble.
Combine 1 cup all-purpose flour, ½ cup brown sugar, and ½ cup cold cubed butter. Rub together until it looks like wet sand.
Pile the crumble high over the cherry filling. It provides a wonderful textural contrast to the soft fruit.
5. Dietary Adaptations
Vegan-Friendly:
- Use a high-quality plant-based butter (look for sticks rather than tubs) for the dough.
- Swap the egg white for a brush of melted coconut oil or apricot jam thinned with a little water to get that golden shine.
Gluten-Free:
- Substitute the all-purpose flour with a 1:1 Gluten-Free Flour blend that includes xanthan gum.
- GF dough is more prone to breaking. Instead of a lattice, try using small cookie cutters to make stars or hearts out of the dough and layer them on top of the fruit.
Refined Sugar-Free:
- Use honey or maple syrup in the filling. Since these are liquids, you will need to increase the cornstarch by 1 tablespoon to account for the extra moisture.
- If you find your filling looks a bit dull (common with canned cherries), a tiny pinch of ground hibiscus or a single drop of beet juice can provide a stunning, natural ruby-red glow without changing the flavor.
How to Properly Store Your Cherry Pie
Because Cherry Pie is a fruit-based custard, its storage needs are all about protecting the crispness of the lattice and the stability of the cornstarch-thickened filling.
1. Room Temperature (Short-Term)
Duration: Up to 2 days.
Once the pie has cooled completely, you can keep it on the counter under a glass pie dome or loosely draped with a clean kitchen towel.
Note: If your kitchen is particularly warm or humid, it is better to skip the counter and go straight to the fridge to prevent the fruit from fermenting or the crust from softening.
2. Refrigeration (The Standard)
Duration: 4 to 5 days.
Wrap the cooled pie securely with plastic wrap or aluminum foil.
Pro Tip: If you’ve already sliced into the pie, place a small piece of parchment paper directly against the exposed fruit filling before wrapping.
This prevents the filling from developing a “skin” and keeps the fridge’s moisture away from the crust.
3. Freezing (Long-Term)
Duration: Up to 4 months.
- Baked: Wrap the fully cooled pie in two layers of plastic wrap and one layer of heavy-duty foil.
- Thawing: For the best results, thaw the pie in the refrigerator for 24 hours. Do not thaw on the counter, as the quick temperature change can cause the filling to release water, resulting in a “soggy bottom.”
4. How to Reheat Without Losing the Crunch
A microwave is the enemy of a flaky pie crust—it will make the pastry rubbery and the filling lava-hot.
The Oven Method: To revive a chilled or thawed pie, preheat your oven to 325°F (160°C). Place the pie (or a single slice) on a baking sheet and heat for 10–15 minutes.
This re-crisps the butter in the lattice and warms the cherries evenly.
The Foil Trick: If the edges of the crust are already dark, protect them with a ring of foil during the reheating process.
5. Storage Mistakes to Avoid
The Warm-Wrap Trap: This is the #1 cause of soggy pie. If you wrap the pie while it’s even slightly warm, steam will condense on the inside of the plastic and drip onto the crust.
Wait at least 3 hours before sealing it.
Odor Absorption: Butter-rich crusts act like a sponge for smells. Ensure the pie is tightly sealed if you are storing it near pungent foods like onions or garlic in the refrigerator.
Direct Sun: Never store your pie in a spot that gets direct sunlight (like a kitchen island near a window).
The heat will break down the cornstarch, turning your jammy filling into a runny syrup.
FAQs
Can I use sweet cherries (like Bing) instead of sour cherries?
Yes, but you will need to adjust the flavor balance. Sour cherries provide the classic “bright” tang associated with pie. If using sweet cherries, reduce the sugar to ½ cup and add an extra tablespoon of lemon juice. This prevents the pie from becoming cloyingly sweet and ensures the fruit flavor still pops.
Why is my cherry pie filling still runny after baking?
This is almost always due to undercooking or cutting too early. Cornstarch needs to reach a full boil to activate its thickening power; ensure the filling is bubbling vigorously in the center of the lattice before pulling it from the oven. More importantly, the pie must cool for at least 3–4 hours. The filling sets as it reaches room temperature.
Do I have to pre-cook the filling on the stove?
While some recipes call for raw fruit, pre-cooking the filling (especially when using fresh cherries) is the best way to ensure a crisp bottom crust. By releasing and thickening the juices on the stove first, you control the moisture levels before they ever touch the dough, effectively preventing a “soggy bottom.”
What if I don’t have a lattice cutter or pizza wheel?
Don’t worry! You can use a standard sharp kitchen knife and a ruler to cut your strips. If a lattice feels too intimidating, you can use a solid top crust instead. Simply drape the second dough circle over the fruit, seal the edges, and—most importantly—cut 4 to 5 large slits in the top to allow steam to escape.
How do I prevent the edges of my crust from burning?
Since this pie bakes at a high temperature (400°F), the thin edges often brown faster than the center. Keep a “pie shield” or a ring of aluminum foil handy. Around the 20–25 minute mark, gently place the foil over just the outer rim of the pie. This allows the center lattice to continue browning while protecting the edges.

Cherry Pie
12
Slices20
minutes45
minutesThis cherry pie recipe is filled with juicy cherries and a golden, buttery crust.
Ingredients
1.5 lbs fresh, sour cherries (or three 14.5 oz cans sour cherries)
Homemade pie crust (this recipe makes 2 crusts: one for the bottom and one for the top)
3/4 cup granulated sugar
1/3 cup cornstarch
1 large egg white (beaten with a fork)
2 Tablespoons lemon juice
2 Tablespoons butter
1/2 teaspoon ground cinnamon
Granulated sugar (for sprinkling on top)
Directions
- Prepare the Cherry Filling (If starting with fresh cherries)
- Pit and slice your cherries in half. Toss them into a saucepan along with the sugar and lemon juice.
- Warm the mixture over medium heat for a few minutes until the fruit begins to soften and release its liquid.
- Use a slotted spoon to transfer the cherries to a separate bowl. Take a small amount of the remaining warm juice, whisk in the cornstarch until smooth, and then pour it back into the pot. Simmer for a couple of minutes until the sauce is thick and glossy.
- Fold the sauce back over the cherries and let it rest while you handle the pastry.
- Prepare the Cherry Filling (If starting with canned cherries)
- Drain the cans into a saucepan, but keep roughly ⅓ cup of the juice in a small bowl. Set the fruit aside.
- Whisk the cornstarch into that reserved ⅓ cup of juice until perfectly smooth.
- Heat the main pot of juice over medium heat, stirring in the sugar. Once it reaches a gentle boil, pour in your cornstarch mixture. Stir constantly for about 2–3 minutes until the liquid thickens.
- Stir in the butter and lemon juice, then gently fold the cherries back in. (Optional: Add a drop of red food coloring if you want that vibrant "bakery" look). Let the mixture reach room temperature before filling the pie.
- Assemble the Pie
- Preheat your oven to 400°F and grab a 9-inch pie pan.
- On a floured surface, roll your first chilled dough disk into a 12-inch circle. Ease it into your pan.
- Spoon the room-temperature cherry mixture into the crust. Dust the top with a bit of cinnamon. If you used fresh cherries, scatter a few small dots of butter across the top of the fruit.
- Roll out your second piece of dough. Cut it into strips about ½ inch wide. Lay these over the fruit in a woven lattice design. If you're in a hurry, you can simply layer them perpendicularly across each other, leaving small gaps for steam to escape.
- Press the edges of the top and bottom crusts together to seal, then crimp with your fingers or a fork. Brush the lattice with the beaten egg white and finish with a light sprinkle of granulated sugar.
- Bake at 400°F for 40–45 minutes.
- Around the 25-minute mark, check the color. If the crust is getting dark too quickly, loosely tent a piece of foil over the top to protect it while the filling continues to bubble.
- This is the hardest part—let the pie cool on a wire rack for at least several hours. The filling needs this time to fully set so it doesn't run when you slice it. It’s even better the next day after a night in the fridge!
There are no reviews yet. Share your thoughts above!