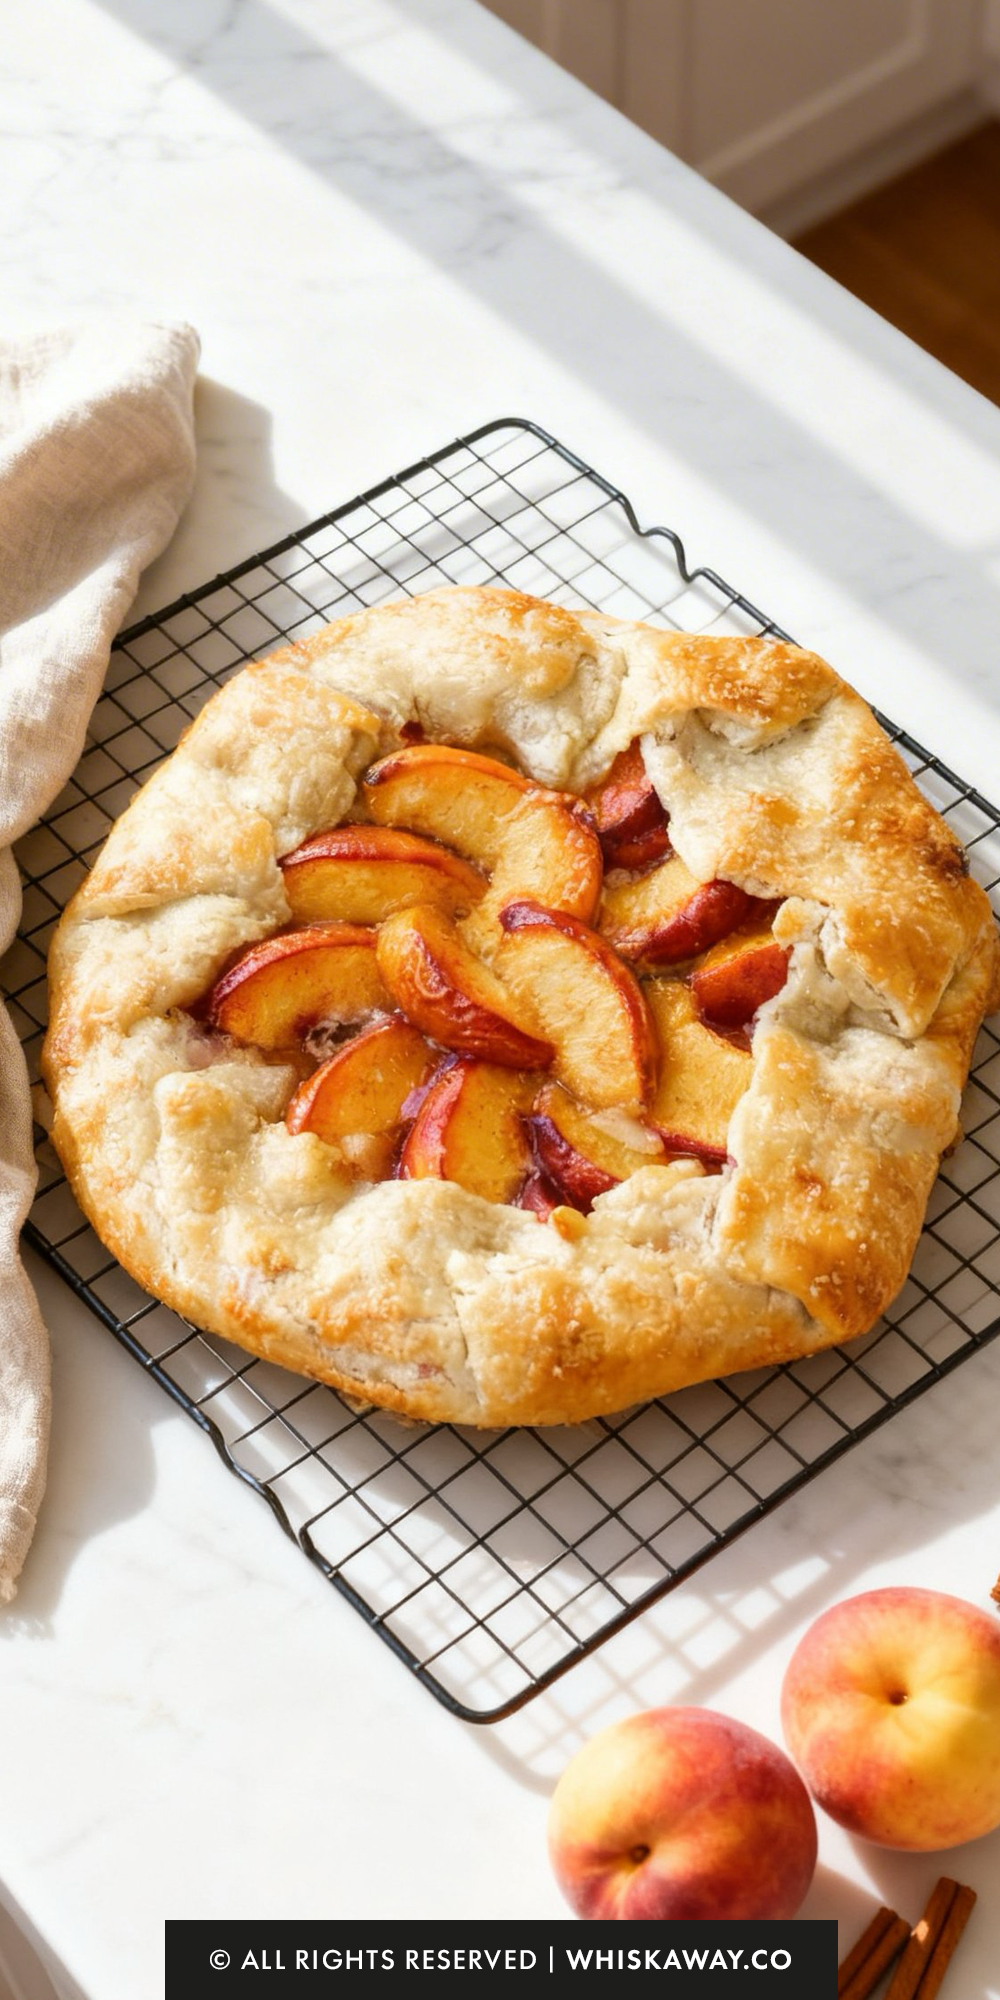
Craving a rustic, effortless dessert that looks bakery-worthy? This rustic and savory galette offers a free-form pastry filled with fresh fruits, lightly sweetened and baked to golden perfection.
Its slightly crisp crust and tender fruit filling make each bite a harmonious mix of textures and flavors. Baking a galette at home is simple, forgiving, and endlessly customizable.
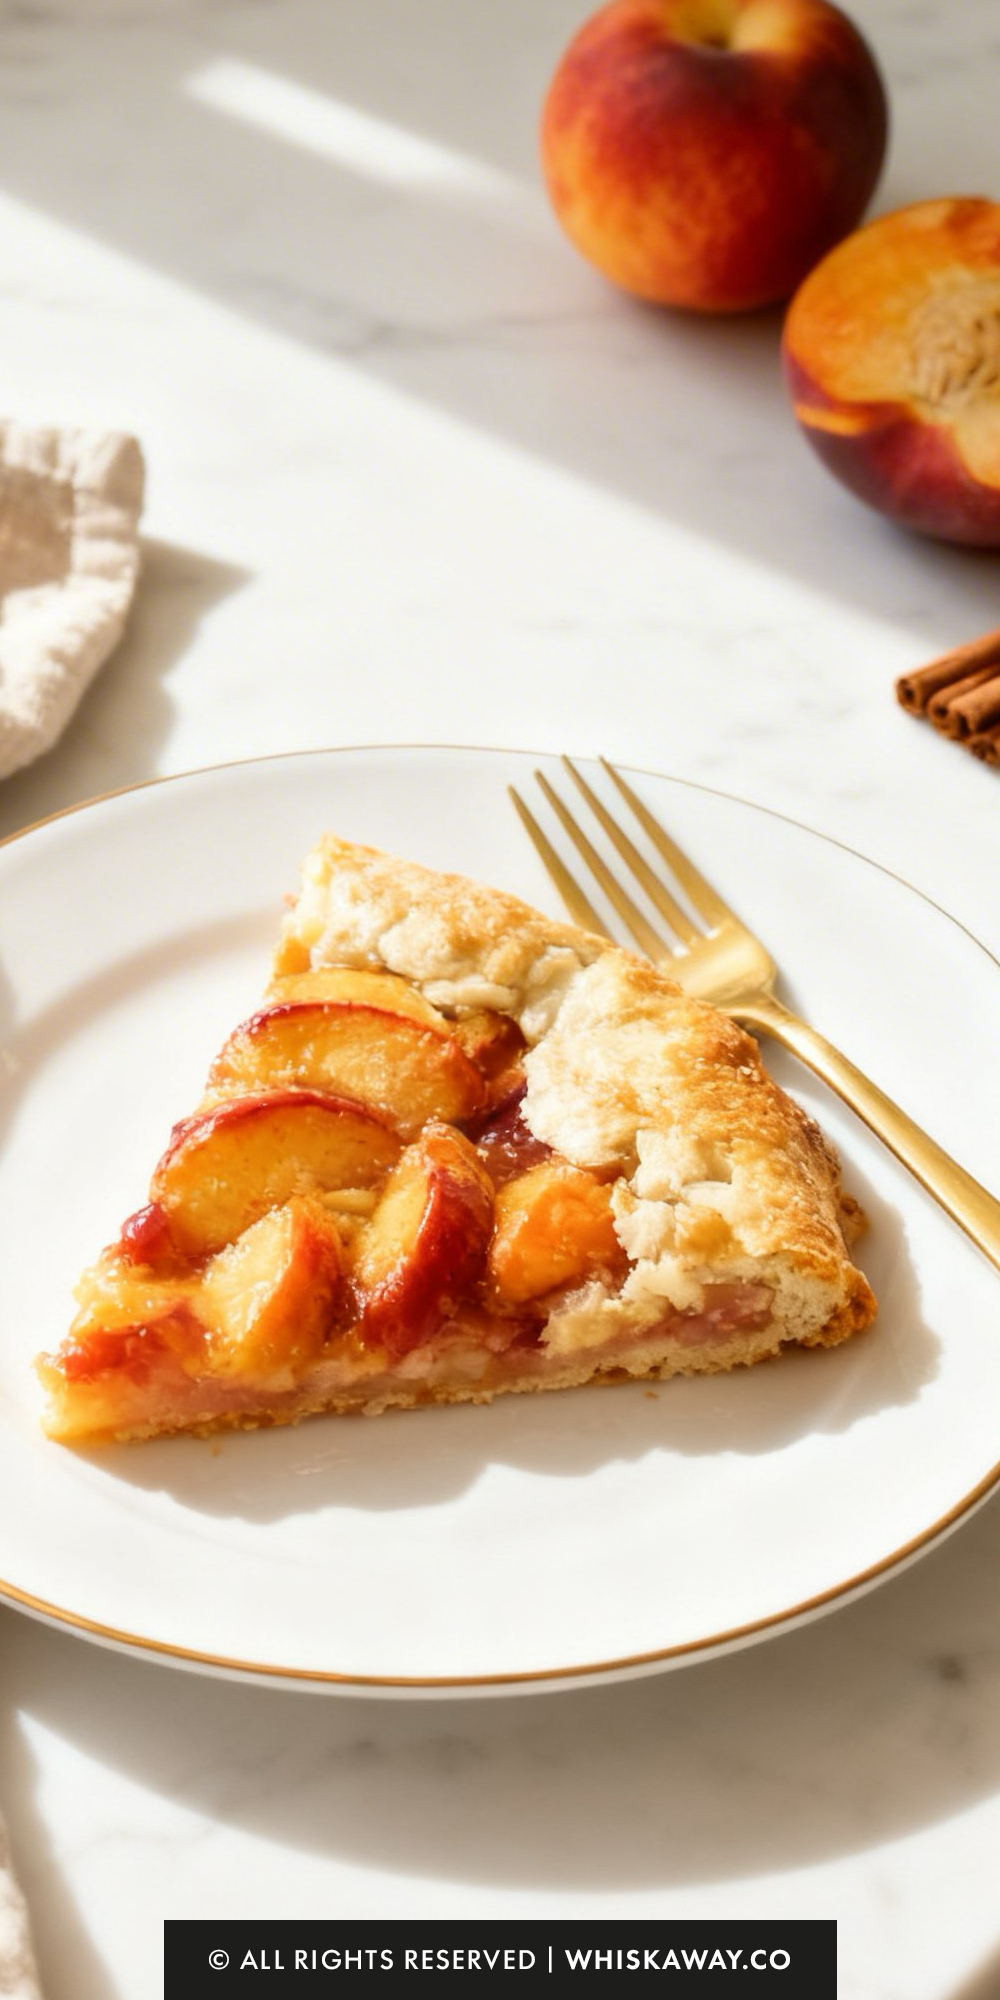
Perfect for brunch, tea time, or a casual dessert, this treat is as versatile as it is beautiful, letting you showcase seasonal fruits or your favorite flavors.
Why You’ll Love This Recipe
A galette is loved for its rustic presentation and forgiving technique.
What Makes Them Special
- Free-form crust eliminates blind baking
- Exposed fruit caramelizes at the edges
- Crisp, buttery pastry with soft fruit center
- Less structural pressure than a traditional pie
- Easy to adapt to seasonal fruit
Save This Pin for Later to Your Pinterest Board

🔥 If you love rustic, free-form pastries with fruit fillings, explore these similar bakes:
How to Get Your Galette Just Right
A galette is celebrated for its “perfectly imperfect” look, but the difference between a soggy mess and a crisp, bakery-quality pastry lies in the details.
Here is how to ensure your crust is shattering and your filling is jammy.
1. Master the Flaky Crust
Keep it Chilly: The golden rule of pastry is to keep the butter cold. If the butter melts before it hits the oven, you lose the steam pockets that create flakiness.
If your kitchen is warm, put your rolling pin and even your flour in the fridge for 20 minutes before starting.
The “Pea” Visual: When pulsing the food processor, stop while there are still visible chunks of butter the size of peas.
These “marbled” bits of fat are what expand in the oven to create layers.
Don’t Over-Hydrate: Add water only until the dough barely holds together when you squeeze a handful.
If the dough is too wet, the crust will be tough and chewy instead of crisp.
2. Prevent the Soggy Bottom
Since fruit releases a lot of moisture, galettes can suffer from a soft under-crust.
The Flour Barrier: The tablespoon of flour in the peach mixture acts as a thickener, turning peach juice into syrup.
For extra protection, you can sprinkle a thin layer of almond flour or breadcrumbs on the dough before adding the fruit to absorb excess moisture.
Drain the Juice: Peaches, especially very ripe ones, can be watery. After tossing them in sugar, use a slotted spoon to arrange them on the dough, leaving any liquid at the bottom of the bowl behind.
High Heat is Your Friend: Baking at 425°F ensures the bottom crust sears and crisps before the fruit juices can soak through.
3. Common Mistakes to Avoid
Over-Working the Dough: The more you handle the dough, the more gluten develops and the warmer the butter gets.
Work quickly and use a light touch when folding the edges.
Using “Mushy” Fruit: If your peaches are over-ripe, they will turn into a puddle in the oven.
Look for fruit that is fragrant but still firm enough to hold its shape when sliced.
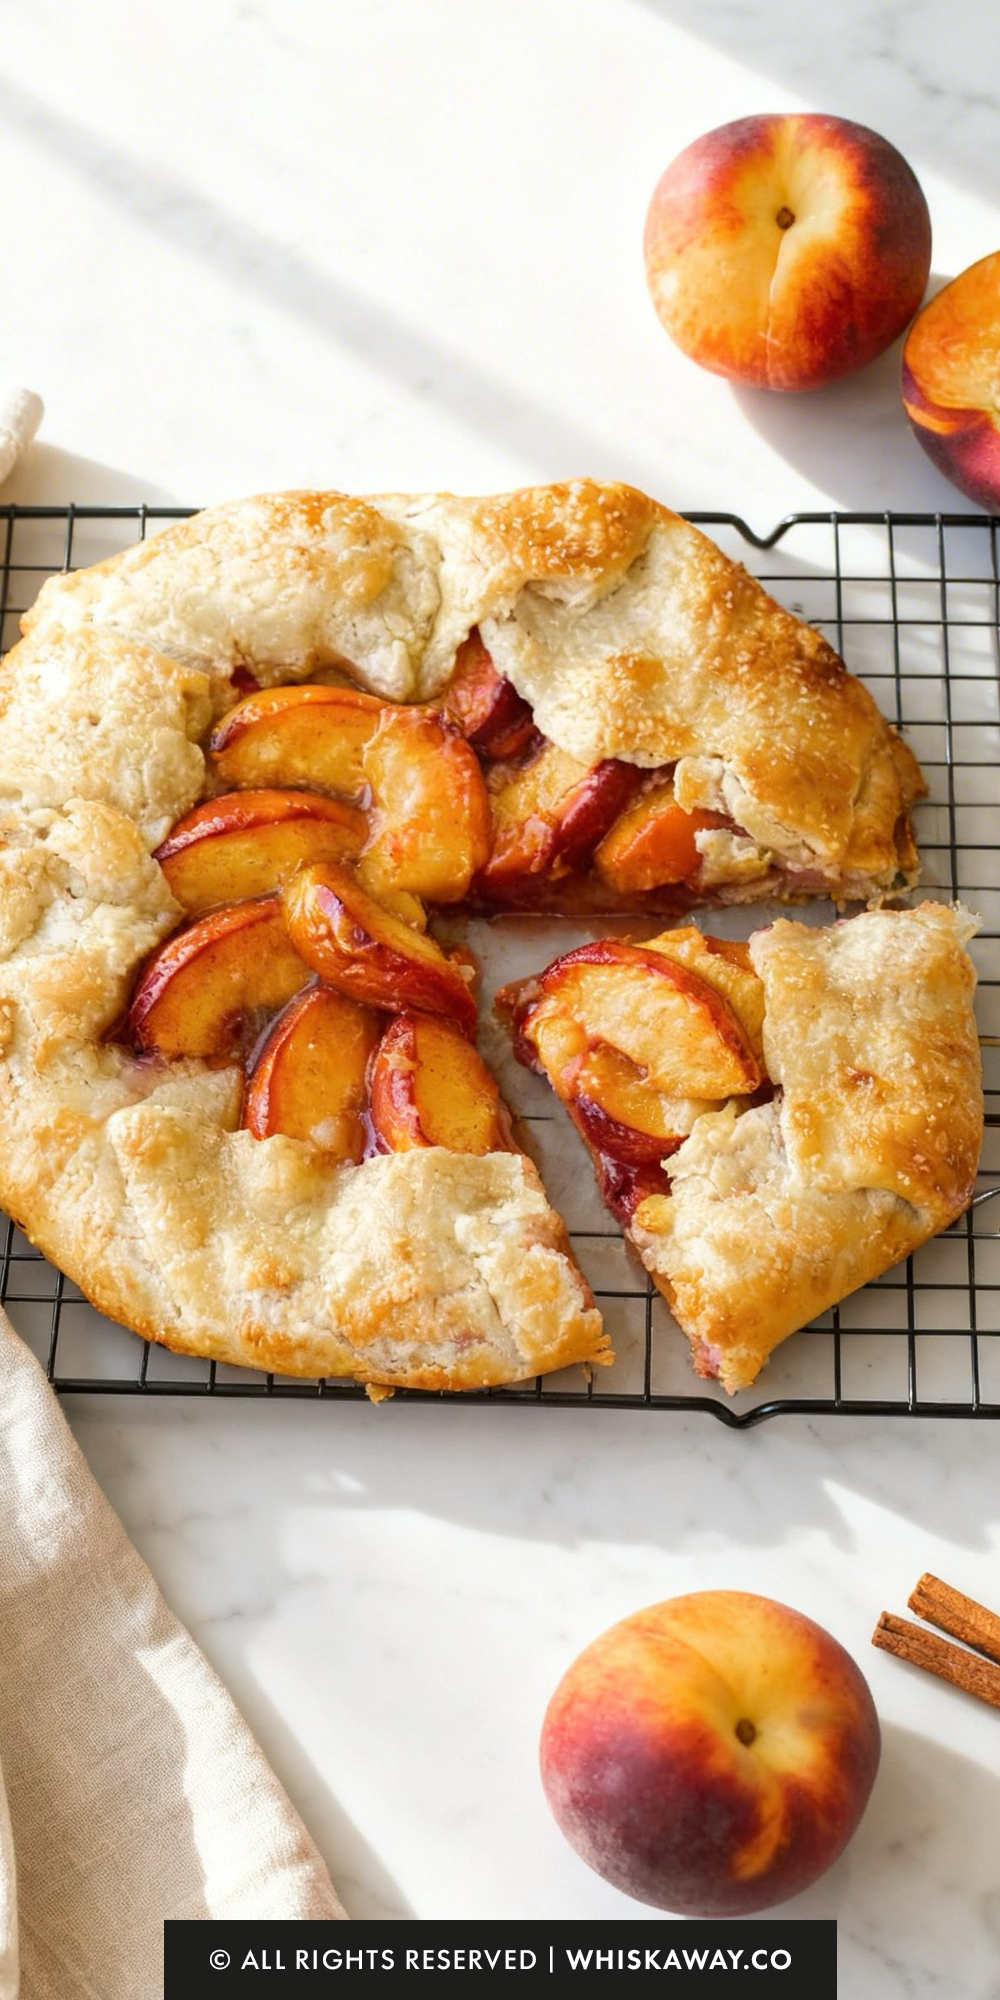
Skipping the Rest: It is tempting to slice into the galette immediately, but the filling needs 15 minutes to thicken.
If you cut it too early, the syrupy juices will run off the pastry, leaving the fruit dry.
4. Pro-Tip: The “Patch Job”
If your dough cracks while you are folding the border, don’t panic! Simply dip your finger in a bit of water and “glue” a small scrap of dough over the leak.
Because it’s a rustic dessert, these patches only add to its charm once baked.
Baking Tips for This Recipe
- Chill the dough after rolling to keep butter cold before baking.
- Leave a 2-inch border when filling to allow proper folding.
- Brush crust with egg wash for even browning.
- Bake until fruit juices bubble in the center, not just around edges.


Variation Tips
The beauty of a galette is its flexibility. Since the crust is essentially a “blanket” for the fruit, you can easily pivot the flavors or adapt the ingredients to suit different dietary needs or seasonal cravings.
1. The “Berry Blend” Upgrade
If you don’t have enough peaches, or want a more vibrant color:
- Replace half of the peaches with fresh blueberries, raspberries, or blackberries.
Berries release a lot of pectin, which helps create an even thicker, more “jam-like” syrup within the galette.
2. Frangipane (Almond) Base
For a professional, bakery-style finish that also prevents a soggy bottom:
Mix ¼ cup almond flour, 1 tablespoon sugar, and 1 tablespoon softened butter into a paste. Spread this thinly over the dough before adding the peaches.
This creates a creamy, nutty layer that absorbs the fruit juices and adds a rich, sophisticated flavor.
3. Savory-Sweet Fusion
To add a modern, herbaceous twist:
- Finely mince 1 teaspoon of fresh thyme or basil and toss it in with the peach filling.
Drizzle the baked galette with a small amount of balsamic glaze or hot honey just before serving.
4. Ginger-Peach Spice
If you want to move beyond the traditional cinnamon profile:
- Replace the cinnamon with ½ teaspoon of ground ginger and 1 tablespoon of finely chopped crystallized ginger.
The “zing” of the ginger cuts through the sweetness of the peaches perfectly.
5. Dietary Adaptations
Gluten-Free:
Use a 1:1 Gluten-Free Flour blend (one that includes xanthan gum).
Gluten-free dough can be more brittle. Roll it out between two sheets of parchment paper to make the “folding” process easier without the dough snapping.
Vegan/Dairy-Free:
Use vegan butter sticks (the kind specifically meant for baking) and ensure they are frozen before starting.
Swap the egg for a brush of coconut milk or maple syrup to help the coarse sugar stick and provide a golden shine.
Refined Sugar-Free:
Use coconut sugar in the filling and the crust. It has a deeper, caramel-like flavor that pairs beautifully with baked peaches.
Creative Crust Garnishes
- Slivered Almonds: After brushing with the egg wash, press slivered almonds into the crust border for a nutty crunch.
- Citrus Crust: Zest half a lemon or orange directly into the flour mixture before pulsing in the butter to give the pastry a bright, citrusy aroma.
How to Properly Store Your Galette
Because a galette is a “free-form” pastry, it has more exposed crust than a traditional pie, which makes it prone to drying out if left uncovered.
To keep that crust shattering and the peaches jammy, follow these storage guidelines.
1. Room Temperature (Best for Day 1)
Duration: Up to 24 hours.
If you plan on finishing the galette within a day, simply keep it on its parchment paper and cover it loosely with a clean kitchen towel or a large glass cake dome.
Avoid airtight plastic containers at room temperature for the first few hours; they can trap moisture and turn your crisp crust soft.
2. Refrigeration (The Standard)
Duration: 2 to 3 days.
Once completely cool, wrap the galette snugly in plastic wrap or place it in an airtight container.
The cold will eventually soften the pastry. Expect the crust to lose some of its “crunch” as it absorbs the moisture from the fruit filling over time.
3. Freezing (Long-Term)
Duration: Up to 2 months.
Wrap the fully cooled galette in plastic wrap, then a layer of foil.
You can freeze the assembled, unbaked galette! Freeze it on a baking sheet until solid, then wrap it tightly. When ready to eat, bake it straight from the freezer at 425°F—just add 5–10 minutes to the baking time.
4. How to Reheat for the Best Crunch
A microwave will make your galette doughy and rubbery. To restore the original texture, use the oven.
The Oven Method: Preheat your oven or toaster oven to 180°C. Place the galette (or individual slices) on a baking sheet and heat for 5 to 10 minutes. This melts the butter in the crust again, re-crisping the layers.
The Air Fryer Hack: If you have an air fryer, 2–3 minutes at 175°C is the fastest way to bring a single slice back to life.
5. Storage Mistakes to Avoid
The Condensation Trap: Never wrap your galette while it is still warm. The trapped steam will turn the bottom of your crust into a soggy, wet mess.
Wait until the fruit filling is no longer steaming and the crust feels cool to the touch.
Fruit Bleeding: If you store a galette for more than 3 days, the fruit juices may start to “bleed” through the bottom of the crust.
If you see this happening, it’s best to freeze it or eat it immediately.
Crowding the Fridge: Don’t stack anything on top of your galette in the refrigerator.
The crust is delicate and flaky; any weight will crush the layers and ruin the aesthetic.
FAQs
Homemade Galette
6
Slices1
hour20
minutes20
minutesThis galette recipe is rustic, flaky, and filled with seasonal fruit for an easy, stunning dessert.
Ingredients
- For the Galette Crust
1 1/3 cups all-purpose flour (measured correctly by spooning and leveling)
8 tablespoons unsalted butter, very cold
6 tablespoons ice water (or add to desired consistency)
1 tablespoon granulated sugar
1 tablespoon coarse sugar (for topping)
1 egg (beaten for egg wash)
1/2 teaspoon fine sea salt
- For the Peach Filling
1 lb peaches (about 3-4 medium or 3 cups sliced)
1/4 cup granulated sugar
1 tablespoon all-purpose flour
1/2 tablespoon unsalted butter (cut into small pieces)
1/2 teaspoon ground cinnamon
1/2 teaspoon pure vanilla extract
Directions
- Using a food processor fitted with the metal blade, give the flour, sugar, and salt a few quick pulses to blend them.
- Drop in your chilled butter cubes. Pulse roughly 8 to 10 times—you're looking for the butter to break down into the size of small peas.
- Add the ice water one tablespoon at a time, pulsing briefly after each addition. Stop the moment the dough begins to form clumps.
- Turn the dough out and gently press it into a flat disk. Avoid kneading it; you want to keep those butter chunks intact for a flaky crust. Wrap it tightly in plastic and let it rest in the fridge for at least one hour.
- Set your oven to 425°F. On a floured piece of parchment paper, roll your chilled dough into a rough 12-inch circle. Don't worry about jagged edges—that's part of the galette's character. Slide the parchment onto a baking sheet and keep it in the fridge while you prep the fruit.
- In a small dish, whisk the sugar, flour, and cinnamon. In a separate bowl, toss your peach slices with this mixture and the vanilla until the fruit is evenly coated and the flour has dissolved into a light glaze.
- Arrange the peach slices in a circular design on the dough, starting from the outer edge and moving inward. Be sure to leave a 2-inch border of bare dough around the perimeter.
- Gently fold that 2-inch edge up and over the peaches, pleating the dough as you go. Use your fingers to seal any small tears.
- Scatter the small bits of butter over the exposed fruit. This creates a glossy, rich finish as it bakes.
- Lightly coat the pleated dough border with the beaten egg wash and give it a generous dusting of coarse sugar for a sweet crunch.
- Slide the tray into the oven for 25 to 30 minutes. You're looking for a deep golden-brown crust and bubbling, thickened fruit juices.
- Let the galette sit for about 15 minutes. This allows the fruit juices to settle so they don't run everywhere when you slice it.