Want a dessert that’s creamy, comforting, and subtly spiced? My sweet potato pie takes tender sweet potatoes and blends them into a smooth, lightly spiced filling in a flaky crust.
Baking a sweet-potato pie at home is approachable, and the result feels like a cozy, homemade treat for family, friends, or special occasions.
This pie is perfect for those who love a dessert that’s comforting without being overly sweet.
Why You’ll Love This Recipe
This sweet potato pie stands out for its velvety texture and warm spice profile.
What Makes Them Special
- Naturally smooth puréed sweet potato base
- Balanced spice (nutmeg, cinnamon) enhances, not masks, the flavor
- Custard-like consistency without heaviness
- Silky interior contrasts with flaky crust
- Slices cleanly after resting
Save This Pin for Later to Your Pinterest Board

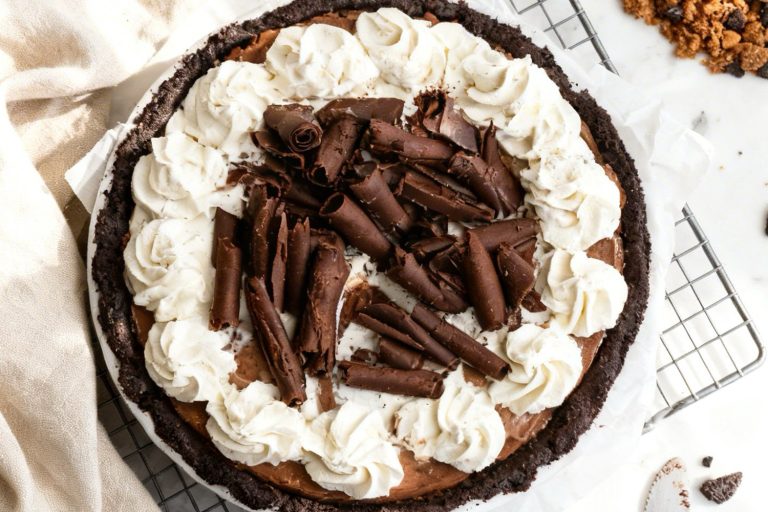
🔥 For more cozy, warmly spiced desserts with deep flavor, check out:
How to Get Your Sweet Potato Pie Just Right
The charm of a sweet potato pie lies in its rustic, velvety texture and natural sweetness.
Unlike pumpkin pie, which can be dense, a great sweet potato pie should feel light yet rich.
Here is how to master the technique for a blue-ribbon result.
1. Achieve the Perfect Texture
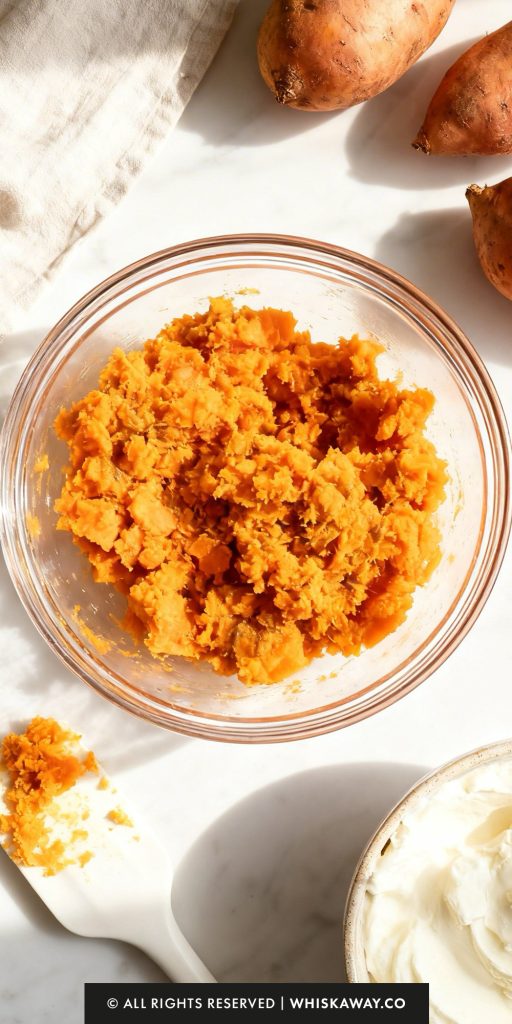
Sweet potatoes can be fibrous. For the smoothest possible filling, use a hand mixer or a food processor to blend the potatoes and butter.
If you find your potatoes are particularly stringy, you can even push the mashed potatoes through a fine-mesh sieve before adding the other ingredients.
The Butter-Mash Secret: Mash the butter into the potatoes while they are still warm.
The heat from the potatoes melts the butter and helps it emulsify with the starches, creating a much creamier base than if you were mixing cold ingredients together.
Room Temperature Eggs: Ensure your eggs are at room temperature.
Cold eggs hit with warm potatoes can partially cook the egg or cause the butter to seize, leading to a lumpy custard.
2. Mastering the Bake
Much like a cheesecake, you are looking for the “perfect jiggle.” When the hour is up, the edges of the filling should be set and slightly puffed, but the very center should still have a slight wobble.
It will firm up completely as it cools.
If you wait until the center is rock-solid, the eggs will overcook, and your pie will likely develop deep cracks on the surface as it cools.
Roasting the potatoes in their skins (as opposed to boiling them) is vital. Boiling adds water to the potato, which leads to a soggy, “weeping” pie.
Roasting concentrates the sugars and keeps the filling stable.
3. Common Mistakes to Avoid
Rushing the Cooling Process: A sweet potato pie is a custard. It needs at least 2 to 3 hours to set properly.
If you cut into it too early, the filling will be messy and won’t hold its shape on the plate.
Under-Seasoning: Sweet potatoes are earthy. While this recipe is simple, don’t be afraid to add a pinch of salt to brighten the sugar, or a dash of cinnamon and nutmeg if you prefer a more “spiced” profile.
Using Canned Potatoes: While convenient, canned sweet potatoes are often stored in syrup and have a mushy, waterlogged texture.
Using fresh, oven-roasted potatoes is the single biggest factor in the quality of the final pie.
Baking Tips for This Recipe
- Roast sweet potatoes instead of boiling for deeper flavor and less excess moisture.
- Blend filling thoroughly to eliminate fibrous texture.
- Don’t overbake. The center should jiggle slightly. Overbaking causes cracking.
- Let cool gradually at room temperature before refrigerating to prevent surface splitting.
Variation Tips
The sweet potato pie is a versatile canvas. While the classic version is beloved for its simplicity, you can easily adapt it to match your favorite flavor profiles or dietary needs.
1. The “Warm Spice” Signature
If you prefer a more aromatic pie reminiscent of autumn holidays:
Whisk in 1 teaspoon of ground cinnamon, ½ teaspoon of ginger, and ¼ teaspoon of nutmeg (or cloves).
Add a tablespoon of dark molasses or swap half the granulated sugar for dark brown sugar. This creates a deeper, “caramelized” flavor profile.
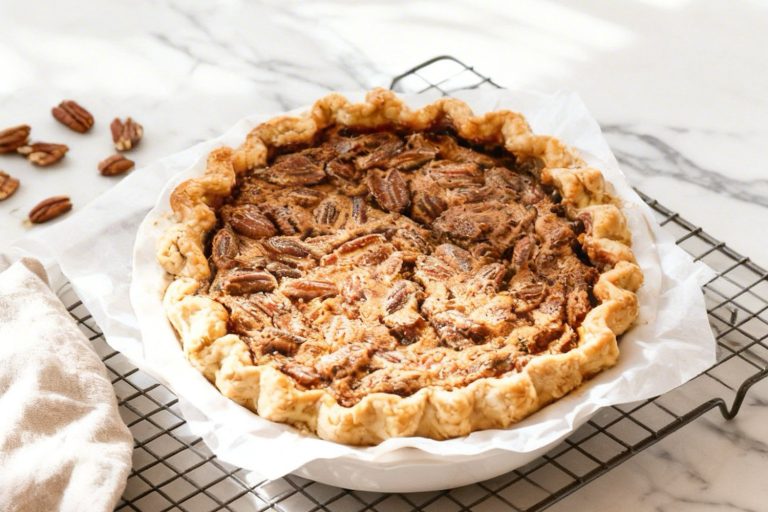
2. Toasted Nut Crunch
Add a textural contrast to the silky filling.
Before the final 20 minutes of baking, sprinkle the top with finely chopped pecans or walnuts tossed in a little maple syrup.
The nuts toast in the oven, providing a crunchy “cap” that balances the soft custard.
3. Bourbon & Brown Butter
For a sophisticated, “grown-up” version of this Southern classic:
Brown your butter in a saucepan until it smells nutty and has golden-brown bits before mashing it into the potatoes.
Stir in 1 to 2 tablespoons of high-quality Bourbon along with the vanilla extract.
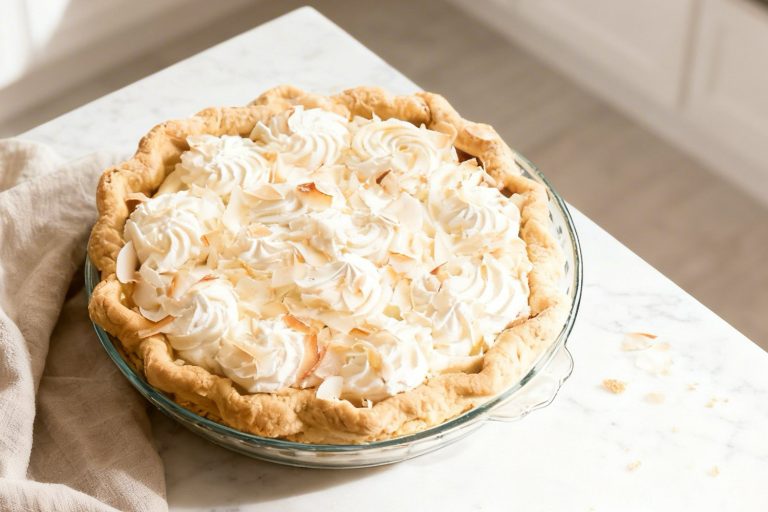
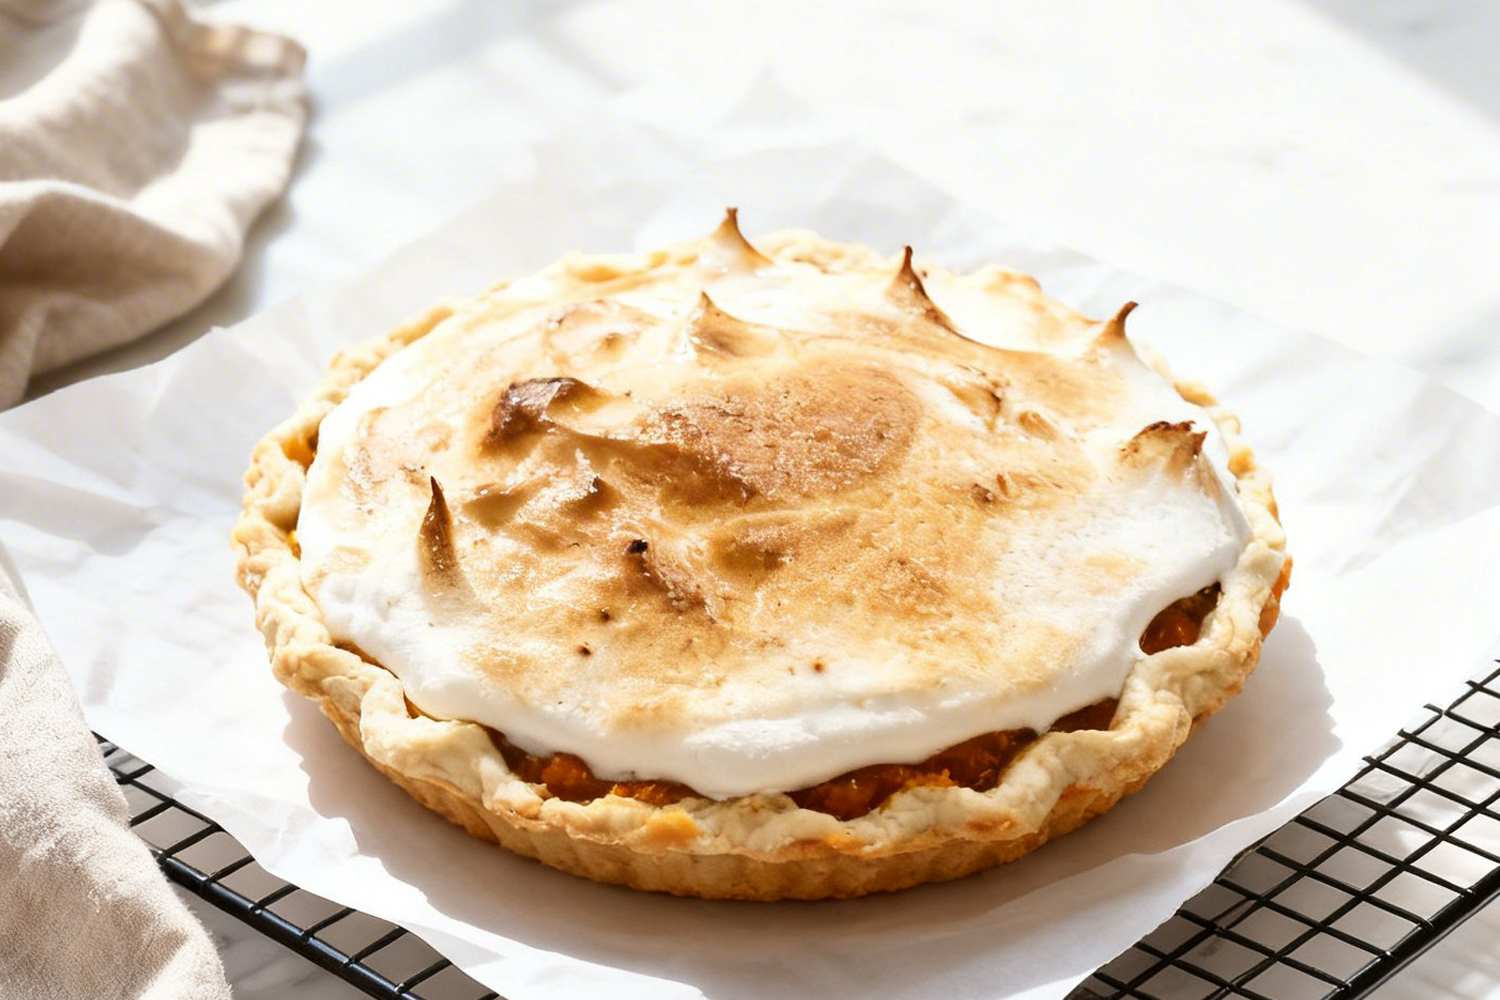
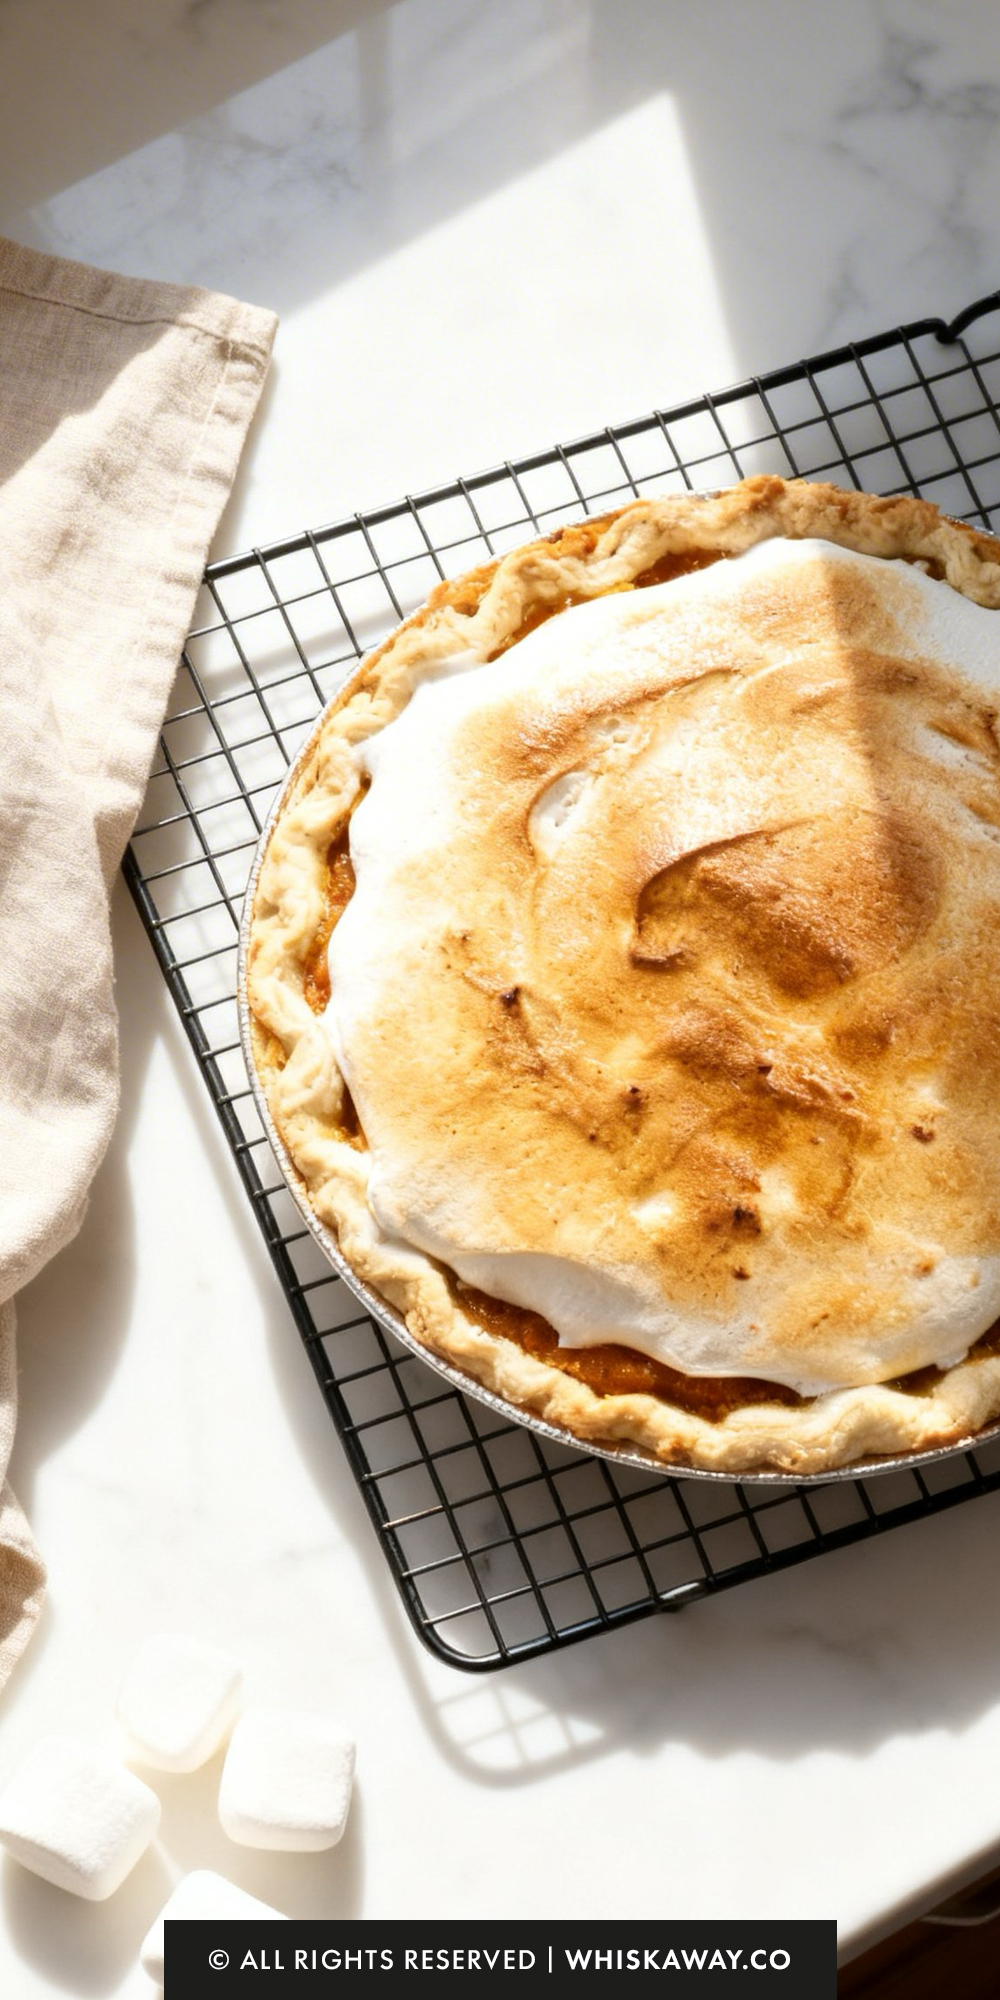
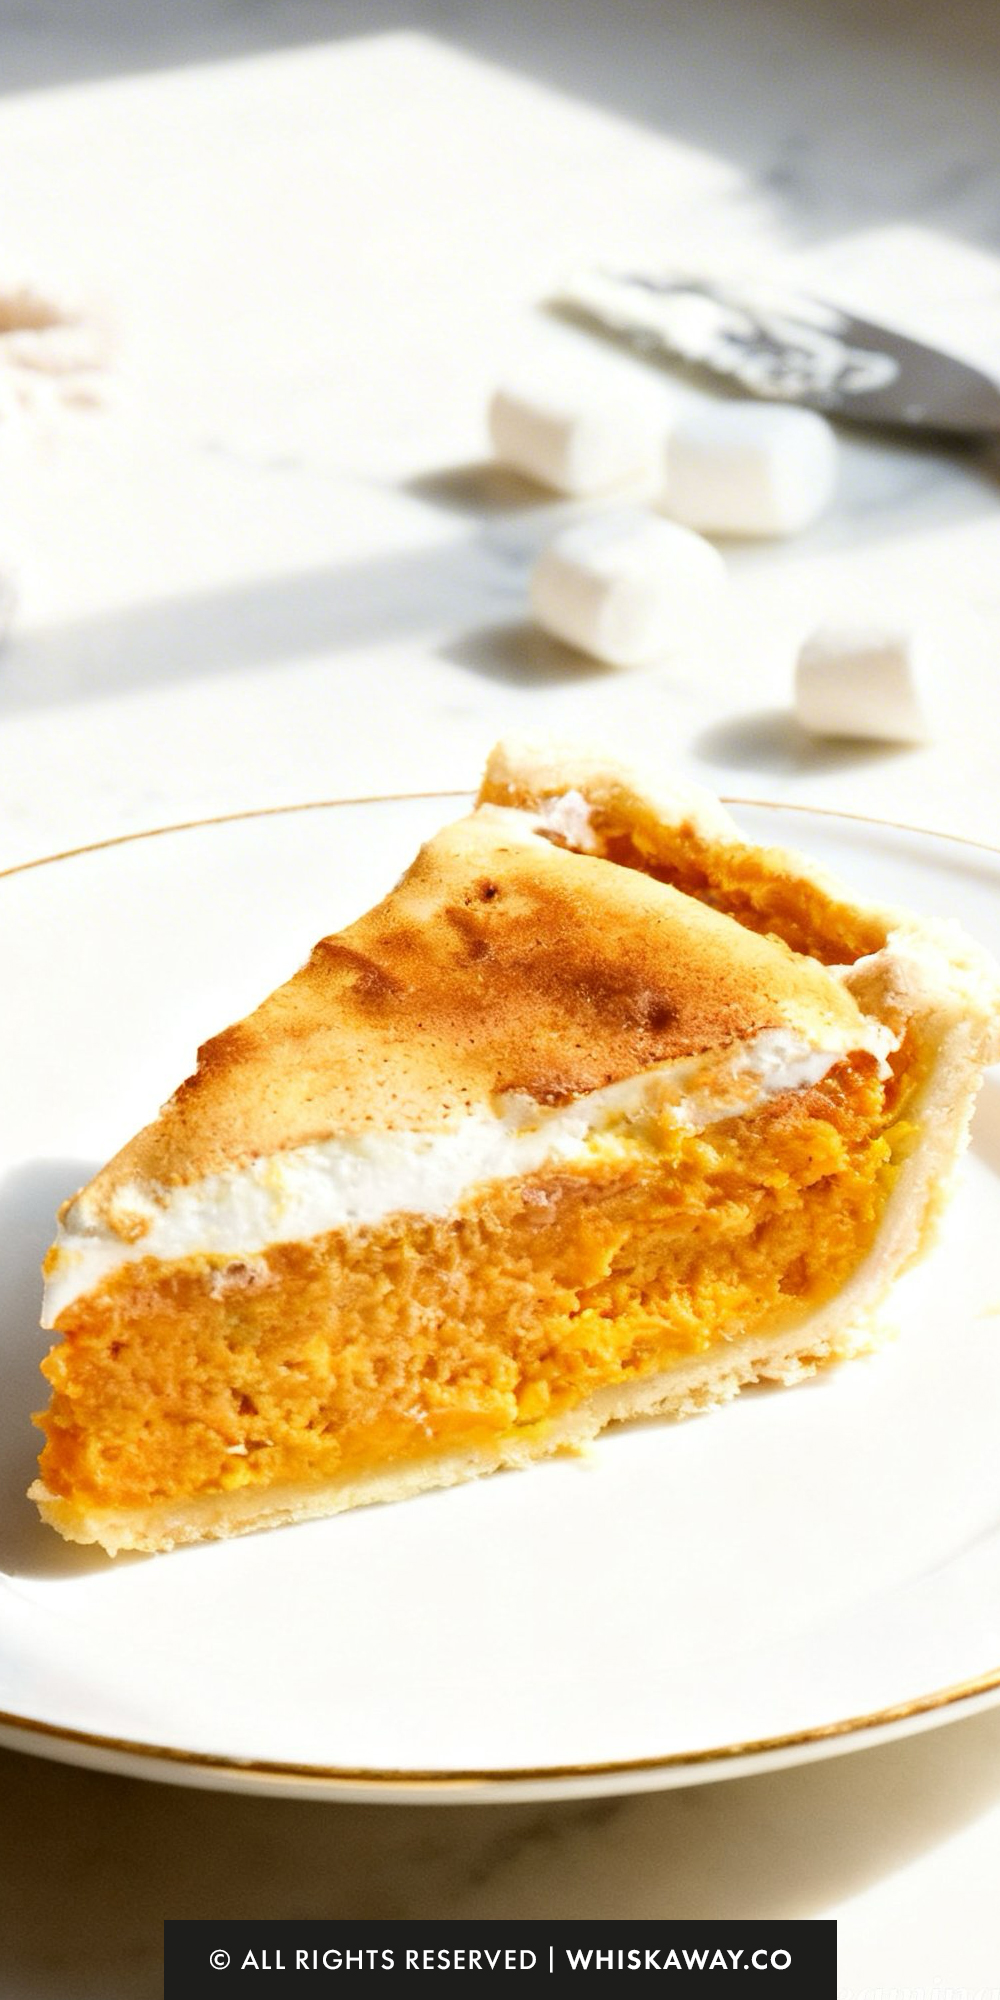
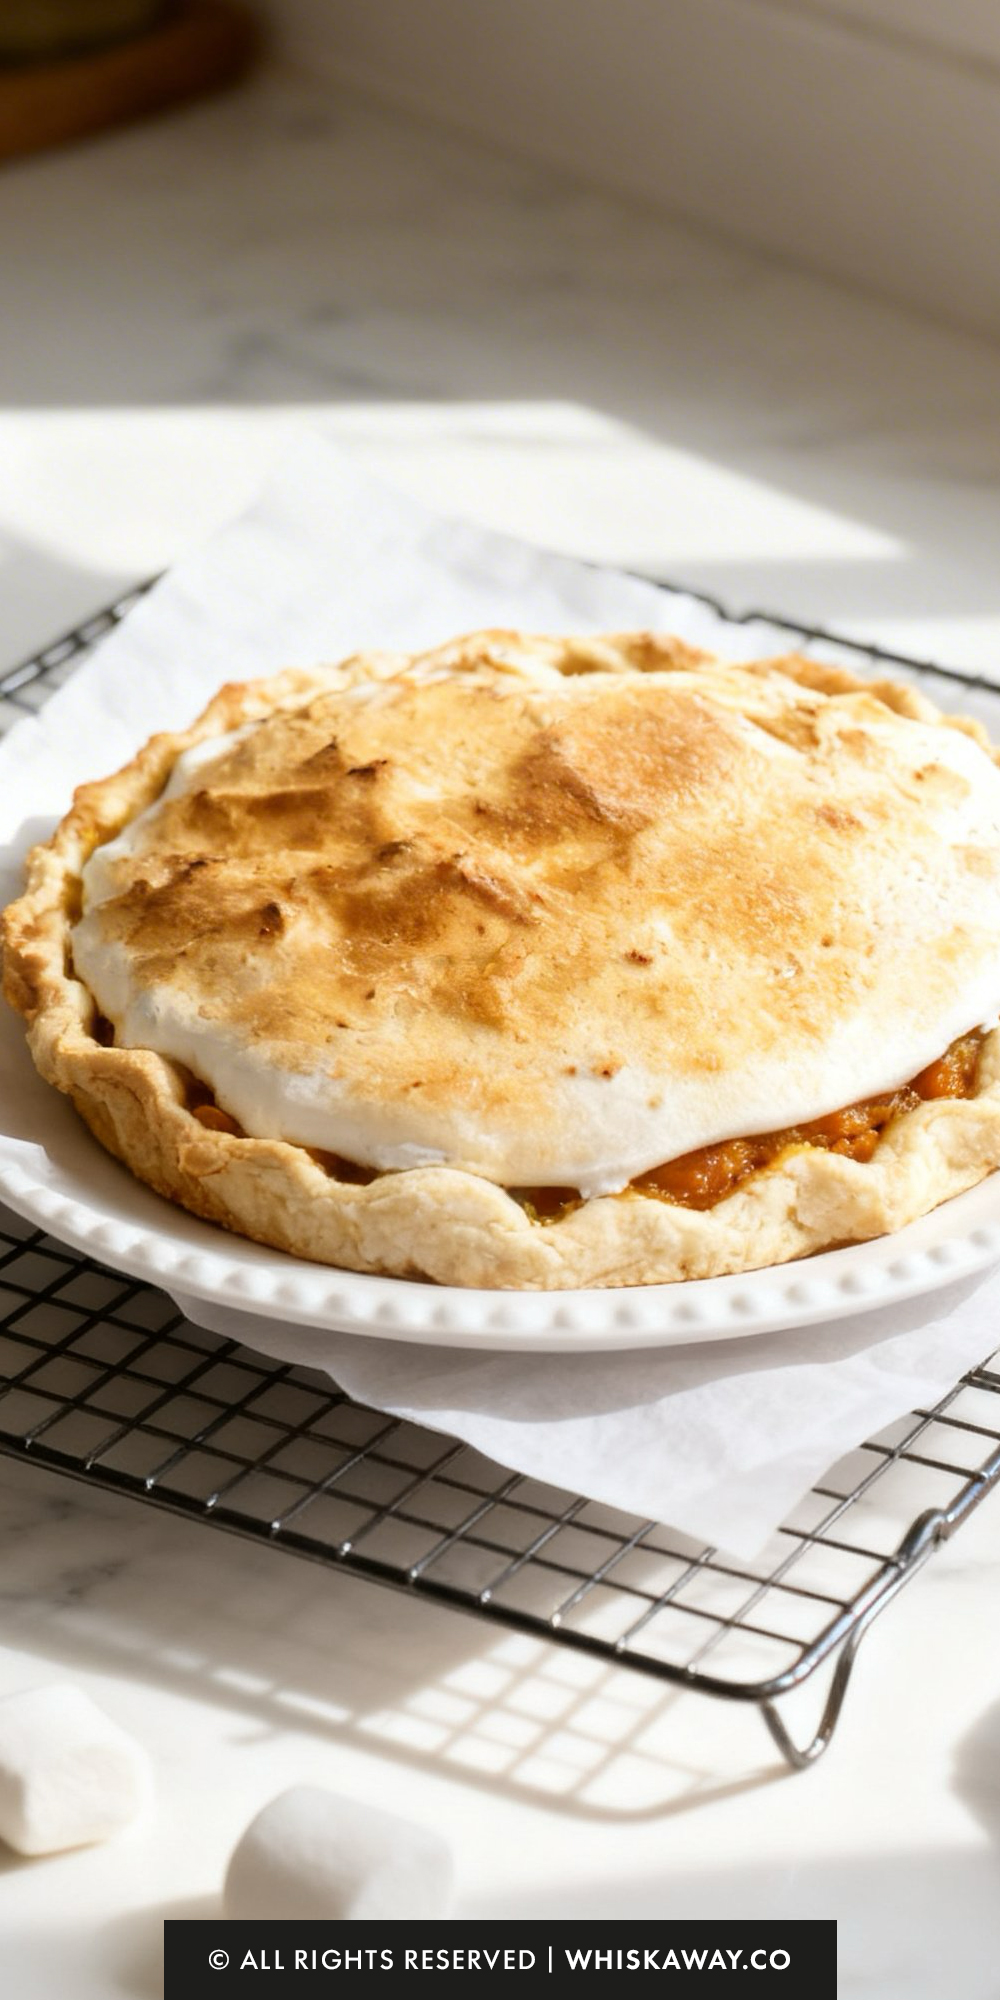
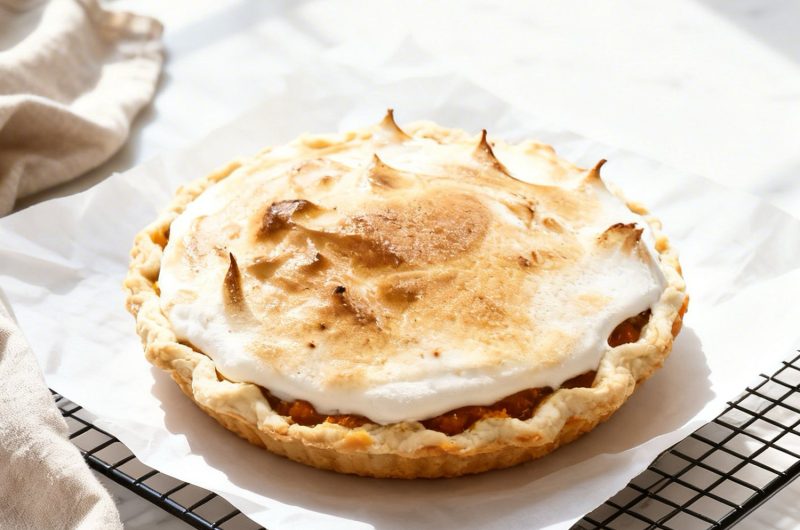
4. The “Marshmallow Cloud” Topper
If you want to lean into the nostalgic “sweet potato casserole” style, do this:
- Spread a thick layer of marshmallow fluff over the cooled pie.
- Use a kitchen torch or the oven broiler for 30–60 seconds to toast the top until it is golden brown.
5. Dietary Adaptations
Gluten-Free:
Use a gluten-free frozen pie shell or a homemade GF crust. Since the filling is naturally thickened by the potato starch and eggs, no changes are needed for the interior.
Dairy-Free:
Replace the whole milk with full-fat canned coconut milk or a barista-blend oat milk for a similar creamy texture.
Substitute the butter with melted coconut oil or a high-quality vegan butter stick.
6. Lower Sugar (Alternative):
Use monk fruit sweetener or erythritol in place of the granulated sugar.
Sweet potatoes are naturally high in sugar, so you may find you can reduce the total sweetener by 25% without losing the “dessert” feel.
How to Properly Store Your Sweet Potato Pie
Because this sweet potato pie is a custard-based dessert, it requires specific temperature controls to keep the filling silky and the crust from becoming soggy.
Unlike fruit pies, the egg and milk content make it more sensitive to its environment.
1. Room Temperature (Cooling Only)
The Window: 2 hours maximum.
Once the pie is out of the oven, it must cool on a wire rack to reach room temperature.
However, it should not sit out longer than two hours due to the dairy and egg content.
Cooling it completely before covering is the most important step to preserve the texture of the top.
2. Refrigeration (The Standard)
Duration: 3 to 4 days.
Wrap the cooled pie tightly with plastic wrap or aluminum foil. If you want to protect the surface, place the pie in a dedicated pie carrier or a large airtight container.
Refrigeration actually helps the spices (if you added any) meld with the potato, often making the pie taste even better on the second day.
3. Freezing (Long-Term)
Duration: Up to 1 month.
Sweet potato pie freezes exceptionally well because of its dense, starchy base. Wrap the fully cooled pie in two layers of plastic wrap, followed by a layer of heavy-duty foil to prevent freezer burn.
Move the pie to the refrigerator 24 hours before you plan to serve it. Do not thaw it on the counter, as this can cause the crust to become gummy and the filling to “weep” moisture.
4. Reheating for the Best Experience
While many enjoy a cold slice of sweet potato pie, warming it slightly can revive the buttery aroma of the crust.
Oven (Recommended): Heat the oven to 300°F (150°C). Cover the pie loosely with foil and warm for 10–15 minutes. This preserves the integrity of the custard while re-crisping the crust.
Microwave (Quick Fix): If reheating a single slice, use 50% power for 30–45 seconds.
Be careful not to overheat, as the high sugar content in the potatoes can become very hot quickly, and the crust may turn rubbery.
5. Storage Mistakes to Avoid
The “Sweat” Trap: Never cover a warm pie. The steam will hit the covering and drop back onto the pie, resulting in a sticky, wet surface and a mushy crust.
Ensure the pie is completely cold to the touch before wrapping.
Odor Absorption: Sweet potatoes and butter are highly porous and will absorb the smell of whatever else is in your fridge (like onions or leftovers). Always use an airtight seal.
Adding Toppings Too Early: If you are using whipped cream or marshmallow fluff, only add them right before serving.
Storing a pie with these toppings will cause the cream to deflate and the marshmallows to dissolve into the filling over time.
FAQs
Can I use canned sweet potatoes or yams instead of fresh?
While you can, it isn’t recommended for the best results. Canned potatoes are often stored in heavy syrup and have a much higher water content. This can make your filling runny and overly sweet. For that authentic, rich flavor and stable texture, stick with oven-roasted fresh sweet potatoes.
Why did my pie develop cracks on the surface while cooling?
Cracking usually happens because of over-baking. When the eggs in the filling are cooked too long, they tighten and pull the custard apart. To prevent this, pull the pie out when the edges are firm but the center still has a slight, springy jiggle. It will finish setting as it cools on the counter.
My filling is a bit stringy. How can I make it smoother?
Sweet potatoes are naturally fibrous. The best way to get a “silky” mouthfeel is to use an electric hand mixer or a food processor to break down those fibers. If your potatoes are particularly stubborn, you can press the mashed potatoes through a fine-mesh strainer before adding the milk and eggs.
Can I use evaporated milk instead of whole milk?
Absolutely. Many traditional Southern recipes actually prefer evaporated milk because it has a lower water content and a higher concentration of milk solids. This results in an even creamier, more decadent filling. Simply swap it 1:1 with the whole milk.
Does the pie need to be served warm or cold?
This is mostly a matter of preference! Serving it warm highlights the buttery, earthy notes of the potato, while serving it chilled (after several hours in the fridge) allows the flavors to meld and ensures the cleanest, most stable slices. If you do serve it warm, make sure it has had at least two hours to “set” first, or it may fall apart.
Sweet Potato Pie
8
Slices15
minutes1
hour45
minutesThis sweet potato pie is smooth, spiced, comforting, and so easy to make at home.
Ingredients
3 medium (390 g) sweet potatoes, baked
1 cup (198 g) granulated sugar
1/2 cup (114 g) milk, whole or evaporated
1/2 cup (113 g) butter
2 large (100 g) eggs, beaten
1 (9-inch) unbaked pie crust
2 teaspoons (9 g) vanilla extract
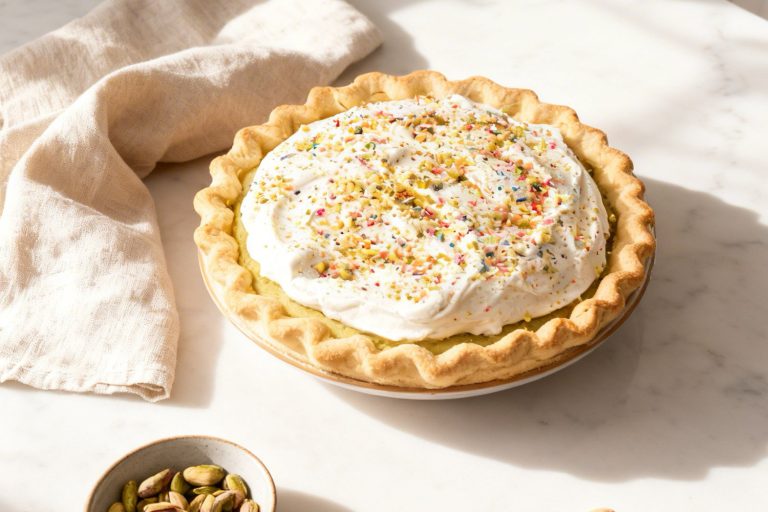
- Optional Toppings
Whipped cream
Marshmallow fluff
Directions
- Start by heating your oven to 400°F. Give your sweet potatoes a good scrub, then pierce each one several times with a fork to let steam escape. Place them on a baking sheet and roast for 45–50 minutes. They’re ready when a toothpick slides into the center with zero resistance.
- Once tender, pull them out and let them sit until they’re cool enough to touch. Slip the skins off—they should peel away easily—and drop the vibrant potato flesh into a large mixing bowl.
- Drop the oven temperature down to 350°F for the pie bake.
- Add the butter to your warm sweet potatoes. Use a masher or a hand mixer to blend them until the mixture is velvety and free of large lumps.
- Incorporate the granulated sugar, stirring until it’s fully dissolved into the potato base.
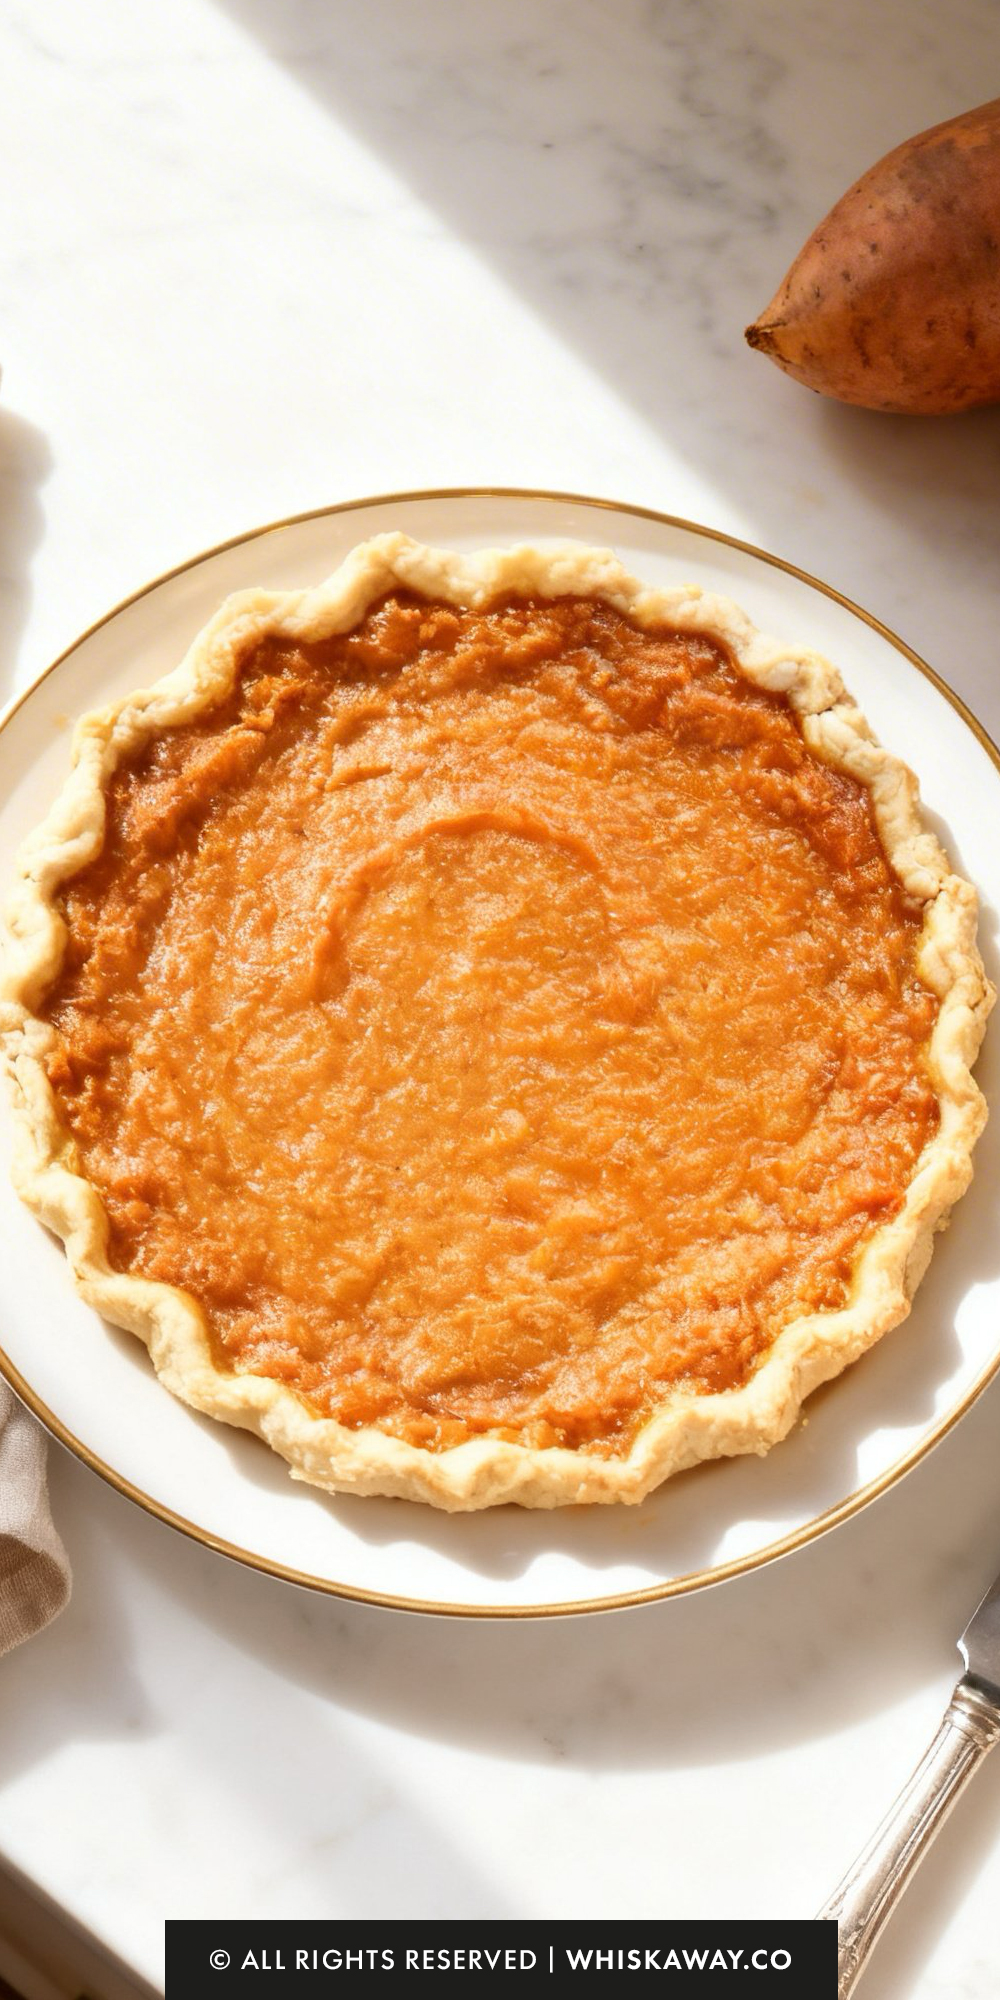
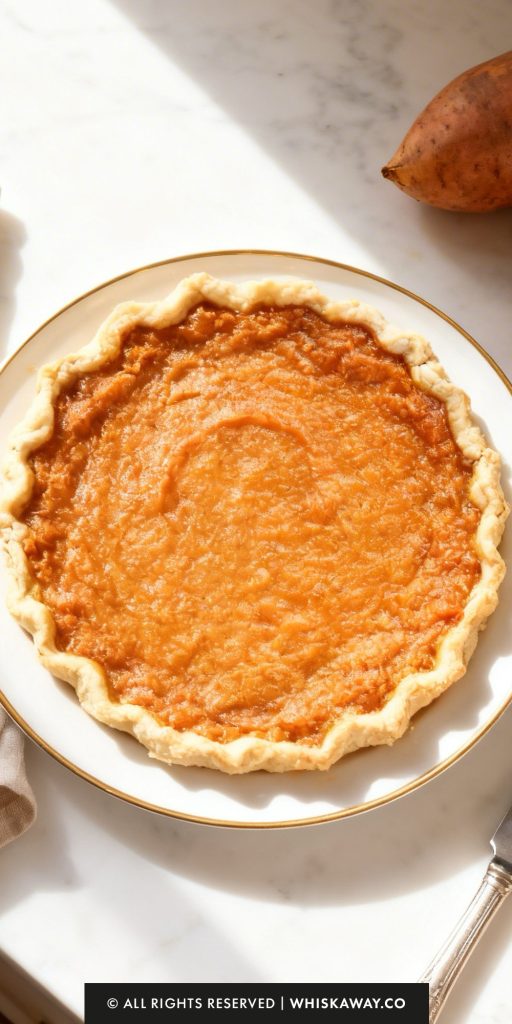
- Finally, pour in the vanilla extract, milk, and beaten eggs. Mix thoroughly until the batter is uniform and smooth. Pour this golden filling into your unbaked pie shell, smoothing the top with a spatula.
- Slide the pie into the oven and bake for approximately one hour. You’ll know it’s finished when the center has puffed slightly and is firm to the touch, no longer looking liquid.
- Take the pie out and let it settle on a wire rack. This cooling period is crucial for the custard to fully set.
- Serve a slice while it’s still slightly warm for a cozy treat, or let it reach room temperature for cleaner slices. Top each piece with a generous dollop of whipped cream or a swirl of marshmallow fluff before serving.