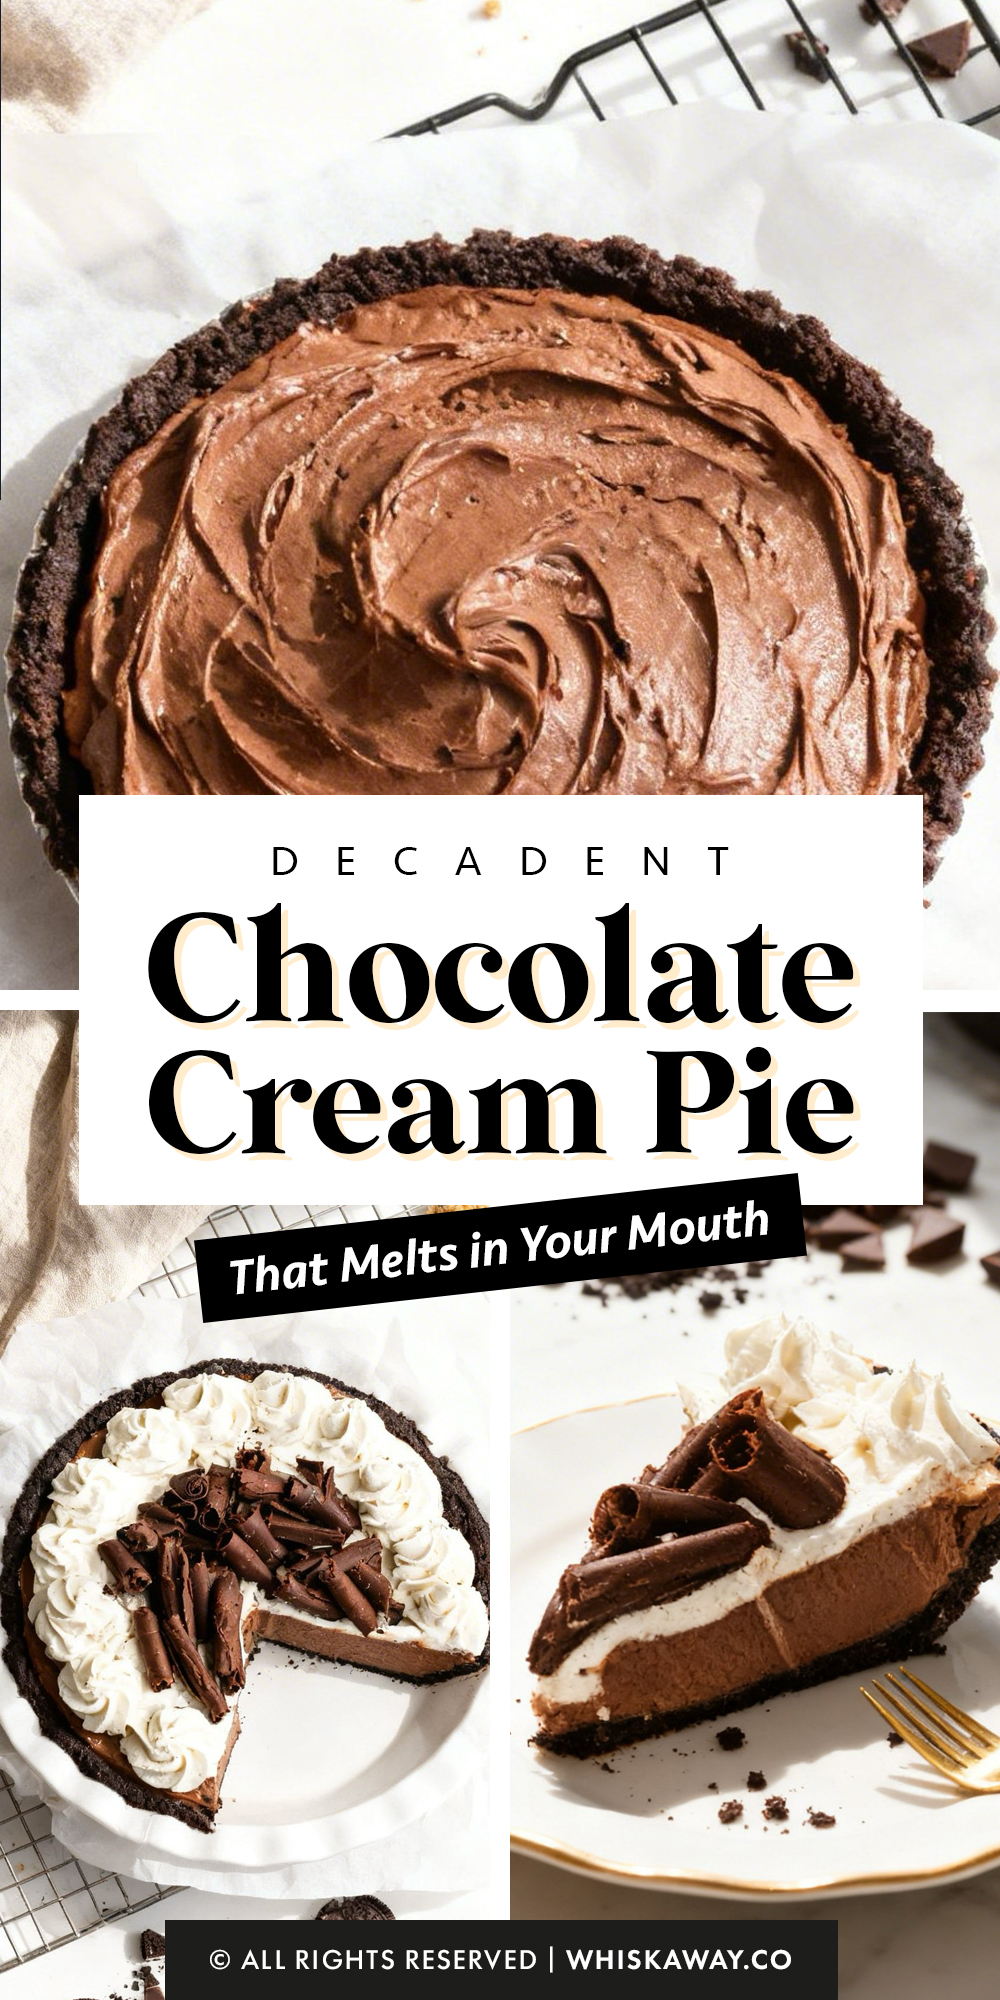
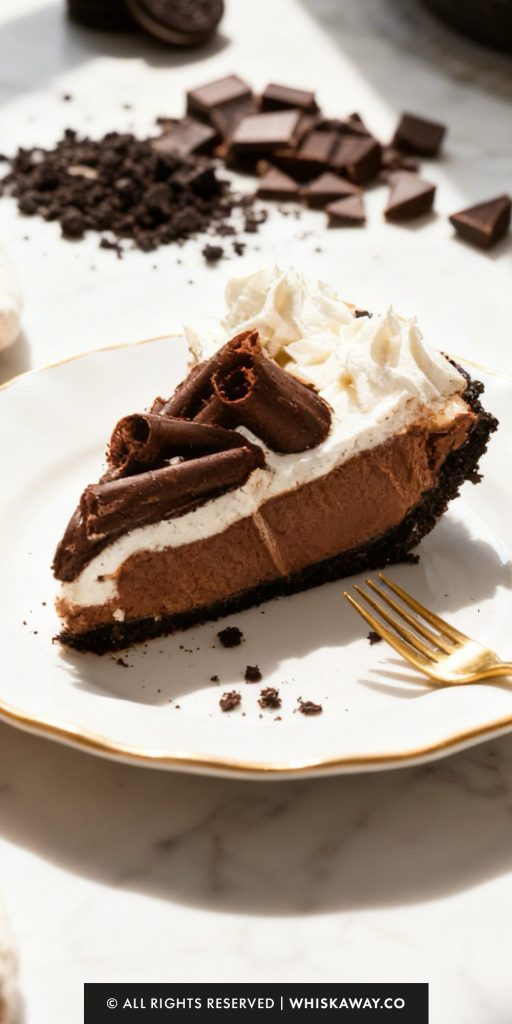
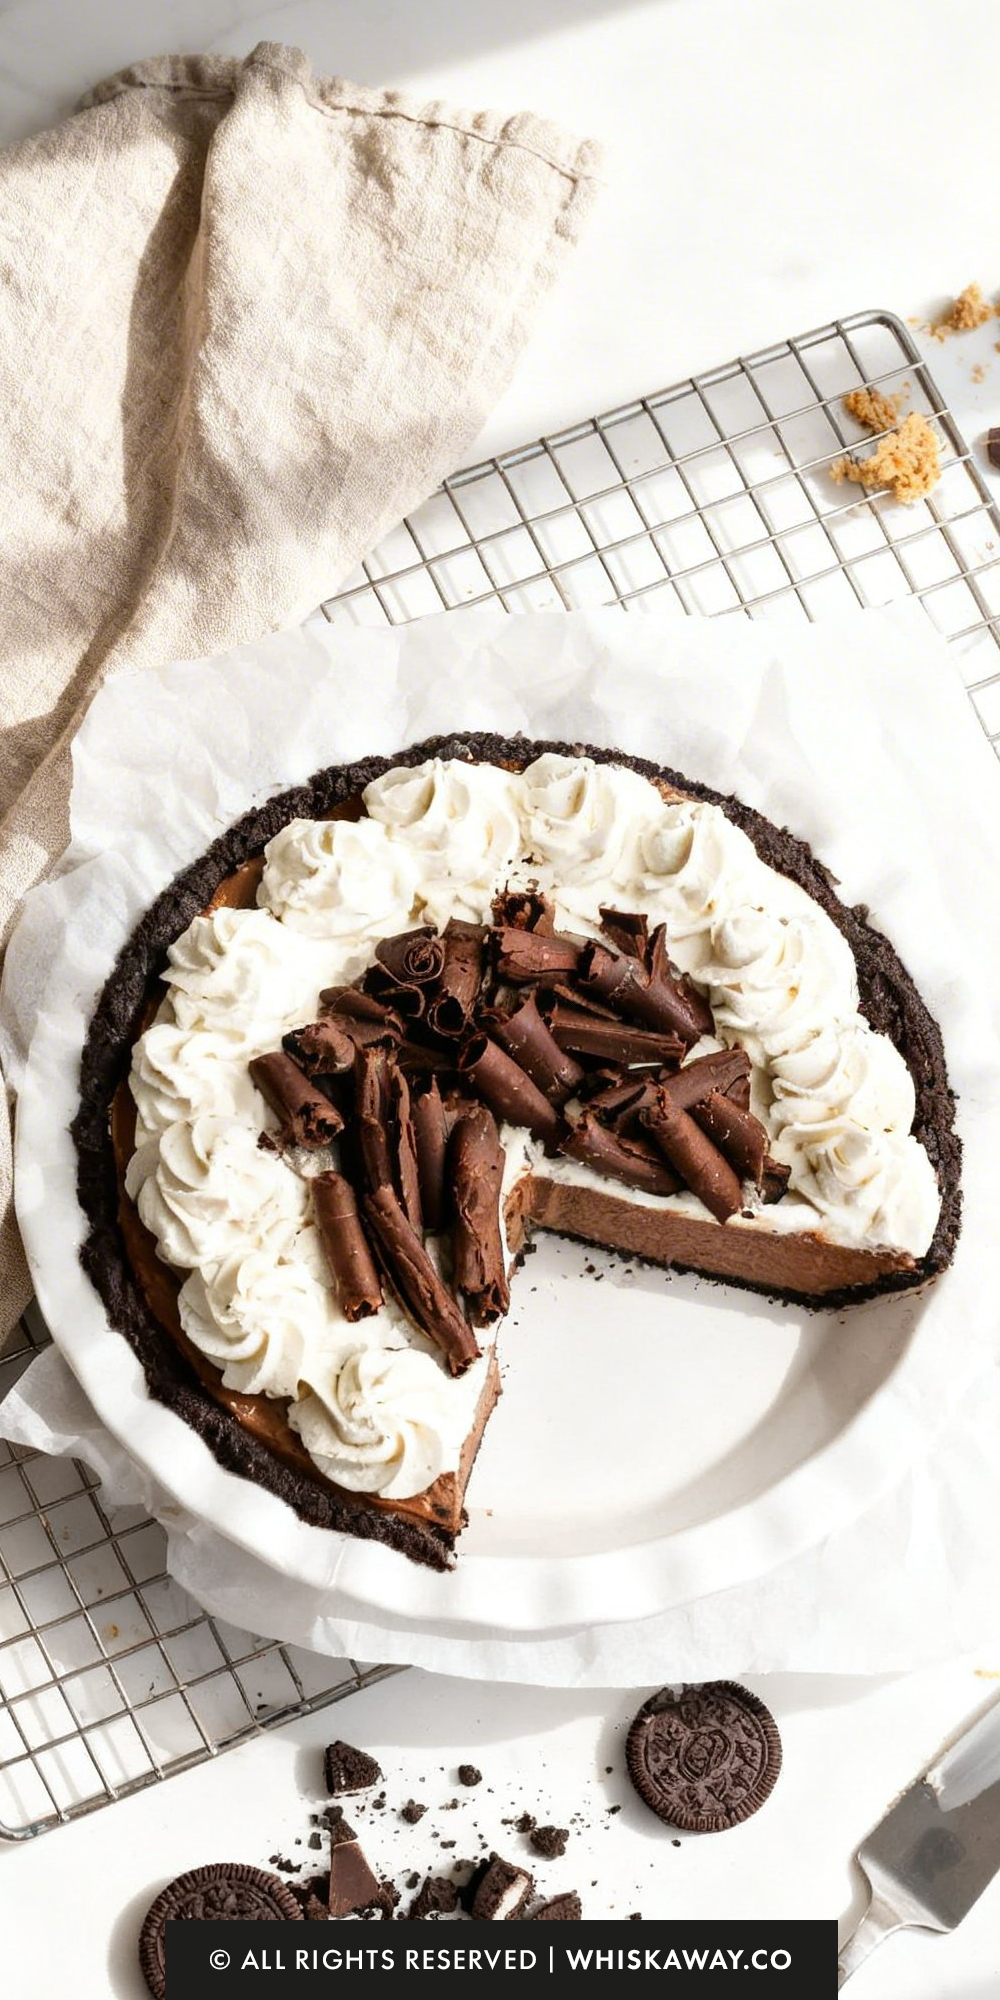
Ever craved a pie that’s rich, creamy, and chocolatey all at once? This chocolate cream pie delivers a silky chocolate filling nestled in a crisp crust, topped with fluffy whipped cream.
The combination of textures, crunchy crust, smooth filling, and light topping, makes it an unforgettable dessert. Whether it’s a special occasion or a treat for yourself, this pie is bound to impress and satisfy any chocolate lover.
Why You’ll Love This Recipe
Chocolate cream pie is beloved for its pudding-like filling that’s cooked just enough to become dense yet spoon-smooth.
What Makes Them Special
- Custard thickened on the stovetop for deep chocolate intensity
- Glossy, cohesive filling that doesn’t separate when sliced
- Thick whipped topping offsets the richness
- Chilled set creates a clean, structured wedge
- Flavor deepens after refrigeration, making it ideal for advance prep
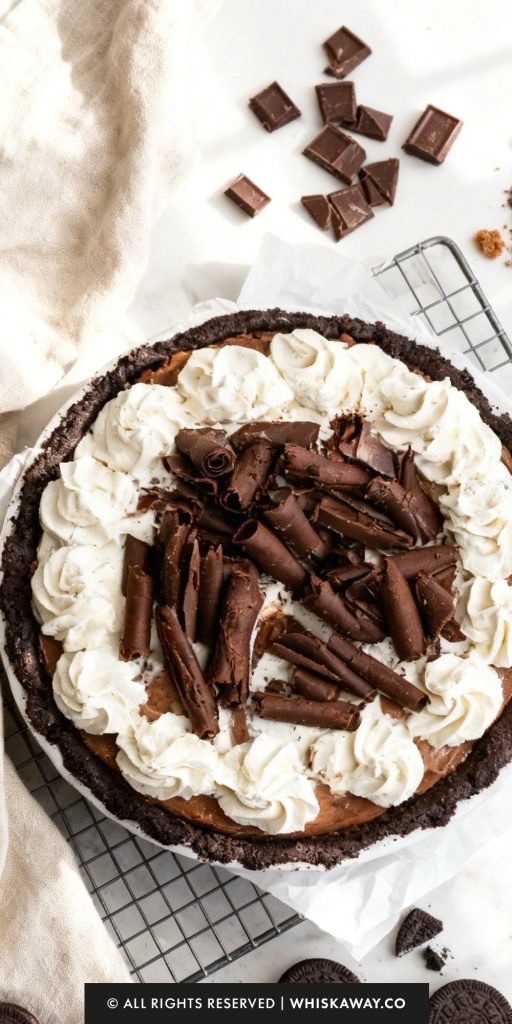
Save This Pin for Later to Your Pinterest Board
🔥 For more silky, decadent desserts with creamy fillings, don’t miss these indulgent options:
How to Get Your Chocolate Cream Pie Just Right
A world-class chocolate cream pie depends on two things: a velvety, stable custard and a crust that doesn’t crumble the moment you touch it. Because this recipe uses a cooked pudding base, technique is everything.
Here is how to ensure your pie is professional-grade.
1. Respect the Tempering Process
Pouring cold egg yolks directly into boiling milk will cause the eggs to scramble instantly, leaving you with “egg bits” in your chocolate.
Go slow. Adding the hot milk to the yolks one spoonful at a time gradually warms them up.
This allows the proteins to relax so they can thicken the milk into a smooth sauce rather than solidifying into clumps.
2. The Big Bubble Rule
Cornstarch must reach a certain temperature to activate its thickening power.
Once you combine the eggs and milk, you must whisk until you see a few large bubbles pop on the surface.
If you stop before this point, the pudding may look thick while hot but will turn into a runny liquid once it reaches room temperature.
3. Quality Chocolate is Key
Since chocolate is the primary flavor, avoid using standard semi-sweet chocolate chips if possible.
Most chocolate chips contain stabilizers that prevent them from melting smoothly.
For the most luxurious, “melt-in-your-mouth” texture, use a high-quality chocolate bar (like Ghirardelli or Guittard) and chop it finely.
The smaller the pieces, the faster they will emulsify into the hot custard.
4. Preventing the “Pudding Skin”
As pudding cools, the surface evaporates and creates a tough, rubbery layer.
Press your plastic wrap directly onto the surface of the hot filling. Do not just cover the pie dish; the wrap should be touching the chocolate.
This keeps the surface as creamy as the center.
5. The Secret to Stable Whipped Cream
Ensure your bowl, beaters, and cream are all ice-cold before you start.
Stop mixing the moment you see “soft peaks”, where the cream holds its shape but the tip of the peak curls over when you lift the beaters.
If you over-beat it, the cream will become grainy and eventually turn into butter.
6. Common Mistakes to Avoid
Soggy Oreo Crust: If your crumbs aren’t fine enough, the butter won’t bind them correctly. Use a food processor until the Oreos look like dark sand.
Also, don’t skip the 10-minute bake; this “sets” the sugar and butter, creating a waterproof barrier for the pudding.

Thin Filling: If your pie is still runny after 6 hours, it usually means the custard didn’t boil long enough to activate the cornstarch, or the milk-to-cornstarch ratio was off.
Always use level tablespoons for your cornstarch measurements.
Cutting Too Soon: It is incredibly tempting to slice this pie early. However, the chocolate and cornstarch need that full 4–6 hour chill to achieve a clean cut.
If you cut it while even slightly warm, the filling will slump.
Baking Tips for This Recipe
- Whisk constantly while cooking the custard, especially around the edges of the pan where scorching begins.
- Once thickened, let it bubble for a full 60 seconds to eliminate any starchy taste.
- Press plastic wrap directly onto the custard surface while chilling to prevent a skin from forming.
- Pour filling into the crust while still warm so it spreads evenly without trapping air pockets.
- Chill at least 4 hours for clean slices.
Variation Tips
The Chocolate Cream Pie is the ultimate comfort dessert, but its rich, custardy base is surprisingly adaptable.
Whether you want to experiment with different crusts or add a sophisticated flavor twist, here are several ways to customize your pie.
1. The “Peanut Butter Cup” Twist
For the fan-favorite chocolate and peanut butter combination:
- Swirl 1/4 cup of creamy peanut butter into the hot chocolate filling just before pouring it into the crust.
- Stick with the Oreo base, but sprinkle crushed peanut butter cups over the bottom before adding the filling.
- Garnish with a drizzle of melted peanut butter over the whipped cream.
2. Mocha or Espresso Infusion
Coffee deepens the flavor of chocolate, making it taste richer and more complex.
Dissolve 2 teaspoons of espresso powder into the milk as it heats up.
This cuts through the sweetness of the sugar and creates a “grown-up” version of the classic chocolate pie.
3. Swap the Crust
While Oreo is the classic choice, changing the base can completely alter the texture:
- Graham Cracker: For a lighter, honey-noted base that tastes like a S’more.
- Pretzel Crust: Crush pretzels and mix with butter and sugar for a salty-sweet contrast that balances the rich chocolate.
- Shortbread: Use crushed shortbread cookies for a buttery, melt-in-your-mouth foundation.
4. Boozy Chocolate Mousse Style
For a dinner party dessert:
- Whisk in 1 to 2 tablespoons of dark rum, Bourbon, or Kahlúa into the filling along with the vanilla extract.
The alcohol thins the custard slightly but adds a sophisticated warmth that lingers on the palate.
5. Dietary Adaptations
Gluten-Free:
- The Crust: Use Gluten-Free Oreos or a gluten-free graham cracker substitute.
- The Filling: The filling is naturally thickened with cornstarch (which is gluten-free), so as long as your chocolate is certified GF, this is an easy swap.
Dairy-Free / Vegan:
- The Milk: Use full-fat oat milk or coconut milk. Avoid almond milk, as it is too thin to create a stable custard.
- The Chocolate: Ensure you use dairy-free semi-sweet chocolate.
- The Butter: Use a high-quality vegan butter stick.
- The Topping: Replace the heavy cream with chilled coconut cream whipped with powdered sugar.
Note: For a fully vegan version, you would need an egg-yolk substitute like a cornstarch slurry, though the texture will be less “custardy”.
Reduced Sugar:
Use bittersweet chocolate (70% cocoa or higher) and reduce the granulated sugar to 1/4 cup. The pie will be intensely chocolatey without being overly sweet.
How to Properly Store Your Chocolate Cream Pie
A Chocolate Cream Pie is essentially a fresh custard held together by fats and starches.
Because it contains high amounts of dairy and egg yolks, it is a perishable dessert that requires constant refrigeration to stay safe and maintain its silky structure.
1. Room Temperature (Safety First)
Do not leave this pie out for more than 2 hours.
Beyond two hours, the dairy and eggs enter the “danger zone” for bacterial growth.
Additionally, the whipped cream topping will begin to deflate and weep, which can make the Oreo crust soggy.
2. Refrigeration (The Standard)
Duration: 3 to 4 days.
Keep the pie in the refrigerator at all times.
Once the whipped cream has been added, it is best to store the pie in a deep pie carrier or under a large inverted bowl.
If you haven’t added the whipped cream yet, keep the plastic wrap pressed directly against the chocolate surface. If the whipped cream is already on top, avoid touching it with plastic wrap, as it will stick and ruin the aesthetics.
3. Freezing (Use with Caution)
Duration: Up to 1 month.
You can freeze the pie, but it is best to do so without the whipped cream topping.
Wrap the chilled chocolate-filled crust tightly in several layers of plastic wrap and then a layer of foil.
Thaw slowly in the refrigerator overnight.
Note that freezing can slightly change the texture of the cornstarch-based pudding, making it a bit more “spongy” or causing it to release a little water (syneresis) upon thawing.

4. Tips for Freshness and Serving
Slicing for Storage: If you have leftovers, it is often better to slice the remaining pie and place the individual pieces in airtight containers.
This prevents the exposed “cut” sides of the filling from drying out in the fridge air.
No Reheating: This is a cold-serve pie. Never attempt to reheat it, as the chocolate custard will melt back into a liquid and the Oreo crust will lose its crunch.
Refresh the Topping: If you are eating the pie on day 3 or 4 and the whipped cream looks a bit flat, you can gently scrape off the old topping and add a fresh batch of whipped cream to “revive” the dessert.
5. Storage Mistakes to Avoid
Storing Near Strong Odors: Custards and fats (like butter and cream) are highly absorbent.
If you store your pie uncovered near cut onions or garlicky leftovers, the pie will pick up those flavors within hours.
Skipping the Surface Wrap: If the chocolate filling is exposed to air during its initial set, it will develop a thick, leathery “skin.”
Always ensure the plastic wrap is in physical contact with the pudding until you are ready to top it with cream.
Freezing with Whipped Cream: Real whipped cream does not freeze and thaw well; it often becomes grainy or collapses into a watery mess.
Always add the whipped cream fresh after thawing the base.
FAQs
My pudding filling is too runny and won’t hold its shape—why?
This is usually caused by one of two things: either the cornstarch wasn’t fully activated or the tempering was skipped. Cornstarch needs to reach a gentle boil (look for those big, slow bubbles) to “bloom” and thicken properly. If the mixture didn’t boil, it won’t set. Additionally, ensure you use whole milk, as lower-fat versions lack the proteins needed for a sturdy set.
Can I use chocolate chips instead of chopped chocolate bars?
While you can, it isn’t recommended for the best texture. Chocolate chips contain stabilizers designed to help them keep their shape when heated, which can lead to a slightly grainier or “waxy” pudding. For a truly velvety, professional-grade filling, use a high-quality baking bar or semi-sweet chocolate blocks.
Why did my Oreo crust crumble when I tried to slice it?
A crumbling crust is often due to undermixed butter or crumbs that are too large. Ensure your Oreos are processed into a fine, sandy meal so the melted butter can coat every particle. Also, don’t skip the 10-minute bake; the heat melts the sugar in the cookies, which acts as a “glue” once it cools and hardens.
How do I prevent those little yellow bits of egg in my chocolate?
Those bits are actually tiny pieces of scrambled egg. This happens if the hot milk is added too quickly to the yolks. The tempering step is vital—gradually warming the eggs with small splashes of hot milk allows them to incorporate into the liquid smoothly. If you do end up with a few bits, simply pour the hot pudding through a fine-mesh strainer before adding the chocolate and butter.
Can I make this pie ahead of time?
Yes! In fact, this pie is better when made ahead. The chocolate filling needs at least 4 to 6 hours to firm up, but an overnight rest is even better for achieving clean, sharp slices. However, wait to add the whipped cream topping until you are within a few hours of serving, as real whipped cream can start to “weep” or lose its volume after 24 hours.
Chocolate Cream Pie
16
Slices6
hours20
minutesThis chocolate cream pie recipe delivers a rich, silky filling in a crisp, buttery crust.
Ingredients
2 1/2 cups whole milk
24 Oreo cookies
1 cup heavy whipping cream
8 ounces good quality semi-sweet chocolate, chopped
6 Tablespoons salted butter, chopped into pieces
6 large egg yolks
5 Tablespoons butter
1/3 cup granulated sugar
2 Tablespoons powdered sugar (or granulated sugar)
2 Tablespoons cornstarch
1 1/2 teaspoons vanilla extract (for the filling)
1 1/2 teaspoons vanilla extract (for the topping)
Directions
- Begin by preheating your oven to 350°F (175°C).
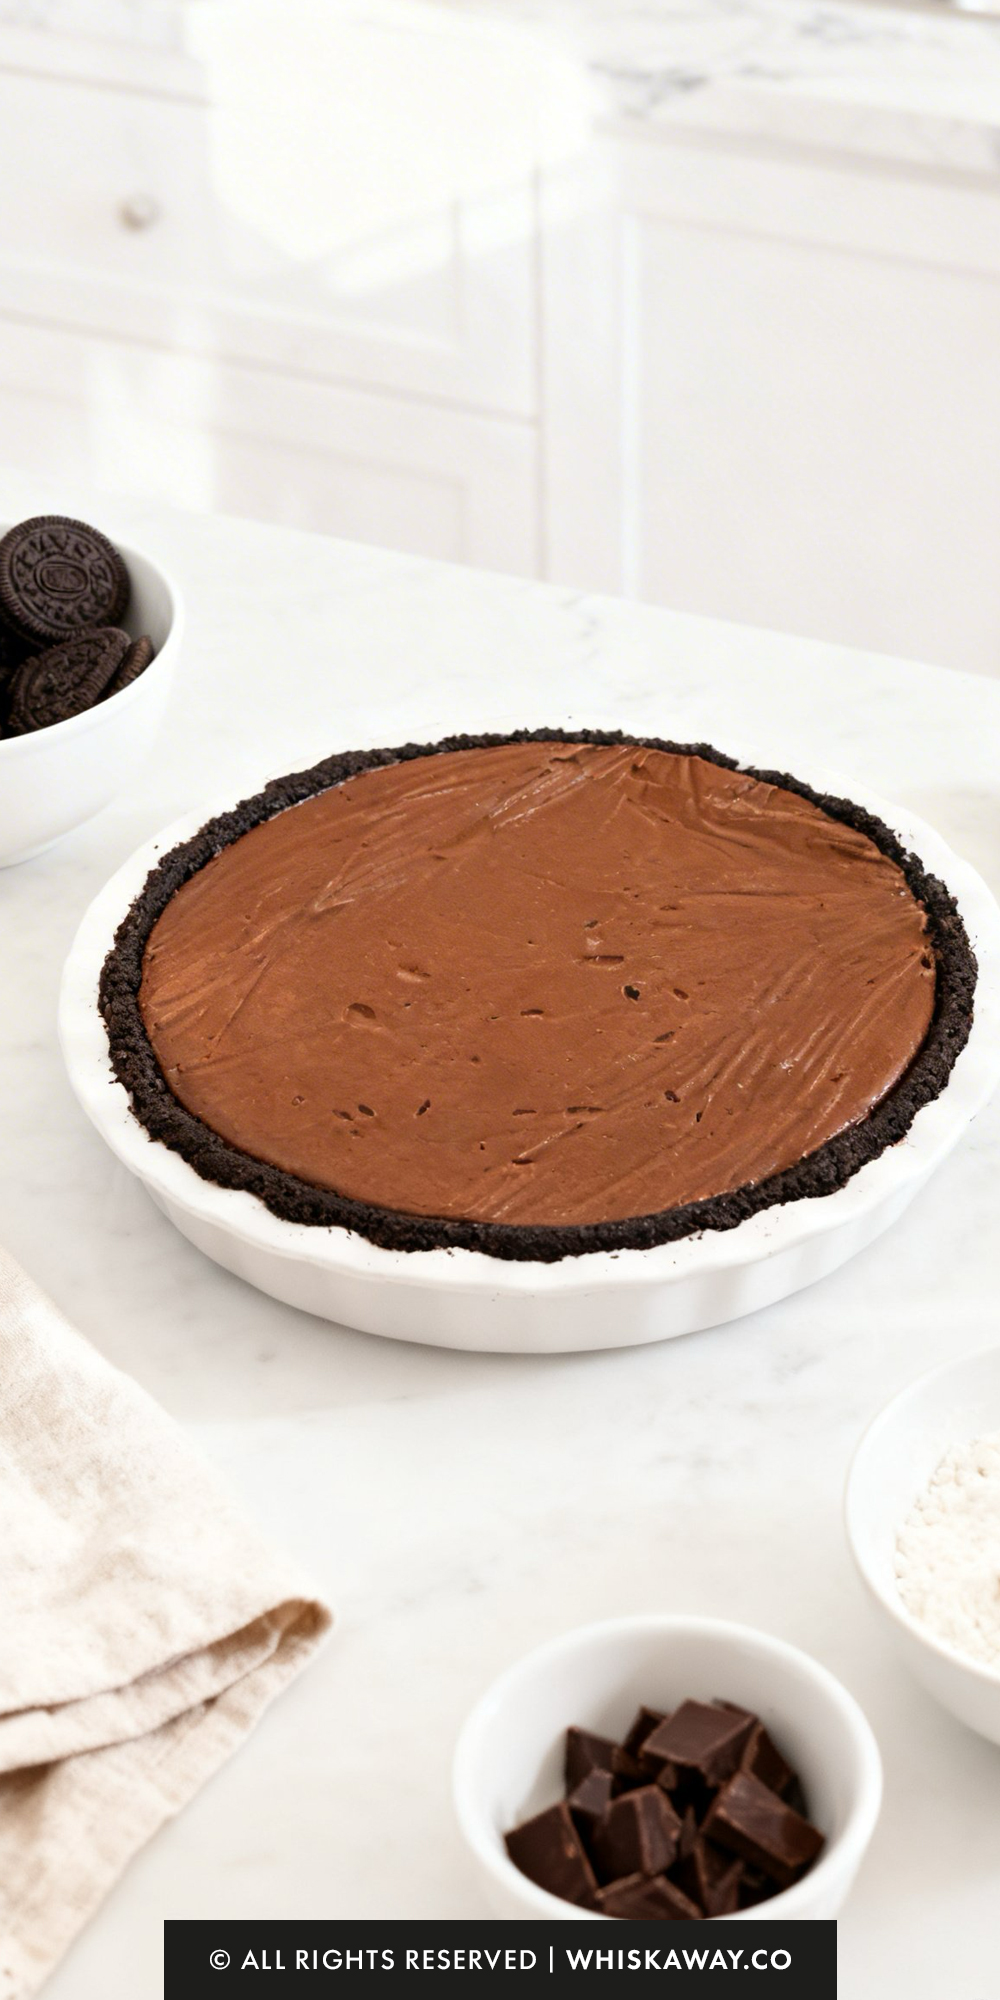
- Place the whole Oreo cookies into a food processor and pulse until they reach a fine, sandy consistency. Transfer the crumbs to a bowl and stir in the melted butter until the mixture looks like wet sand. Press this firmly into the bottom and along the sides of a 9-inch pie plate. Bake the crust for 10–12 minutes, then remove it from the oven to cool completely.Pro-Tip: You can prepare this crust up to 48 hours in advance; just keep it covered at room temperature.
- In a medium saucepan, whisk together the sugar and whole milk. Place the pan over medium heat, stirring often to prevent the sugar from scorching. Heat the mixture until it just reaches a gentle simmer.
- While the milk heats, whisk the egg yolks and cornstarch together in a separate bowl until the texture is completely smooth. Once the milk is simmering, slowly drizzle a few spoonfuls of the hot liquid into the yolk mixture while whisking constantly. Continue adding a few more spoonfuls to gradually raise the temperature of the eggs without scrambling them.
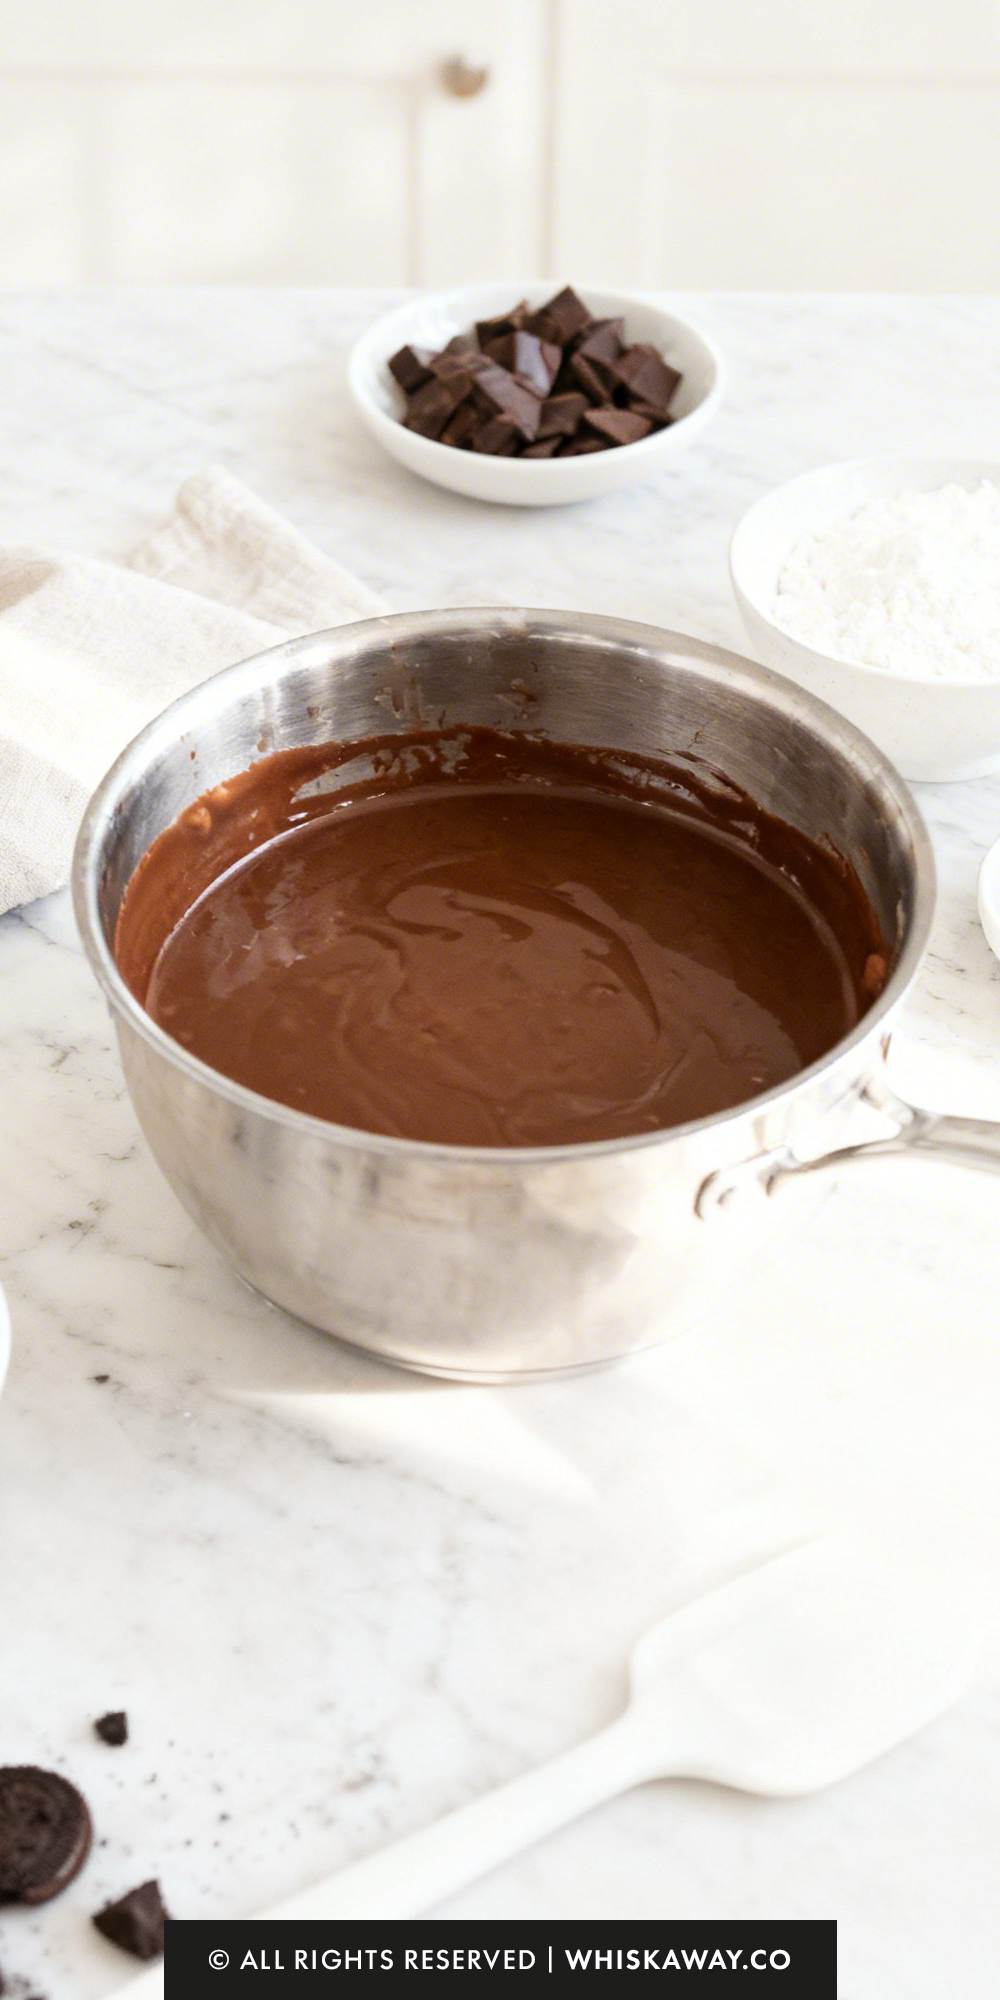
- Slowly pour the tempered egg mixture back into the saucepan with the remaining hot milk. Whisk continuously over medium heat. As the cornstarch activates, the mixture will thicken. Continue whisking until it reaches a soft boil—look for large bubbles that slowly break the surface.
- Take the pan off the heat immediately. Stir in the chopped chocolate, butter pieces, and vanilla extract. Continue whisking until the chocolate is fully melted and the filling is glossy and smooth.
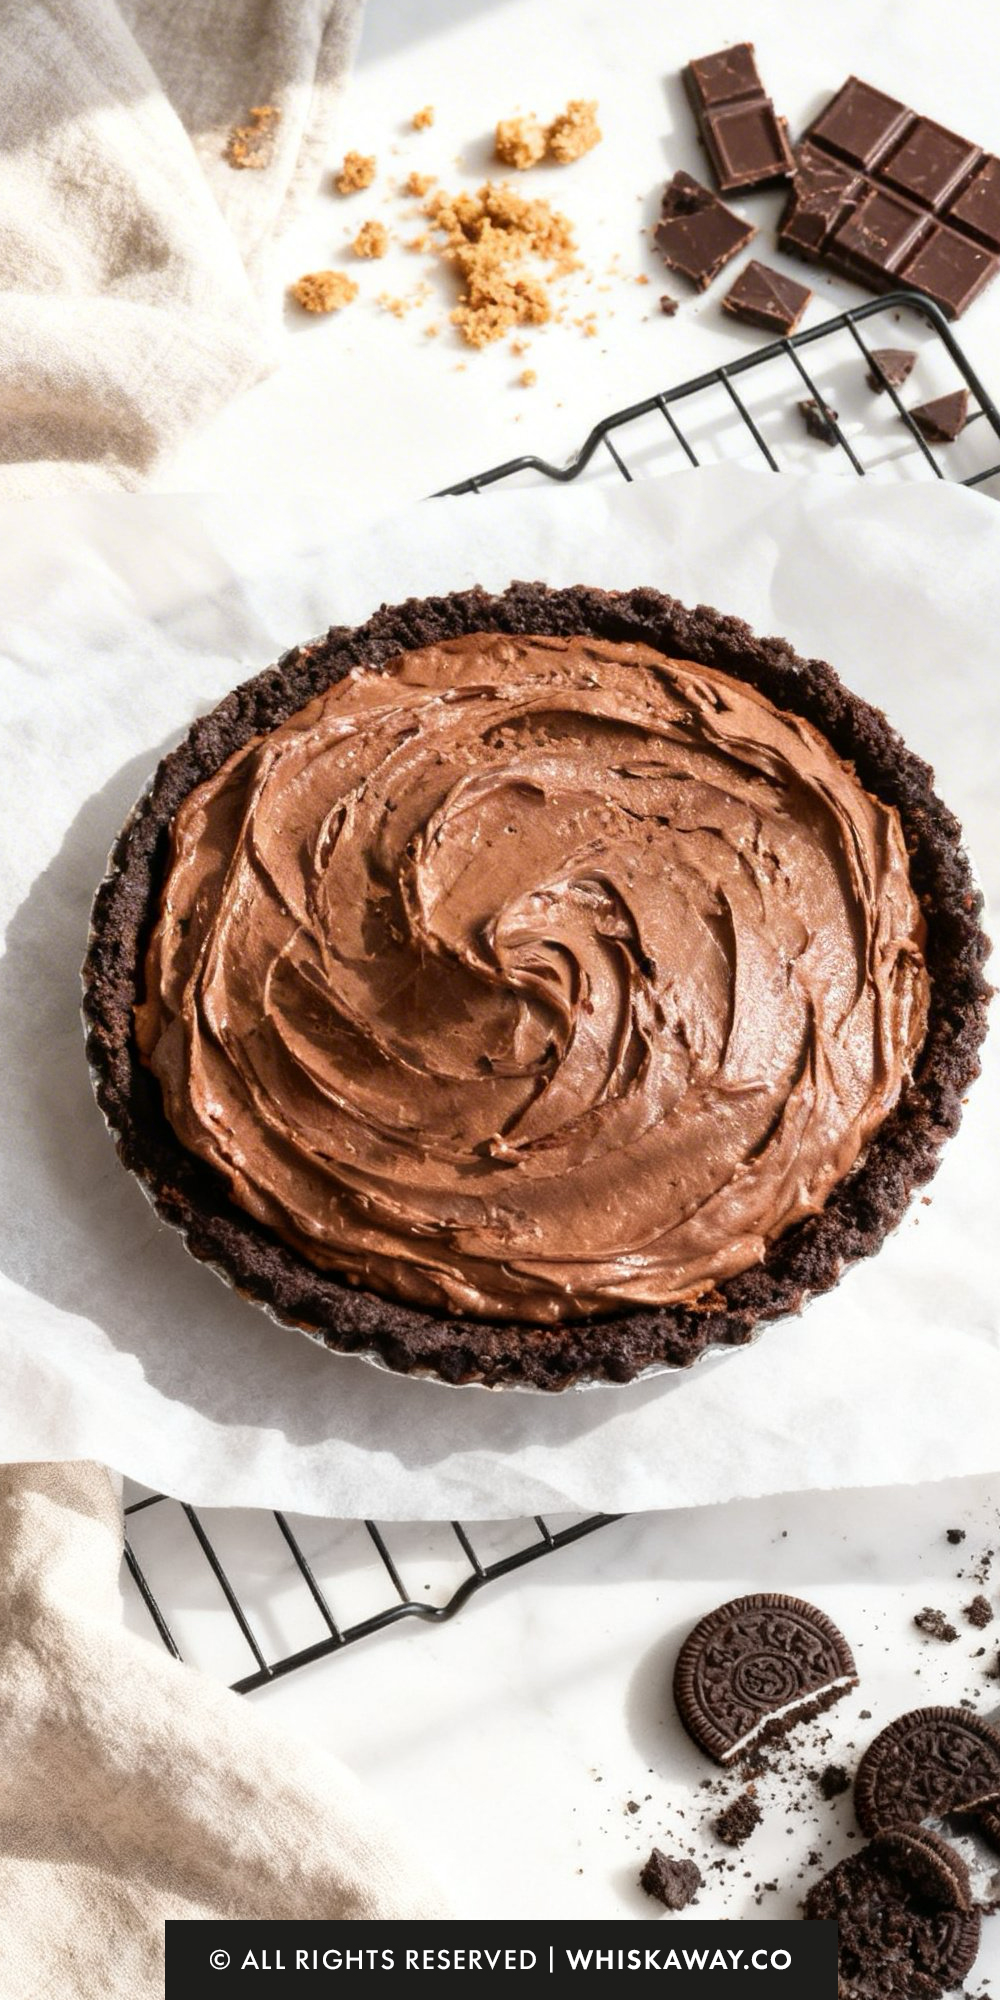
- Pour the warm chocolate filling into your prepared cookie crust and level the top with a spatula. Gently press a piece of plastic wrap directly onto the surface of the pudding; this prevents a "skin" from forming. Refrigerate for at least 4 to 6 hours, or ideally overnight, until the filling is firm.
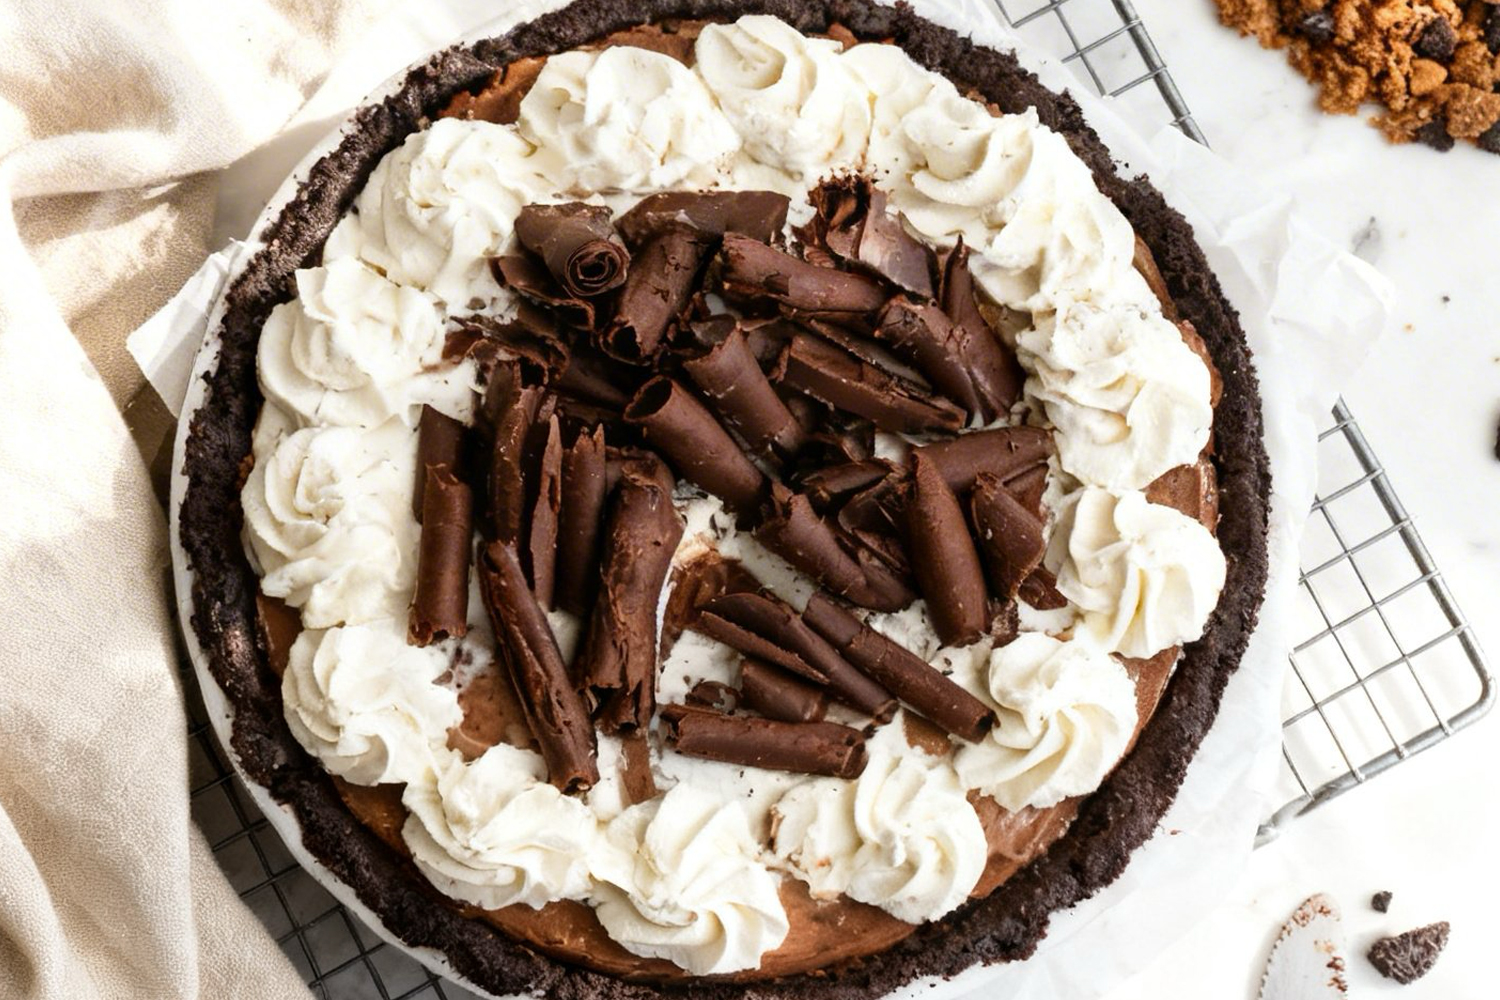
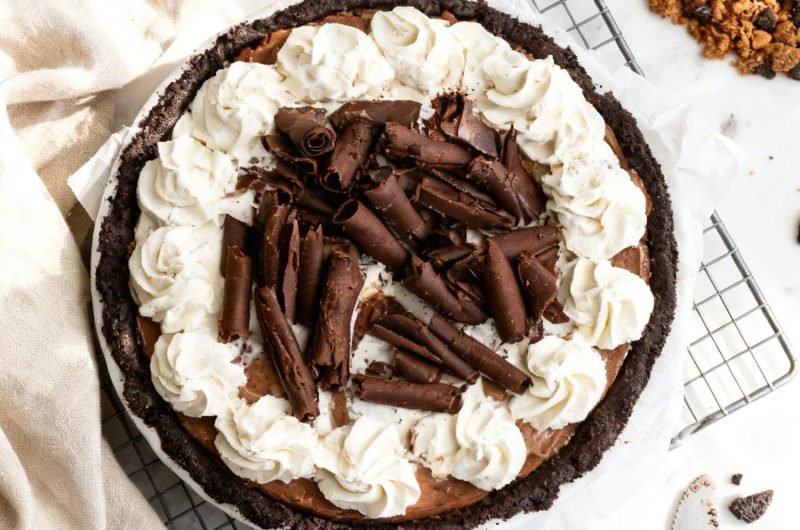
- When you are ready to serve, prepare the whipped topping. Using an electric mixer, beat the heavy cream on high speed until it begins to thicken. Sift in the powdered sugar and add the vanilla, then continue beating until soft, billowy peaks form. Spread the whipped cream over the chilled chocolate layer and decorate with chocolate shavings or curls.