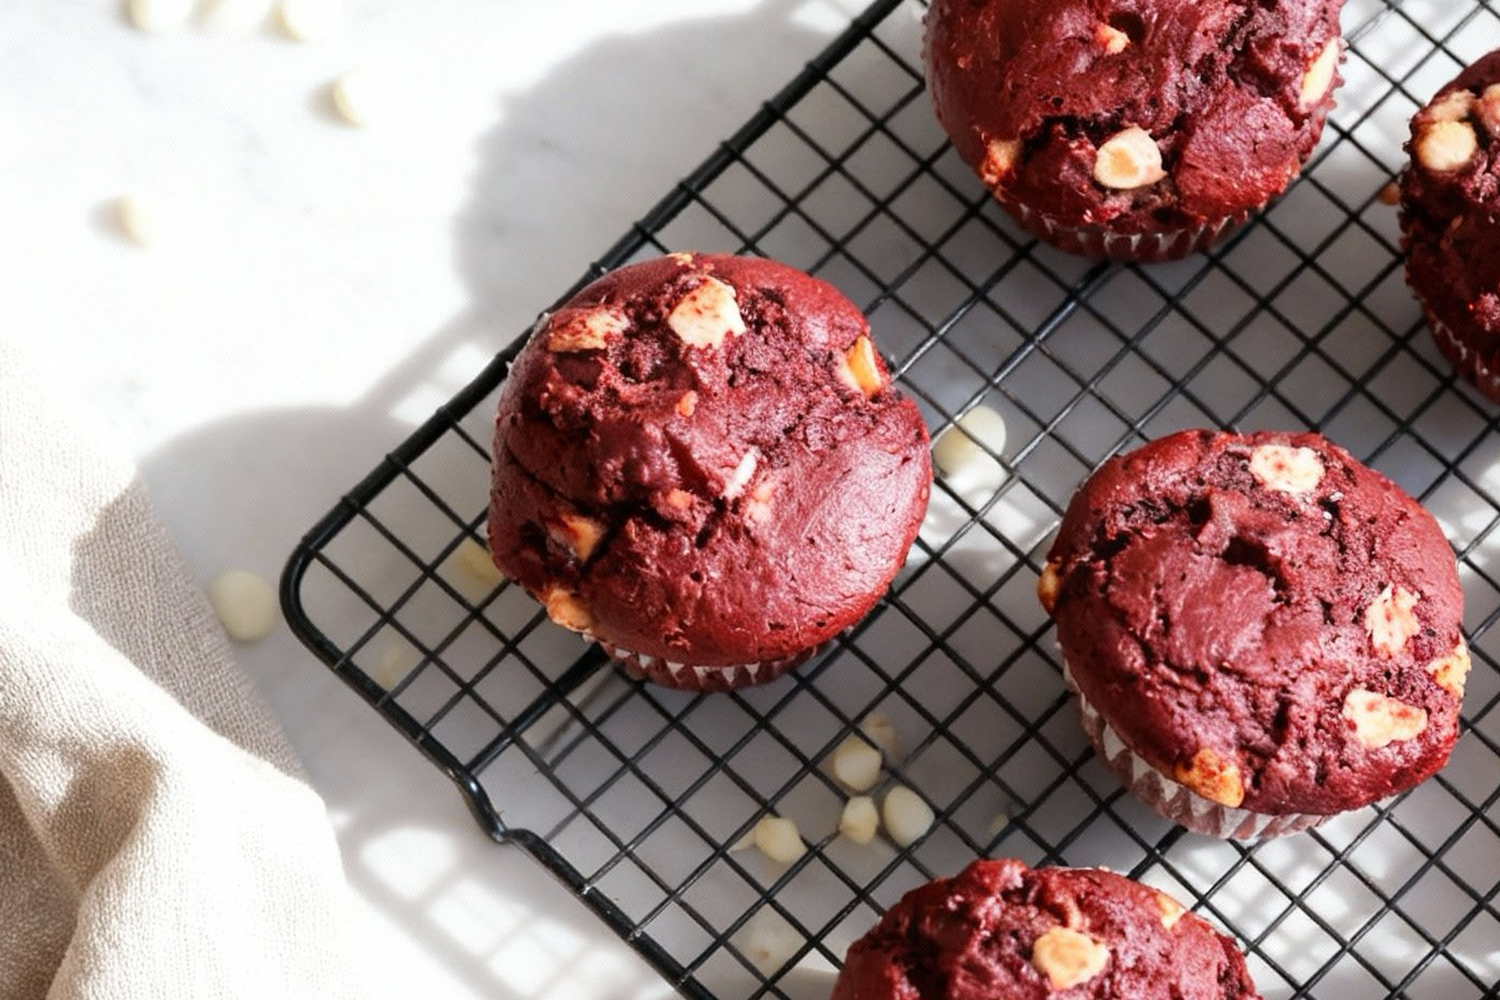
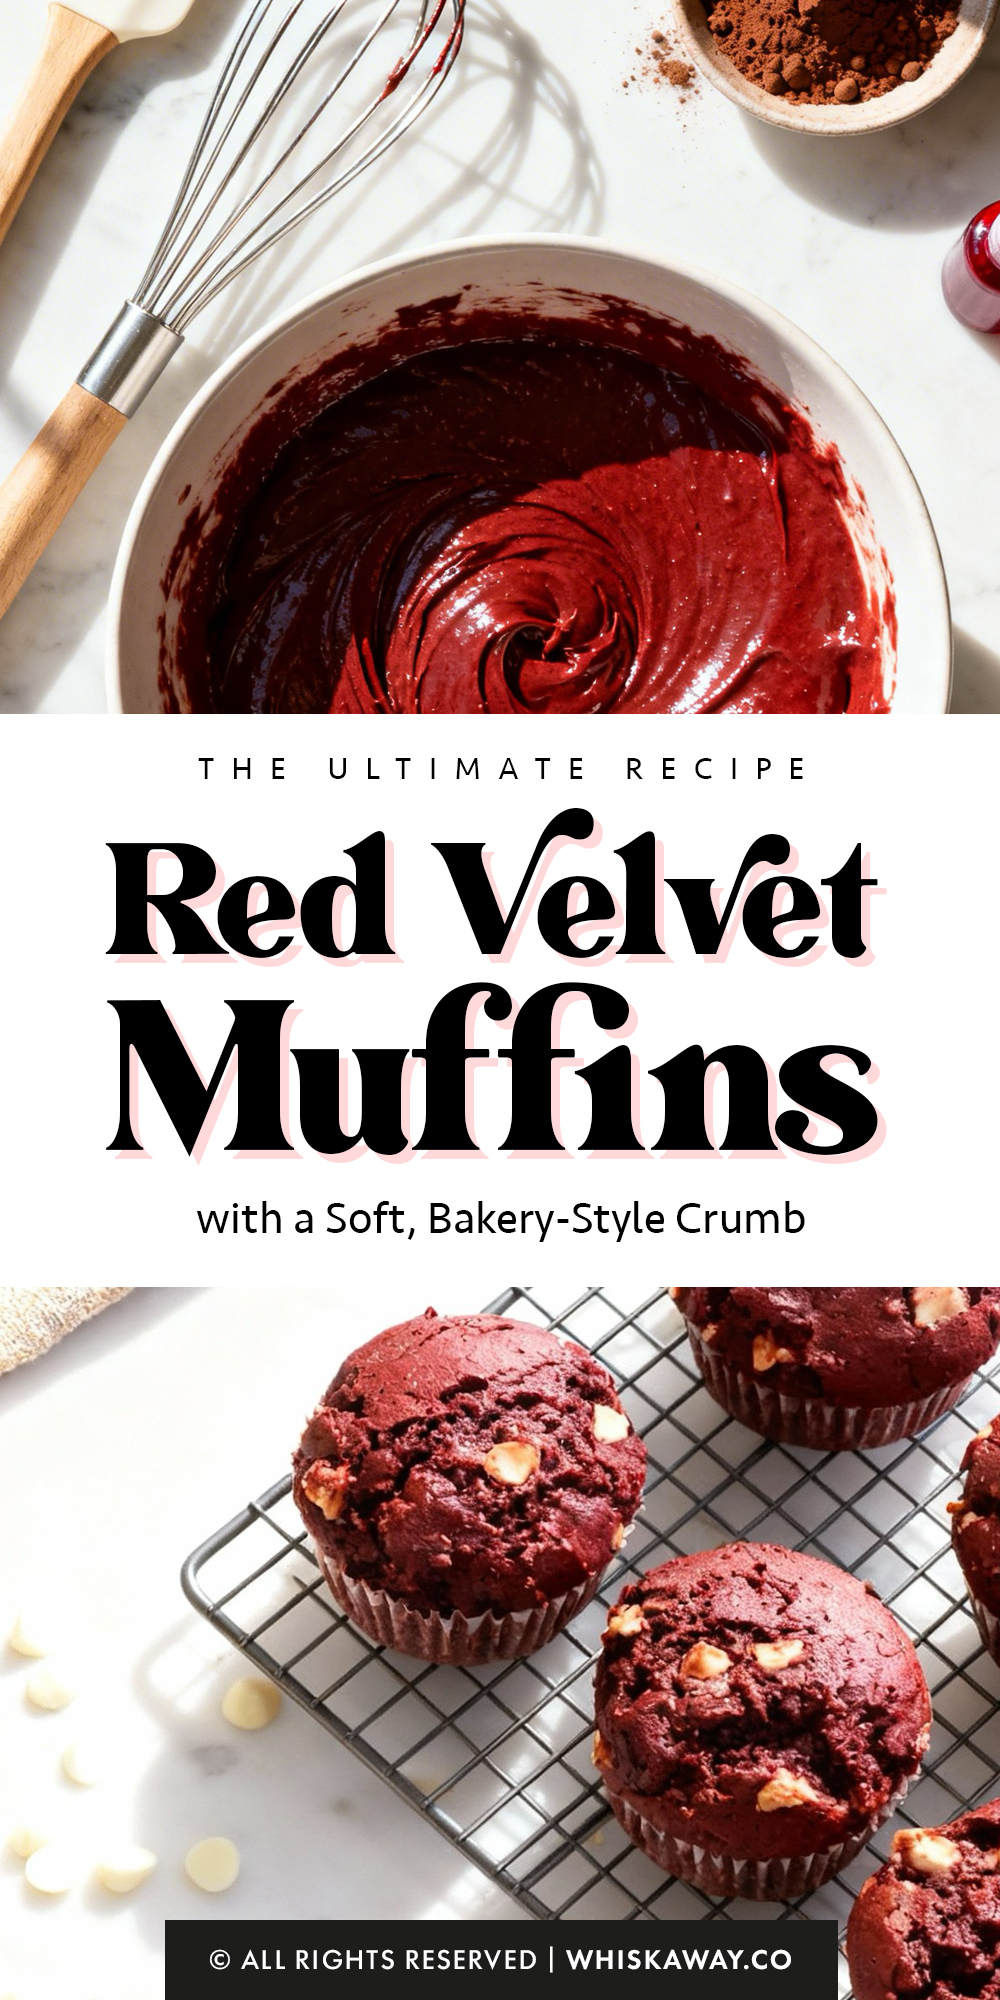
Red velvet muffins capture the indulgence of classic red velvet cake in a handheld form.
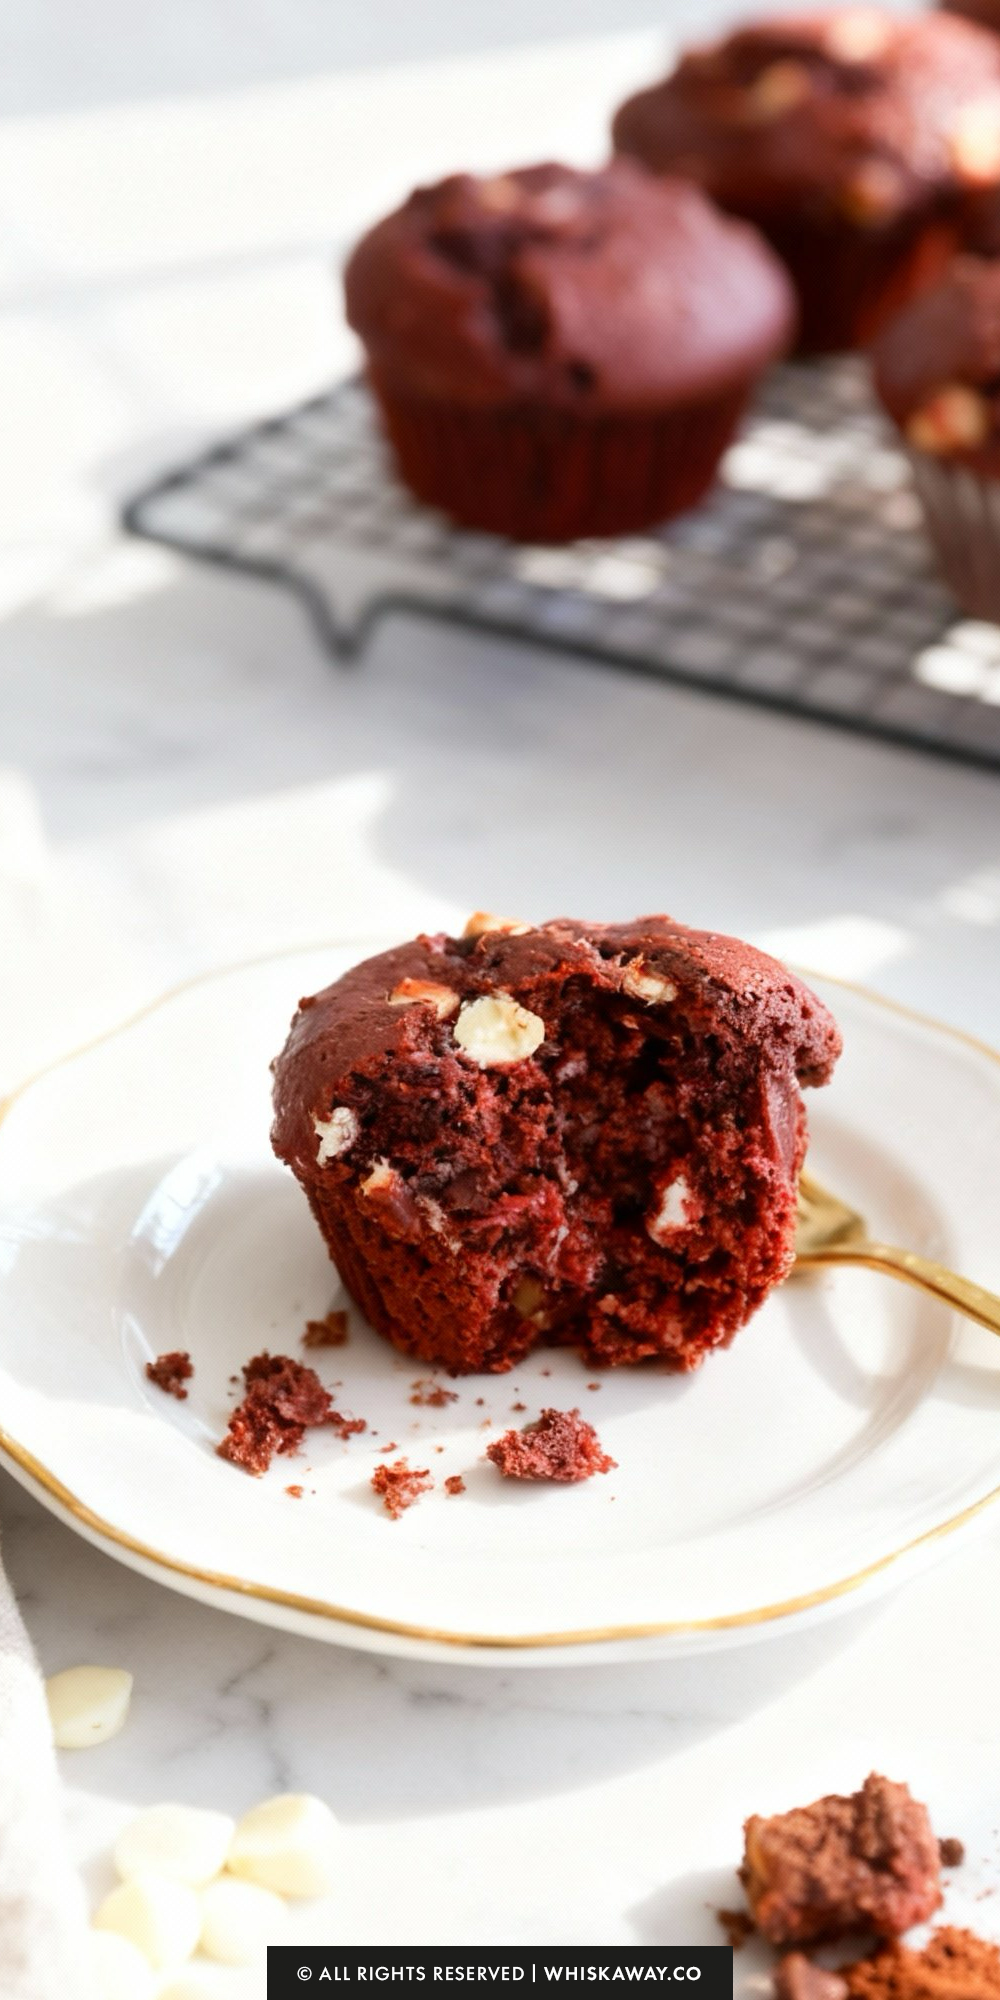
Soft, moist, and subtly chocolatey with a hint of tang, red velvet muffins are perfect for special breakfasts or dessert treats.
Topped with a simple cream cheese glaze or frosting, they’re as eye-catching as they are delicious.
Baking these muffins at home is straightforward, and each bite delivers that signature red velvet flavor without fuss.
Why You’ll Love This Recipe
Soft, rich, and lightly chocolatey, these red velvet muffins are as beautiful as they are delicious. A fun twist on the classic cake.
What Makes Them Special
- Signature red velvet flavor
- Soft and tender texture
- Mild cocoa richness
- Perfect for special occasions
- Looks impressive, easy to make
🔥 Red velvet muffins sit somewhere between dessert and breakfast. If you enjoyed their rich color and soft crumb, these recipes offer similar indulgence with different flavor profiles.
How to Get Your Red Velvet Muffins Just Right
Red velvet is more than just a color; it’s a specific balance of acidity and cocoa. Because these muffins use buttermilk and cocoa powder, they can be finicky.
Here is how to ensure they come out tall, moist, and vibrantly red every single time.
1. Temperature is Key
The recipe specifies room-temperature buttermilk and eggs for a reason.
Cold buttermilk will cause your melted butter to seize up and turn into tiny solid clumps. This leads to an uneven crumb and “greasy” spots in the baked muffin.
If you forgot to take them out of the fridge, place the eggs in a bowl of warm water for 5 minutes and microwave the buttermilk for 10–15 seconds just to take the chill off.
2. Don’t Overmix (The Golden Rule)
Red velvet batter is thick and can become “rubbery” very quickly.
When you combine the wet and dry ingredients, stop stirring the second you see the last streak of flour disappear.
Always mix these by hand with a spatula. Over-mixing develops gluten, which leads to tough muffins with “tunnels” inside.
3. Choosing Your Red
For that classic “wow” factor, use a high-quality gel food coloring if you have it.
If you are using the standard liquid bottle from the grocery store, ensure it is a full ounce (as the recipe states) to compete with the dark brown of the cocoa powder.
If you want to avoid artificial dyes, you can use beet powder, though the color will be more of a “muted maroon” than a bright scarlet.
4. Sifting the Cocoa
Cocoa powder is notorious for having small, hard lumps that don’t break down during whisking.
If you can, sift your cocoa powder into the flour mixture. This ensures a smooth batter and prevents you from finding a bitter “clump” of cocoa inside a finished muffin.
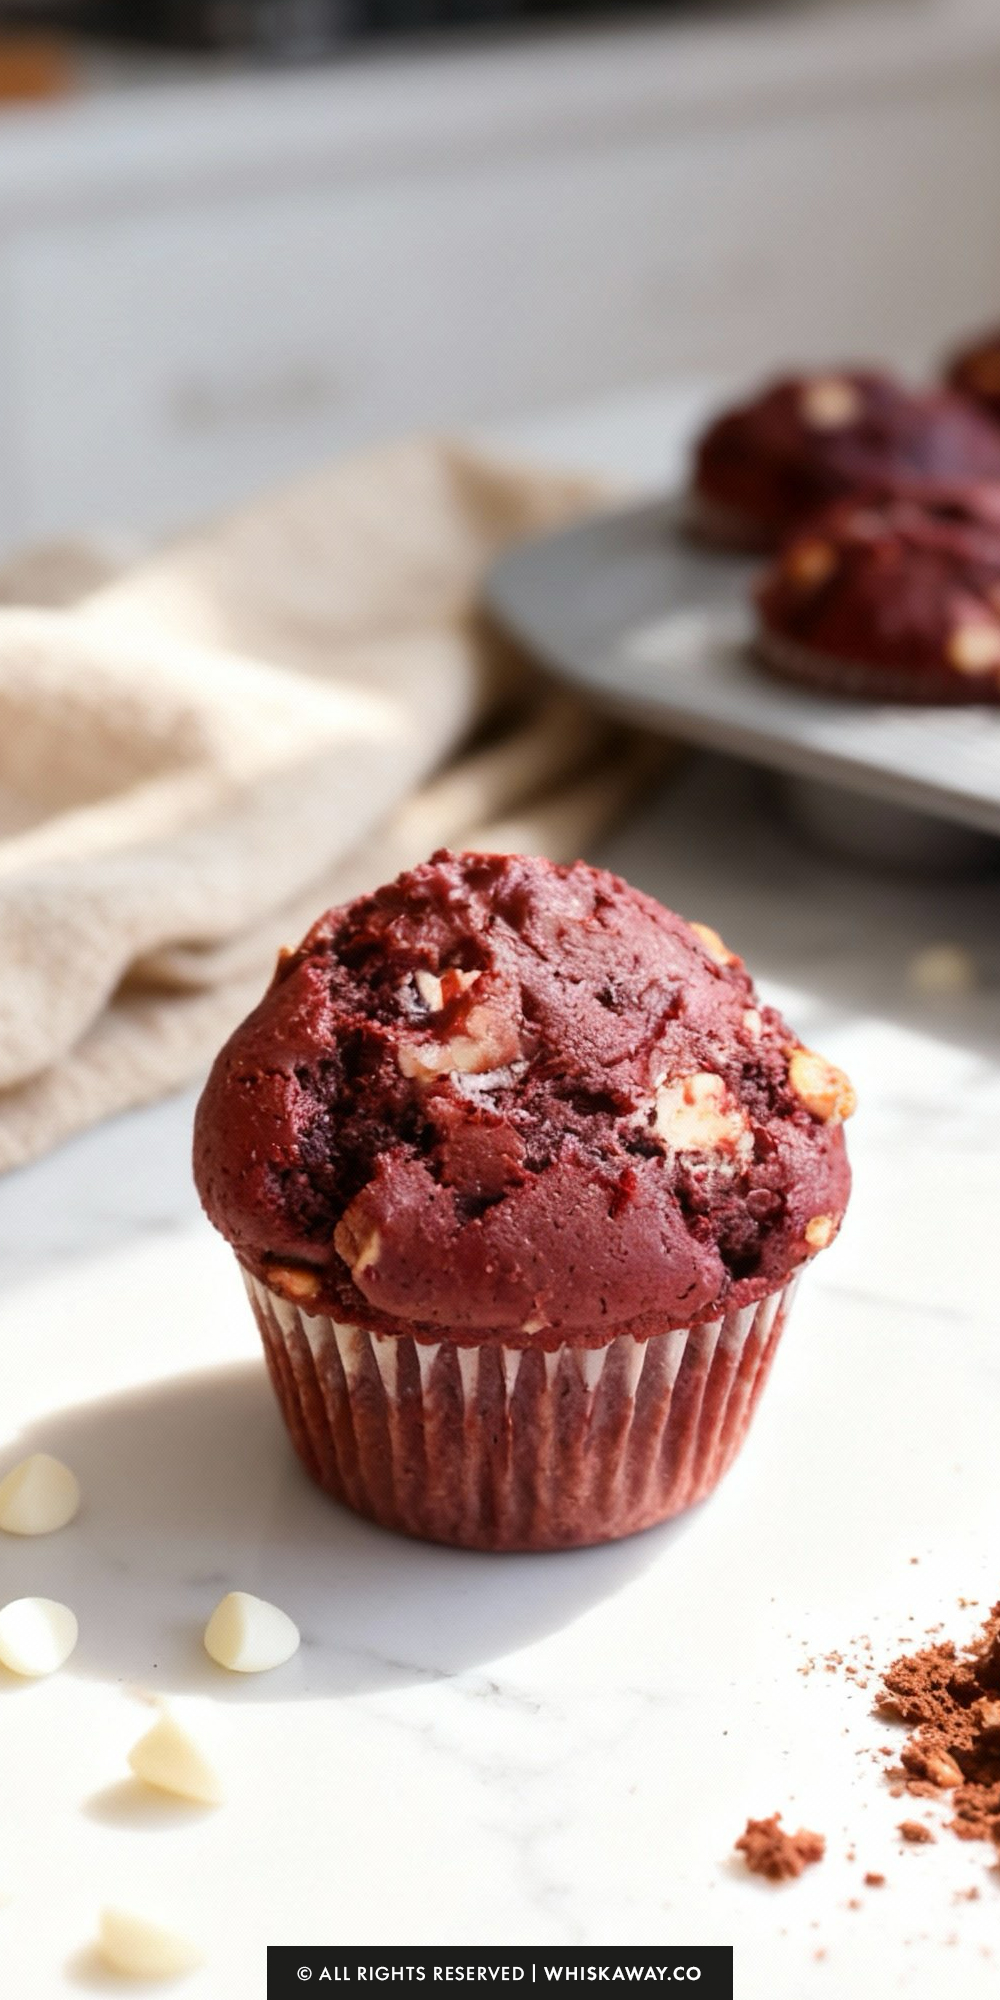
5. The “Muffin Top” Secret
If you want that high, bakery-style dome:
- Fill your muffin liners almost to the very top (about 3/4 or 7/8 full).
- Additionally, let the batter rest in the bowl for about 10 minutes before scooping it into the tin.
This allows the leavening agents to start reacting, resulting in a better lift.
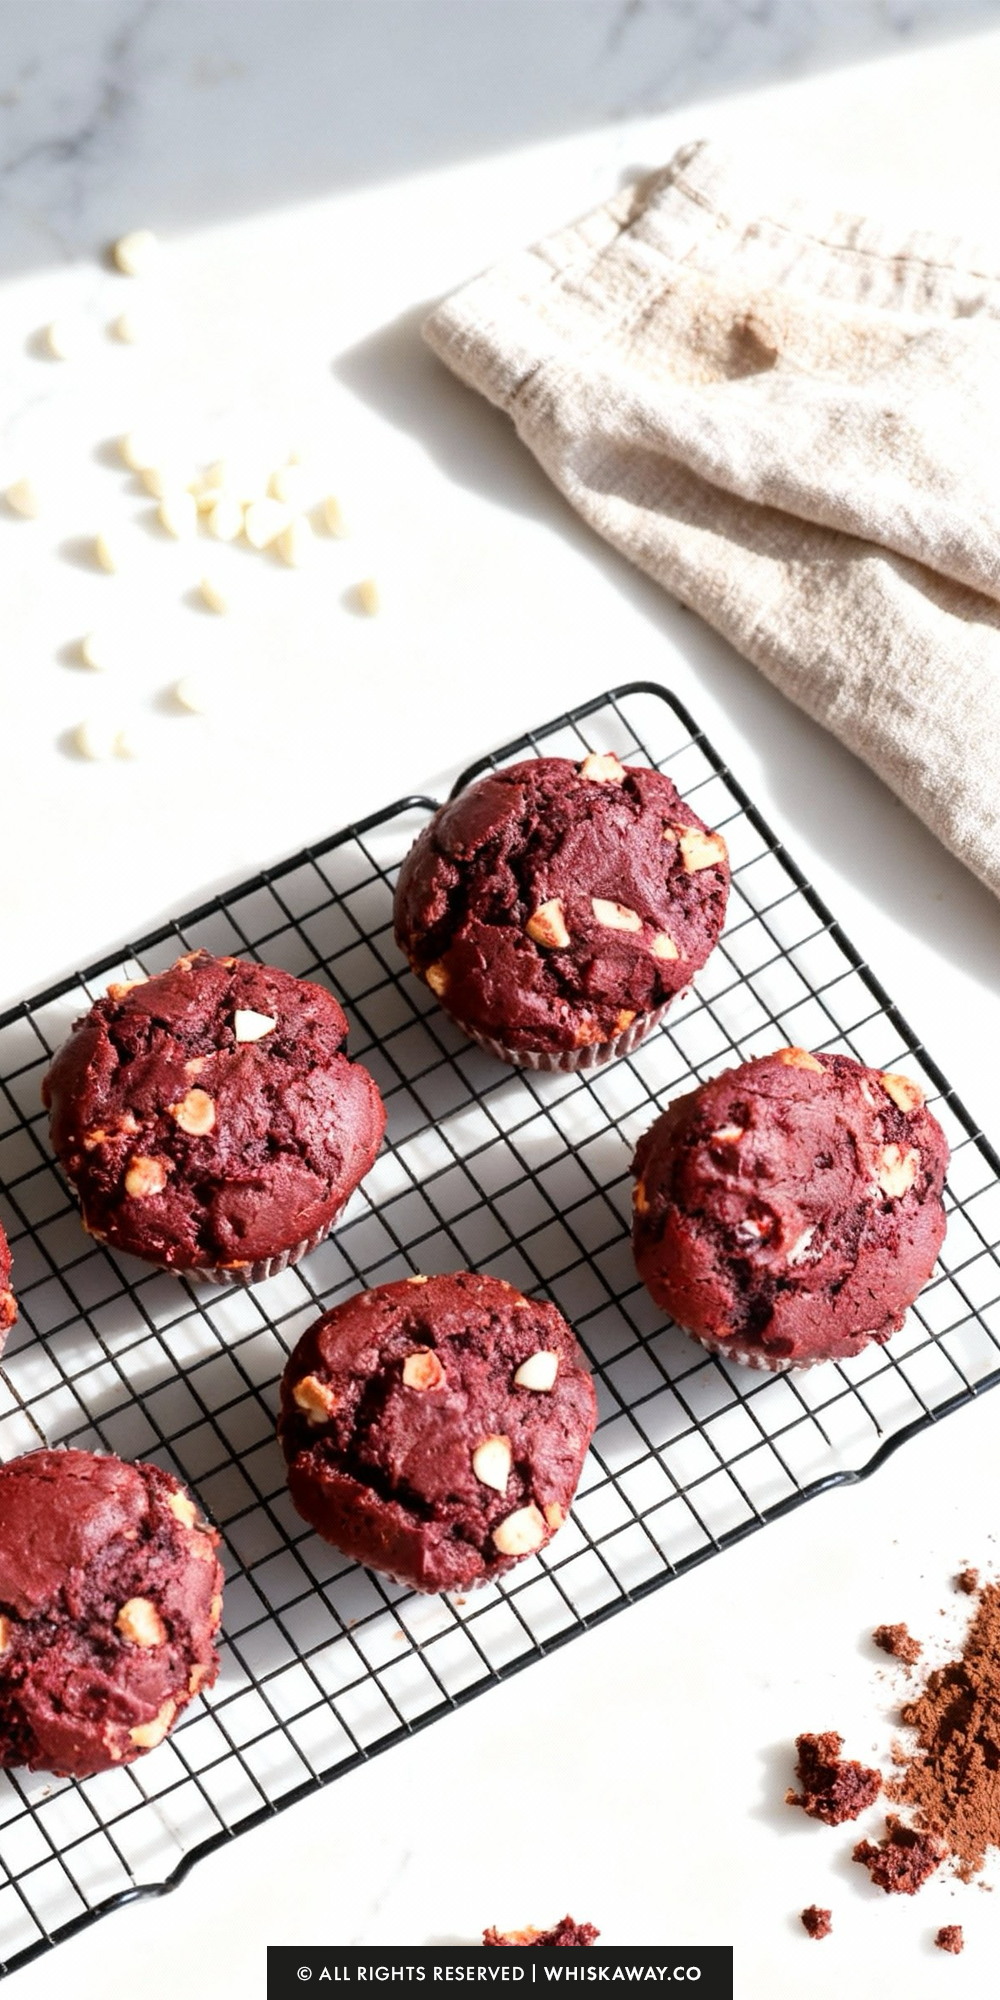
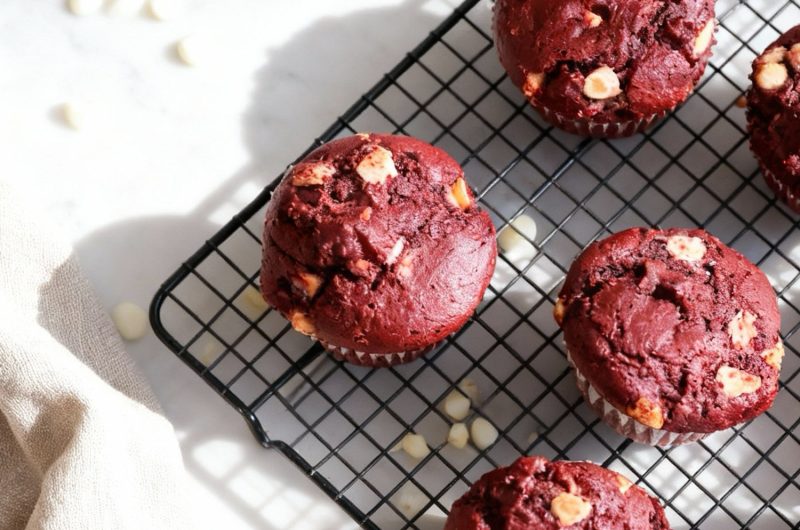
6. Timing the Chocolate Chips
Reserve a small handful of chocolate chips and press them into the tops of the muffins after you’ve filled the tin, but before they go into the oven.
This ensures that everyone can see the contrast of the white chocolate against the red cake, making them look professionally finished.
Easy Baking Tips That Have Worked for Me
- Too much cocoa dulls the color. Less is better here.
- I add coloring gradually; batter darkens while baking.
- These dry fast, so I bake on the lower rack.
- I cool completely before handling as they’re fragile hot.
- Texture improves after resting 1 hour.
Save For Later to Your Pinterest Board
Variation Tips
These Red Velvet Muffins are incredibly striking, but there are plenty of ways to play with the flavor profile and texture to keep things interesting. Whether you want to add a hidden surprise or cater to specific dietary needs, here is how you can switch it up.
1. The “Cheesecake” Center
The most classic pairing for red velvet is cream cheese.
Whisk together 4 oz of softened cream cheese, 2 tablespoons of sugar, and 1/2 teaspoon of vanilla.
The Method: Fill your muffin liners halfway, add a dollop of the cream cheese mixture, and then cover it with the remaining batter. You’ll have a hidden cheesecake surprise in every bite!
2. The “Triple Chocolate” Red Velvet
Instead of just white chocolate chips, use a mix of dark chocolate, milk chocolate, and white chocolate chips.
This creates a deeper, more complex chocolate flavor that balances out the sweetness of the red velvet base.
3. Red Velvet “Black Bottom” Muffins
Skip the chocolate chips in the batter. Instead, make a topping of mini chocolate chips and sweetened cream cheese and dollop it on top of the muffins before they go into the oven.
The contrast of the black chips against the red cake is stunning.
4. A Citrus Spark
Add the zest of one orange to your wet ingredients.
Orange and cocoa are a match made in heaven. The citrus cuts through the richness of the buttermilk and makes the cocoa notes pop.
5. Dietary Adaptations
Vegan/Dairy-Free:
Make your own dairy-free buttermilk by mixing 3/4 cup of soy or oat milk with 1 teaspoon of apple cider vinegar; let it sit for 5 minutes.
Replace the melted butter with 1/2 cup of melted coconut oil or a vegan butter substitute.
Use a commercial egg replacer or 1/2 cup of unsweetened applesauce (this will make the muffins even more moist!).
Gluten-Free:
Substitute the all-purpose flour with a 1:1 Gluten-Free Baking Flour (like Bob’s Red Mill).
Because red velvet is naturally a very moist and tender cake, it translates beautifully to gluten-free versions without becoming dry.
Healthier Swap:
You can replace the light brown sugar with coconut sugar.
Swap the melted butter for plain Greek yogurt (equal parts). This reduces the fat and adds a boost of protein while keeping that signature red velvet tang.
How to Properly Store Your Red Velvet Muffins
To keep your Red Velvet Muffins as vibrant and tender as the day they were baked, you need to manage moisture carefully.
Because red velvet is a cocoa-based cake that relies on buttermilk, it can dry out quickly if exposed to air, or become gummy if trapped with too much steam.
1. Room Temperature (Best for Immediate Texture)
Duration: 2 to 3 days.
\Store the completely cooled muffins in an airtight container.
\Place a single layer of paper towels at the bottom of the container and another layer on top of the muffins before sealing the lid.
This absorbs any excess moisture that might make the muffin tops sticky or the liners peel away.
2. Refrigeration (Best for Humid Climates)
Duration: Up to 1 week.
If you live in a very warm environment, the fridge is a safer bet. Keep them in a tightly sealed container to prevent them from absorbing other food scents.
Note: The cold can make the butter in the muffins firm up, so they might feel a bit denser than usual.
3. Freezing (The Long-Term Solution)
Duration: Up to 3 months.
These muffins freeze beautifully. Wrap each muffin tightly in plastic wrap to prevent freezer burn, then place them all into a heavy-duty freezer bag.
Thawing: Let them thaw on the counter for about an hour or in the fridge overnight.
4. How to Reheat for “Fresh-Baked” Quality
Red velvet is best served slightly warm, which softens the crumb and makes the chocolate chips melty again.
Microwave: For a single muffin, wrap it in a damp paper towel and heat on medium power for 15–20 seconds. This creates a “steam room” effect that restores the moisture perfectly.
Oven: If you have several, place them on a baking sheet and heat at 300°F (150°C) for about 5 to 8 minutes. This is the best way to revive the texture without making them rubbery.
5. Storage Mistakes to Avoid
The “Hot Box” Mistake: Never put muffins in a container while they are still warm. The residual heat creates condensation (sweat) inside the box, which will turn your beautiful red muffins into a soggy mess.
Leaving Them Uncovered: Cocoa-based cakes are porous and will dry out within hours if left on a plate. Always keep them sealed.
Fridge Drying: If you store them in the fridge without a truly airtight seal, the circulating air will strip away the moisture, leaving the muffins crumbly and stale.
FAQs
Can I use regular milk instead of buttermilk?
You can, but it isn’t recommended. Buttermilk is essential in red velvet because its acidity reacts with the baking soda to create a light, fluffy rise and helps preserve the bright red color. If you don’t have any on hand, you can make a DIY substitute: add 1 teaspoon of lemon juice or white vinegar to 3/4 cup of regular milk and let it sit for 5 minutes before using.
Why did my muffins turn out brown instead of red?
This usually happens for two reasons: either you didn’t use enough food coloring to compete with the dark cocoa powder, or your oven was too hot. Cocoa powder is naturally brown, so you need a full ounce of liquid coloring (or a high-quality gel) to overcome it. Also, ensure you aren’t over-baking them, as excessive browning on the outside can hide the red interior.
Do I have to use white chocolate chips?
Not at all! While white chocolate is the traditional “cream cheese substitute” pairing for red velvet, dark chocolate chips are a fantastic alternative if you prefer a less sweet, more intense cocoa flavor. Milk chocolate also works well for a milder, creamier taste.
Why is my muffin texture “rubbery” or tough?
This is almost always a result of over-mixing the batter. Once the wet ingredients hit the dry, you should only stir until the flour is just incorporated. Over-mixing develops the gluten in the flour, which turns a tender, cake-like muffin into something dense and bread-like.
How do I get my muffins to have those high, bakery-style tops?
The secret is a combination of two things: filling your liners about 3/4 to 7/8 full and letting the batter rest for 10 minutes before putting it in the oven. This “rest” allows the leavening agents to begin reacting and the flour to hydrate, resulting in a much better lift and a beautiful domed shape.
Red Velvet Muffins
12
muffins10
minutes20
minutesThis red velvet muffins recipe combines rich cocoa flavor with a soft, red-hued crumb and cream cheese topping.
Ingredients
2 cups all-purpose flour
1 cup + 1 Tbsp light brown sugar, packed
1 cup white chocolate chips (dark or milk chocolate are also fine)
3/4 cup buttermilk, room temperature
2/3 cup cocoa powder
1/2 cup unsalted butter, melted
1 (1 oz) bottle red food coloring
2 large eggs, room temperature
1 1/2 tsp pure vanilla extract
1 tsp baking powder
1 tsp baking soda
1/2 tsp salt
Directions
- Kick things off by preheating your oven to 350°F (175°C). While the oven is warming up, place paper liners into a 12-cup muffin tin so it’s ready for the batter.
- In a large mixing bowl, whisk together the flour, cocoa powder, brown sugar, baking powder, baking soda, and salt. Ensure you break up any stubborn clumps of brown sugar so the base is uniform and airy.
- In a separate medium bowl, combine the buttermilk, eggs, vanilla extract, and the red food coloring. Whisk these together vigorously until the liquid is a consistent, deep crimson color.
- Pour the red liquid mixture and the melted butter into your bowl of dry ingredients. Using a rubber spatula or a large spoon, stir the two together just until the flour streaks disappear. Pro tip: Be careful not to overwork the batter, as this keeps the muffins tender.
- Gently fold in your chocolate chips (whether you chose white, dark, or milk chocolate) until they are evenly scattered throughout the thick, red batter.
- Divide the batter equally among the 12 muffin cups. Slide the tin into the oven and bake for 18 to 20 minutes. To check for doneness, poke a toothpick into the center of a muffin; it should come out clean or with just a few dry crumbs.
- Once finished, remove the pan from the oven. Let the muffins rest and cool completely on a wire rack before serving. This allows the flavors to settle and the chocolate chips to firm up slightly.