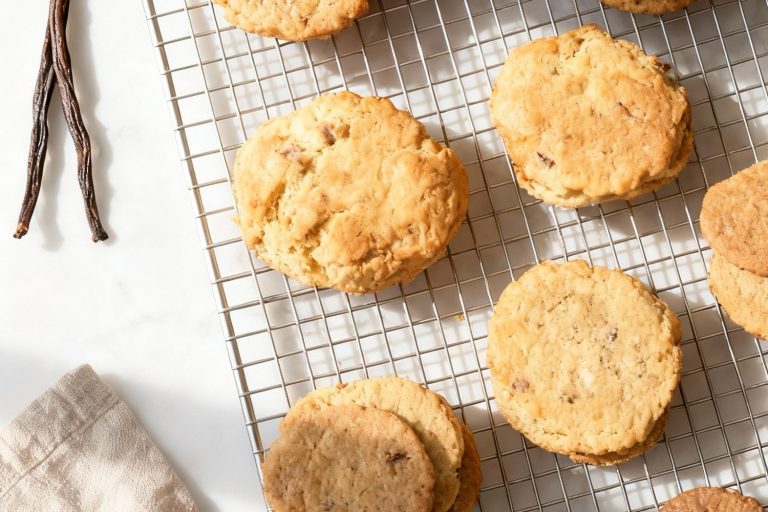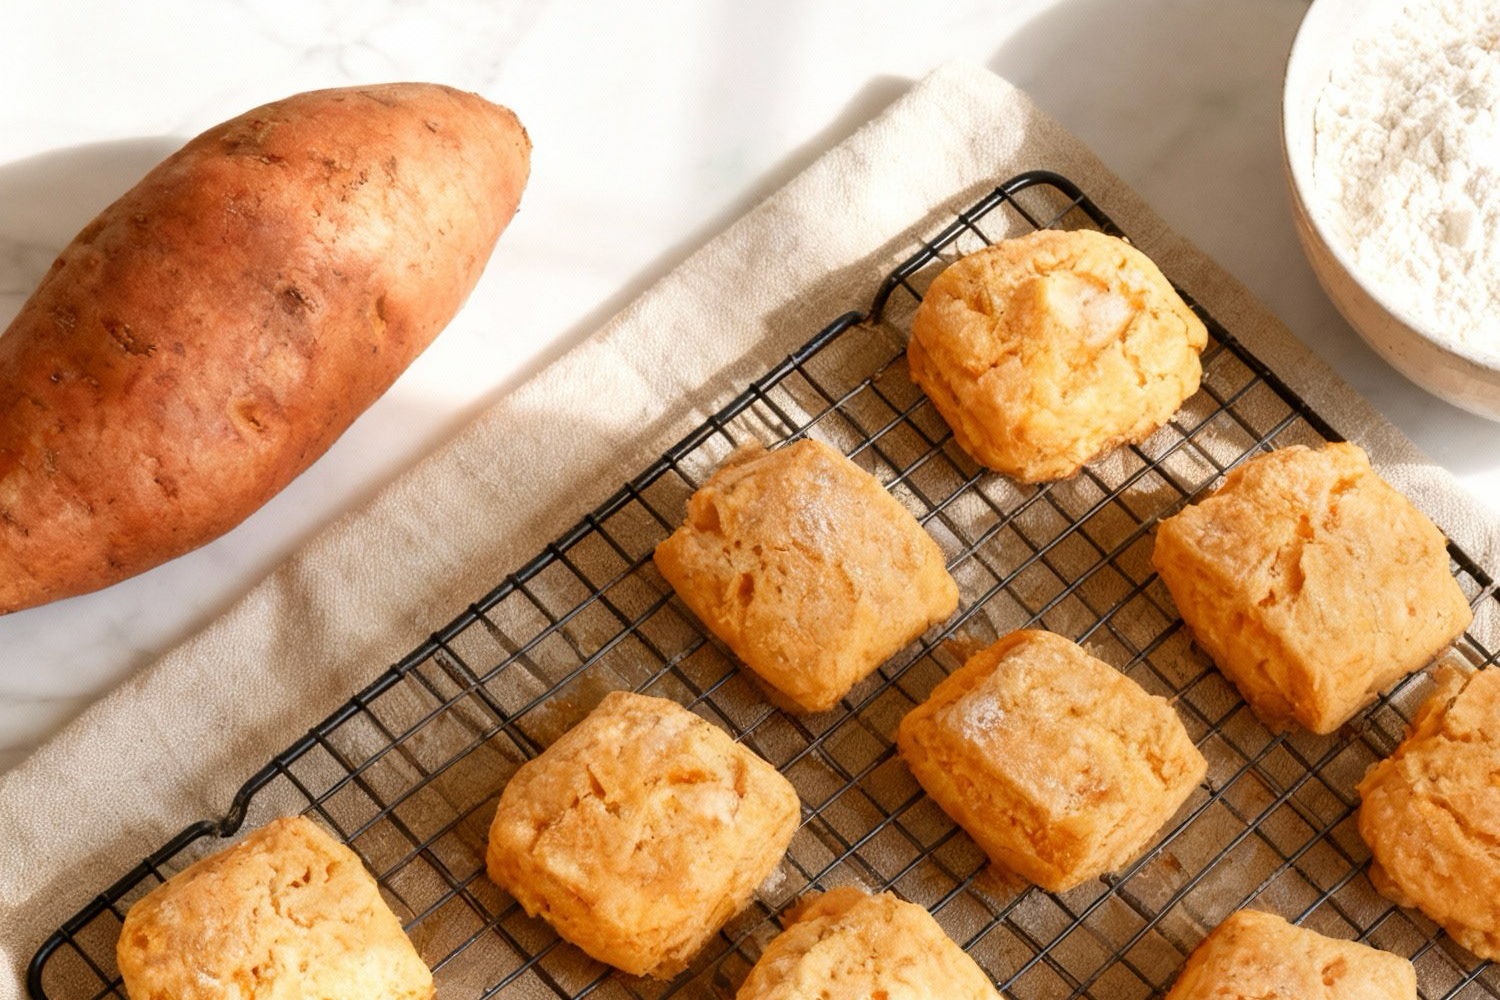
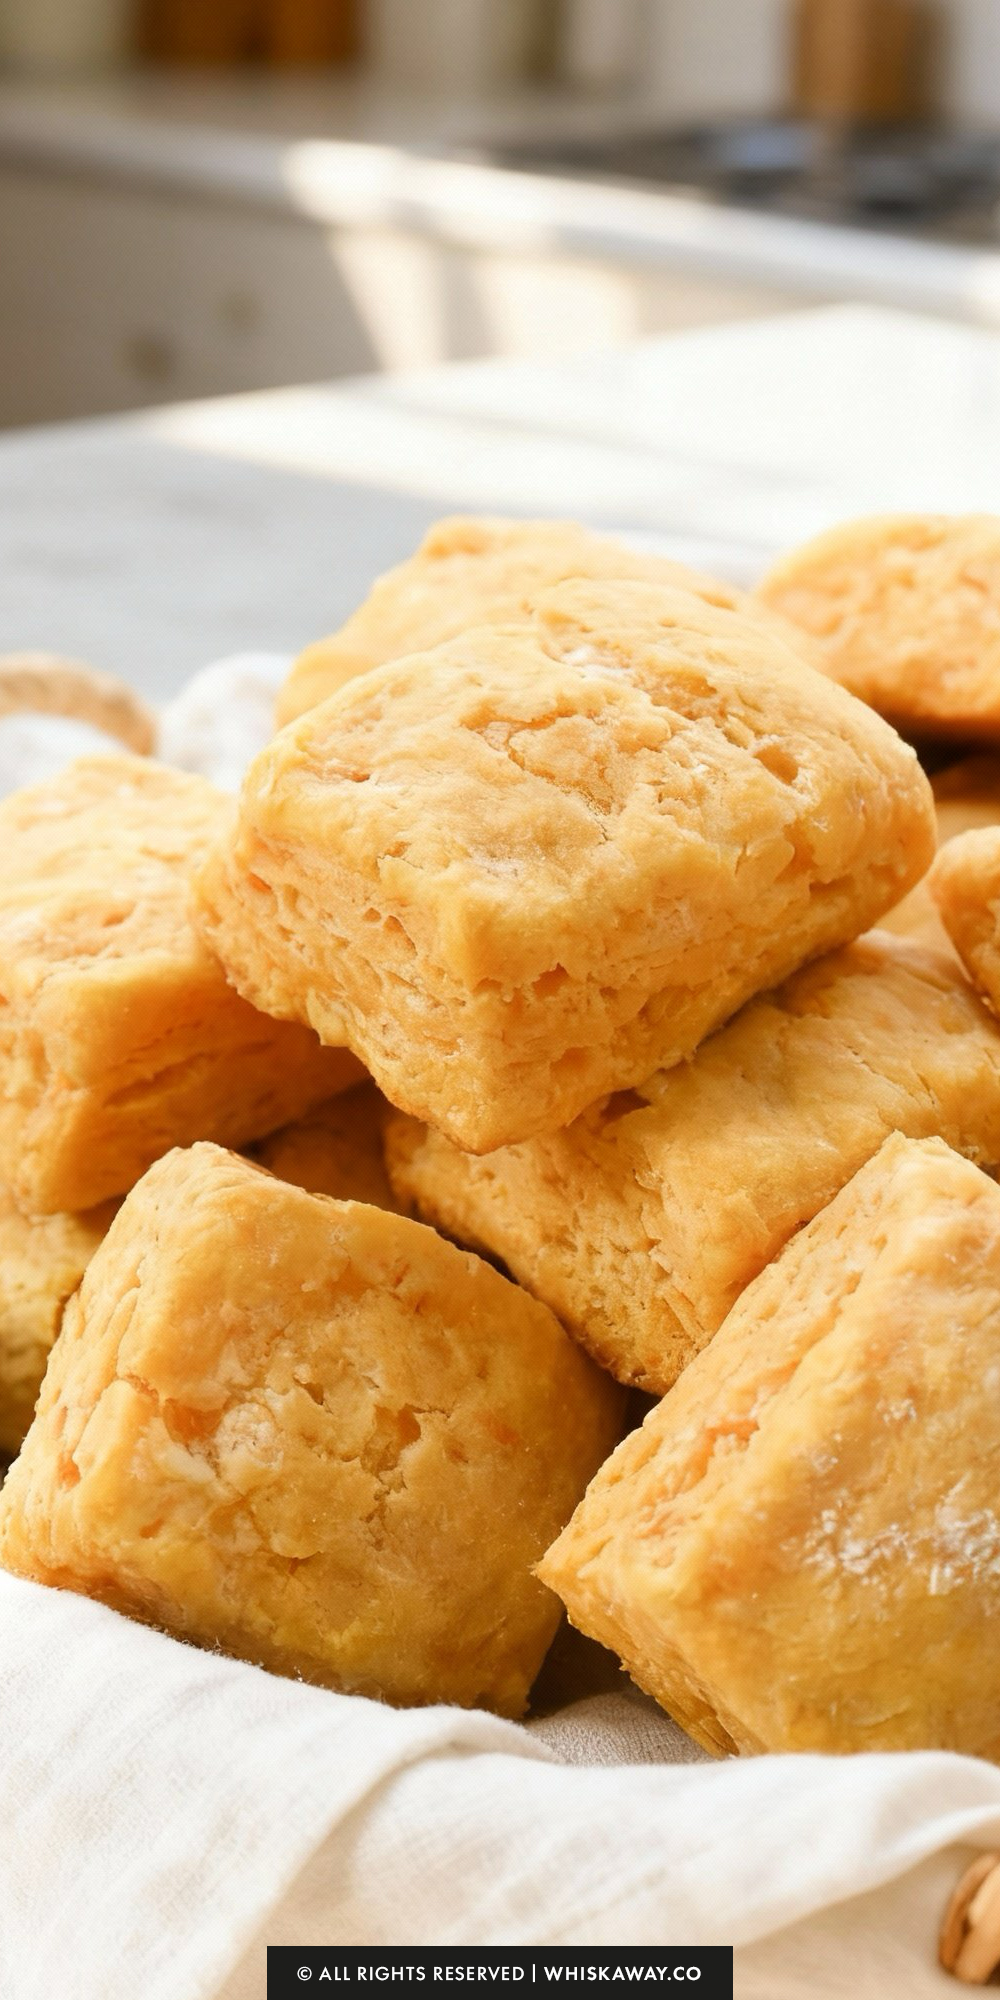
Craving a biscuit that’s soft, tender, and full of natural sweetness? These sweet potato biscuits combine fluffy, buttery layers with subtly sweet mashed sweet potato for a comforting and satisfying treat.
Making these biscuits is easier than you might think. The sweet potato adds moisture and flavor, while the dough rises beautifully in the oven, creating soft, airy layers with a lightly crisp exterior. Add a sprinkle of sugar or a pat of butter on top for an extra indulgent touch.
So, if you’re ready to make those fluffy little delicacies, let’s get started!
Why You’ll Love This Recipe
Earthy sweet potato adds natural sweetness and moisture to these tender biscuits. Perfect for fall meals, brunch, or serving alongside savory dishes.
What Makes Them Special
- Naturally sweet and moist
- Tender, soft texture
- Works for sweet or savory pairings
- Warm, comforting flavor
- Perfect for seasonal meals
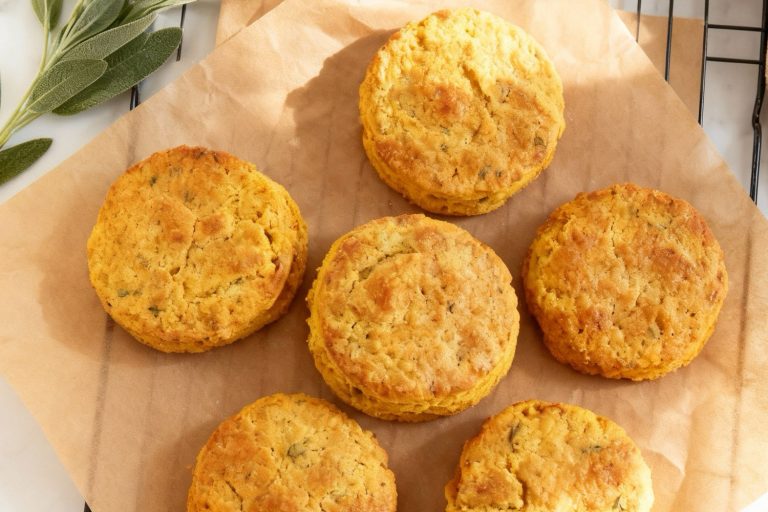
🔥 These sweet potato biscuits are tender and naturally flavorful. If you enjoy seasonal baking, pumpkin sage biscuits and maple oat biscuits are great next recipes to try. For a savory alternative, cheddar herb biscuits work beautifully.
Save This Pin To Your Pinterest Board for Later

How to Get Your Sweet Potato Biscuits Just Right
Getting perfectly tender, flaky, and flavorful sweet potato biscuits is all about technique, timing, and attention to detail.
Here are expert tips to ensure your biscuits come out consistently excellent:
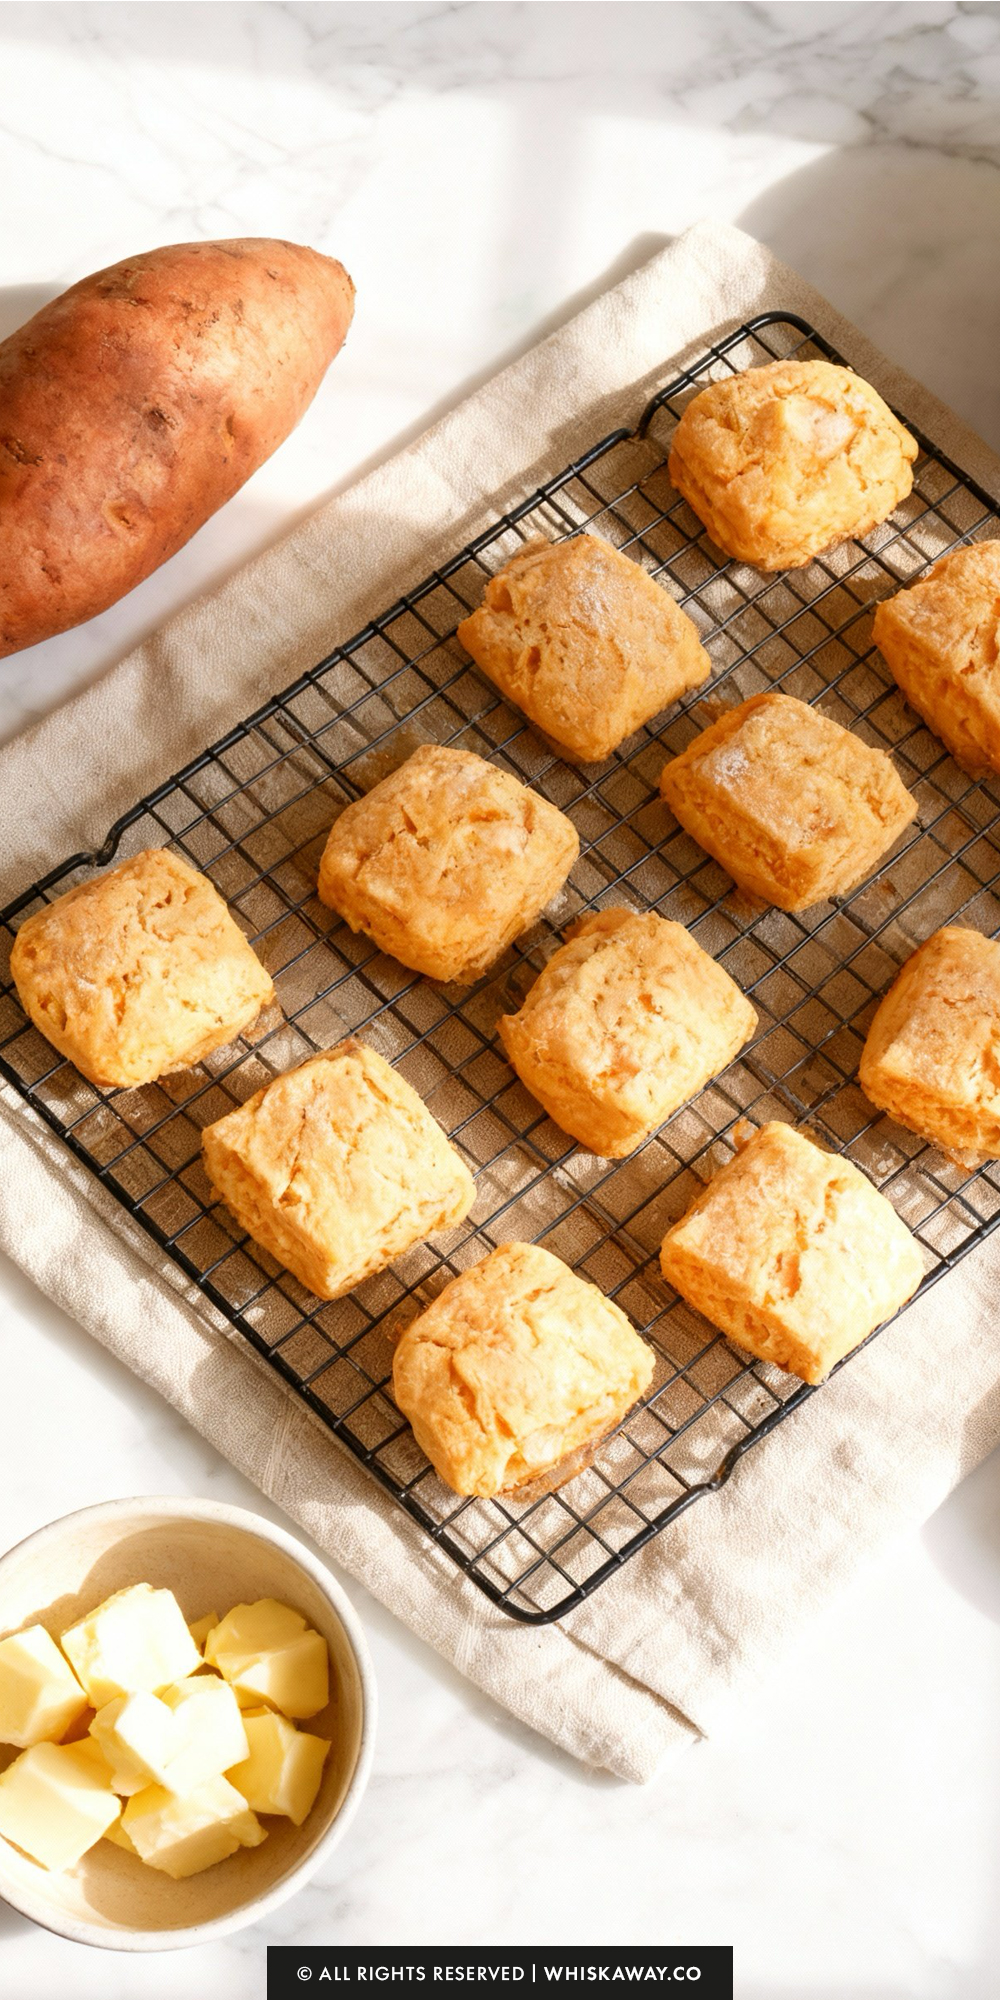
1. Use Cold Butter for Flakiness
Keep your butter cold and cut into small chunks before mixing. The small, chilled pieces create pockets of steam during baking, which gives your biscuits a light, flaky texture.
Avoid letting the butter soften too much or melt into the dough.
2. Don’t Overmix the Dough
When combining the sweet potato mixture with the dry ingredients, fold gently until the dough just comes together.
Overworking the dough can develop gluten, making the biscuits dense rather than tender.
3. Layering Technique for Light Texture
Follow the stacking and patting method when shaping the dough. This creates delicate layers inside the biscuits without over-kneading.
Light, even pressure ensures uniform thickness and height.
4. Flour the Surface Sparingly
A light dusting of flour prevents sticking, but too much can dry out the biscuits. Use just enough to handle the dough comfortably.
5. Keep an Eye on Milk
Sweet potatoes vary in moisture. Add the extra 1–2 tablespoons of milk gradually, only as needed, to bring the dough together.
oo much liquid will make the dough sticky and difficult to shape.
6. Watch the Baking Time
Bake until the tops are lightly golden and the bottoms have a richer color. Overbaking can dry out the biscuits, while underbaking leaves them doughy in the center.
Start checking around 12 minutes to ensure perfect results.
7. Serve Warm for Best Flavor
Sweet potato biscuits taste best fresh from the oven. If you need to serve later, reheat in a 350°F oven for a few minutes to revive the soft, buttery texture.
8. Optional Honey Butter Tip
Serve warm biscuits with the honey-cinnamon butter spread to enhance sweetness and richness. It’s also a nice way to elevate the flavor for brunch or holiday meals.
9. Storage Considerations
If storing, allow the biscuits to cool slightly before sealing to prevent condensation, which can make them soggy. Freeze leftovers for longer storage and reheat as needed.
Easy Baking Tips That Have Worked for Me
Using roasted or mashed sweet potato adds natural sweetness and moisture, but make sure it isn’t too watery, or the dough can become sticky and difficult to handle.
Keep the butter cold and fold it gently into the dough to maintain light, flaky layers.
Slightly underbake the biscuits to keep the interior soft and tender, while the tops turn a beautiful golden color.
Handle the dough as little as possible to avoid compressing it, which can make the biscuits dense.
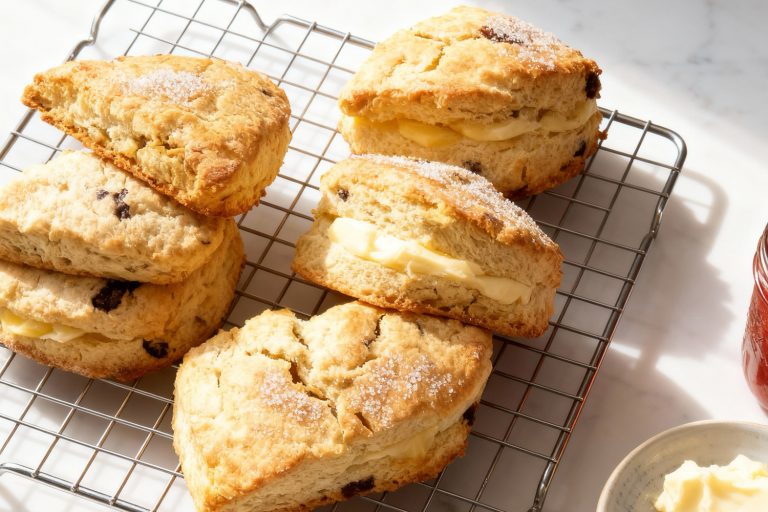
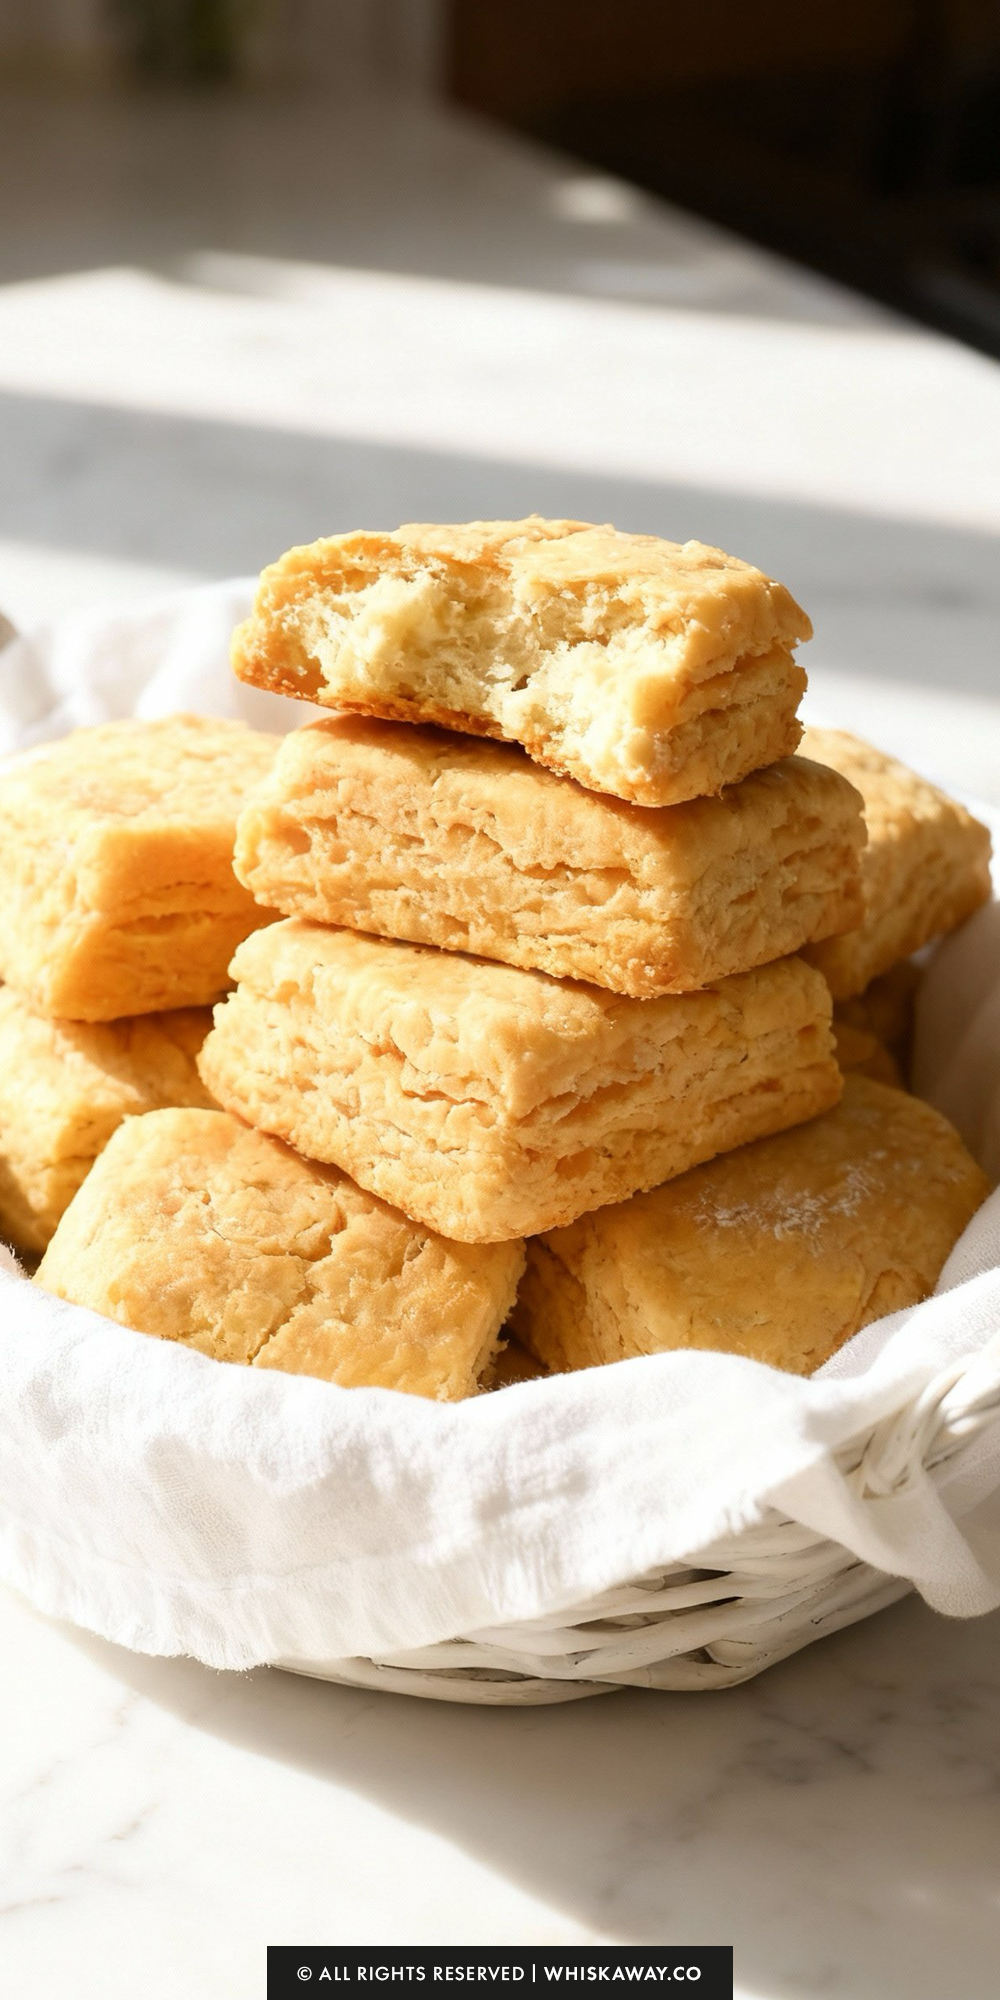
These biscuits taste best served warm with a pat of butter or alongside savory dishes.
Variation Tips
Sweet potato biscuits are naturally versatile, and small tweaks can elevate the flavor, texture, or make them suitable for different diets.
Here are some creative ideas to try:
1. Flavor Enhancements
Spices: Add a pinch of cinnamon, nutmeg, or ground ginger to the dough for a warm, cozy flavor.
Savory Twist: Mix in fresh herbs like rosemary, thyme, or chives for a savory version, perfect alongside soups or roasted meats.
Citrus Zest: Add a little orange or lemon zest to brighten the flavor.
2. Ingredient Swaps
Flour Alternatives: Substitute part of the all-purpose flour with whole wheat or oat flour for a nuttier, more wholesome biscuit. Note: this may slightly affect the texture.
Butter Substitutes: Use coconut oil or a dairy-free butter for a vegan-friendly option.
Milk Alternatives: Swap cow’s milk for almond, oat, or soy milk if dairy-free.
3. Sweet Additions
Fold in 1–2 tablespoons of brown sugar, maple syrup, or honey into the dough for a slightly sweeter biscuit.
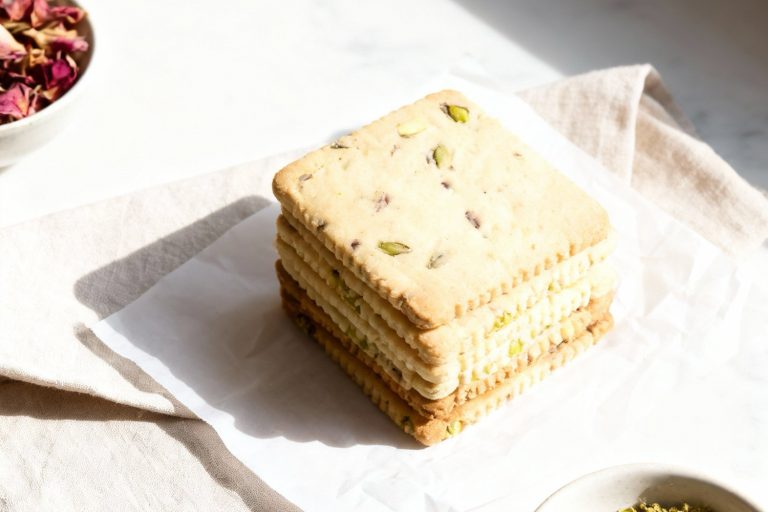
Add a handful of chopped pecans, walnuts, or dried cranberries for texture and flavor.
4. Textural Adjustments
Flakier Biscuits: Chill the dough before baking and avoid overworking it.
Soft and Tender: Use an extra tablespoon of milk to create a slightly softer biscuit.
5. Serving Ideas
Top with a dollop of honey butter, cream cheese spread, or pumpkin butter for added flavor.
Make mini biscuits and serve them as sliders with roasted veggies, ham, or pulled chicken for a fun twist.
6. Meal Prep Friendly
Prepare biscuit dough ahead of time, refrigerate, and bake fresh in the morning for warm, flavorful biscuits.
How to Properly Store Your Sweet Potato Biscuits
These sweet potato biscuits are best enjoyed fresh, but proper storage can keep them soft, flavorful, and delicious for days, or even months if frozen.
Here’s how to store them safely and effectively:
1. Room Temperature
Storage Method: Place cooled biscuits in an airtight container or wrap tightly in plastic wrap.
Shelf Life: Up to 2 days.
Tips: Keep them in a cool, dry place. Avoid leaving them exposed to air, which can cause them to dry out or become tough. For best results, reheat gently in a 300°F (150°C) oven for 5–7 minutes before serving to restore softness.
2. Refrigeration
Storage Method: Store cooled biscuits in an airtight container in the fridge.
Shelf Life: Up to 5 days.
Tips: Refrigeration can slightly dry out biscuits. Reheat them wrapped in foil at 325°F (160°C) for 8–10 minutes to restore warmth and moisture. Avoid microwaving for too long, as this can make the biscuits rubbery.
3. Freezing
Storage Methods
Option 1: Freeze fully baked biscuits in a single layer on a baking sheet. Once frozen, transfer to a sealable freezer bag or airtight container.
Option 2: Freeze unbaked dough squares, separated by parchment, in a single layer. Once solid, store in a freezer bag or container.
Shelf Life: Up to 3 months.
Tips for Baking from Frozen
For baked biscuits: Reheat in a 350°F (175°C) oven for 10–12 minutes, wrapped in foil.
For unbaked dough: Thaw slightly in the fridge for 30 minutes, then bake as directed, adding 2–3 extra minutes if needed.
4. Packaging Tips
Layer biscuits between parchment paper if stacking to prevent sticking.
Avoid tightly sealing warm biscuits; let them cool completely first to prevent condensation and sogginess.
5. Common Mistakes to Avoid
- Don’t leave biscuits uncovered at room temperature as they dry out quickly.
- Avoid microwaving straight from the freezer without wrapping, which can lead to uneven heating or a chewy texture.
- Don’t refrigerate biscuits in a loosely sealed bag as they can absorb fridge odors and dry out.
With these tips, your sweet potato biscuits can remain soft, flavorful, and just-baked tasting, even days after baking!
Save This Pin To Your Pinterest Board for Later

FAQs
Can I use canned sweet potato instead of fresh?
Yes! Canned sweet potato works well as a substitute. Use about 1 cup (240g) of mashed sweet potato, drained if necessary. Make sure it’s smooth and not too watery, as excess liquid can affect the dough consistency.
Can I make these biscuits gluten-free or dairy-free?
Gluten-free: Substitute the all-purpose flour with a 1-to-1 gluten-free baking flour blend. Add an extra 1–2 tablespoons if the dough feels too sticky.
Dairy-free: Use plant-based milk (like almond, oat, or soy) and a dairy-free butter alternative. The texture may be slightly softer, but flavor remains delicious.
How do I get perfectly light and fluffy biscuits?
Keep the butter cold and cut into small chunks to create flakiness.
Don’t overmix the dough; fold just until combined.
Layering the dough and folding it as directed builds air pockets for tender biscuits.
How should I reheat leftover biscuits?
Oven: Wrap in foil and heat at 350°F (175°C) for 5–10 minutes.
Microwave: Heat for 20–30 seconds, but avoid overdoing it as biscuits can become rubbery.
What are the best ways to serve these sweet potato biscuits?
Serve warm with butter, honey, or maple syrup for breakfast.
Pair with fried or roasted chicken for a savory twist.
Spread with cream cheese, jam, or apple butter for a sweet snack or dessert.
Sweet Potato Biscuits
10
biscuits20
minutes30
minutesLooking for a comforting side? These sweet potato biscuits are soft, slightly sweet, and packed with wholesome flavor.
Ingredients
- For the Biscuits
1⅔ cups all-purpose flour, spooned into measuring cup and leveled-off with back edge of knife
1 cup mashed sweet potatoes (from 1 medium sweet potato)
½ cup whole milk, plus 2 more tablespoons as needed
½ cup (1 stick) cold unsalted butter, cut into small chunks
2½ tablespoons sugar
2 tablespoons cornstarch
1 tablespoon baking powder
1¼ teaspoon salt
- For the Honey Butter (Optional)
½ cup (1 stick) unsalted butter, softened
2 tablespoons honey
¼ teaspoon cinnamon
Directions
- Preheat your oven to 425°F (220°C). Line a baking sheet with parchment paper and set aside.
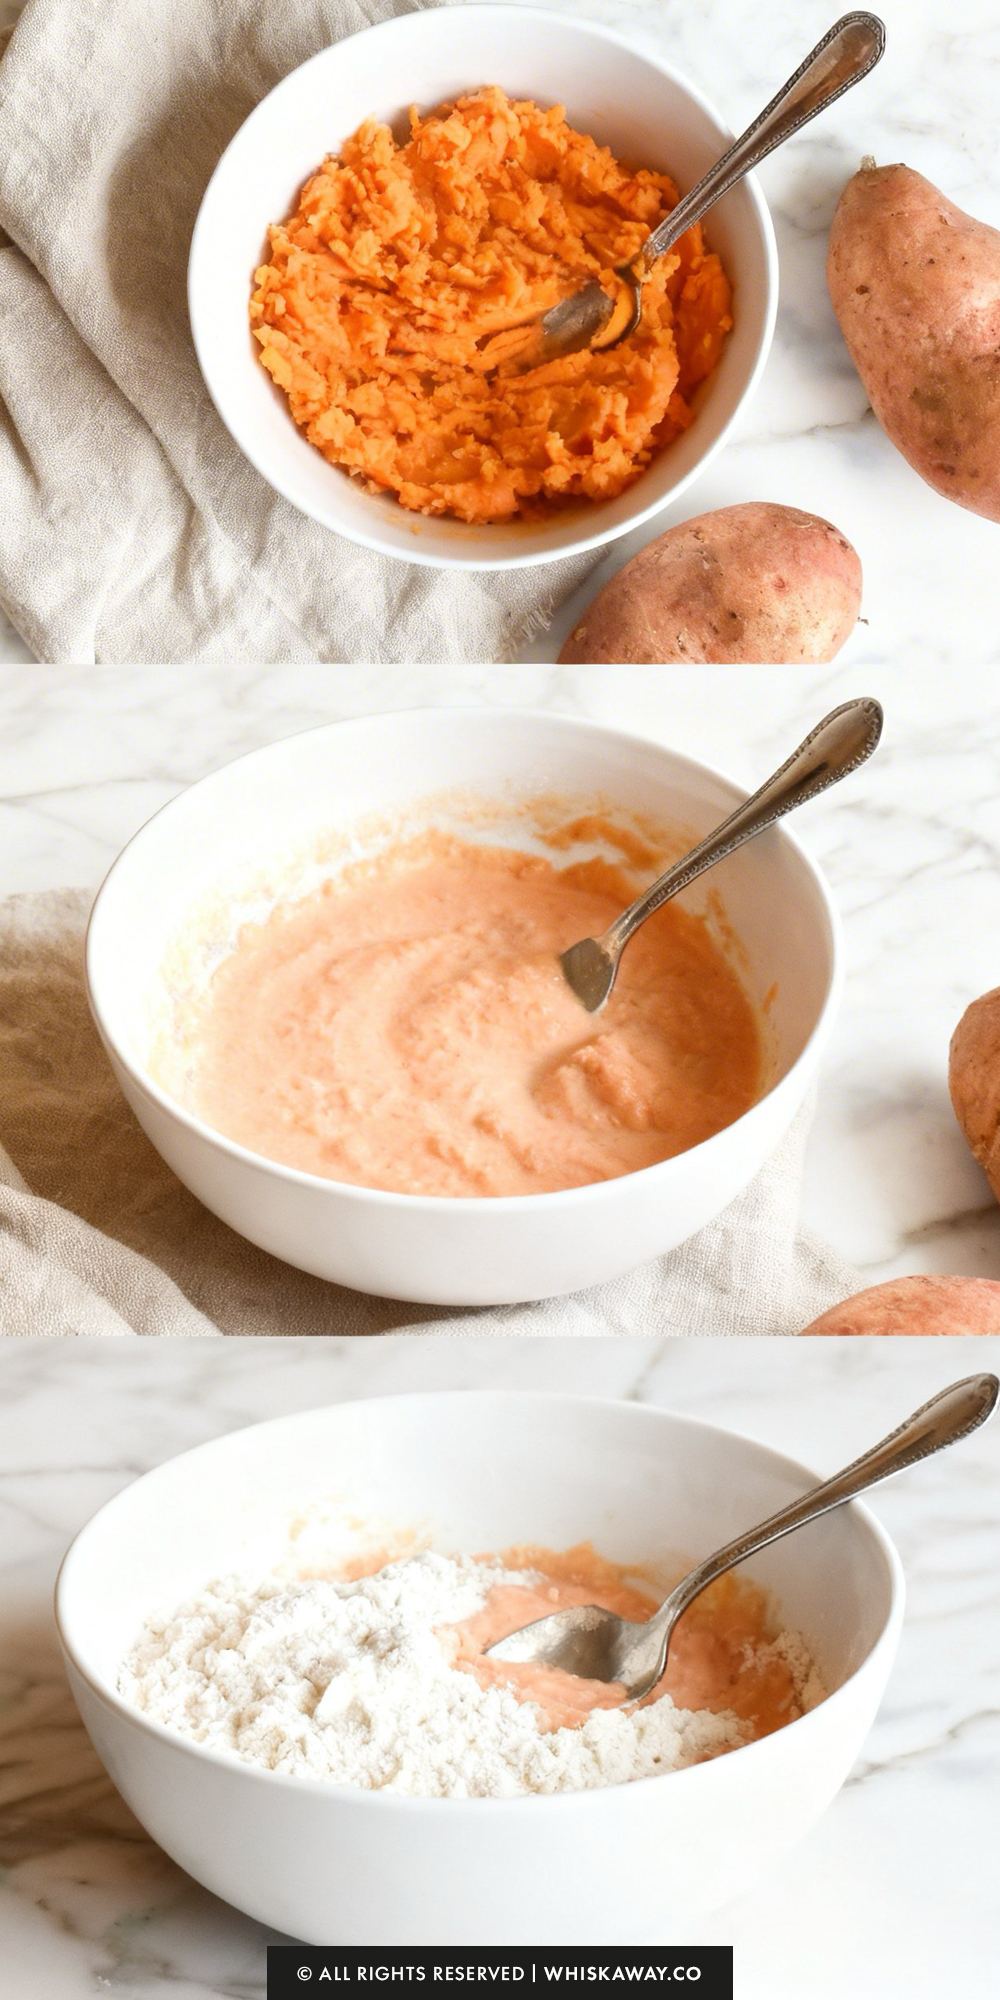
- In a large mixing bowl, combine the mashed sweet potatoes and ½ cup of milk. Stir until smooth and set aside.
- In a food processor fitted with the metal blade, add the flour, cornstarch, sugar, baking powder, and salt. Pulse briefly to mix evenly. Add the cold butter chunks and pulse several times until the mixture looks like coarse crumbs with some pea-sized butter pieces remaining. (Tip: You can also do this by hand using a pastry cutter or your fingers.)
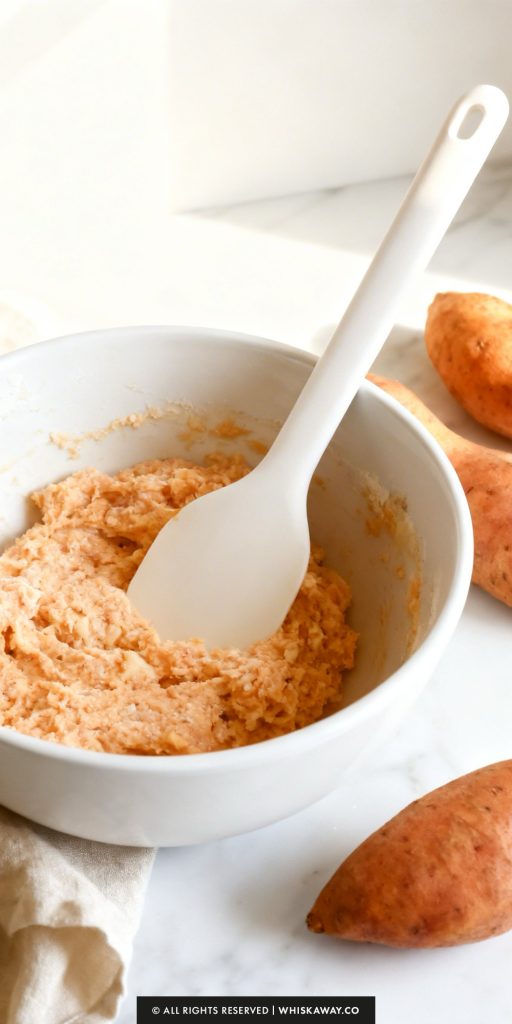
- Transfer the flour-butter mixture to the bowl with the sweet potato mixture. Gently fold using a rubber spatula until the dough is just moistened and sticks together. If needed, add 1–2 extra tablespoons of milk to bring it together. Be careful not to overmix.
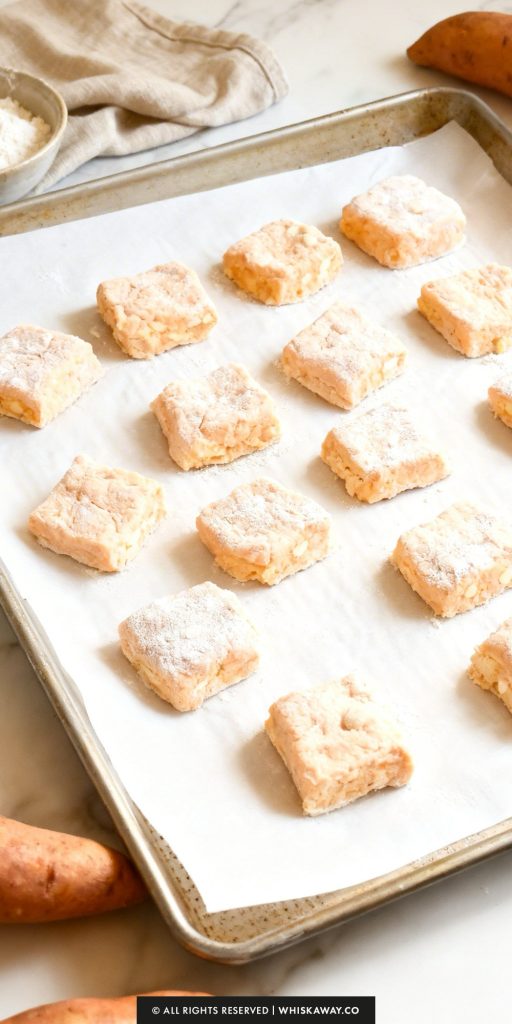
- Lightly flour a clean surface and turn the dough out onto it. Knead gently 3–4 times until smooth. Pat the dough into a rectangle about ¾ inch thick. Using a sharp knife, cut the rectangle into thirds, stack the pieces, and gently pat out to a rectangle of the same thickness. Repeat the stacking and patting once more. Dust your knife lightly with flour and cut the final rectangle into 12 even squares.
- Place the squares on the prepared baking sheet. Bake for 13–15 minutes, or until the tops are lightly golden and the bottoms have a deeper golden hue. Serve warm for the best texture, or reheat slightly older biscuits in the oven to revive them.
- In a small bowl, mix together the softened butter, honey, and cinnamon until smooth. Serve at room temperature alongside the biscuits.
- Baked biscuits can be stored in an airtight container or resealable plastic bag in the freezer for up to 3 months. To enjoy later, wrap them in aluminum foil and warm in a 350°F (175°C) oven until heated through.
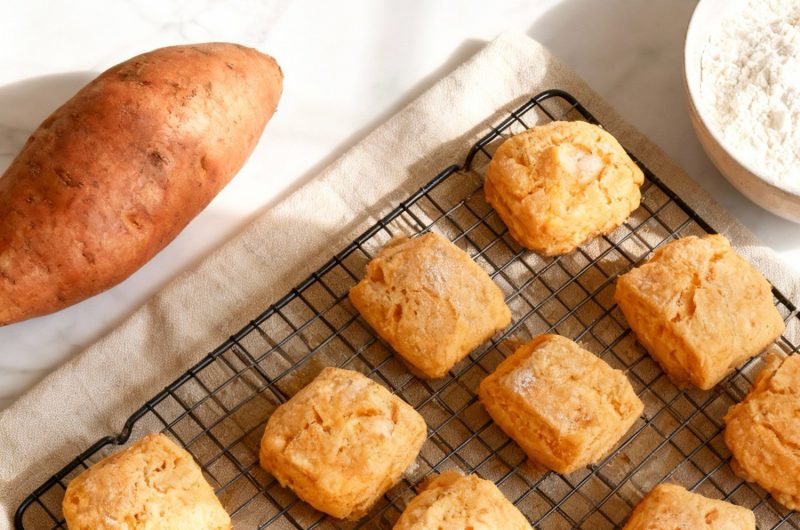
- Peel and cube one medium sweet potato. Boil in water until tender, about 13–15 minutes. Drain and mash thoroughly with a fork before using in the recipe.