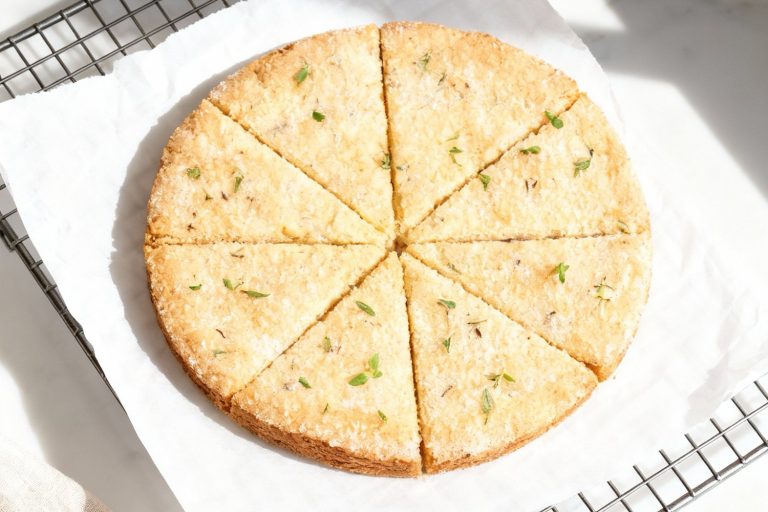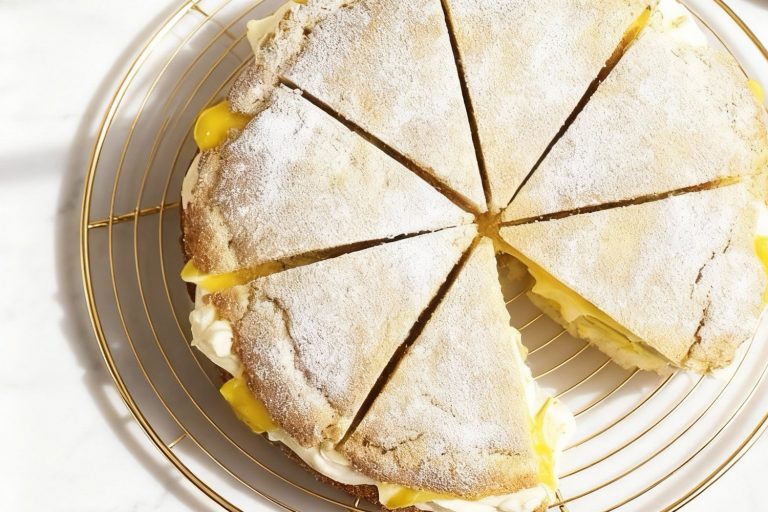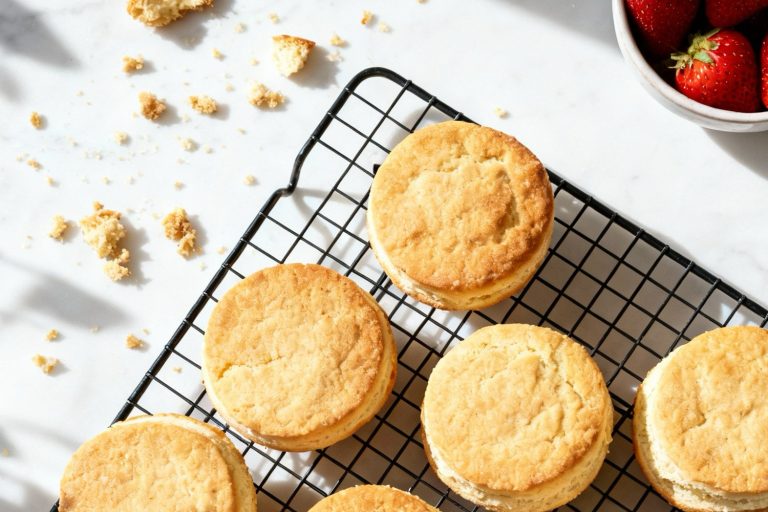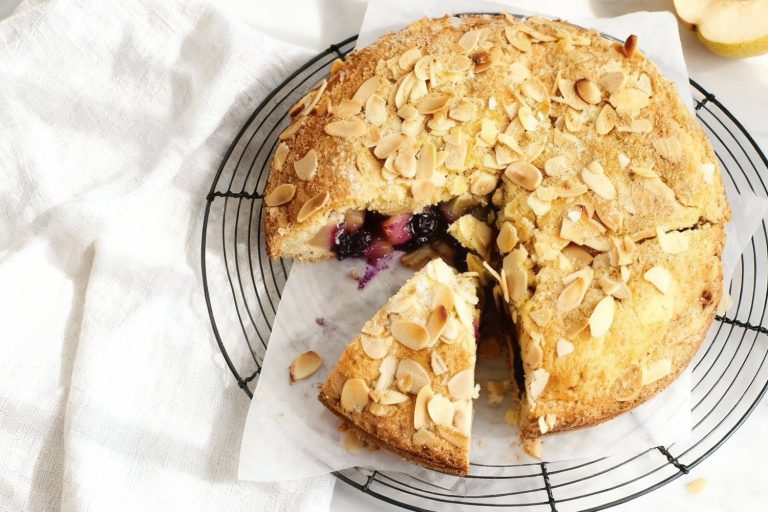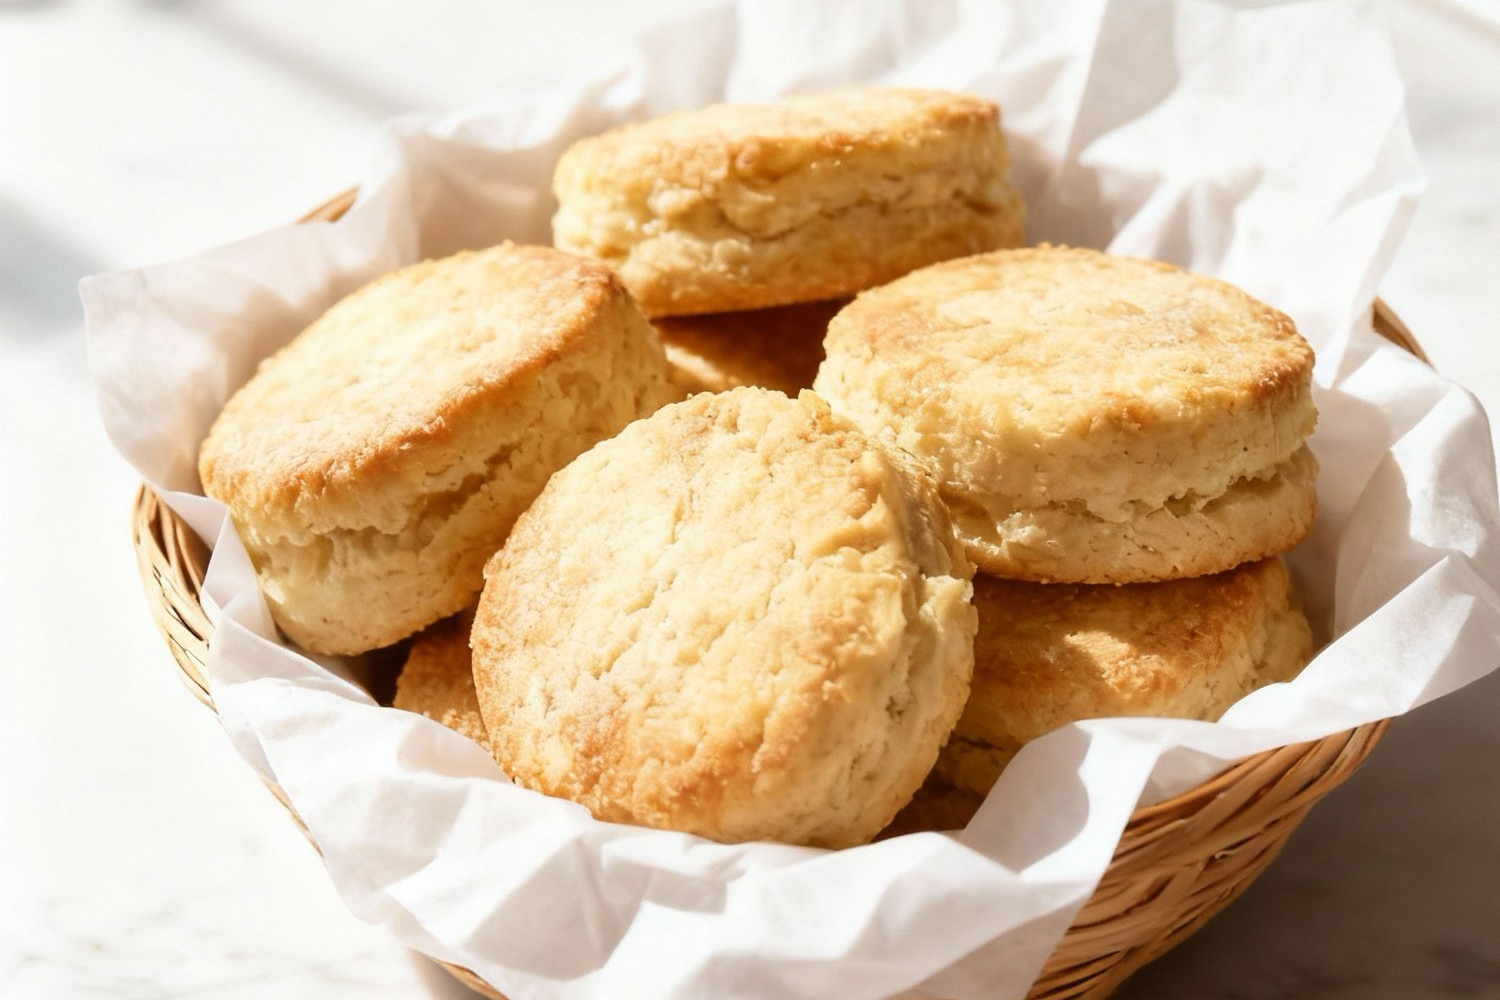
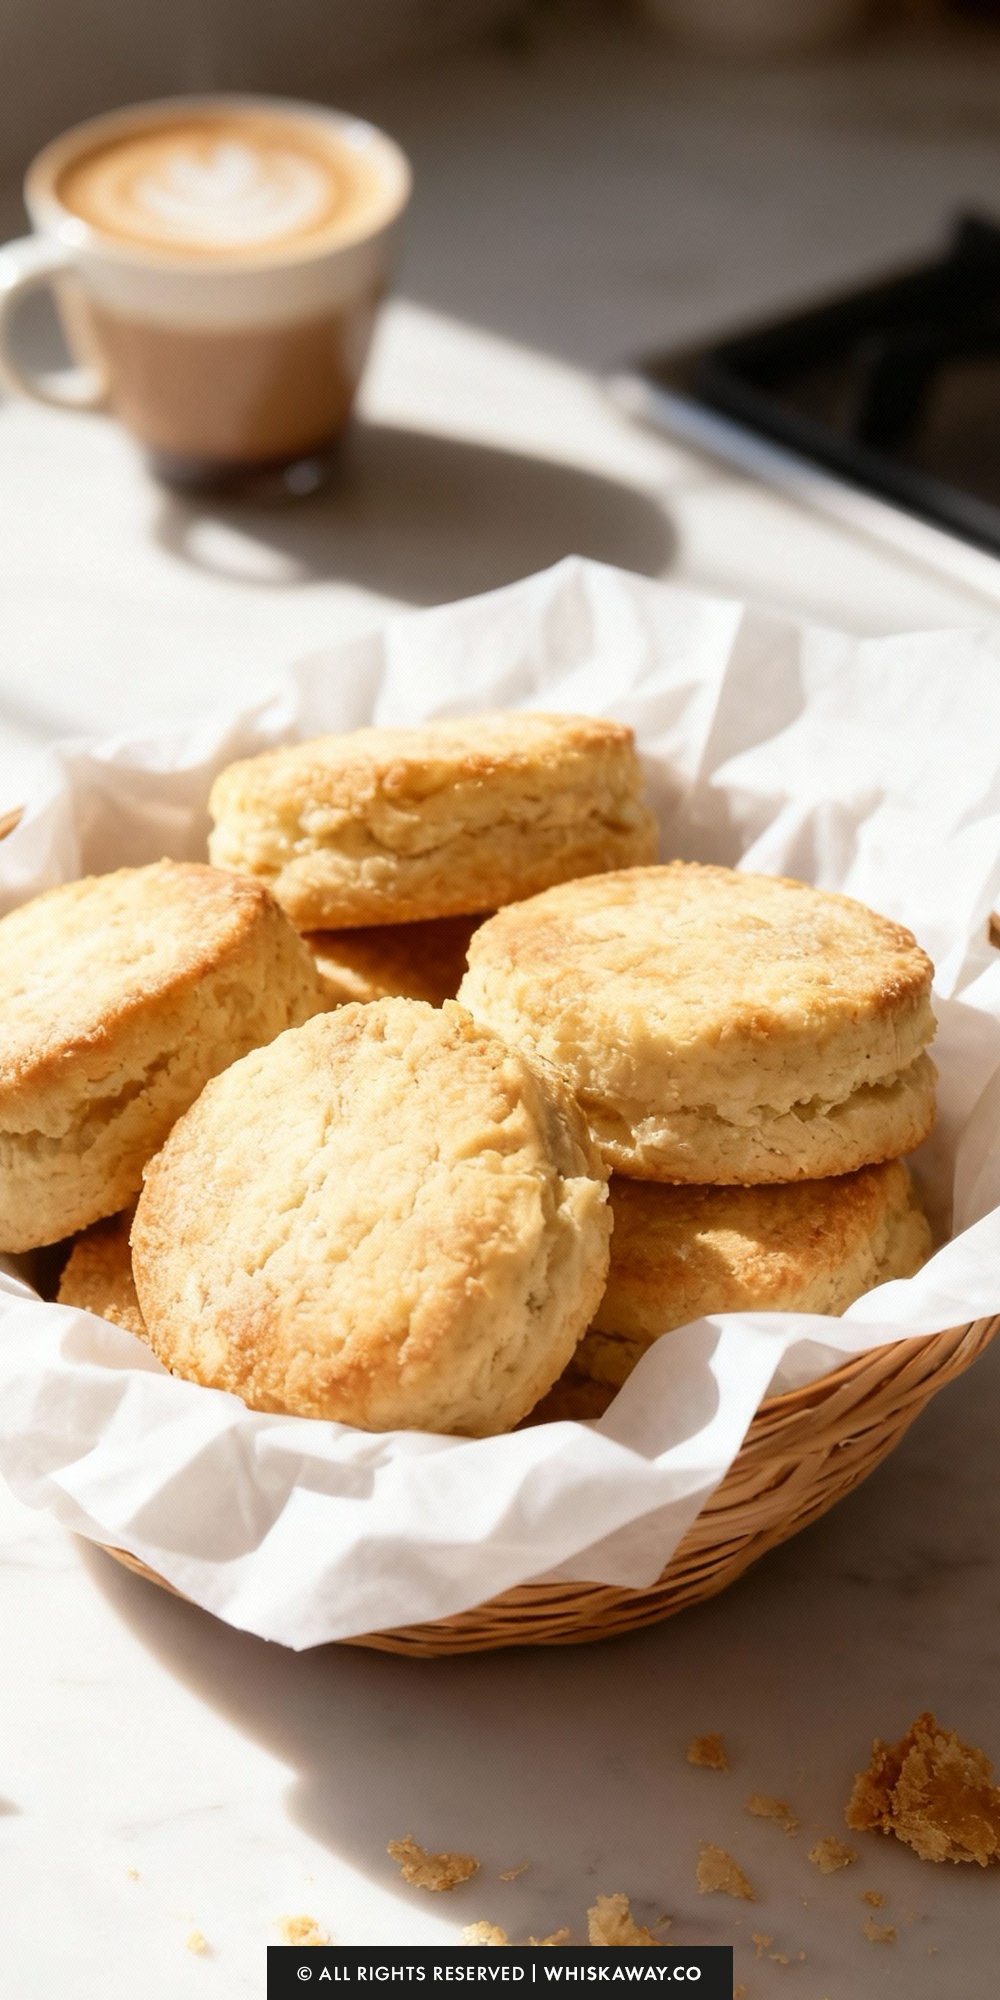
Craving a dessert that’s both indulgent and easy to make? Sweet shortcake biscuits offer a tender, slightly sweet base that pairs perfectly with fresh fruit and whipped cream.
Each bite is soft, buttery, and perfectly balanced with a touch of sweetness.
Baking sweet shortcake biscuits is simple and approachable. The dough rises beautifully in the oven, creating flaky layers that soak up any toppings without falling apart.
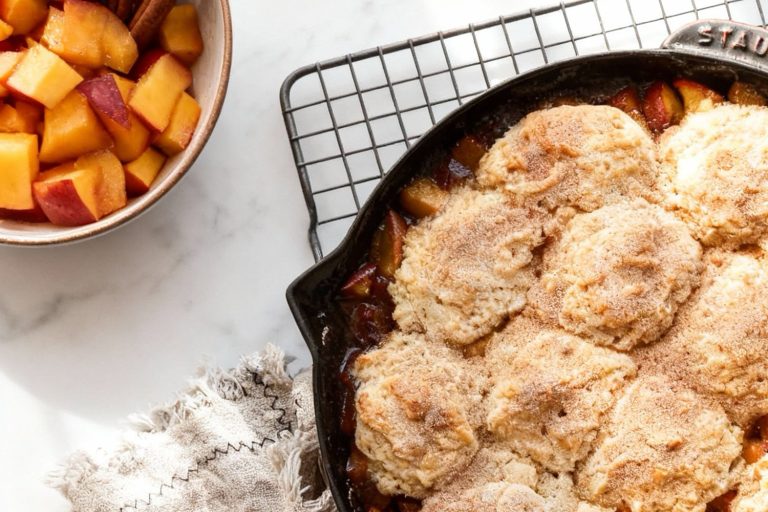
Strawberries, blueberries, or peaches all work wonderfully, and a dollop of whipped cream makes the dessert feel special.
Whether you’re hosting a summer gathering or treating yourself to a sweet afternoon snack, these sweet shortcake biscuits are versatile and irresistible.
I promise you’ll find yourself making these again and again!! lol
Why You’ll Love This Recipe
Lightly sweetened and tender, these biscuits are sturdy enough to hold juicy fruits and fluffy cream, making them the perfect base for desserts.
What Makes Them Special
- Soft yet structured to hold toppings
- Subtle sweetness that complements fruit
- Easy to slice and layer
- Works beautifully for classic shortcakes
- A versatile dessert foundation
🔥 These sweet shortcake biscuits are the perfect base for layered desserts. Pair them with strawberry shortcake, peach cobbler shortcakes, or blueberry shortcakes when you’re craving something fruity and fresh.
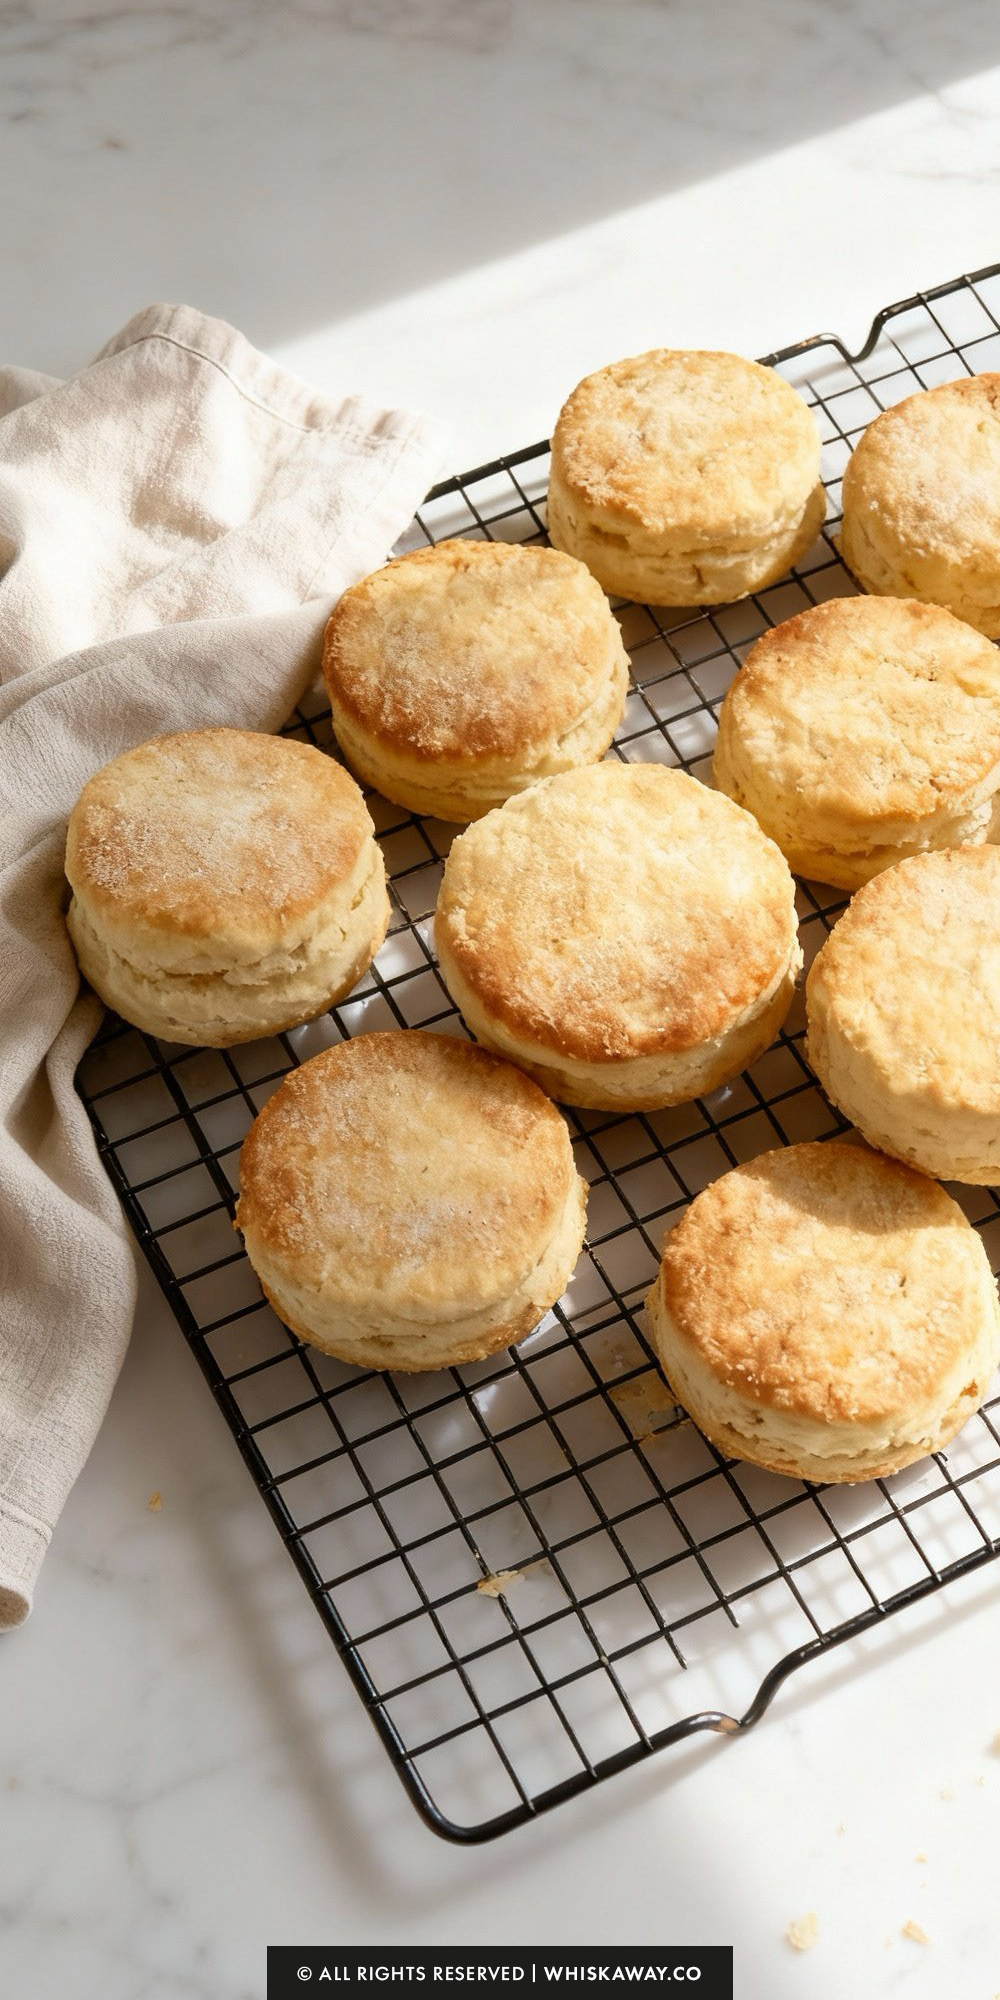
How to Get Your Sweet Shortcake Biscuits Just Right
Sweet shortcake biscuits are all about fluffy layers, tender centers, and buttery flavor.
With a few smart techniques, you can guarantee beautifully risen, bakery-worthy biscuits every time.
1. Keep Your Ingredients Cold
Cold butter and cold half-and-half are essential. When the butter melts too early, the biscuits lose their flakiness.
2. Chill the butter after cutting it into cubes.
You can even pop the flour mixture into the fridge for 10 minutes before adding the liquid.
3. Handle the Dough Gently
- Overworking the dough creates tough, dense biscuits.
- Mix only until the dough comes together—don’t knead.
- Fold the dough instead of aggressively pressing or rolling it. These folds help create layers.
4. Flour the Surface Lightly
Too much flour on the counter can dry out the dough.
Use just enough to prevent sticking.
If the dough begins to cling, add small sprinkles of flour rather than large handfuls.
5. Master the Folding Technique
Those signature biscuit layers come from the folding process.
Fold the dough 2–3 times to build structure and height.
Make sure your final rectangle is ¾ inch thick for biscuits that rise tall without drying out.
6. Cut Straight Down & Don’t Twist
Twisting the biscuit cutter seals off the edges, preventing the biscuits from rising properly.
Press straight down, lift straight up, and wiggle the dough only if absolutely needed.
7. Chill Before Baking
This step helps the biscuits hold their shape and creates steam pockets as the butter melts.
- A 30-minute chill makes a big difference in flakiness and rise.
- If you’re in a rush, even 10–15 minutes is better than skipping this step.
8. Give Them Space in the Oven
- Instead of crowding the biscuits, space them at least ½ inch apart.
- This allows hot air to circulate and promotes even browning.
9. Watch the Bake Time
- Sweet biscuits brown quickly because of the added sugar.
- Start checking at the 10-minute mark.
- They’re ready when they’ve doubled in height and the tops are golden.
10. Avoid These Common Mistakes
- Using warm butter → leads to flat, heavy biscuits
- Overmixing the dough → toughness
- Forgetting to flour your hands → dough sticks, causing overhandling
- Cutting biscuits too thin → lack of lift and dry texture
- Skipping the pre-bake chill → spreads instead of rising tall
11. Finish With Flavor
A brush of melted butter and a sprinkle of sugar on top add shine, sweetness, and that classic shortcake charm.
With these simple steps, you’ll get perfectly tender, golden biscuits every time, ideal for strawberry shortcake or any sweet treat you’re serving.
Easy Baking Tips That Have Worked for Me
When making sweet shortcake biscuits, it’s helpful to add the sugar to the flour rather than the wet ingredients so it dissolves evenly.
Be very gentle with the dough because overworking it can make the biscuits tough. It’s better to slightly underbake them than overbake, as this keeps the interior soft and tender.
Let the biscuits cool completely before slicing to ensure clean layers, and if you’re using cream in the filling, make sure the butter or cream is at room temperature so it doesn’t melt the biscuits.
Variation Tips
These Sweet Shortcake Biscuits are wonderfully adaptable. With just a few small changes, you can customize the flavor, texture, or dietary profile while keeping the base recipe simple and reliable.
1. Flavor Boosters
- Citrus Zest: Add 1–2 teaspoons of lemon or orange zest to the dry ingredients for a bright, summery twist.
- Vanilla or Almond Extract: Stir ½–1 teaspoon into the half-and-half for deeper flavor.
- Spiced Biscuits: Mix in a pinch of cinnamon, cardamom, or nutmeg for warm, cozy notes—perfect for fall and winter shortcakes.
2. Berry or Fruit Add-ins
- Fresh Berries: Fold in a small handful of finely chopped strawberries, blueberries, or raspberries. Pat the dough gently to avoid crushing the fruit.
- Dried Fruit: Add 2–3 tablespoons of dried cranberries, cherries, or chopped apricots for extra sweetness and texture.
3. Richness & Texture Adjustments
- Flakier Biscuits: Replace 2 tablespoons of butter with shortening or coconut oil for extra loft.
- More Tender Crumb: Swap half the half-and-half for heavy cream or crème fraîche.
- Crunchy Tops: Sprinkle coarse sugar instead of granulated sugar before baking for a sparkly, bakery-style finish.
4. Ingredient Swaps
- Whole-Wheat Option: Replace up to 1 cup of the all-purpose flour with whole-wheat flour. The biscuits will have a slightly heartier flavor.
- Gluten-Free: Use a good-quality 1:1 gluten-free baking blend. You may need 1–2 extra tablespoons of liquid depending on the mix.
5. Dairy-Free
- Substitute the butter with cold coconut oil or a plant-based butter stick.
- Use full-fat coconut milk, almond milk, or a dairy-free half-and-half alternative.
6. Sweetness Variations
- More Sweet: Increase the sugar in the dough by 1–2 tablespoons for a sweeter shortcake base.
- Less Sweet: Reduce the sugar by 1 tablespoon if you want a more traditional biscuit flavor.
7. Shape & Size Options
- Mini Biscuits: Cut the dough into smaller rounds for bite-size shortcakes—great for brunch platters.
- Rustic Drop Biscuits: Skip the folding and simply drop spoonfuls of dough onto the baking sheet for a soft, slightly cakier biscuit.
8. Savory Twist
If you love sweet–savory combos, try folding in a small amount of black pepper or adding a sprinkle of flaky salt on top before baking.
How to Properly Store Your Sweet Shortcake Biscuits
Sweet Shortcake Biscuits are best enjoyed fresh, but with the right storage methods, you can keep them tender and flavorful for days or even months.
Here’s how to store them properly without losing their soft crumb or golden edges.
1. Room Temperature (Best for 1–2 Days)
If you plan to enjoy the biscuits within a day or two, room-temperature storage works perfectly.
- How to Store: Place the cooled biscuits in an airtight container or wrap them loosely in foil.
- Where to Keep Them: Store in a cool, dry spot away from direct sunlight.
- Tip: Avoid sealing them while still warm—this traps steam and makes them soggy.
2. Refrigerator (Keeps Fresh for Up to 1 Week)
For longer short-term storage, the fridge is your friend.
- How to Store: Wrap each biscuit individually in plastic wrap, then place them together in a zip-top bag or airtight container.
- Why It Works: Wrapping prevents the biscuits from drying out from the refrigerator’s cold air.
- Reheating: Warm the biscuits in a 300°F (150°C) oven for 5–8 minutes to restore their softness.
3. Freezer (Best for Long-Term Storage, Up to 3 Months)
Freezing is ideal when you want to make biscuits ahead or save leftovers without losing quality.
- Cool Fully: Always let the biscuits cool completely to prevent ice crystals from forming.
- Wrap Securely: Wrap each biscuit tightly in plastic wrap, then transfer them to a freezer-safe container or zip-top bag.
- Label & Date: This makes it easy to track how long they’ve been frozen.
- Freezing Unbaked Dough: You can also freeze the shaped dough rounds and bake straight from frozen, just add 2–3 extra minutes to the baking time.
4. How to Reheat Frozen or Chilled Biscuits
- Oven: Warm in a 300°F (150°C) oven for 8–12 minutes until heated through.
- Avoid the Microwave: Microwaving makes them tough and rubbery—use only if you’re in a pinch and heat for just 10–15 seconds.
5. Storage Mistakes to Avoid
- Don’t store in the fridge uncovered: This dries them out quickly.
- Don’t stack biscuits when they’re warm: Condensation leads to a gummy texture.
- Avoid storing with fresh fruit (like cut strawberries): Moisture from the fruit makes the biscuits soggy—store separately and assemble shortcakes just before serving.
With these simple tips, your Sweet Shortcake Biscuits will stay tender, buttery, and ready to enjoy anytime, whether for quick snacks, strawberry shortcakes, or breakfast treats.
FAQs
Can I use regular milk instead of heavy cream?
Yes, but the biscuits will be slightly less rich and tender. If substituting, use whole milk for the best flavor and add 1–2 extra tablespoons of butter to maintain moisture. The texture may be a bit lighter and less crumbly.
Why didn’t my biscuits rise properly?
Flat biscuits usually happen when the butter or cream wasn’t cold enough, the dough was overworked, or the oven wasn’t fully preheated. Make sure to keep ingredients chilled, handle the dough gently, and bake immediately at a hot temperature to create steam and lift.
Can I make these biscuits ahead of time?
Absolutely! You can prepare and cut the dough, then refrigerate it for up to 24 hours before baking. Alternatively, freeze the unbaked biscuits for up to 3 months and bake straight from frozen—just add 2–3 minutes to the baking time.
How should I store leftover shortcake biscuits?
Once fully cooled, store biscuits in an airtight container at room temperature for 2–3 days or refrigerate for up to 5 days. For longer storage, freeze them for up to 3 months and thaw at room temperature. Rewarm in a 300°F (150°C) oven for 5–8 minutes to restore crispness.
What’s the best way to serve Sweet Shortcake Biscuits?
These biscuits shine when paired with fresh berries, macerated fruit, whipped cream, or vanilla ice cream. For a brunch twist, serve them with honey, jam, or a drizzle of lemon glaze. If they’re a day old, gently warming them makes the texture soft and fresh again.
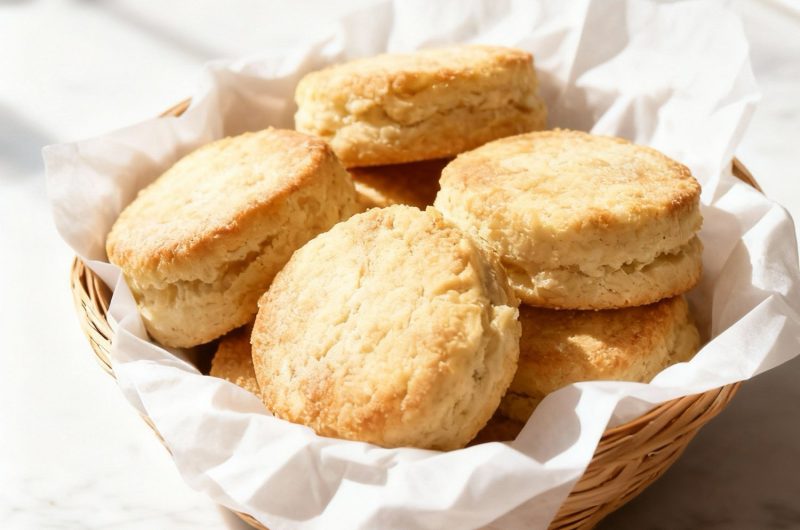
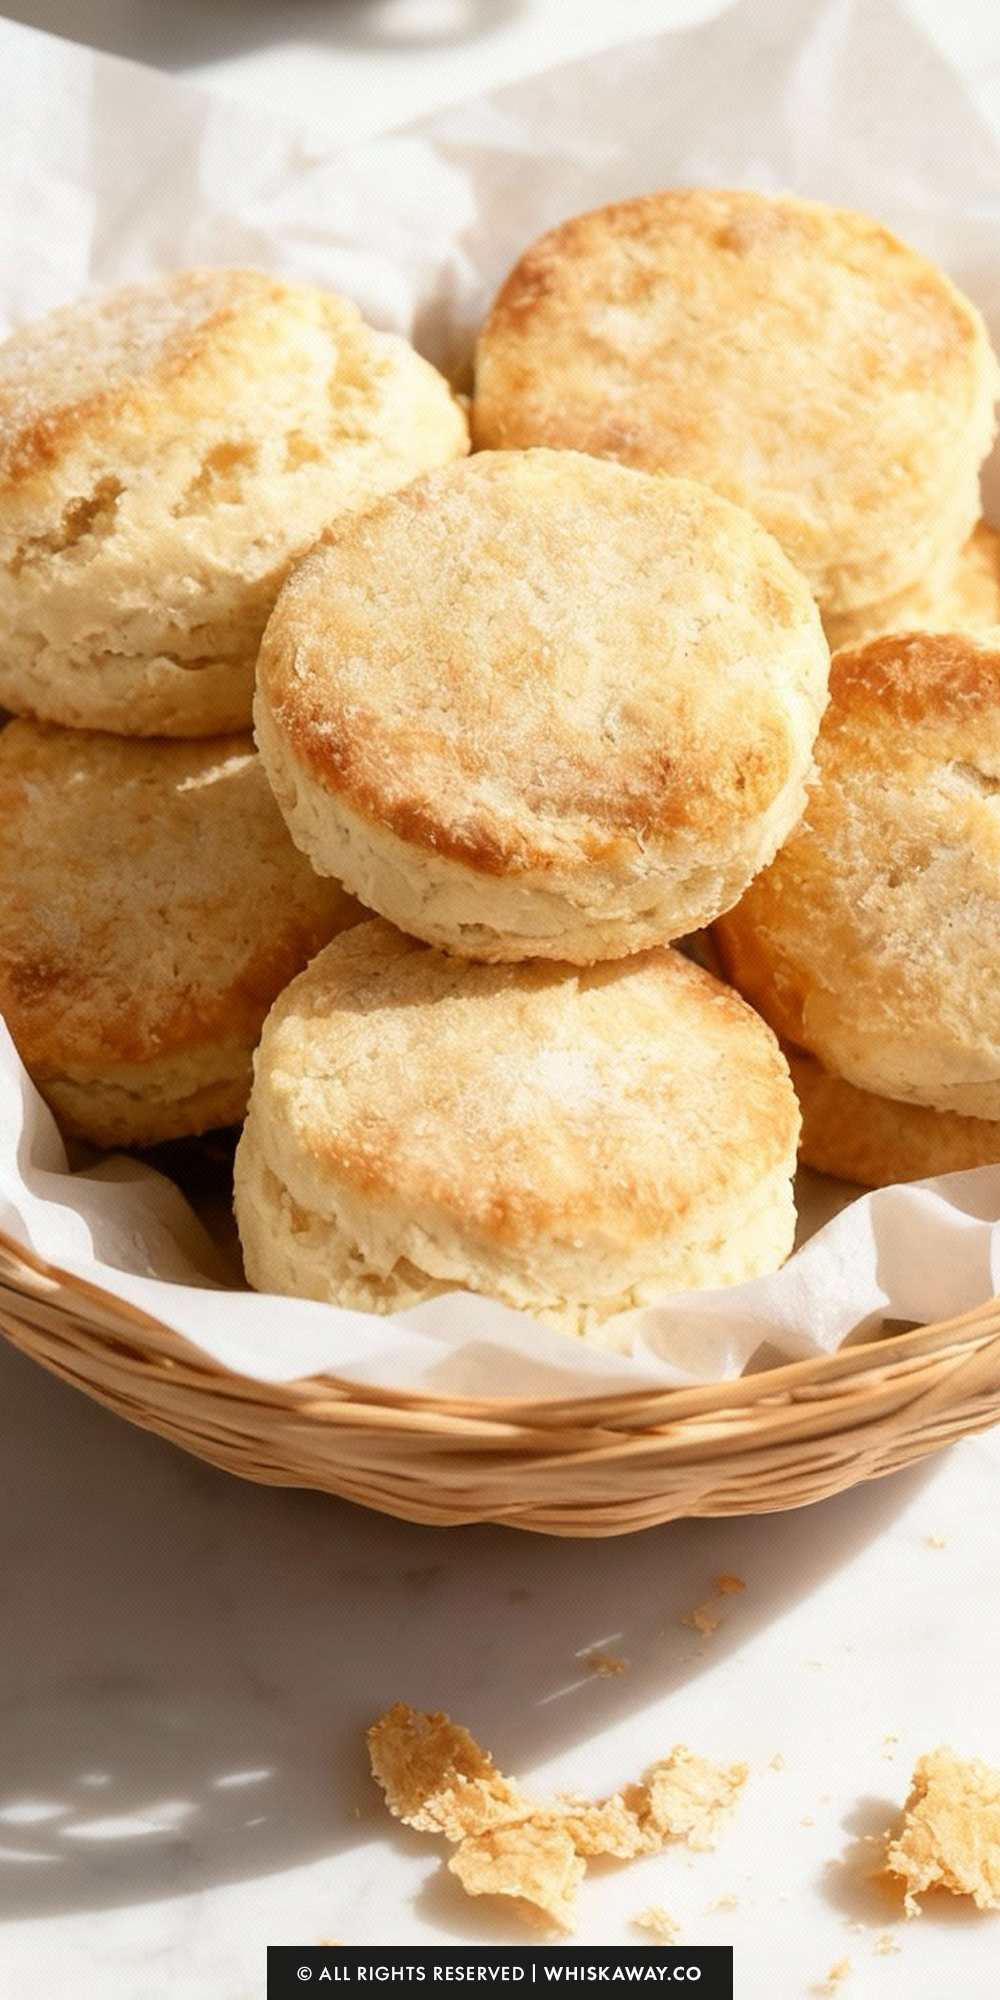
Sweet Shortcake Biscuits
8
biscuits20
minutes10
minutesThese sweet shortcake biscuits are soft, lightly sweet, and perfect for layering with fruits and cream.
Ingredients
2-1/3 cups (292 grams) unbleached all-purpose flour
1 cup (240 ml) half-n-half, cold
8 tablespoons (113 grams) unsalted butter, cold and cut into cubes
3 tablespoons (38 grams) granulated sugar
1 tablespoon baking powder
3/4 teaspoon kosher salt
- Biscuit Topping
1-1/2 tablespoons (21 grams) unsalted butter, melted
2 teaspoons granulated sugar
Directions
- In a large mixing bowl, combine the flour, sugar, baking powder, and salt. Whisk until everything is evenly blended.
- Add the cold butter cubes to the bowl and toss them in the flour mixture so each piece is coated. Using your fingertips, gently press and flatten the butter into the dry ingredients until the mixture looks like coarse crumbs with a few larger pieces remaining. (A pastry cutter works too, but hands give the best control.)
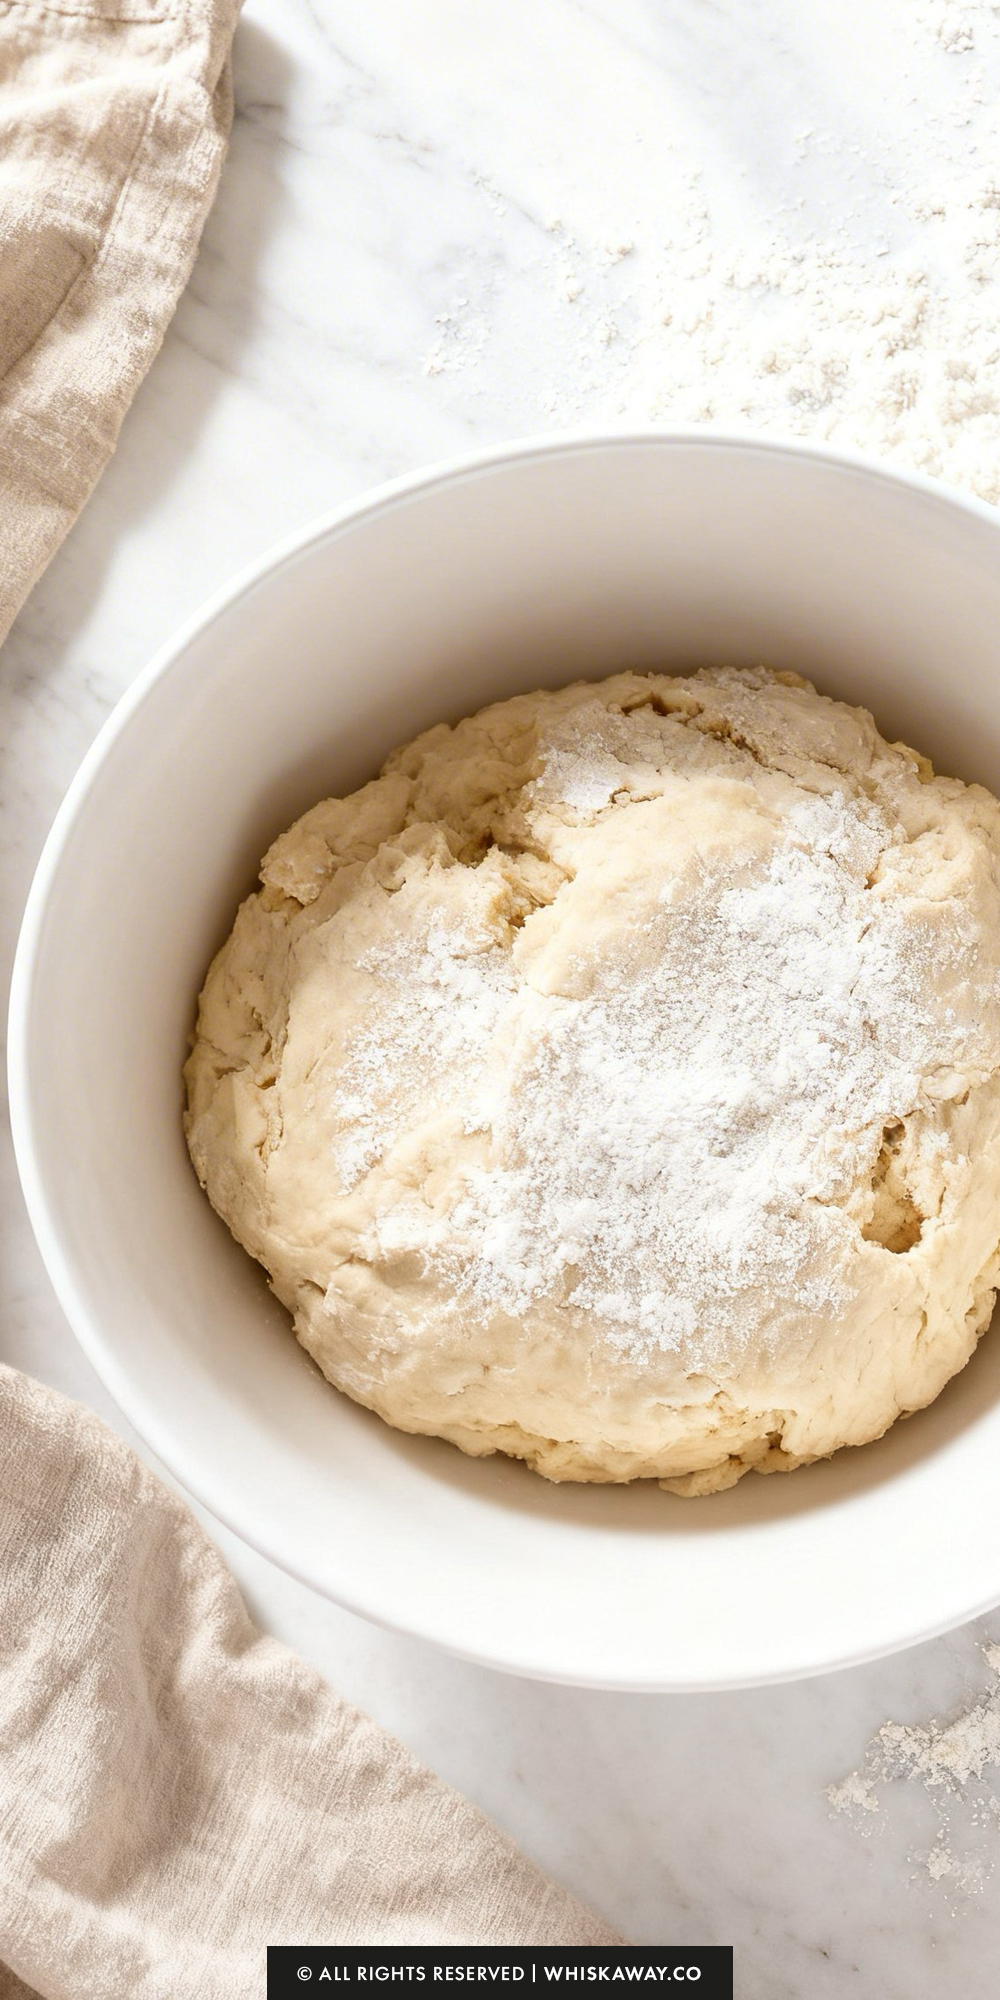
- Pour in all the half-and-half and stir with a silicone spatula just until the liquid is absorbed. The dough will be sticky and cool to the touch.
- Lightly flour your work surface and turn the dough out onto it. Dust your hands with flour, then press the dough into a rough 6x8-inch rectangle. Fold the top half down toward the center, then fold the bottom half up over it, using a bench scraper if needed. Add a sprinkle of flour to the surface if the dough sticks.
- Rotate the dough a quarter turn. Press it into another rectangle and repeat the folding process. Do this a total of three times. After the final fold, gently pat or press the dough into a rectangle about ¾-inch thick and use the bench scraper to square the edges.
- Using a 2.5-inch biscuit cutter, cut out about four biscuits. Gather the remaining dough, fold it once, press it to ¾-inch thick again, and cut out additional biscuits. You should end up with 6–8 in total.
- Arrange the biscuits on a parchment-lined baking sheet, spacing them about ½ inch apart. Place the tray in the refrigerator and chill the biscuits for 30 minutes.
- About 15 minutes before baking, preheat the oven to 425°F (220°C). Remove the chilled biscuits from the fridge, brush the tops with melted butter, and sprinkle each one with a little granulated sugar.
- Bake for 10–12 minutes, or until the biscuits have risen significantly and the tops are a warm golden brown.