
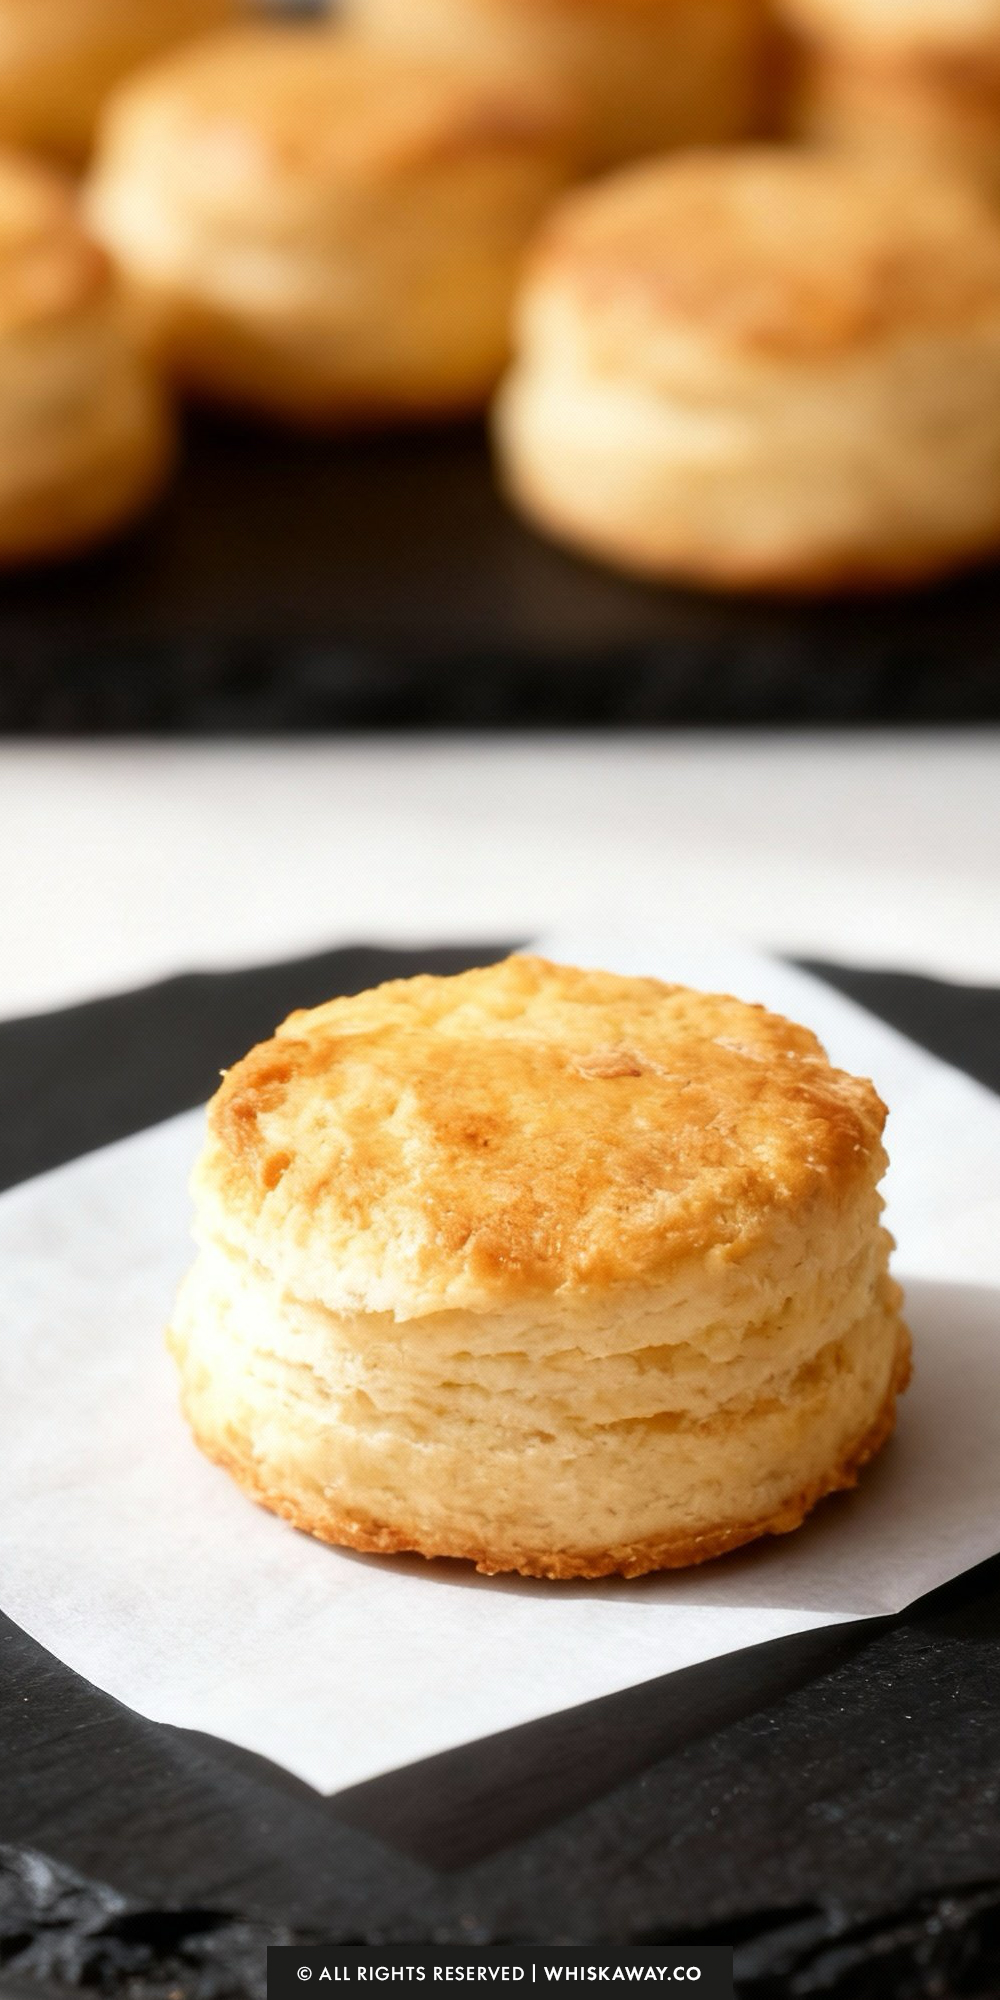
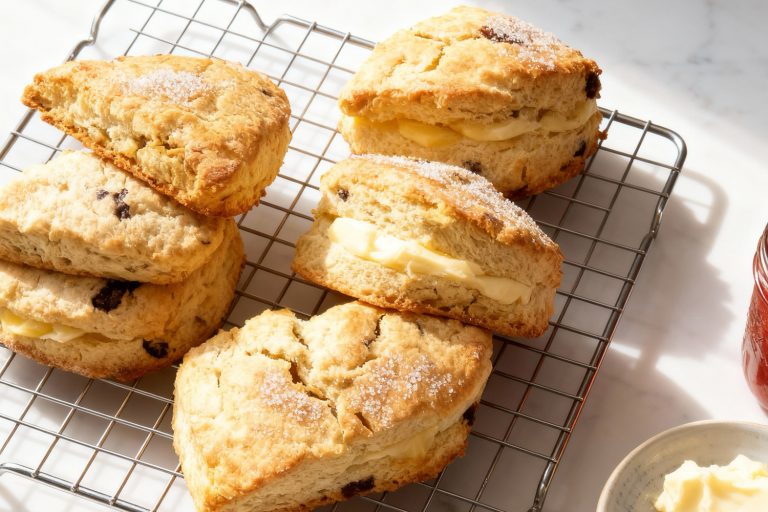
Looking for the perfect fluffy, buttery biscuit that melts in your mouth?
These easy classic buttermilk biscuits are soft on the inside, golden on the outside, and irresistibly tender, making them a staple for breakfast, brunch, or any cozy meal.
The magic comes from simple ingredients and careful technique: cold butter folded into tender dough creates flaky layers that rise beautifully.
Baking classic buttermilk biscuits at home is easier than it seems, and the aroma while they’re baking is simply unbeatable. Serve them warm with butter, jam, or honey for a comforting treat.
Whether for a weekend breakfast spread or a casual dinner side, classic buttermilk biscuits are versatile and universally loved.
Why You’ll Love This Recipe
Fluffy, tender, and buttery, buttermilk biscuits are a comforting classic that never goes out of style. Their light layers make every bite feel homemade and special.
What Makes Them Special
- Soft, flaky layers with a buttery finish
- Slight tang from real buttermilk
- Simple ingredients, easy to make
- Perfect for sweet or savory pairings
- Reliable and crowd-pleasing every time
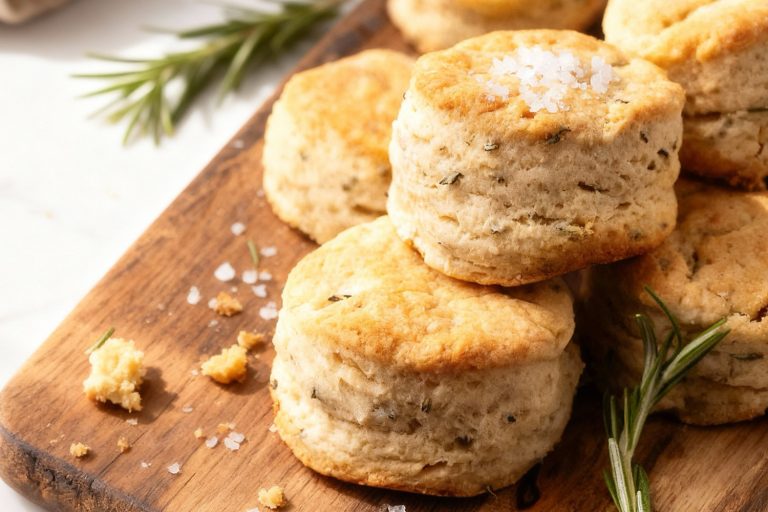
🔥 If you love the simplicity of these classic buttermilk biscuits, you might also enjoy experimenting with flavor-forward versions like cheddar herb biscuits or rosemary sea salt biscuits. And if you’re in the mood for something sweet, try turning them into a dessert-style treat like strawberry shortcake.
Save This Pin To Your Pinterest Board for Later

How to Get Your Classic Buttermilk Biscuits Just Right
Perfect buttermilk biscuits are tall, flaky, buttery, and tender—and a few simple technique tweaks make a world of difference.

Follow these expert tips to help your biscuits turn out consistently amazing every time.
1. Keep Everything Cold
Cold ingredients are the secret behind flaky layers.
Chill your butter before cubing it, and keep the buttermilk refrigerated until the moment you add it.
If your kitchen is warm, you can even place the bowl of dry ingredients in the fridge for 10–15 minutes before adding the butter.
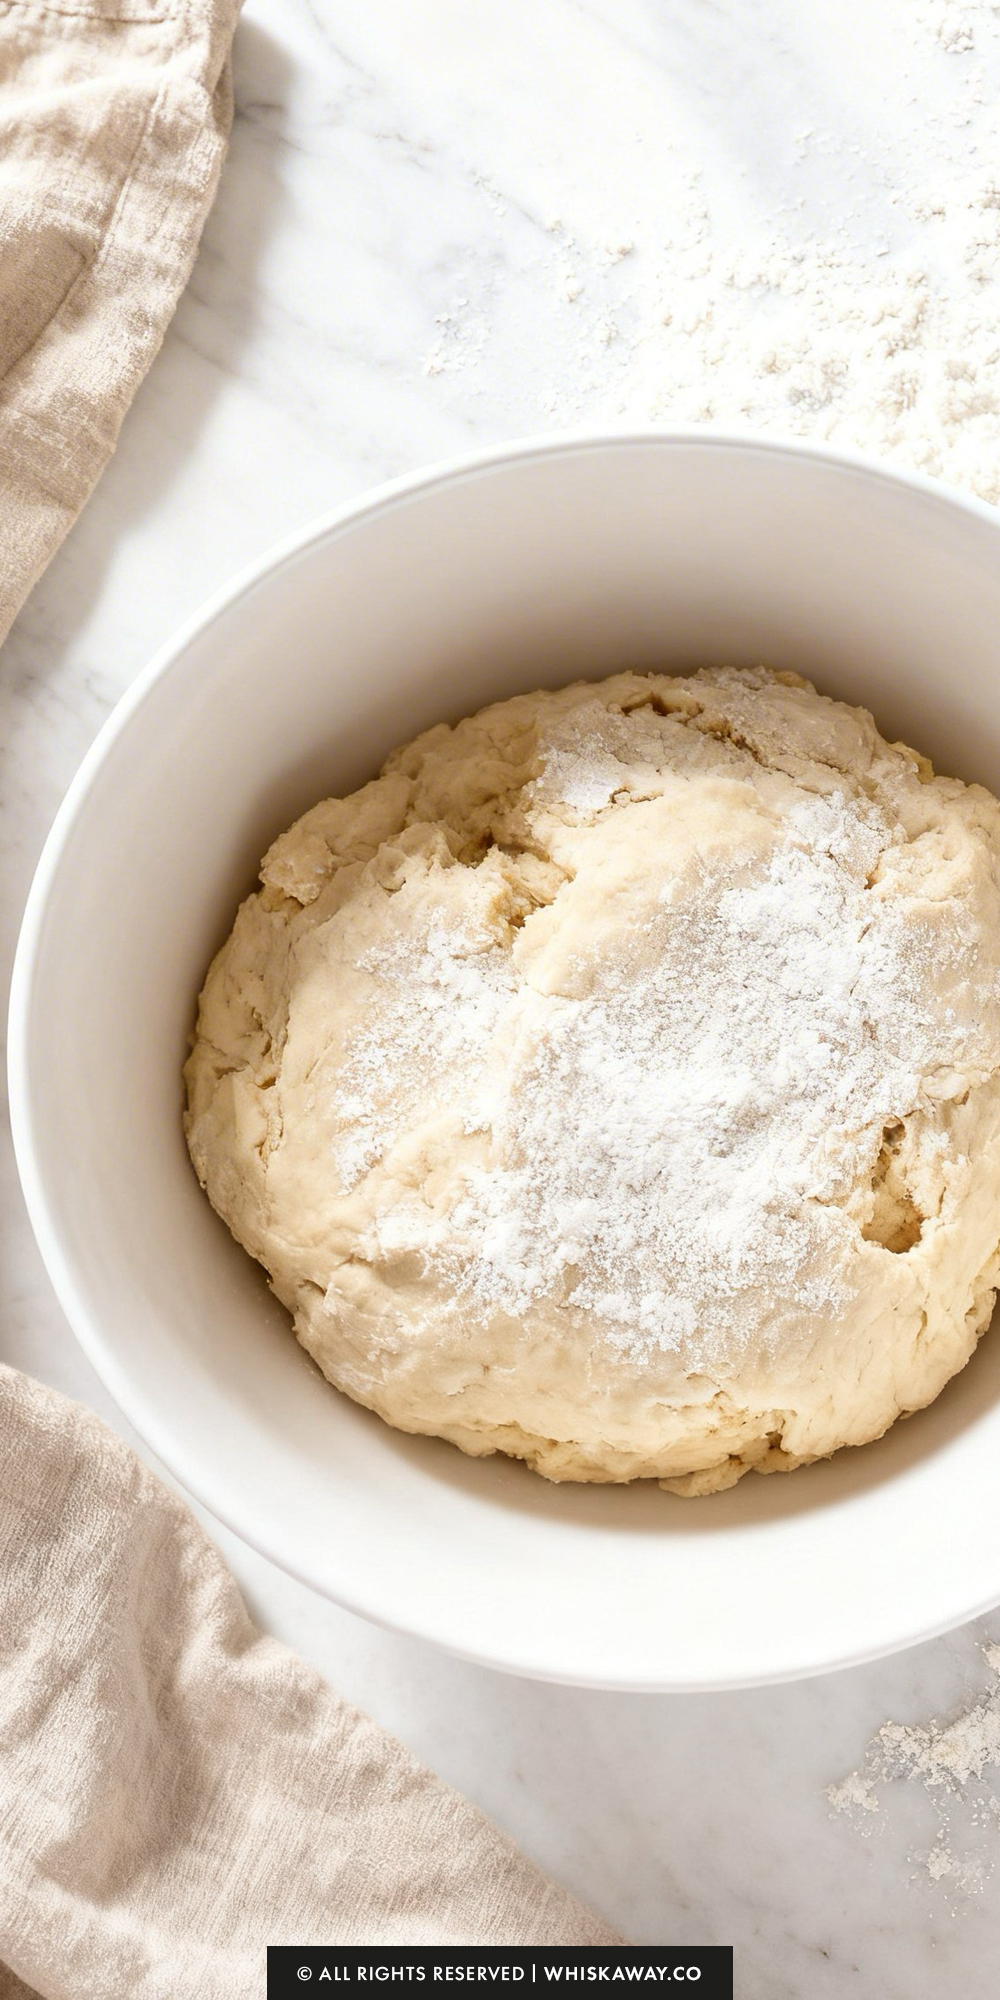
2. Don’t Overwork the Dough
Biscuit dough should be handled gently. Overmixing or kneading too much will develop gluten, resulting in dense, tough biscuits.
As soon as the dough comes together, stop mixing—shaggy and slightly messy is perfect.
3. Aim for Pea-Sized Butter Pieces
When cutting the butter into the flour, make sure some small, visible pieces remain. These melt in the oven and create pockets of steam that lift and separate the layers.
4. Master the Folding Technique
Folding the dough like a letter (three times total) builds height and layers without requiring laminating.
Don’t skip this step as it’s the difference between flat biscuits and tall, bakery-style ones.
5. Measure the Dough Thickness
Press the dough into a ½-inch thickness as directed. Too thin and your biscuits won’t rise properly; too thick and the center may bake unevenly.

6. Never Twist the Biscuit Cutter
Press straight down and lift straight up. Twisting seals the edges, preventing the biscuits from rising high and evenly.
7. Arrange Biscuits Close Together
Place them so the sides are touching on the baking sheet. Snuggling them together helps them steam a bit and encourages a taller lift.
8. Bake Hot and Fast
The high oven temperature (450°F / 230°C) gives biscuits their signature rise and golden top. Make sure your oven is fully preheated before placing the tray inside.
9. Brush Before and After Baking
Brushing the tops with buttermilk before baking helps browning. Brushing with melted butter right after baking adds shine and extra flavor.
10. Common Mistakes to Avoid
- Warm butter: Leads to spreading and flat biscuits.
- Overmixing: Results in hard or gummy texture.
- Skipping the folds: Creates fewer layers and less height.
- Incorrect oven temperature: Can prevent rise or cause overbrowning.
11. Let Them Cool Slightly Before Eating
Giving biscuits a few minutes to rest allows the crumb to set while still staying warm and tender.
Easy Baking Tips That Have Worked for Me
When making these biscuits, it’s very important to keep your butter ice-cold. Small pieces of cold butter create layers in the biscuit as it bakes, giving you that light, flaky texture.
Be gentle when mixing and handling the dough because overmixing will make your biscuits dense and heavy.
Folding the dough a couple of times before cutting it helps build those tender layers without flattening the biscuits.
When you cut the biscuits, press straight down with a sharp cutter without twisting, because twisting can seal the edges and prevent them from rising properly.
Finally, bake your biscuits on a preheated baking sheet so the bottoms get a nice crisp edge and golden color.
Variation Tips
Classic buttermilk biscuits are wonderfully versatile, and a few small tweaks can transform them into sweet, savory, or diet-friendly versions without straying from the original recipe.
Try these easy variations to suit your taste or pantry.
1. Add Cheese for Savory Biscuits
Mix in ½–1 cup shredded cheddar, gruyere, or pepper jack.
Add a pinch of garlic powder or smoked paprika for extra depth.
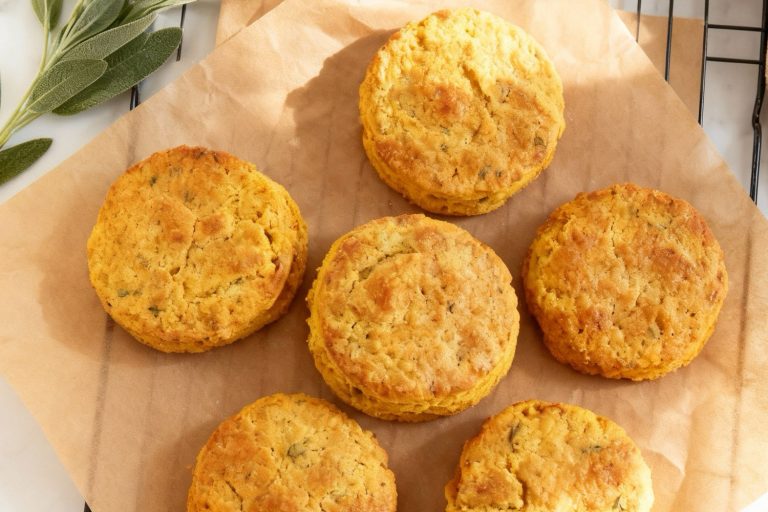
2. Turn Them Into Herb Biscuits
Stir 1–2 tablespoons of fresh herbs such as chives, parsley, rosemary, or thyme into the dry ingredients.
These pair beautifully with soups, holiday dinners, or brunch.
3. Sweeten Them Up
Add 2–3 tablespoons of sugar and a teaspoon of vanilla for lightly sweet breakfast biscuits.
Sprinkle the tops with cinnamon sugar before baking for a warm, bakery-style touch.
4. Make Them Extra Flaky
Swap 1–2 tablespoons of butter with cold shortening.
This helps create ultra-flaky layers while keeping the buttery flavor.
5. Try a Whole Wheat Blend
Replace up to ½ cup of the all-purpose flour with whole wheat flour.
This adds nuttiness and a slightly denser texture without compromising the rise.
6. Add a Buttermilk Substitute
If you don’t have buttermilk, try:
- ¾ cup milk + 1 tablespoon lemon juice or white vinegar (rest for 5 minutes), or
- ¾ cup plain kefir for a tangy, tender biscuit.
7. Make Garlic Butter Drop Biscuits
Skip the folding and simply scoop and drop the dough onto the tray.
Brush with warm garlic butter for a quick, rustic variation.
8. Create Mini Biscuits
Cut the dough with a smaller 1.5–2″ cutter for bite-sized biscuits.
Reduce the baking time by 3–5 minutes.
9. Gluten-Free Adaptation
Use a high-quality 1:1 gluten-free baking flour (with xanthan gum included).
Keep the dough slightly wetter if needed, as GF flour absorbs more liquid.
10. Dairy-Free Swap
Replace butter with vegan butter sticks (the firmer kind, not spreadable).
Use unsweetened dairy-free milk + 1 tablespoon vinegar to mimic buttermilk.
11. Add Mix-ins for Special Occasions
Try folding in:
- Cooked crumbled bacon
- Jalapeño slices
- Dried cranberries
- Lemon zest
- Everything Bagel seasoning on top
These additions keep the structure intact while giving your biscuits a fun twist.

How to Properly Store Your Classic Buttermilk Biscuits
Keeping your Classic Buttermilk Biscuits fresh and tender is easy with the right storage method. Whether you’re saving leftovers or prepping ahead, these tips ensure they stay soft, flaky, and delicious.
1. Room Temperature (Best for 1–2 Days)
Once completely cooled, store biscuits in an airtight container or wrap them tightly in foil. They stay fresh at room temperature for up to 2 days.
To revive them, warm in a 300°F (150°C) oven for 5–8 minutes until soft and steamy again. Avoid microwaving as they can turn rubbery.
2. Refrigeration (Keeps 3–4 Days)
Store biscuits in a sealed container or zip-top bag in the refrigerator. They keep well for 3–4 days, but refrigeration can make them slightly firmer.
Reheat in the oven at 300°F (150°C) for the best texture. Add a small square of butter on top before reheating for extra moisture.
3. Freezing (Best for Long-Term Storage)
Biscuits freeze beautifully, both baked and unbaked.
- Freezing Baked Biscuits
- Let them cool completely.
- Wrap each biscuit tightly in plastic wrap or foil.
- Place in a freezer-safe bag or container.
- They keep their quality for up to 2–3 months.
To Reheat:
Bake frozen biscuits at 325°F (165°C) for 10–15 minutes, or until warmed through. No thawing needed.
Freezing Unbaked Biscuits
If you want truly fresh-from-the-oven biscuits anytime:
- Cut the biscuit dough into rounds.
- Place them on a baking sheet and freeze until solid.
- Transfer to a freezer bag for storage.
- Bake straight from frozen, adding 2–3 extra minutes to the baking time.
4. Packaging Tips
- Add a sheet of parchment between stacked biscuits to prevent sticking.
- Avoid storing biscuits alongside strong-smelling foods; they absorb odors easily.
- Keep moisture out! Condensation will make biscuits soggy or gummy, so always cool fully before storing.
5. Storage Mistakes to Avoid
- Don’t store warm biscuits: trapped steam makes them soggy.
- Don’t microwave to reheat: the texture becomes chewy instead of flaky.
- Don’t refrigerate uncovered: biscuits dry out quickly without proper sealing.
- Avoid plastic wrap while warm: it creates moisture pockets that soften the tops.
Save for Later to Your Pinterest Board
FAQs
Can I substitute the buttermilk with something else?
Yes. If you don’t have buttermilk, make a quick substitute by mixing ¾ cup milk + 2 teaspoons lemon juice or white vinegar. Let it sit for 5 minutes to thicken slightly. The flavor won’t be quite as rich as real buttermilk, but it works well. Avoid using plain milk on its own—the biscuits won’t rise as high.
Why didn’t my biscuits rise properly?
Low rise usually means:
The butter wasn’t cold enough,
The oven wasn’t hot enough, or
You overworked the dough.
Make sure the butter stays cold from start to finish, handle the dough as gently as possible, and preheat your oven fully before baking.
Can I make the dough ahead of time?
Absolutely. You can refrigerate the biscuit dough (already cut into rounds) for up to 24 hours. For longer storage, freeze the unbaked biscuits and bake straight from frozen, adding 2–3 minutes to the baking time.
How should I store leftover biscuits?
Once cooled, store biscuits in an airtight container at room temperature for 1–2 days or in the refrigerator for 3–4 days. For longer storage, freeze them for up to 2–3 months. Reheat in the oven for the best texture.
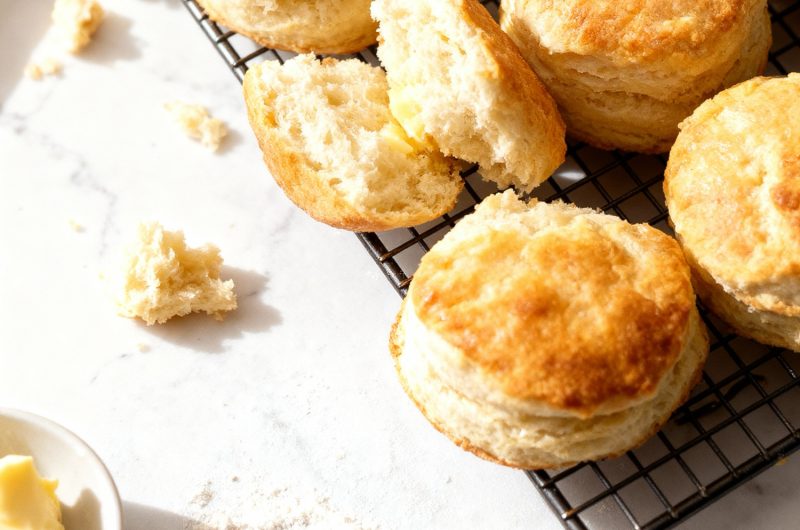
What’s the best way to serve buttermilk biscuits?
Classic biscuits pair beautifully with butter, honey, jam, or gravy. They’re also great for breakfast sandwiches, alongside soups or chili, or used as a base for mini sliders. Serve them warm for the best flavor and flakiness.
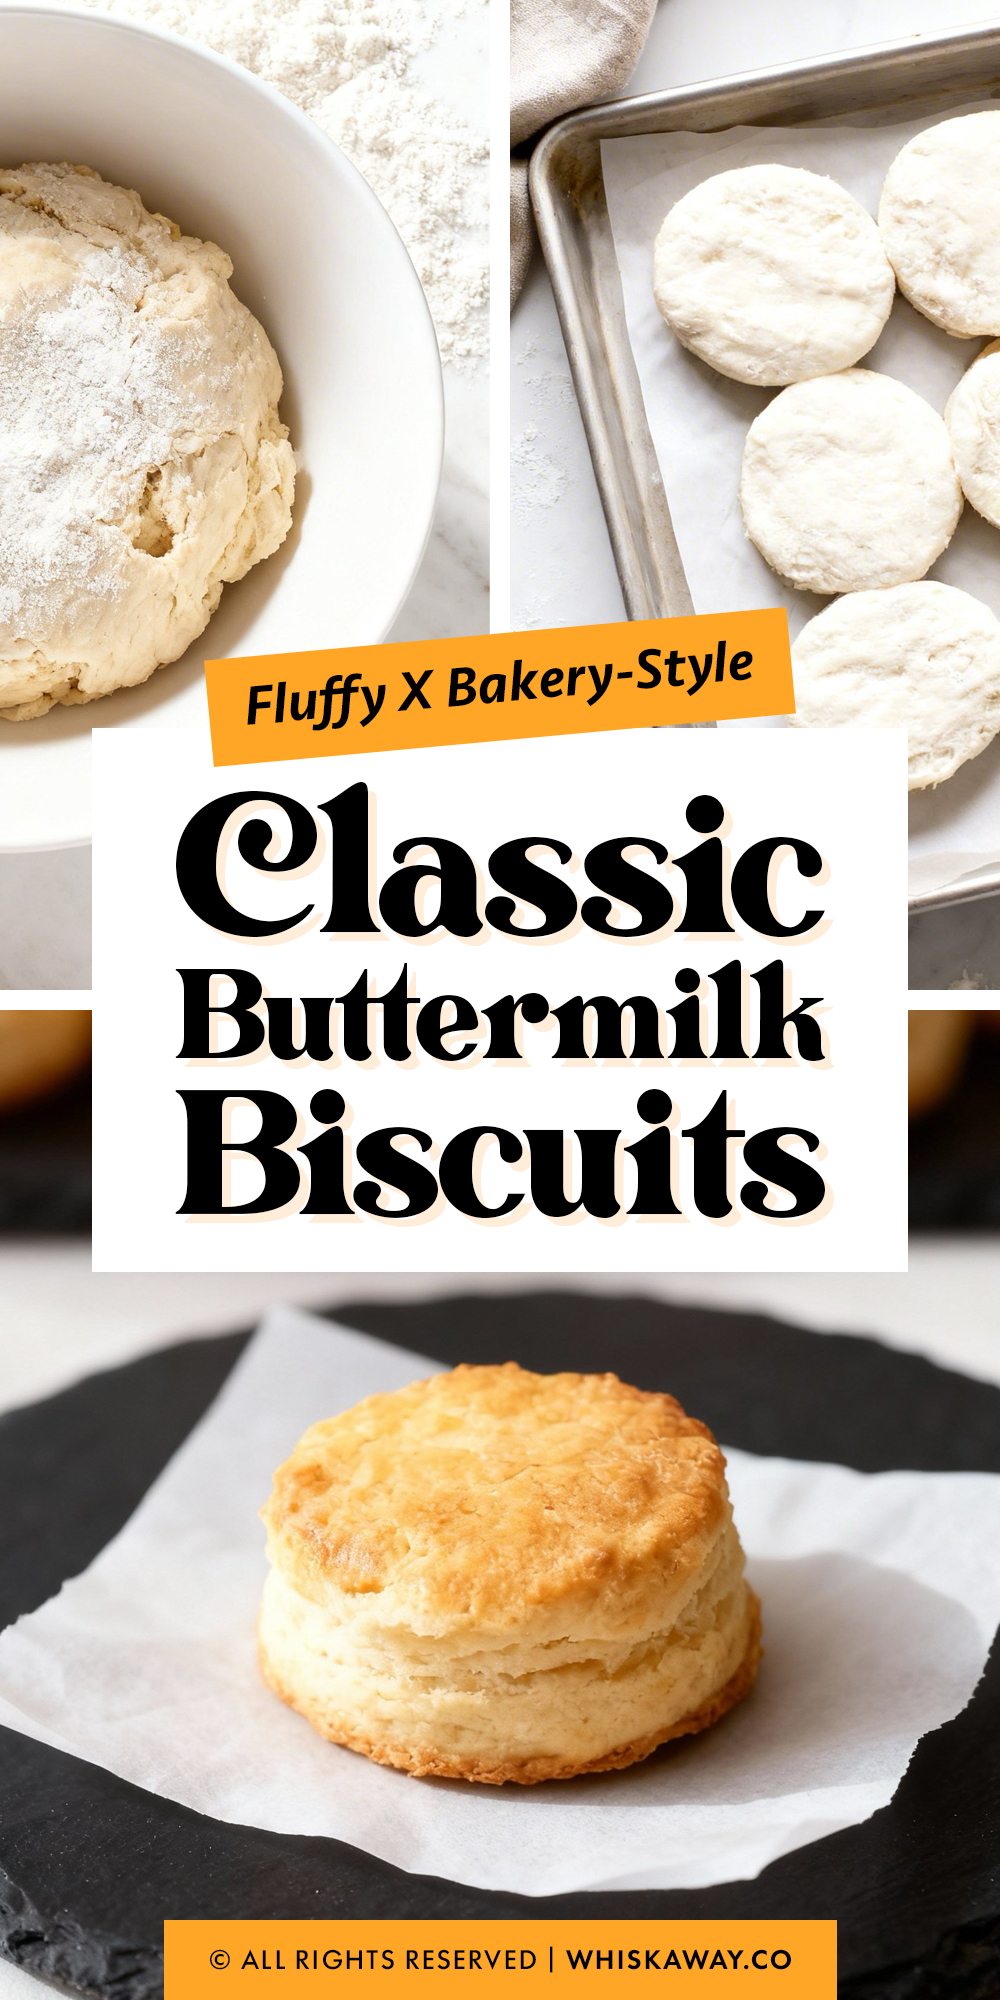
Classic Buttermilk Biscuits
10
biscuits15
minutes15
minutesLooking for a soft, buttery biscuit? These classic buttermilk biscuits are fluffy, tender, and ideal for breakfast or snacks.
Ingredients
2 cups all-purpose flour (spooned & leveled, 250 grams)
¾ cup cold buttermilk (plus more for brushing, 180 ml)
6 tablespoons cold unsalted butter (cubed, 85 grams)
1 tablespoon baking powder
2 teaspoons sugar
1 teaspoon salt
¼ teaspoon baking soda
Directions
- Set your oven to 450°F (230°C). Line a large baking sheet with parchment paper or a silicone mat and set it aside.
- In a large bowl, whisk together the flour, baking powder, baking soda, sugar, and salt until everything is evenly mixed.
- Add the cold, cubed butter to the dry mixture. Using a pastry cutter (or a few quick pulses in a food processor), cut the butter into the flour until you’re left with small, pea-sized pieces.
- Pour the cold buttermilk over the mixture and stir gently just until the dough begins to form. Avoid overmixing.
- Turn the dough out onto a lightly floured surface. Bring it together with your hands, then pat it into a rectangle. Fold the dough into thirds, like folding a letter. Rotate, press it back into a rectangle, and repeat the folding process two more times to build flaky layers.
- Press the dough into a ½-inch thick rectangle, measure to be sure. Dip a 2.5-inch biscuit cutter in flour and press straight down into the dough, lifting it straight up without twisting.
- Gather the leftover dough, pat it out again to ½-inch thickness, and cut out the remaining biscuits. Aim to cut as many as possible on the first pass, as repeated handling can make the biscuits slightly less tender.
- Arrange the biscuits close together on the prepared baking sheet so they touch. Brush the tops lightly with a bit of extra buttermilk.
- Bake for 15–17 minutes, or until the biscuits are puffed and lightly golden on top.
- Remove from the oven and, if you’d like, brush the warm biscuits with melted butter. Let them cool for a couple of minutes before serving.
My biscuits were simply perfect! Thankyou very much for this foolproof recipe. Next Saturday, I’ll bake them again and will serve them a homemade spiced pear blueberry filling. Hope they’ll go well together!
Hello Ann,
I’ve never tried them with spiced pear blueberry filling but I don’t doubt they’ll pair well. Let me know how it went :)