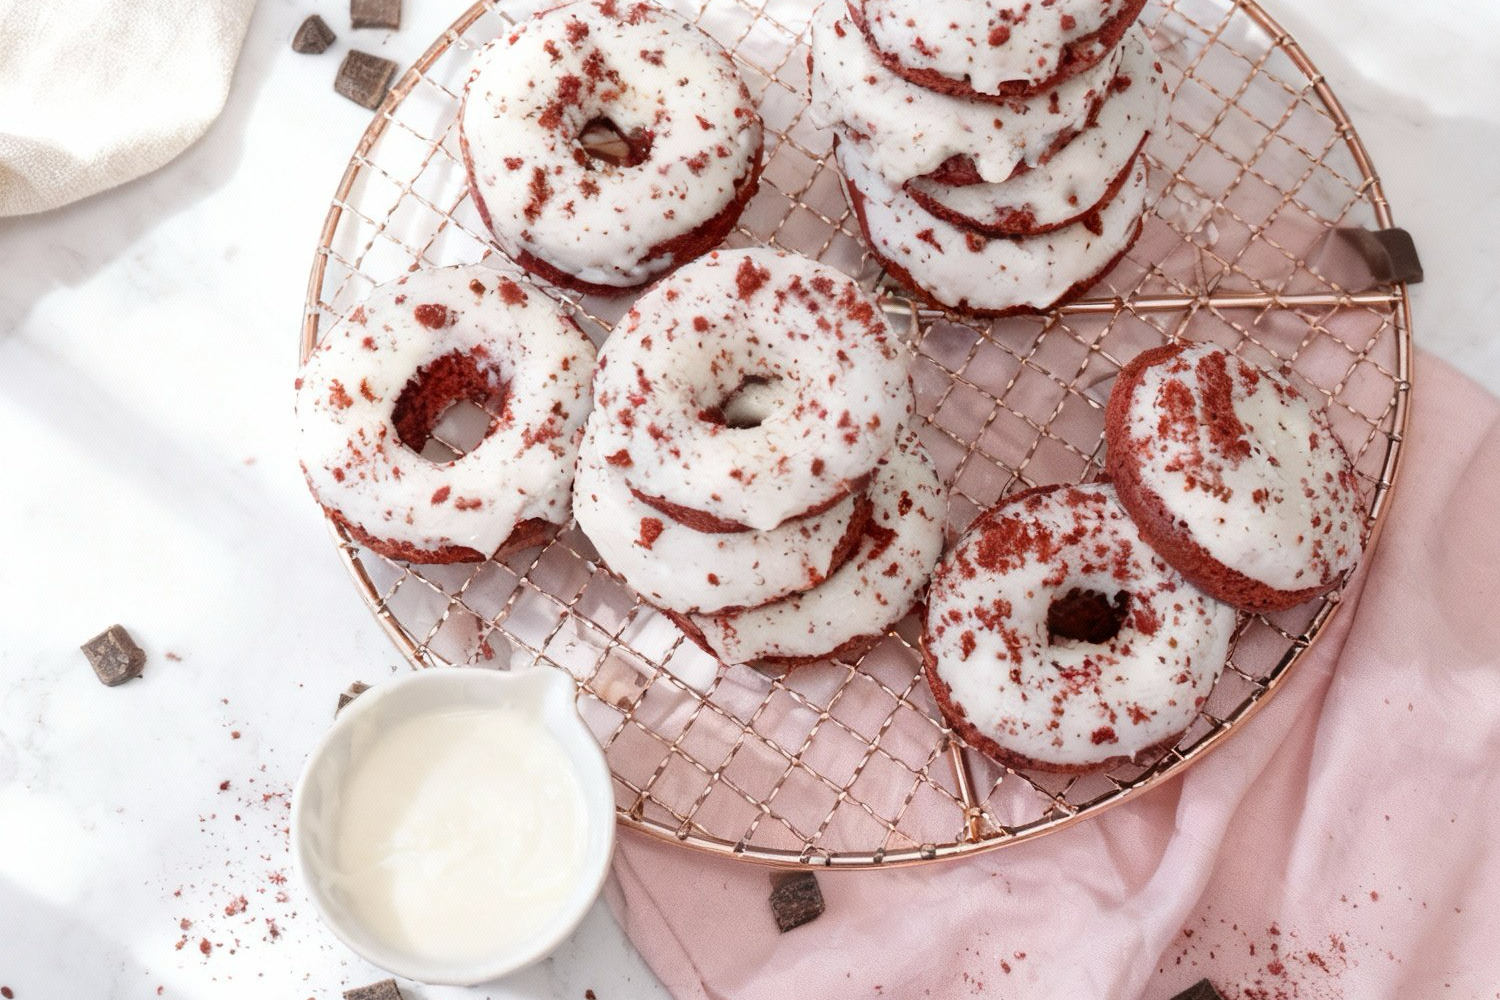
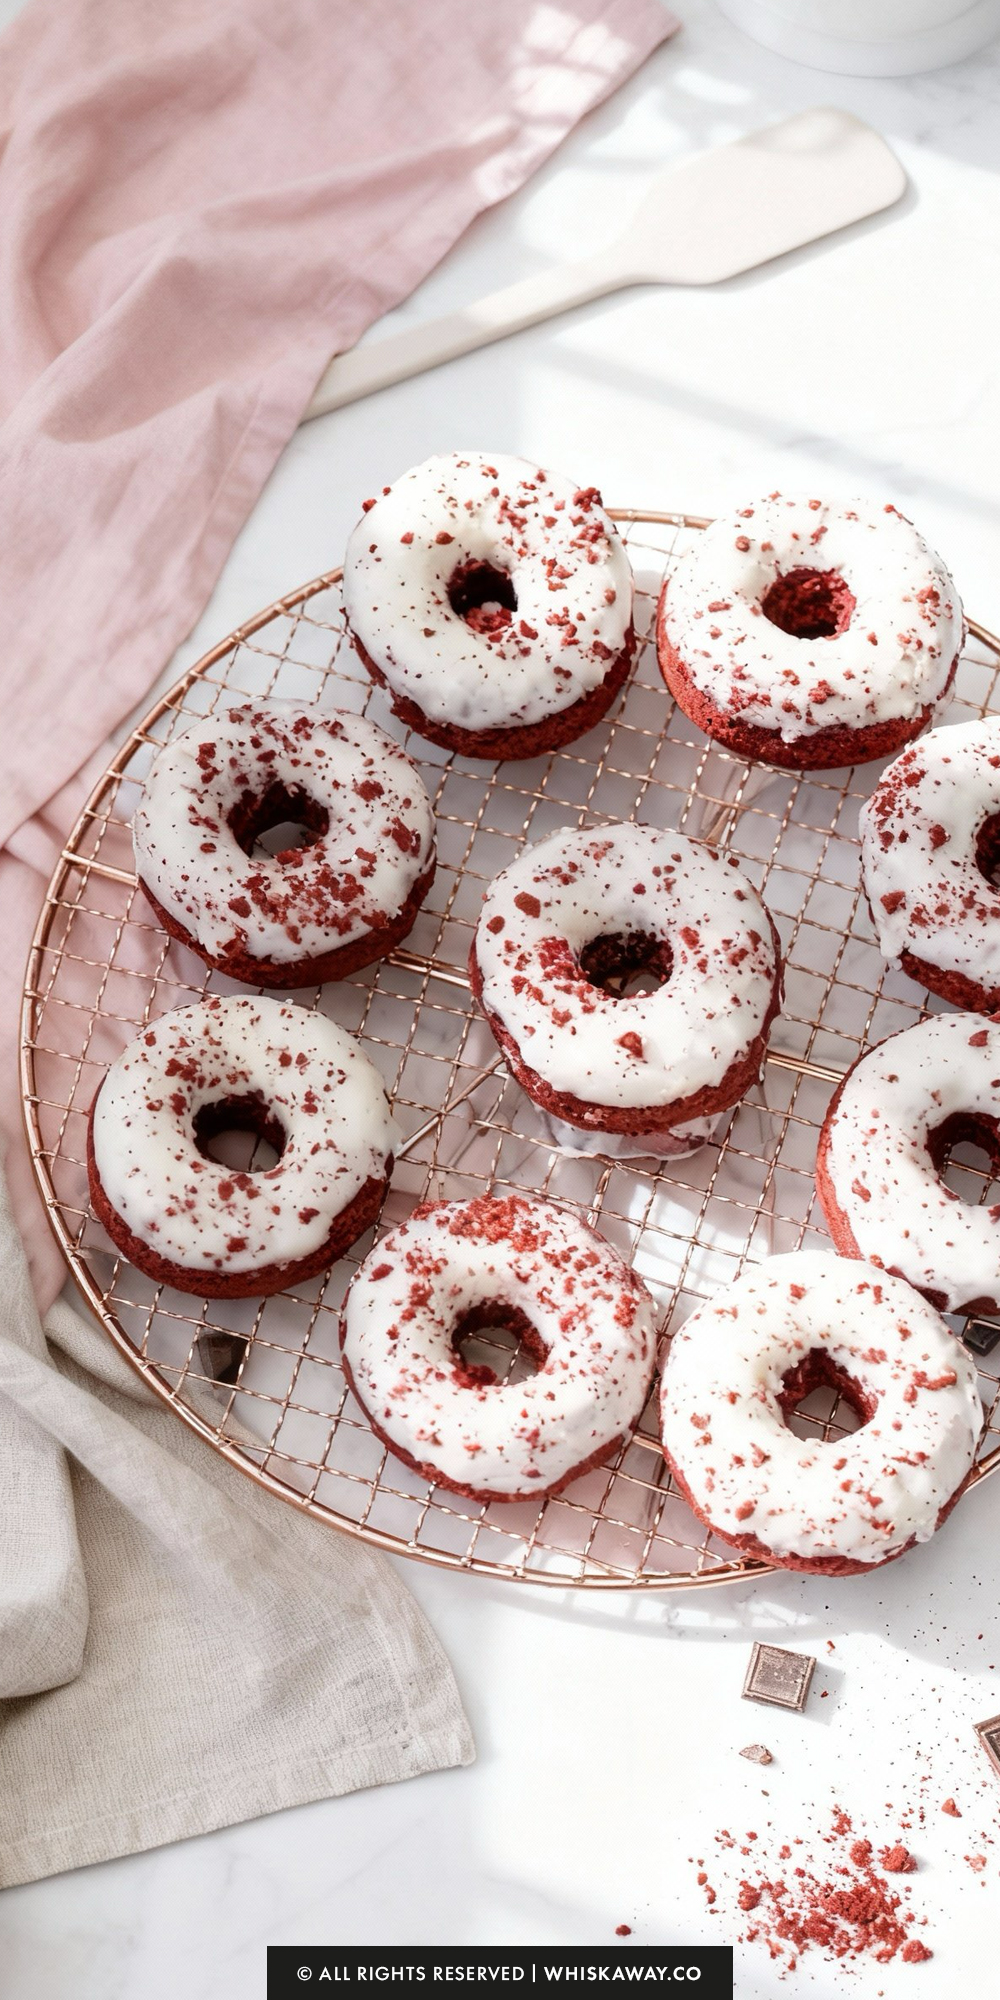
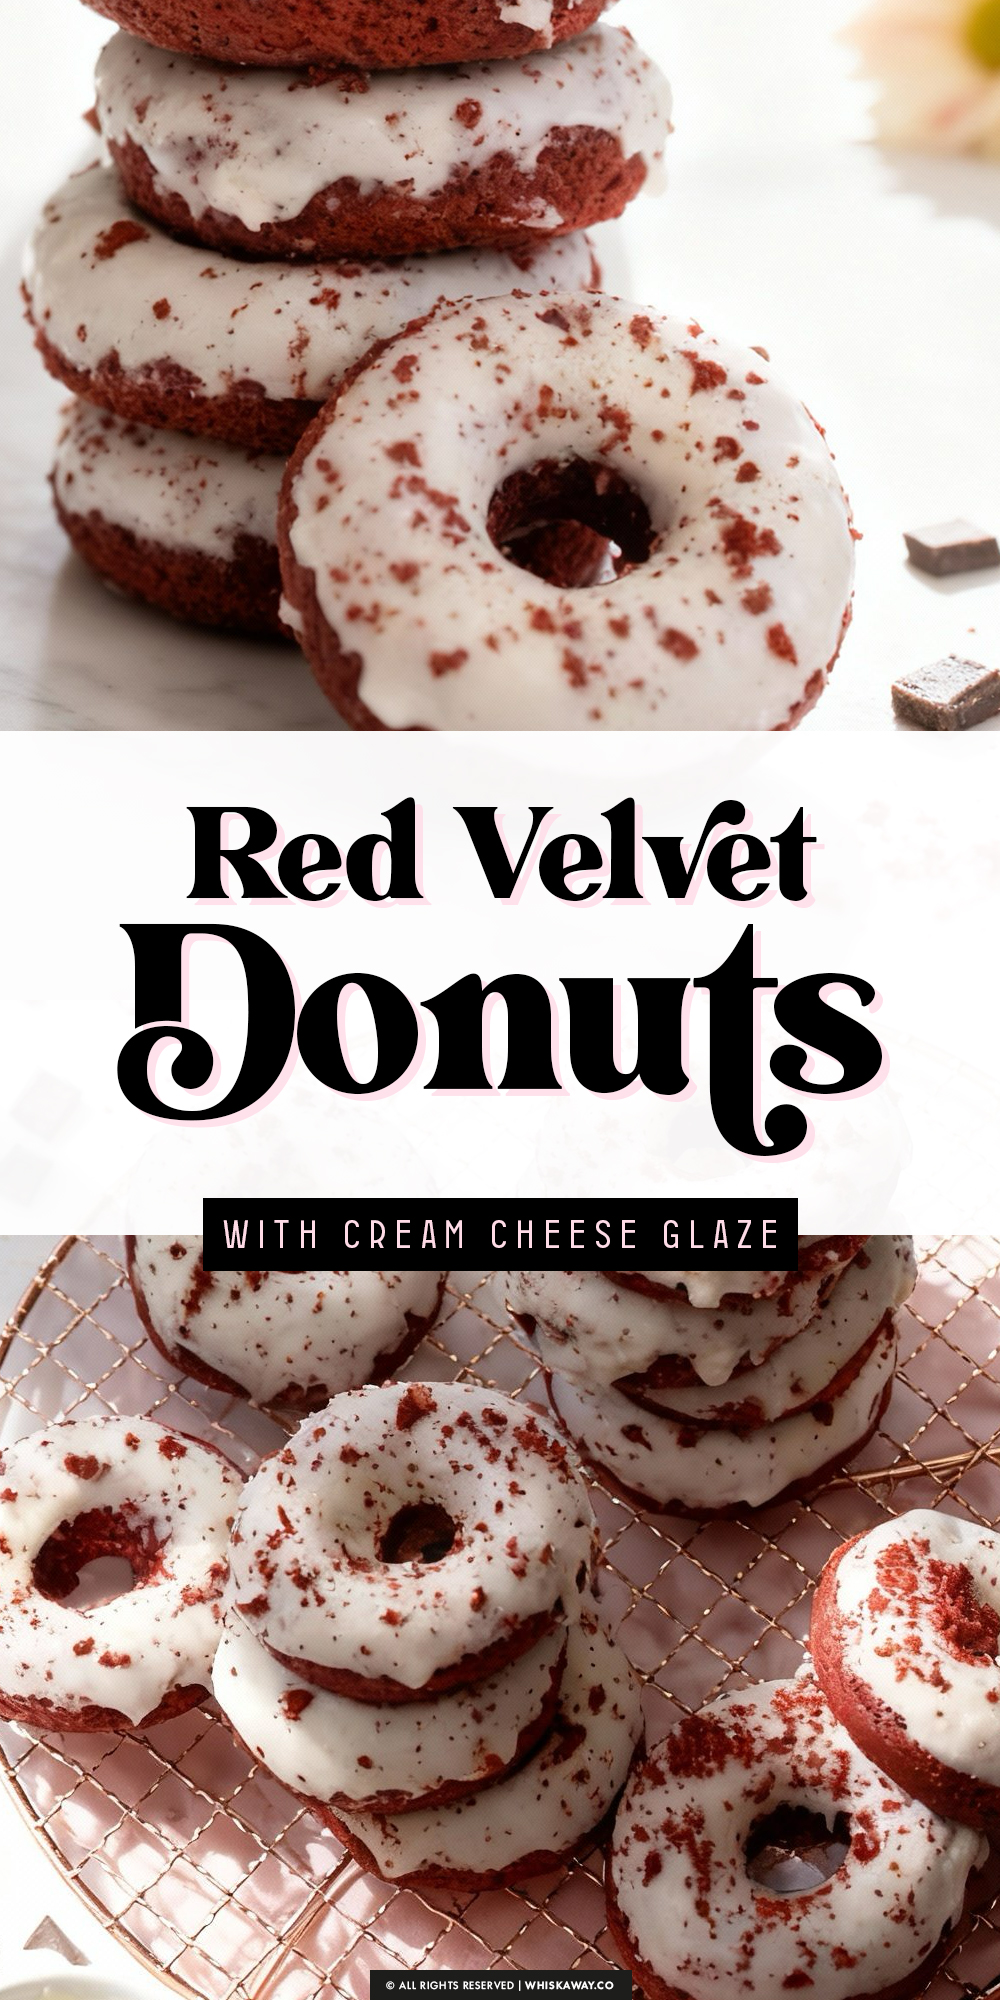
There is absolutely nothing like a batch of freshly baked Red Velvet Donuts to give your weekend morning that major “main character” energy.
We all know the classic cake is an absolute legend, but turning that same deep, cocoa-rich flavor into a portable, glaze-drenched ring of perfection? That’s just smart business.
Let’s get baking!
Why You’ll Love This Recipe
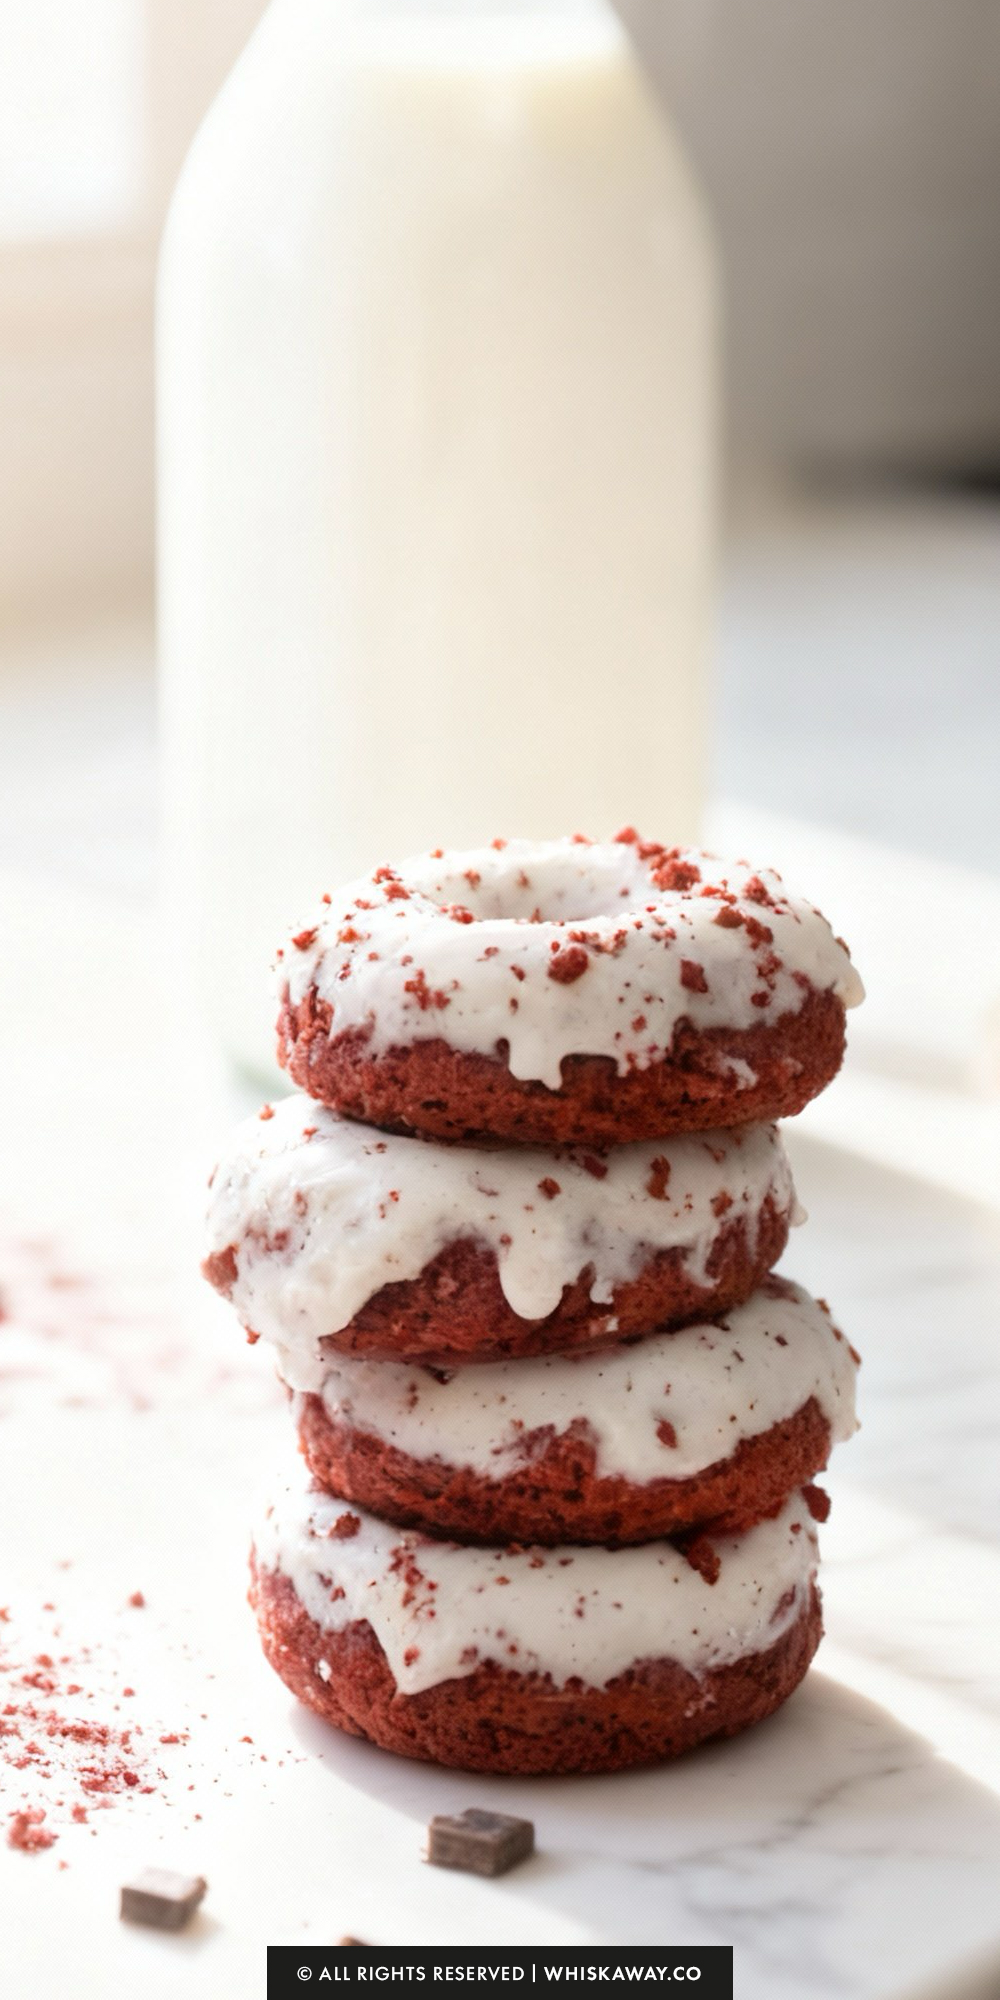
Red velvet donuts are soft, airy, and rich with subtle cocoa flavor, topped with a sweet glaze or powdered sugar.
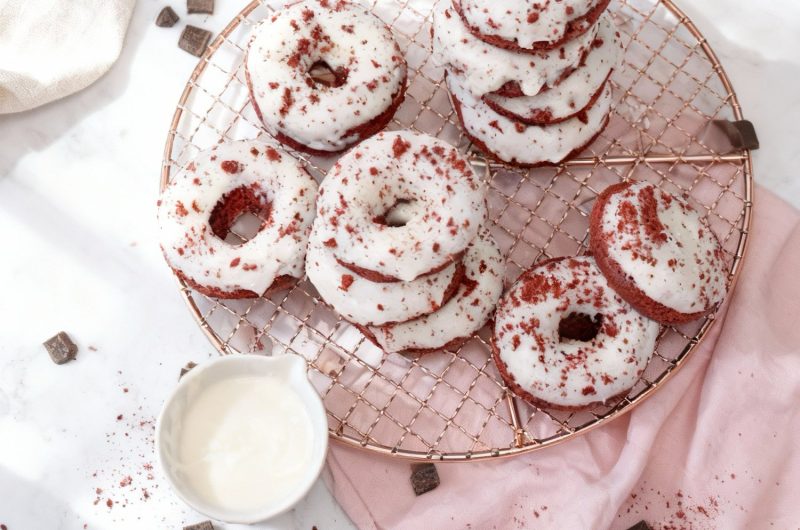
They’re visually striking with their vibrant red hue and easy to portion for gatherings or personal treats.
Baking them provides a rewarding, hands-on experience for beginners while producing an indulgent, professional-looking dessert.
Key Reasons to Love Them:
- Soft, fluffy texture that melts in the mouth.
- Vibrant red color for visual impact.
- Sweet glaze adds an attractive finishing touch.
- Portable and perfect for sharing or gifting.
- Beginner-friendly approach to donuts without deep frying.
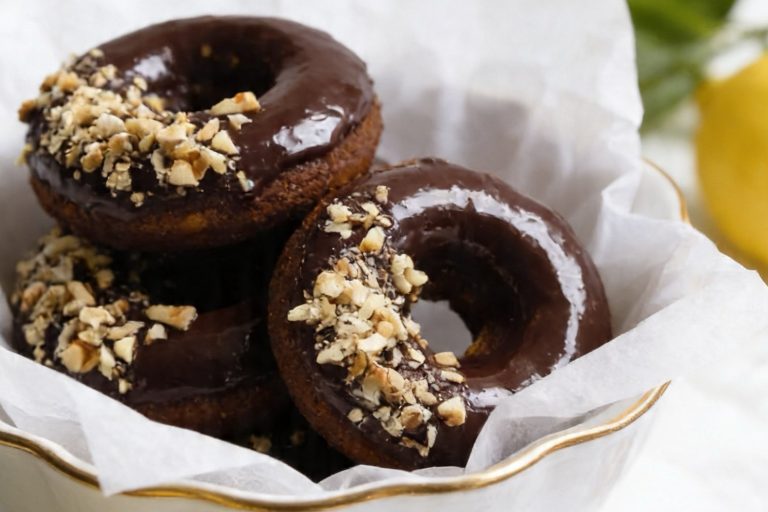
🔥 These red velvet donuts pair beautifully with cake pops, festive pink buttercream cupcakes, or indulgent red velvet brownies.
How to Get Your Red Velvet Donuts Just Right
Baked donuts are essentially mini-cakes shaped like rings, which means the secret to success lies in moisture control and gentle handling.
To get that signature “velvet” crumb and a vibrant color that doesn’t fade, follow these professional tips.
1. The “No-Overmix” Rule
The most common mistake with baked donuts is overworking the batter once the flour hits the wet ingredients.
Mixing develops gluten. Too much gluten turns a tender, cakey donut into a tough, rubbery ring.
Fold the ingredients together by hand using a spatula. Stop the very second you see the last streak of white flour disappear.
2. Use a Piping Bag for Precision
Trying to spoon thick batter into a donut pan is messy and usually results in lopsided donuts with closed centers.
Even if you don’t have a professional piping bag, use a large gallon-sized freezer bag.
Snip a generous corner off and pipe in a continuous circle. Fill the cavities only two-thirds full.
If you overfill them, the batter will rise over the center post, and you’ll end up with “muffin tops” instead of holes.
3. The Role of Espresso Powder
You might wonder why coffee is in a red velvet recipe.
Espresso powder doesn’t make the donuts taste like coffee; instead, it acts as a flavor darkener for the cocoa.
It provides a sophisticated depth that prevents the donut from tasting like “sweet bread” and makes the chocolate notes feel much richer.
4. Temperature Matters
For a perfectly emulsified batter and a smooth glaze, pay attention to your ingredient temperatures:
A cold egg can cause the melted butter to seize up into tiny clumps. Submerge your egg in a bowl of warm water for 5 minutes before using it.
Ensure the cream cheese and butter are truly at room temperature. If they are even slightly cold, your glaze will have tiny white lumps that are impossible to whisk out.
Pro Tip: The Toothpick Test Because these donuts are dark red, it is hard to tell if they are browning. Start checking them at the 8-minute mark. They are done when the tops spring back slightly when touched and a toothpick comes out with just a few moist crumbs.
5. Master the Dip
Timing your glaze is crucial for that “bakery-perfect” look.
If you glaze a warm donut, the cream cheese will melt and run off, leaving you with a translucent, messy coating.
If you want an extra-thick, opaque layer of frosting, dip the donut once, let it set for 5 minutes in the fridge, and then dip it a second time.
Easy Baking Tips That Have Worked for Me
Pouring red velvet batter into donut molds is visually satisfying as it takes shape and rises evenly.
Baking produces soft, tender donuts that almost melt in your mouth. Topping them with glaze or dusting them with sugar adds extra appeal and sweetness.
Each bite offers a combination of light, airy texture and subtle cocoa flavor.
Preparing these donuts is approachable for beginners, while the end result feels indulgent and celebratory.
Variation Tips
The striking red color and subtle cocoa flavor of these donuts make them a fantastic base for all kinds of creative kitchen experiments.
Whether you want to swap the coloring or make them fit a specific diet, here are a few ways to switch things up.
1. The “Natural” Glow (Dye-Free)
If you aren’t a fan of artificial food coloring, you can still get that iconic hue using nature’s pantry.
Replace the food coloring with 2 teaspoons of beet powder or 1 tablespoon of pomegranate juice.
The color will be a more muted, “earthy” reddish-brown rather than bright crimson, but the flavor remains deliciously authentic.
2. The “Southern Classic” (Added Crunch)
Red velvet cake is traditionally served with pecans, and donuts are no exception.
Fold 1/4 cup of finely chopped toasted pecans directly into the batter.
The Garnish: Sprinkle extra crushed pecans over the cream cheese glaze while it’s still wet. The saltiness of the nuts perfectly balances the sweetness of the sugar.
3. “Blue Velvet” or “Green Velvet”
Who says red velvet has to be red? This is a fun trick for holidays or gender-reveal parties.
Simply swap the red food coloring for royal blue or deep green.
Blue velvet looks incredibly sophisticated with the white cream cheese glaze, especially if you add a few silver sprinkles on top.
4. The Chocolate Lovers’ Double-Dip
If the subtle cocoa in the batter isn’t enough for you, let’s amp it up.
Before dipping in the cream cheese glaze, dip the top of the donut into a dark chocolate ganache.
Once the chocolate sets, drizzle the cream cheese glaze over the top in a zig-zag pattern.
5. Berry Velvet Twist
Gently press 2 or 3 fresh raspberries into the batter once it’s already in the donut pan (before baking).
You’ll get little pockets of tart fruit that cut through the richness of the buttermilk and cream cheese.
6. Dietary Adaptations
Gluten-Free: Use a high-quality 1-to-1 Gluten-Free Flour Blend. Because these are baked and have a cake-like texture, they transition to gluten-free beautifully without becoming crumbly.
Vegan Red Velvet:
- The “Buttermilk”: Mix 1/2 cup of soy or almond milk with 1/2 teaspoon of apple cider vinegar and let it sit for 5 minutes.
- The Egg: Use a flax egg (1 tbsp ground flax + 3 tbsp water) or 1/4 cup of unsweetened applesauce.
- The Fat: Use vegan butter sticks and a vegan-friendly cream cheese for the glaze.
Lower Sugar: Replace the brown sugar in the batter with a brown sugar erythritol blend. For the glaze, use a powdered monk fruit sweetener. Note that the glaze may set a bit faster than the original version!
Save for Later to Your Pinterest Board
How to Properly Store Your Red Velvet Donuts
Because these Red Velvet Donuts are cake-based and topped with a dairy-rich cream cheese glaze, they require a bit more attention than a standard glazed yeast donut.
To keep that “velvety” crumb from drying out or becoming a sticky mess, follow these storage guidelines.
1. Room Temperature (Best for Immediate Enjoyment)
The Duration: Up to 24 hours.
If you plan on eating the donuts the same day you bake them, you can keep them in an airtight container on the counter.
Since the glaze contains cream cheese, it is technically a perishable dairy product. If your kitchen is warm (over 22°C/72°F), skip the counter and go straight to the fridge to keep the frosting food-safe and stable.
2. Refrigeration (The Standard Method)
The Duration: 3 to 5 days.
Store the donuts in a single layer in an airtight container. If you must stack them, place a sheet of parchment paper between the layers. This prevents the bottom of one donut from pulling the beautiful glaze off the one below it.
Pro Tip: Take the donuts out of the fridge 15–20 minutes before serving. Cold cake can feel dense and dry; letting it come to room temperature softens the butter and brings back that tender, melt-in-your-mouth feel.
3. Freezing (Long-Term Storage)
The Duration: Up to 2 months.
These donuts freeze surprisingly well!
- Unglazed: Wrap individual donuts in plastic wrap and place them in a freezer bag.
- Glazed: Place the donuts on a tray in the freezer for 1 hour to “flash freeze” the glaze. Once the frosting is hard, wrap them and store.
Thawing: Thaw in the refrigerator overnight or on the counter for about an hour.
4. Reheating and Refreshing
If your donuts have been in the fridge and feel a little stiff, you can revive them:
Pop a single donut (even if glazed!) into the microwave for 5–8 seconds. You aren’t trying to cook it; you just want to slightly warm the fats in the cake to make it soft again.
Warning: Do not overdo it, or the cream cheese glaze will turn into a puddle!
5. Storage Mistakes to Avoid
Never seal your donuts in a container while they are still even slightly warm.
The steam will condense on the lid and drip back down, turning your beautiful red velvet rings into a soggy, unappealing mess.
Cream cheese and butter are notorious for absorbing odors. If you have leftovers like garlic or onions in the fridge, make sure your container is truly airtight, or your donuts will end up tasting like last night’s dinner.
Keep the container away from windows. Heat from the sun will melt the glaze and can cause the food coloring in the donut to fade or change hue.
FAQs
Can I make these if I don’t have buttermilk on hand?
Absolutely! You can make a quick substitute by adding 1/2 teaspoon of lemon juice or white vinegar to 1/2 cup of regular milk. Let it sit for about 5 to 10 minutes until it looks slightly curdled. This acidity is crucial for red velvet because it reacts with the cocoa and baking powder to create that signature tender crumb.
Why did my donuts turn out tough instead of fluffy?
The most likely culprit is overmixing. When you combine the wet and dry ingredients, you want to stir just until the flour streaks disappear. If you keep mixing, you develop gluten, which results in a rubbery, bread-like texture. Always fold the batter by hand with a spatula rather than using an electric mixer for the final step.
I don’t have a donut pan—can I still make this recipe?
Yes! You can use a standard muffin tin to make Red Velvet Donut Holes. Alternatively, you can create a DIY donut pan by placing a small, upright ball of crumpled aluminum foil in the center of each muffin cup and piping the batter around it. Keep an eye on the oven, as “donut holes” or muffins may take 2–5 minutes longer to bake through.
Why isn’t the color as bright red as the pictures?
Red velvet’s color is a result of the reaction between the acidic buttermilk and the cocoa powder. However, to get that vibrant “pop,” food coloring is usually necessary. If your donuts look more brown than red, you might be using Dutch-process cocoa, which is darker and more alkaline. For a brighter red, try using natural (non-alkalized) cocoa powder and a few extra drops of high-quality gel food coloring.
How do I prevent the glaze from soaking into the donut?
This usually happens if the donuts are too warm when dipped. The heat melts the fats in the cream cheese glaze, causing it to turn into a thin liquid that the cake absorbs. Wait until the donuts are completely cool to the touch. For a thick, professional-looking finish, you can even pop the donuts in the fridge for 10 minutes before dipping.
Red Velvet Donuts
12
servings20
minutes10
minutesThese baked red velvet donuts are soft, moist, and topped with tangy cream cheese glaze, perfect for brunch or dessert.
Ingredients
- For the Donuts
1 cup all-purpose flour (119g)
3/4 cup brown sugar
1/2 cup buttermilk (113g)
3 tablespoons butter (melted)
2 tablespoons cocoa powder
1 large egg (at room temperature)
1 teaspoon baking powder
1 teaspoon vanilla extract
1 teaspoon espresso powder
1/2 teaspoon salt
4 drops red food coloring
- For the Cream Cheese Glaze
2 cups confectioners' sugar (sifted)
4 tablespoons milk
3 ounces cream cheese (90g), soft, room temp
3 tablespoons unsalted butter, soft, room temp
1 teaspoon vanilla extract
Directions
- Start by preheating your oven to 350°F (175°C). Lightly grease your donut pan with a bit of butter or nonstick spray to ensure the donuts pop out easily later.
- In a medium-sized bowl, whisk together the flour, cocoa powder, brown sugar, salt, baking powder, and espresso powder. Ensure there are no large clumps of cocoa or sugar.
- In a separate container, beat the buttermilk, melted butter, vanilla extract, and room-temperature egg until the mixture is uniform.
- Gently pour the wet ingredients into the dry bowl. Use a spatula to fold the two together until just combined. Be careful not to overwork the batter, as you want the donuts to stay tender.
- Stir in your red food coloring a few drops at a time. Mix until the batter reaches that iconic, vibrant red hue.
- For a clean finish, transfer the batter into a piping bag (or a large Ziploc bag with the corner snipped off). Pipe the batter into the donut cavities until they are about two-thirds full. Bake for roughly 10 minutes. A toothpick inserted into the thickest part should come out clean.
- Allow the donuts to rest in the pan for a few minutes before moving them to a wire cooling rack. They need to be completely cool before you glaze them.
- Using a stand mixer with the paddle attachment (or a hand mixer), beat the softened cream cheese and vanilla extract. Continue until the mixture is silky and free of any lumps.
- Slow the mixer down and gradually incorporate the sifted confectioners' sugar and the milk.
- Once the ingredients are combined, increase the speed and beat the glaze for about 5 minutes. This long whip time makes the frosting incredibly light and glossy. If the glaze feels too thick, add a tiny splash more milk until it reaches a dippable consistency.
- Carefully dip the top half of each cooled donut into the cream cheese glaze. If you have any extra donut crumbs or sprinkles, scatter them over the wet glaze for a professional bakery look.