Nothing hits quite like a batch of Heart-Shaped Strawberry Hand Pies when you’re looking to win some major brownie points (or should I say pastry points?) with your favorites.
They are essentially the glow-up your standard pie crust has been waiting for; cute, portable, and ridiculously delicious.
So, if you’re ready to level up your snack game and spread a little love, it’s time to get rolling.
Grab your heart-shaped cutter, find a jar of your favorite filling, and let’s get these golden beauties in the oven.
Why You’ll Love This Recipe
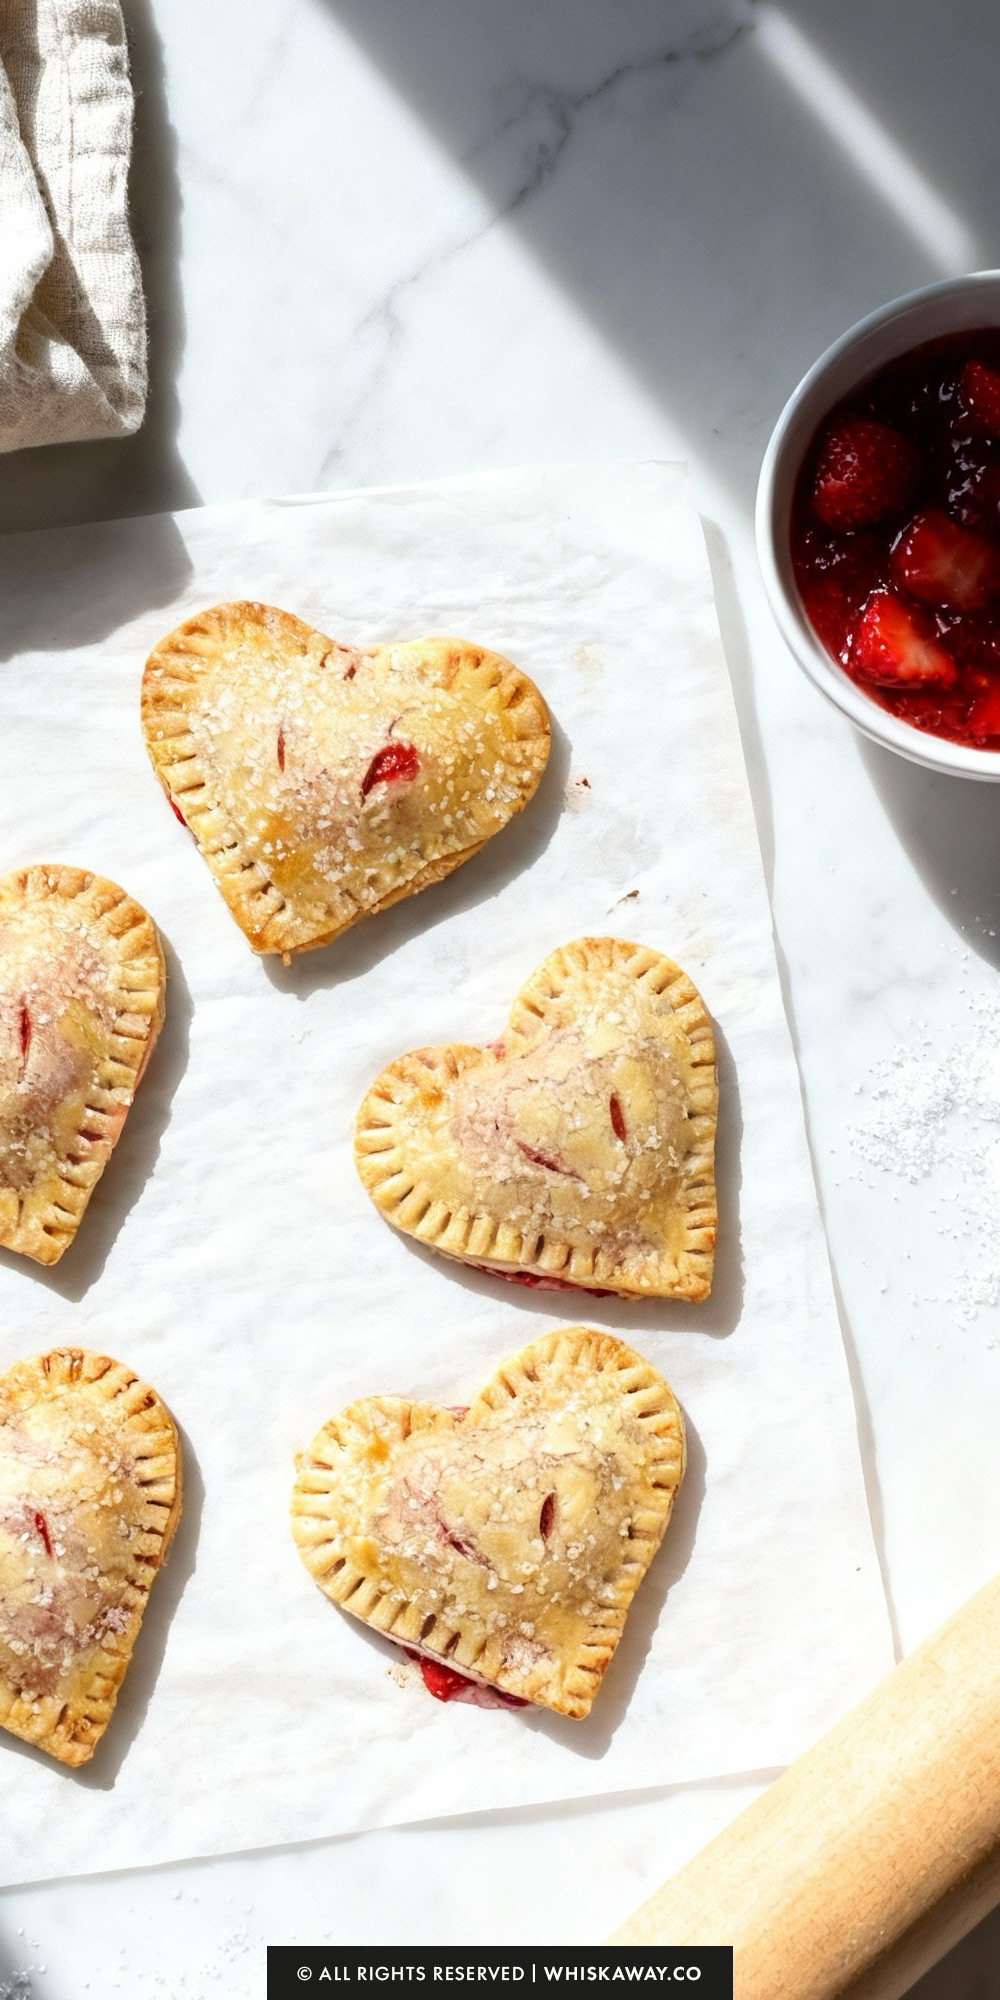
Heart-shaped strawberry hand pies are charming, handheld desserts filled with sweet strawberry goodness.
Their flaky pastry and bright filling make them perfect for gifts, holidays, or a fun baking project.
The golden crust and bubbling fruit make them visually inviting, while the tender, flaky layers offer a satisfying bite every time.
Key Reasons to Love Them:
- Flaky, tender pastry with sweet, fruity filling inside.
- Heart shape adds a festive and playful touch.
- Easy to make in small batches for sharing or gifting.
- Juicy filling balances perfectly with buttery crust.
- Beginner-friendly with simple steps for rolling, filling, and baking.
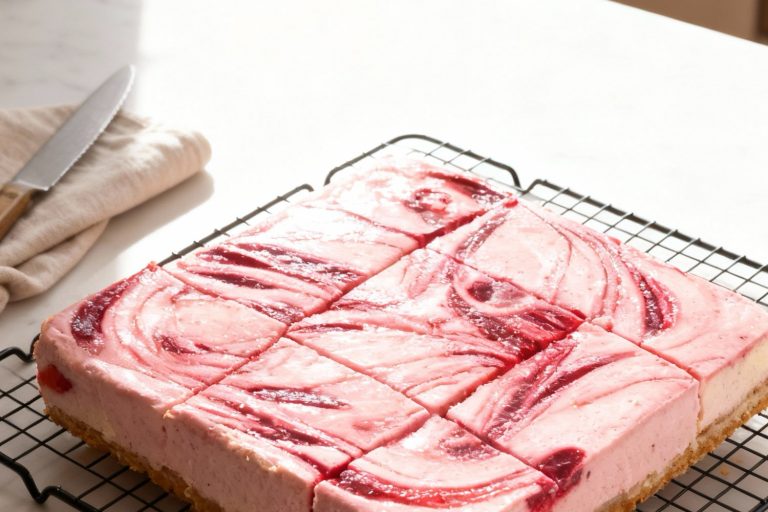
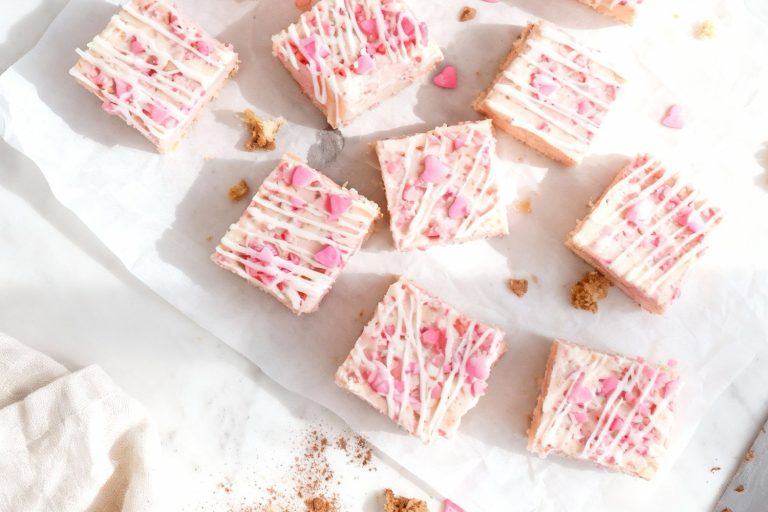
🔥 These heart-shaped strawberry hand pies are perfect with strawberry brownies, creamy strawberry cheesecake bars, or fruity strawberry cheesecake cookies.
How to Get Your Heart-Shaped Strawberry Hand Pies Just Right
Hand pies are adorable, but they can be surprisingly tricky.
The ratio of crust to filling is different than a standard pie, and the small size means small errors show up in a big way.
Here is how to ensure your hearts come out flaky, sealed, and golden every time.
1. Keep Your Cool
The most important rule of working with pie crust, store-bought or homemade, is temperature.
Pie crust gets its flaky layers from tiny pockets of solid fat (butter or shortening) melting in the oven.
If the dough gets warm while you are cutting or assembling, that fat melts into the flour before baking, resulting in a tough, cracker-like texture rather than flaky pastry.
If the dough starts feeling sticky or limp, stop immediately. Slide the tray into the fridge for 10 minutes to firm up before continuing.
2. The “Less is More” Filling Rule
It is tempting to pack as much strawberry filling as possible into each heart, but this is the leading cause of “pie explosions.”
Overfilling causes the seal to break as the filling boils in the oven. This leads to sugary syrup leaking onto the pan and burning.
Stick to the “heaping teaspoon” measurement. If your canned filling has massive whole strawberries, use a knife to chop them into smaller pieces so they fit inside the heart without creating a huge jagged mound.
3. The “Top Hat” Stretch
The instructions mention stretching the top piece of dough, and this step is crucial.
The bottom piece lies flat, but the top piece has to travel up and over the mound of fruit. If you don’t stretch it, the dough will pull away from the edges, making it impossible to seal properly.
Gently pull the dough in all directions with your thumbs to increase the surface area by about 10–15% before laying it over the fruit.
4. The Double Seal
Leakage is the enemy of a hand pie. To prevent it, you need a two-step security system.
Step 1: The egg wash inside the edges acts as “edible glue.” Do not skip this!
Step 2: When crimping with the fork, press down firmly enough to leave deep impressions. If you just tap it lightly for decoration, the steam pressure will pop the pie open.
5. Don’t Forget the Vents
Those two small knife slits on top aren’t just for looks. They act as chimneys for the steam released by the cooking fruit.
Without them, the steam will try to escape through the sides, blowing out your crimped edges.
6. Preventing Soggy Bottoms
Bake these on the lower-middle rack if possible, or ensure your oven is fully preheated to 400°F.
The high heat from the bottom ensures the lower crust crisps up quickly before the wet filling has a chance to soak into it.
Easy Baking Tips That Have Worked for Me
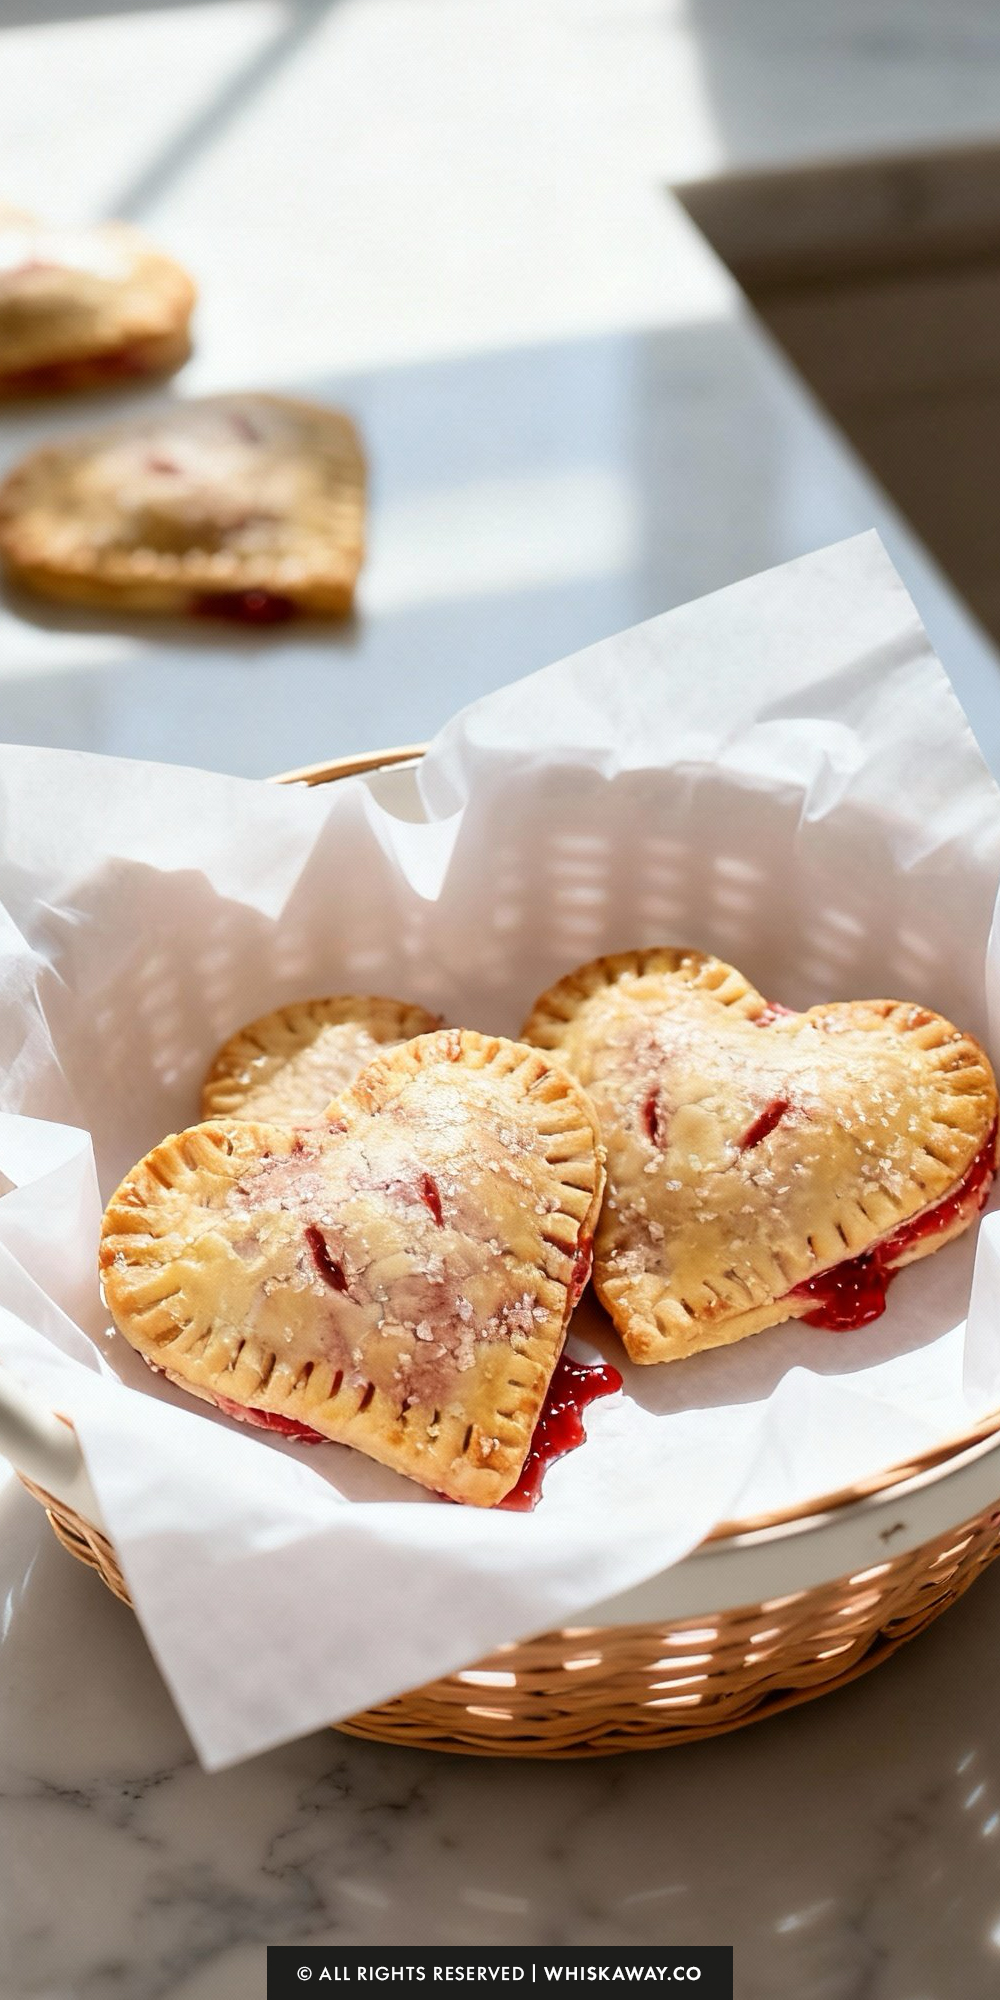
Folding soft pastry around sweet strawberry filling is a tactile, fun, and nostalgic experience.
Baking causes the pastry to puff and turn golden, while the filling bubbles slightly, releasing its fruity aroma into the kitchen.
The hand pies are easy to handle and visually charming, perfect for gifting or enjoying as a personal treat.
Cutting one open reveals tender pastry enclosing juicy strawberry centers. Every bite is satisfying, combining flaky crust with rich, sweet filling for a delightful dessert.
Variation Tips
While strawberry is the classic choice for a heart-shaped treat, this hand pie format is an open canvas for different flavors and textures.
Here are a few creative ways to switch things up while using the same basic technique.
1. Strawberry & Cream “Cheesecake” Hearts
Before adding the fruit filling, place a small dollop (about ½ teaspoon) of sweetened cream cheese (mixed with a little sugar and vanilla) in the center of the heart.
This creates a rich, creamy pocket that balances the tartness of the strawberries, mimicking a strawberry cheesecake flavor.
2. The “Chocolate Covered Strawberry” Variation
Place 3 or 4 mini semi-sweet chocolate chips on top of the strawberry filling before sealing the pie.
Once the pies are cooled, drizzle them with melted dark chocolate instead of (or in addition to) the Turbinado sugar.
3. Herb-Infused Fruit
Strawberries pair beautifully with fresh herbs. Finely mince a few leaves of fresh basil or mint and stir them into the pie filling along with the lemon zest.
This adds a sophisticated, “grown-up” floral note that makes the hand pies feel like they came from a high-end boutique bakery.
4. The “Puff Pastry” Shortcut
Replace the standard pie dough with frozen puff pastry (thawed according to package directions).
Puff pastry will result in a much taller, airier, and more shatteringly crisp “Napoleon” style treat. Keep a close eye on the oven, as puff pastry can brown faster than traditional pie dough.
5. Savory Sweet “Balsamic” Twist
Stir ½ teaspoon of balsamic glaze into the strawberry filling.
Balsamic vinegar is a flavor enhancer for strawberries; it doesn’t make it taste like vinegar, but rather intensifies the “strawberry-ness” of the fruit and adds a beautiful deep color.
6. Dietary Adaptations
Most store-bought “accidentally vegan” pie crusts work perfectly. To replace the egg wash, brush the tops with melted vegan butter or a splash of almond milk.
This will still help the sugar stick, though the crust will be slightly more matte than golden.
Substitute the crust with a pre-made gluten-free pie dough.
Since GF dough can be more brittle, avoid stretching the top hearts too much; instead, roll them out a bit thinner with a rolling pin to get that extra surface area.
7. Seasonal Fruit Swaps
You can use this exact method with blueberry, peach, or cherry pie filling.
Pro Tip: If using apple pie filling, ensure the apple chunks are diced very small (about the size of a pea) so the heart shape doesn’t get distorted or lumpy.
Save for Later to Your Pinterest Board

How to Properly Store Your Heart-Shaped Strawberry Hand Pies
Hand pies are at their absolute peak the moment they’ve cooled enough to handle, that’s when the crust is at its shatters-on-impact flakiest.
However, if you have leftovers or want to prep them for a Valentine’s Day surprise, here is how to keep that pastry perfect.
1. Room Temperature (Best for 1–2 Days)
If you plan on eating the pies within 48 hours, keep them on the counter.
Once they are completely cool, place them in an airtight container. If they are still even slightly warm, they will release steam, which turns your flaky crust into a soggy mess.
Pro Tip: If you live in a very humid environment, leave the lid of the container slightly cracked to allow a tiny bit of airflow, which helps maintain the crust’s texture.
2. Refrigeration (Best for 3–5 Days)
If you need to keep them longer than two days, move them to the fridge.
The cold environment of the refrigerator is great for the fruit filling but can make the pastry lose its “snap.”
Always reheat refrigerated hand pies (see below) to bring the butter in the crust back to life.
3. Freezing (The Ultimate Prep Tool)
Unbaked (Best for Freshness): You can assemble the hearts, skip the egg wash/sugar, and freeze them raw on a baking sheet.
Once frozen solid, pop them into a freezer bag. They’ll stay fresh for 3 months. When ready to eat, bake them straight from frozen (just add 2–3 minutes to the bake time).
Baked: Wrap individual, cooled pies in plastic wrap and store them in a freezer-safe container for up to 3 months.
Thawing: Thaw baked pies at room temperature for about an hour before reheating.
4. How to Reheat (Save the Crust!)
The Oven: This is the gold standard. Place pies on a baking sheet at 350°F (175°C) for 5–8 minutes. This recrisps the edges and warms the fruit center.
The Air Fryer: The secret weapon! Pop a hand pie in at 350°F for 2–3 minutes. It acts like a mini convection oven and restores that “just baked” crunch perfectly.
The Microwave (Avoid if Possible): Microwaving pastry is a bit of a tragedy as it makes the dough chewy and rubbery. If you must use it, 15 seconds is plenty.
5. Storage Mistakes to Avoid
Storing While Warm: This is the #1 mistake. Even a hint of warmth creates condensation inside the container, leading to a “soggy bottom.”
Stacking Too Deep: If you are stacking the pies in a container, place a sheet of parchment paper between the layers.
The sugar and fruit leakage can act like glue, causing the hearts to tear when you try to pull them apart.
FAQs
Can I use fresh strawberries instead of canned pie filling?
It is better to avoid putting raw fresh strawberries directly into the dough. Fresh fruit releases a lot of water as it cooks, which will likely burst the seal of your hearts and leave you with a soggy crust. If you want to use fresh berries, you should cook them down on the stove with a little sugar and cornstarch into a thick compote first, then let it cool completely before using.
Why did my hand pies leak or burst open in the oven?
This usually happens for two reasons: overfilling or a weak seal. Make sure you are only using about a heaping teaspoon of filling. If the filling touches the edges of the heart where you apply the egg wash, the “glue” won’t work. Also, ensure you are cutting those vent slits on top; if steam can’t escape through the vents, it will force its way out through the sides!
Can I make the dough from scratch?
Absolutely! While store-bought crust is a fantastic time-saver, a homemade all-butter pie crust will provide even more flavor and flakiness. Just make sure your homemade dough is chilled for at least an hour before you try to roll and cut it, as it tends to be softer than the commercial versions.
How do I prevent the bottom of the pies from being doughy?
A “soggy bottom” is often caused by an oven that isn’t hot enough. Ensure your oven is fully preheated to 400°F (200°C) before the pans go in. Baking on the lower-middle rack also helps the bottom crust crisp up faster. Using a silicone mat or parchment paper is also essential to prevent the sugar from sticking and burning.
Can I make these a day in advance?
Yes! If you want them to be at their absolute best, I recommend assembling them the day before and freezing them raw. When you’re ready to serve, bake them straight from the freezer. If you have already baked them, they stay fresh for about 2 days at room temperature, but a quick 5-minute warm-up in the oven or air fryer will restore that “just-baked” crunch.

Heart-Shaped Strawberry Hand Pies
14
servings25
minutes45
minutesThese heart-shaped strawberry hand pies are sweet, flaky, and perfect for Valentine’s Day desserts or gifting.
Ingredients
Prepared pastry pie dough (enough to yield 2, 9-inch rounds)
½ cup Strawberry Pie Filling (or your favorite fruit pie filling)
1 large egg (beaten)
1 teaspoon lemon zest
Coarse Turbinado sugar (for sprinkling)
Directions
- Start by arranging your oven racks: place one in the center and the other in the upper third of the oven.
- Preheat to 400°F (200°C). Prepare two large baking sheets by lining them with parchment paper or silicone baking mats.
- In a small bowl, mix the strawberry pie filling with the lemon zest. Stir until the zest is evenly distributed, then set this aside for later.
- Lightly flour your work surface. Unroll the first pie crust and roll it out slightly until it is about 1/8-inch thick. Using a 3-inch heart-shaped cutter, punch out 12 to 14 hearts.
- Transfer these to a plate or tray and place them in the refrigerator immediately, keeping the butter cold is crucial for flaky crusts.
- Repeat this process with the second crust. By the end, you should have between 24 and 28 hearts total.
- Beat the egg in a small bowl to make your egg wash. Lay out half of your heart cutouts (about 12–14) on your workspace; these will serve as the bottom crusts.
- Lightly brush the surface of these hearts with the beaten egg.
- Place a heaping teaspoon of the strawberry mixture into the center of each egg-washed heart. Try to ensure every dollop includes a nice chunk of fruit, not just the gel.
- Take the remaining hearts (the tops) and gently stretch them with your fingers to make them slightly larger than the bottoms. Lay a top heart over each mound of filling.
- Press the edges together with your fingertips to seal them. To secure the seal, go around the edges with the tines of a fork to crimp them.
- Finally, use a sharp knife to cut two small slits in the center of each pie to allow steam to escape.
- Brush the tops of the assembled hand pies with the remaining egg wash. Sprinkle a generous amount of coarse Turbinado sugar over each one for crunch and sparkle.
- Arrange the pies on the prepared baking sheets, leaving about an inch of space between them.
- Bake for 12 minutes, rotating the pans (swapping top and bottom racks) halfway through the cooking time. You are looking for a golden-brown crust and bubbling filling.
- Remove the pans from the oven. Let the pies sit on the hot baking sheets for 10 minutes to firm up.
- Afterward, transfer them to a wire rack to cool completely.