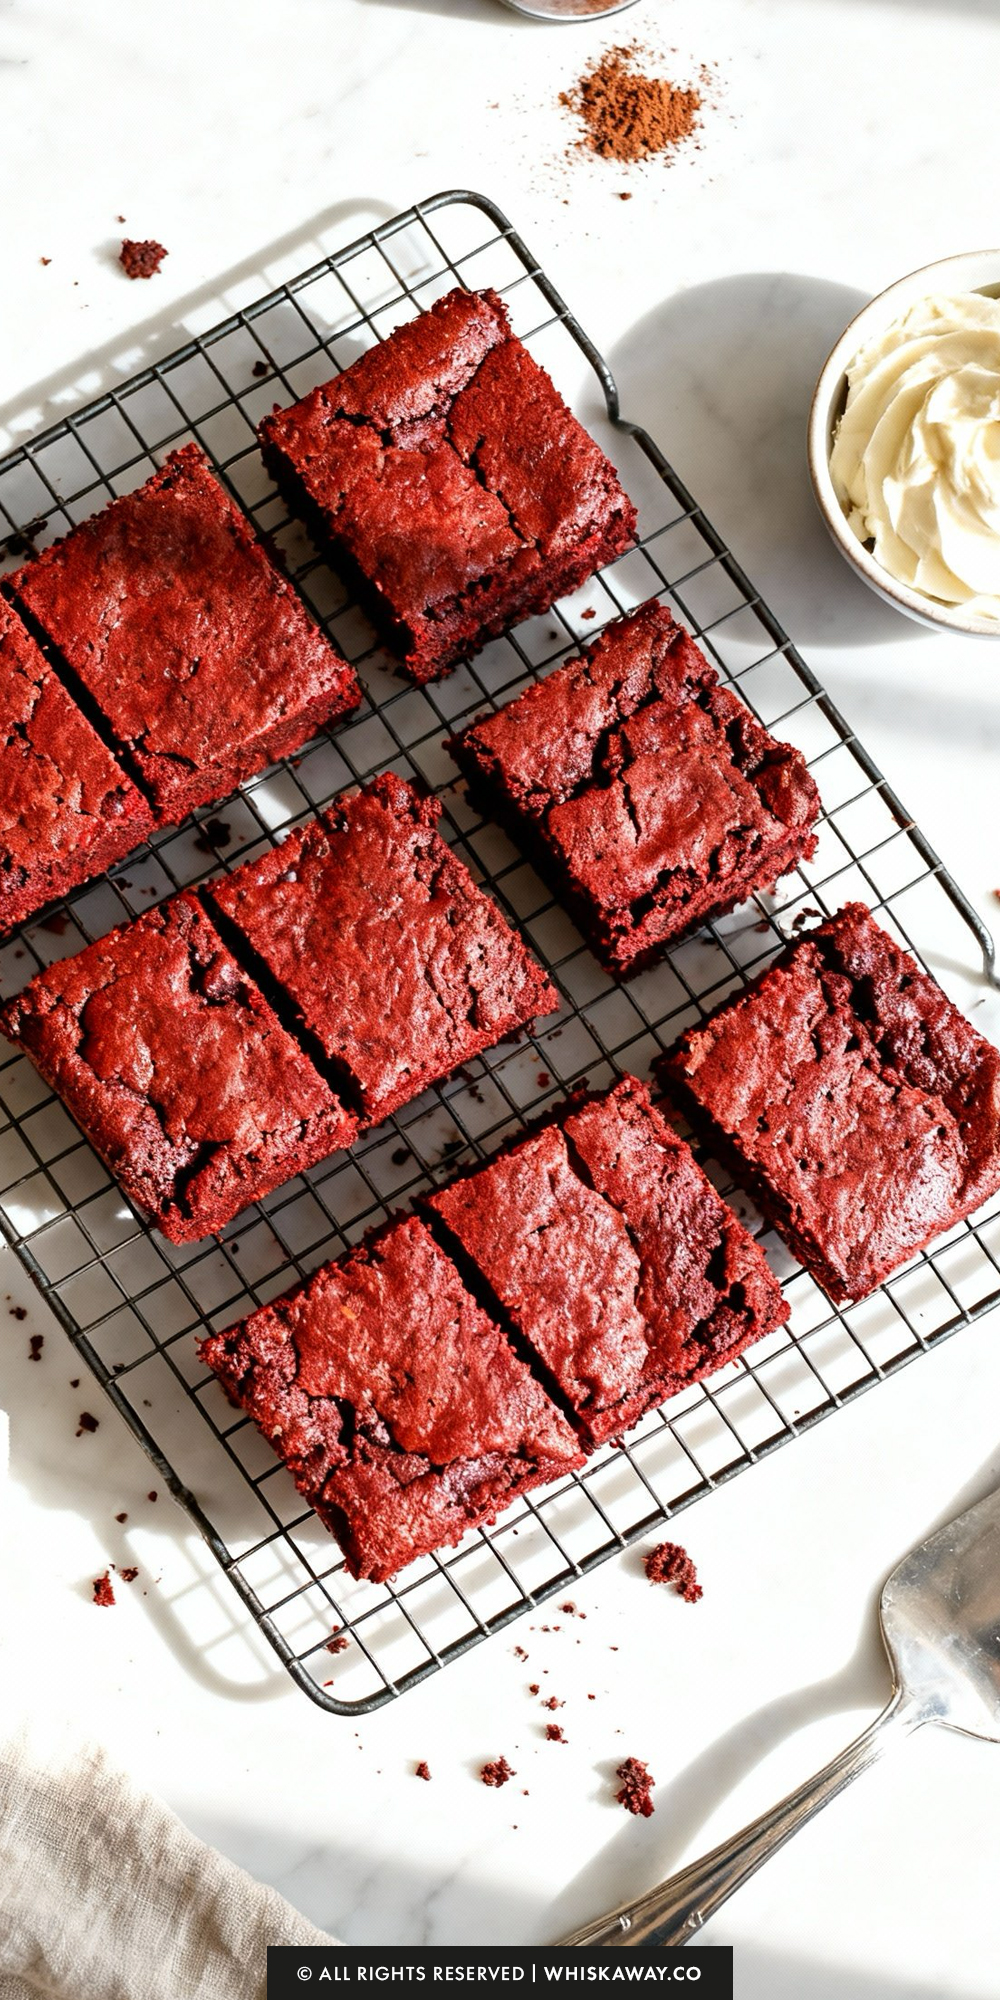
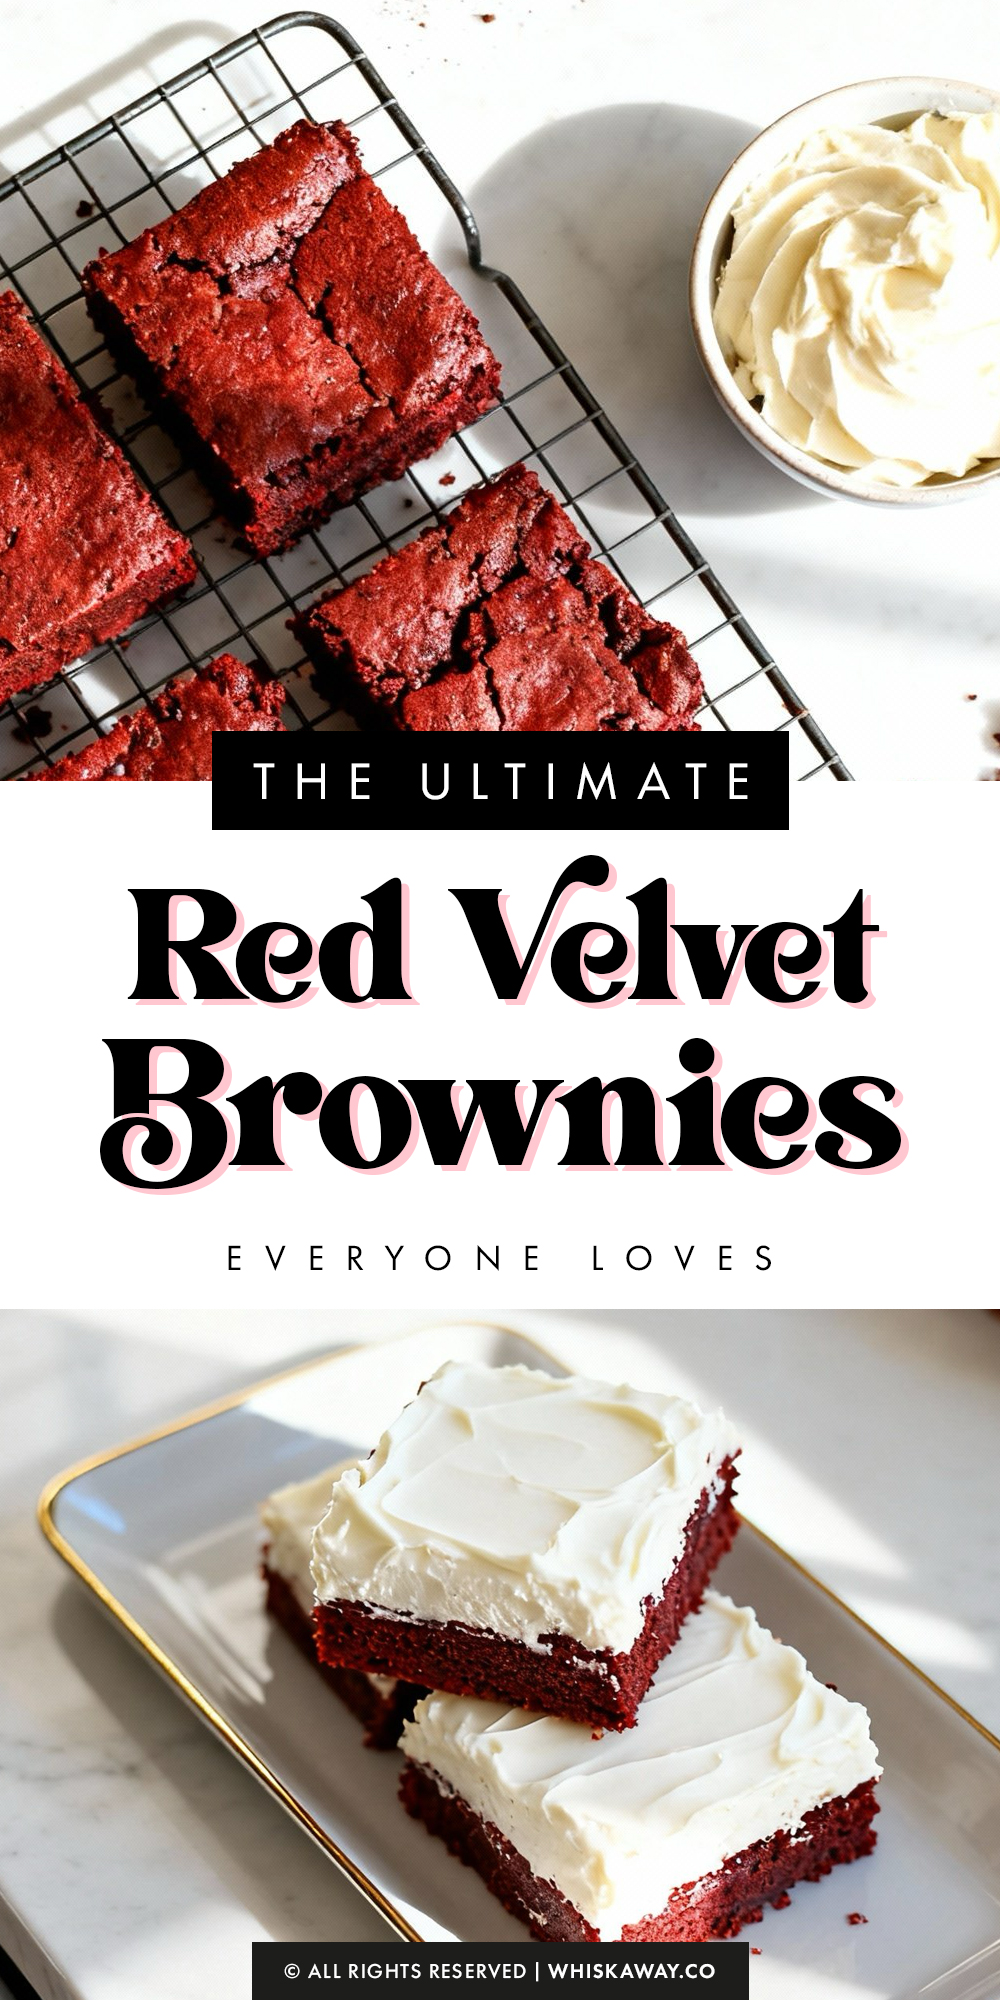
If you’ve been scrolling endlessly for the perfect dessert to impress your crush (or just yourself), these Red Velvet Brownies are officially the answer to your prayers.
Let’s be real for a second. Red velvet is one of those flavors that feels super fancy and high-maintenance, but it’s actually incredibly chill to make at home.
We aren’t talking about dry, boring cake masquerading as a brownie here. We are talking dense, fudgy, chewy-edges-and-gooey-center perfection that absolutely hits different.
Whether you are prepping for a romantic Valentine’s Day, hosting a Galentine’s squad hang, or just need a sweet pick-me-up on a random Tuesday night, this treat delivers.
The best part is that you don’t need to be a pro baker with a fancy degree to pull this off. It’s a one-bowl situation that comes together faster than an episode of your favorite sitcom.
So, ditch the box mix and grab your apron. Your kitchen is about to smell amazing, and your friends are going to think you’re a culinary genius.
Let’s get baking!
Why You’ll Love This Recipe
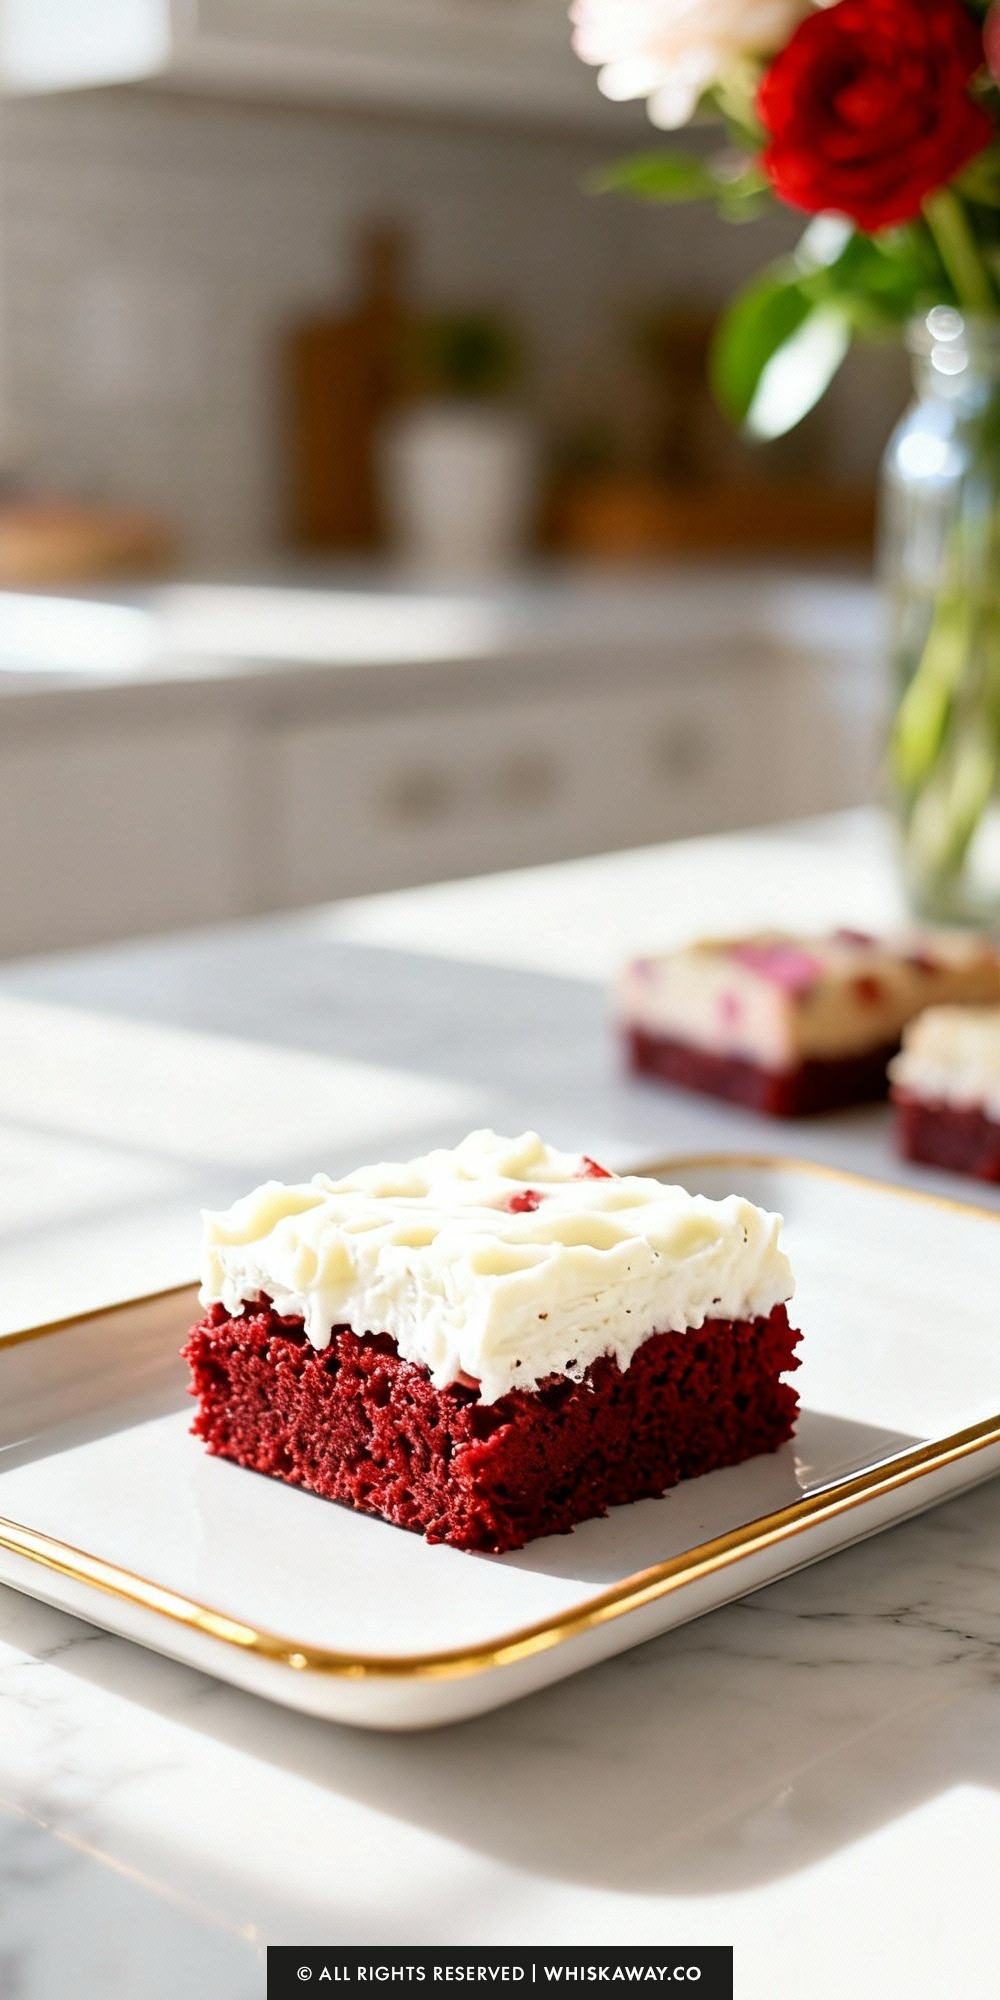
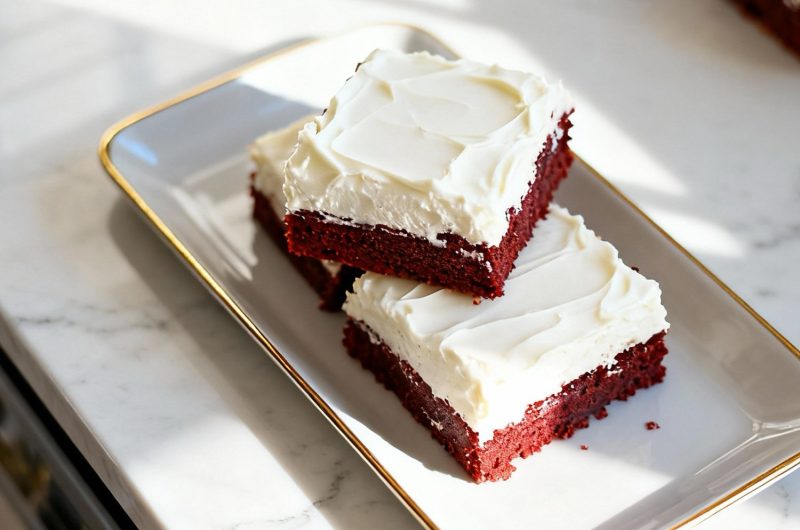
These red velvet brownies are rich, decadent, and incredibly indulgent, combining the deep flavor of cocoa with the visual appeal of vibrant red color.
They are soft, fudgy, and melt in your mouth, making them perfect for special occasions or a cozy night at home.
The balance between dense chocolate and tender texture ensures every bite is satisfying, while their classic red velvet appearance makes them a feast for the eyes.
Key Reasons to Love Them:
- Fudgy texture that melts in the mouth, offering a perfect chocolate experience.
- Vibrant red color makes them visually stunning for holidays or celebrations.
- Easy to cut into neat squares or fun shapes for sharing or gifting.
- Balanced sweetness, making them indulgent but not overpowering.
- Suitable for beginners with straightforward mixing and baking steps.
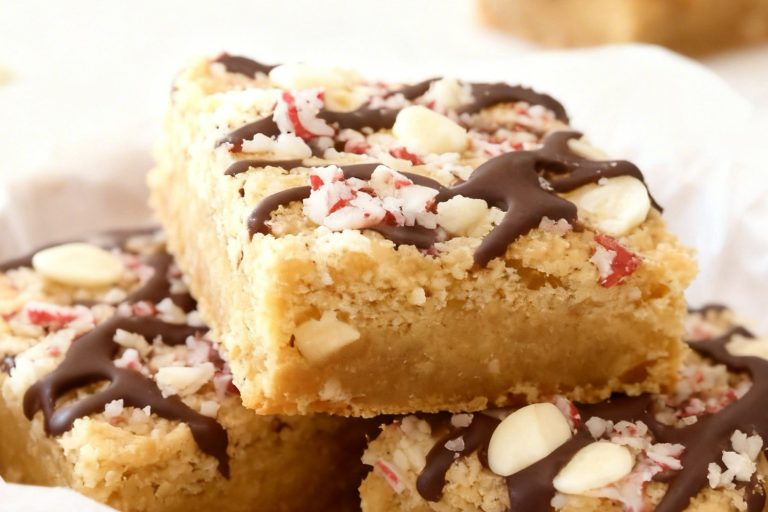
🔥 If you love rich red velvet desserts for Valentine’s Day, you may also enjoy red velvet cookie dough bars, red velvet truffles, or creamy red velvet cheesecake bites for an indulgent dessert spread.
How to Get Your Red Velvet Brownies Just Right
Even the best recipes benefit from a few expert tricks. Use these tips to ensure your brownies have that perfect fudgy texture and vibrant red hue.
1. Don’t Overmix the Flour
This is the golden rule of brownie baking. Once you add the flour and baking powder, stir only until the dry ingredients disappear.
Overmixing develops gluten, which can turn your tender brownies into a tough, cakey texture.
Stop stirring as soon as the white streaks are gone.
2. Measure the Flour
Correctly Adding too much flour is the most common reason for dry, crumbly brownies. Avoid scooping the flour directly with the measuring cup, which packs it down.
Instead, use the “spoon and level” method: fluff the flour with a spoon, sprinkle it into your measuring cup, and level off the top with a flat edge.
3. Watch the Food Coloring
Red velvet is all about the color.
Since this recipe uses melted semi-sweet chocolate rather than cocoa powder, the batter will be naturally darker.
Ensure your food coloring is potent enough to cut through the brown of the chocolate.
4. The Toothpick Test
Baking times are estimates because every oven is different. To get a fudgy center, you want to pull the brownies out before the toothpick comes out completely clean.
Too Early: Wet batter on the toothpick means they need more time.
Just Right: A few moist crumbs clinging to the toothpick means they are perfect. They will continue to set slightly as they cool.
Too Late: A clean toothpick usually means the brownies are overbaked and may be dry.
5. Cool Completely
Before Frosting It is tempting to frost warm brownies, but this will cause your white chocolate frosting to melt and slide right off.
Let the brownies cool completely in the pan on a wire rack. This patience also allows the texture to set, making them easier to slice cleanly.
6. Lining the Pan is Key
The instructions mention foil, and for good reason. Using a foil “sling” (leaving an overhang on two sides) allows you to lift the entire block of brownies out of the pan once cooled.
This makes cutting neat squares significantly easier than trying to slice them inside the pan.
7. Room Temperature
Eggs While you are melting the butter and chocolate, set your eggs on the counter. Room temperature eggs incorporate more easily into the batter, creating a smoother emulsion and a better final texture.
Cold eggs can sometimes shock the warm butter/chocolate mixture, causing it to seize or become grainy.
Easy Baking Tips That Have Worked for Me
When you start mixing the butter and cocoa, the kitchen fills with a warm, chocolatey aroma that is instantly comforting.
Watching the sugar dissolve and the batter turn smooth and glossy is almost magical, especially as it takes on a vibrant red hue.
Pouring the thick mixture into a lined pan gives a sense of anticipation for what is to come.
As the brownies bake, you can see the edges firm slightly while the center remains soft and fudgy.
Once cooled and cut, each bite offers a perfect combination of richness and tenderness that melts in your mouth, making every moment in the kitchen worthwhile.
Variation Tips
Customize your Red Velvet Brownies to suit your taste or occasion with these creative tweaks. Whether you want a different texture or a classic flavor pairing, these variations work beautifully with the base recipe.
1. The Classic Cream Cheese Swirl
- Red velvet and cream cheese are a match made in heaven. For a tangy contrast to the sweet brownies:
- Beat 8 oz of softened cream cheese with ¼ cup of sugar and 1 egg yolk until smooth.
- Drop spoonfuls of this mixture onto the batter before baking.
- Use a knife to gently swirl the cream cheese into the red batter for a marbled effect.
2. Add a Mocha Kick
Coffee enhances the flavor of chocolate without making the dessert taste like a latte.
Add 1 teaspoon of espresso powder or instant coffee granules to the saucepan while melting the butter and chocolate.
This creates a deeper, richer chocolate profile that complements the red velvet.
3. Texture & Crunch
- Go Nutty: Fold ½ cup of chopped pecans or walnuts into the batter just before pouring it into the pan. Pecans are a traditional Southern pairing for red velvet cake.
- Double the Chocolate: Fold ½ cup of white chocolate chips into the batter. They provide a striking visual contrast against the deep red crumbs and add extra creaminess.
4. Gluten-Free Option
This recipe adapts well to gluten-free diets because of its high moisture content.
Simply swap the all-purpose flour for a high-quality 1:1 Gluten-Free All-Purpose Flour blend (look for one that includes xanthan gum).
The texture may be slightly more fragile, so be sure to let them cool completely before cutting.
5. Natural Coloring Alternative
If you prefer to avoid artificial dyes, you can use beet root powder.
Start with 2 tablespoons of beet powder mixed with a little warm water to create a paste before adding it to the wet ingredients.
Note: Natural dyes often produce a more muted, brick-red color compared to the vibrant pop of gel coloring, but the taste will remain delicious.
6. The “Brookies” Twist
For an indulgent treat, press a layer of chocolate chip cookie dough into the bottom of the pan before pouring the red velvet brownie batter on top.
Bake as directed (you may need to add 5–10 minutes to the baking time).
Save for Later to Your Pinterest Board
How to Properly Store Your Red Velvet Brownies
Proper storage is essential to keep these brownies fudgy and prevent the white chocolate frosting from becoming too soft or sticky.
1. Room Temperature (Best for 2–3 Days)
Store the brownies in an airtight container or cover the pan tightly with plastic wrap or foil.
Because of the white chocolate and sweetened condensed milk frosting, these brownies are sensitive to heat. Keep them in a cool, dry spot away from direct sunlight.
If your kitchen is particularly warm (above 75°F / 24°C), the frosting may become too soft. In this case, skip the counter and move them directly to the fridge.
2. Refrigeration (Best for up to 1 Week)
This is often the preferred method for this specific recipe. Chilling helps the fudge-like frosting set firmly and gives the brownies a dense, chewy texture that many people love.
Place cut squares in a single layer in an airtight container. If you need to stack them, place a sheet of wax paper or parchment paper between layers to prevent the frosting and M&M’s from sticking to the bottom of the brownie above it.
3. Freezing (Best for up to 3 Months)
- Unfrosted: For the best results, freeze the brownie base before frosting. Wrap the whole block or individual squares tightly in plastic wrap, then a layer of foil. Thaw on the counter, then make the frosting fresh.
- Frosted: You can freeze them fully assembled, though the M&M’s may lose a bit of their cosmetic sheen upon thawing. Flash-freeze the cut brownies on a baking sheet for 1 hour until the frosting is hard. Then, wrap each square individually in plastic wrap and place them in a freezer-safe heavy-duty bag.
- Thawing: Unwrap the brownies and let them come to room temperature on the counter for about an hour before eating.
4. Common Mistakes to Avoid
- Storing While Warm: Never cover or pack the brownies until they are completely cool. Trapping heat creates condensation, which will make the frosting slide off and the brownie texture soggy.
- Exposing Cut Edges: Brownies dry out from the cut edges inward. If you aren’t serving them immediately, keep the slab whole and cut only what you need. If they are already cut, ensure the container seal is tight.
- The “Crunch” Factor: The sprinkles and M&M’s will stay crunchy for the first few days. Over time (especially in the fridge), they may absorb moisture from the frosting and soften slightly. They will still taste good, but the texture will change.
FAQs
Can I substitute cocoa powder for the semi-sweet chocolate chips?
No, it is not recommended for this specific recipe. These brownies rely on the melted chocolate chips (and the cocoa butter within them) for their fudgy, dense texture. Using cocoa powder would remove necessary fat and moisture, likely resulting in a dry, cake-like texture unless you significantly altered the butter and sugar ratios.
Can I use liquid food coloring instead of gel?
Yes, you can. The recipe calls for 2 tablespoons of liquid coloring or 1 tablespoon of gel coloring. However, keep in mind that gel coloring is much more concentrated and usually produces a more vibrant, bakery-style red. Liquid coloring works fine but may result in a slightly lighter or more “pinkish-red” hue.
Why did my brownies turn out dry or cakey?
The two most common culprits are over-baking and over-measuring flour.
Timing: Remove the brownies when a toothpick has moist crumbs attached—do not wait for it to be perfectly clean.
Measuring: Avoid scooping flour directly with the measuring cup, which packs it down. Instead, spoon the flour into the cup and level it off with a knife to ensure you aren’t adding extra dry ingredients.
Do I need to keep these brownies in the refrigerator?
It depends on your kitchen temperature. Because the frosting is made with sweetened condensed milk and white chocolate, it can become soft and sticky in warm environments (above 75°F/24°C). For the best texture and longevity, storing them in the fridge is recommended, but they are safe at room temperature for 2–3 days if kept in a cool, dry spot.
How do I get clean, neat cuts without the frosting smearing?
The secret is to chill the brownies thoroughly before cutting. Once the frosting has set firm in the fridge:
1. Lift the entire brownie block out of the pan using the foil lining.
2. Use a sharp chef’s knife.
3. Wipe the knife clean with a warm, damp cloth between every single cut. This ensures sharp edges and keeps the red crumbs from muddying the white frosting.
Red Velvet Brownies
16
servings15
minutes45
minutesThese fudgy red velvet brownies are ultra-moist, chocolatey, and perfect for Valentine’s Day or anytime you crave a bakery-style treat.
Ingredients
- Brownies
1½ cups granulated sugar
1 cup all-purpose flour
½ cup butter, cubed (1 stick)
⅓ cup semi-sweet chocolate chips
3 large eggs
2 tbsp red liquid food color OR 1 tbsp red gel food color
1 tsp vanilla extract
½ tsp baking powder
¼ tsp salt
- Frosting
1 can sweetened condensed milk (14 ounces)
2 cups white chocolate chips
½ cup Valentine M&M's
⅛ cup heart-shaped sprinkles
Directions
- For the Biscuits
- Preheat your oven to 425°F (220°C) and position the rack in the center. Line a 13×18-inch baking sheet with parchment paper and set aside.
- In a large mixing bowl, whisk together the flour, cornstarch, baking powder, baking soda, sugar, and salt until well combined.
- Add the cold butter pieces to the bowl. Using your fingertips, pinch and rub the butter into the dry mixture until it looks sandy with small, pea-sized chunks of butter still visible.
- Pour in the buttermilk and gently mix with a rubber spatula just until the dough clumps together. The dough should look sticky and slightly messy—stop mixing as soon as it comes together.
- Lightly flour your hands, then divide the dough into 8 rough, rustic-looking balls. Place them on the prepared baking sheet, spacing them out evenly. A slightly uneven surface is ideal for these biscuits.
- Sprinkle the tops with turbinado sugar, then bake for 13–15 minutes, or until the biscuits turn golden brown.
- For the Strawberries
- Place about one-third of the sliced strawberries into a medium bowl. Mash them with a fork or potato masher until they form a chunky purée.
- Add the remaining sliced berries, raspberry jam, and granulated sugar. Stir to combine, then let the mixture rest for 10 minutes so the juices develop and become syrupy.
- For the Whipped Cream
- In the bowl of a stand mixer fitted with the whisk attachment (or using a hand mixer), whip the heavy cream until soft peaks begin to form.
- Sprinkle in the sugar, then continue whipping just until soft peaks return. Avoid whipping too long or the cream may become grainy. (You can also whip by hand using a large bowl and a whisk.)
- To Assemble
- Use a serrated knife to slice each biscuit horizontally. Place the bottoms onto 8 serving plates.
- Spoon about three-quarters of the strawberry mixture over the biscuit bottoms, letting some of the juices flow over the sides.
- Add a generous scoop of whipped cream on top of the berries, then place the biscuit tops over the cream.
- Finish with more strawberries and an extra dollop of whipped cream. Serve immediately for the best texture and flavor.